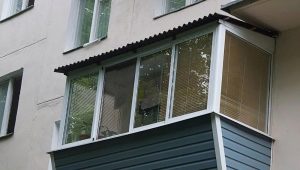
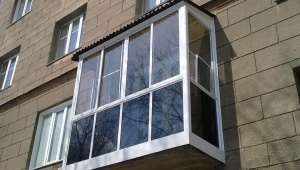
Finishing the balcony clapboard
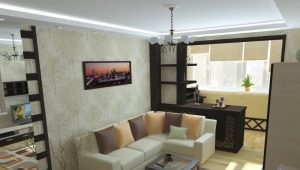
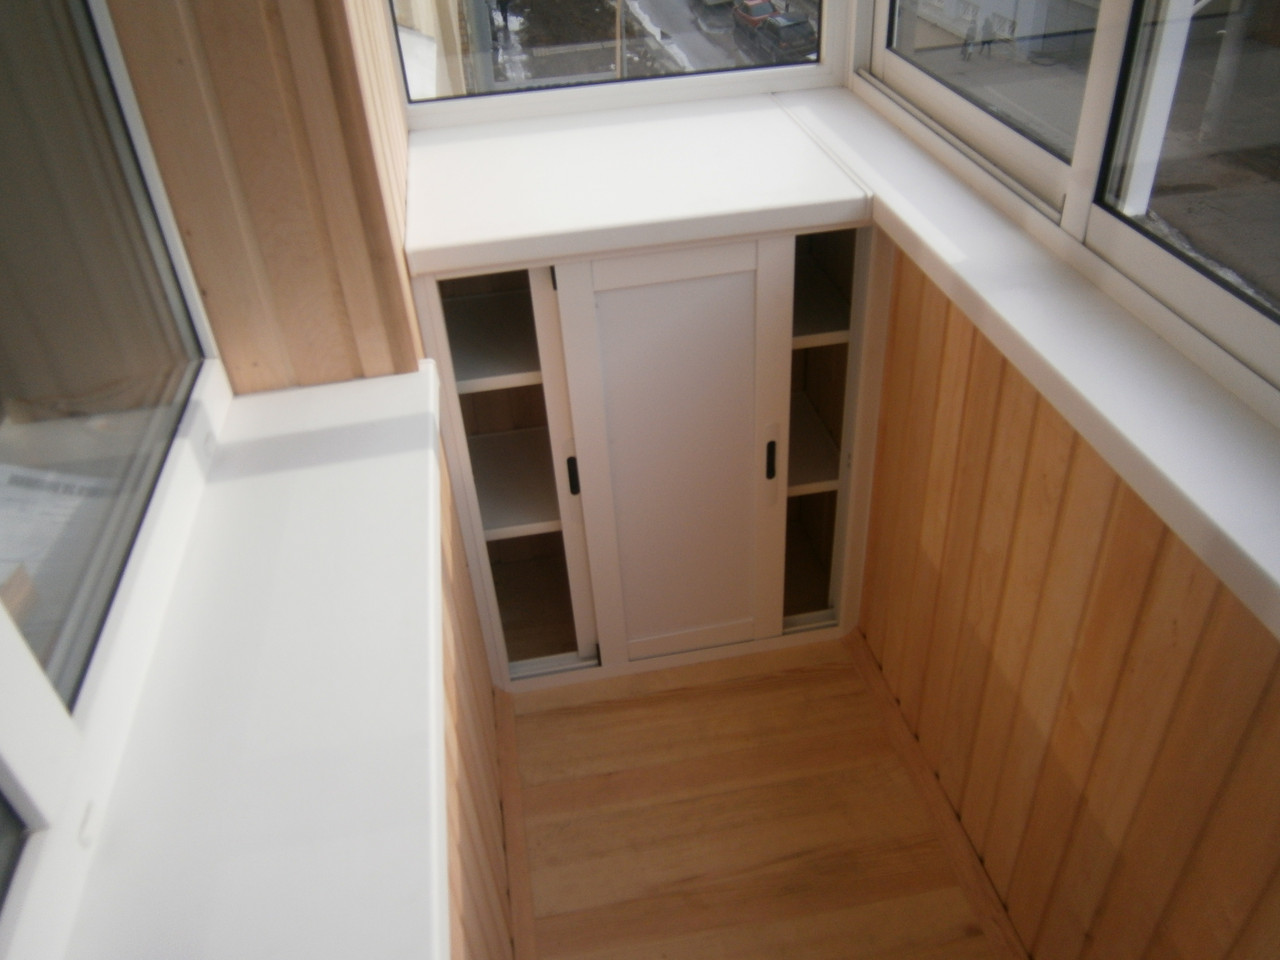
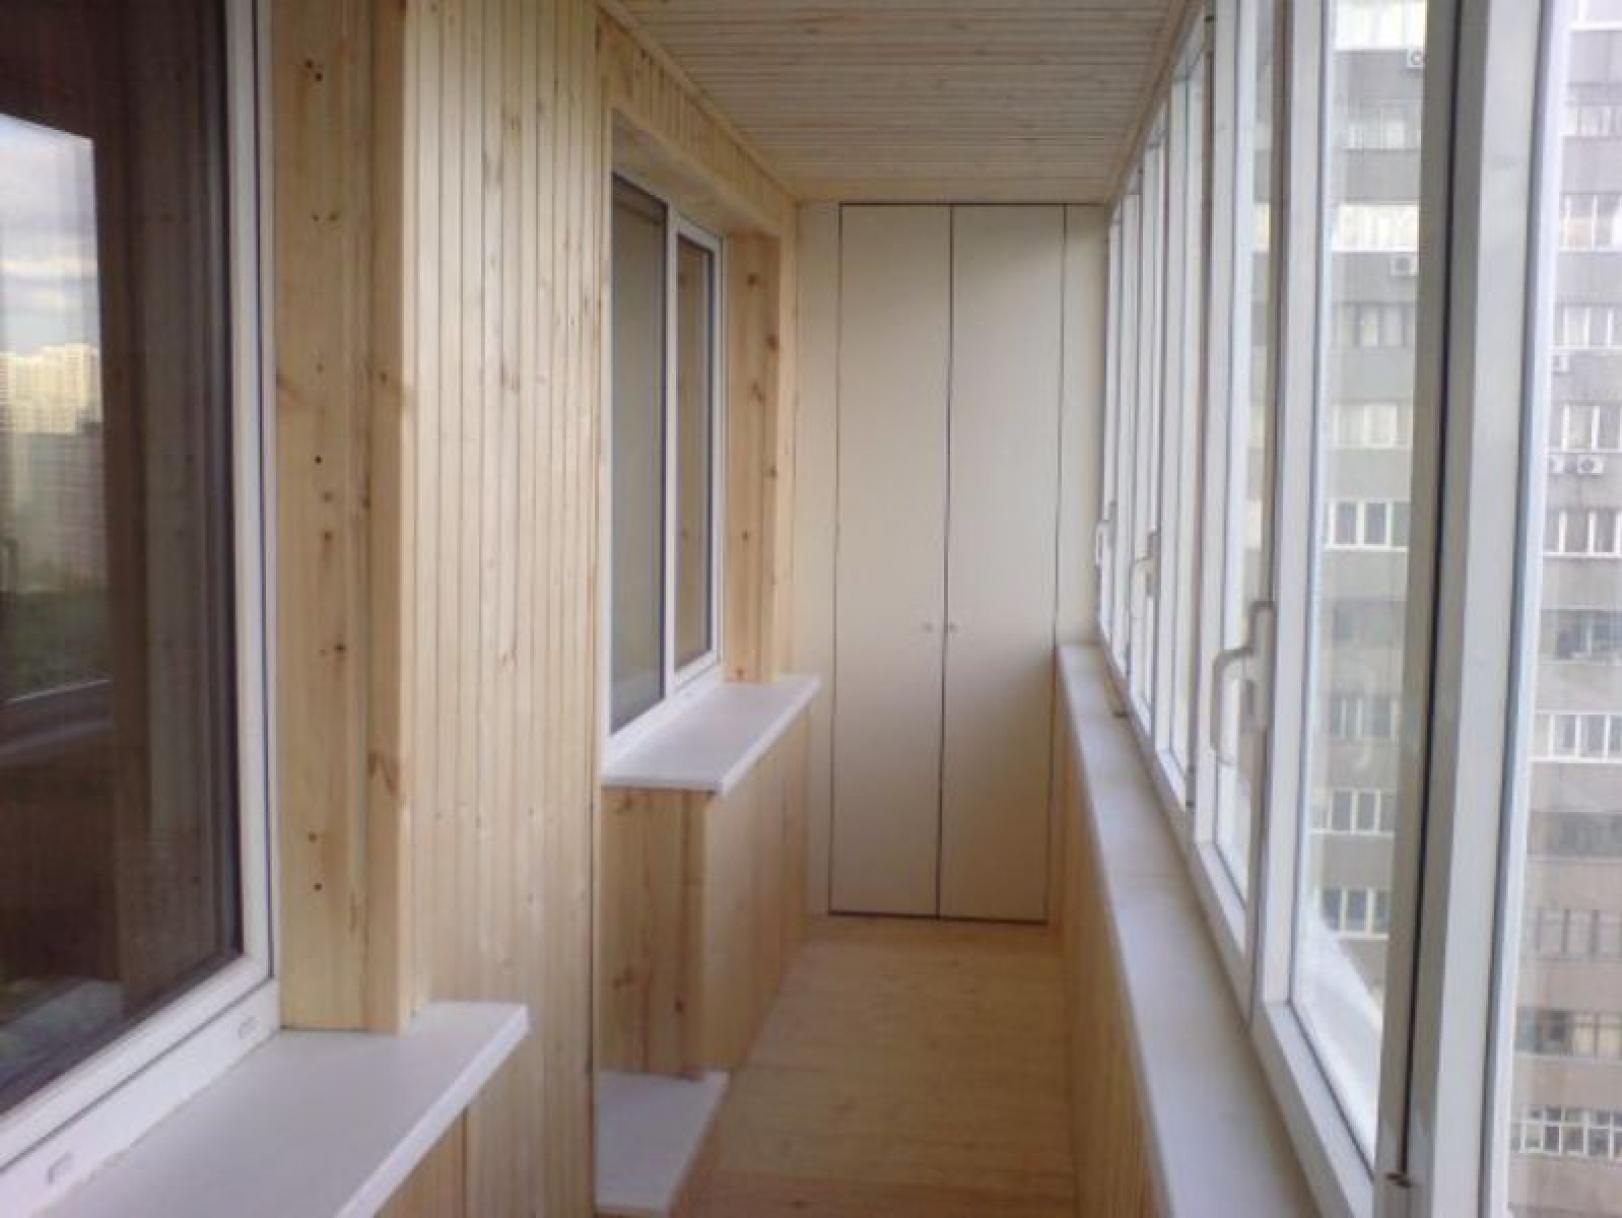
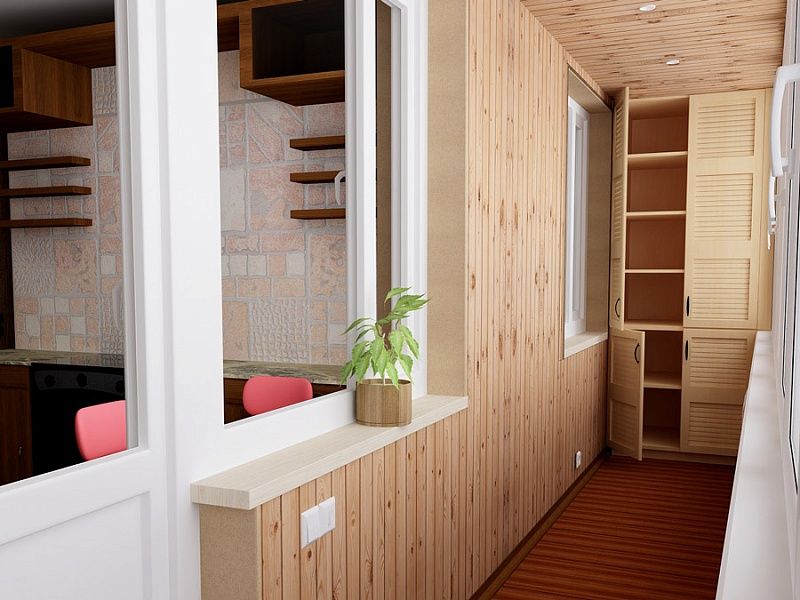
Once the owners of apartments with balconies were very jealous: the additional meters in the "Khrushchev" were priceless. Beautifully arrange the space and not everyone could turn it into a warehouse. Today, it is possible to correctly dispose of the loggia and make it cozy with your own hands, but if there are no design skills, then step-by-step instruction is needed. And interesting ideas on finishing with eurolining will help not only to create a unique and practical design, but also to significantly insulate the apartment itself.
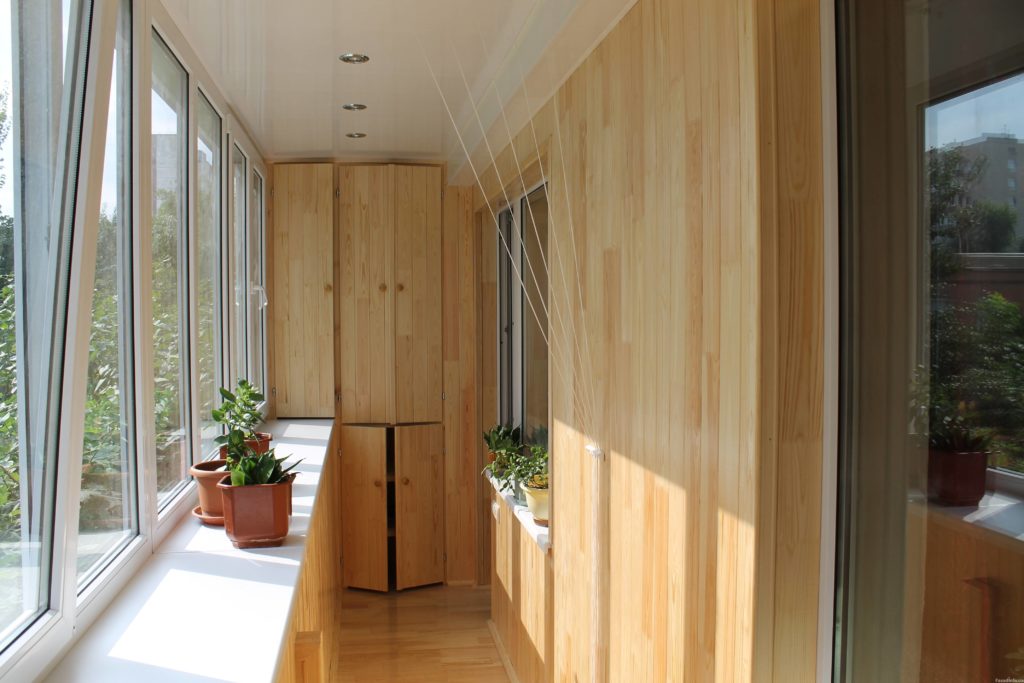
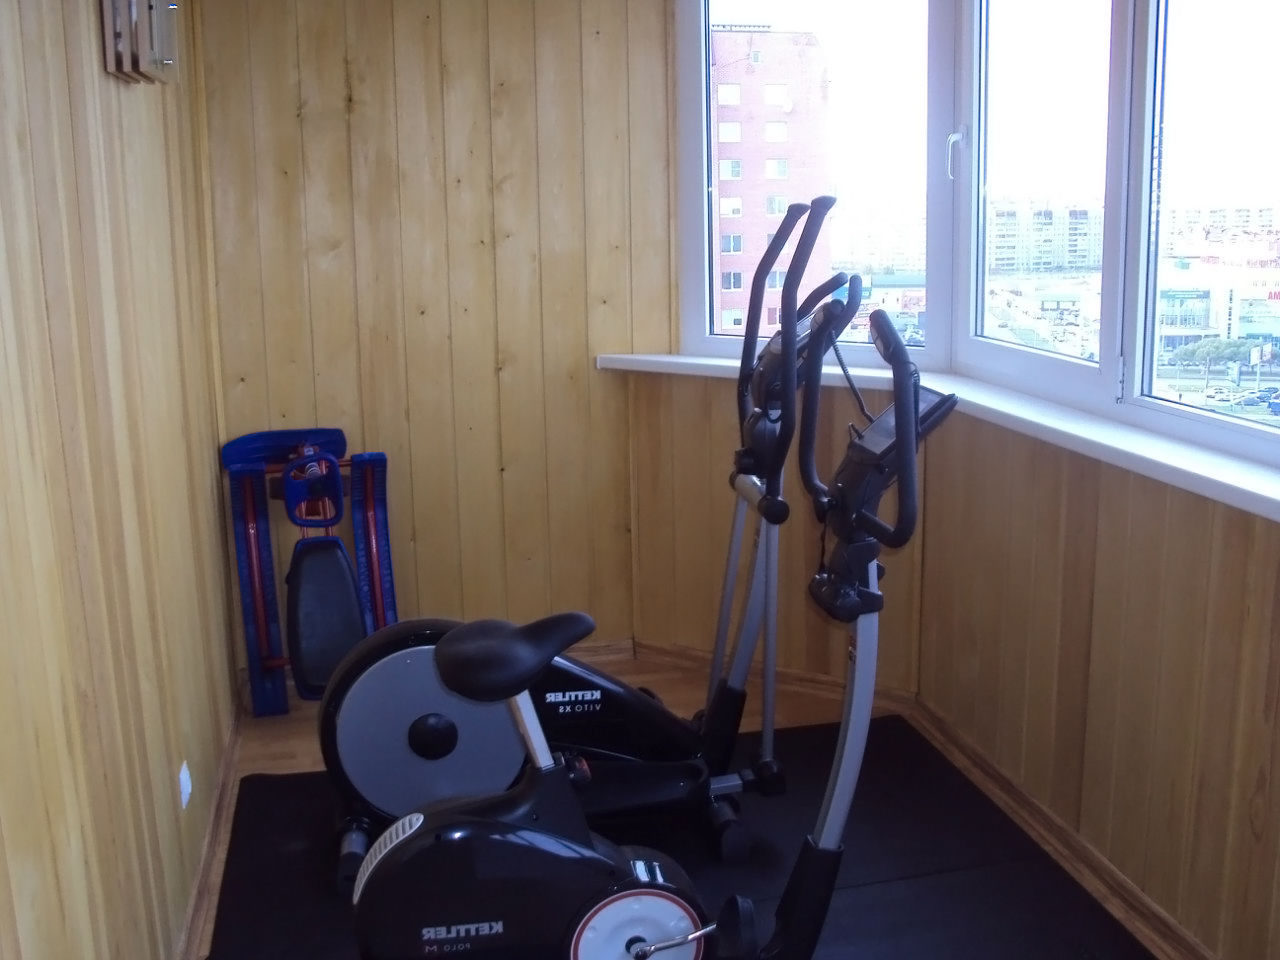
The best material for the balcony
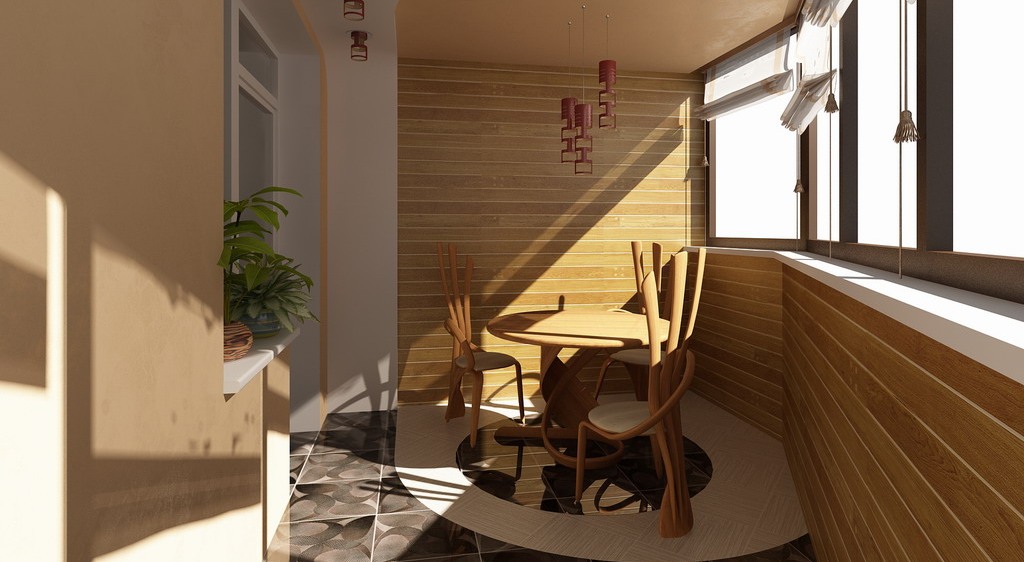
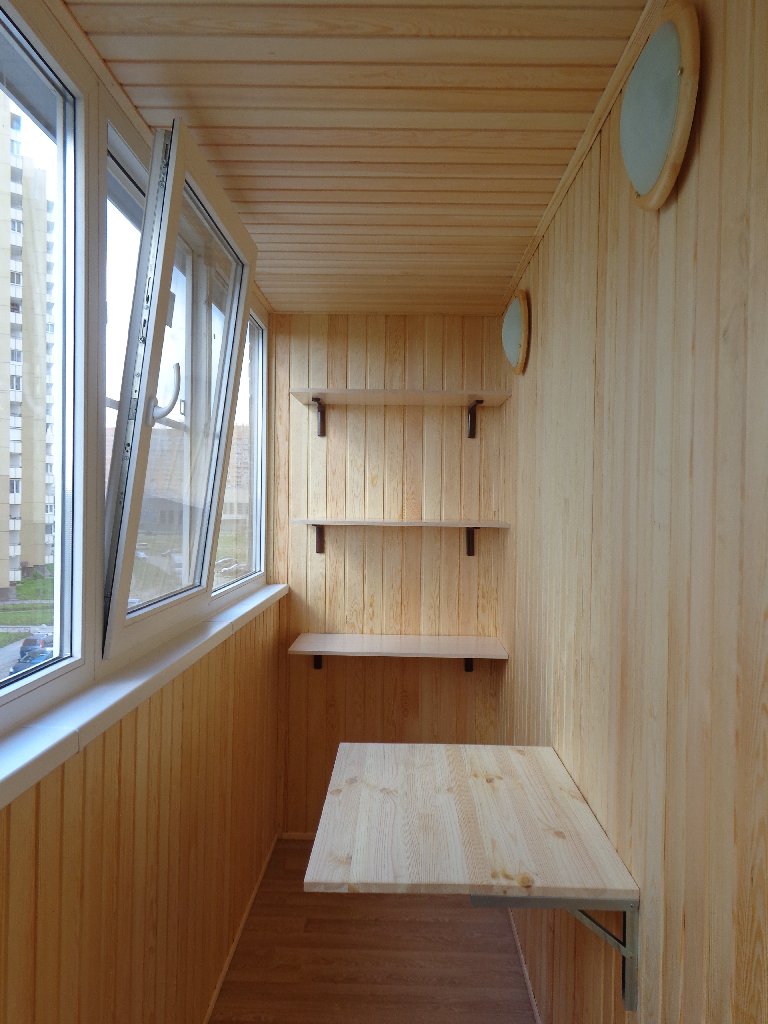
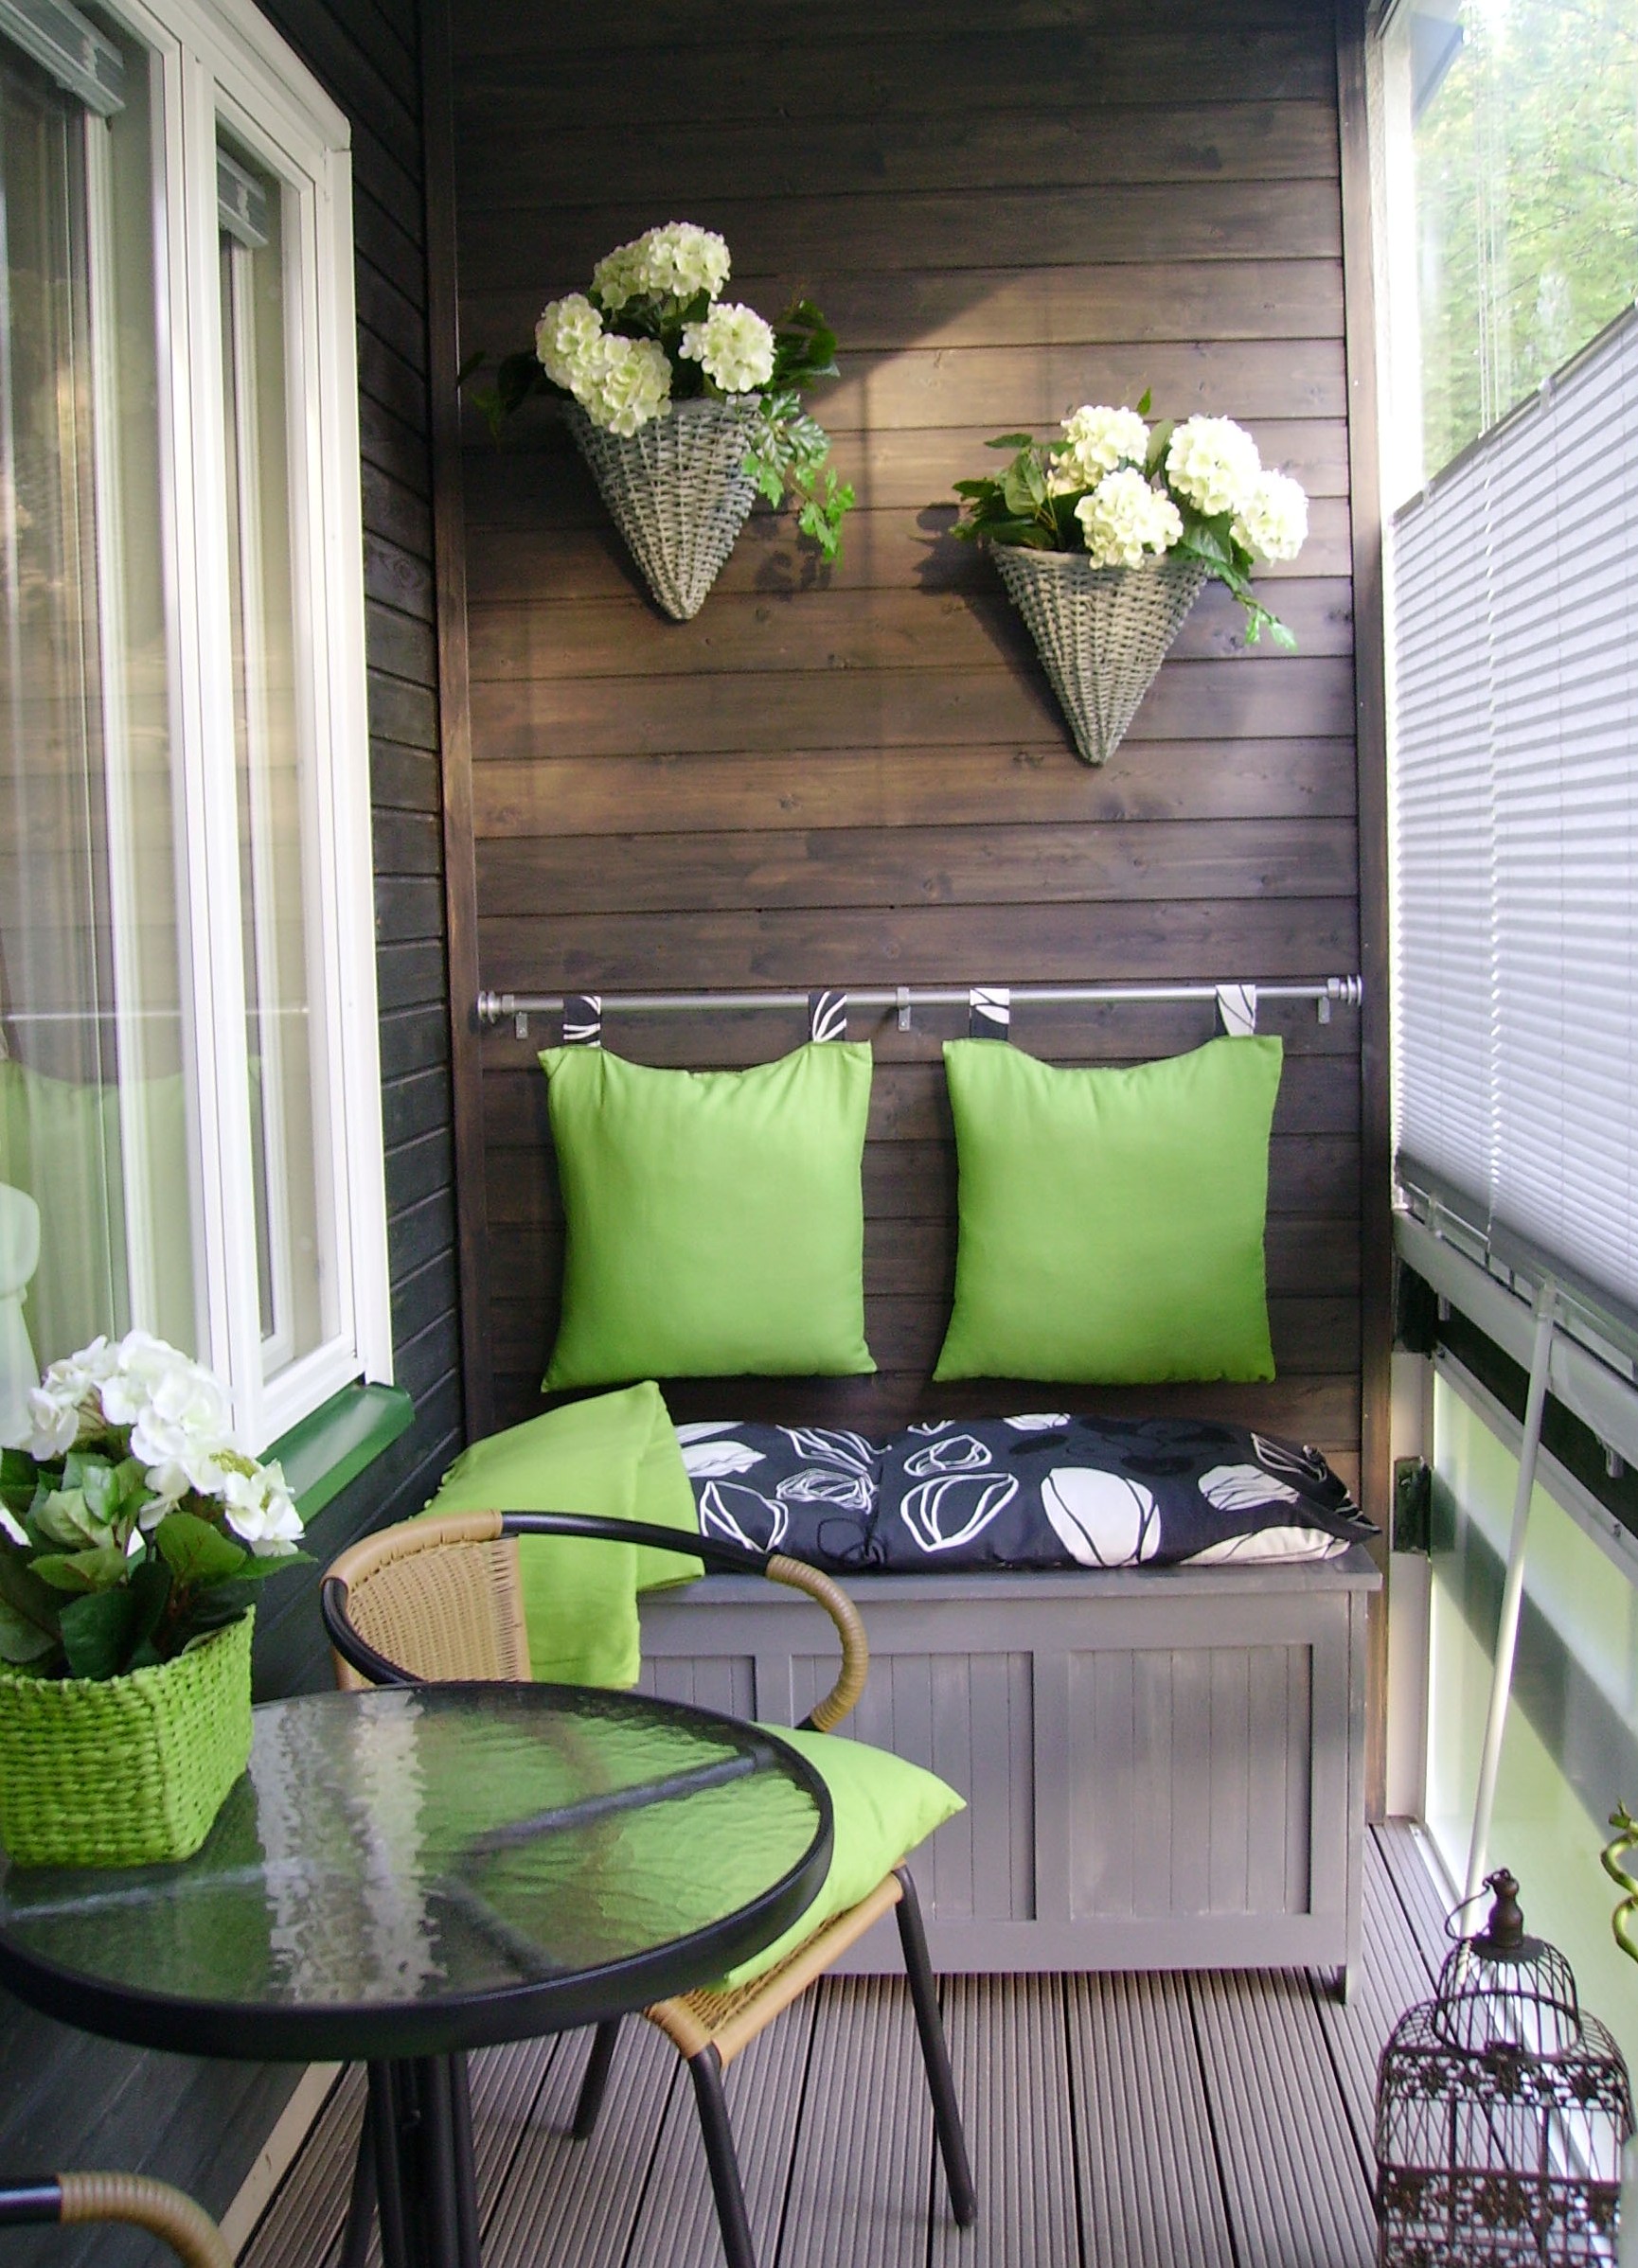
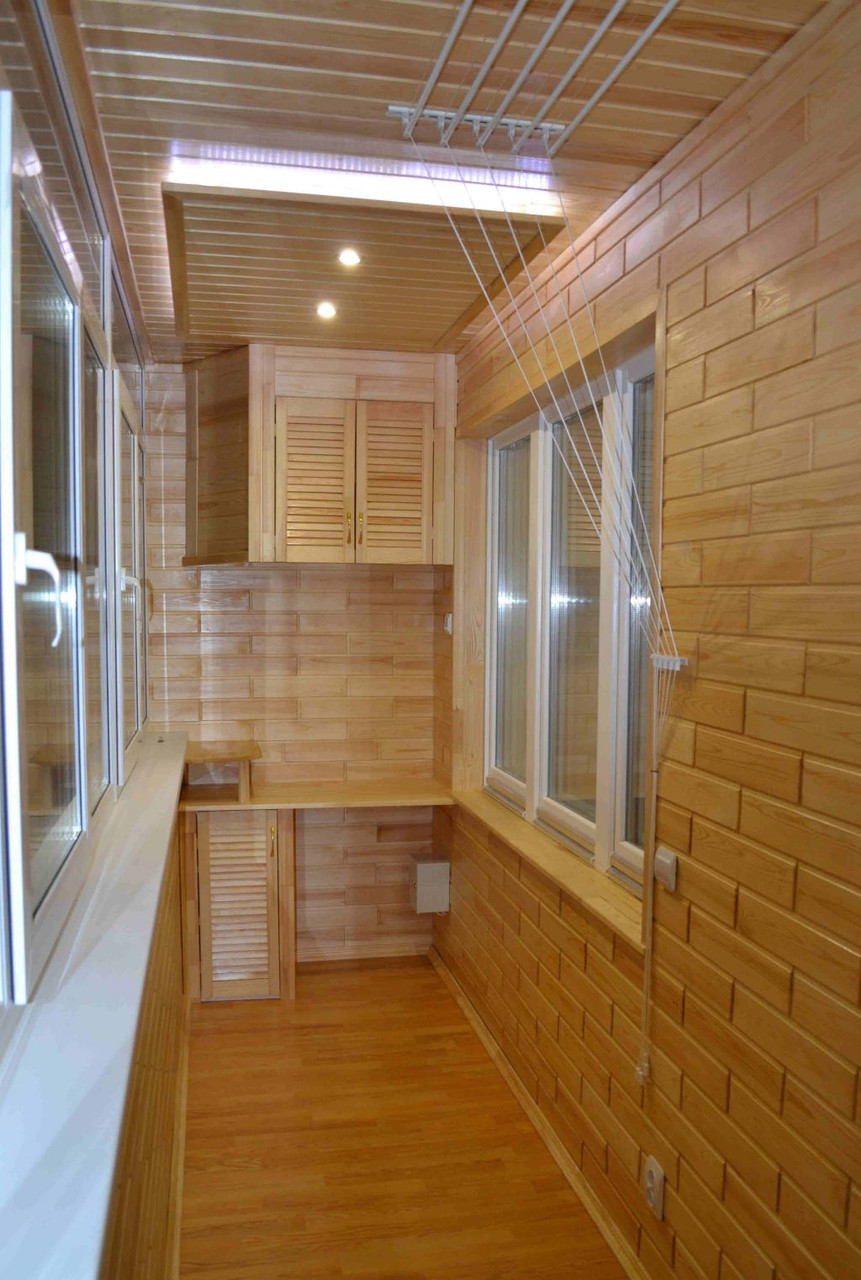
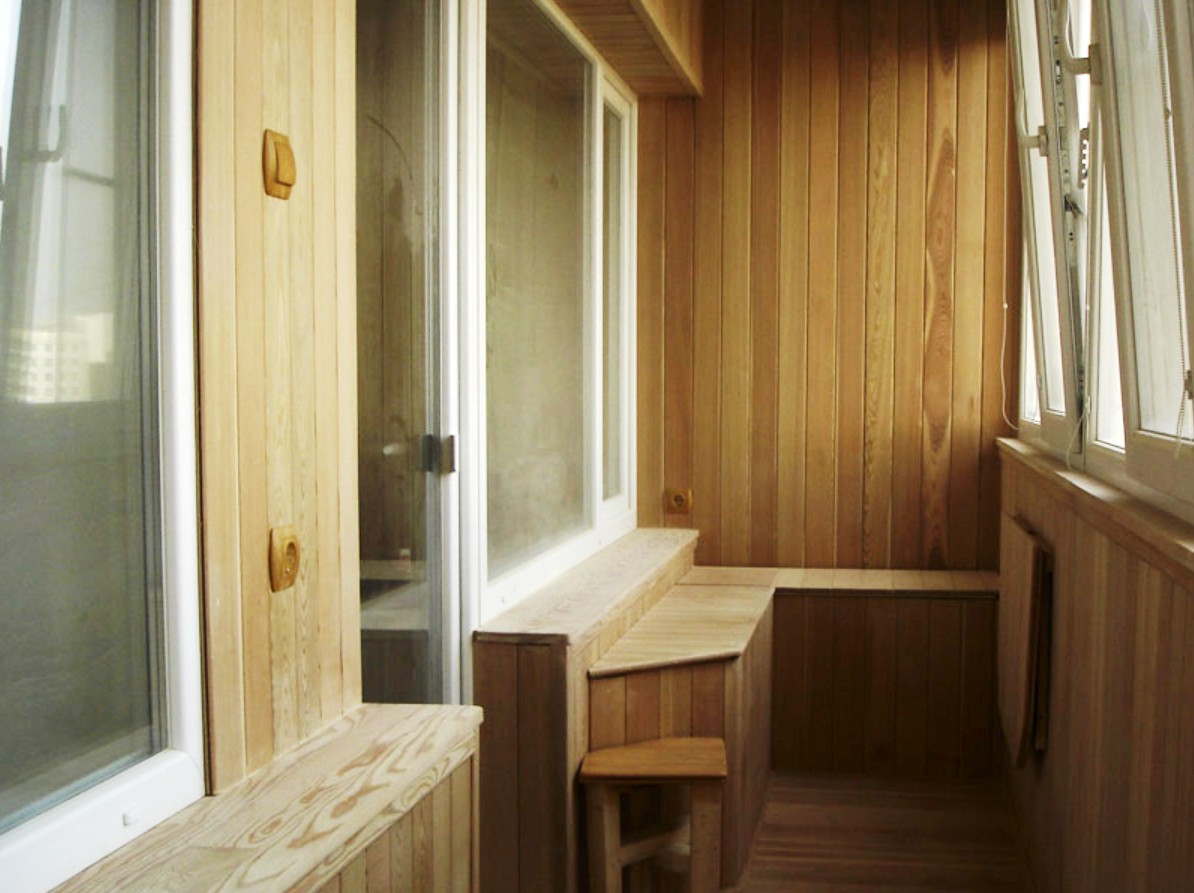
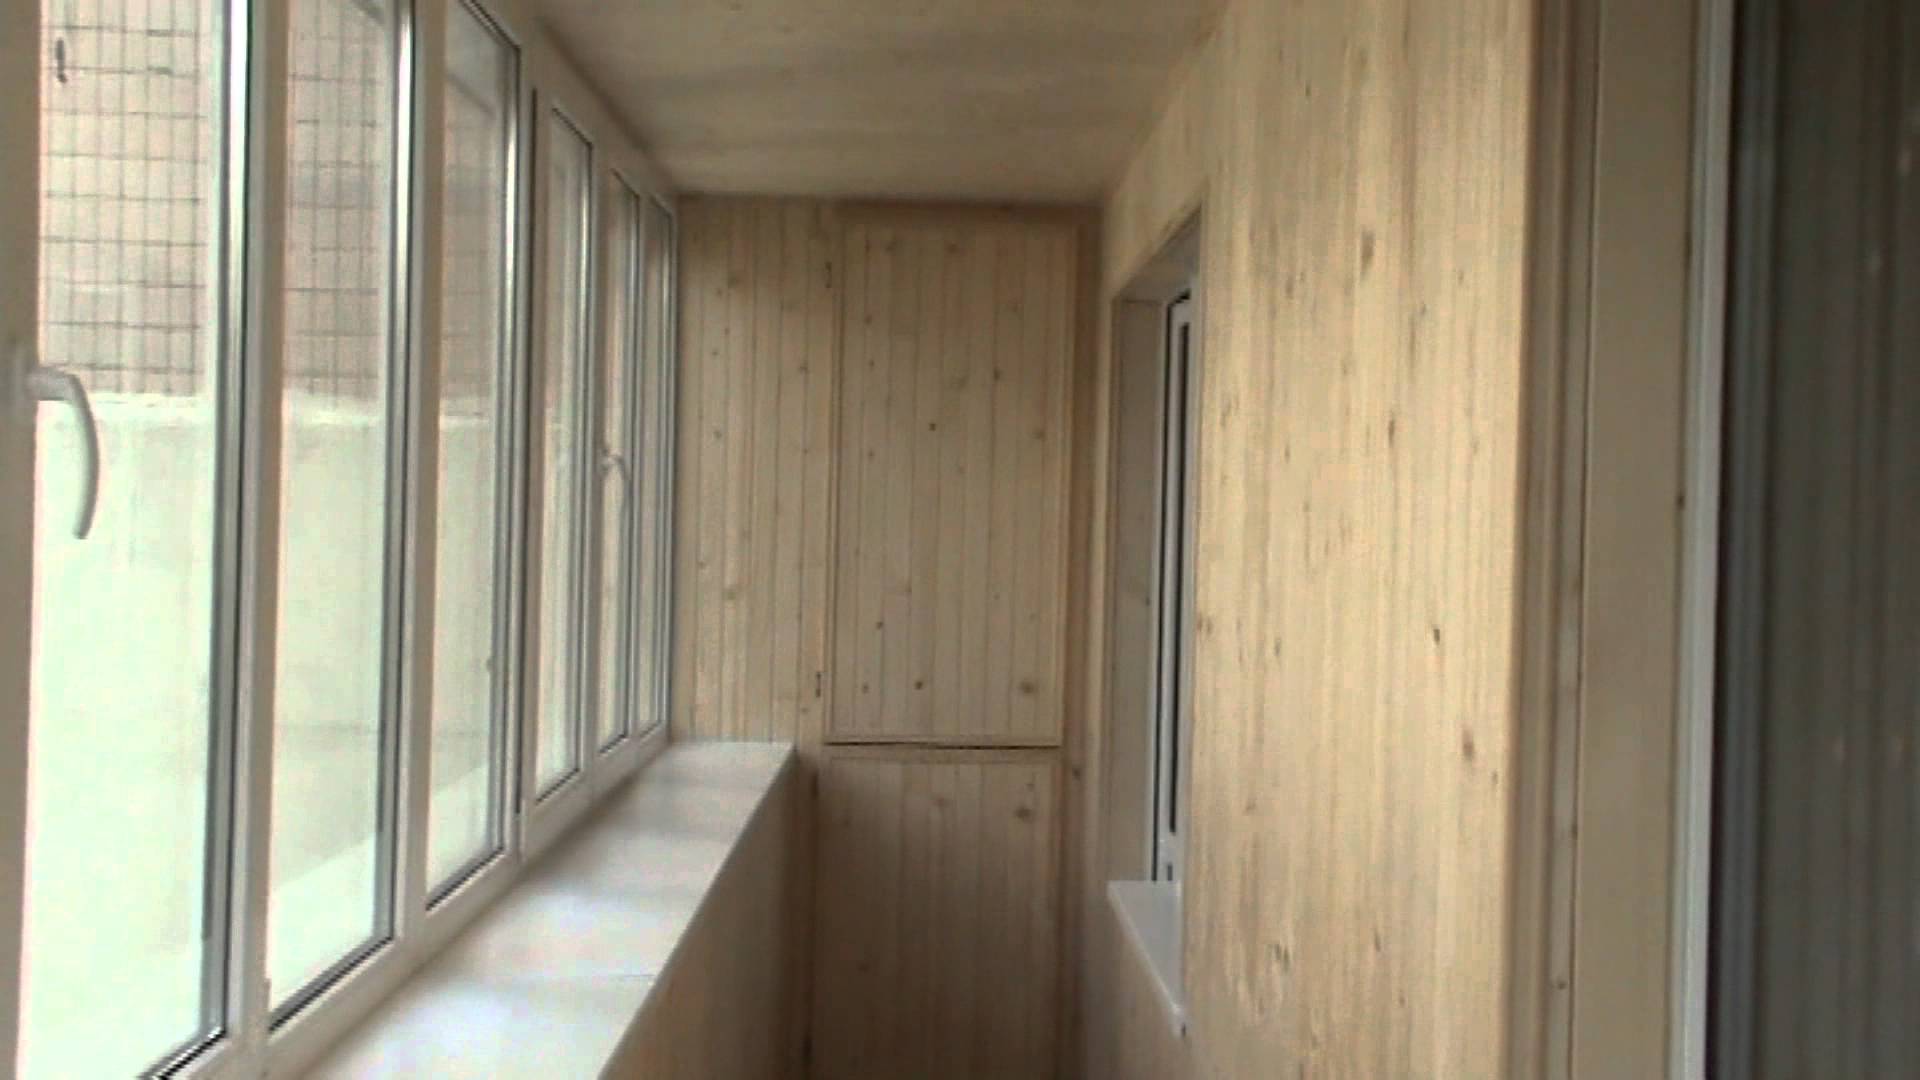
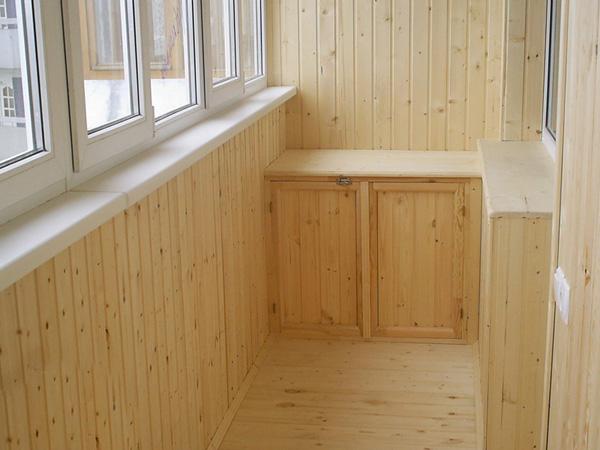
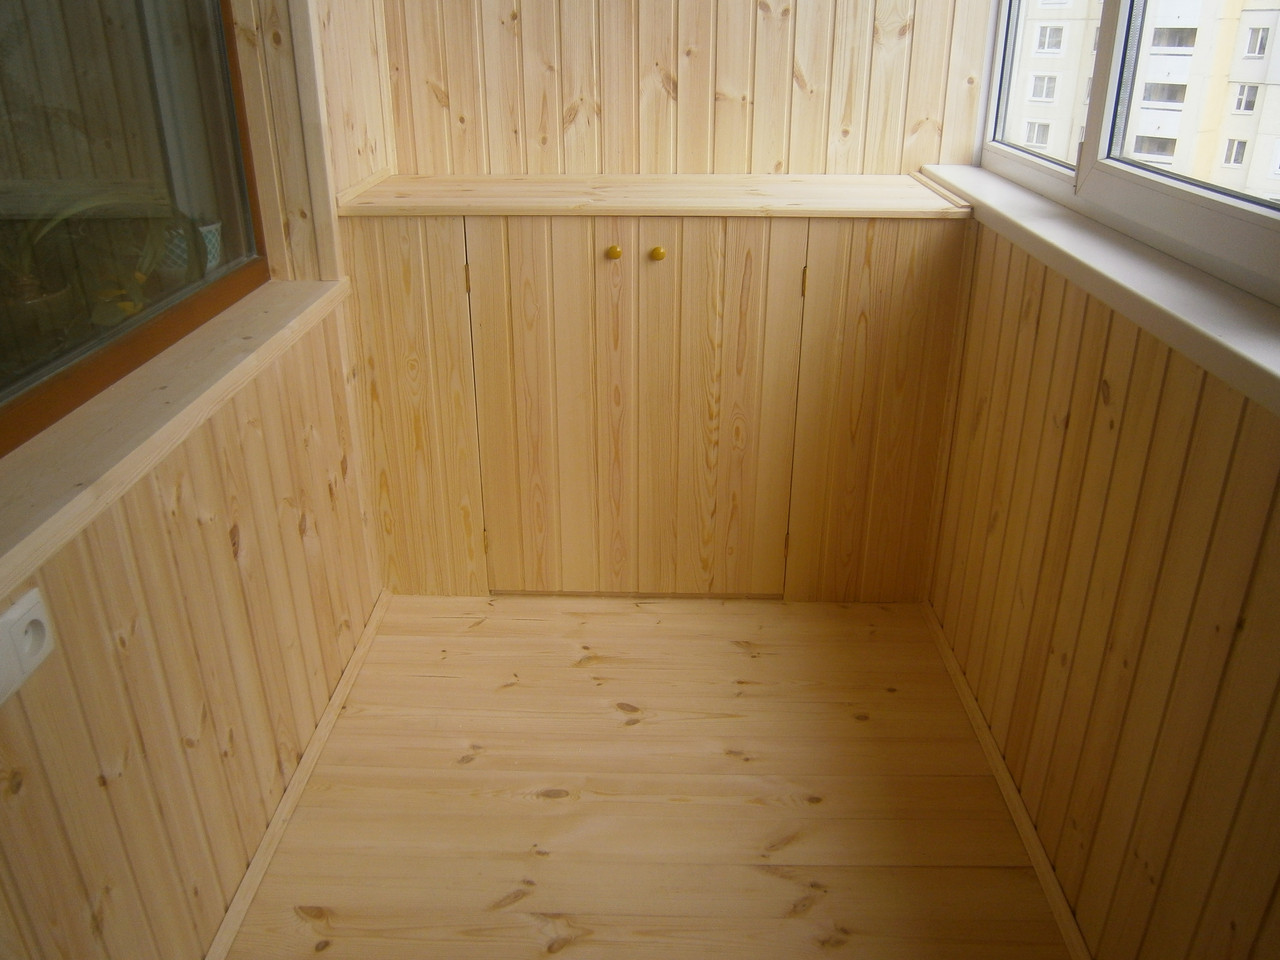
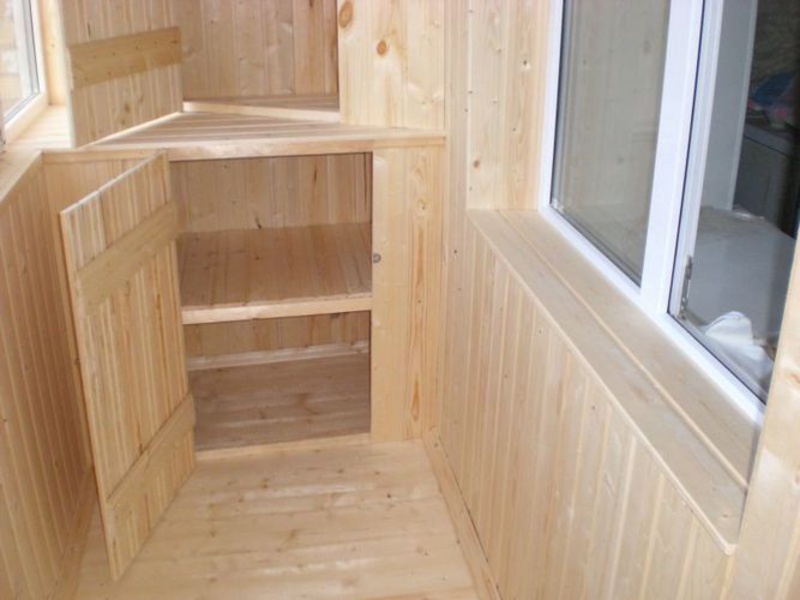
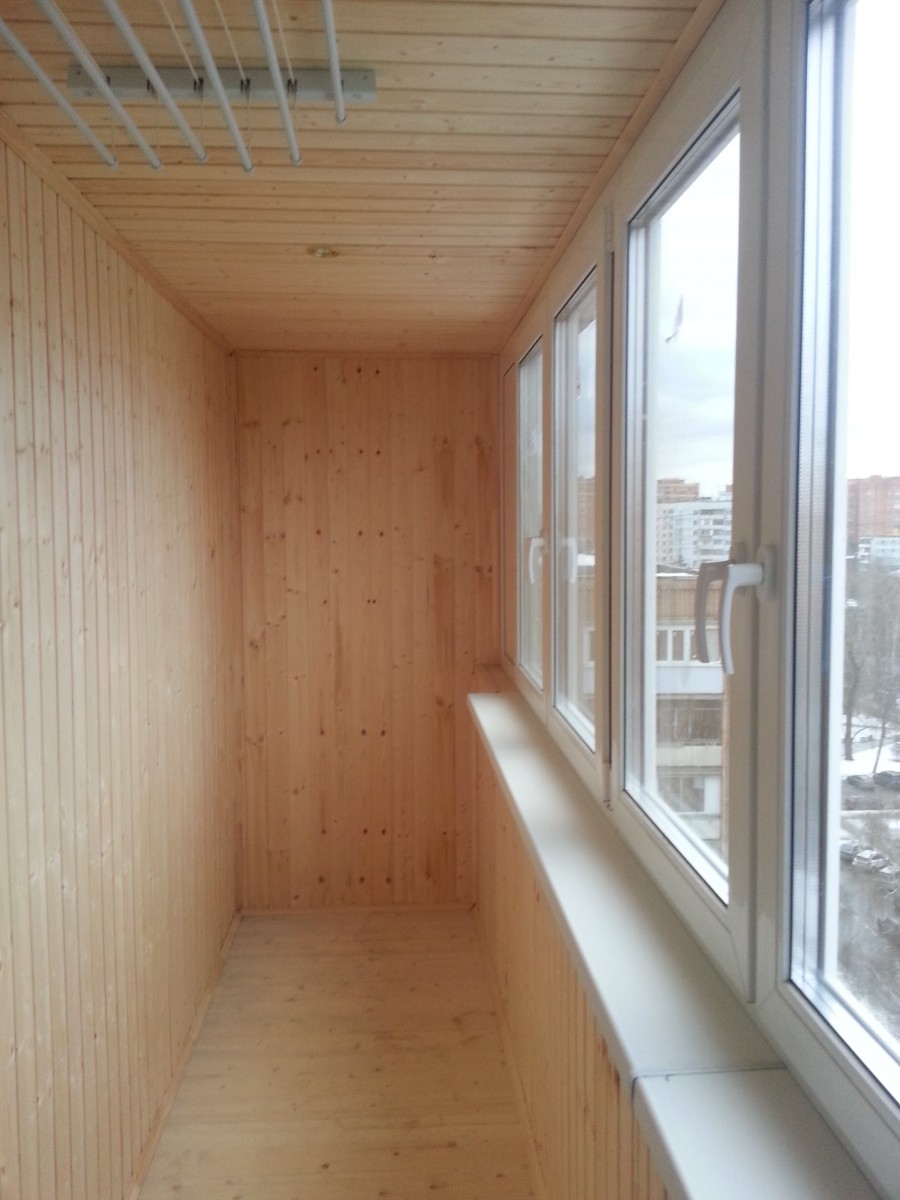
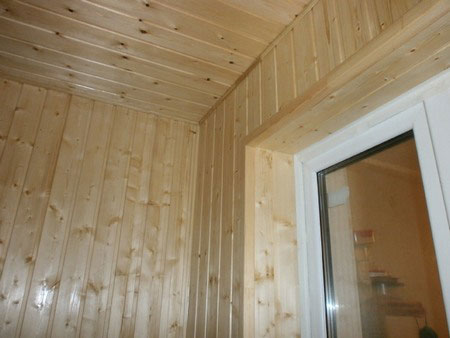
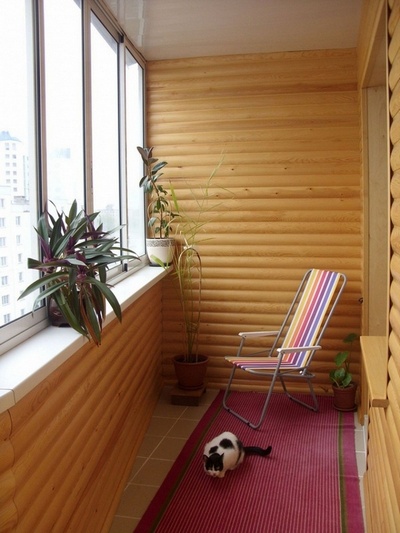
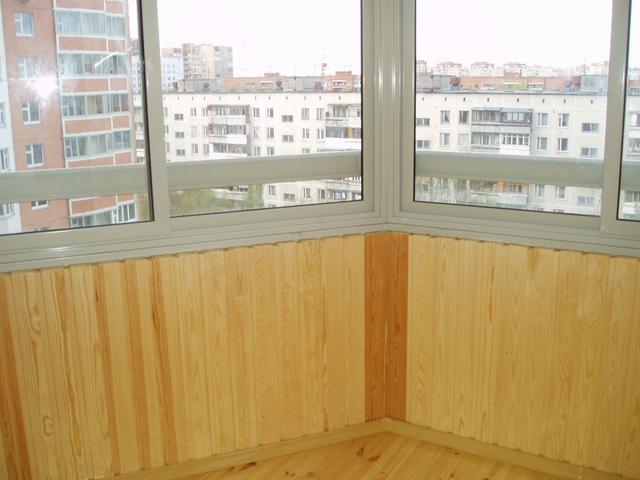
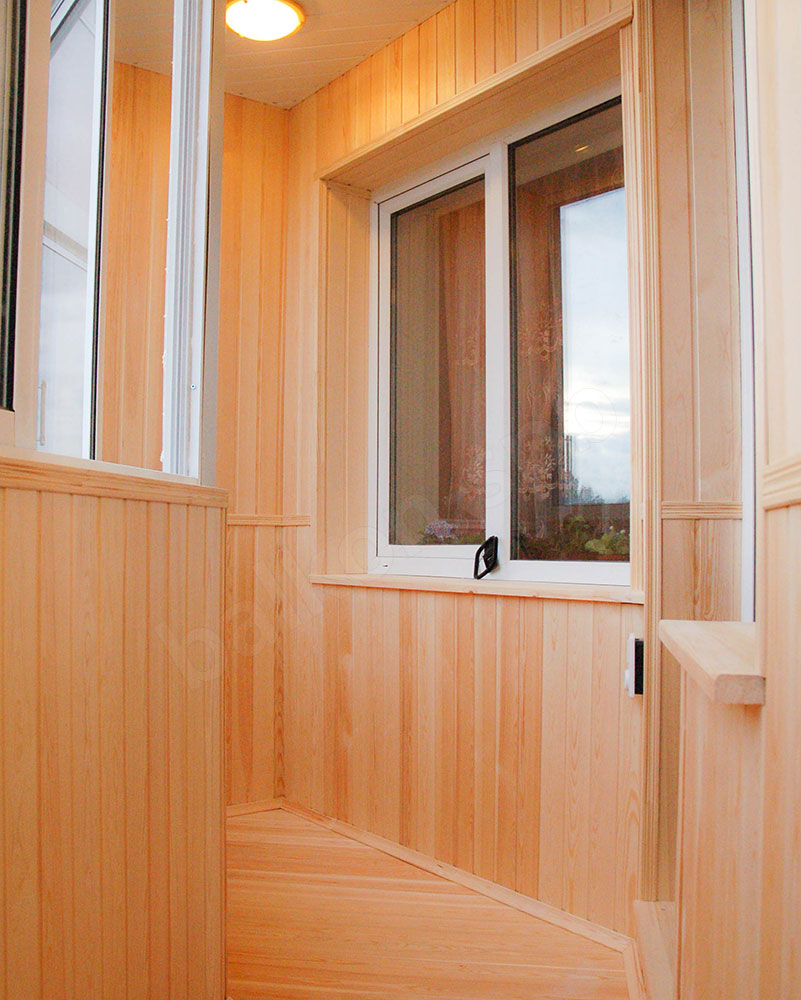
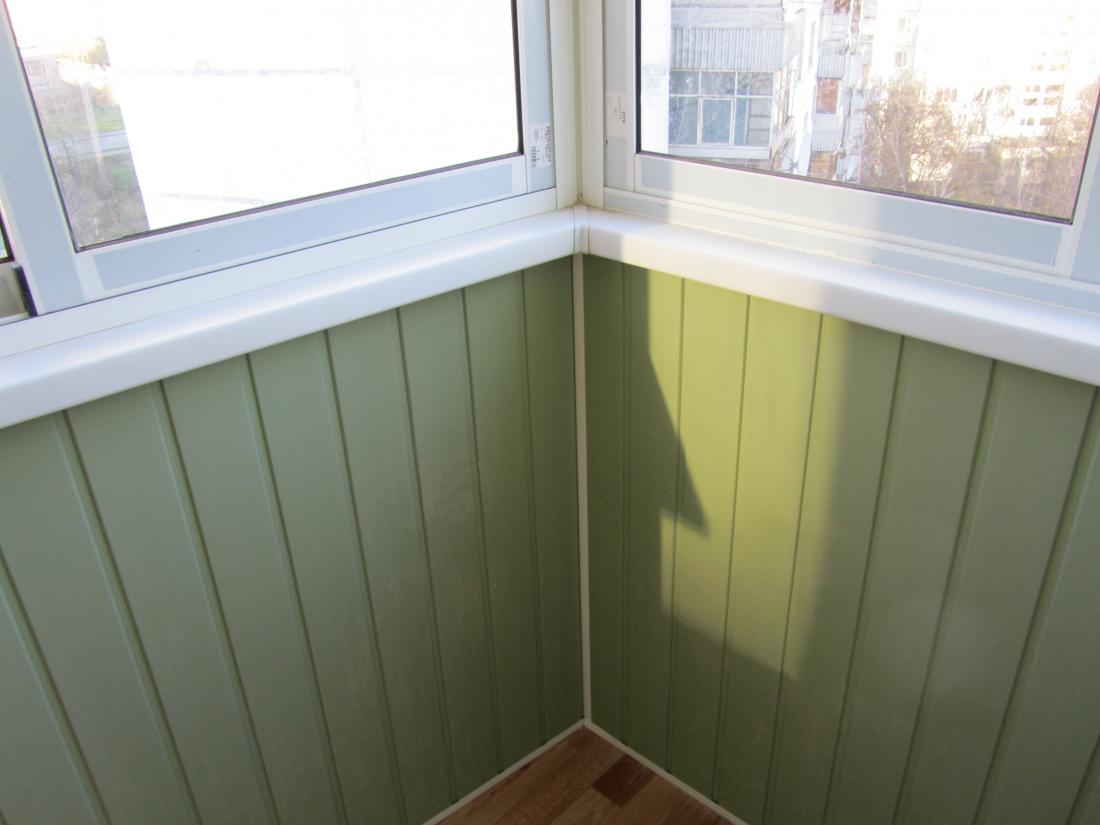
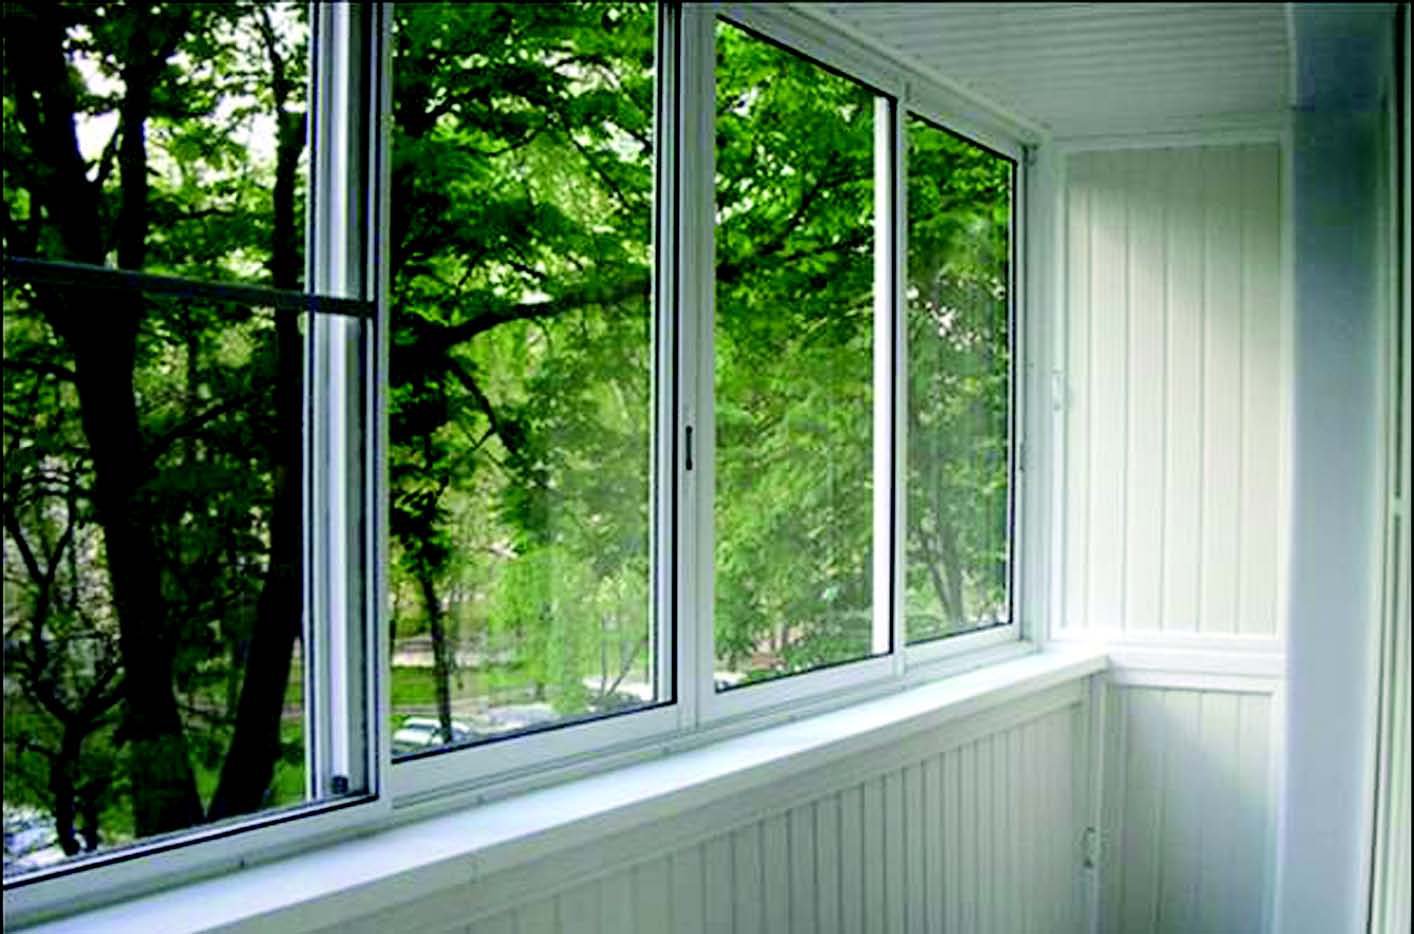
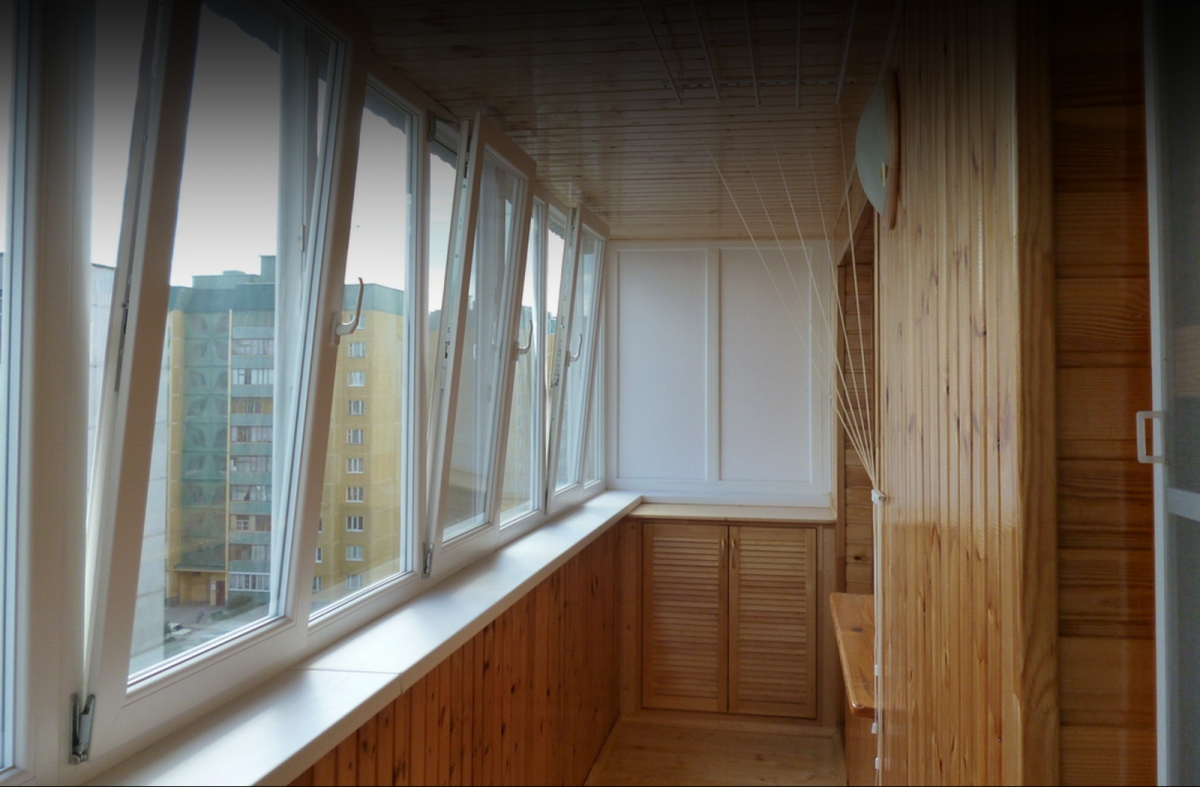
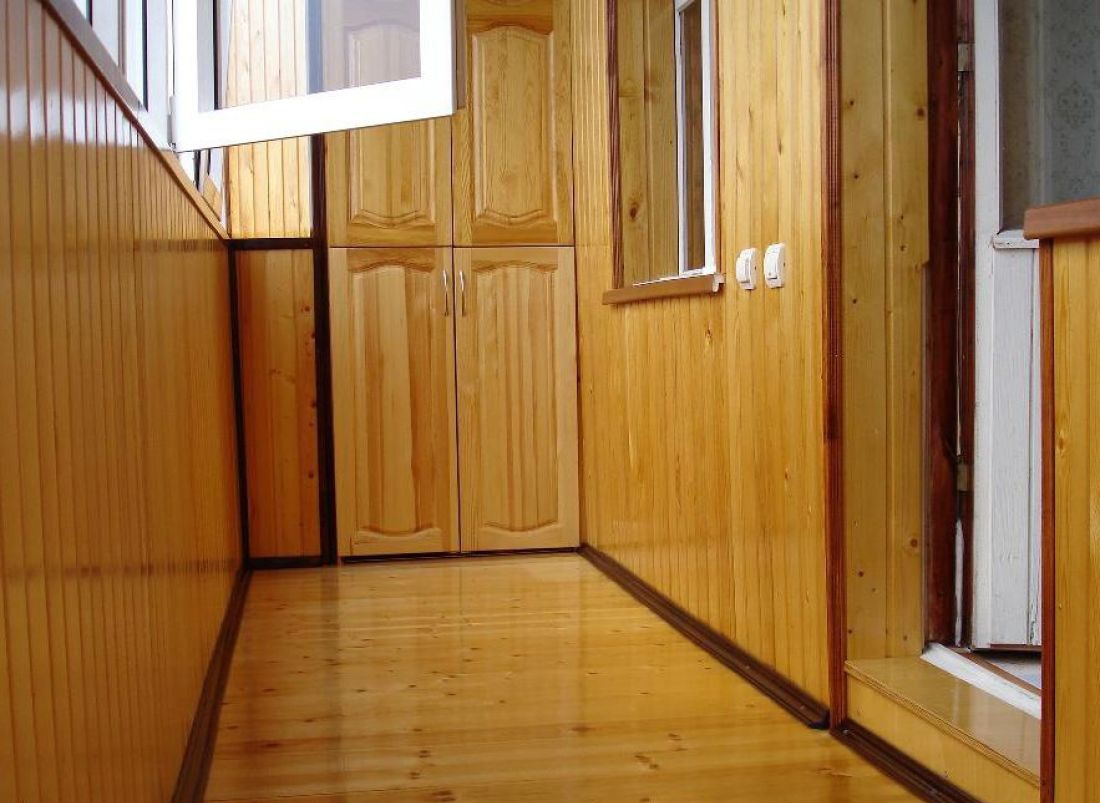
Of course, you can simply sheathe the profile of the room from the street and stop there. Start repairs on the balcony - the task is not for the lazy. But here the interior trim clapboard transform concrete walls, make them smart and well-groomed. How nice in the summer to drink tea on such a balcony!

Covering clapboard will require some skills and costs, with many of the work you can do with your own hands and, in fact, it is not so long. First of all, it is worth choosing a finishing material, the rest will depend on it. Clapboard is called any strips for lining (because sheathed wagons with wooden slats for cheapness). Today it is a common name for panels made of PVC (“plastic” lining) and wood.
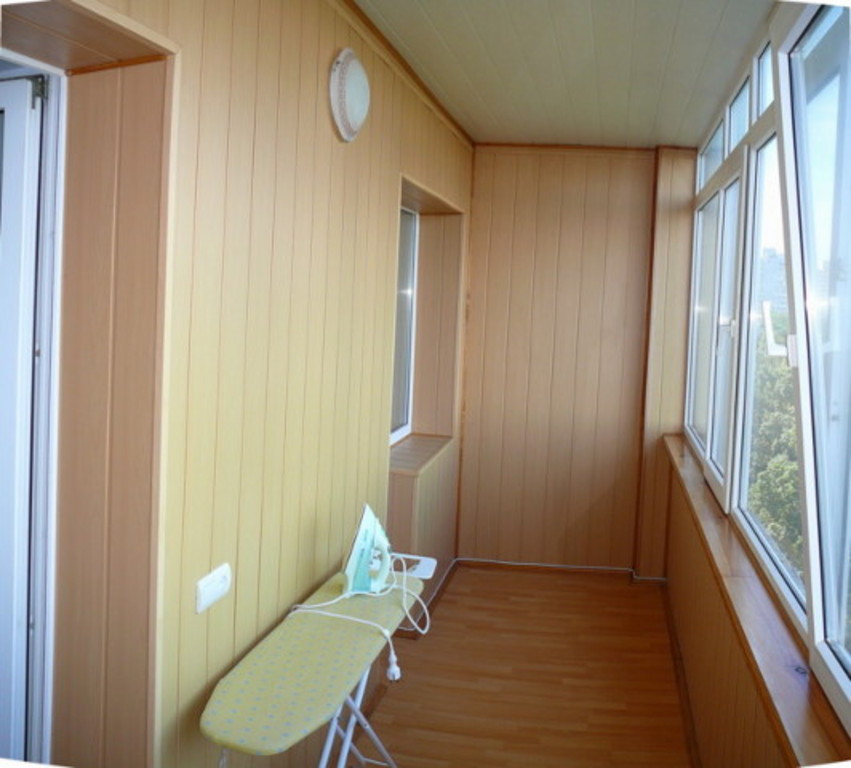
Plastic is not so difficult to lay, it is light and easy to clean, resistant to temperature, humidity, household chemicals. It is better to choose light panels, which over time almost do not fade (this is true if the loggia goes to the sunny side). The cost of PVC and wood varies in different regions, it can also influence the decision to purchase a particular material. For some reason, the plastic lining does not impress the matchmakers; to many, the most cost-effective wood paneling seems more interesting. Although the difficulties with its preparation, installation and care much more.
If you want to sheathe a loggia with wooden clapboard, then be prepared for the fact that:
- Before mounting the tree must be treated with special compounds;
- If you plan to paint, varnish the panel, then this is done after installation;
- The tree is afraid of water and cannot be wetted, washed with coarse sponges, abrasive chemistry;
- After a few years, you will need to remove the protective layer (coating) and re-process the wall paneling.
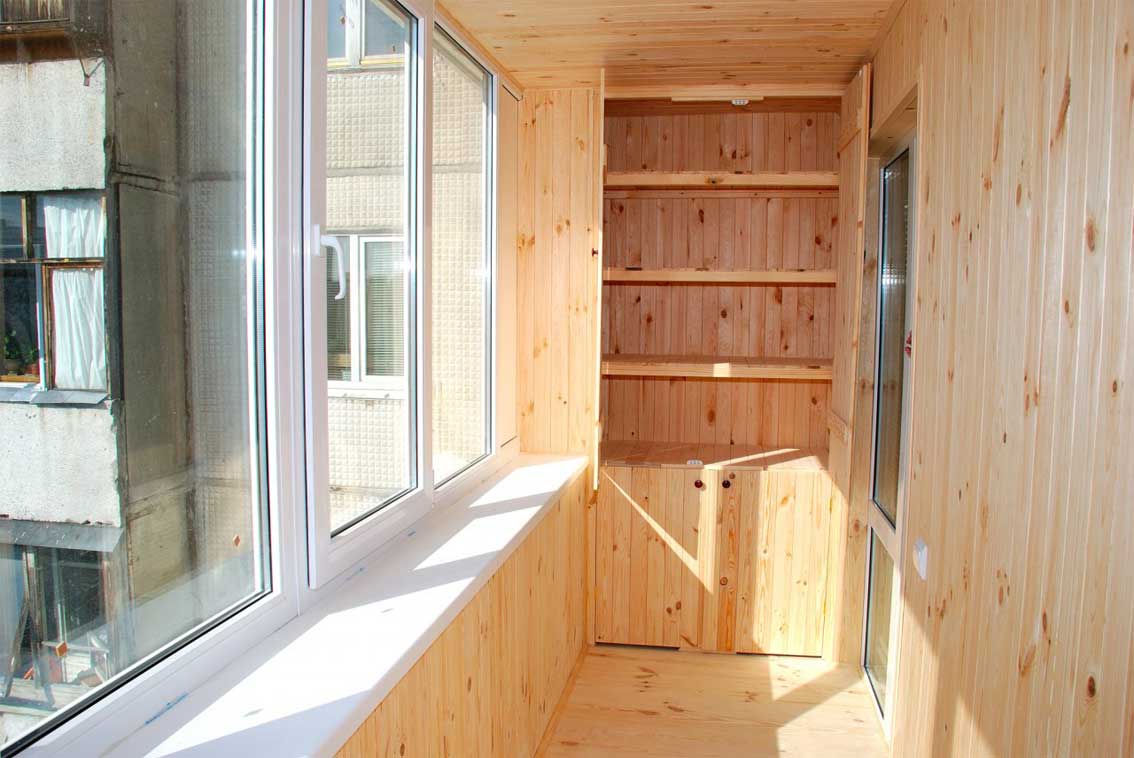
Those who wish to sheathe natural clapboard will not get less space for different rooms, so tips on choosing will be helpful.


Types of lining
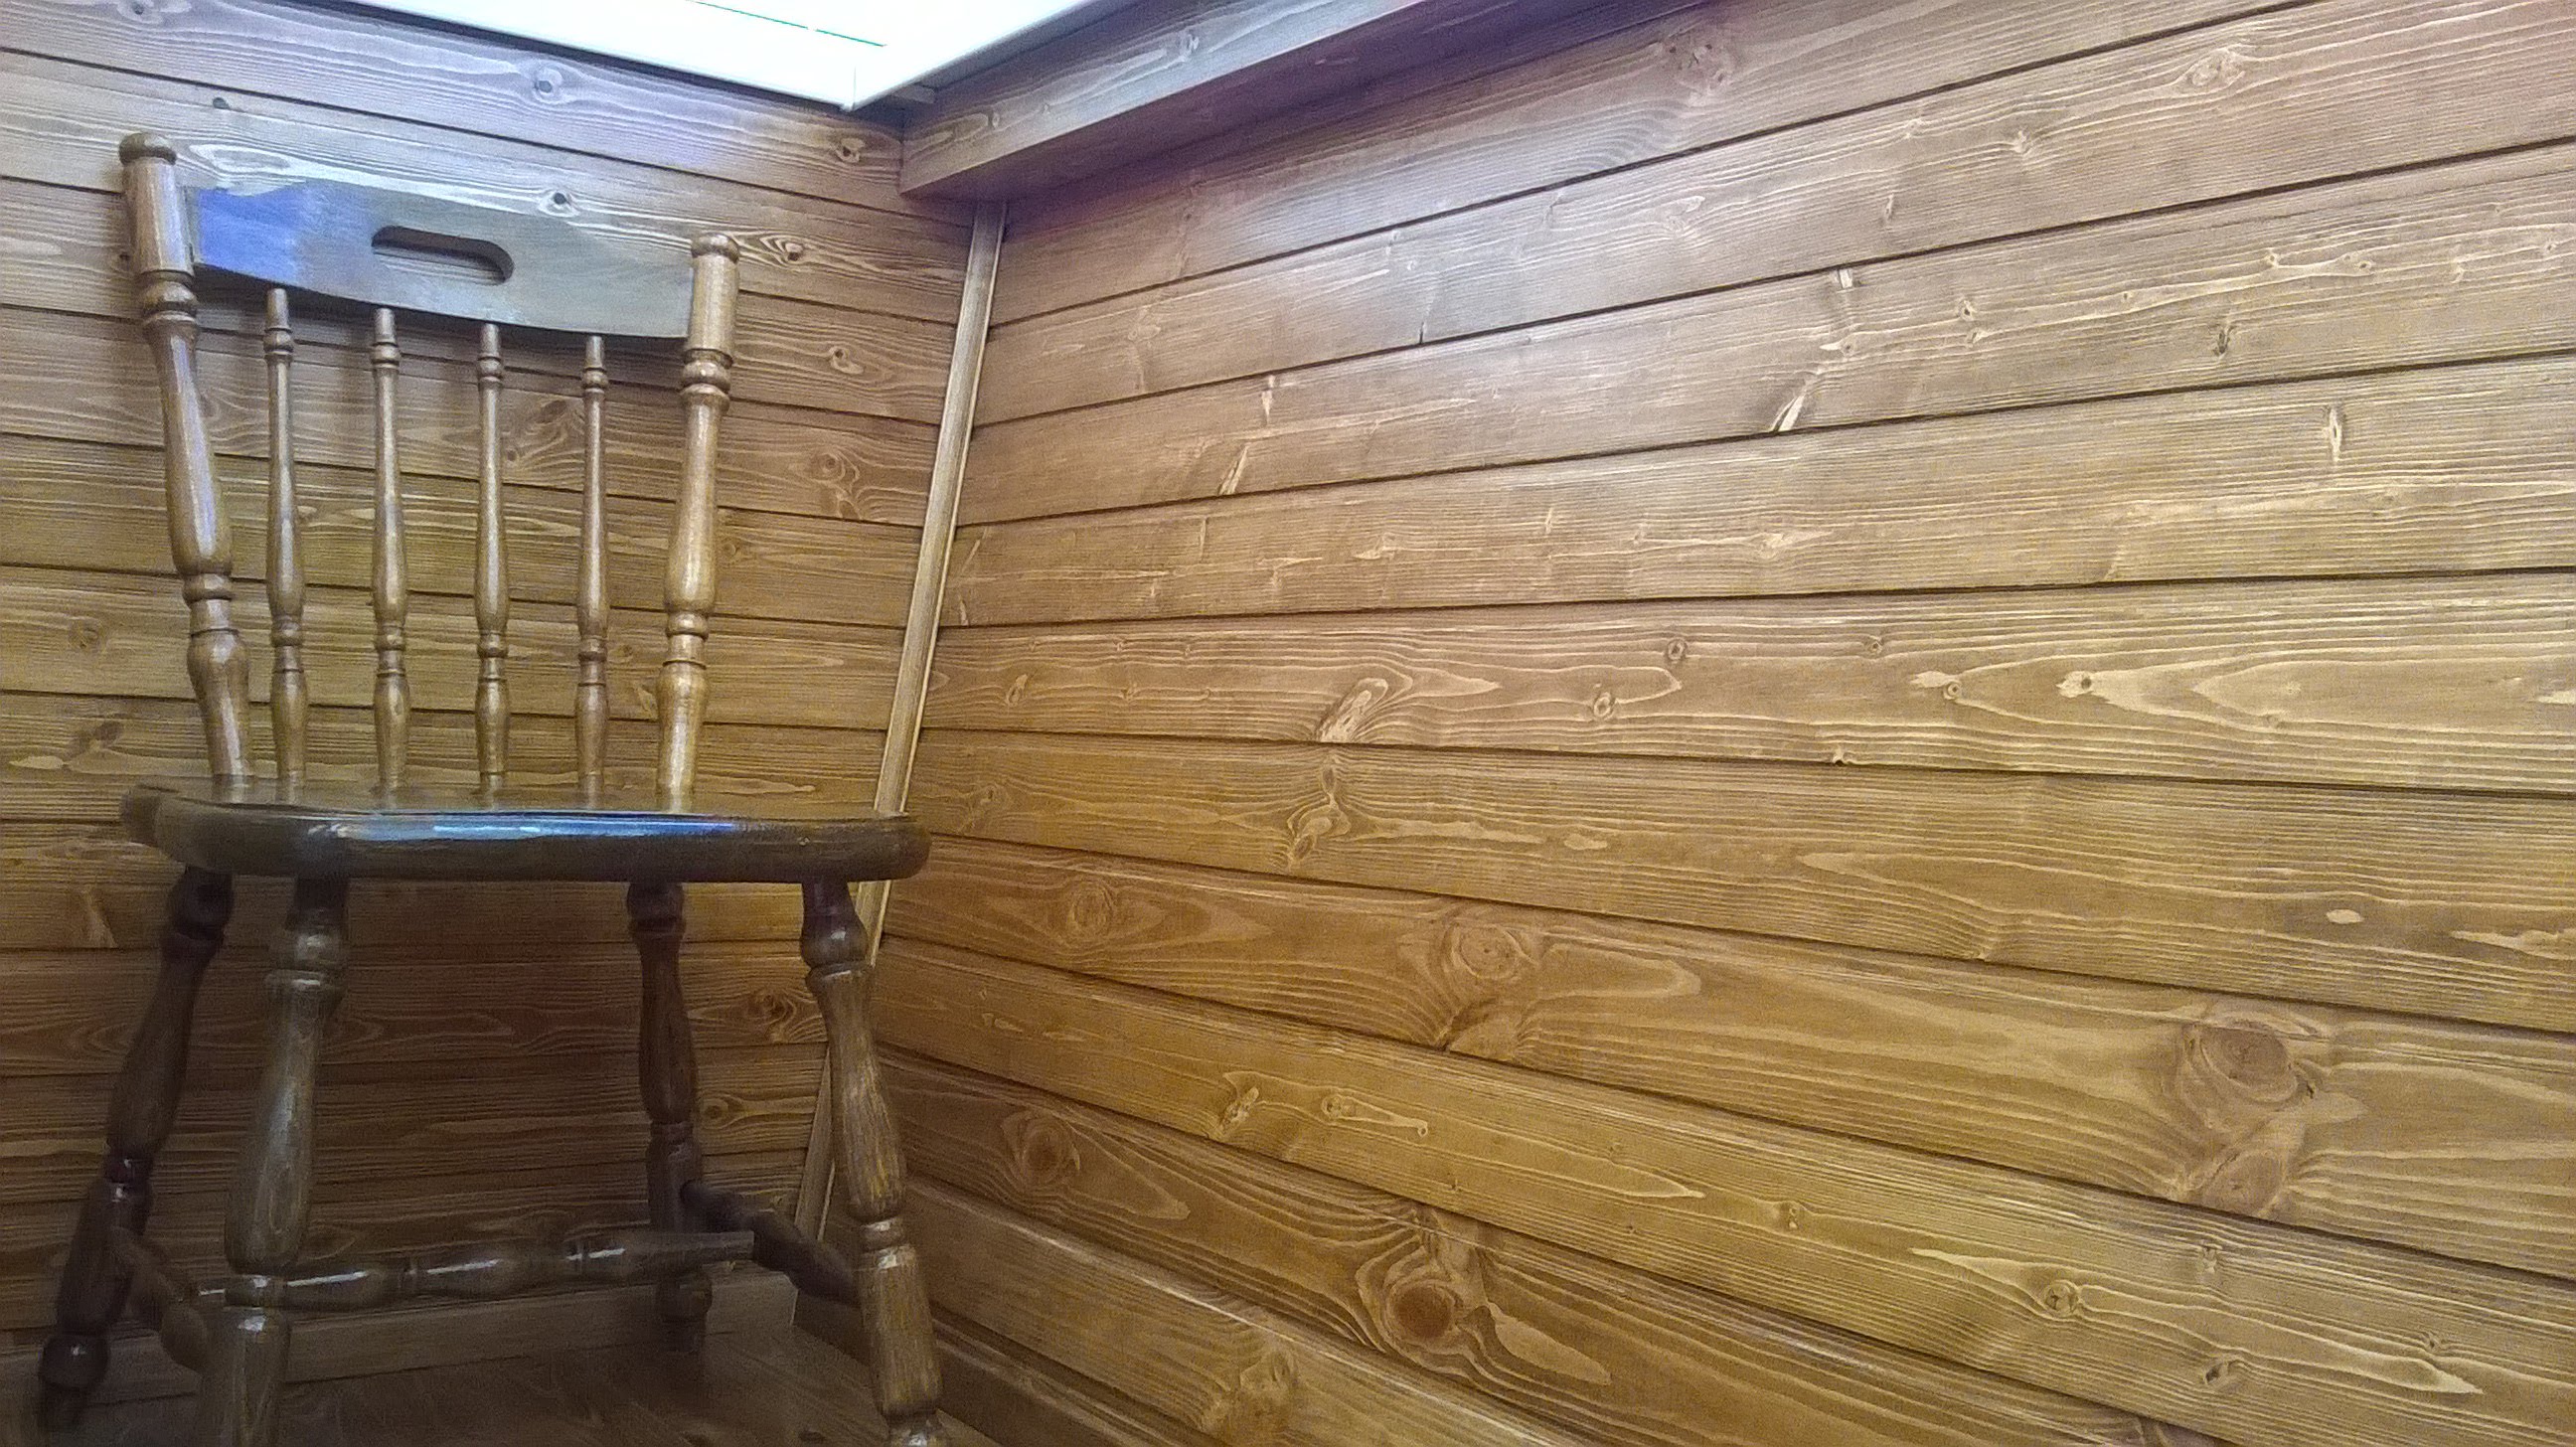
Lining is made of different wood species. They may also differ in grade and processing. All this affects the appearance of the skin and its cost. Timber gets the name of eurolining, if there are longitudinal shallow grooves on the back side of the canvas, that the tree breathed and did not change shape with time. In the past, Lining meant a higher quality of wood; today, manufacturers do not always follow this requirement.

Wood panels are made from:
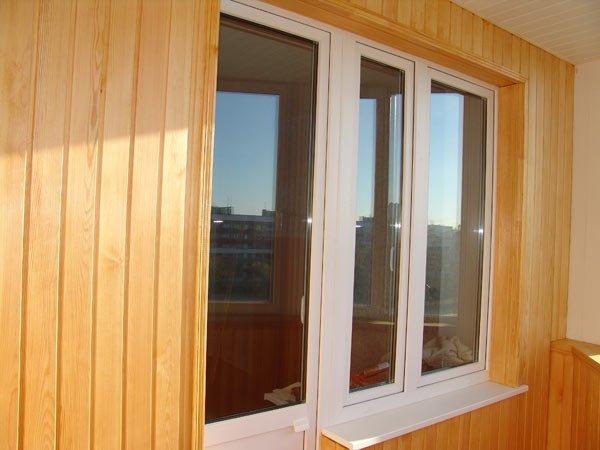
- Firs and pines - This is the most accessible materials. They are resinous, so in the heat on the walls can drop drops, but such panels are resistant to fungi and many pests. The wood of these species is considered soft: a strong mark can remain from a strong blow.
- Cedar and larch - more dense, with an interesting pattern of wood. They have less resin, so they are in great demand from conifers.
- Linden, alder, aspen - not resinous, a little harder ate and pines. They are loved for amazing shades of color. Hardwood can be selected by following your taste.
- Of course, oak - durable, solid, durable, but also more expensive.
The cost per type of wood depends on its quality - the smoother, the more expensive and higher grade. The more knots and defects, the lower the grade and cheaper. In total, there are 4 varieties:
- Extra - the purest and expensive lining;
- Elite or grade A - almost flat wood, without knots, traces and cracks (allow for 1 minor defect per 1.5 square meters);
- Grade B may have small changes in the pattern (no more than 4 knots, 2 resin formations for the same area);
- Grade C - everything else. Sometimes these slats create a special charm and originality. The main thing is that such traces are not completely black and rotten - then there is a chance that the panel will collapse further or break during installation.

When buying wooden lining, give preference to the already dried material (chamber drying means 7-10% moisture, this is normal for finishing). Wet wood can dry indefinitely, causing the panels to move, gaps and gaps appear between them.And this is unlikely to give a zest to the updated loggia.
On sale you can find lining of different sizes, but taking into account the place (we sheathe not the inner room) it is better to use the average parameters. The thickness of the lumber varies up to 25 mm, for covering the balcony to take 14-16 mm, in a relatively warm climate - 12 mm.
The width of the slat creates visual effects by increasing or decreasing the volume of the room. Narrow panels (6 cm) require more time for installation, and wide ones (15 cm) can make a small loggia quite tiny. If in doubt, purchase a 9-12 cm wide paneling, it will be comfortable to work with and pleasant to look at the result. The length of wooden panels can be up to 6 m. Lining has strict standards: length - 0.5-6 m, width - 8, 10. 11, 12 cm, thickness 13, 16, 19 mm.
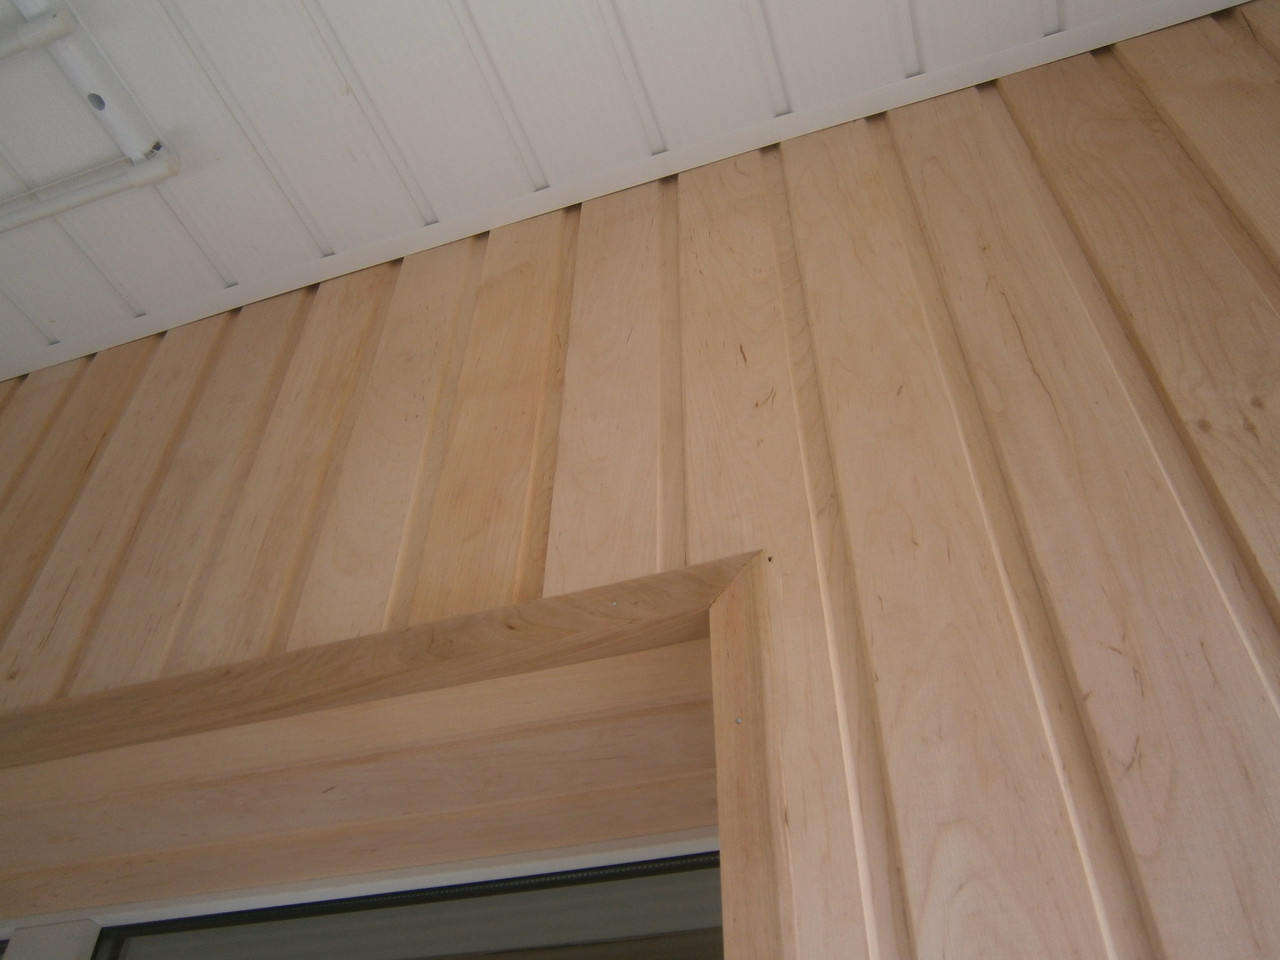
Plank Profiles
The external cut of the panel (face, front side) can create a perfectly flat surface with a woody pattern or have the relief needed to create a certain atmosphere and spatial effect.. The most popular are such:
- Standard - almost flat panel, sides are angled;

- Softline - version of the standard, where the corners are slightly rounded, the wood looks a little softer;
- American - the panel itself is sawn at an angle (different thickness of the plank from the sides), the surface will be ribbed, with clear lines;
- Landhouse - flat width with grooves on the outside to enhance the pattern and geometry of the space;
- Block house - the face of the panel is rounded, it is a relief imitation of a bar.
You can always find interesting options, even make an order for a batch of unusual or non-standard profiles, if you want something unusual. Remember that for an exclusive you will need to pay more.
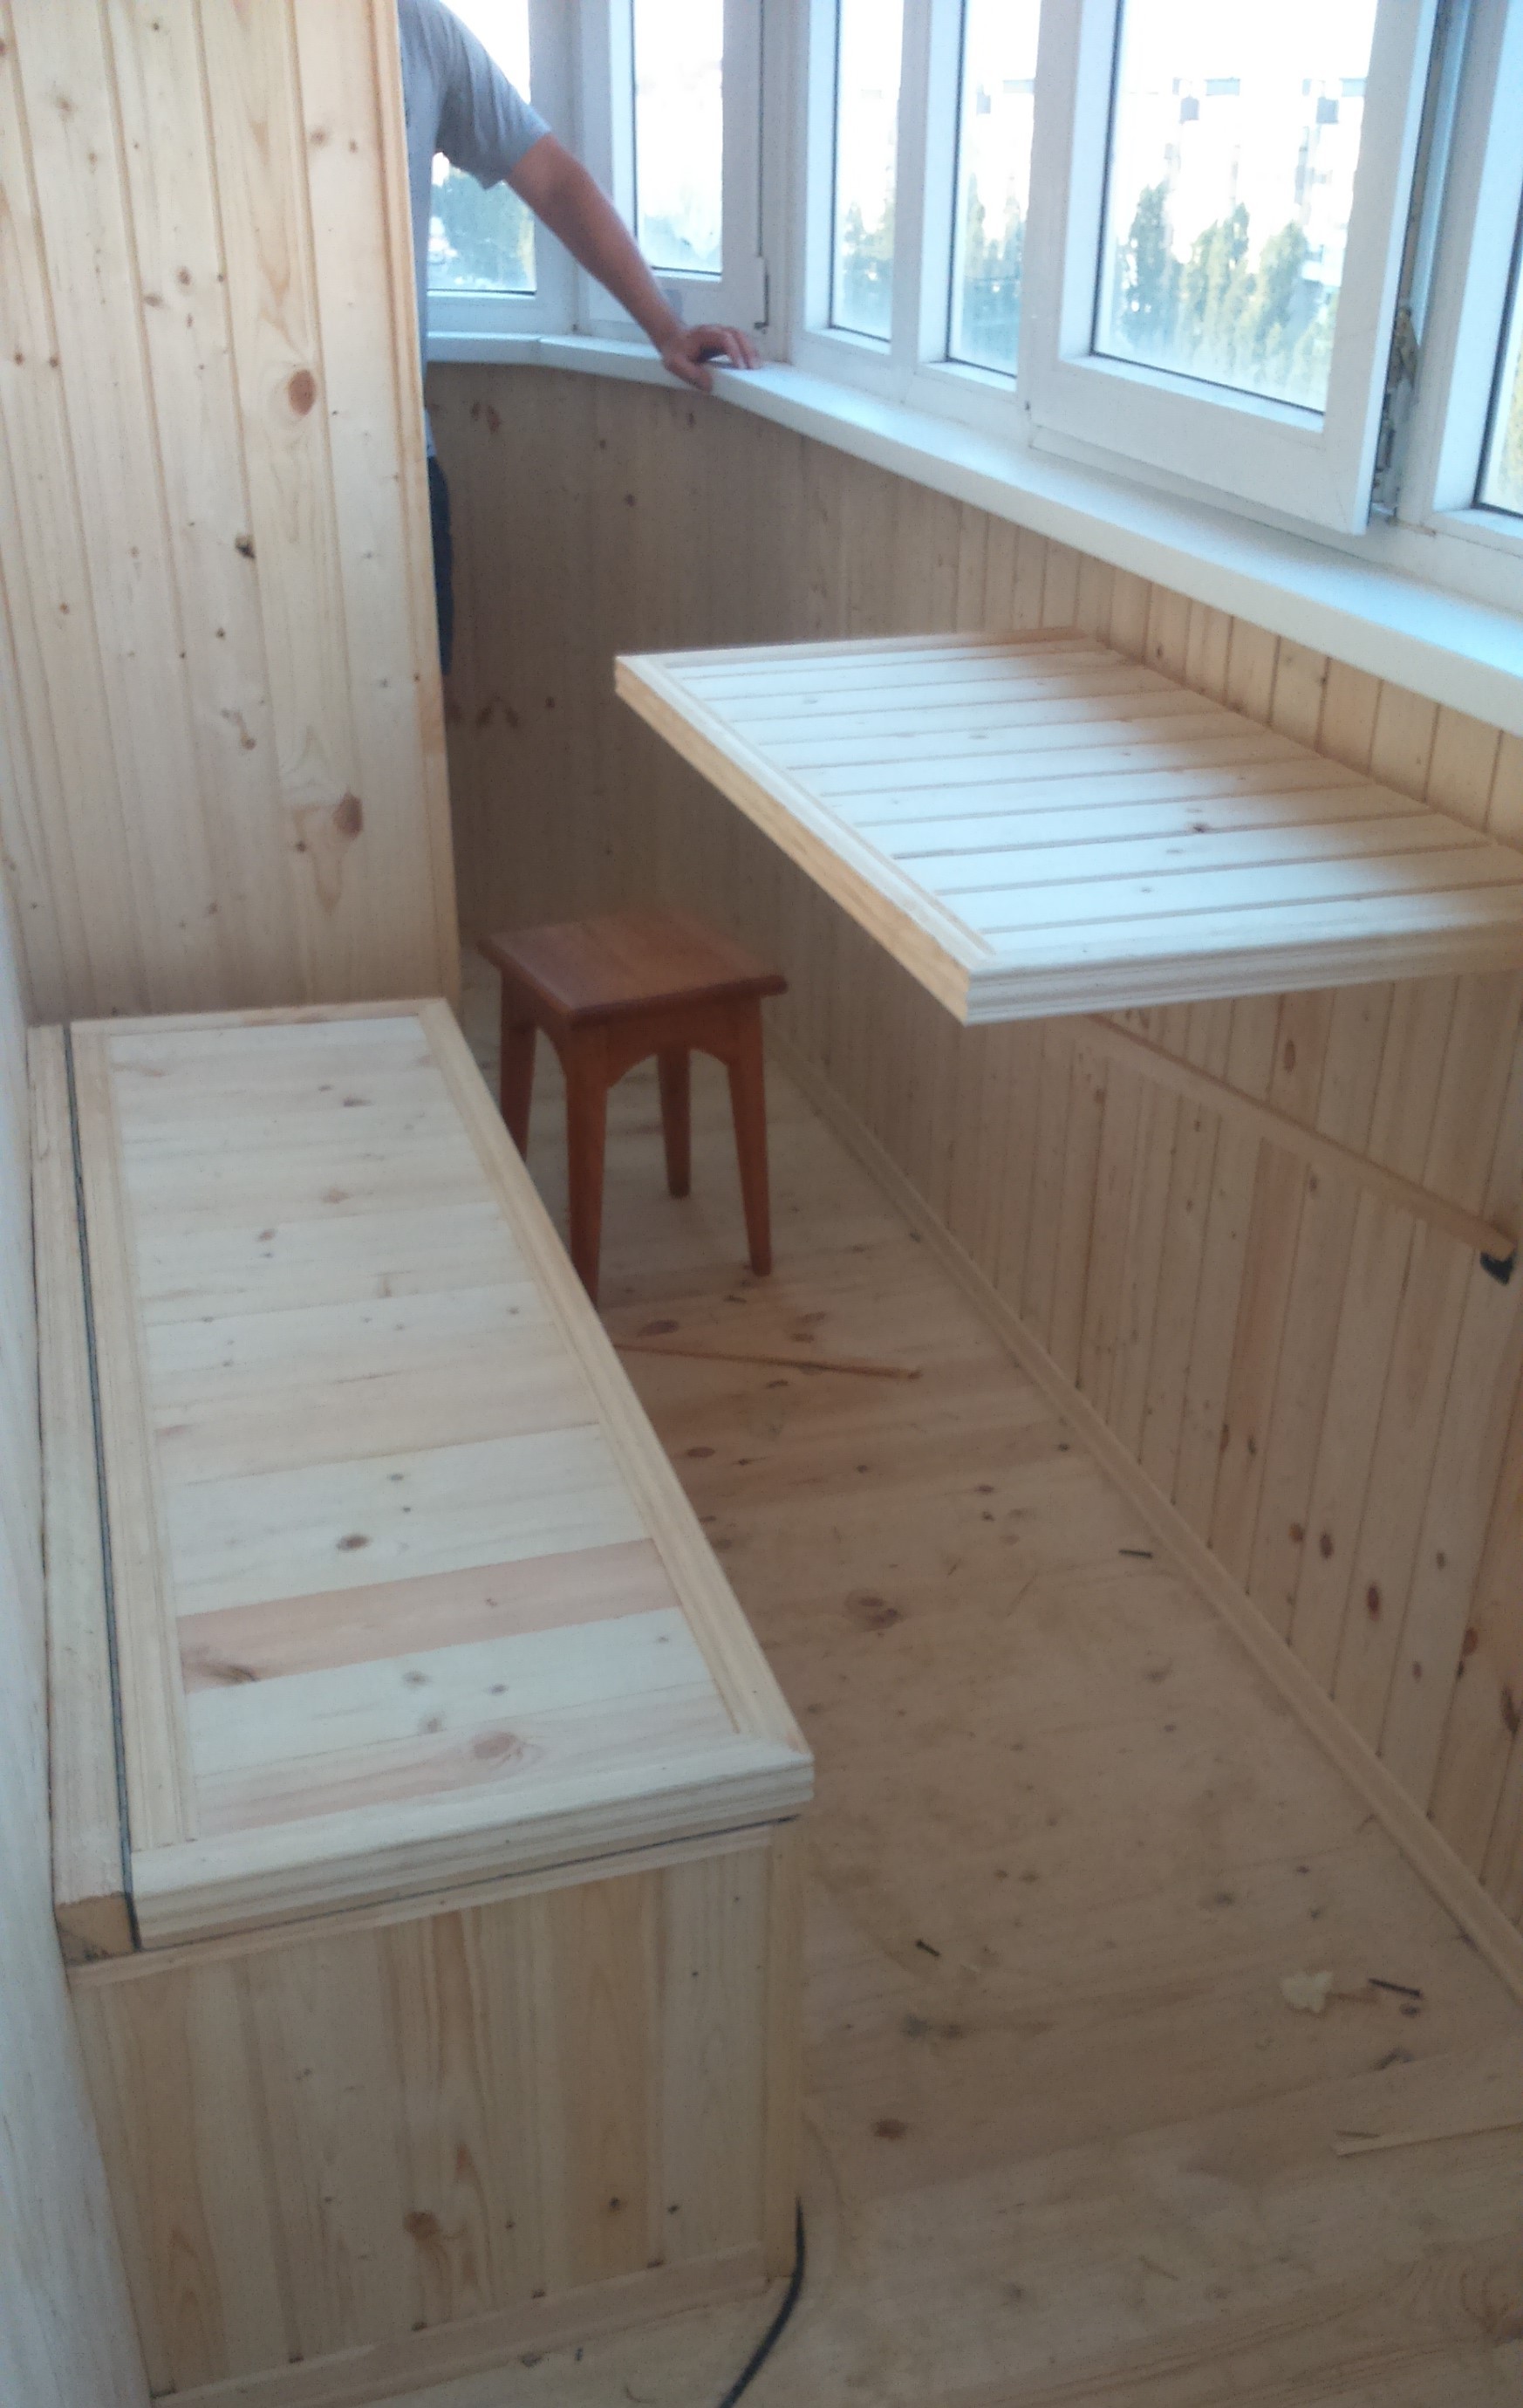
How to sheathe your own hands?
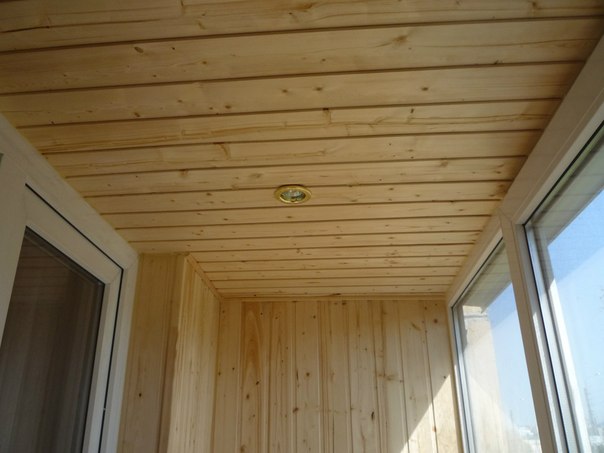
After the choice of lining, the work itself begins: preparation of the room, insulation and lathing, installation of plating, processing of lining. It is assumed that the glazing of the balcony has already been completed. It is important to perform the steps consistently and carefully. This will make loggia repair simpler, better and more durable.
How to calculate the amount of material?
To do this, measure the area of the room, subtract the area of the window and door openings. Add 10% for scrap and joints, and then divide the resulting area by the area of one panel. So you will know the number of bars required for plating.If the room has a complex geometry, then count the area of its parts. A similar calculation you will do in the store or on the manufacturer's website lining.
The consumption of the bars for the lathing is calculated separately for the ceiling, the floor and each wall: between the slats should be 0.6 m, by this value we divide the height of the wall and multiply the length. Then we sum up all the numbers and get the total footage for the batten. This calculation is performed in meters.
You will save time if you immediately take other consumables (antiseptic primer, varnish, insulation, film for isolation from moisture, putty and foam for installation, liquid nails, clamps or screws, nails with a hat 3cm, plinth).
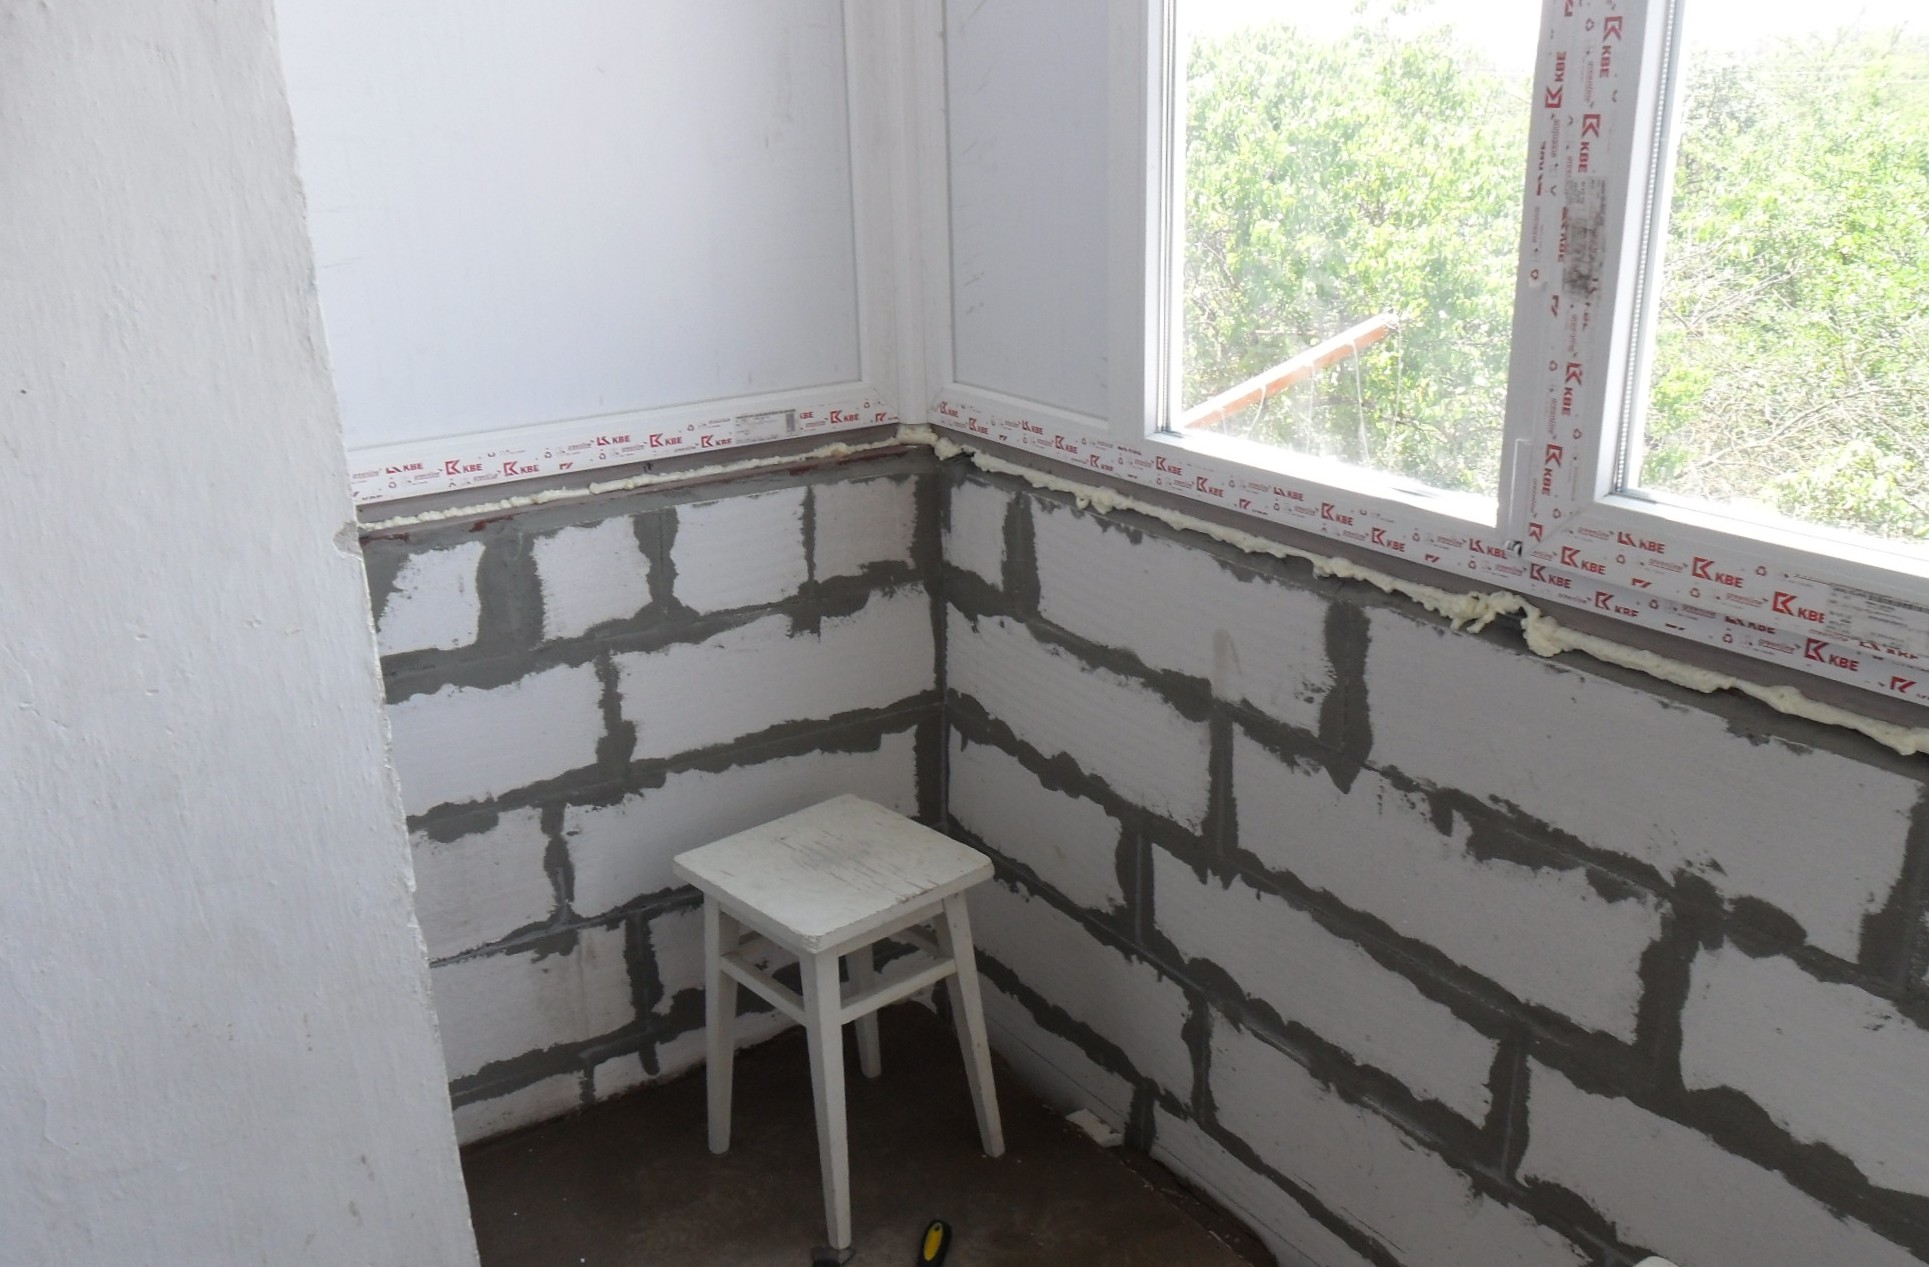
Room preparation
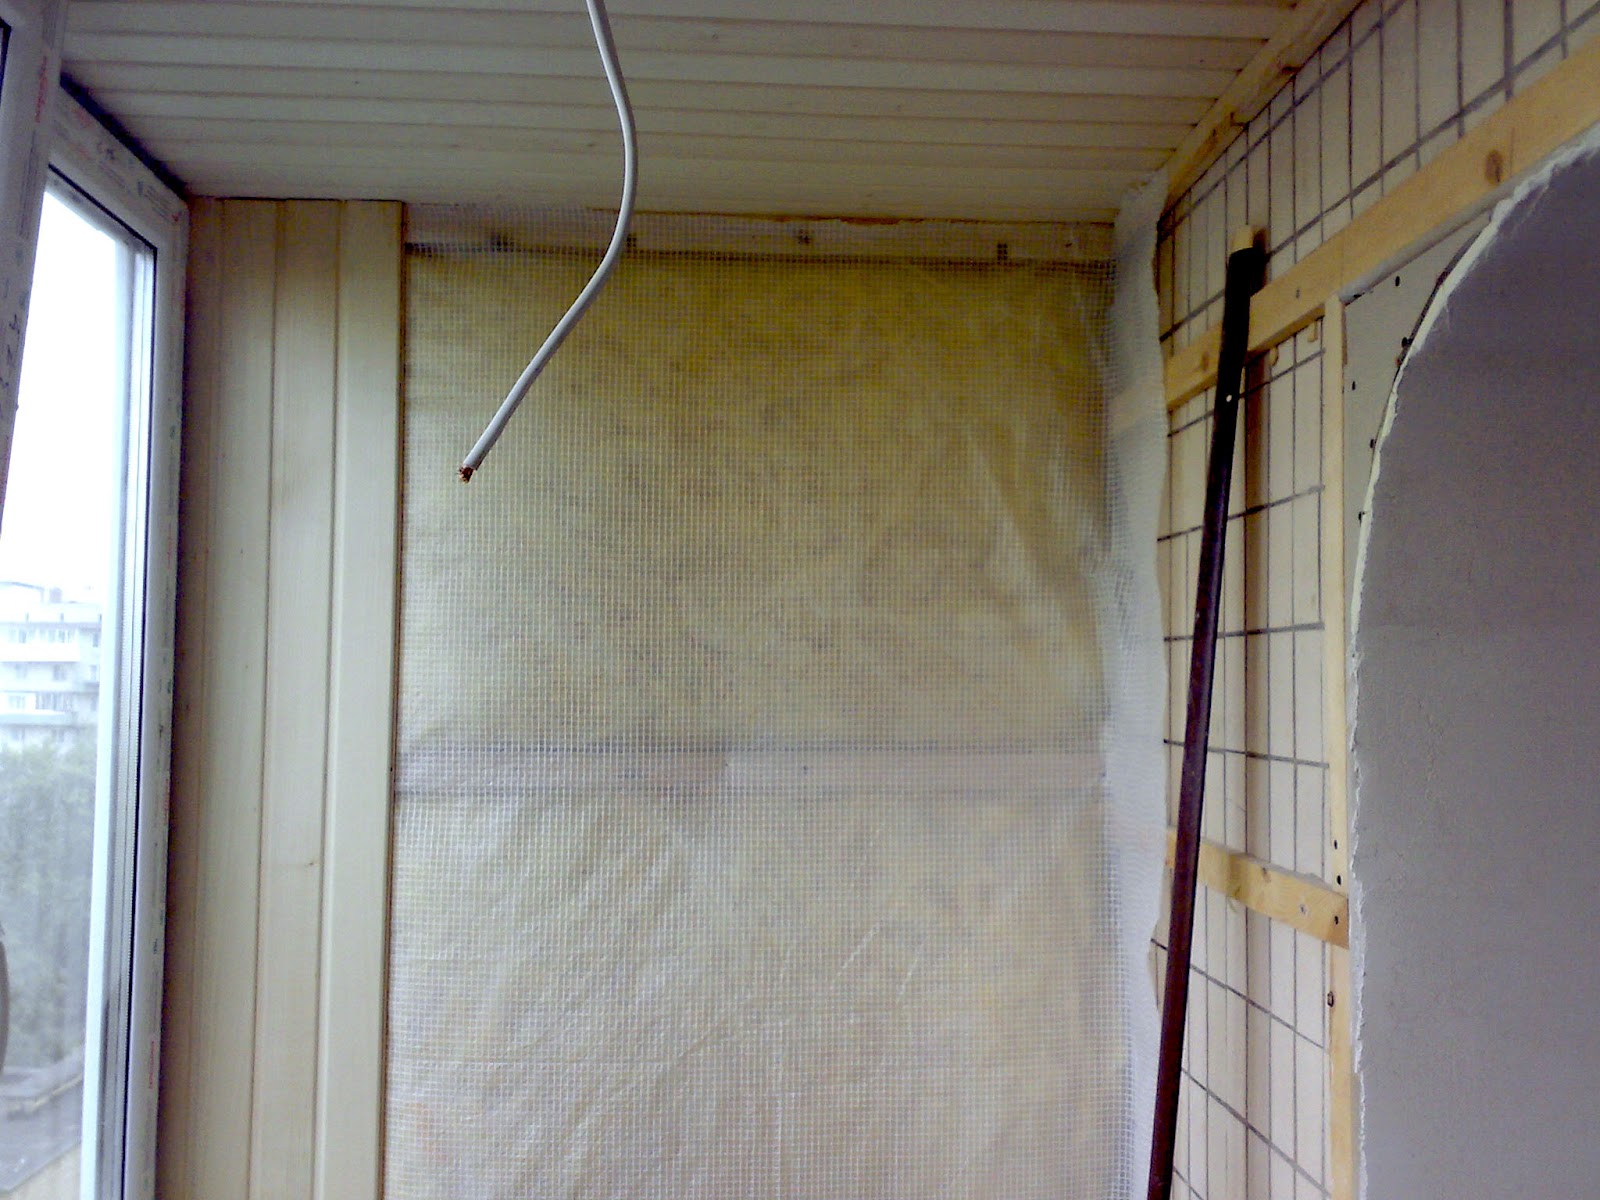
In order for the panels to last a long time, you need to clean all surfaces from the old, dilapidated coating (paints, plaster, tiles, other finishes). Cracks and cavities should be repaired or zapoenit, the protrusions should be repulsed. After that, check the level, with significant differences leveling putty. After surface cleaning, remove debris and prime the entire loggia (ceiling, walls, floor) with an antiseptic composition to avoid mold and mildew, the wooden parts must also be treated with an antiseptic. When the composition is dry, you can proceed to the next stage.

The choice of insulation
You can not warm the balcony, then the air temperature will be the same as on the street. For a tree it is better to do insulation - drops will be less abrupt, less contact with moisture and better protection. The crate will be needed in any case, but during the thermal insulation it will be necessary to take into account the thickness of this layer, the characteristics of the material. What is insulated loggia?
- Styrofoam - easy, inexpensive, functional. The disadvantages include the formation of toxic fumes during combustion, the creation of the greenhouse effect (does not hold moisture).
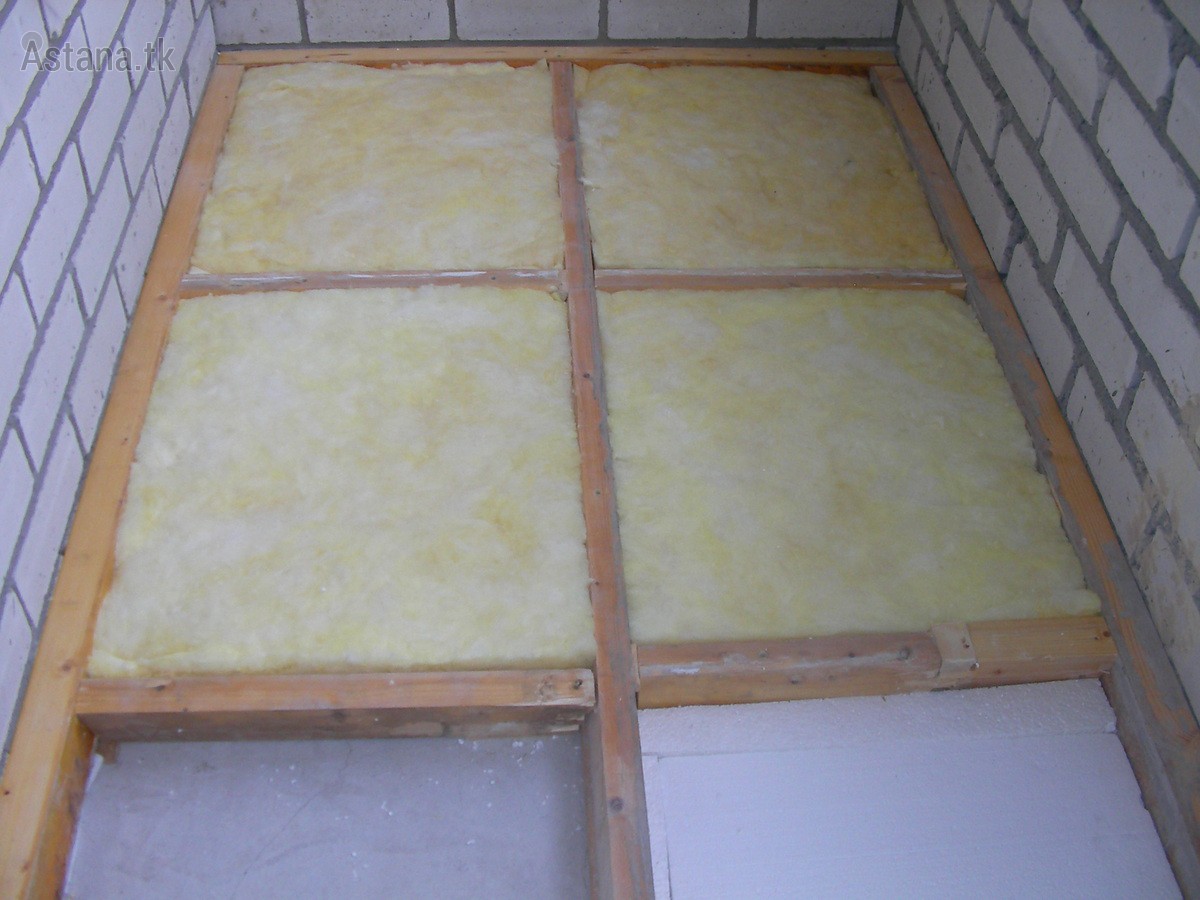
- Mineral blocks - it is mineral wool, fiberglass or slag stones. Give high-quality insulation. The work praises slag and stone products, glass wool has its own nuances. Does not emit harmful substances when burning mineral wool, it is somewhat more expensive. The peculiarity of minerals to retain moisture forces the plates to be well isolated from other surfaces.
- EPSI (Extruded Polystyrene Foam) - modern material, creates noise and heat insulation. Unusually fits, so there are no gaps between the plates. It is higher in cost, needs ventilation, but is in demand in a professional environment for its technical characteristics.

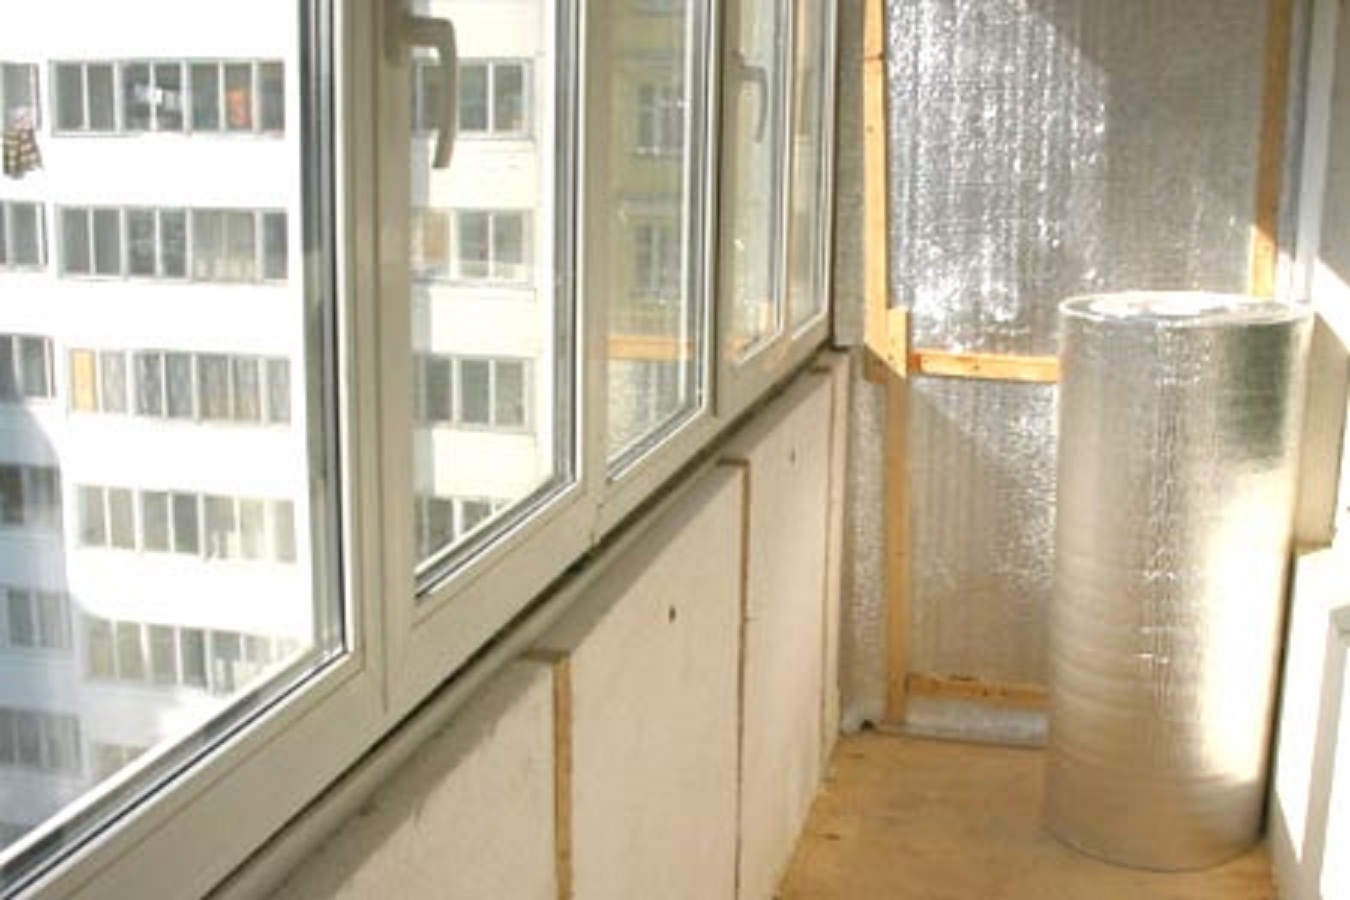
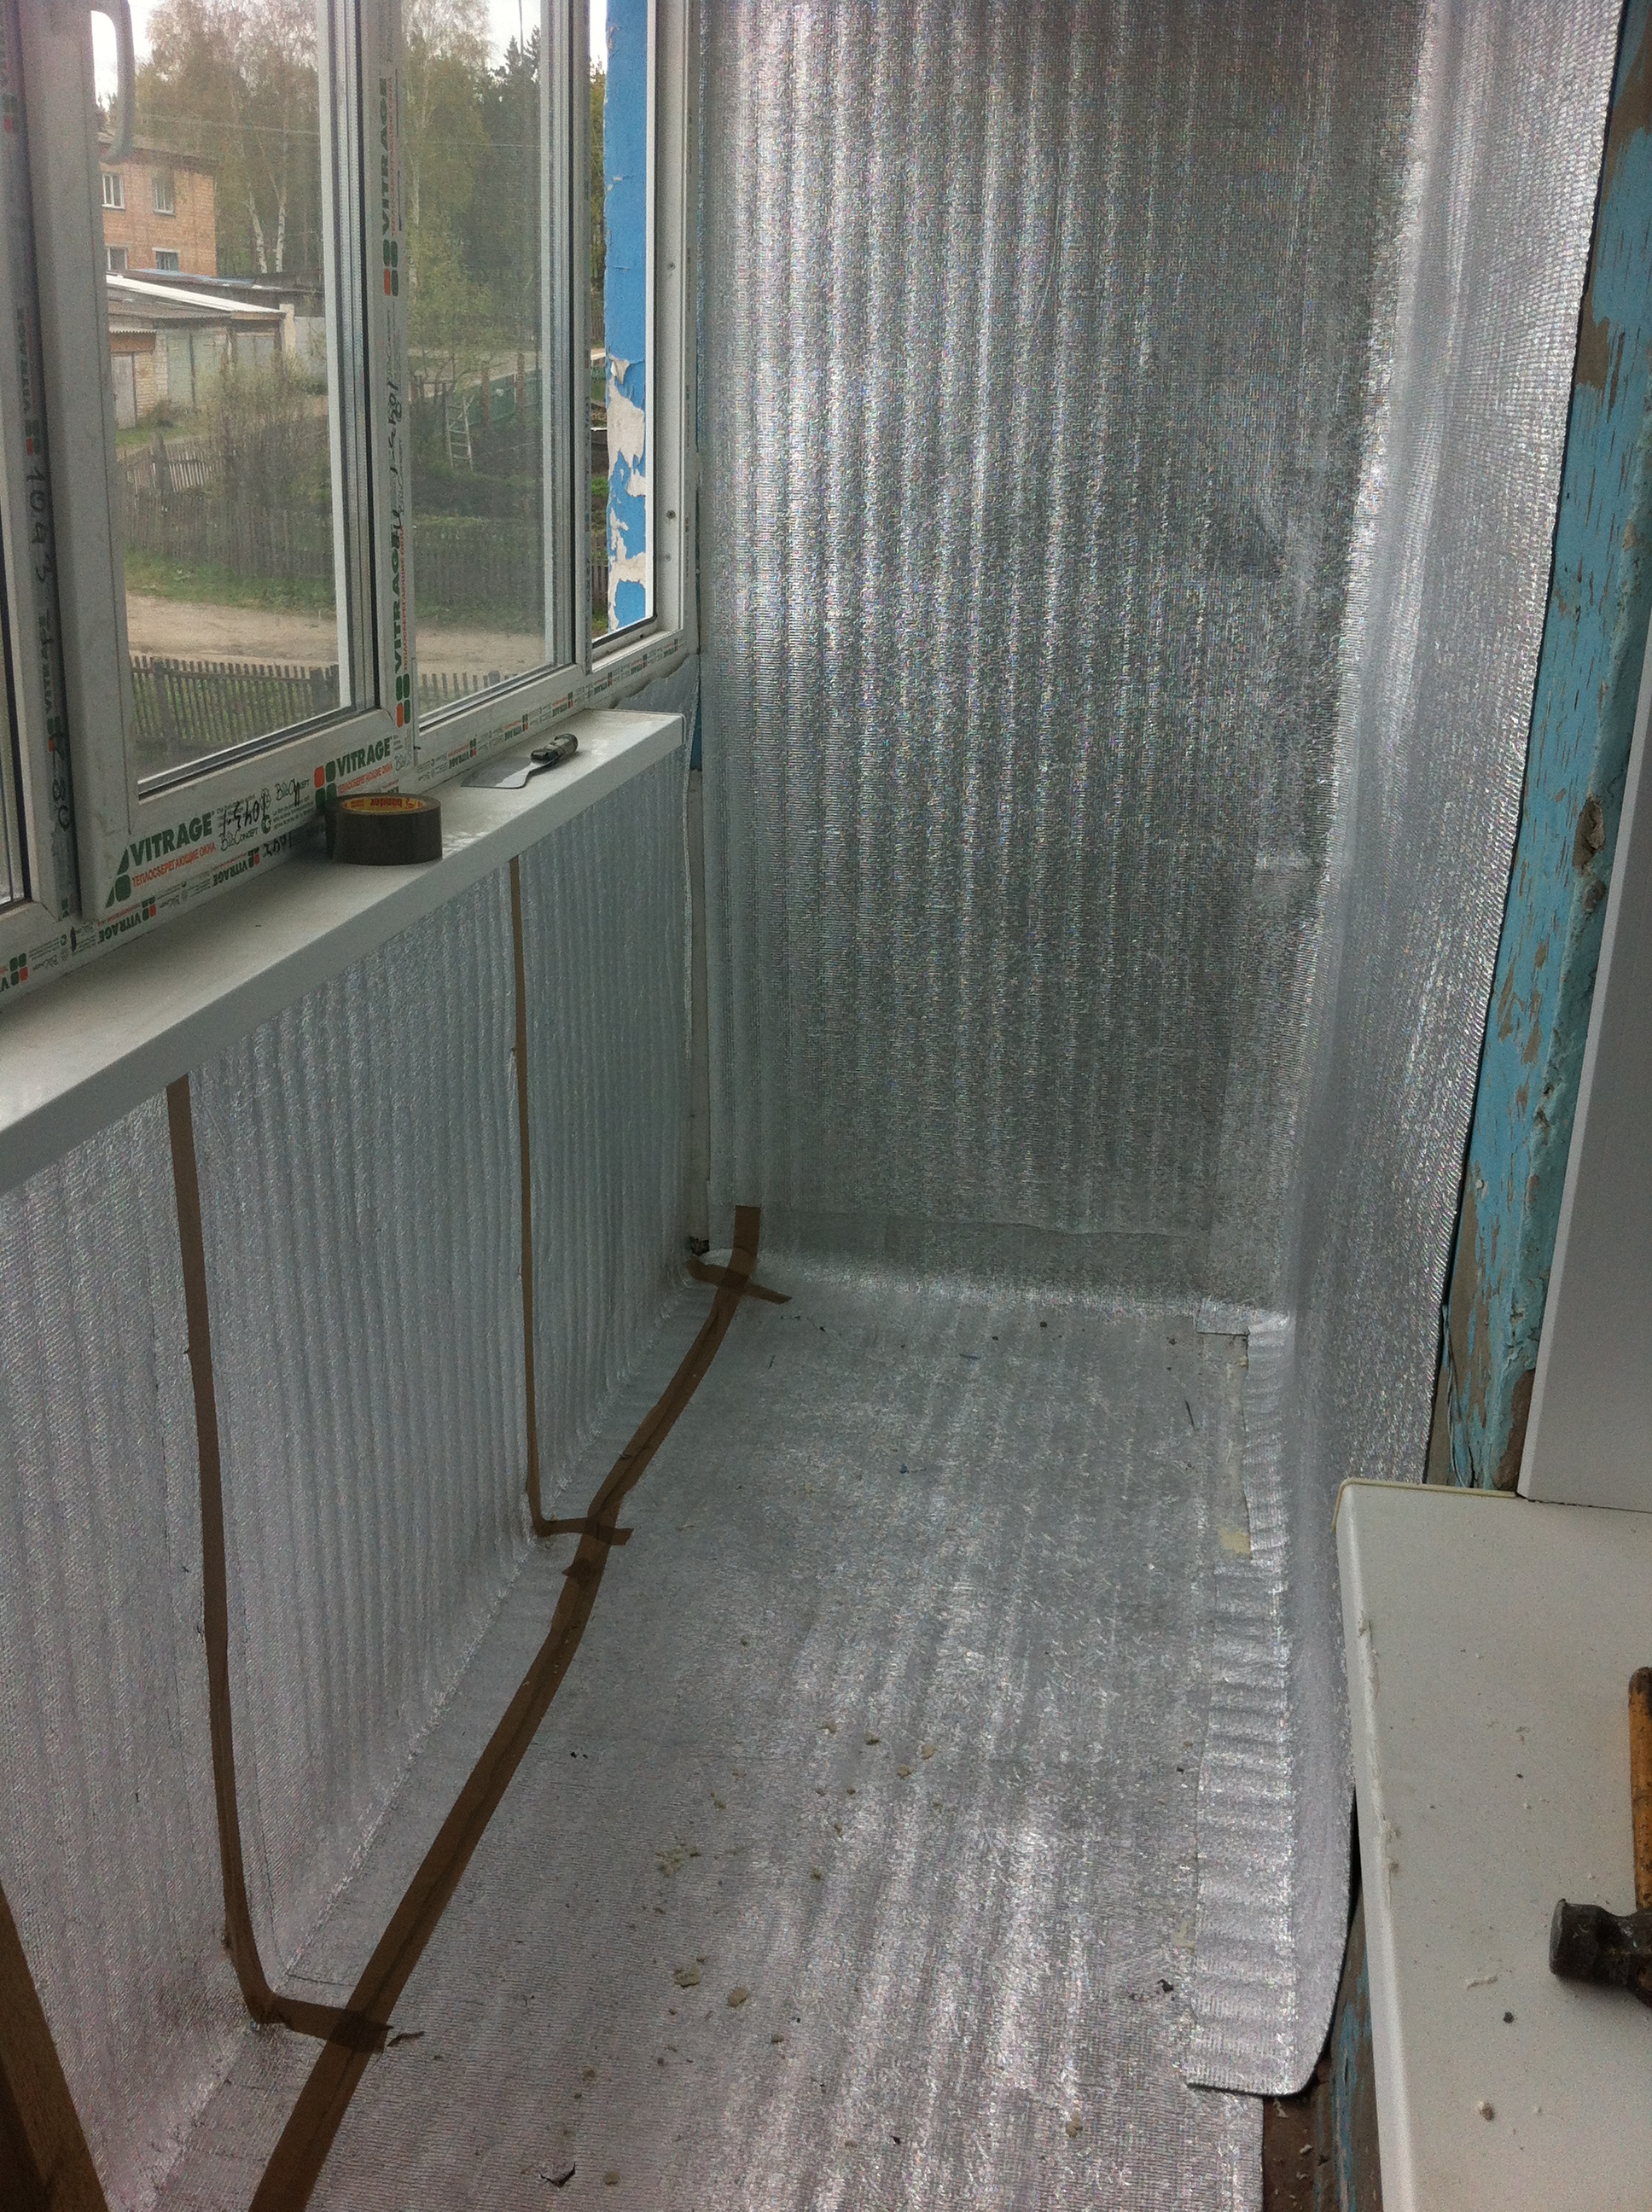
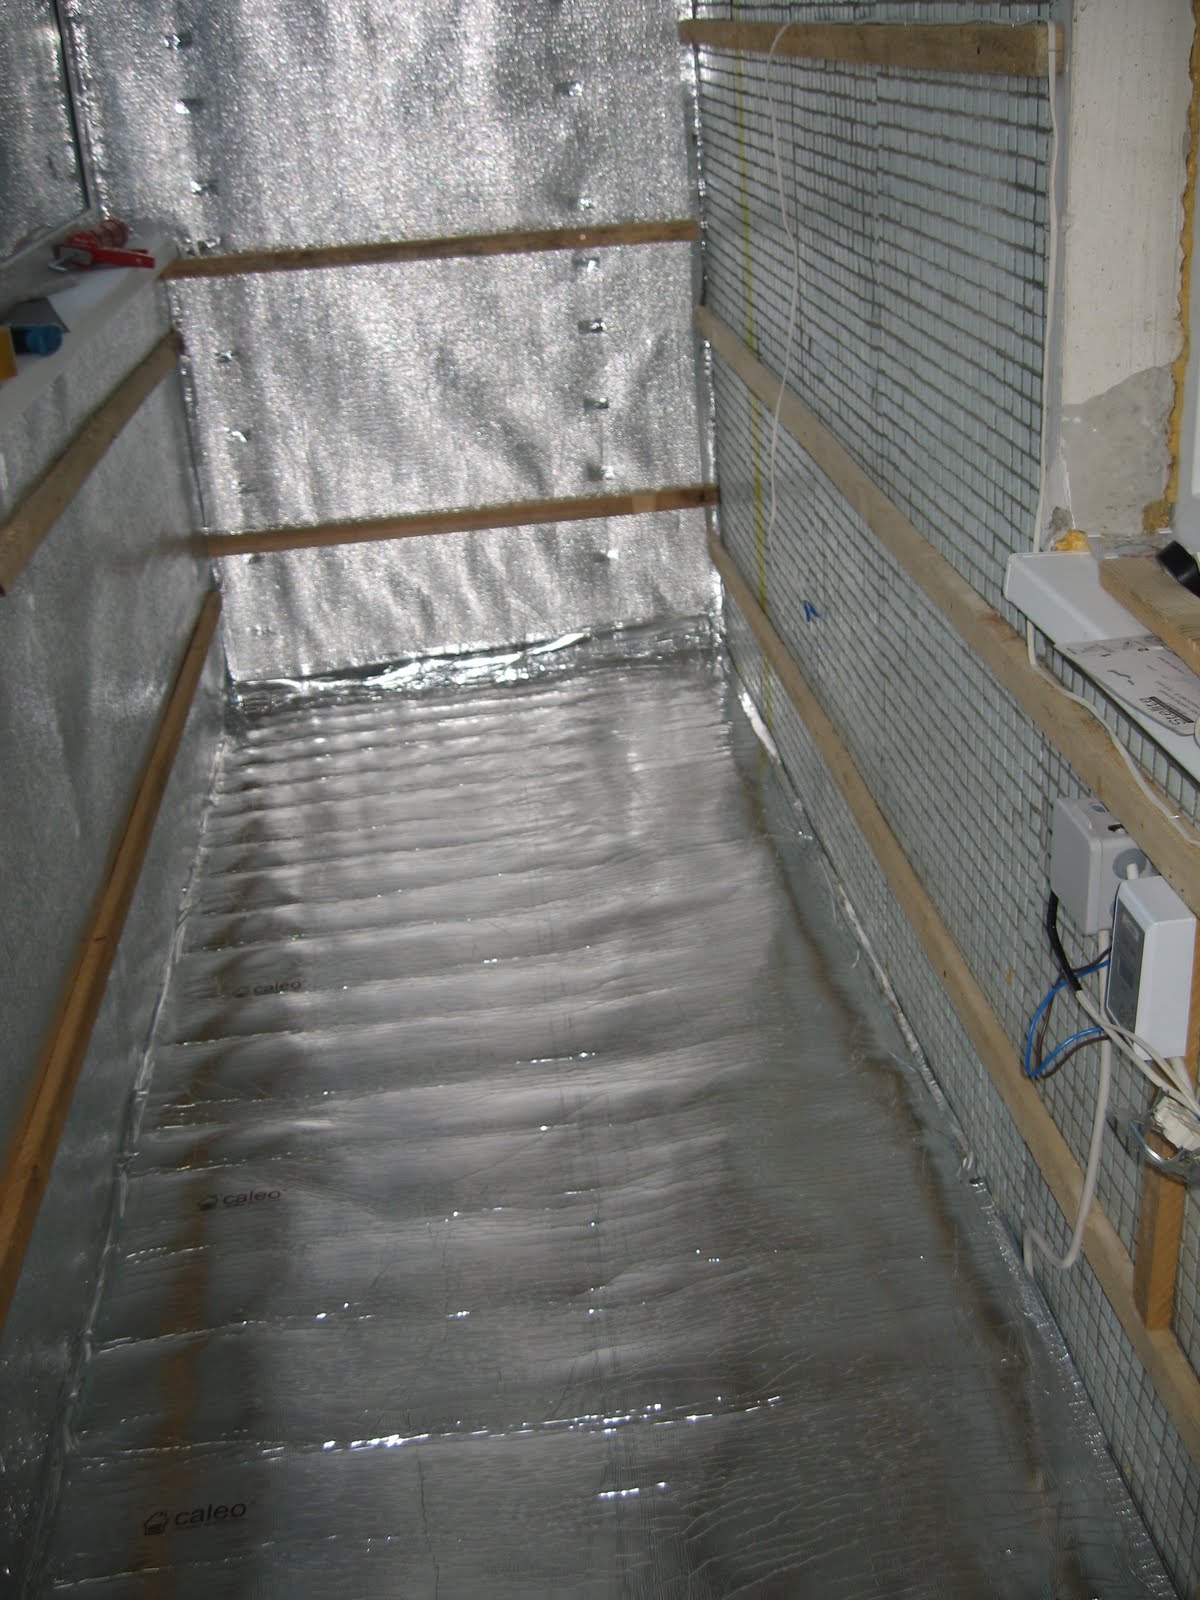
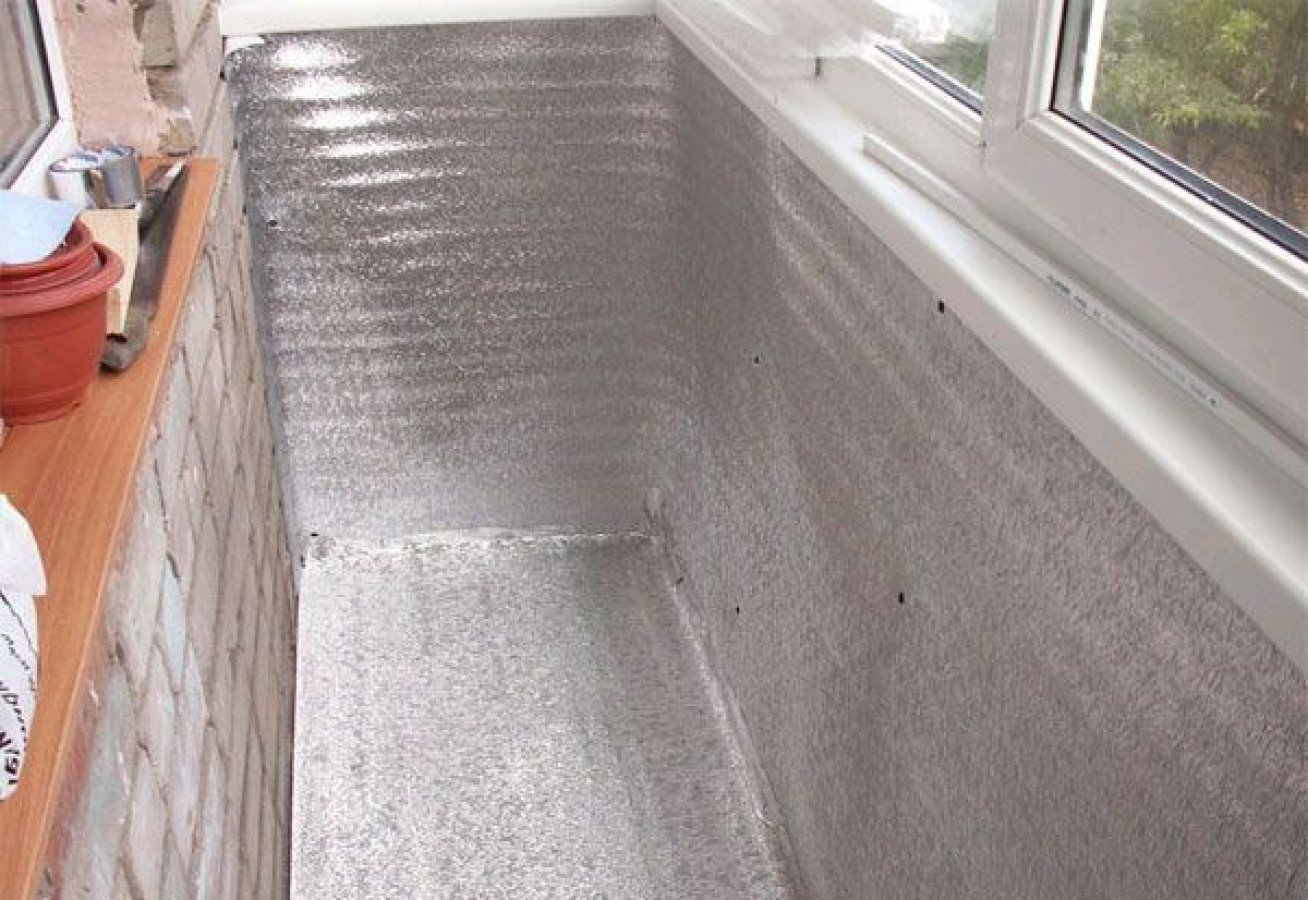
- Foiled polyethylene foam It is used for thermal insulation only in warm climates, however, it does not let moisture through, therefore it is used as a protective film and additional material for thermal insulation of mineral wool.
- Foam glass - Another modern and natural insulation. From the pros: not combustible, light, withstands huge temperature fluctuations, easy to install. Cons: price. The best characteristics are from European manufacturers, but the cost will be high, Belarusian companies have more affordable options with acceptable quality. But Chinese products are better not to take.
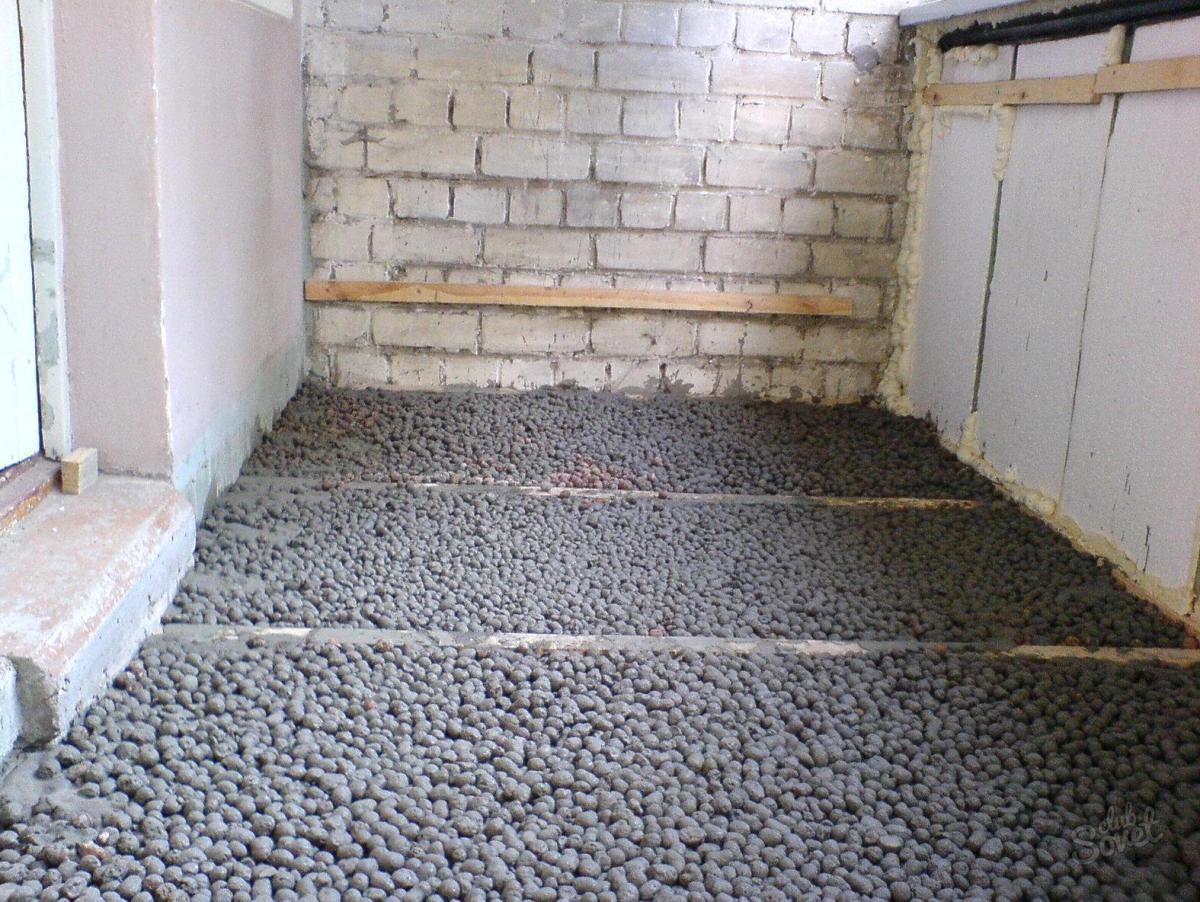
All these materials can be used for insulation and walls, and floor, and ceiling.
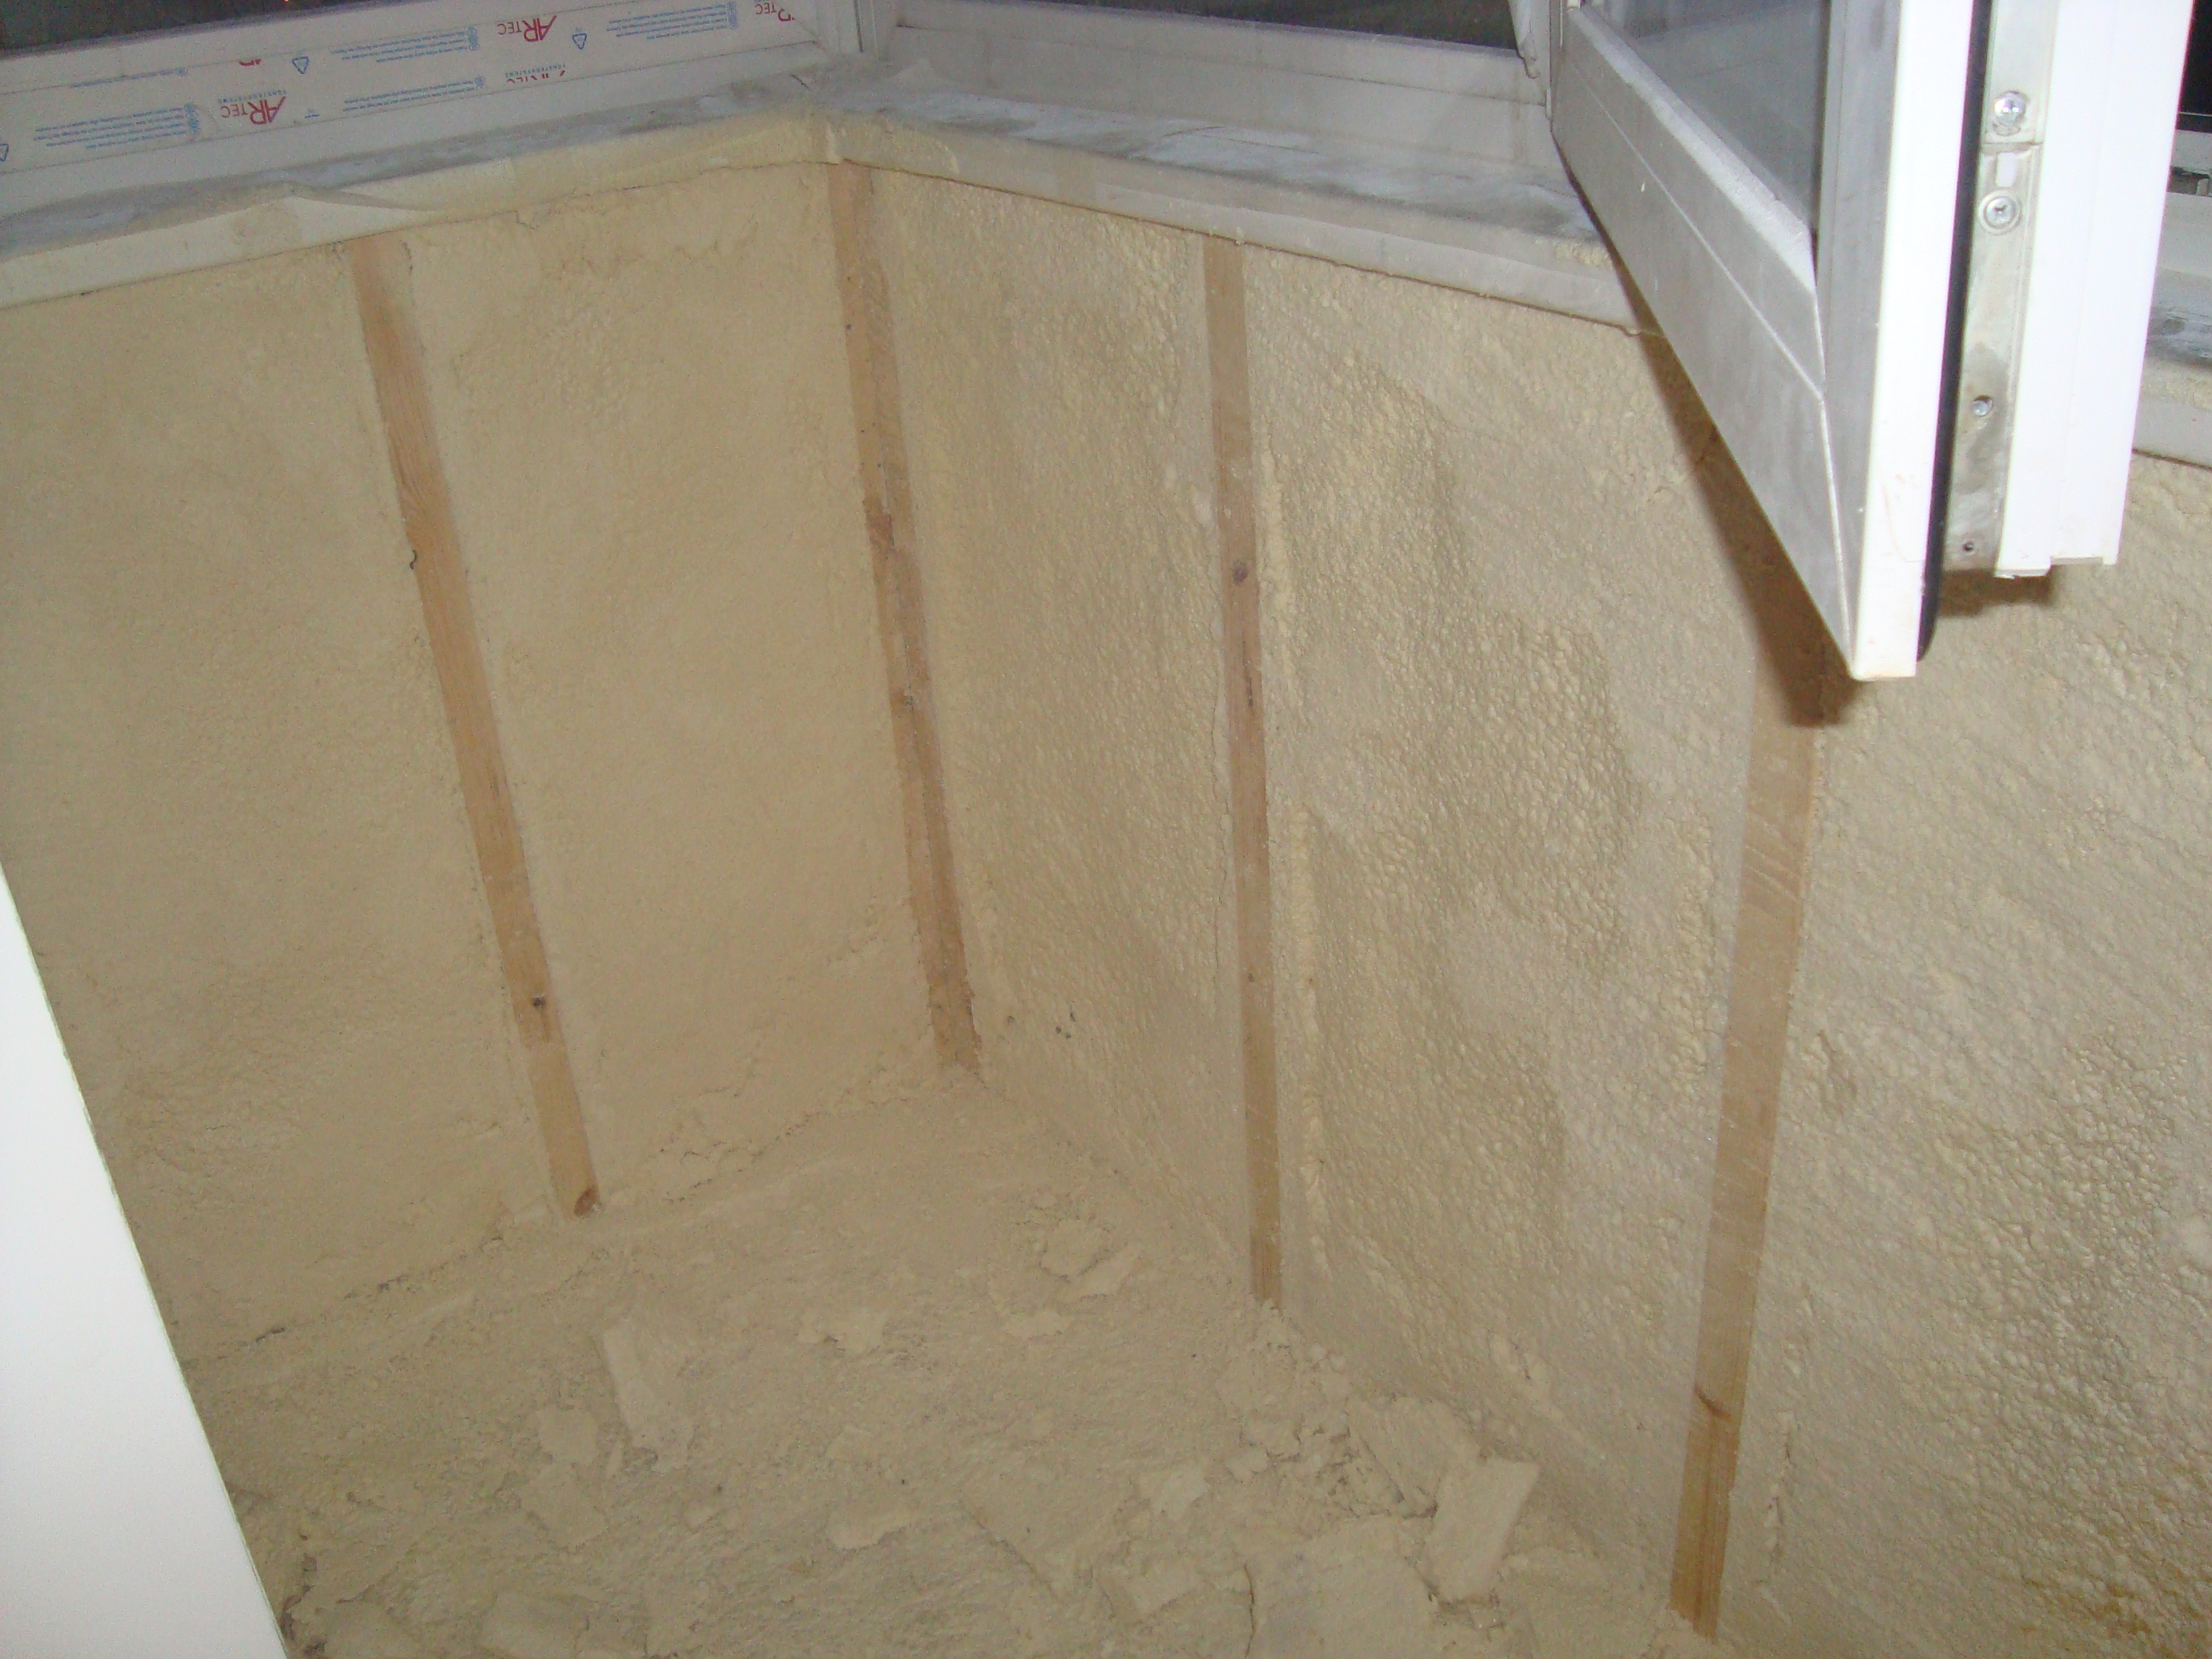
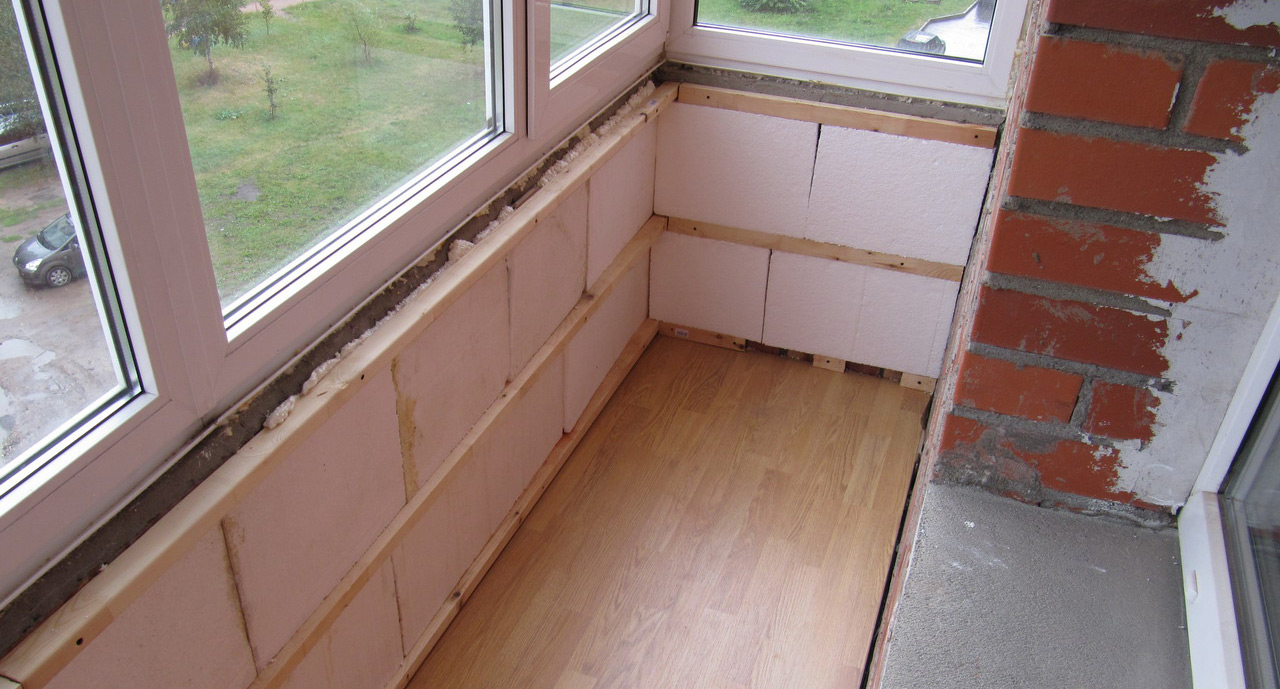
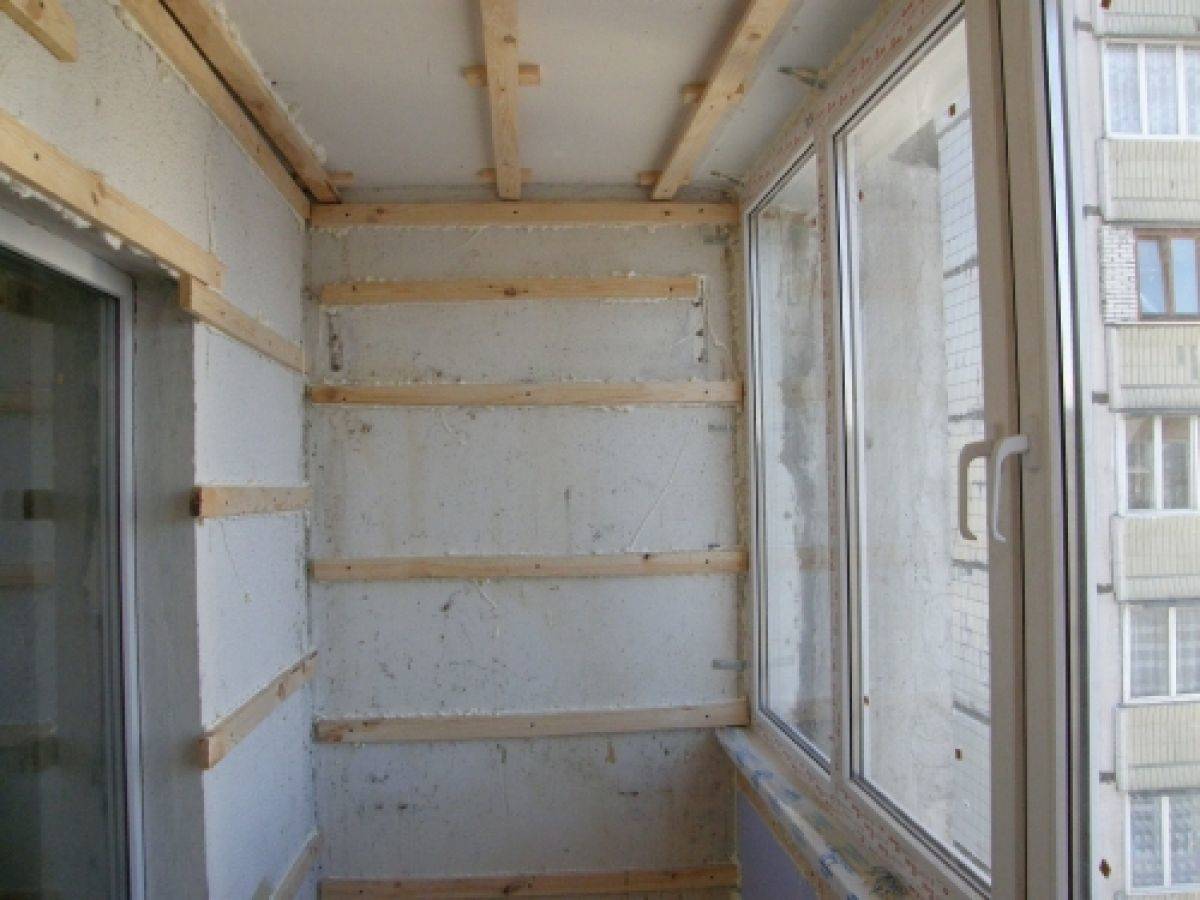
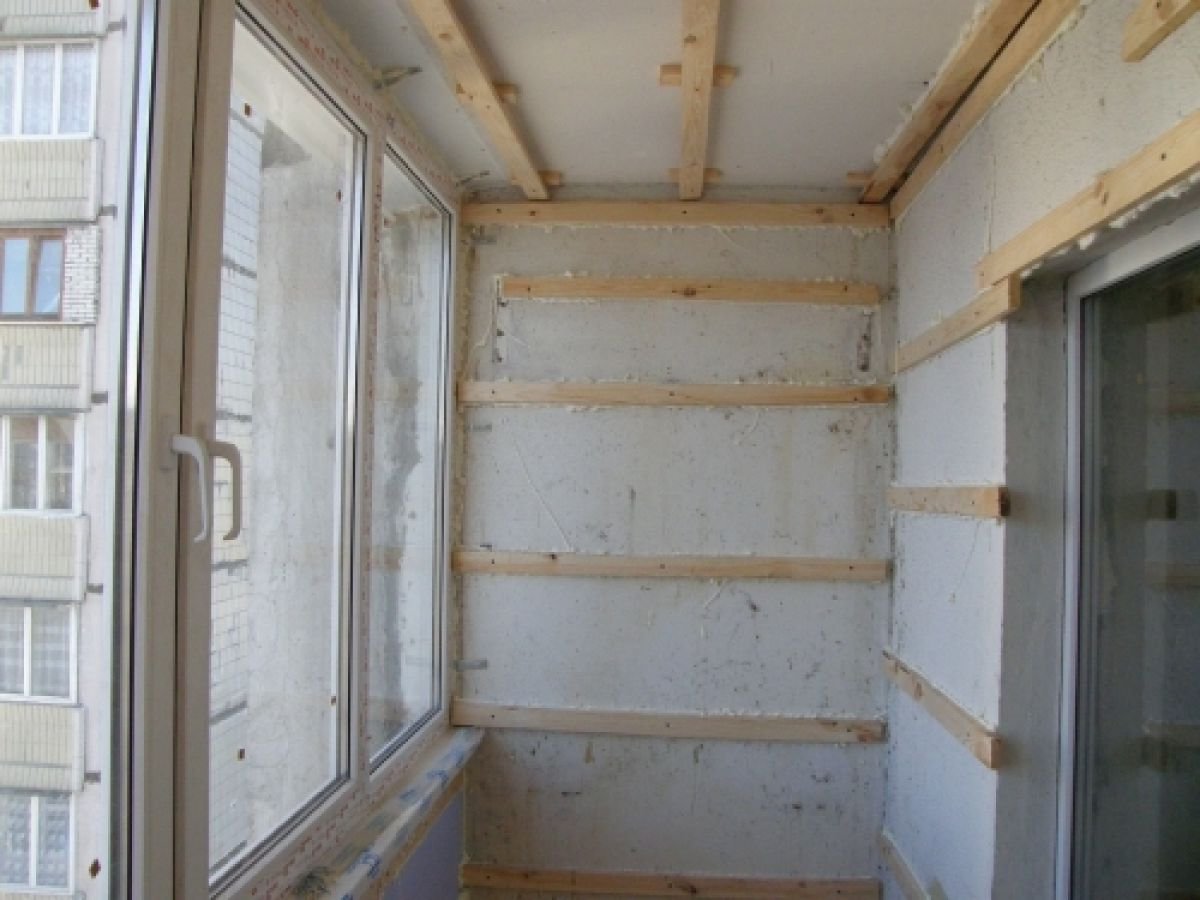
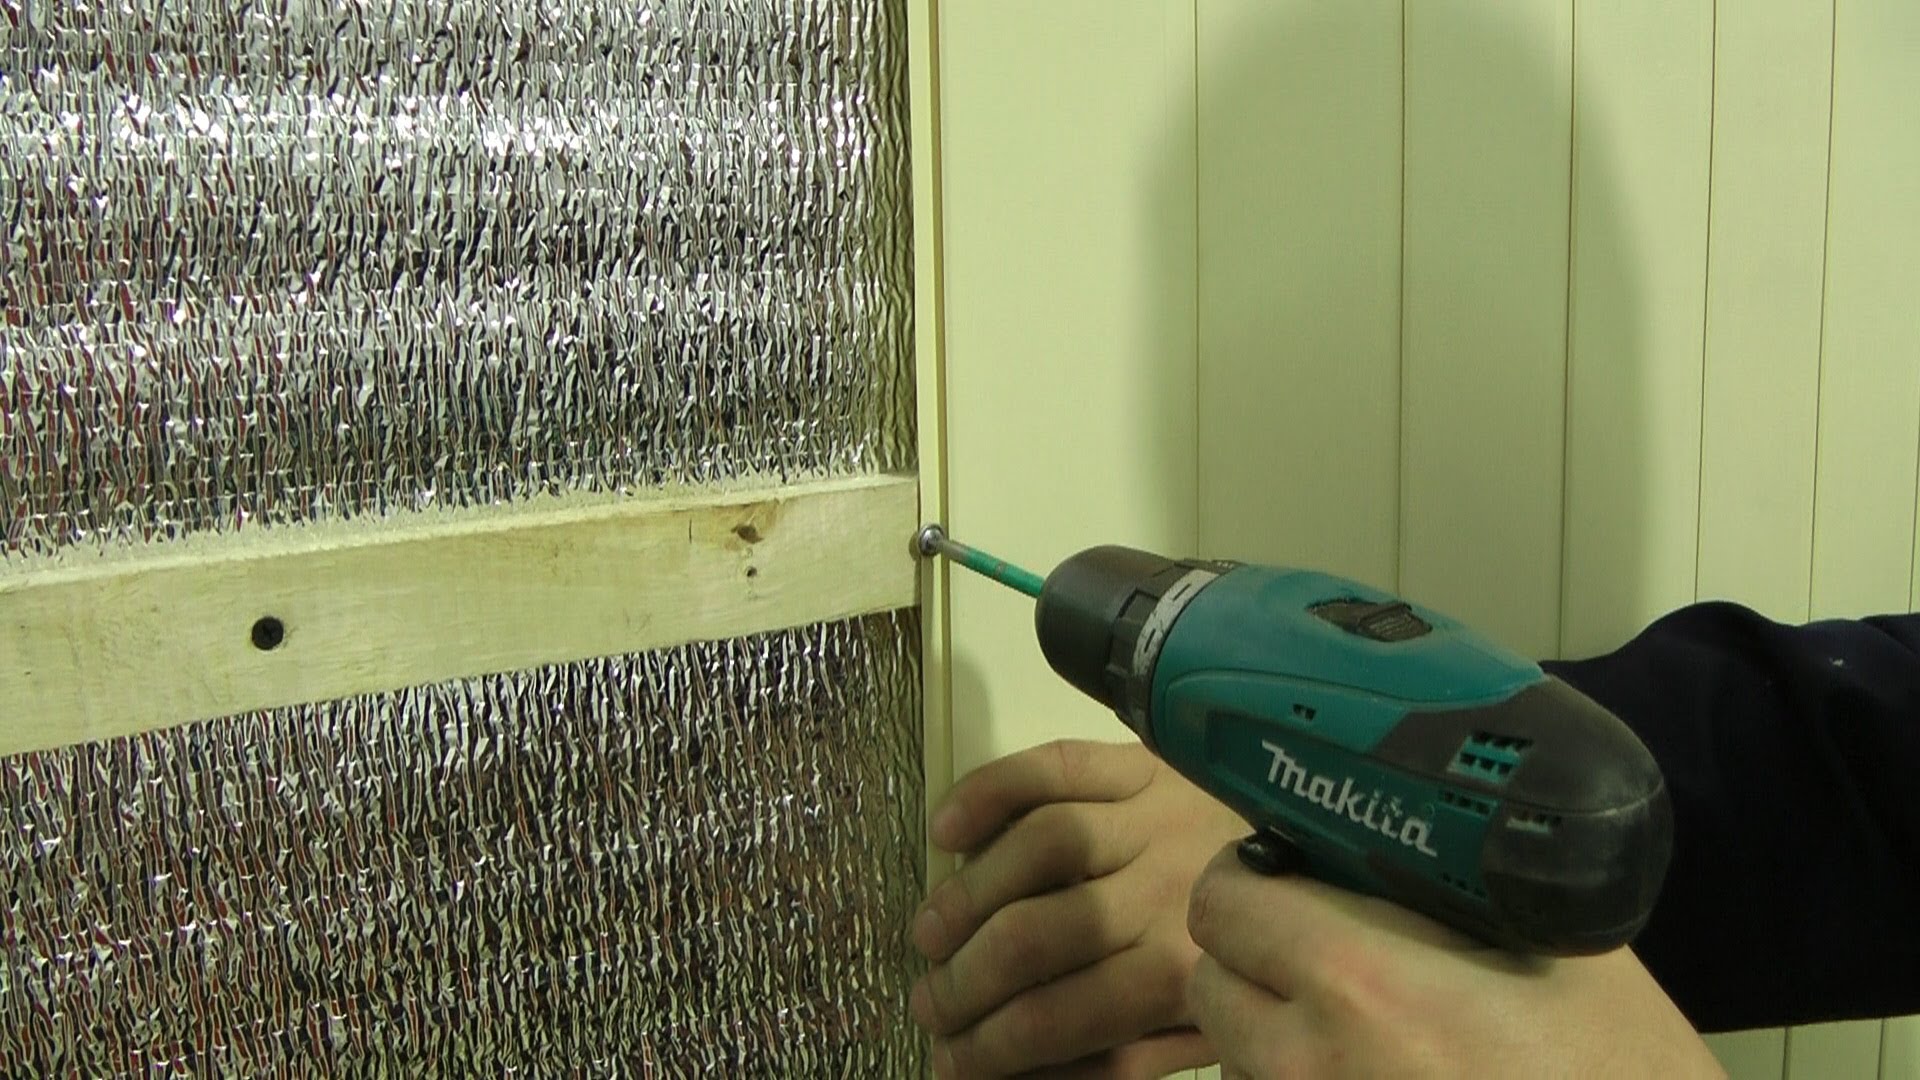
How to make a crate?
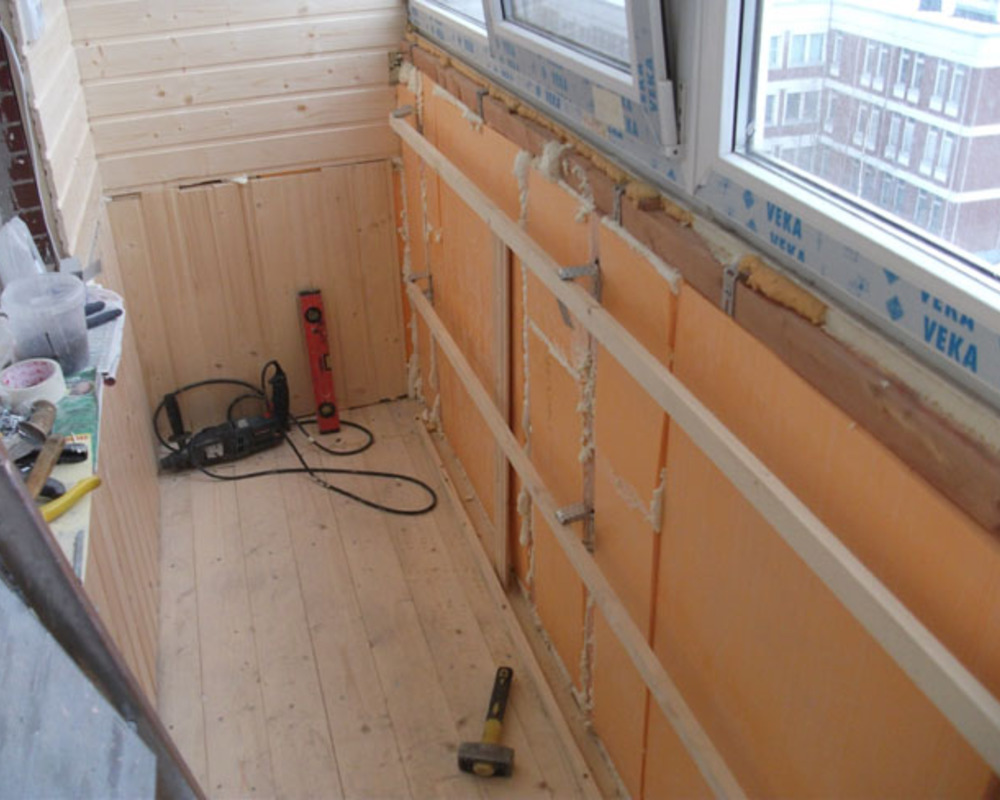
The cladding of the balcony clapboard in fact begins with this stage. To do this, we create a framework of bars along the perimeter of the walls; the thickness of each plank should be 1.5–2 cm thicker than the thickness of the insulation in order to provide ventilation for the wall paneling. With the "budget" approach, this rule is slightly violated: materials for the lathing are taken of the same thickness as the insulation or a little wider, and then the counter lattice is attached to the primary frame - the same slats, but perpendicularly.This creates the necessary air pocket, but there will be more work.
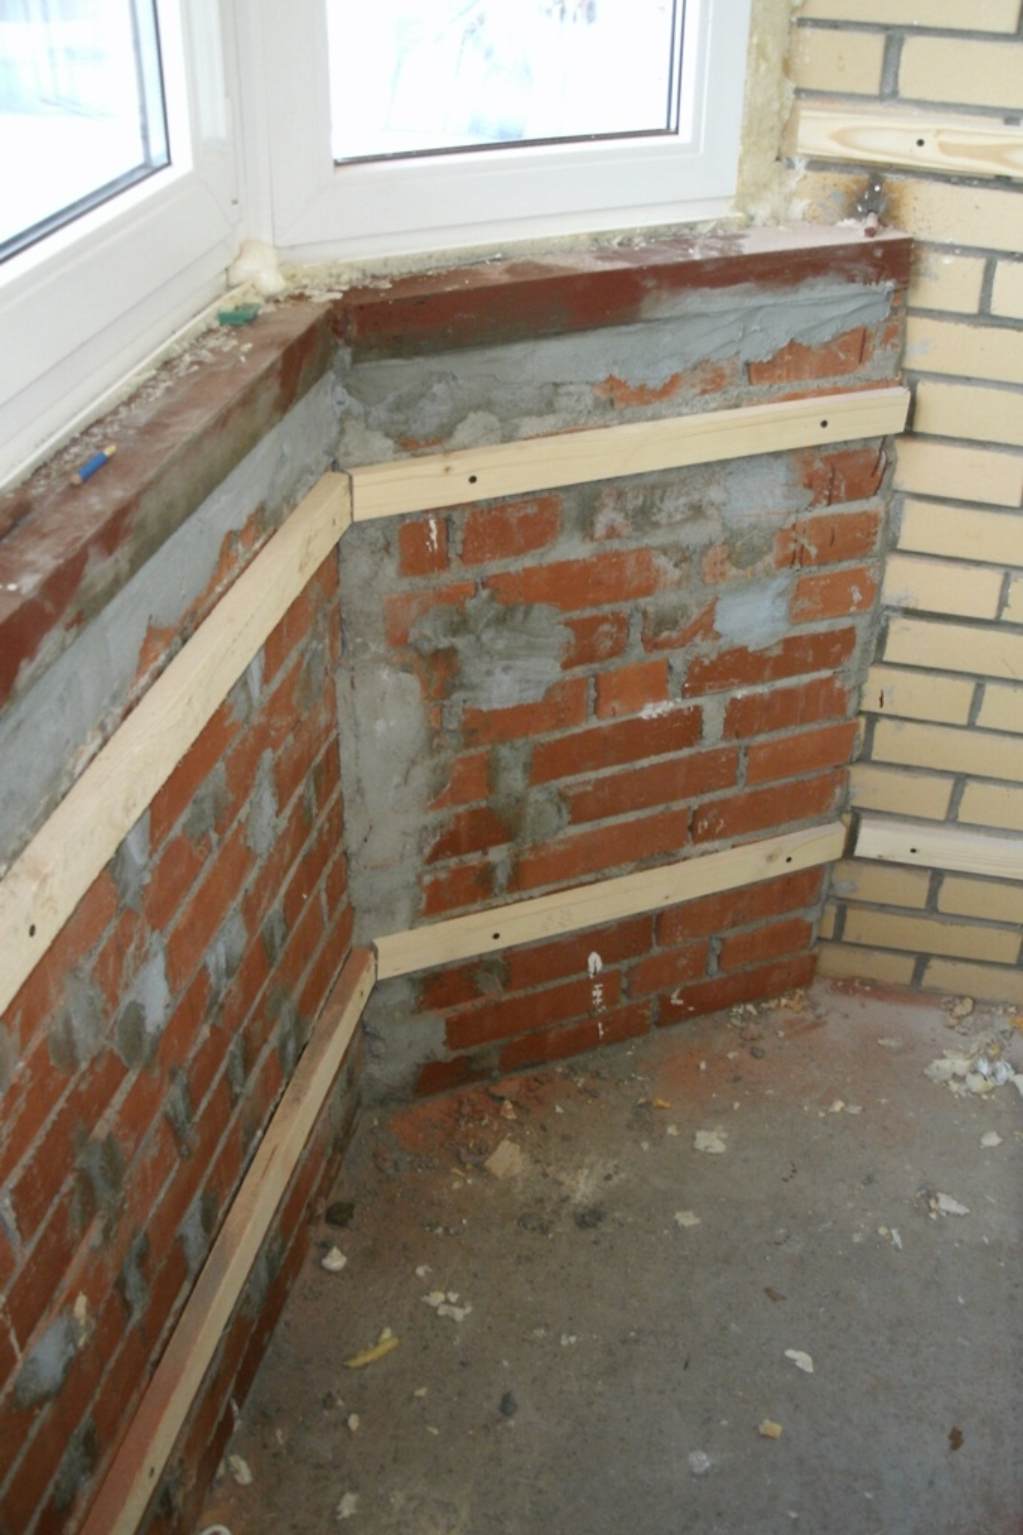
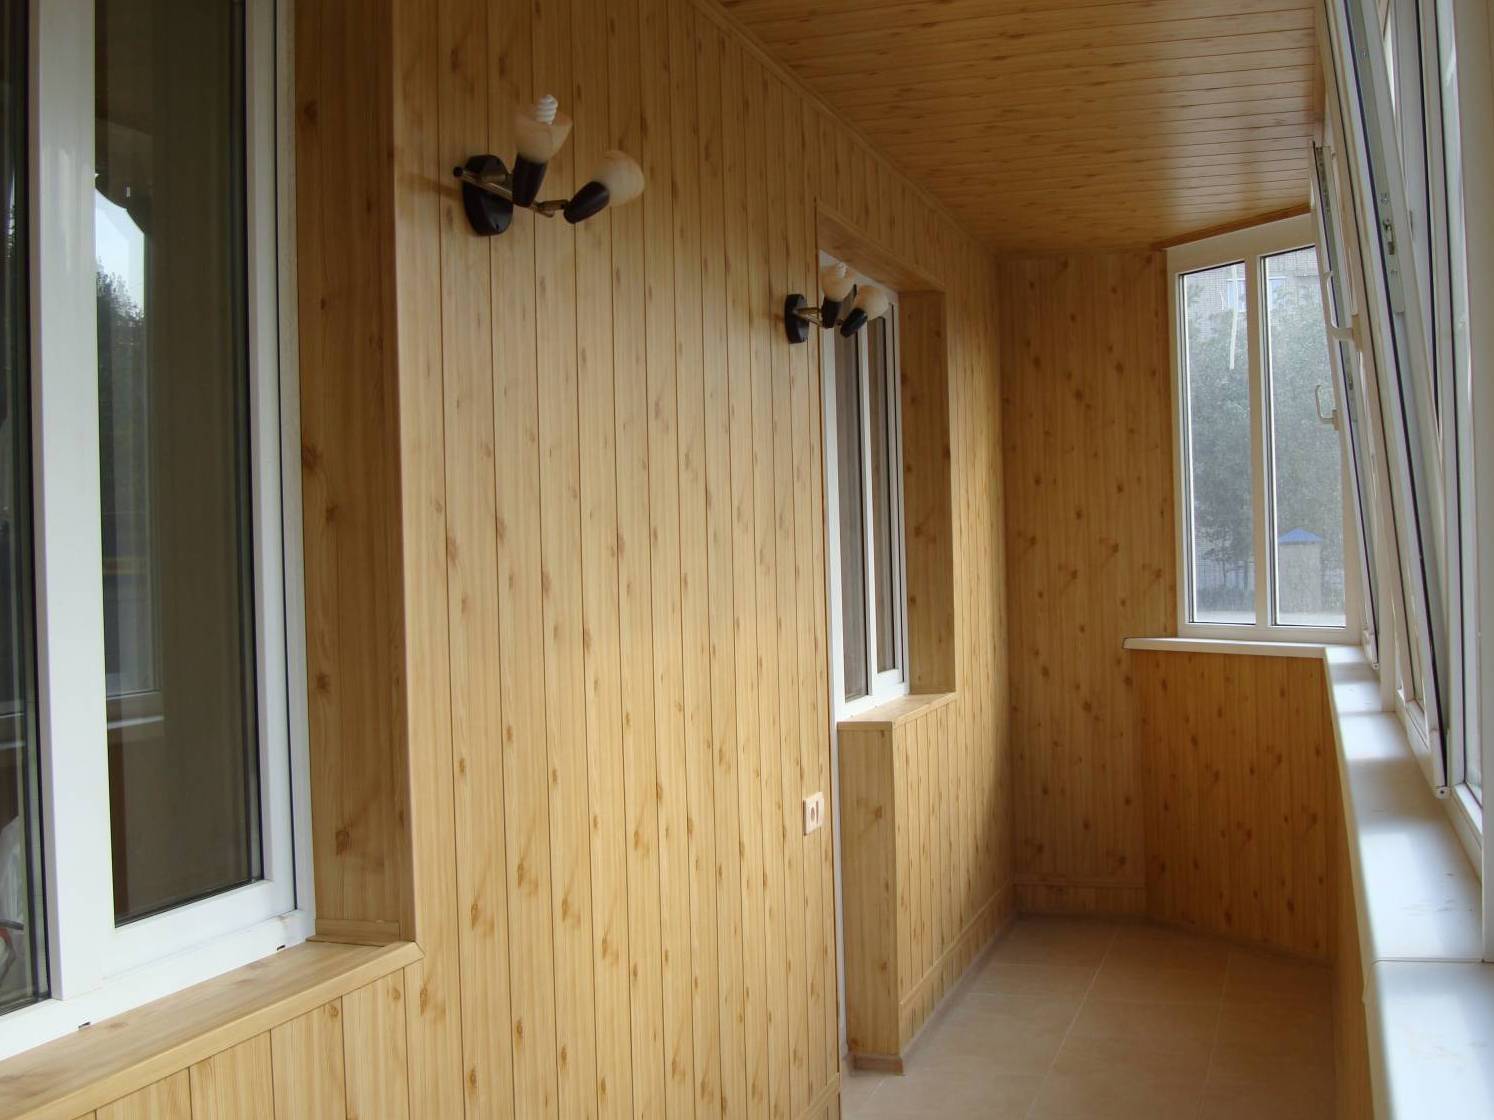
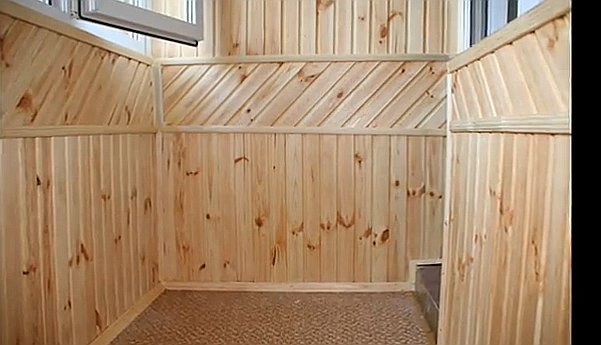
The direction of the lining can be chosen horizontal or vertical (even diagonal), and the frame under it is made opposite in direction. Therefore, when using a contra-grill, the primary row of bars is laid in the direction of the lining, and the secondary row (the lining will be attached to it) - perpendicularly. With a simple laying of the lathing, the first rail is laid horizontally 1 cm from the bottom (if the wall panel will lie vertically or diagonally) or vertically 1 cm from the corner of the wall (horizontal arrangement of the panels).
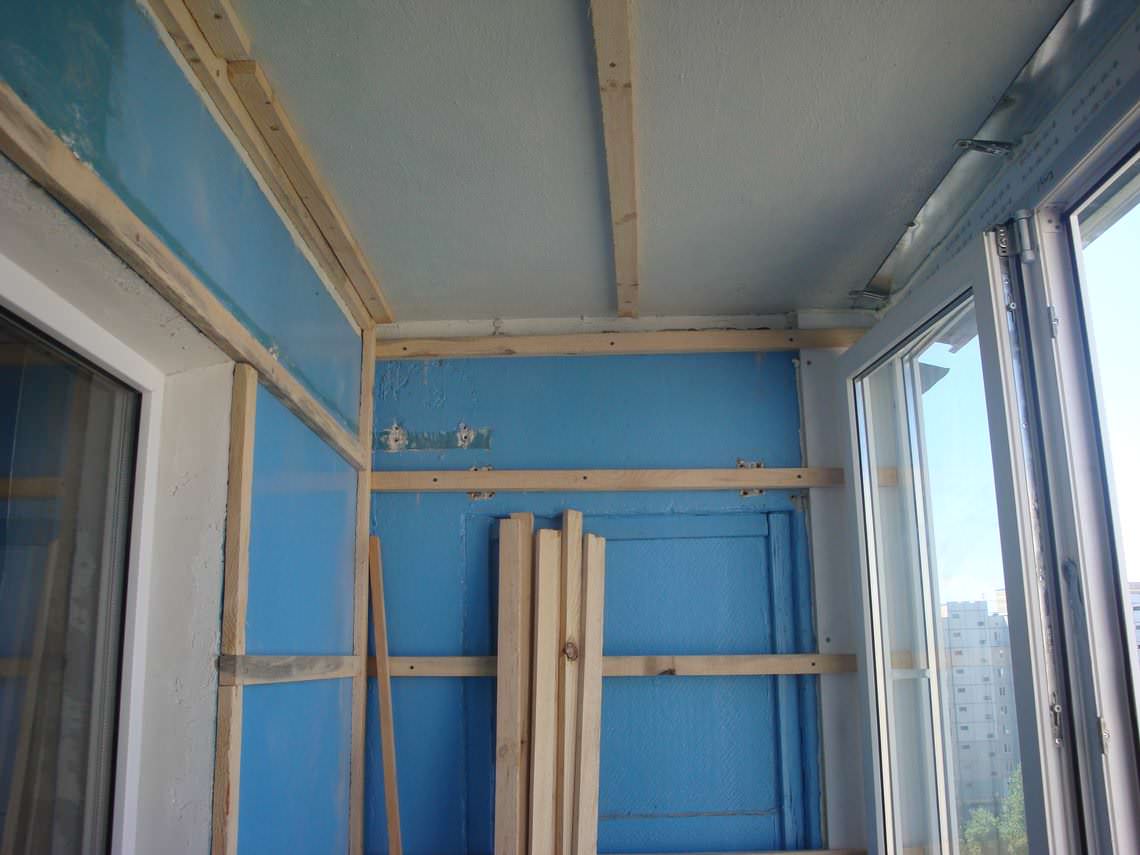
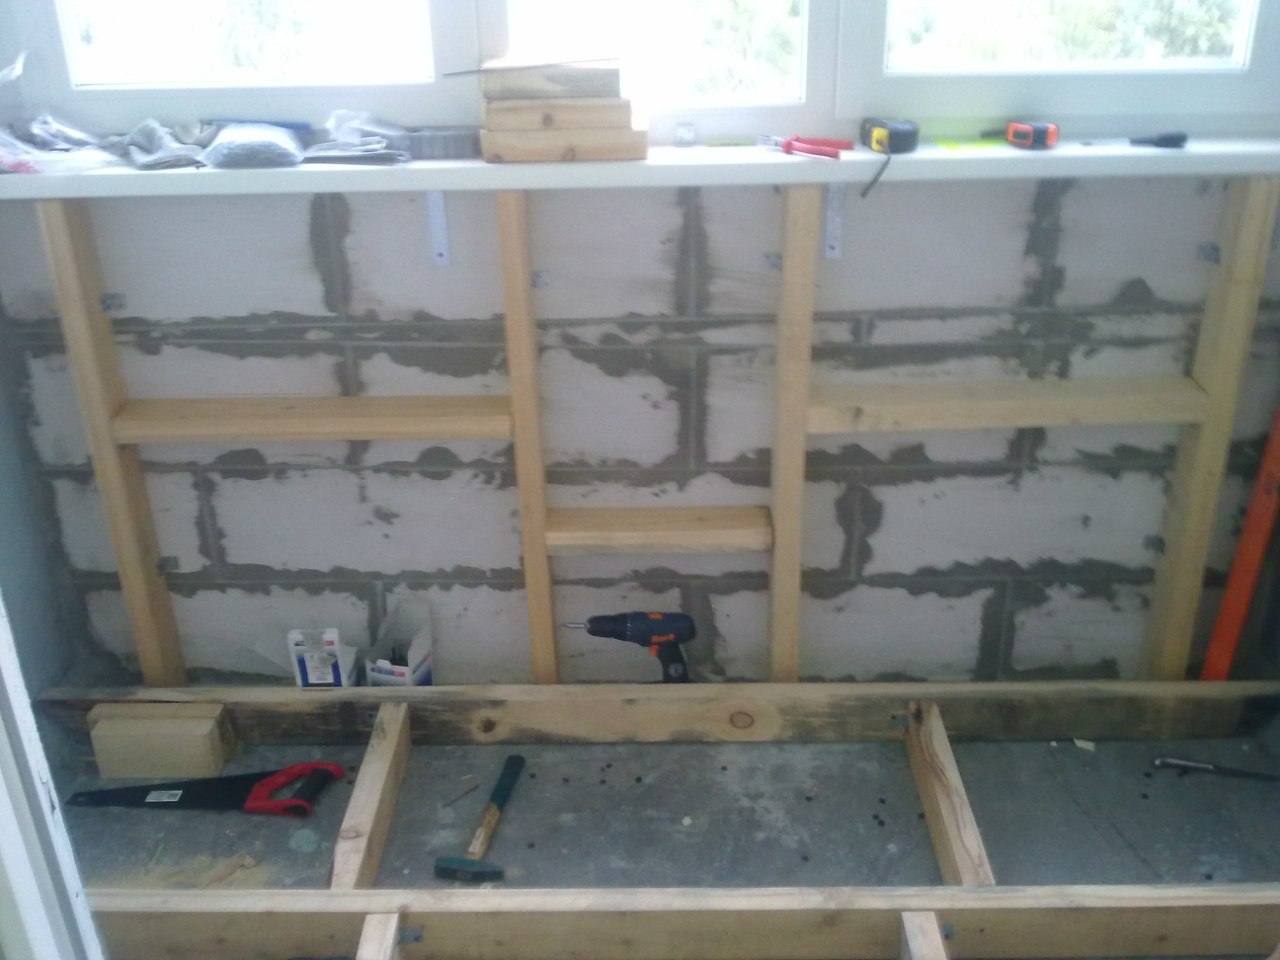
It is important that the first bar is ideally horizontal (vertical), the remaining bars will be aligned on it. Cut the bars of the desired length (reducing the initial parameters by 1-1.5 cm for seasonal changes), make a layout of their placement (60 cm from the top of the bar), checking the level. Next, proceed to the installation of the batten: we lay the timber along the marking line and drill it with a perforator along the length, leaving holes every 50-80 cm. At the same time, the drill should enter the wall to a depth of 6-6.5 cm so that you can insert dowels.
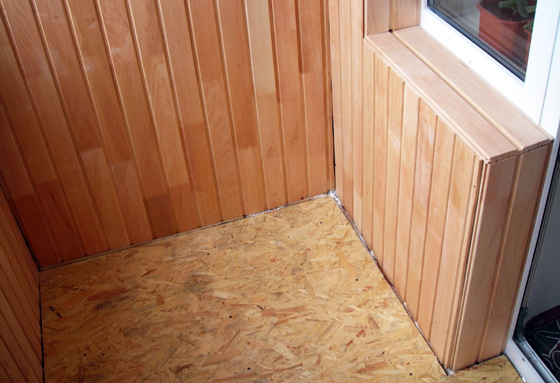
We unfold the vapor barrier material and fix it with mounting glue, lay the cradle over it and fix it with nails, aligning it with the first bar. We lay insulation between the "edges" of the frame. It is convenient to adhere to such an order - walls, ceiling, floor. The crate on the floor is called “lag”, after warming over the lag we put moisture-resistant plywood (not thinner than 12 mm), securing it with self-tapping screws.
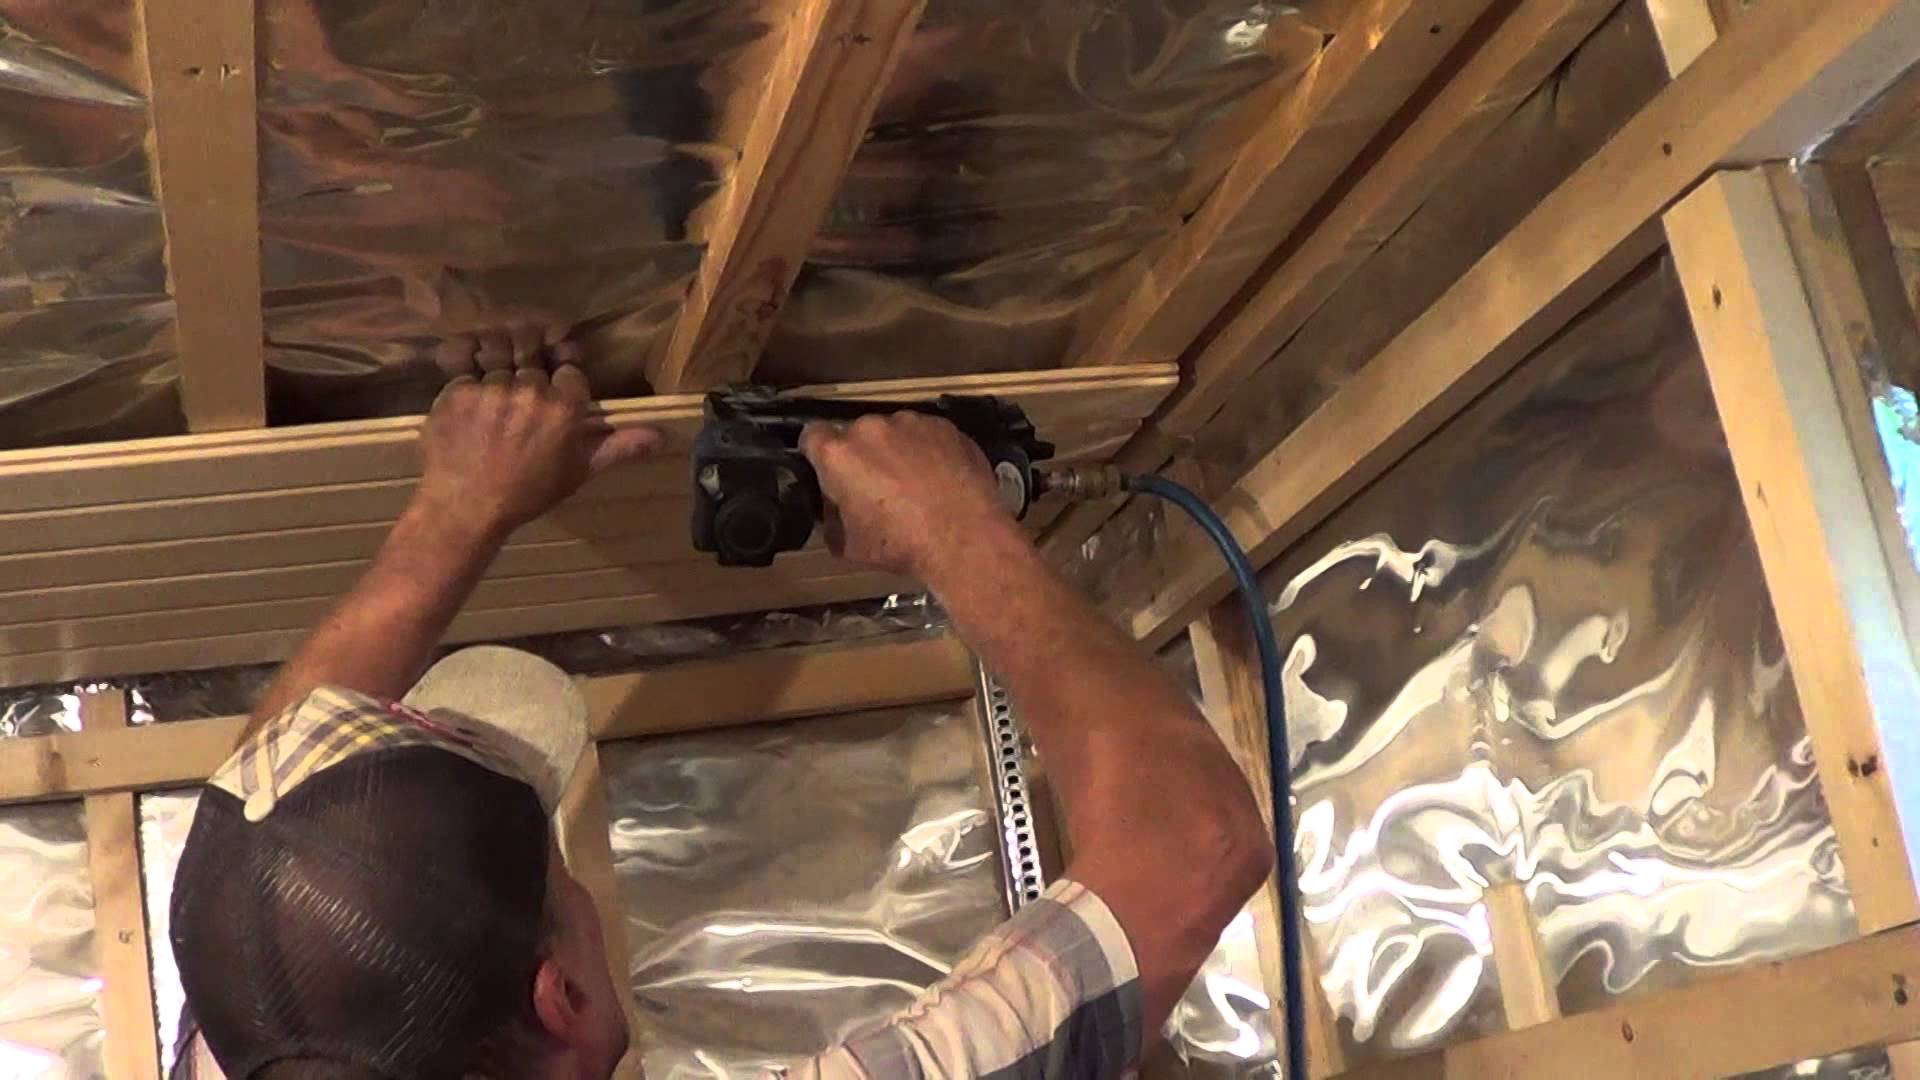
Installation
The clapboard is also starting to sheathe from the walls, then trim. Panels can be mounted on klyaymery, nails or construction stapler. We work from an inconvenient angle: we install the bar with a spike (protrusion) inwards, align it, and then nail it at a distance of 1-2 cm from the edge of the face of the plate into the prepared holes so as not to split the panel. On the open side, where the groove, drive nails under 45 gr. (you can use brackets). We will close this fastener with a spike on the next panel, so it will not be visible. For mounting it is better to take light nails with a small cap, so that they are disguised as the color of wood.
Klyaymery perfectly hold eurolining (stronger spikes), they are fixed on the ledge, the other side is provided with holes for nails to mount in the crate.We fasten the first panel to the crate, the second one is simply inserted into the groove. We install the third bar with a spike into the groove, nailing it to the crate with the help of a mounting plate and nails. So - through one klyaymerom - we mount all the elements, pushing them with a hammer through a wooden bar, if they sit loosely. While knocking through the bar, we leave no marks on the paneling of the hammer, and the panels sit evenly and firmly.

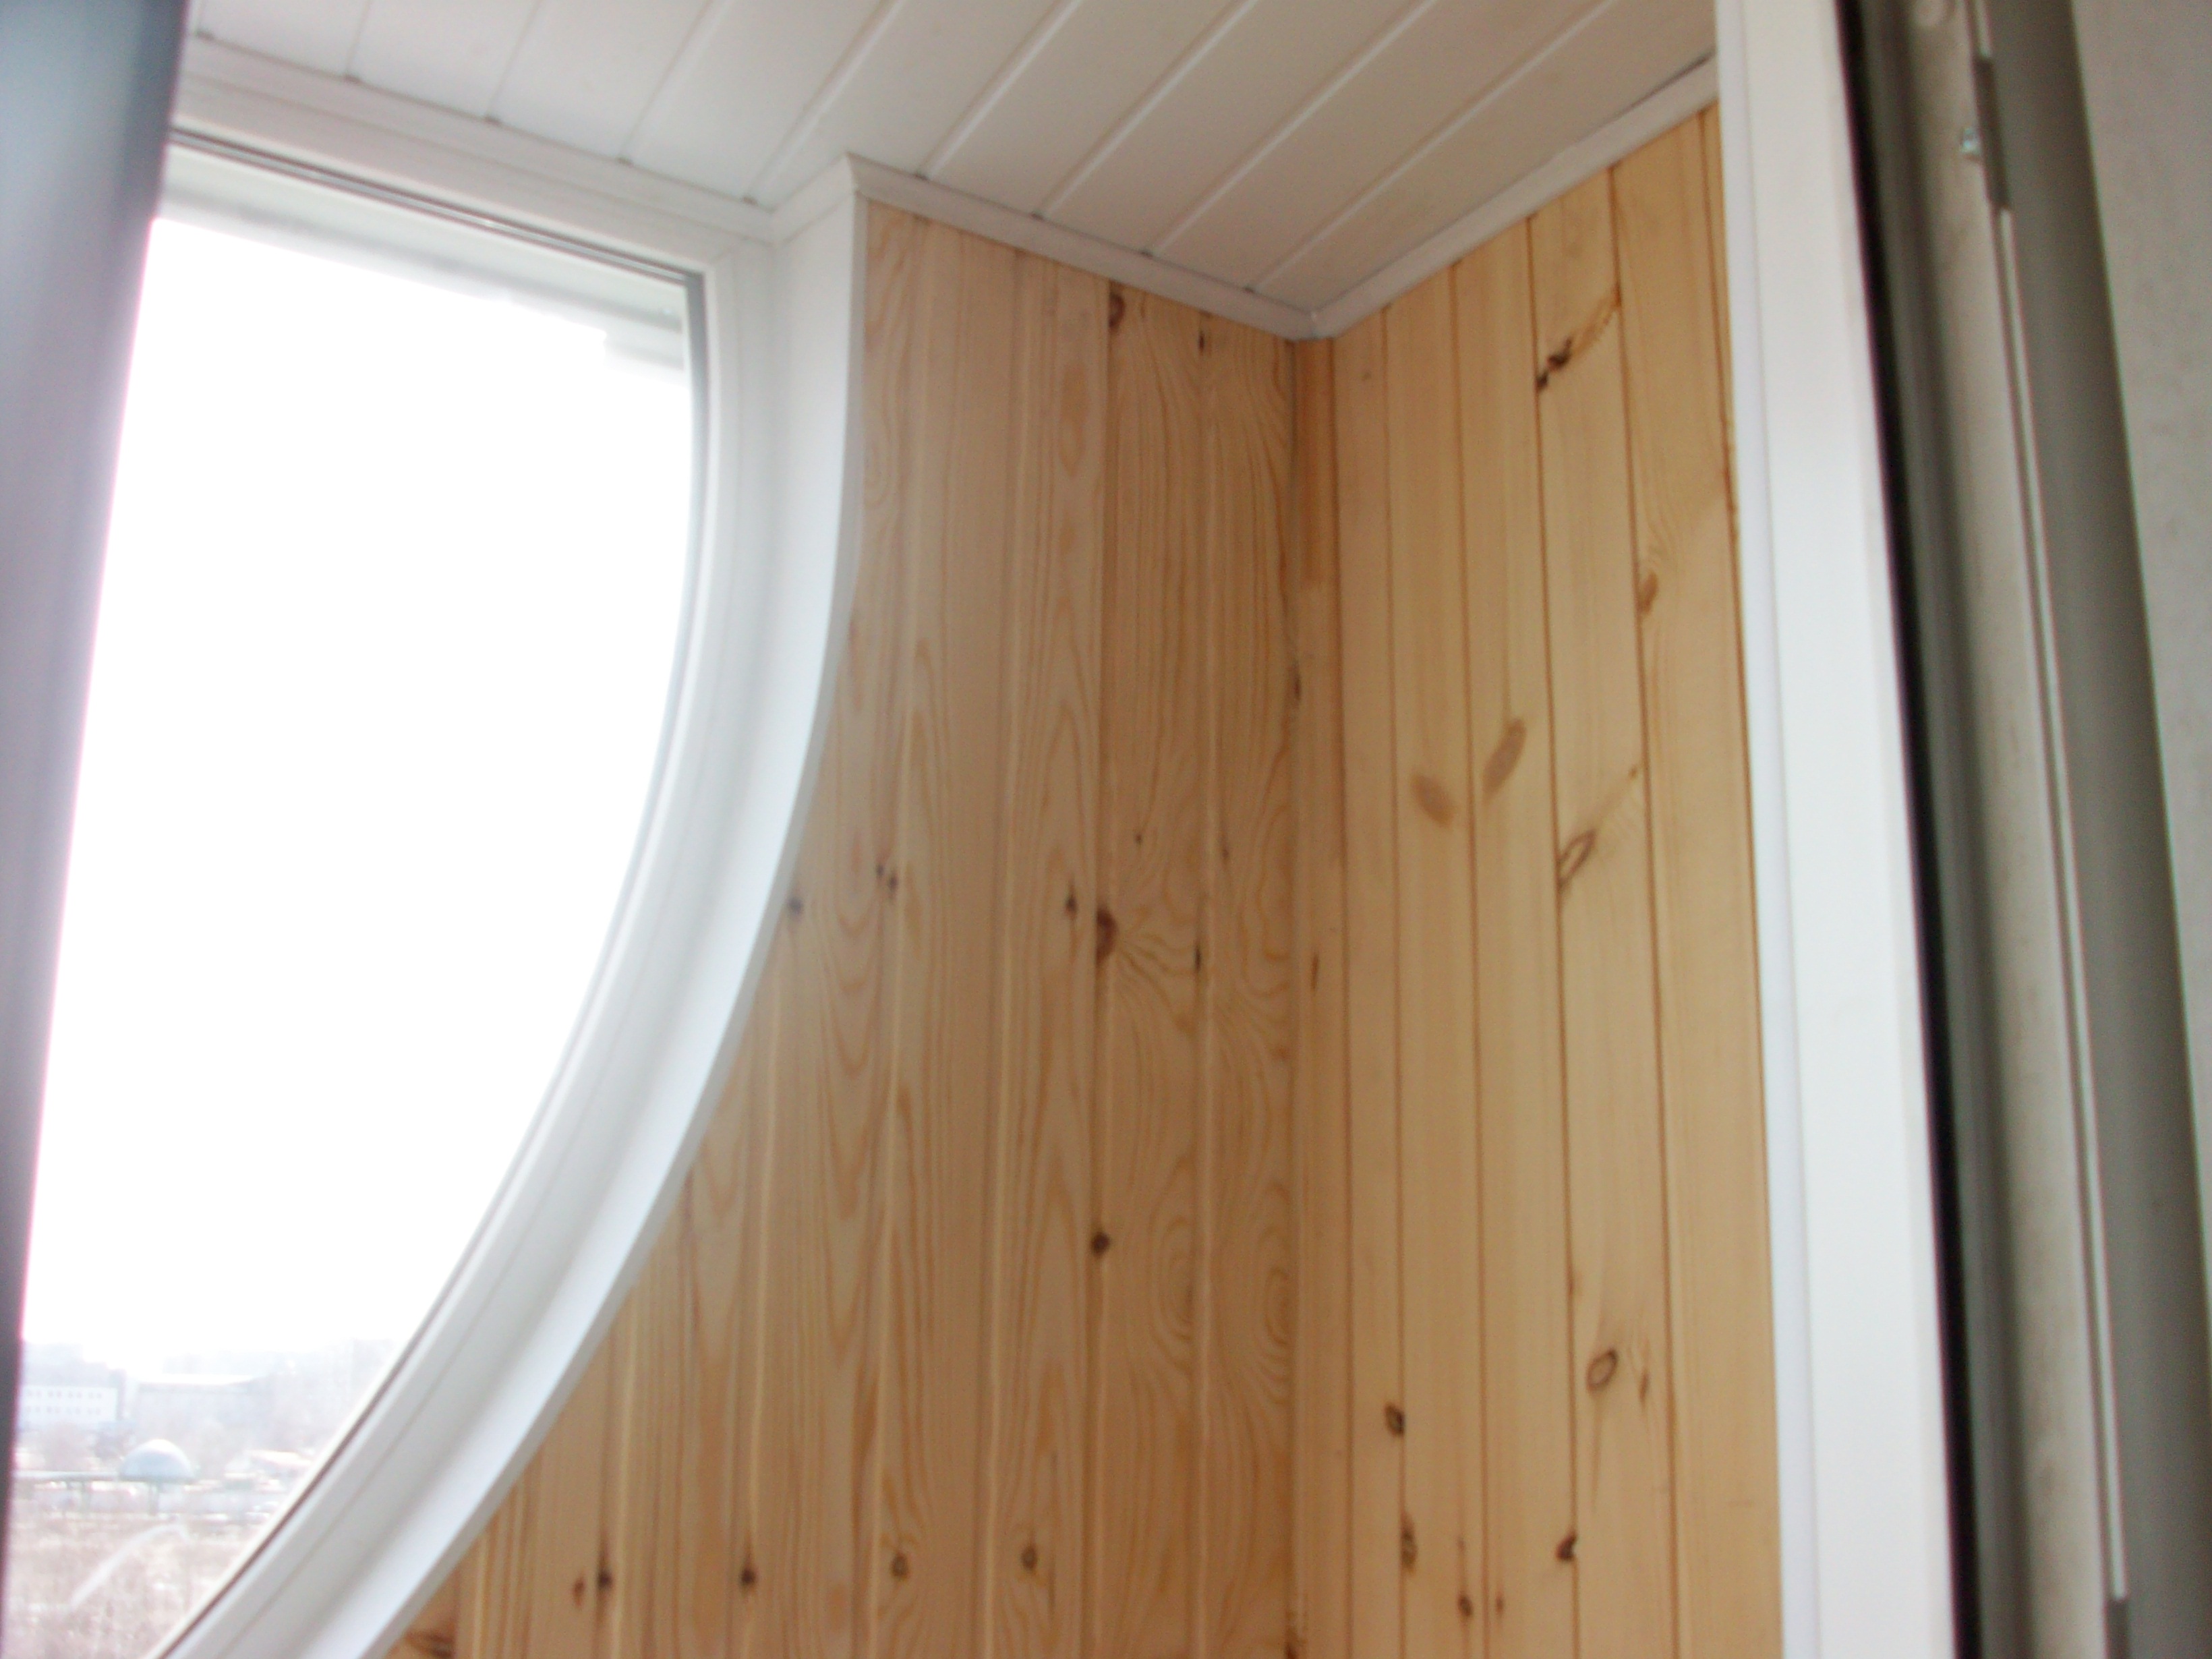
We trim the last bar in width, fixing it with nails right in the bar. Now go to the next wall. Having installed the wall paneling on the entire surface, close the horizontal joints with baseboards, the vertical ones - with corners.
Panel processing
In order for the tree to retain its beauty longer, it must be processed.
Before mounting the antiseptic, you need to walk along the batten rails and lining rails.
Different compositions can significantly save time and effort, the choice depends on your design. Very popular, for example:
- Tinting antiseptics protect against fungi and insects by painting strips in the chosen shade. They do not require final painting after installation.
- Antiseptic primer is useful for pre-treatment.Does not change color and prepares strips for the subsequent coating (paint or varnish).
- Polymer impregnations protect the paneling from insects and microorganisms, creating a barrier on the surface. Facilitate care, not allowing dust and dirt to settle on the tree itself.
- The stain changes the color of the tree; supplements help fight pests, but do not protect against dirt.
Before applying the solution, lightly sand the wall paneling to level and clean the top layer. Detailed instructions to the compositions help to navigate, and the combined properties save time on processing panels. Toning compounds usually do not give a gloss on the wall paneling, for this you need a finishing varnish. To use it or not is a matter of taste, but it is better not to bother with paint (it turns out long and expensive). Treat wood regularly with protective compounds to preserve its beauty.
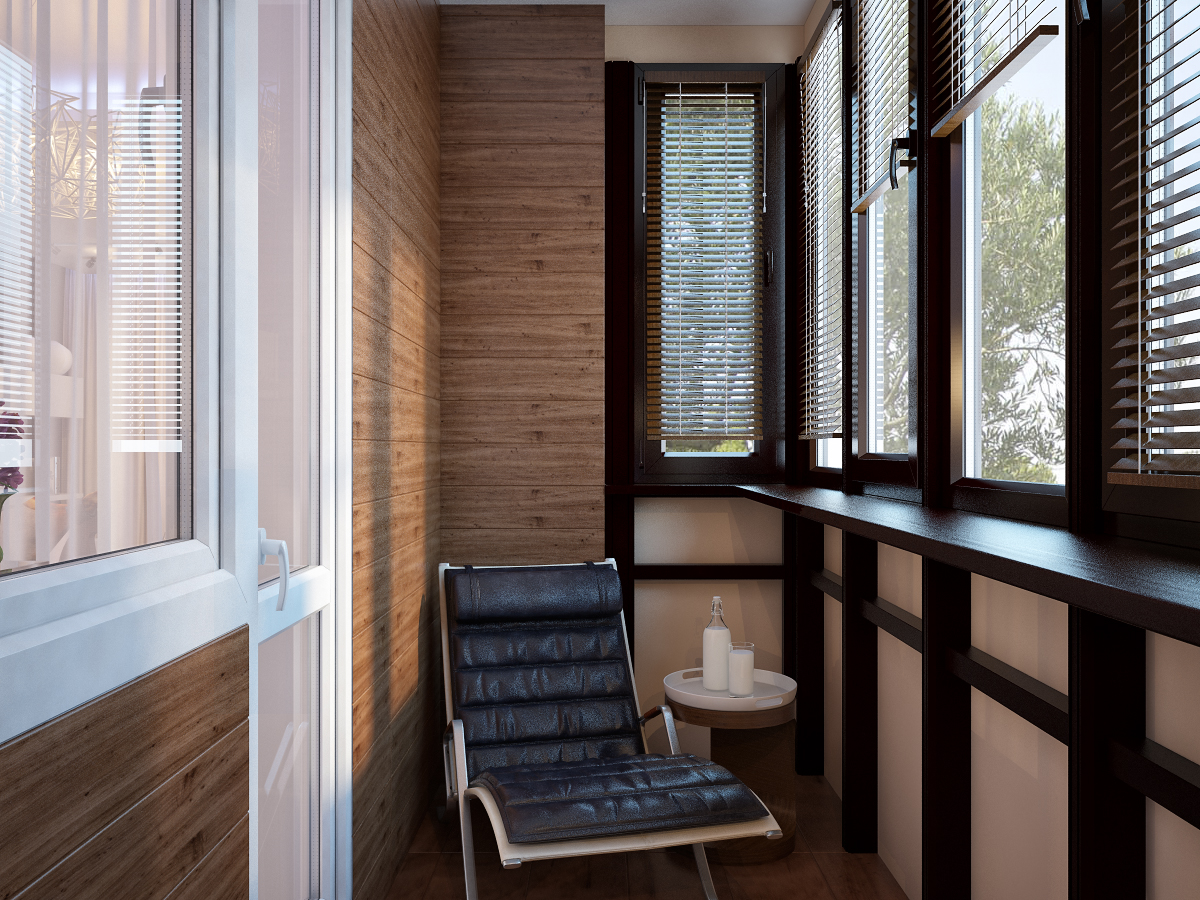
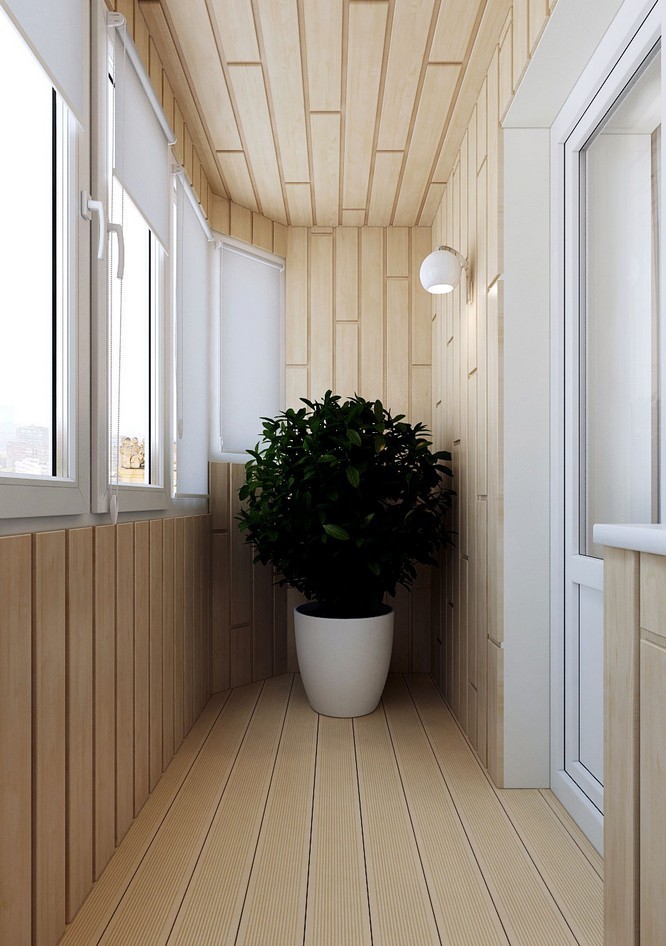
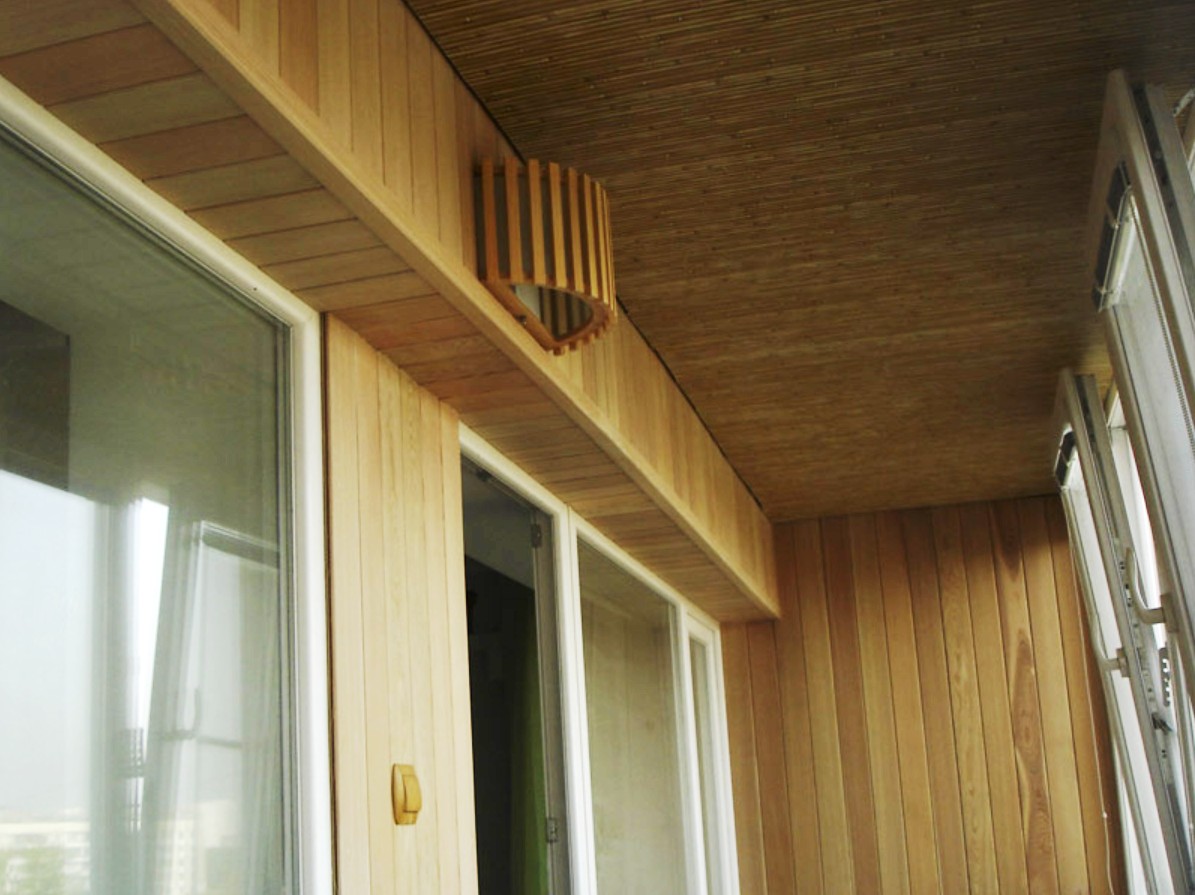
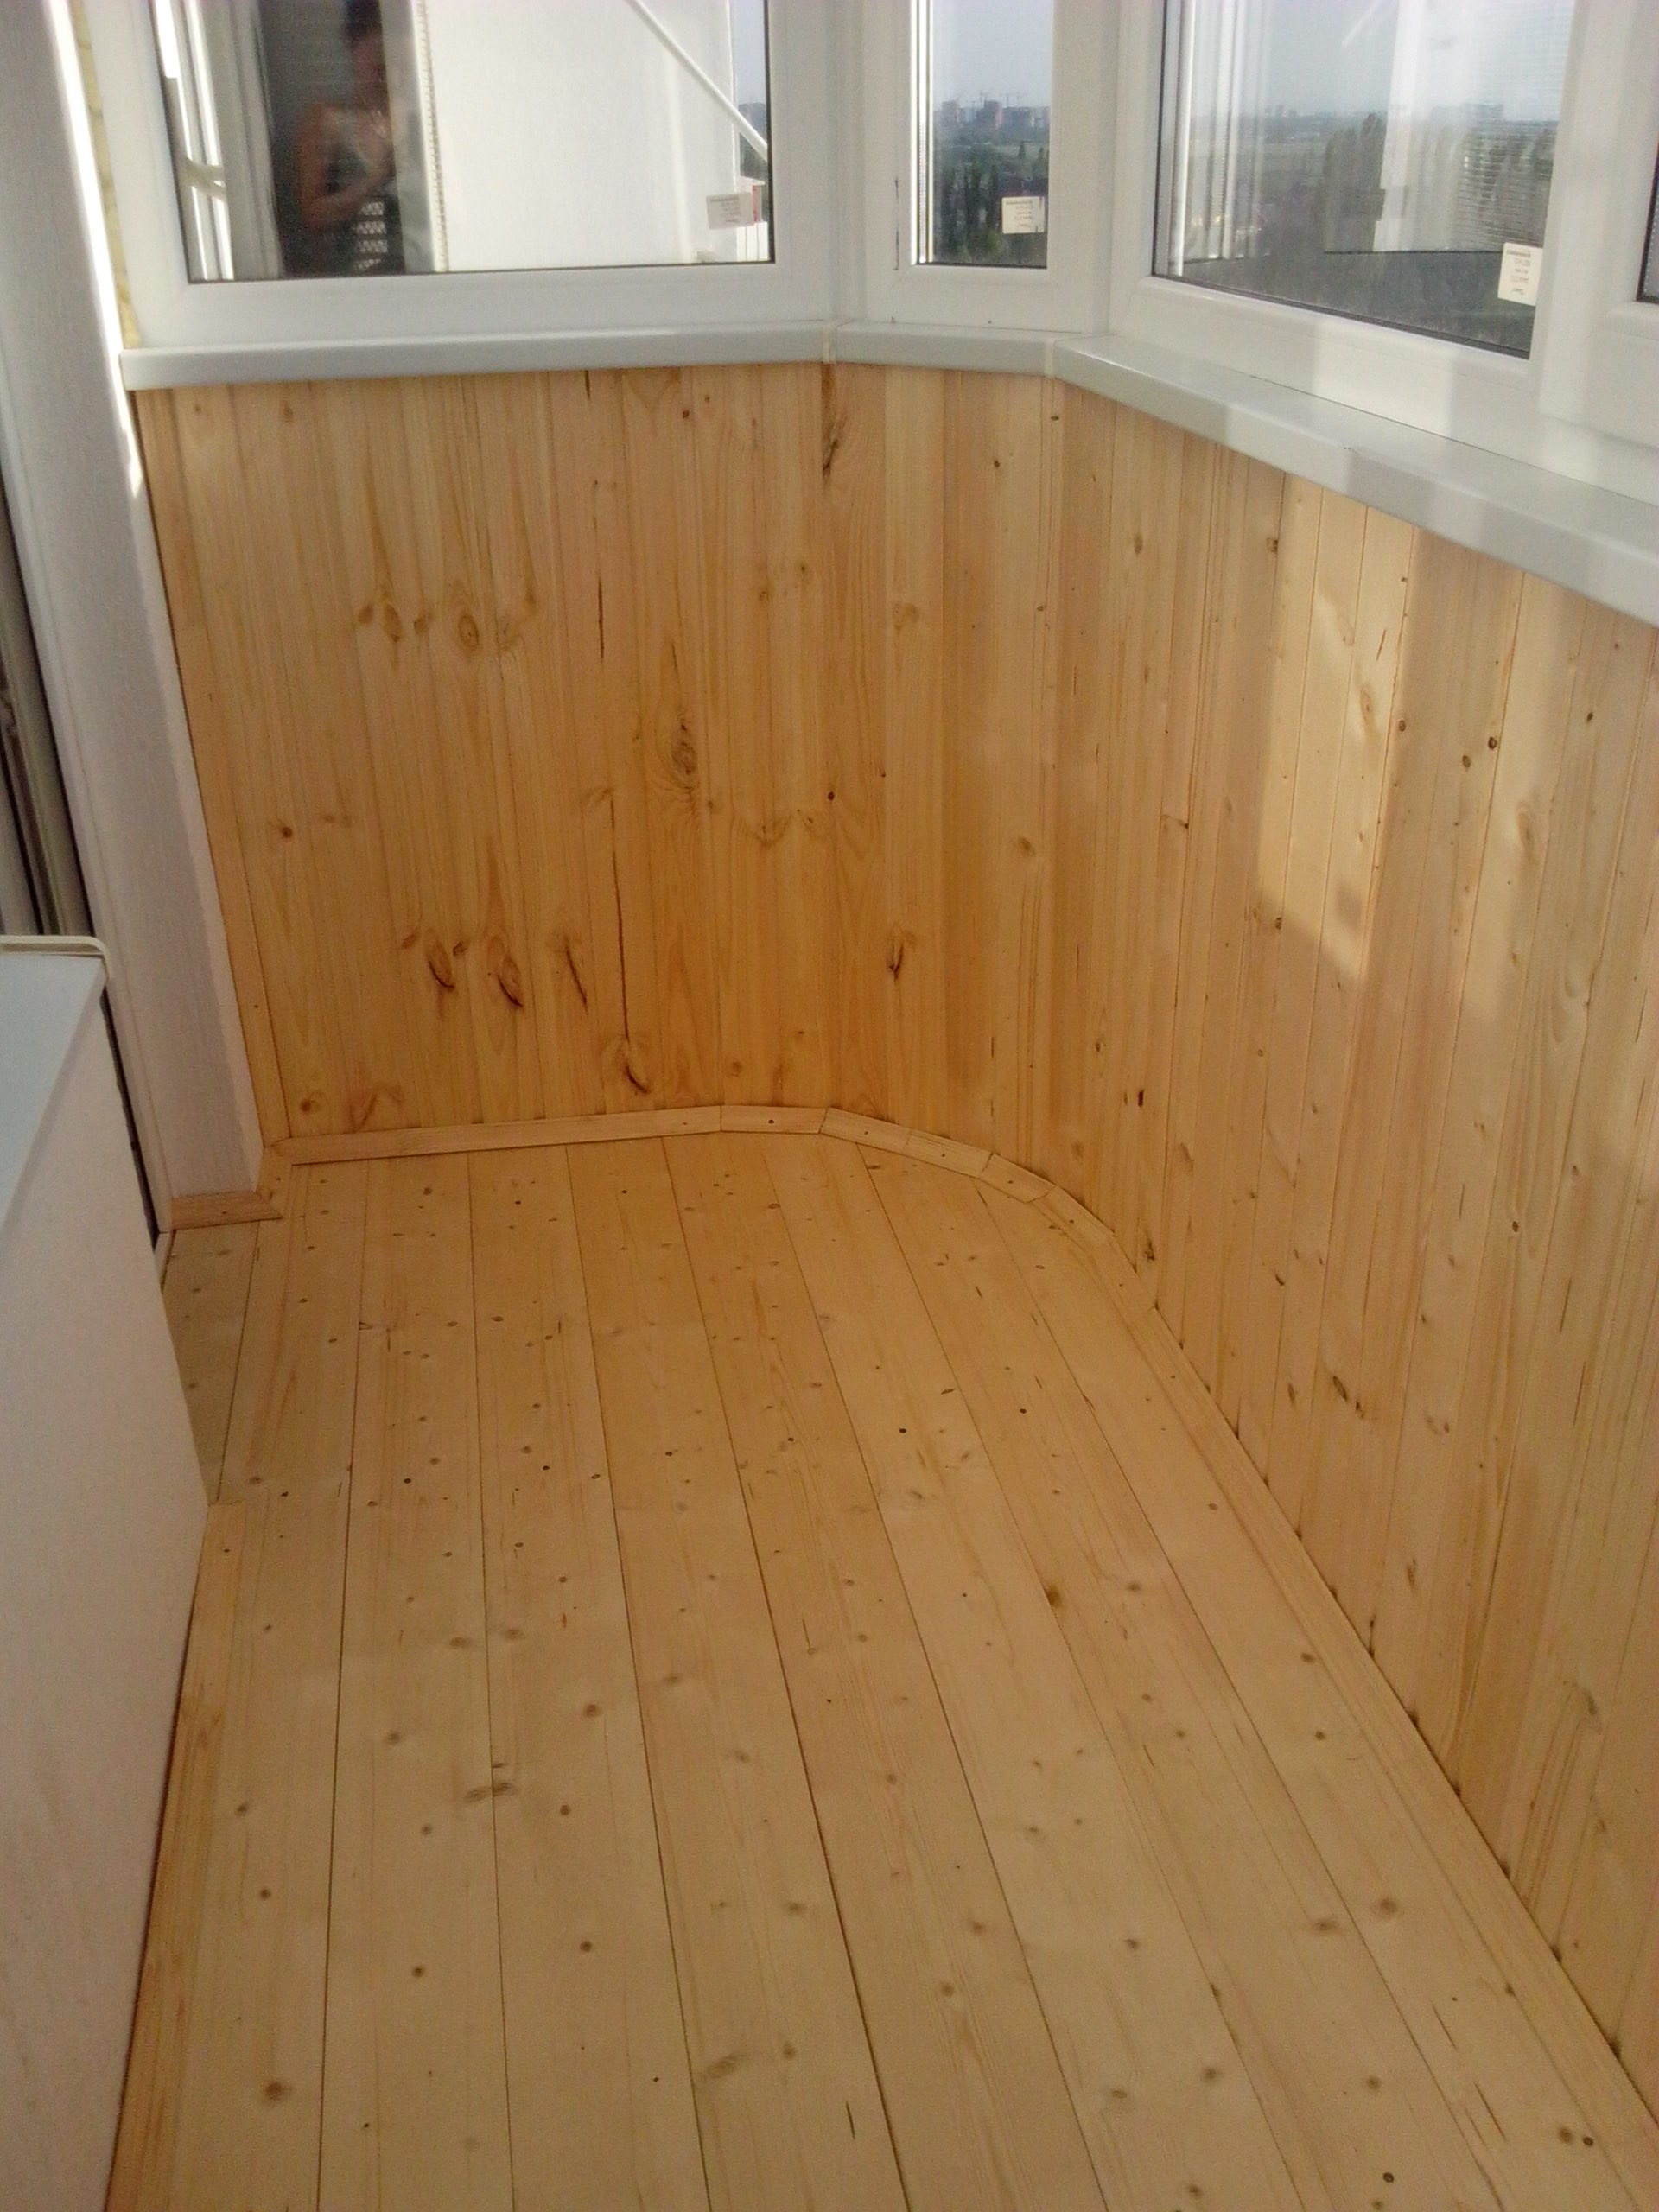
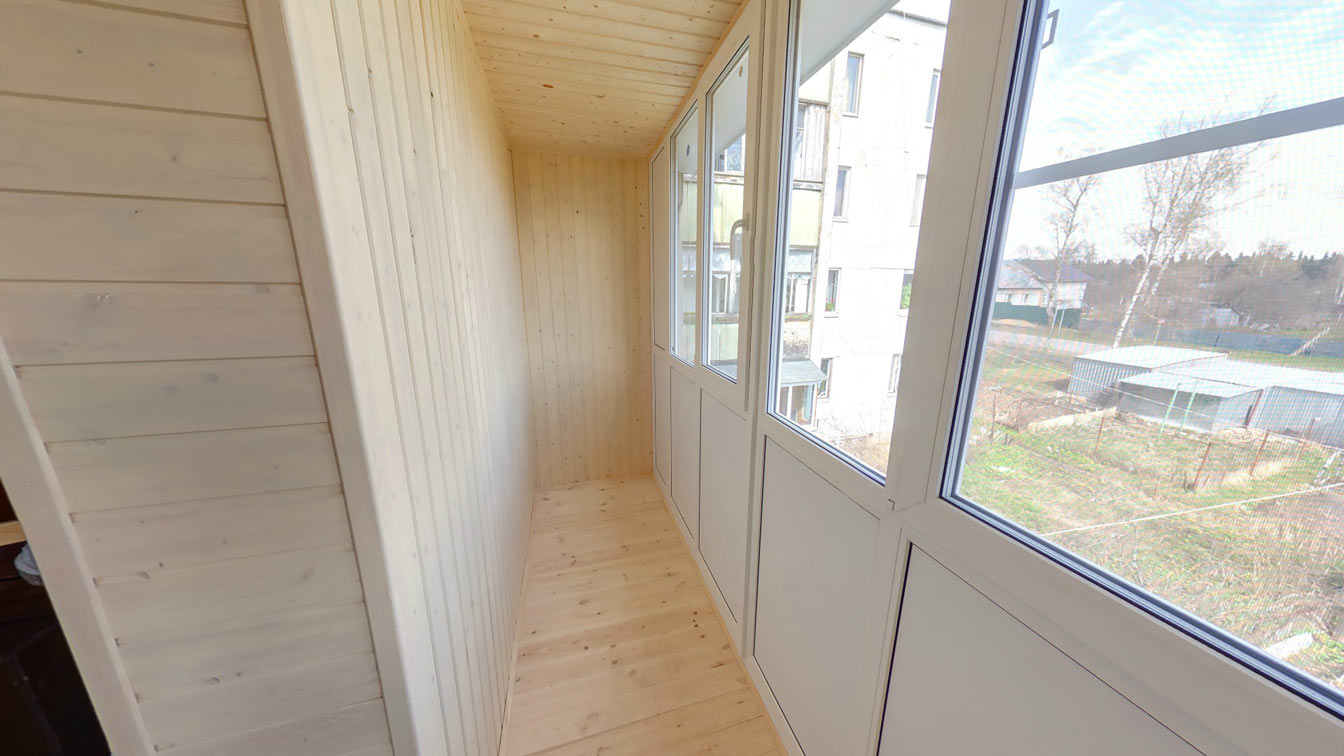
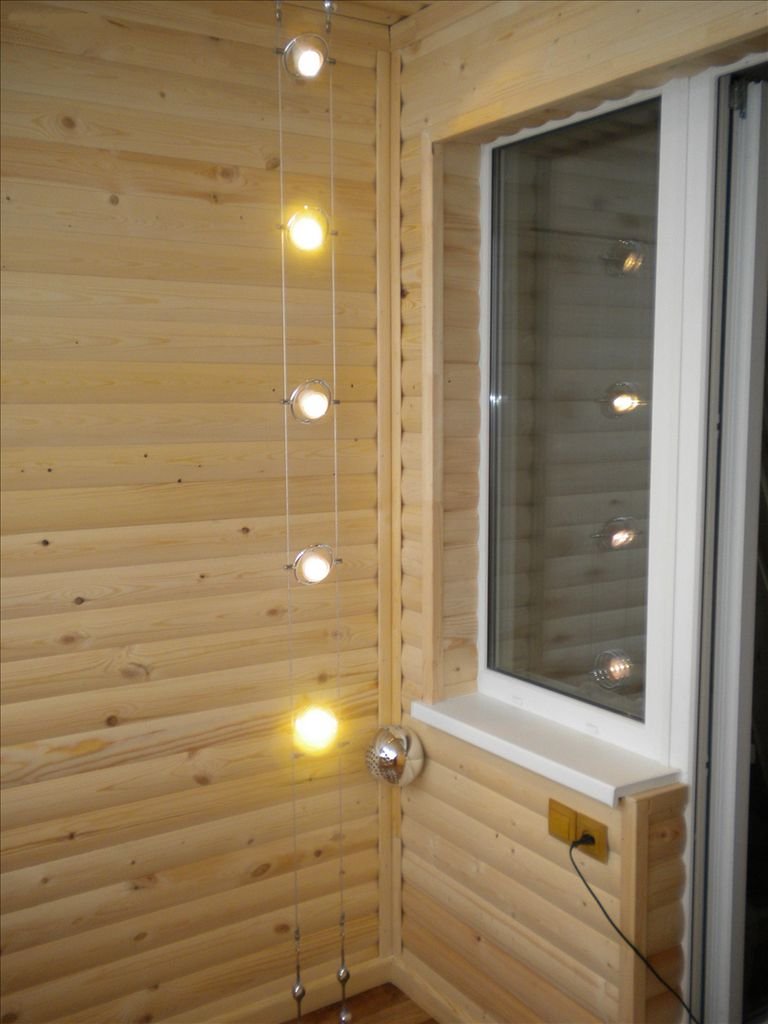
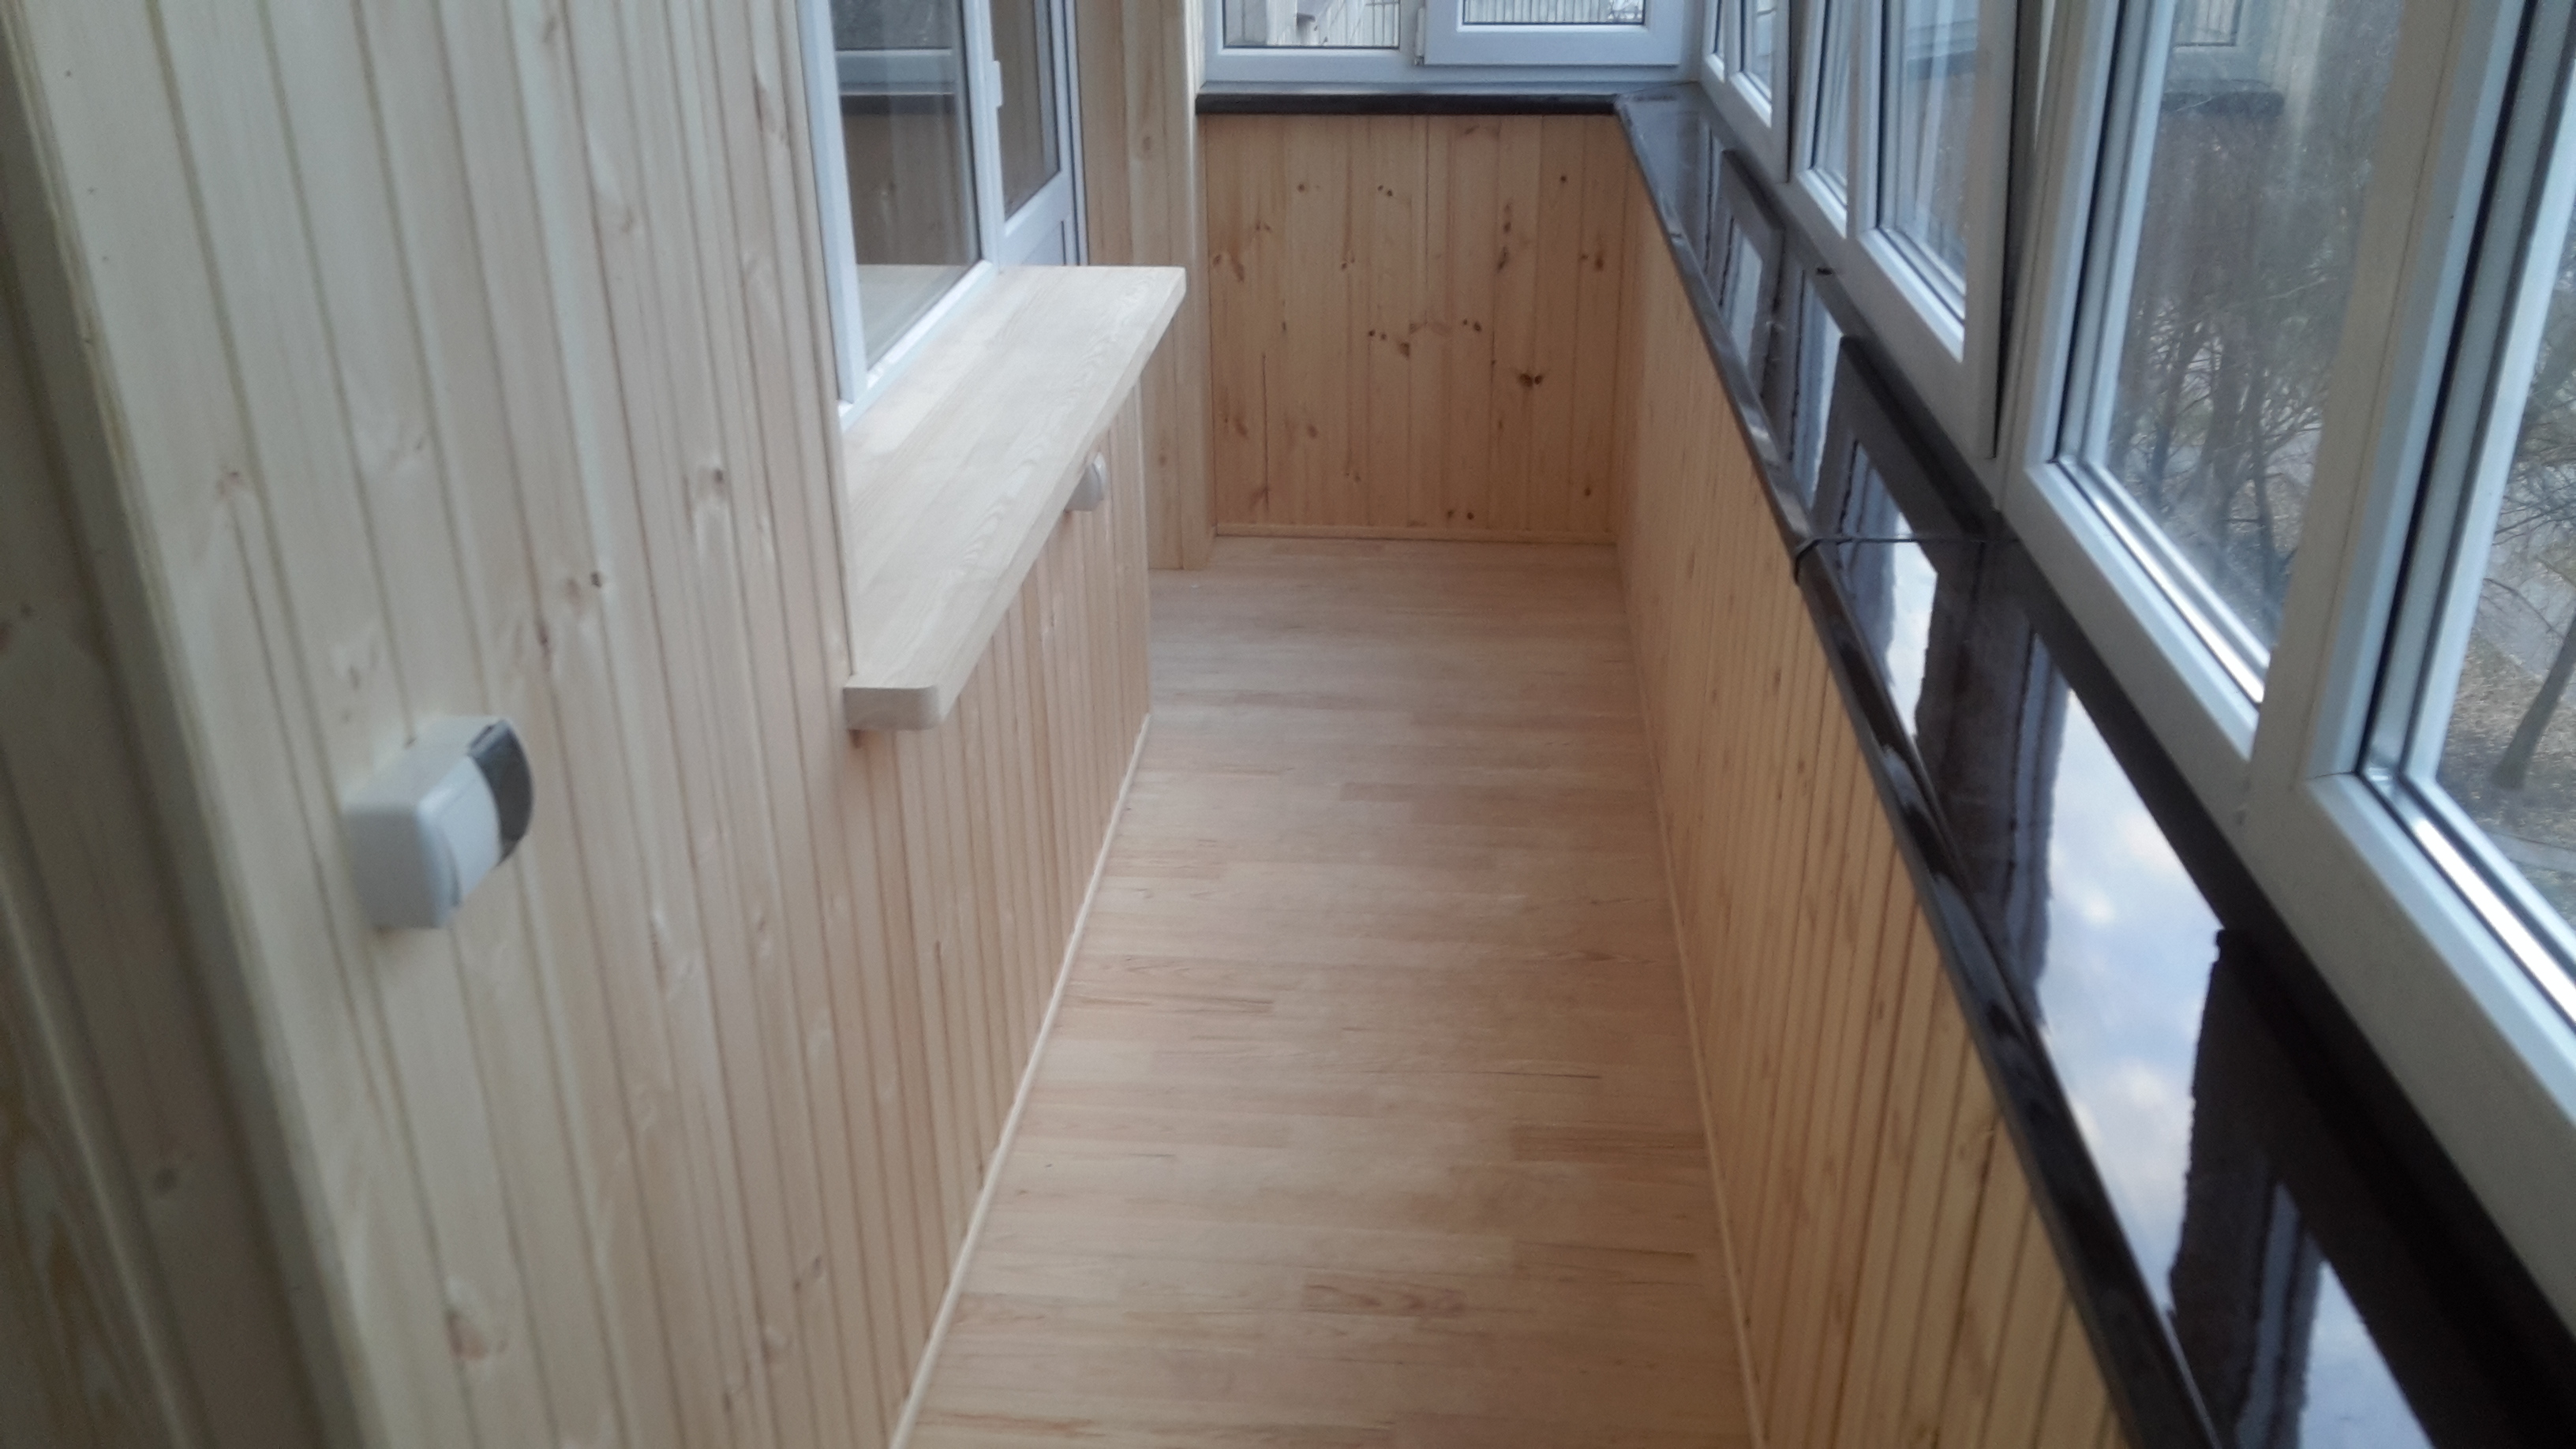
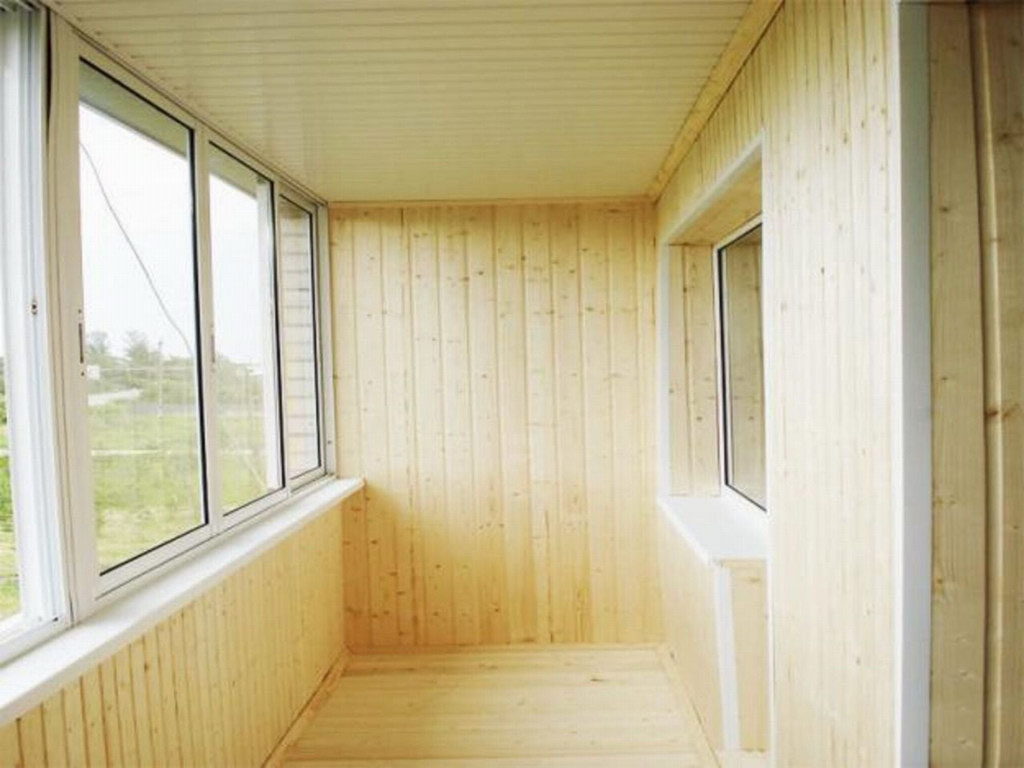
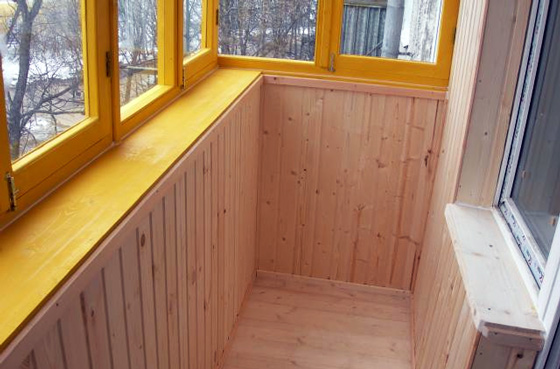
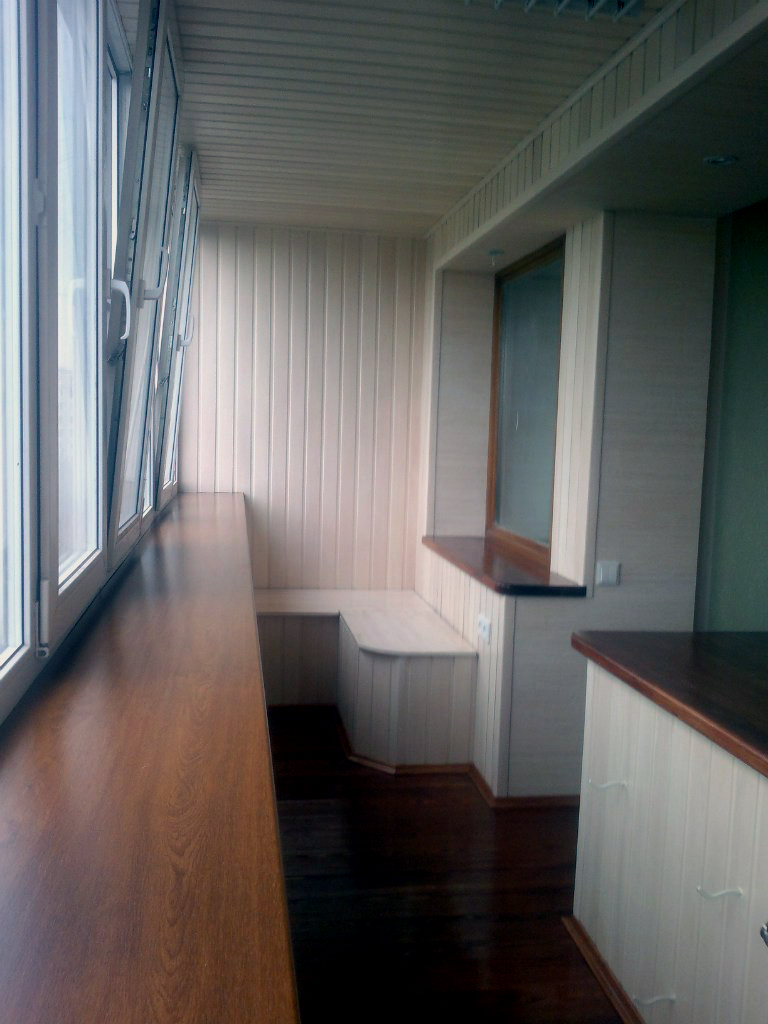
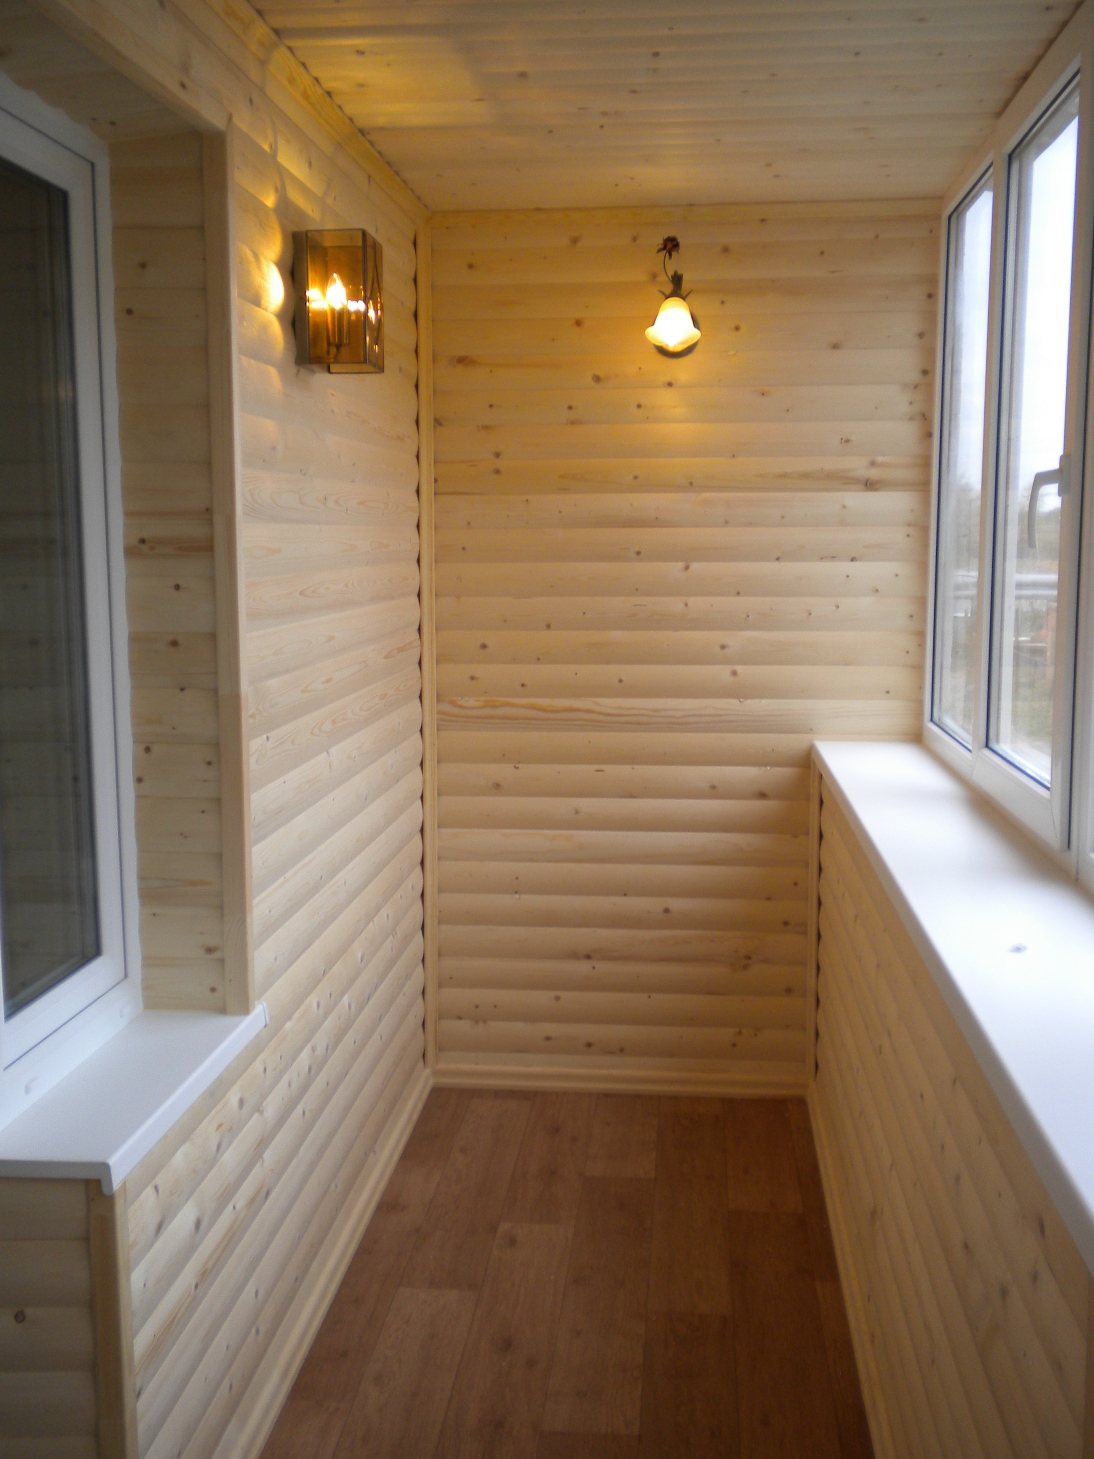
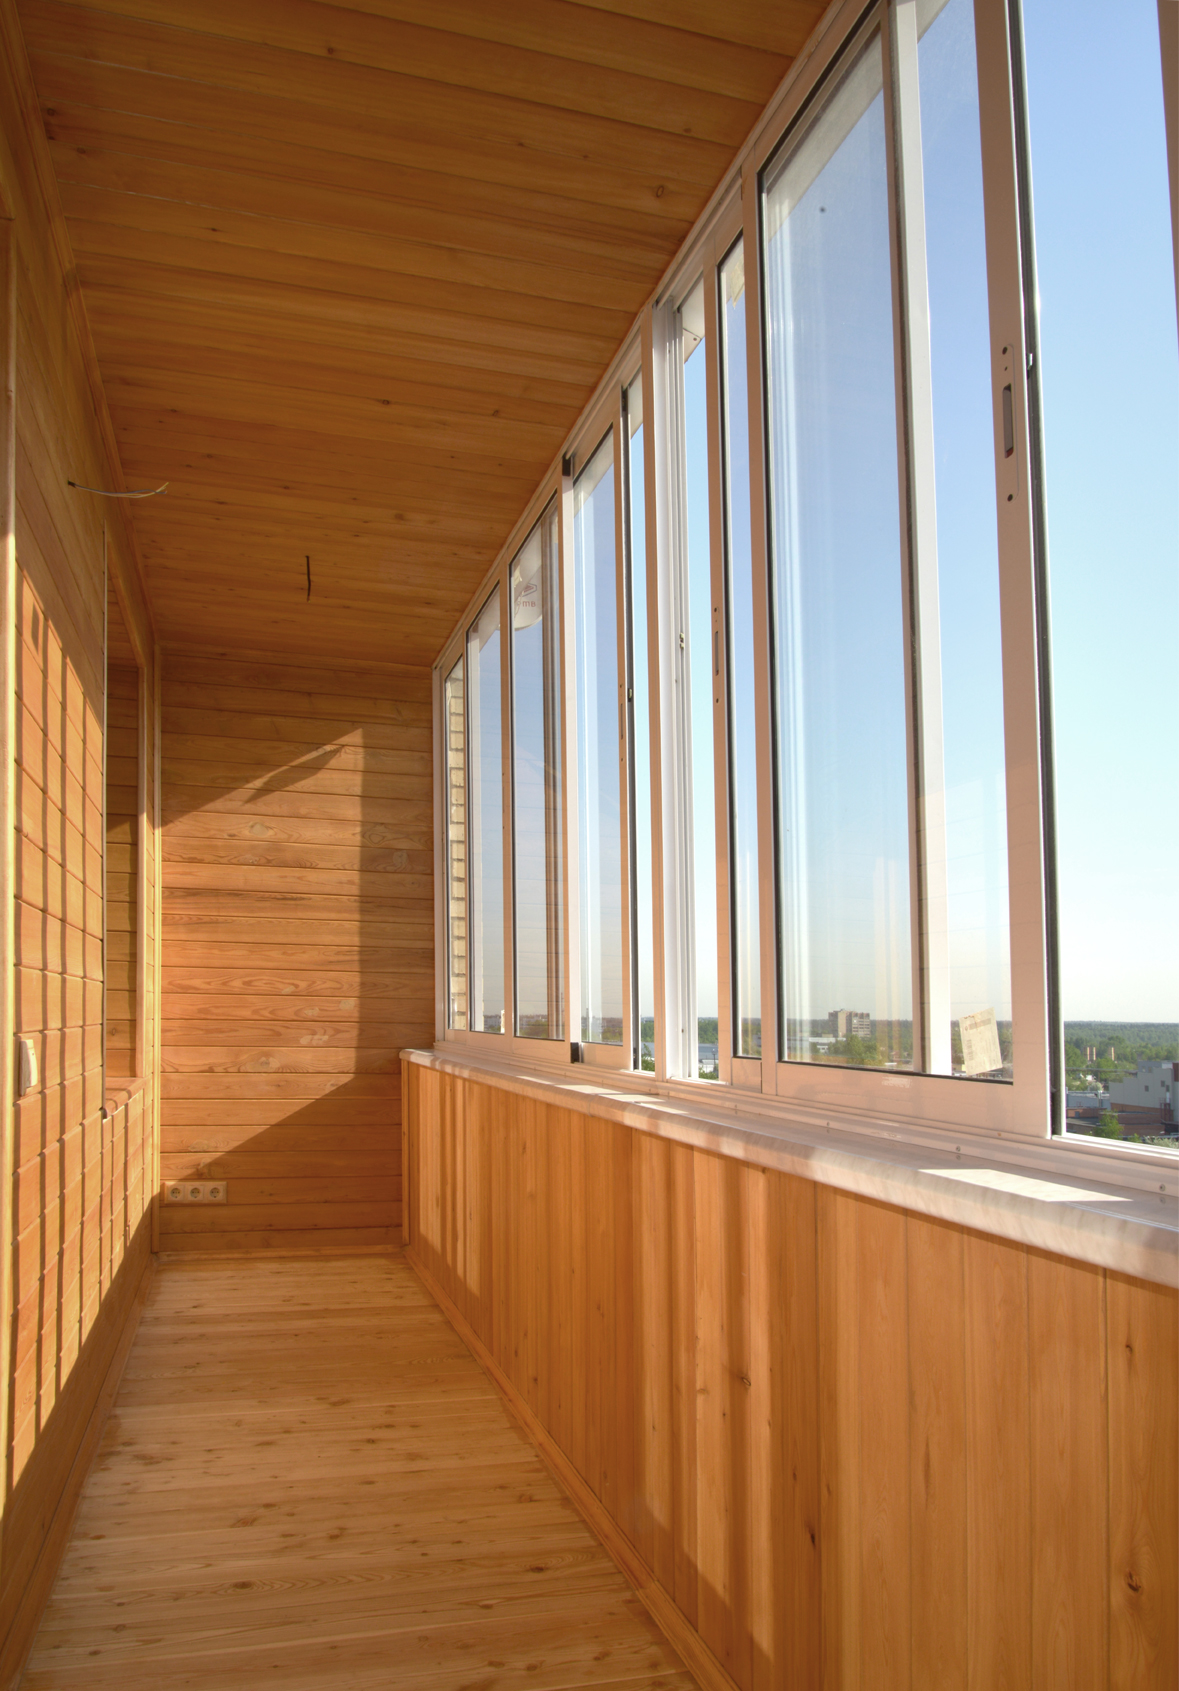
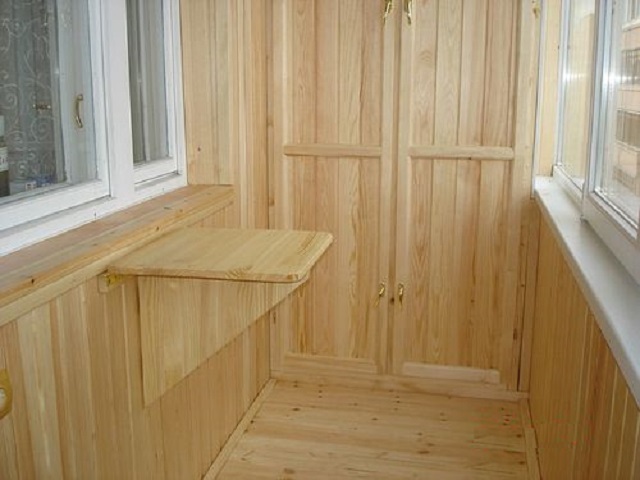
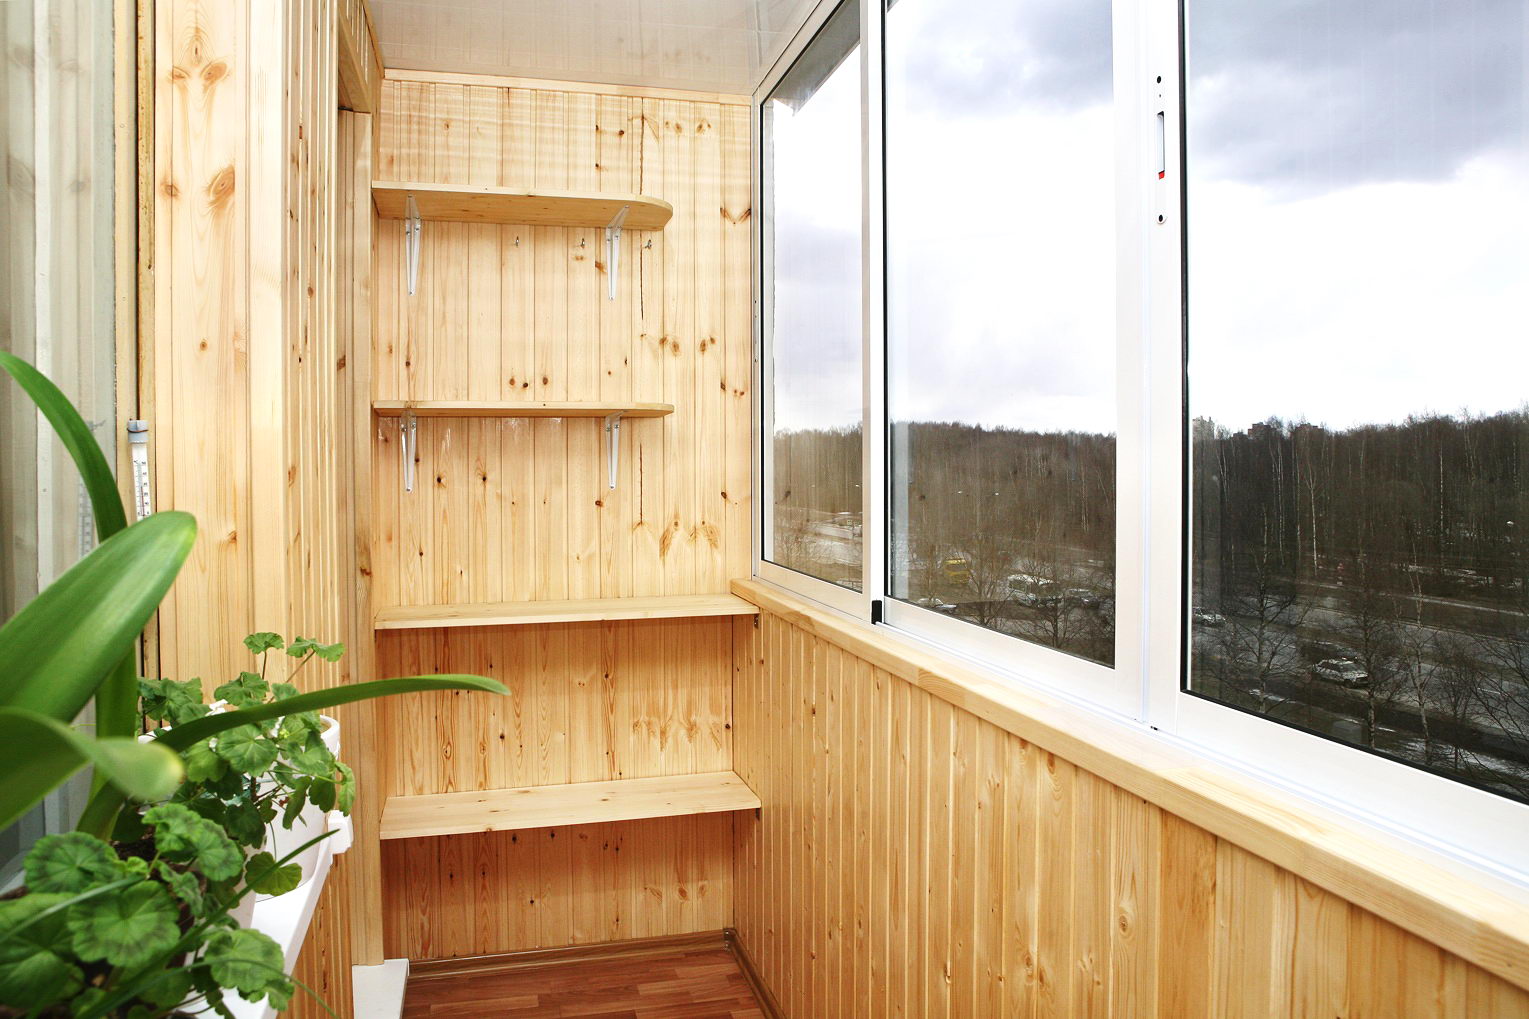
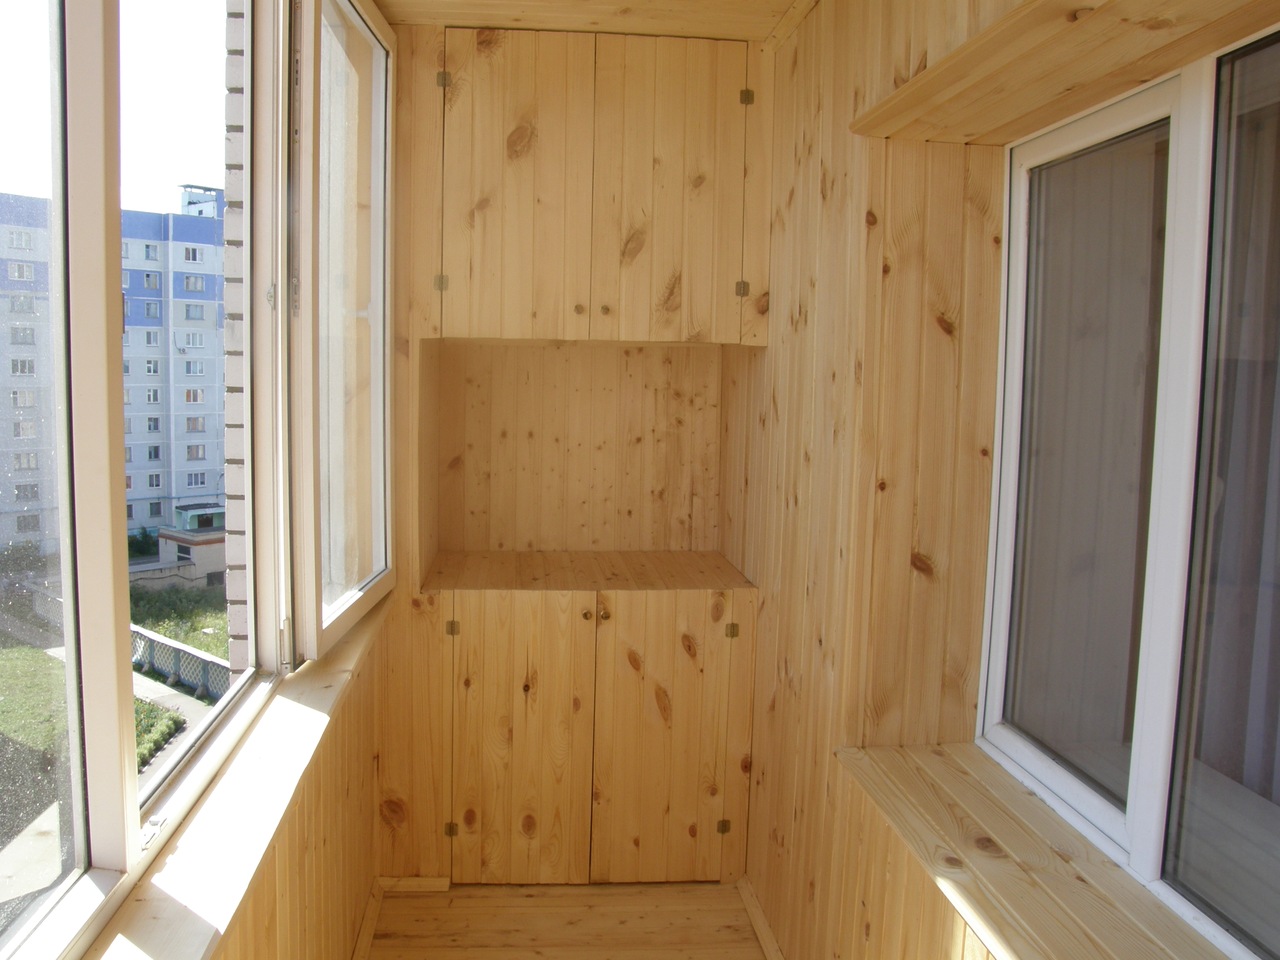
After registration of the space inside the loggia clapboard, the room completely changes its appearance. If you have done all the work carefully, now you can be proud of the work done!