Features of the interior of the bath inside using clapboard
Modern builders build baths from a variety of materials: bricks, blocks, panels, timber. For interior decoration usually use traditional natural materials. The atmosphere in the bath rooms is favorable due to their natural qualities.
Kinds
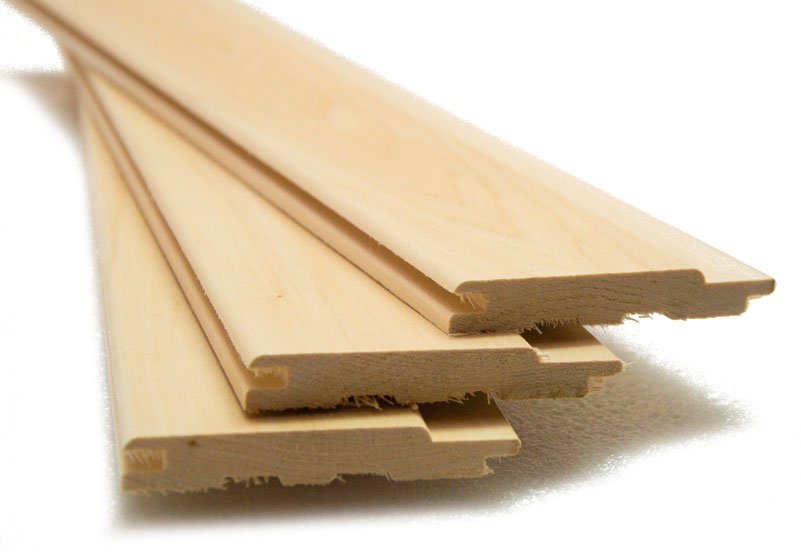
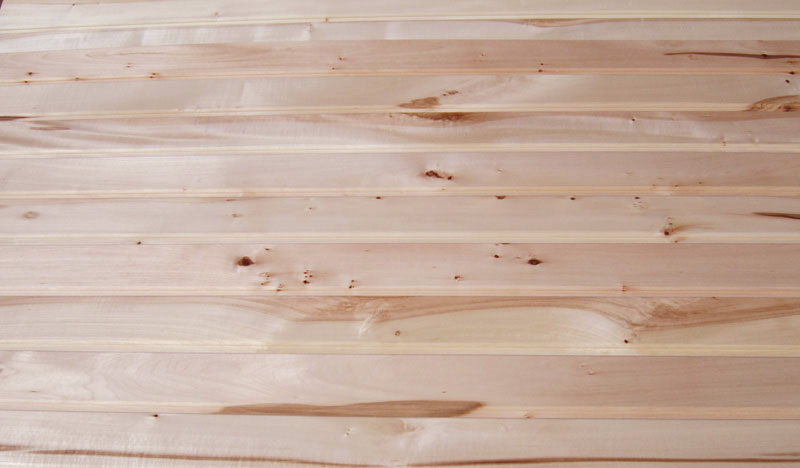
Prior to the start of finishing work, it is important to determine what types of products to sheathe of one or another room in the bath. The generalized characteristics of all types of lining are as follows:
- Breathable structure. Thanks to this property, fungus and mold are rarely formed on the clapboard, proper ventilation is ensured.
- Ecological purity. This material is completely safe for humans.
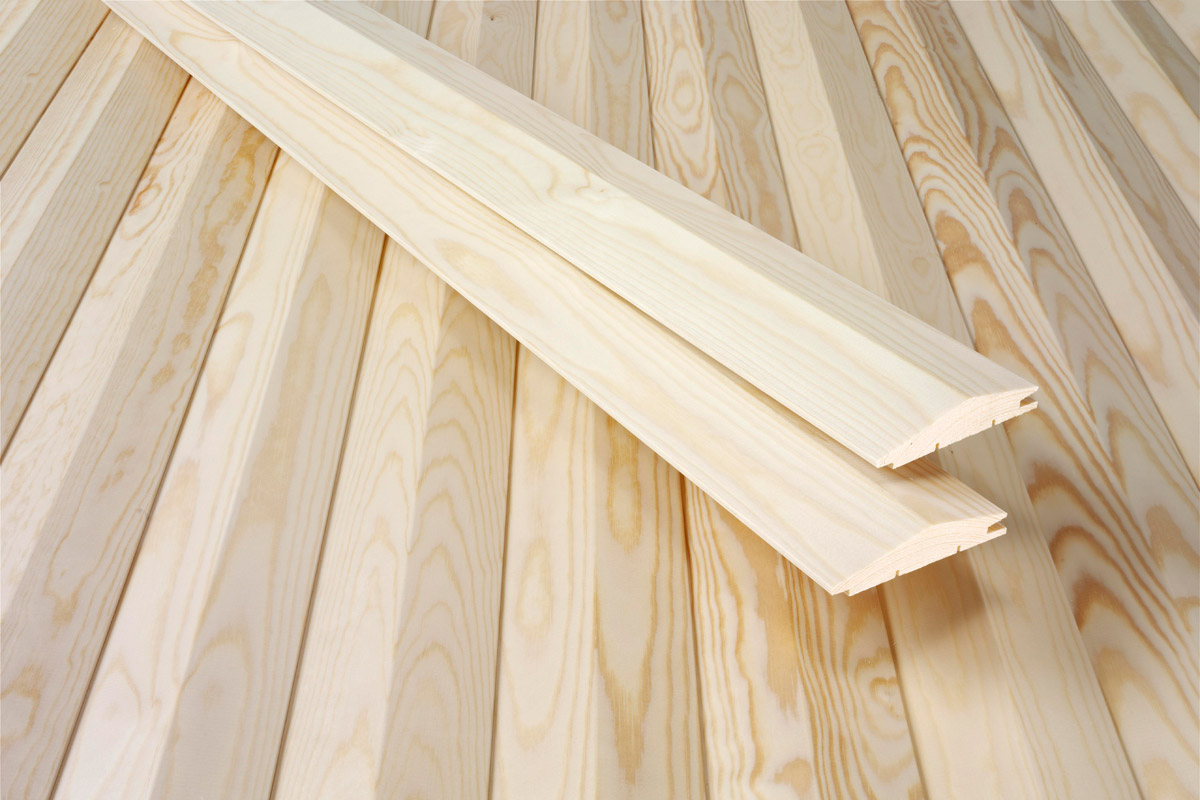
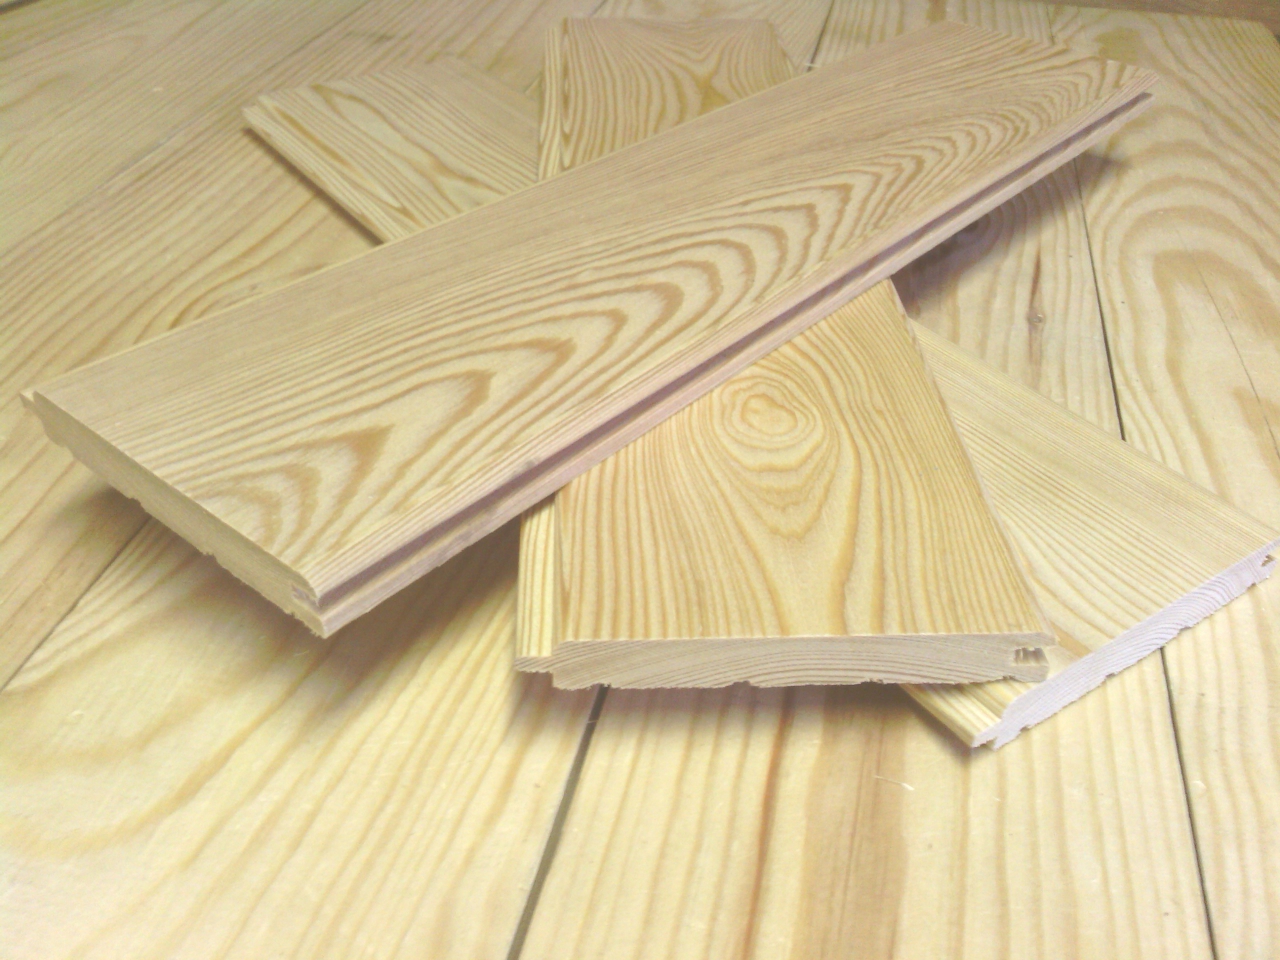
- Fasteners "crest-groove". At the dawn of the formation of the production of lining fasteners were "in the groove". To date, these options do not apply, as quickly fail.
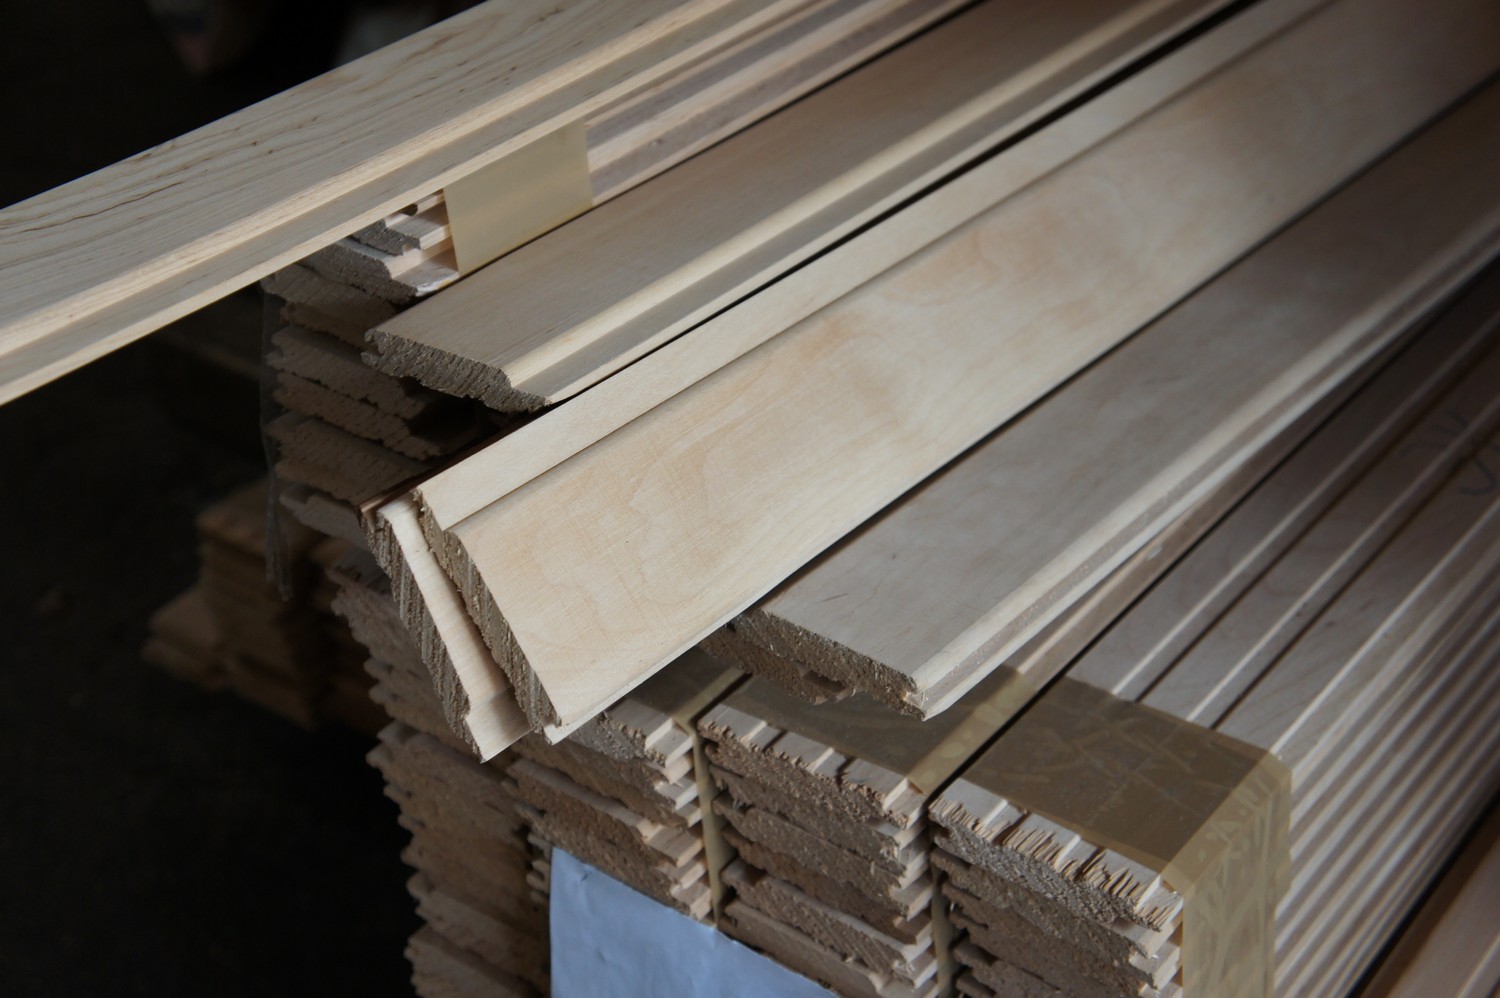
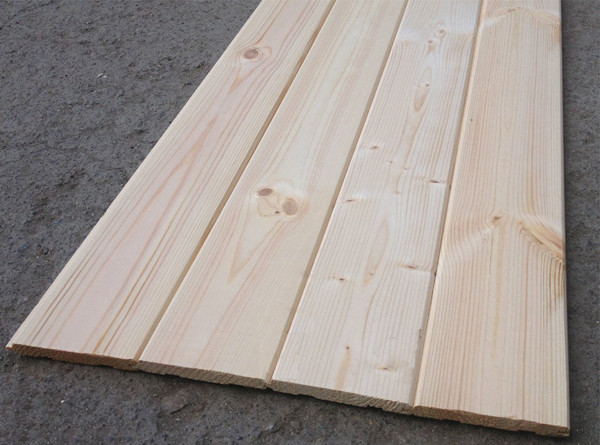
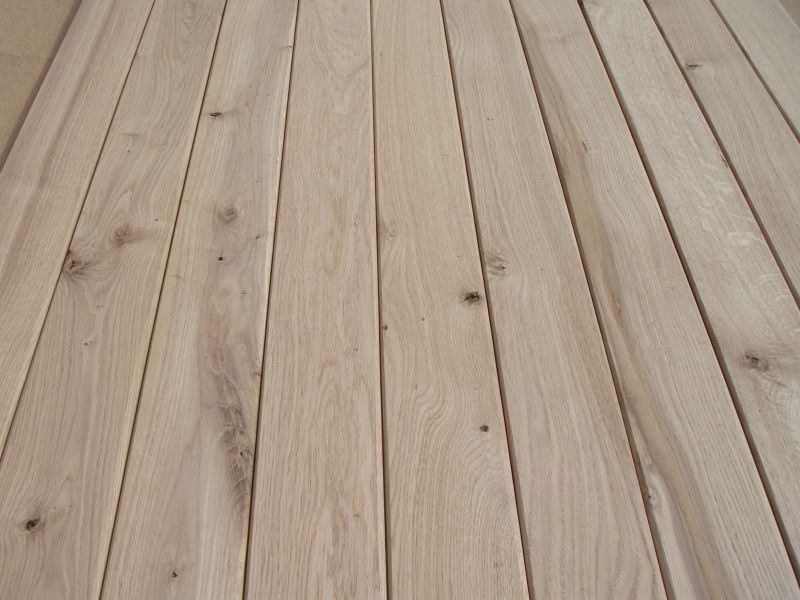
For covering the bath inside, you can use a panel of various types of wood.Uniform conditions for the material - it must be resistant to moisture, frequent and sudden temperature changes. When choosing a material, it is necessary to rely on the main criteria of the tree species.

Wood species for lining can be as follows:
- conifers;
- deciduous.
Choosing the material you need to understand for which rooms of the bath it can be used. The most popular types of lining for a bath are made from:
- cedar;
- alder;
- oak;
- ash tree;
- limes;
- pines.
Lime lining is considered the most suitable for facing the walls of the steam room. The structure of the material is porous, low density, the tree does not heat up from high temperatures. Lipa has healing properties, highlighting the air particles when heated. They are useful for the prevention of many diseases.
Lime tree is characterized by soft shades that do not change their color over the entire life cycle. The only drawback of lime is its porosity - the material absorbs moisture. The room should be well ventilated.

The aspen lining in comparison with a linden has more dense structure. Despite the hardness, the material is easily processed.The surface of the material does not penetrate a couple, does not absorb moisture. Under the influence of temperature difference, it only becomes stronger.
From aspen used to build wells. The water in them has remained clean for many years. Many craftsmen are advised to choose aspen paneling for the bath.
It is believed that aspen wood is able to relieve headaches, it also improves immunity, and also has antiseptic qualities.

Alder lining has good thermal conductivity and excellent resistance to water. The material does not undergo deformation at almost any temperature. Color alder lining - a nice golden-orange.
Characteristics of the material allow to clad both dry and wet bath rooms. Any additional processing for alder lining is not required. The alder acts on the human body as a fortifying agent.
Cedar lining is considered to be the ideal option for covering the bath space. Products are quite expensive, so they are rarely used for bath trim. Cedar wood is durable, resistant to moisture. Another positive quality is the respectability of its appearance.
Bactericidal properties as well as the ability to clean the air are known from the cedar's healing qualities. The material does not change its original parameters for a long time. In the rooms of the bath the pleasant aroma of cedar needles is preserved.

Another option for the lining framework is larch. Its installation is complicated, since the board is fragile and cracks during processing. Larch is resistant to moisture. After some time, the finish acquires the necessary strength, but still requires additional processing. Otherwise, the material will lose its natural shade.
Larch is a needles, but it does not emit resin, therefore it is suitable for decorating steam rooms. It can be used for walls, and for the ceiling, and for the floor. The material is universal, it can be used both inside and outside the bath. The healing qualities of the material are the same as those of other conifers.

Pine wall paneling is often used for finishing baths inside. The price of the material is available, but it can not be used in all rooms. For example, in the steam room from it will be released resin, which will cause burns on the skin when it hits.
However, in the bath rooms with a normal temperature, pine clapboard will create a special microclimate. In rooms with normal humidity, lined with clapboard, there will be forest scents.The appearance of the material will be maintained for a long time. Deformation processes may occur due to some hygroscopicity of the material.
Oak lining is famous for durability and high density of wood. Oak is a beautiful and rich material. The oak finish saturates the premises with ethereal aromas that suppress pathogens. Oak has high resistance to moisture and temperature extremes. Oak is suitable for any room bath. Lining of it is very different in color.
Any type of lining has a class division. Varietal quality is determined by some general criteria, depending on which experts choose the methods of finishing work.

Finishing methods
Finishing the bath inside the clapboard with your own hands is possible in two main ways:
- vertically;
- horizontally.
Each method has its advantages and disadvantages. Consider these qualities in more detail. For example, a widespread vertical method of installing panels in the steam room. The convenience of the way is that the board is faster to mount. The total cost of installation in comparison with the horizontal arrangement of the boards is lower.
With the vertical arrangement of the boards, fastenings are more secure. Condensate will easily flow down. By the way, the same condensate will easily rise up with the steam. For a steam room, this is good, since more heat is accumulated in the steam room. At horizontal fastening of a bar the same free movement is not observed. Vertical paneling is also justified for dry-steam baths.
Lining, installed vertically, shows a lower percentage of drying out and subsequent expansion when wet, which is convenient for washing. In addition, this arrangement will visually increase the area of a small room.
The advantages of installing the wall paneling horizontally are:
- easy replacement of material if necessary;
- horizontally mounted boards dry out faster and, therefore, will last longer;
- horizontal mounting provides better internal air circulation;
- in horizontally mounted boards, rodents are less likely to infest;
- make the device horizontal trim easier.

Negative sides of the horizontal layout of the wall paneling:
- Different conditions for the elements of the skin, which will affect the overall condition of the appearance.Especially unfavorable conditions arise for the lower row adjacent to the floor.
- The complexity of the work, increased material consumption.
- The frame of the lathing for horizontal mounting is mounted on the lining bars, which reduce the size of the premises.
- Deterioration of conditions for natural ventilation of the room.

Negative sides of the vertical layout of the lining:
- uneven heating;
- unpredictable deformation;
- the occurrence of decay processes.
Installation work: step by step instructions
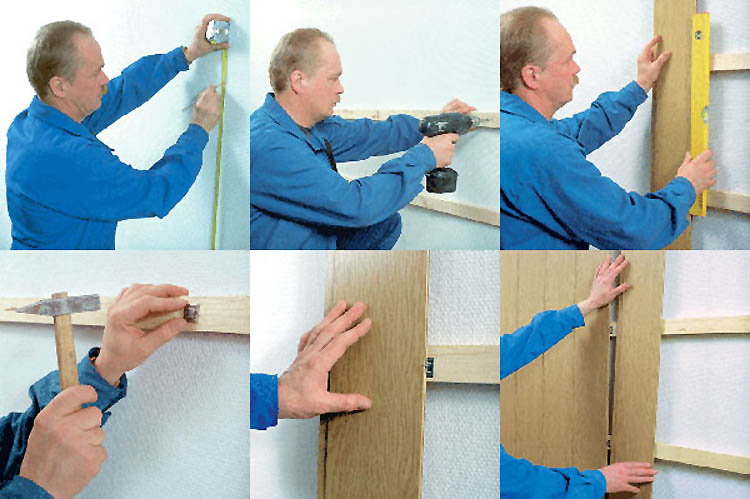
Before trim baths need to make the right frame. It must be treated with special solutions that prevent rotting. Cover the bars can be antiseptic impregnation. Lining boards should be nailed over the frame. It is possible to fix the clapboard on studs or clamps. This is a special mount in which the screws are twisted. Install boards need at some distance from the walls. The lamellas should be nailed close to the ceiling.
If you sheathe the inside of the bath, following simple rules, you can avoid premature deformation of the boards, as well as their expansion. To handle the walls near the furnace and chimney need other materials.It is also important to consider to ensure fire safety. Consider the technology of installing lathing, insulation, vapor barrier and ventilation for the bath more.
Crate
To decorate the bath clapboard, you will need lathing. In the bath should be kept warm, so under the crate you need to put insulation. For the batten, it is necessary to use bars of greater thickness than the existing thermal insulation material. The direction of the lathing should be perpendicular to the installed wall paneling. Between the bars it is important to keep the pitch 50-60 cm.
If irregularities occur during the installation of the batten, it is necessary to put linings under the bars. These parts are made of the same wood as the batten itself. Screws, plastic dowels or galvanized screws are used to fasten the bars to the wall.
The choice of fixtures depends on the material of the walls. For example, screws with plastic dowels are suitable for bricks and stones, and galvanized screws for wood.

Bar for crates requires careful preparation. Boards are necessarily treated with impregnations. Professionals advise initially, even on the scheme, to consider the correct location of the beam.The correctness of the vertical or horizontal mounting is checked by level and plumb.
For lining need high-quality ventilation. Usually they have two holes - one on the ceiling, the other at some distance from the floor. For the holes, a special mesh is provided. It is needed to the inside - under the wall paneling and crate, do not clog debris.

Warming
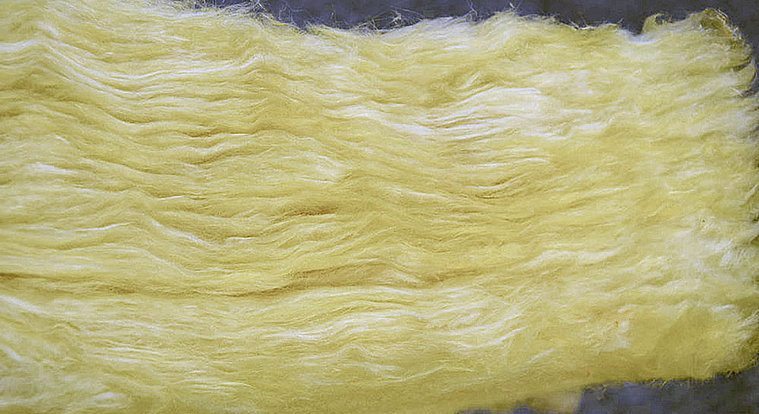
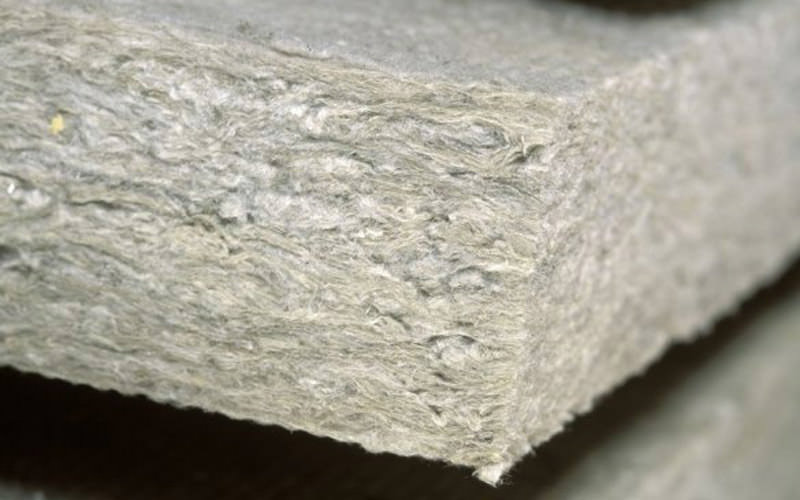
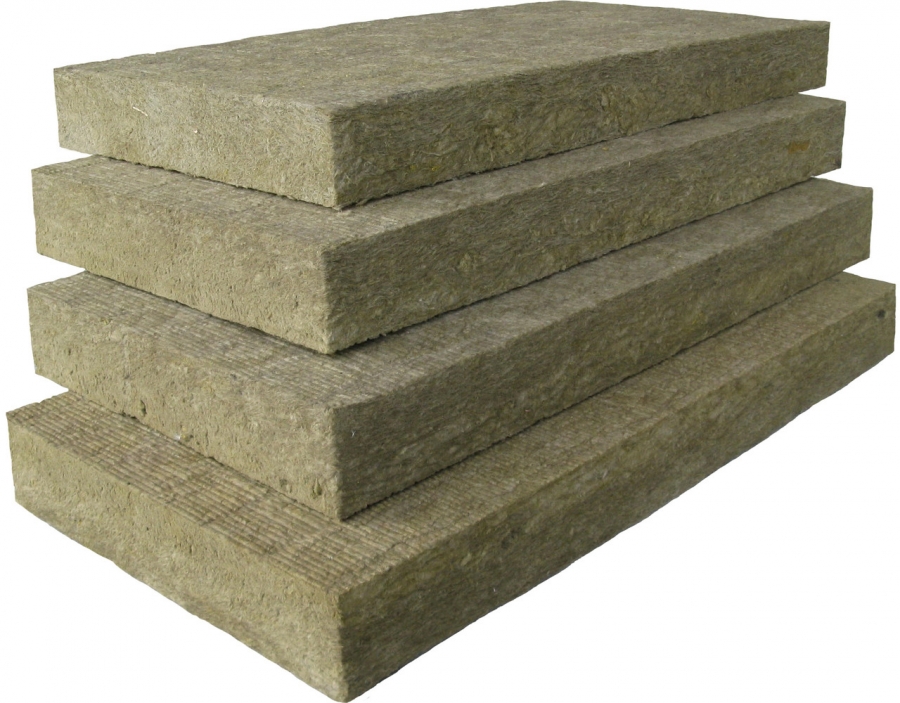
You can begin to warm the sauna or bath immediately after the construction of the walls. In most cases, the insulation is mineral wool. It is presented in the market in the most different types and modifications. It is necessary to pack the material, given the absence of gaps between the individual parts of the building. Otherwise, cold bridges are formed, and it is impossible to insulate a bath with high quality. Mineral wool is ideal, as in the winter it saves from freezing, and in the summer it protects from overheating. Today are issued:
- glass wool;
- slag wool;
- stone wool.
These materials are dense. Stone slabs are characterized by the most attractive properties, but the price of this material is the most substantial.
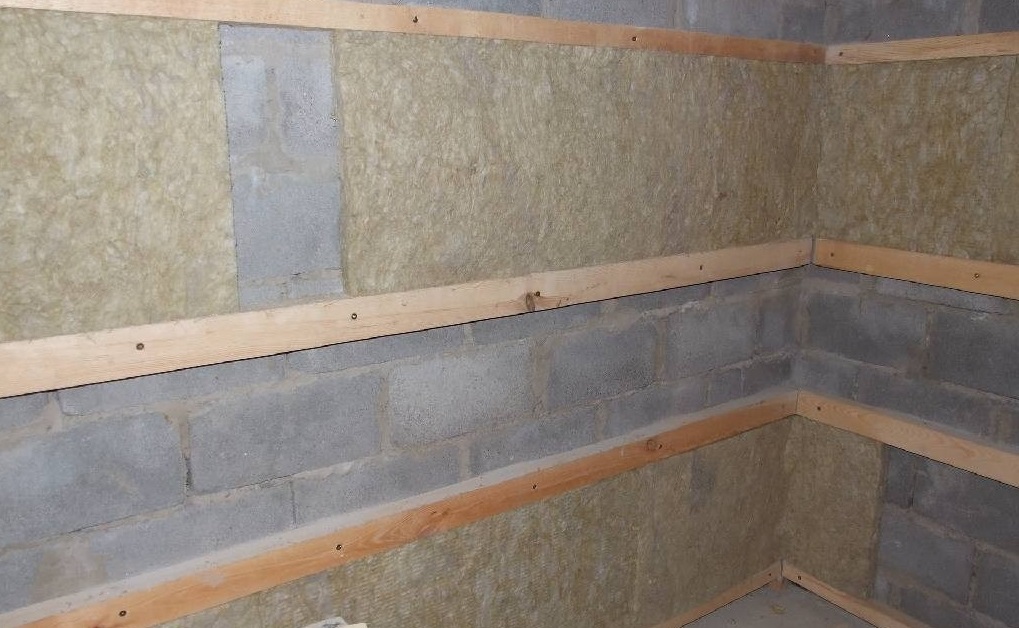
The selected insulation material is laid in the following sequence:
- First lay the mats in the gaps formed between the battens of the battens. Insulation is located from the bottom up, pressing each top layer to the bottom.
- Work should be carried out carefully, following the formation of gaps and cracks. If necessary, the mats are cut with a knife.
- For work, use protective equipment. They must ensure that there is no wool on the body, hands or eyes.
Mineral wool is a good heater, but it absorbs moisture, and there is plenty of it in the bath, so a vapor barrier is needed to protect the heater.
Vapor barrier
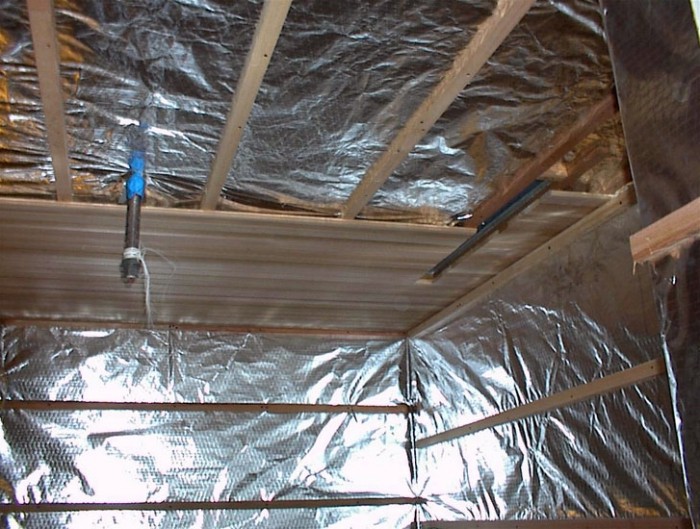
Asphalt material is used for vapor barrier. It is on sale in stripes, which are mounted in a strictly horizontal direction during installation. Works should start from the bottom up. The material is fixed by a construction stapler with overlapping strips of about 10 cm. If the overlap is not foreseen, moisture will penetrate into the skin, the insulation will deteriorate, and fungus and mold will appear on the walls.
Another option of vapor barrier is a special protective foil. This vapor protection can be glued together with self-adhesive aluminum tape. Under the roof and on the floor are made releases of foil about 10 cm in size.

Wall mount
Before installation, the paneling must be held at least one day inside the bath. It is believed that in this way the material is better adapted to the internal atmosphere of the room. Installation experts advise starting with the most inaccessible angle.
Experts advise to arrange the first board with a spike to the inner edge of the corner of the wall. This board will be a reference for all subsequent slats. Therefore, you need to install it, focusing on the performance level. Secure the trimmed bar to the trim panel with screws. The caps of the screw should become invisible after installing the decorative corner. Kleimer must be installed in the protruding edge of the groove. Then the screws are nailed to the battens. Each subsequent board is inserted into the groove against the stop of the fixed element. Boards are also fixed with clamps to rails.
The last board of the row has to be cut, since it is often simply customized in width. Attached trimmed board by analogy with the first.
All other material prepared for the walls is fixed similarly. At the same time, special finishing nails are installed in the corners, at the door and window jambs.The caps of such nails with copper coating and small, therefore, are usually inconspicuous and do not spoil the overall look.
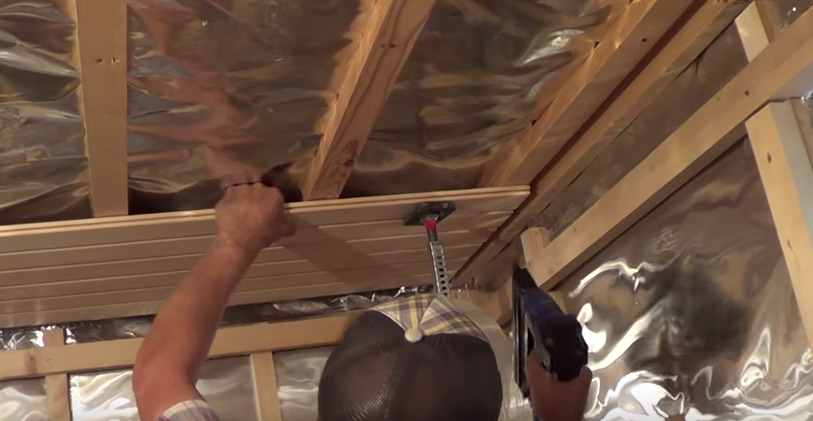
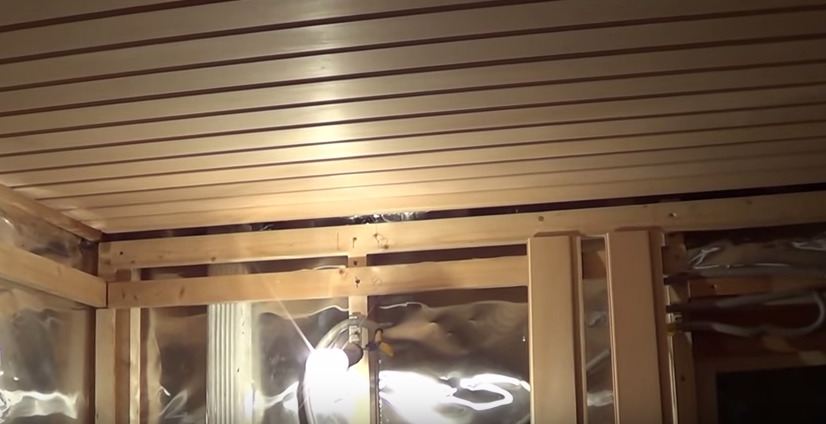
Headliner
The best material for the ceiling construction is wood. The wooden ceiling can be panel, decking, hemming. Often used the last option, in which the beams are sheathed from the bottom boards. A vapor barrier is laid over them, and a heater is laid on top.
The headliner of the bath starts from the entrance to the room. Experts recommend using small nails and clamps to fix the panels. The method with cleats is preferable, and this limitation is connected with a sufficiently serious load of the material mass. Fastening the last board is carried out with nails without a cap, which are hammered with a special tool (doboynik).
The place where there will be a nail without a cap is treated with sandpaper. Between the ends of the last panel on the ceiling and the wall of the bath should remain a small gap, while the wall covering should tightly adjoin the headlining. This will ensure natural ventilation.


Doors and window slopes
Doors are trimmed with boards prepared and cut to the desired length. For doorways need platbands. The cladding device may be made of plastic. In the complicated version it is assumed the device of a wooden frame with the subsequent decoration of the clapboard.
The doors in the rooms of the bath, as a rule, single-leaf, open to the outside. The canvas itself, as a rule, is made of planks. Outside apply upholstery materials. The space between the slope and the door is filled with thermal insulation. This will eliminate heat loss through the slopes. Sauna windows are usually installed in external walls. The area of the windows may be different. Different ways of opening windows. Window frames can be double or single. Important is the tightness of the glazing.
Useful recommendations
Cladding clapboard - the process is simple. But, as in any work, this also has its own nuances. For example, when calculating lining it is necessary to lay a stock, because when cutting, a manifestation of marriage is possible. For the simplest calculation, divide the sum of all areas to be finished by the area of one panel. Increase this value by 20 percent.When finishing the sink, it is better to fix it vertically. Thus, the moisture will be less in the grooves. For fastening panels use nails 15-20 mm. To drive into the groove of the Klyimer they need to be careful. The integrity of the board is easily damaged by careless movement.
It is recommended to impregnate even the most resistant wood with special impregnations. Boards will not fall under the aggressive influence of the environment, if you choose the right protective coating. On sale there are a lot of money, but it is better to choose one that will not have a harmful effect on a person. It is also important to understand that such solutions are designed for certain conditions. For example, in order for the board not to darken, special antiseptic agents will be needed. They will retain the original quality of the material. Also used for processing wax or acrylic oil. These tools are good for protecting steam rooms, washing. For the waiting room, experts recommend a matte varnish on a water basis.
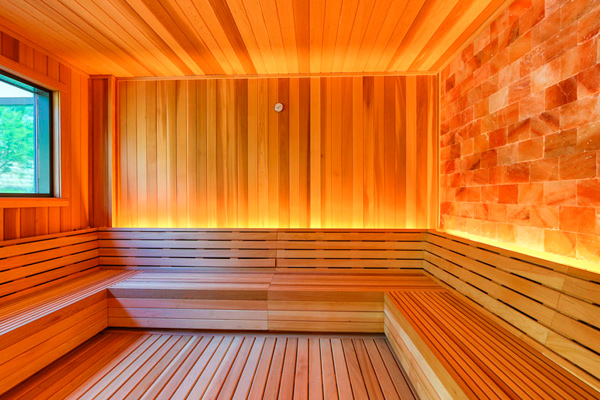
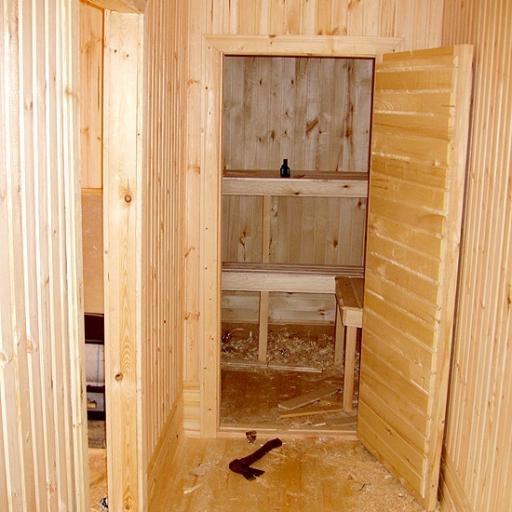
Design Ideas and Examples
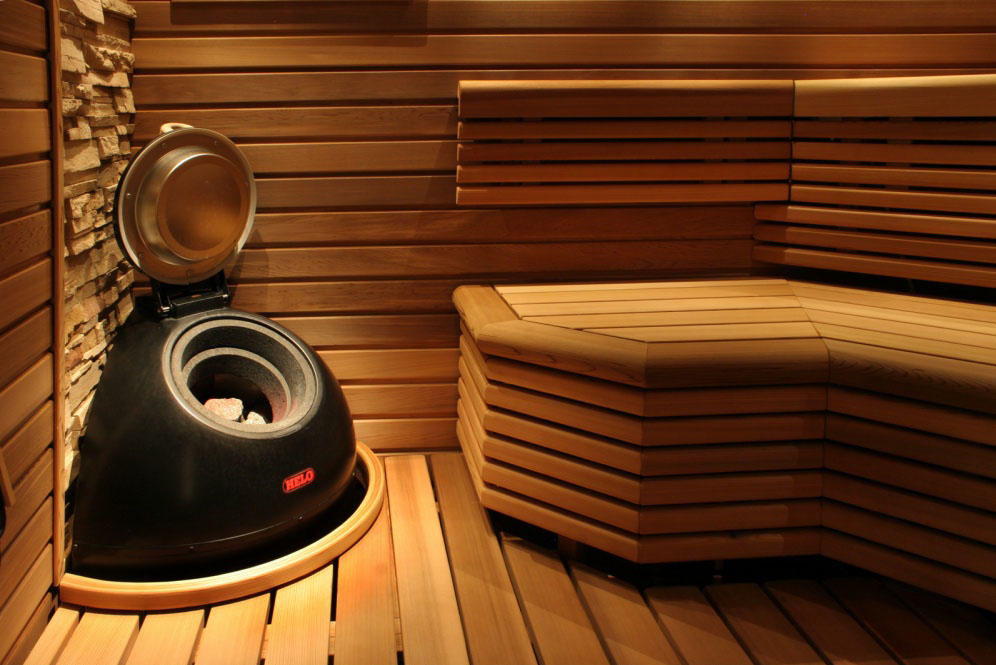
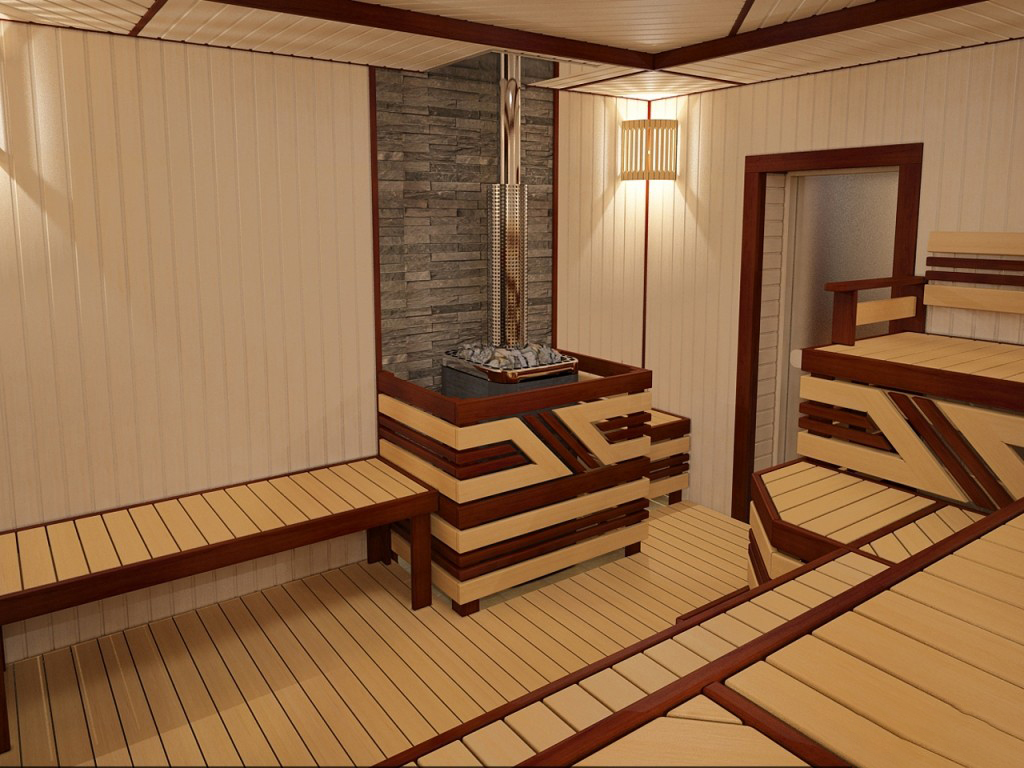
Interior finish bath, a professional project. It is possible to build such a thing on your own, you only need to carefully study the modern design trends.
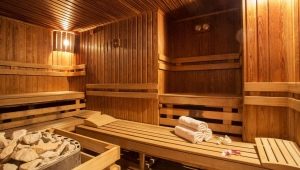
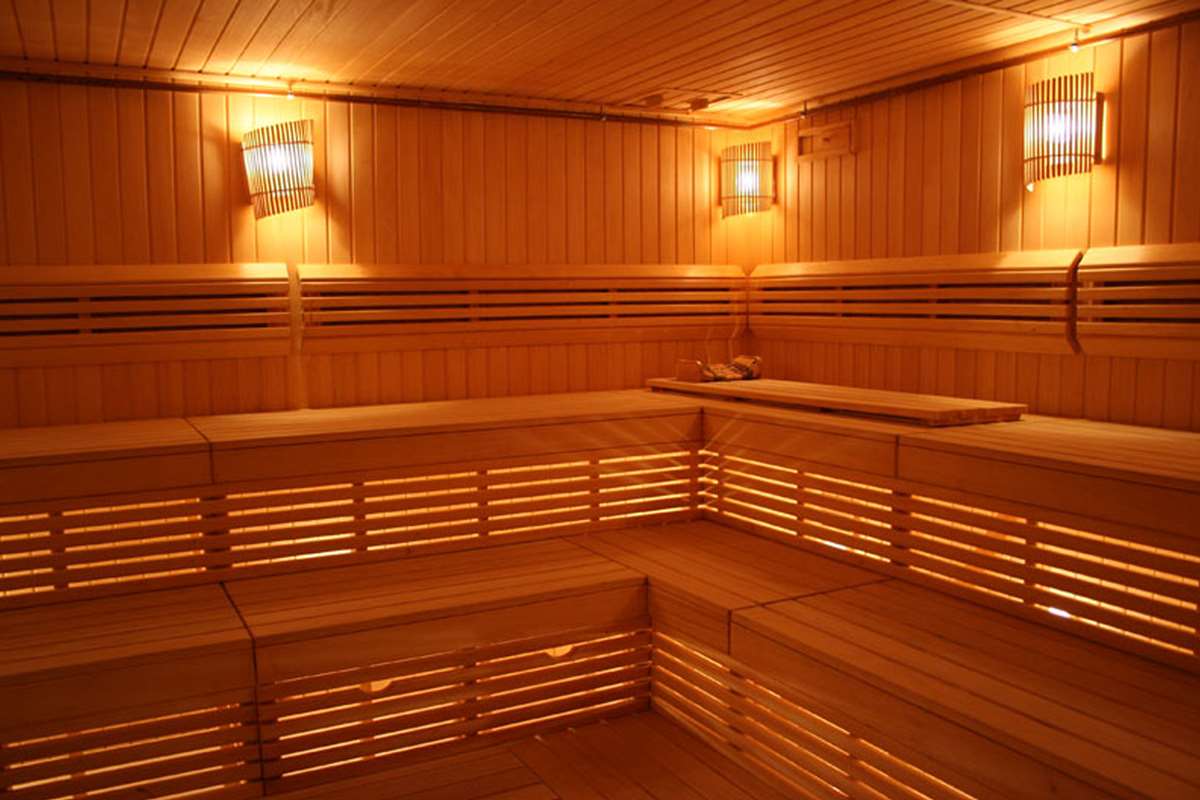
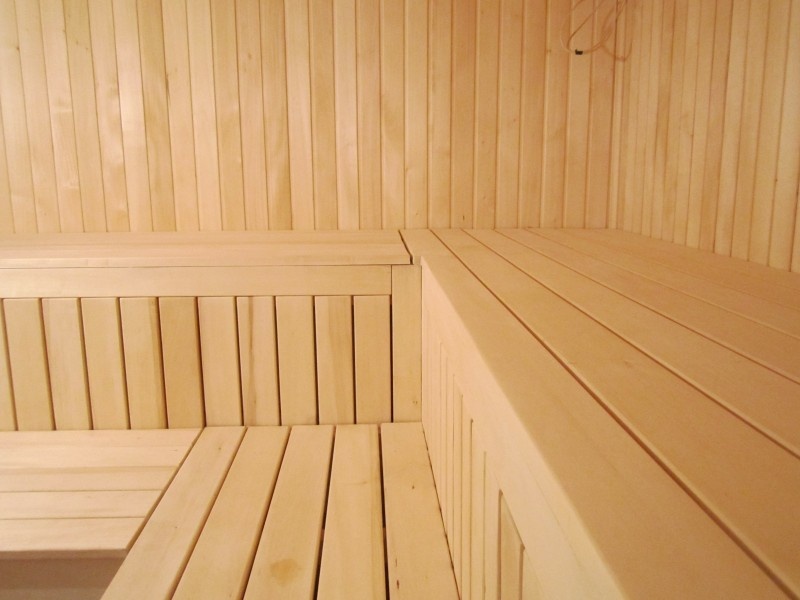
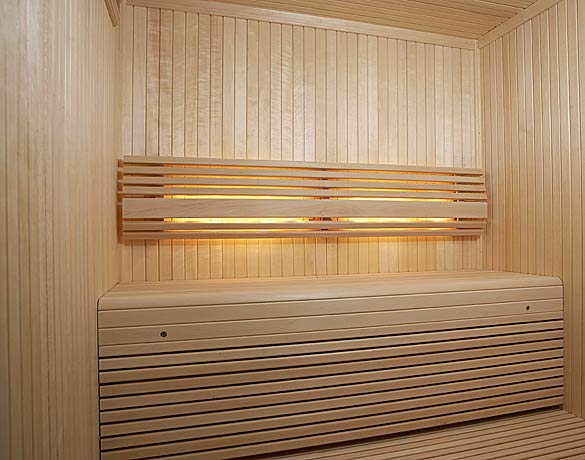
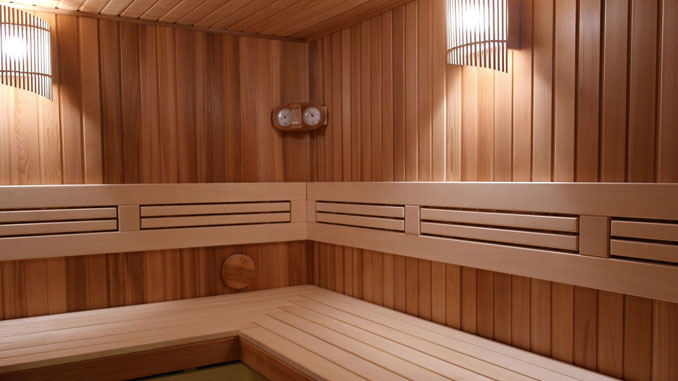
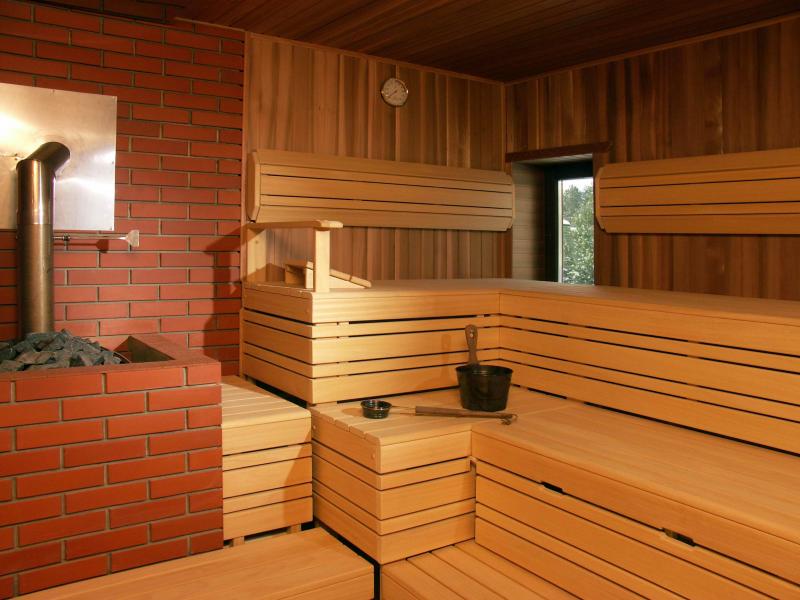
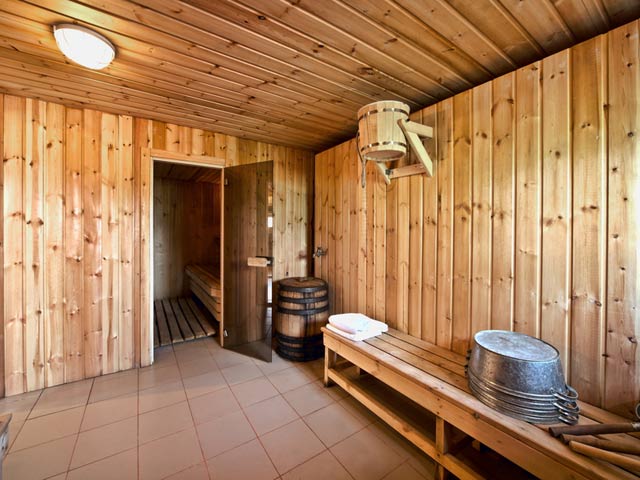
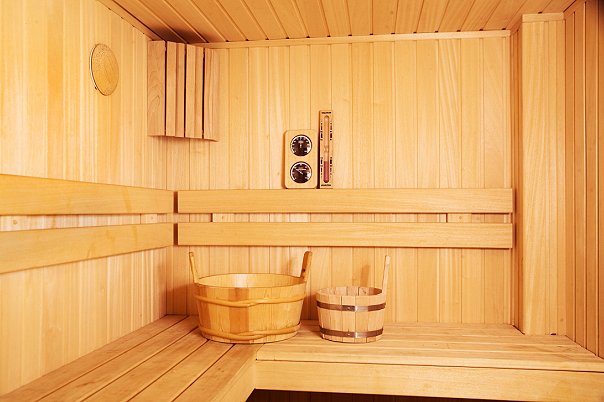
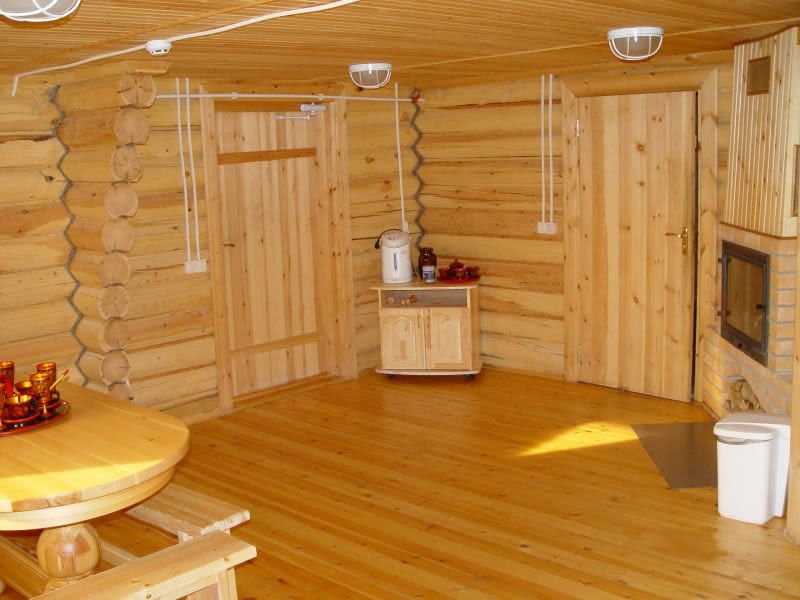
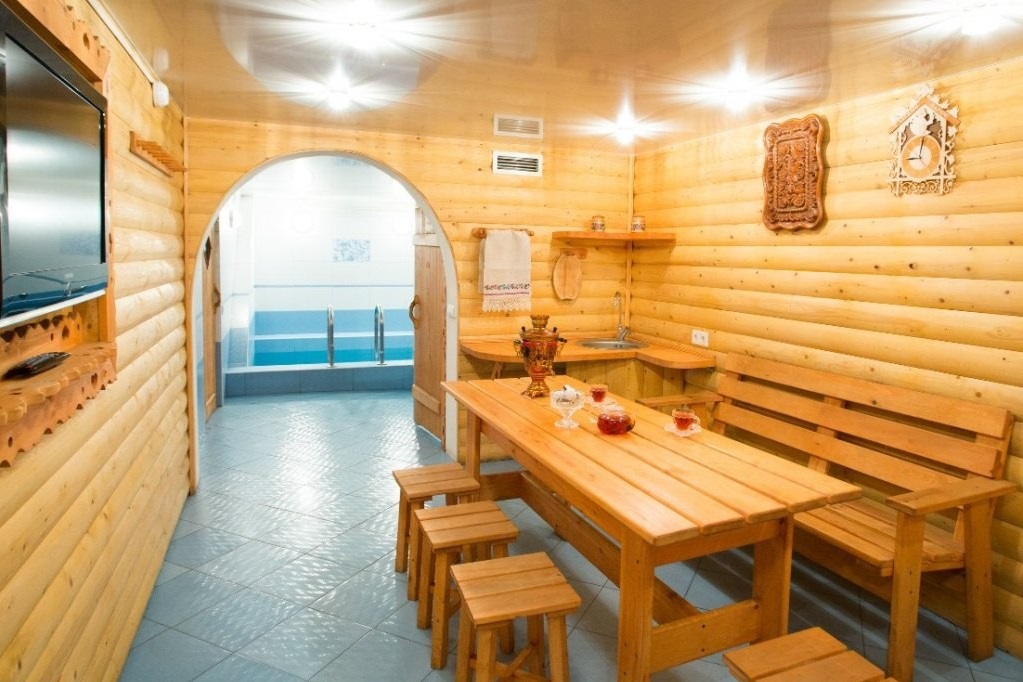
This photo shows the interior of the bath in a rustic style.

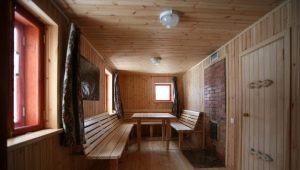
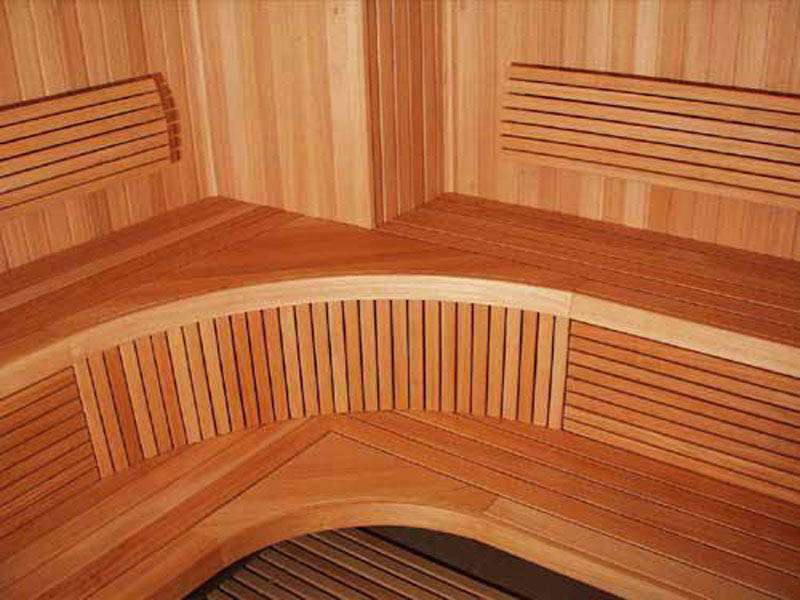
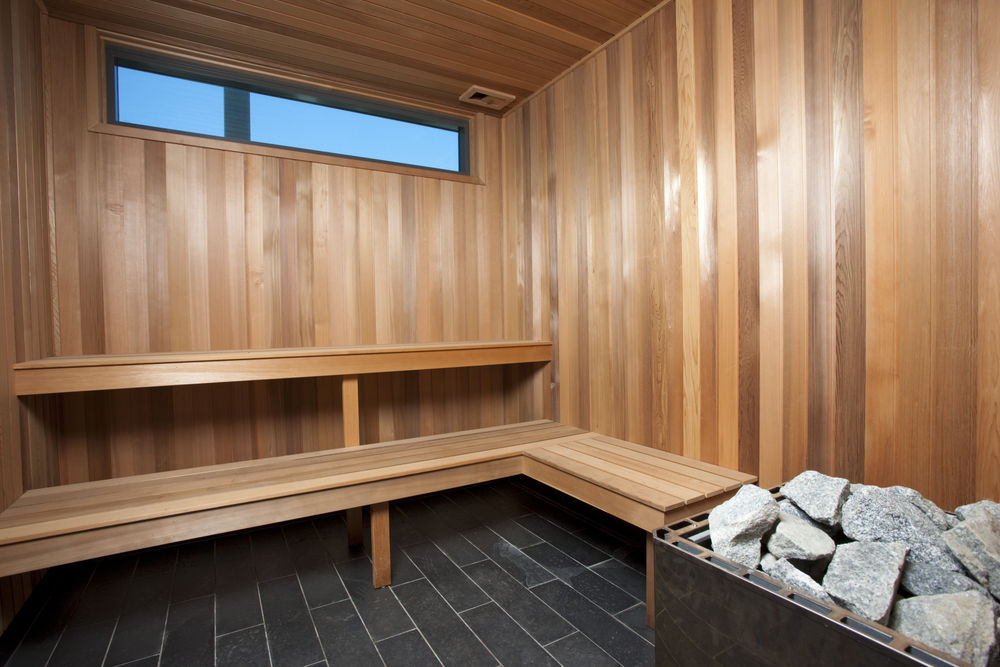
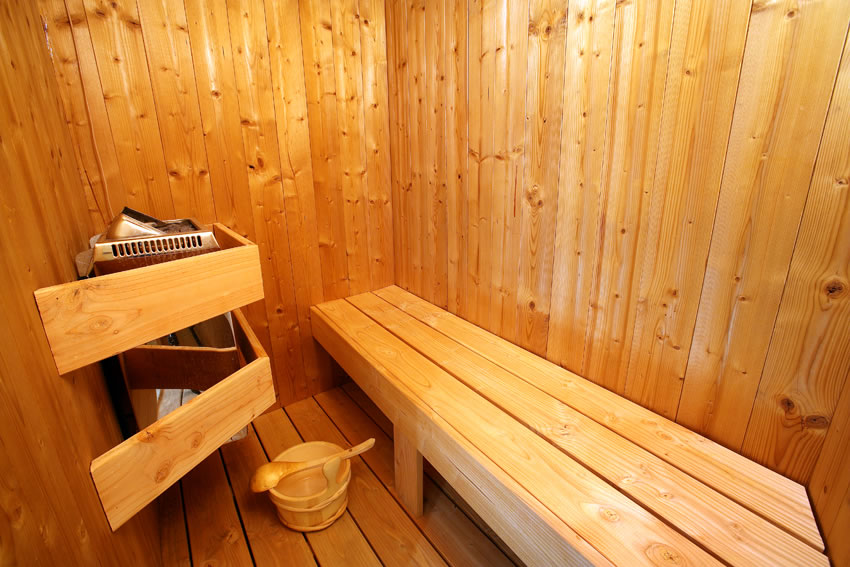
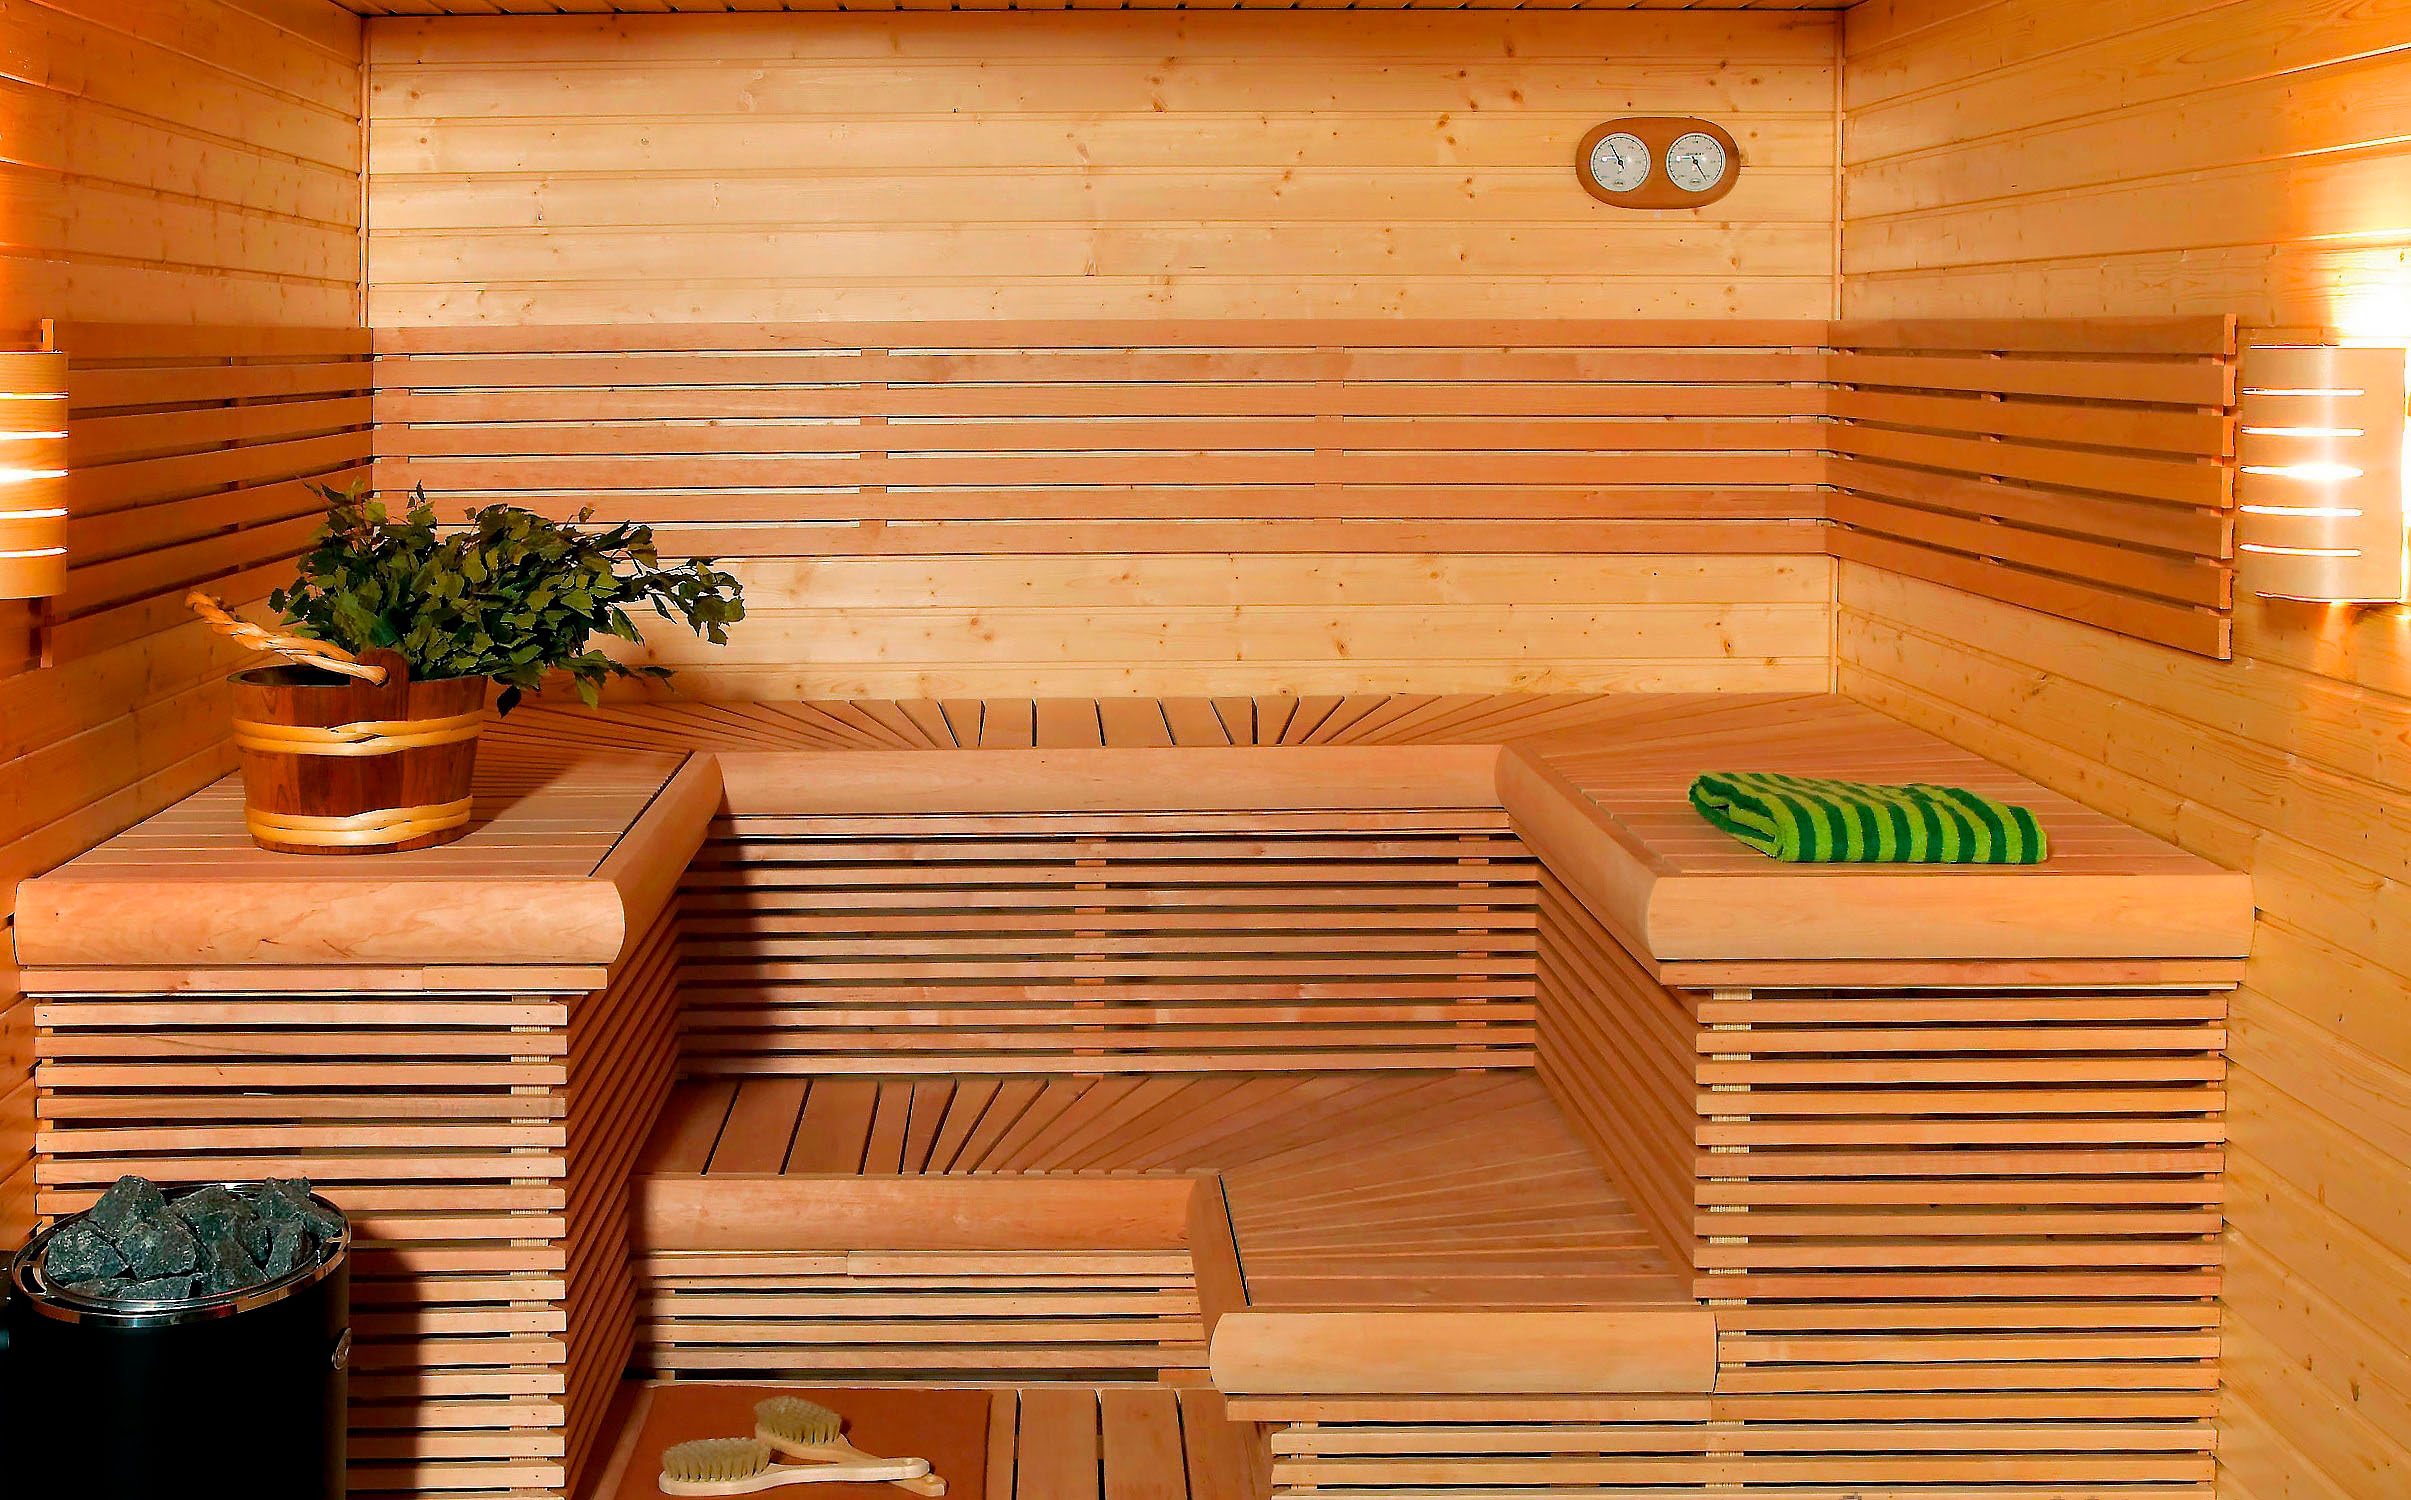
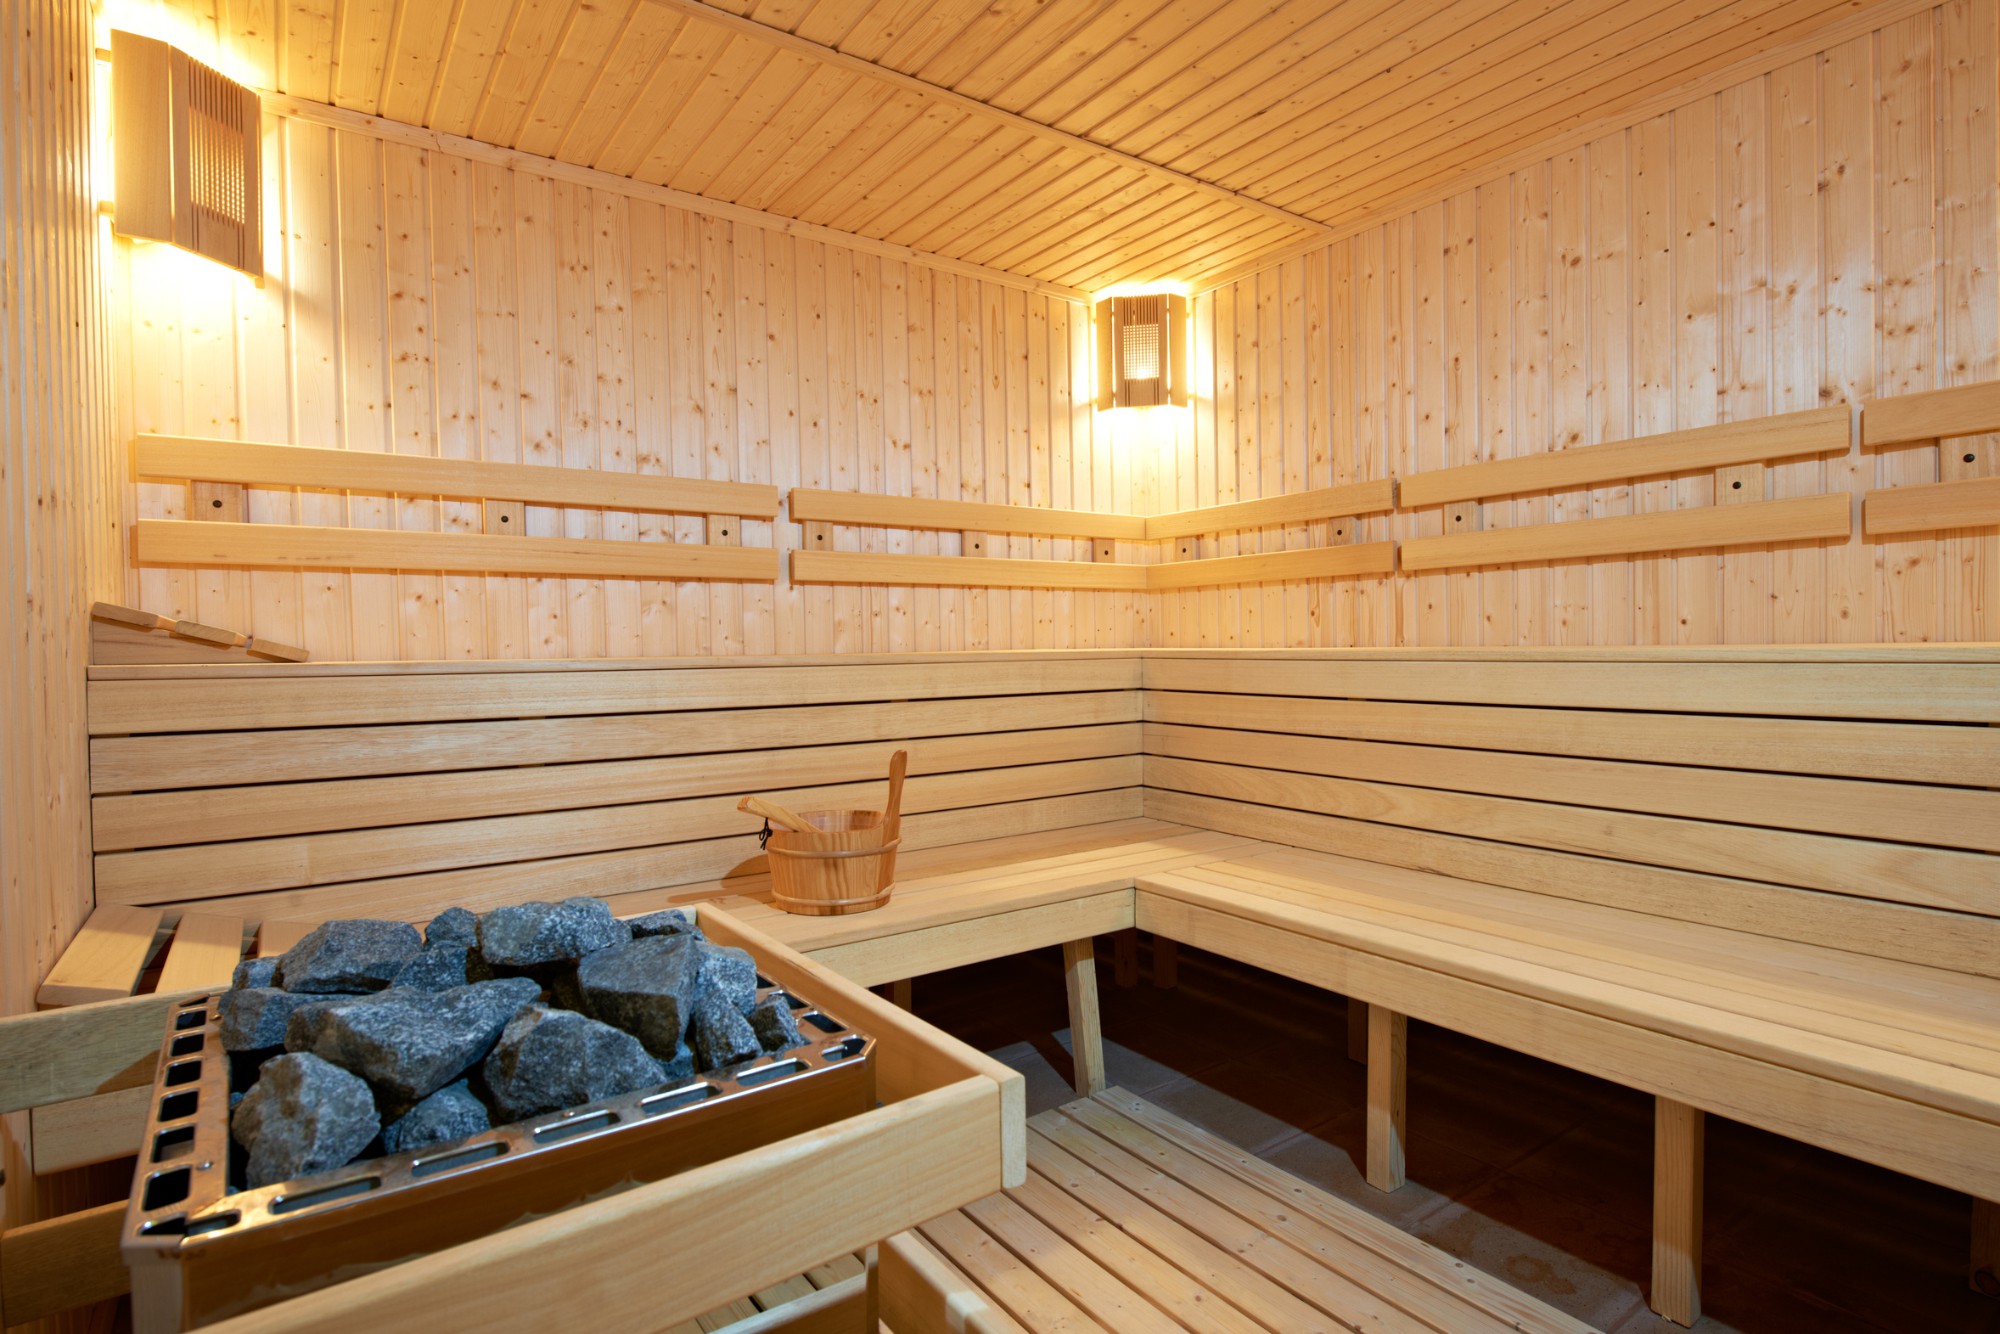
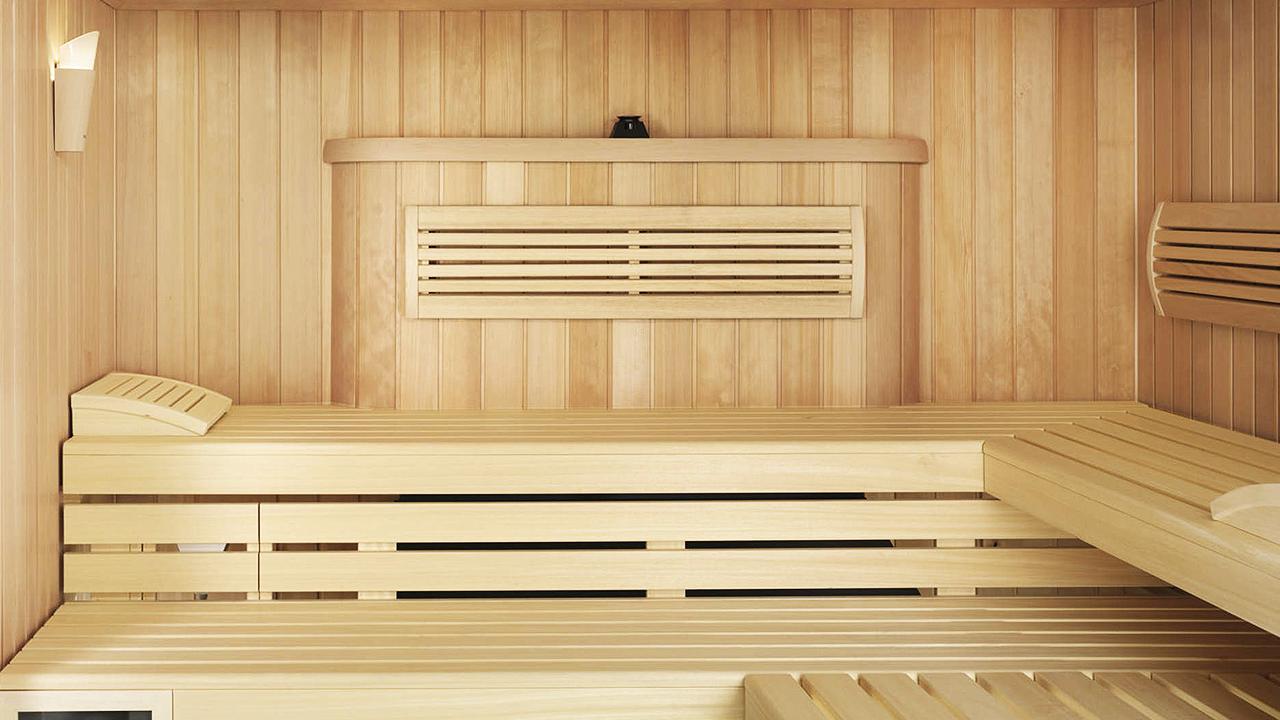
The classic version of the design space for the rest.
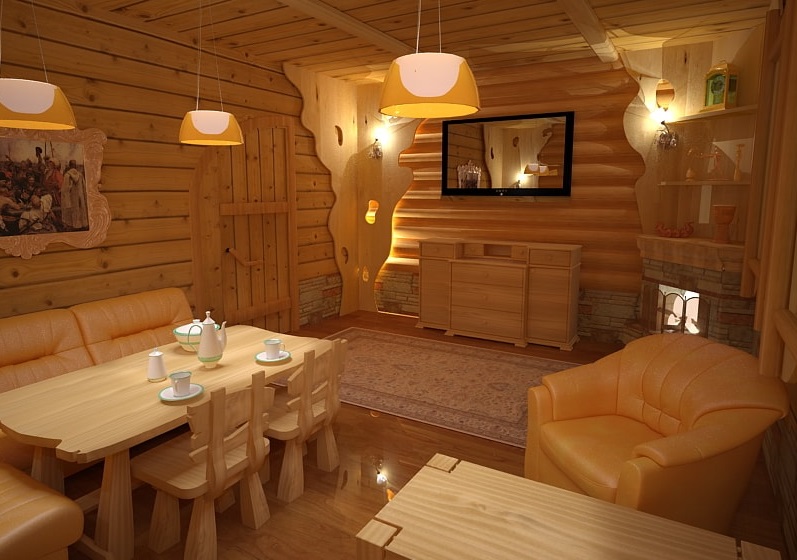
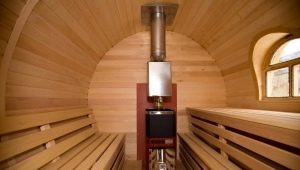
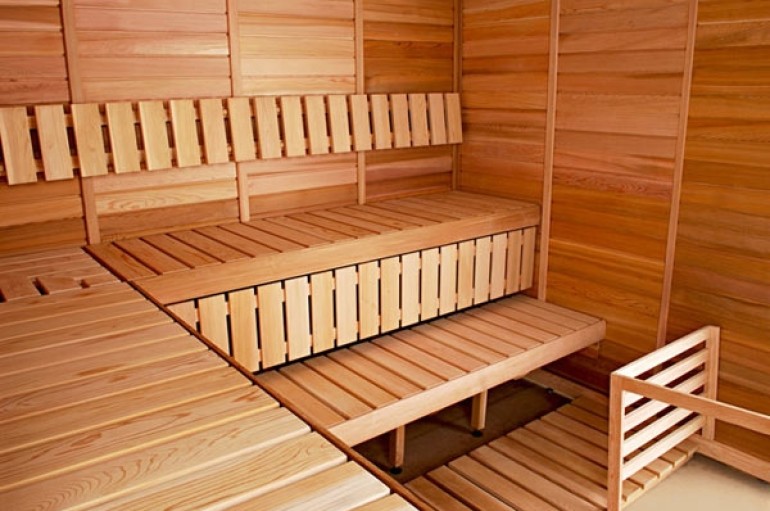
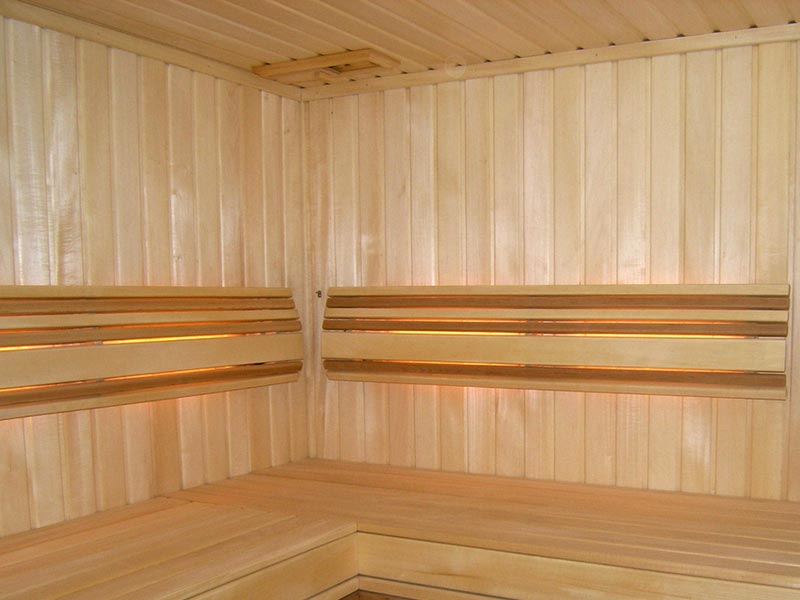
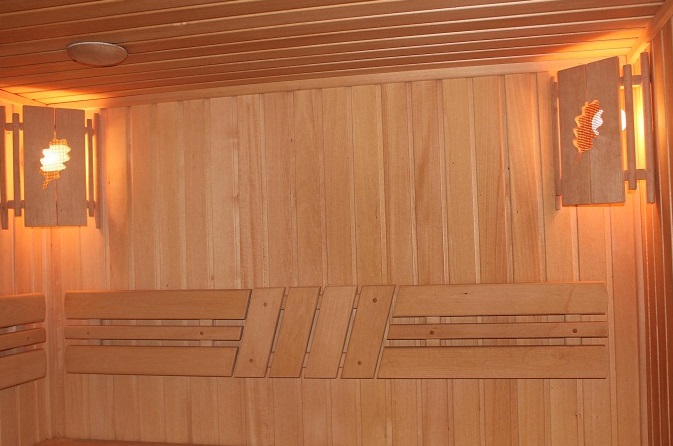
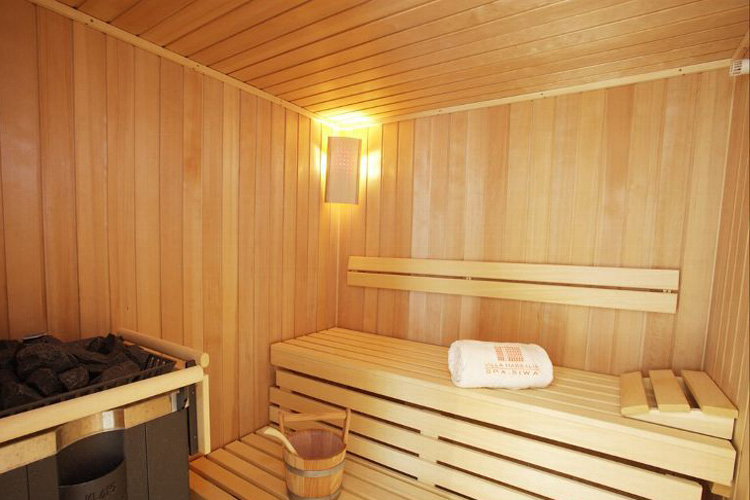
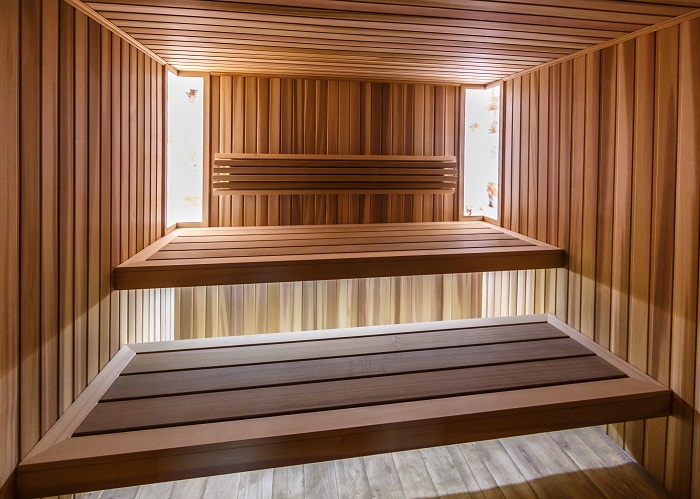
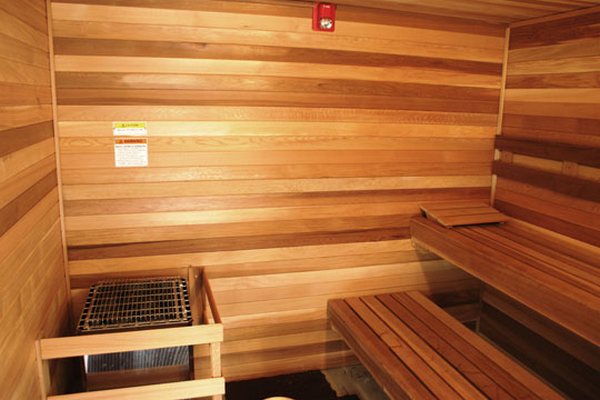
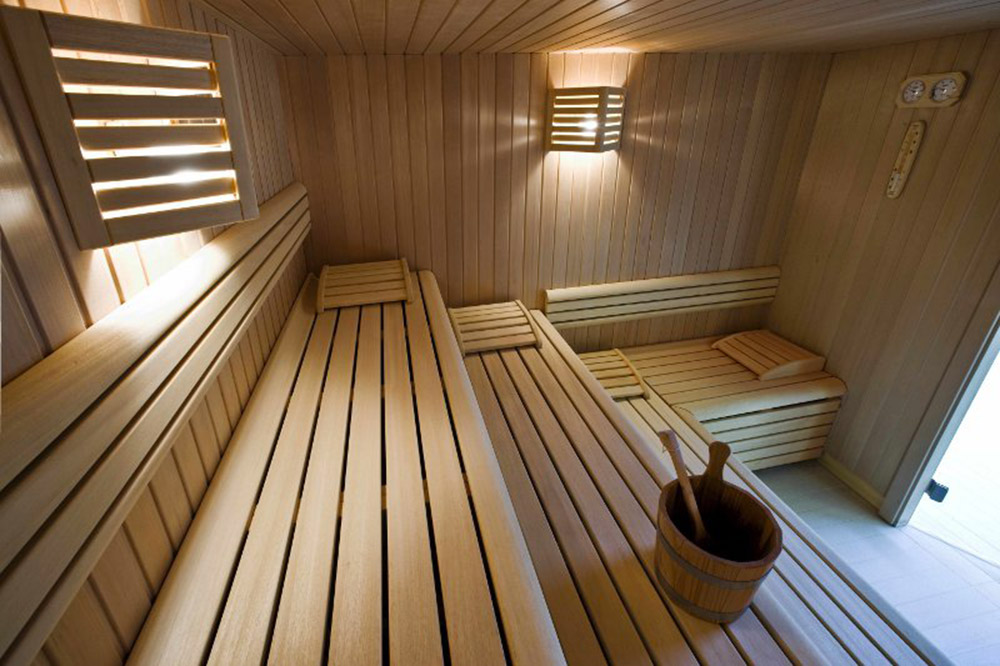
The Scandinavian style can be embodied, if you use a white wall paneling. If desired, the material can be painted.
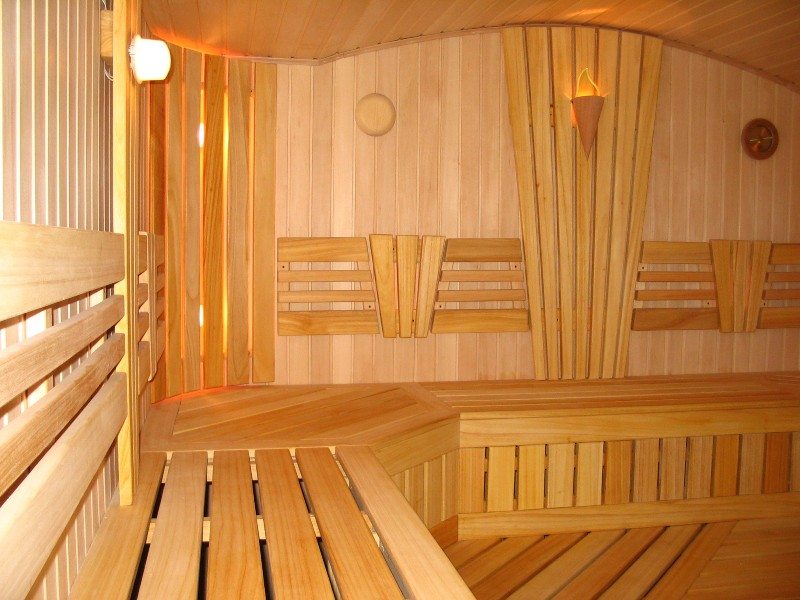
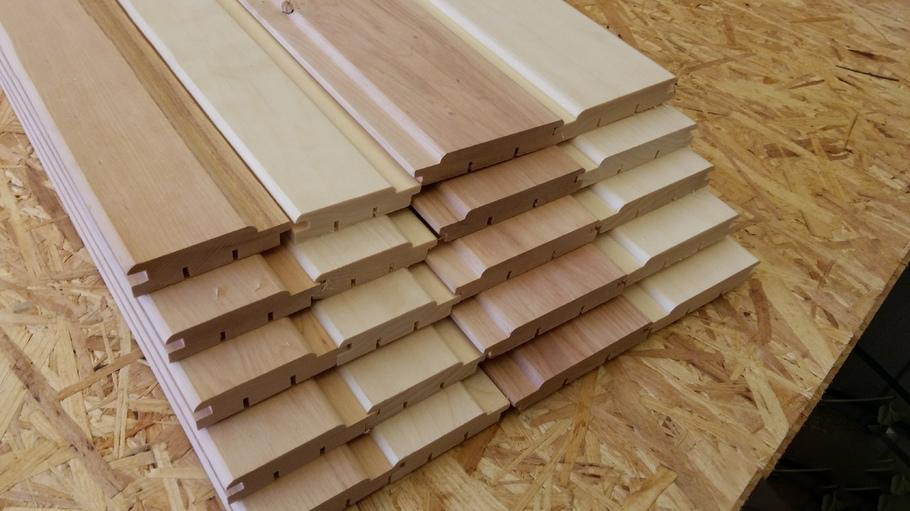
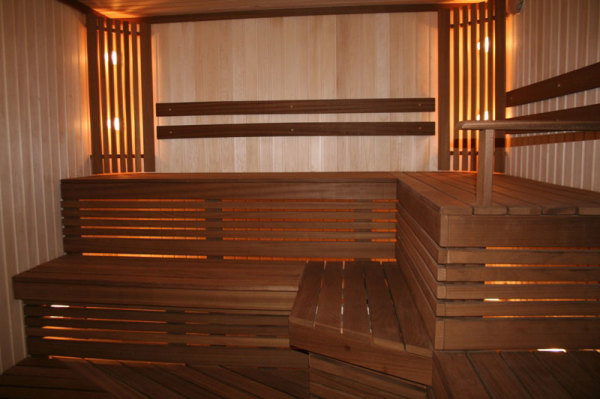
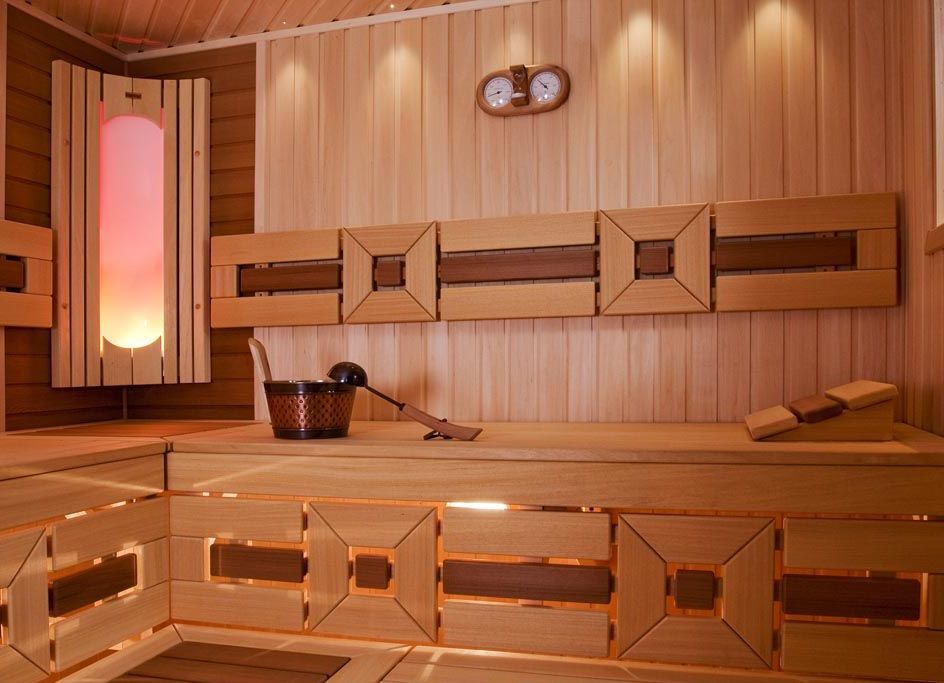
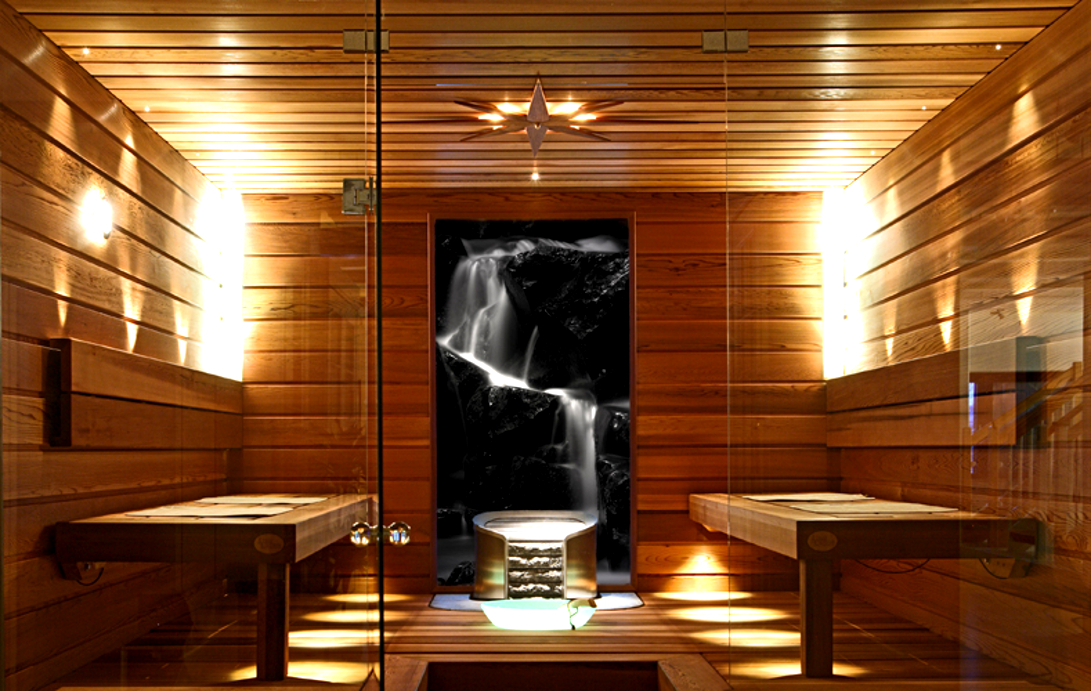
This interior uses modern materials for decoration. Choose for your bath any appropriate design finishes. The style of the room can be successfully emphasized with small accessories and attractive details.
You will learn more about the stages of finishing the steam room from the following video.