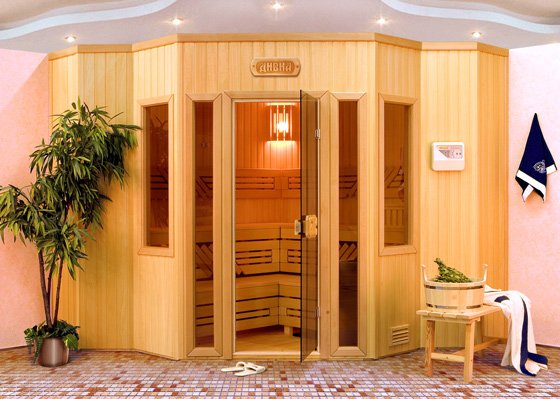
The steam room in the apartment: how to make a home bath?
In vain, many with disbelief refer to the idea of building a steam room in their own apartment. It turns out that you can do it yourself, if you understand the technology of installation. Since we are not talking about such a structure as a Russian home sauna, there are usually no difficulties with waterproofing and ventilation, which means that such a construction is possible for an ordinary resident of an apartment building.
Conditions for the construction of a home bath
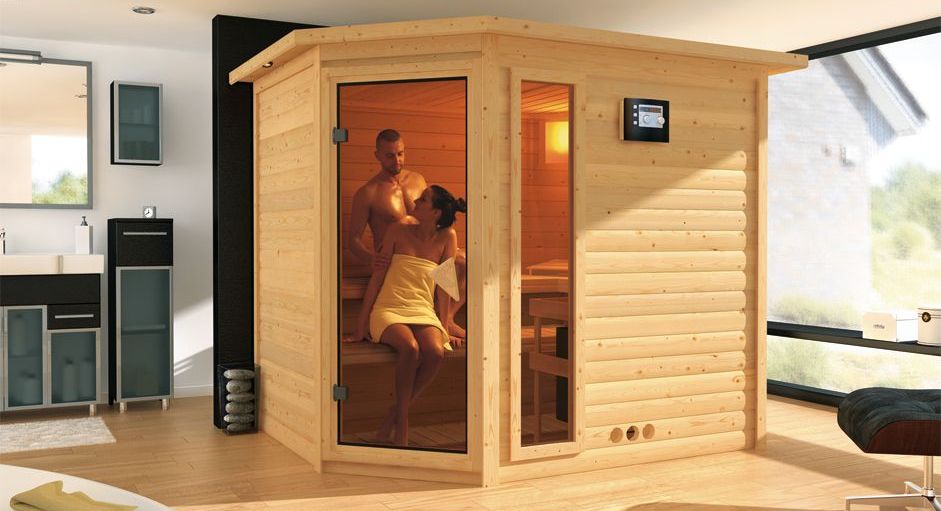
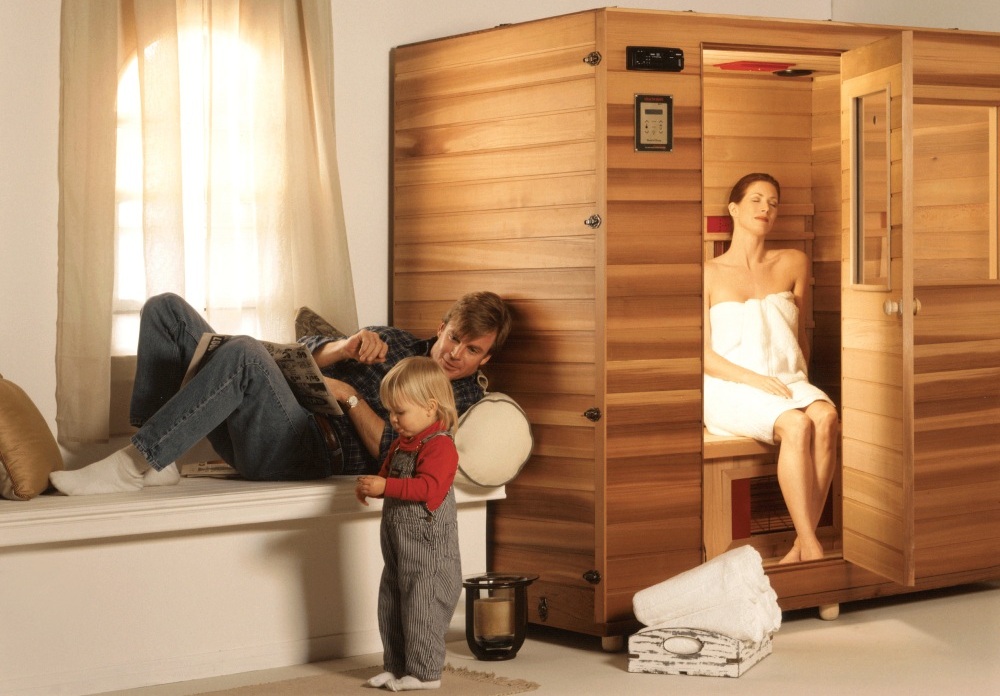
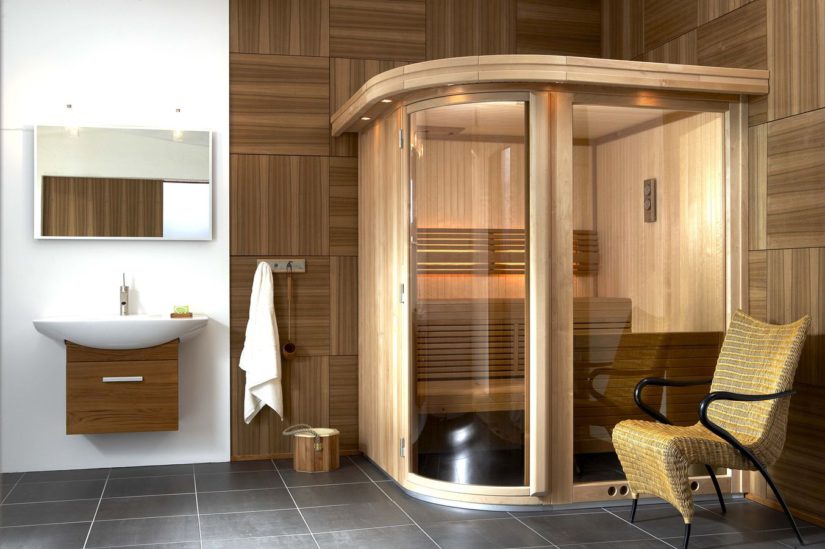
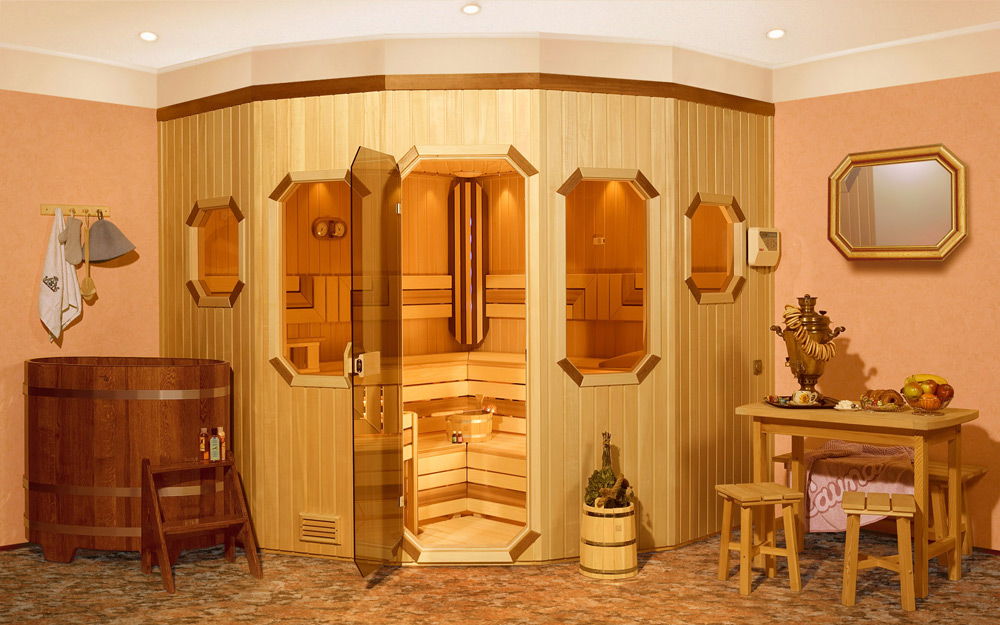
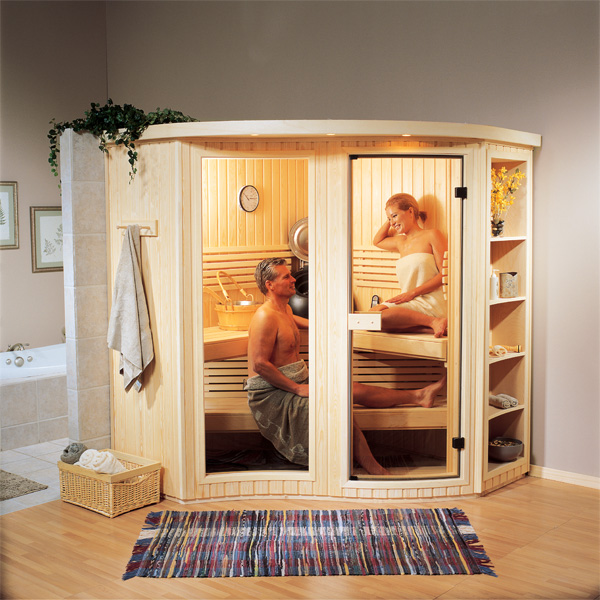
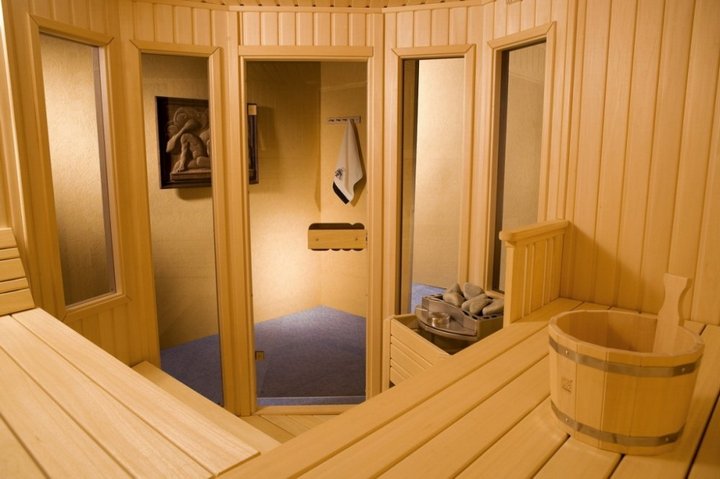
First of all, a place is chosen for the steam room and a project is being created - it can be placed in the pantry, take a part of the corridor, many assemble the cabin on the loggia and balcony. If the area allows, then it is installed in the bathroom, replacing the main plumbing shower. This is the best option, as for the steam room requires water supply, sewage and extractor hood.
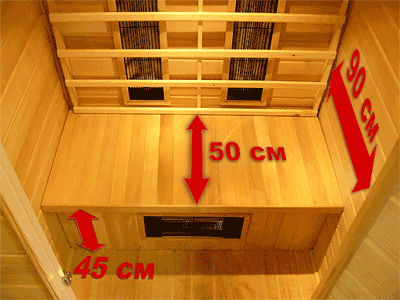
Dimensions are calculated taking into account the fact that about 2.5 square meters should fall on one person, but you can also install a mini-bath with dimensions 1.5x1.5.The height of the ceiling should be 2 meters. However, the home sauna will require a fire certificate, as well as meeting the established safety requirements.
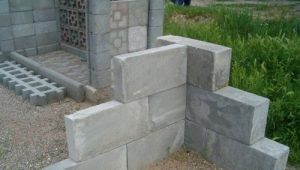
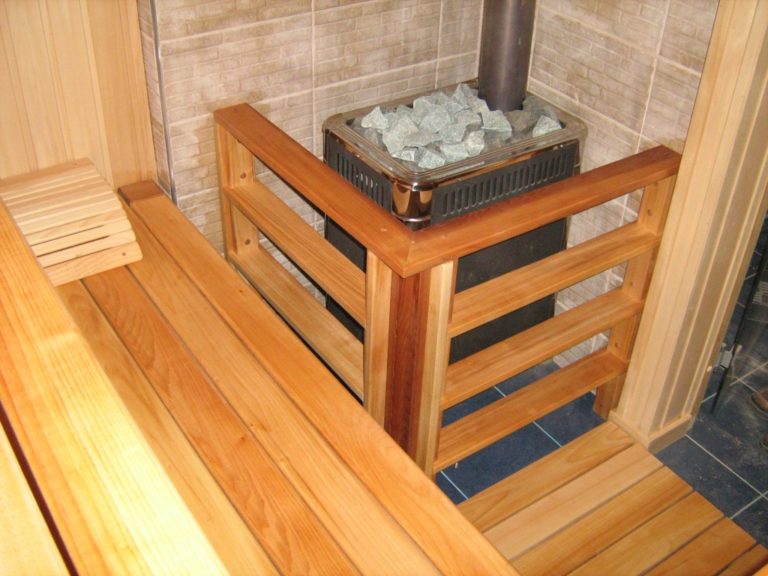
The important point is the choice of the furnace, equipped with automatic shutdown at a certain temperature, the power of which must be at least 4.5 kW. Additionally, it is possible to mount fire sprayers at the cabin boundaries - for this purpose, the connection to the water pipes is carefully considered, and the steam room is protected with waterproofing materials.
At the base of the floor, if it is a bathroom, you can leave the tile. When erecting a floor of wood, it can not be varnished. In addition, the tile is easier to clean and process with antiseptics.
Selection of materials
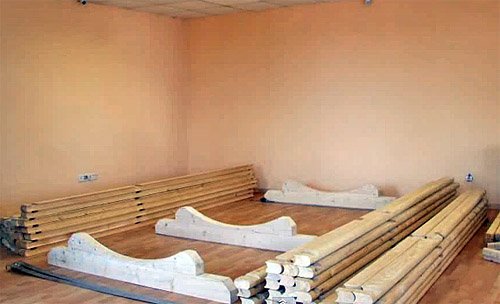
Despite the fact that there is the possibility of assembling a finished bath, made to order, many prefer to do it from scratch with their own hands, by the way, this option is much cheaper. In order to get to work, make markup and purchase materials for installation.
For the construction you will need refractory basalt plates, timber or metal profiles, foil, screws, lining. For walls, aspen or linden is used, but other options are possible, based on their material characteristics:
- alder it has a pinkish-brown color and a beautiful natural pattern in the form of rings; moreover, it is a fairly dense type of material;
- Pine Scandinavian pink - she has no knots, but over time it gets dark;
- spruce Scandinavian has a light yellow color, a lot of knots and is the cheapest.
Aspen is chosen, due to the absence of resin in it and resistance to decay, the African oak abachi is also very valuable, characterized by low heat conductivity, good density and a pleasant light brown color with dark specks.
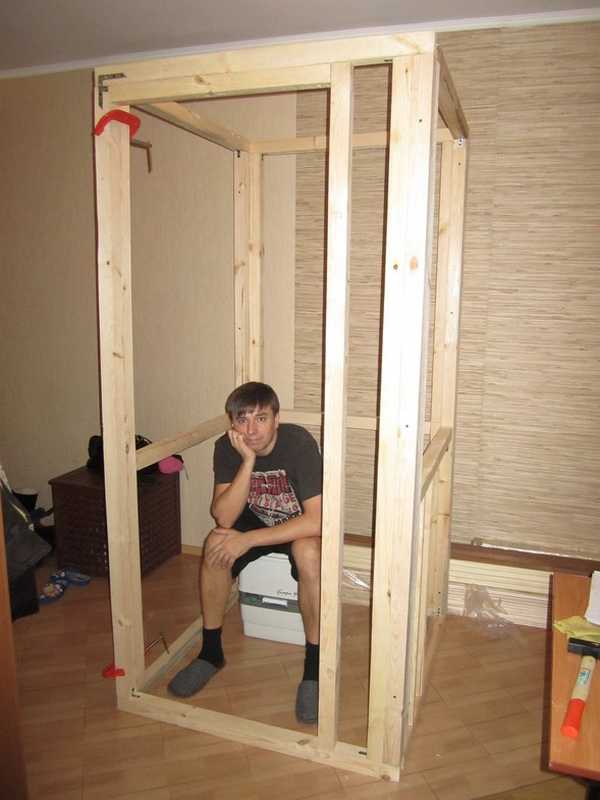
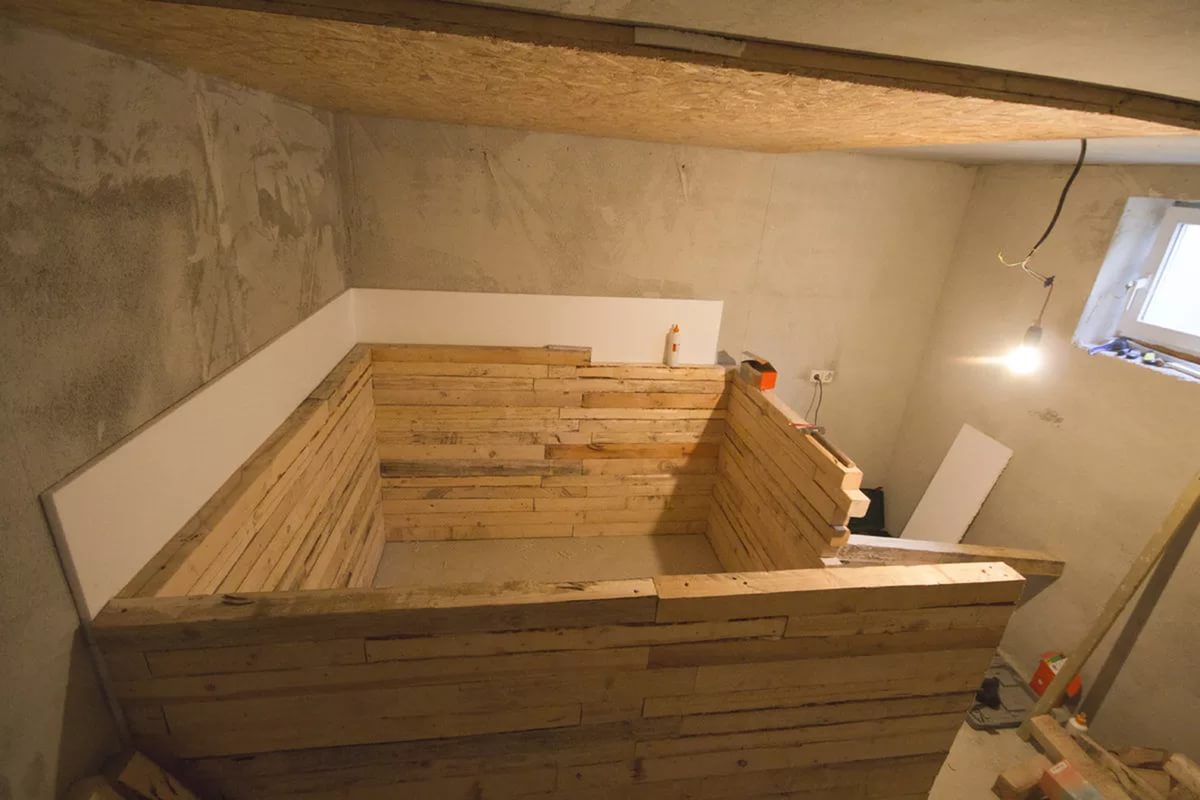
Frame Mounting
The connection of all structural elements produced without the help of glue. The most convenient way is to use wood panels equipped with special grooves and spikes, thanks to which the assembly is quick and easy.
Sequencing:
- frame erected from the usual timber, which is firmly pressed against the wall;
- the strapping is done on five levels with lines drawn in chalk on the foil - they are drawn 3 cm, 60 cm and 1 meter from the floor, 5 cm indented from the ceiling, and another marking passes between it and the third line;
- fastening is carried out through holes drilled through insulating material, the step is about 50-70 cm;
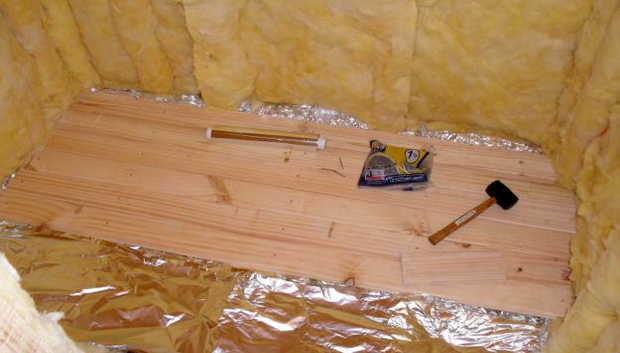
- further prepare the shields, grinding them with coarse and fine abrasive paper;
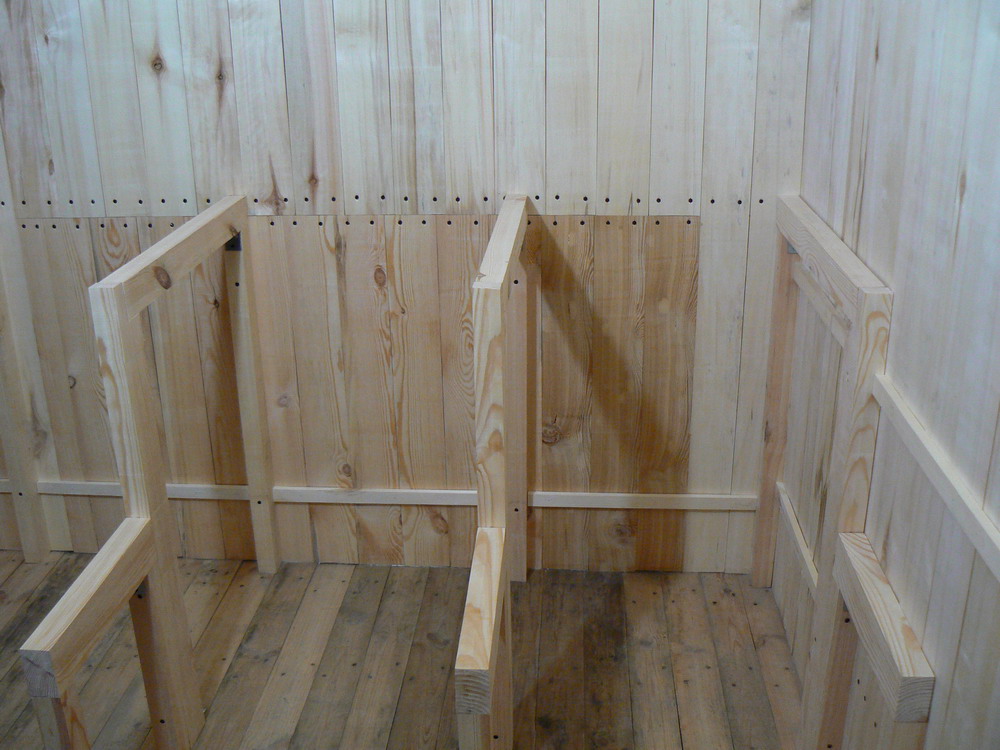
- shields are mounted on three sides of the frame structure, between them make rubber gaskets;
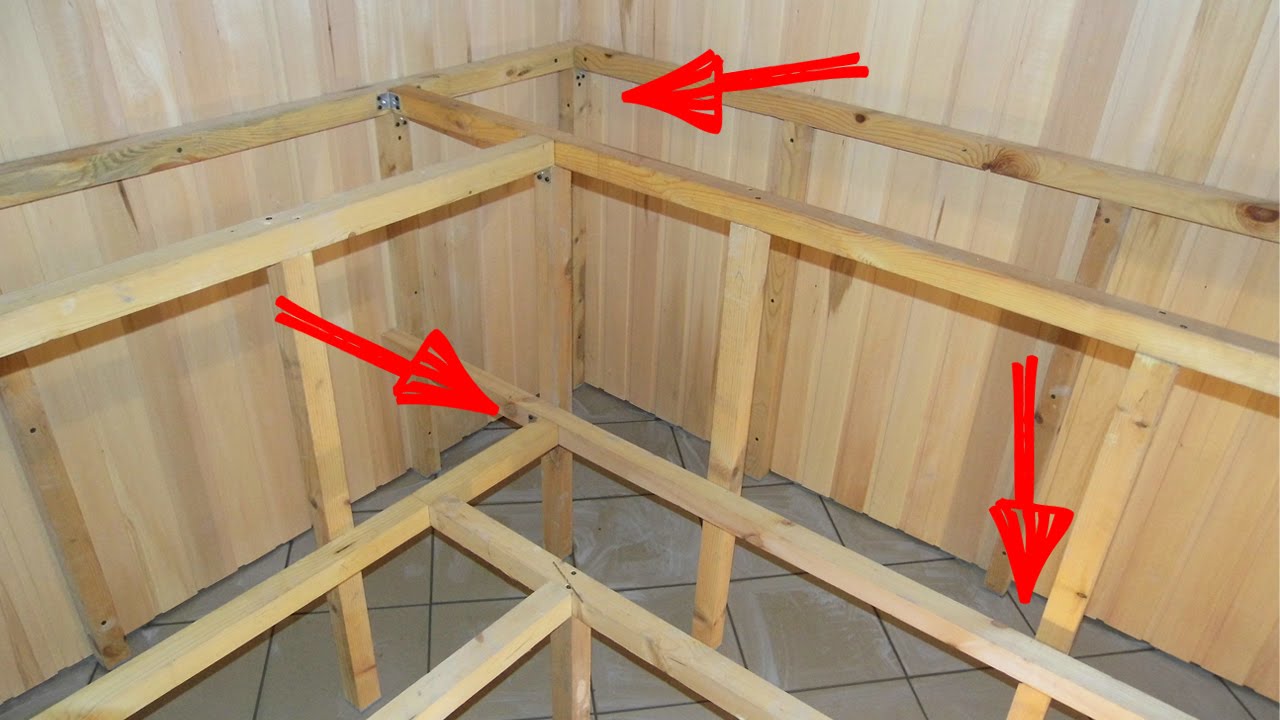
- the connection of the uprights is made with the help of angles with a constant level measurement;
- then install the front shield, fixed ceiling;
- after conducting the wiring to illuminate the steam room, the gaps between the posts and the walls are closed with profiled slats.
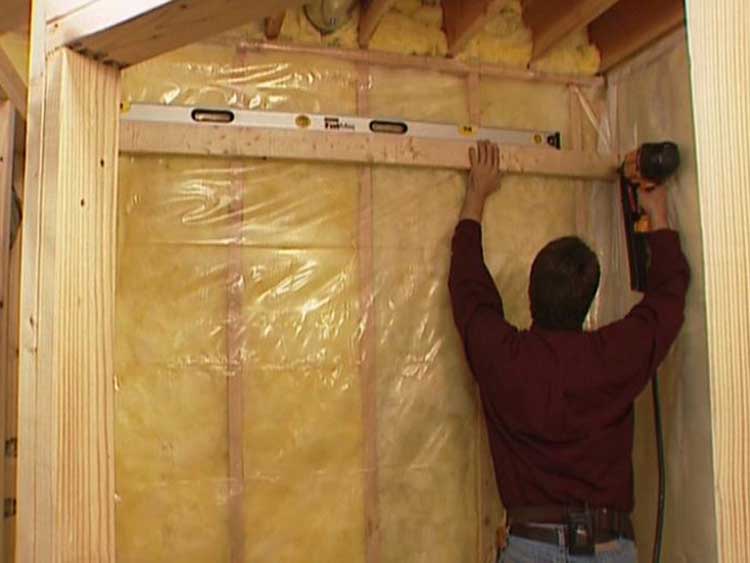
The door frame is fixed by means of screws - it is better to temporarily remove it to the side and hang after further work.
The upper ceiling ends are connected with boards laid flat wide side and located parallel to each other and sides of the steam room. Immediately you need to take care of the hood and duct system - to do this, make two frames of the beam.
If the steam room in the apartment has one ceiling with a bathroom, then the skeleton for the ceiling is fixed with glass asphalt - after fixing the paper it is connected to the wall structure.
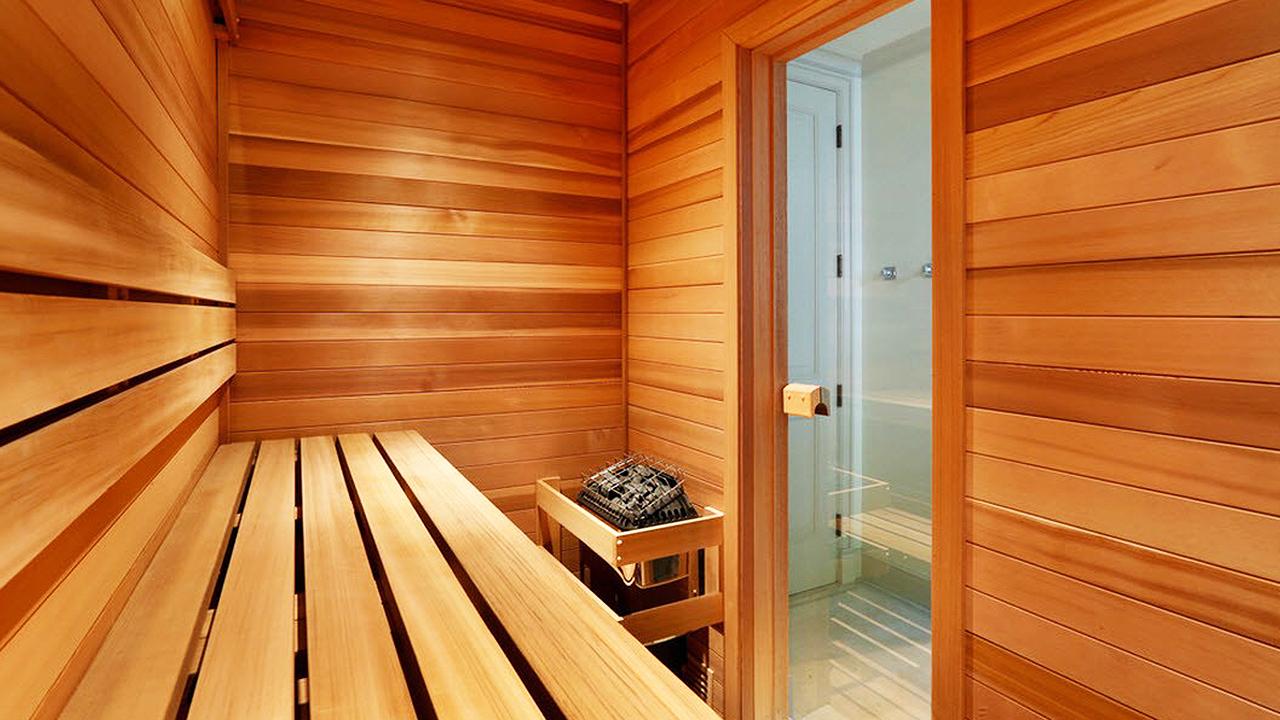
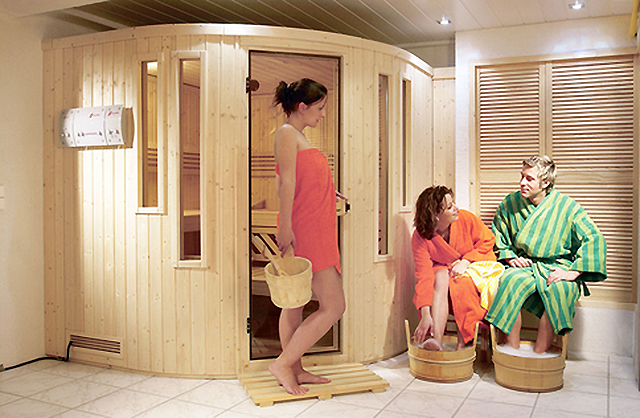
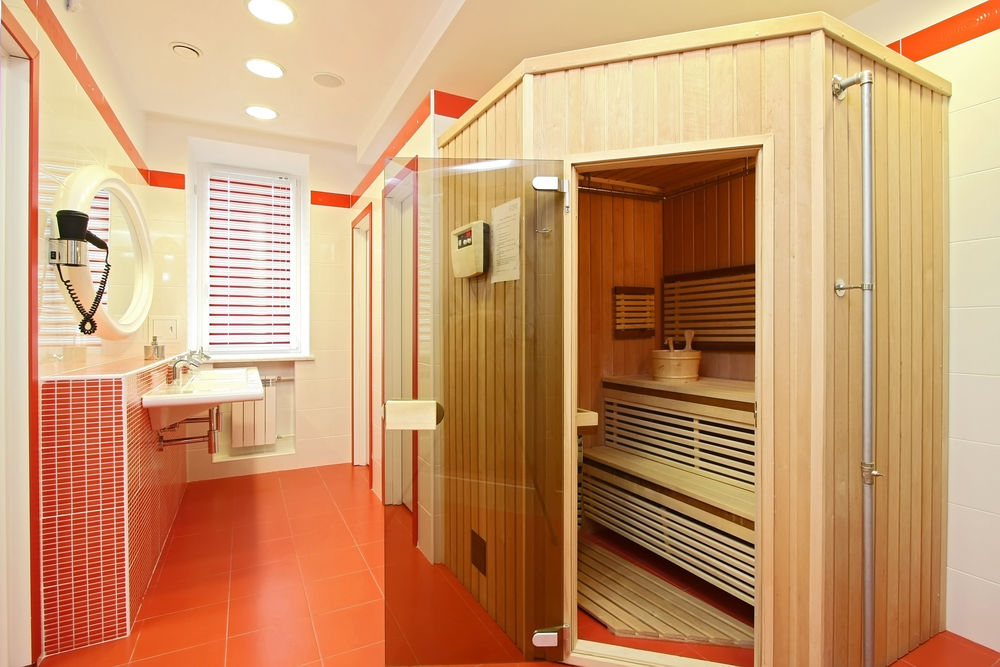
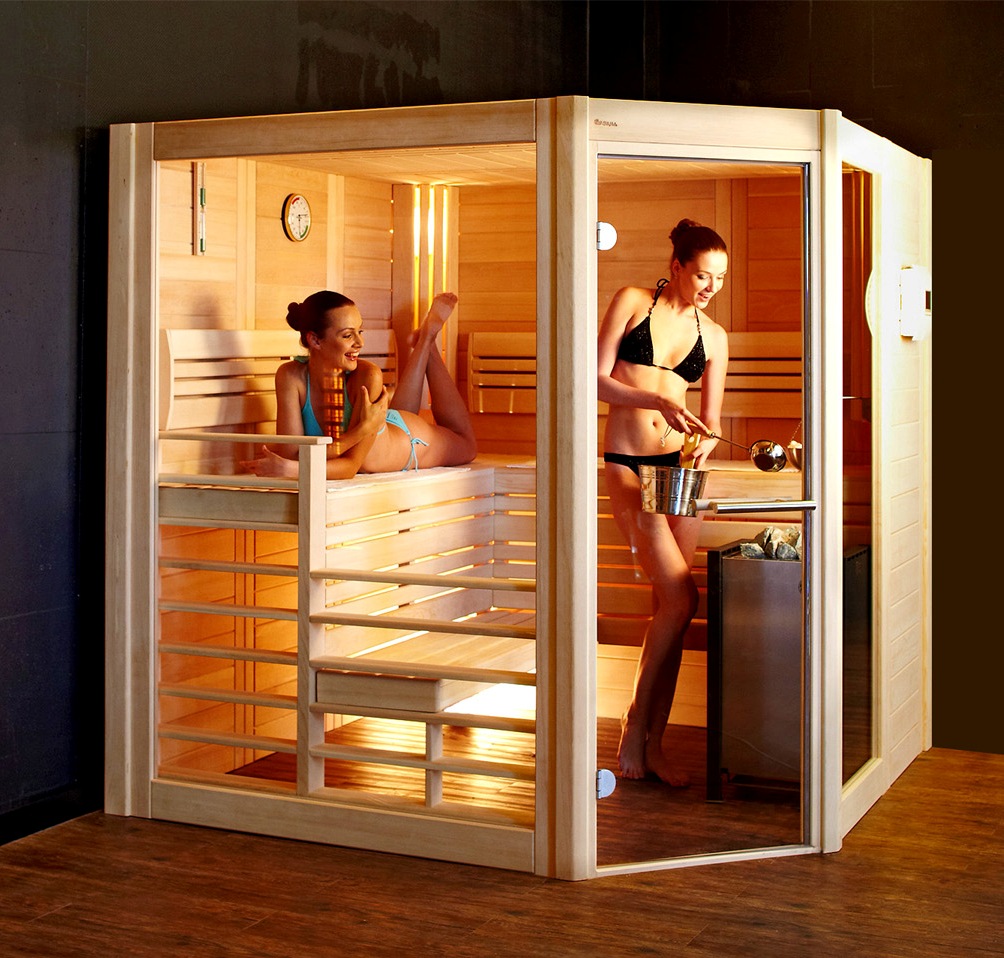
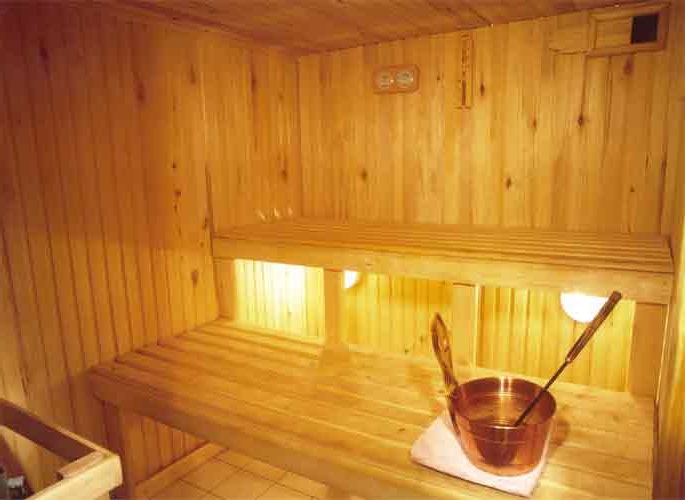
The benches are fixed according to factory instructions.The door should be made of thick refractory glass, locks for it are not provided.
How to make wiring
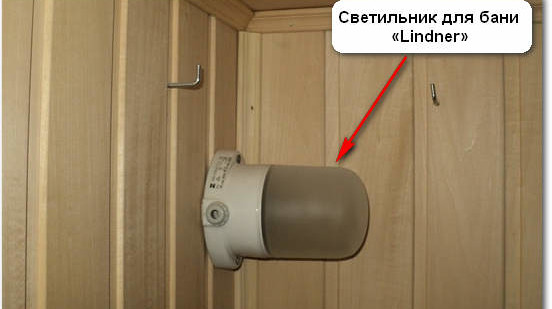
First, determine the location of the heating equipment. The luminaires are located on the sides of a wooden bench, 40 watt lamps are sufficient for normal lighting.
If desired, the light can be placed on the ceiling or walls. The line of electrical wiring must pass through the lower part of the frame, along its outer side and necessarily through a corrugated metal hose (the so-called metal hose). Connect lights in the sauna only in parallel, through the switch.
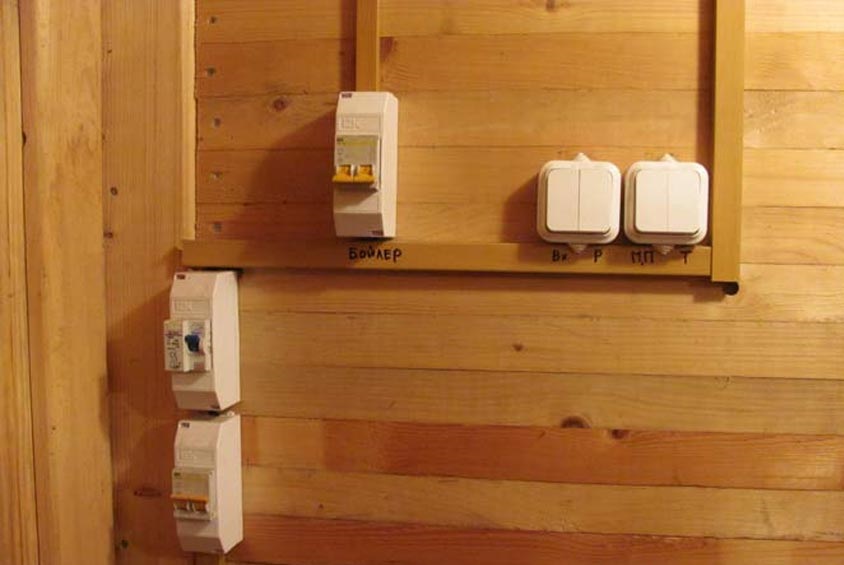
Before self-wiring, you should consult with a qualified electrician, who can give important recommendations on this issue.
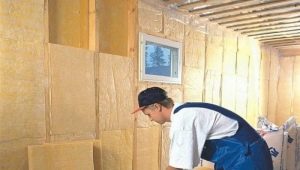
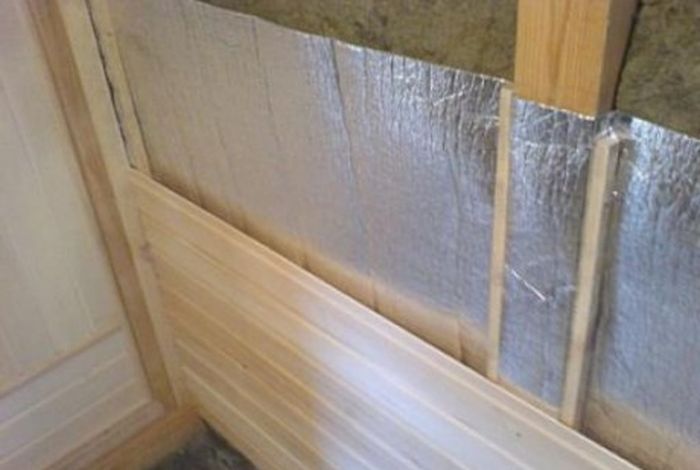
Heat insulation
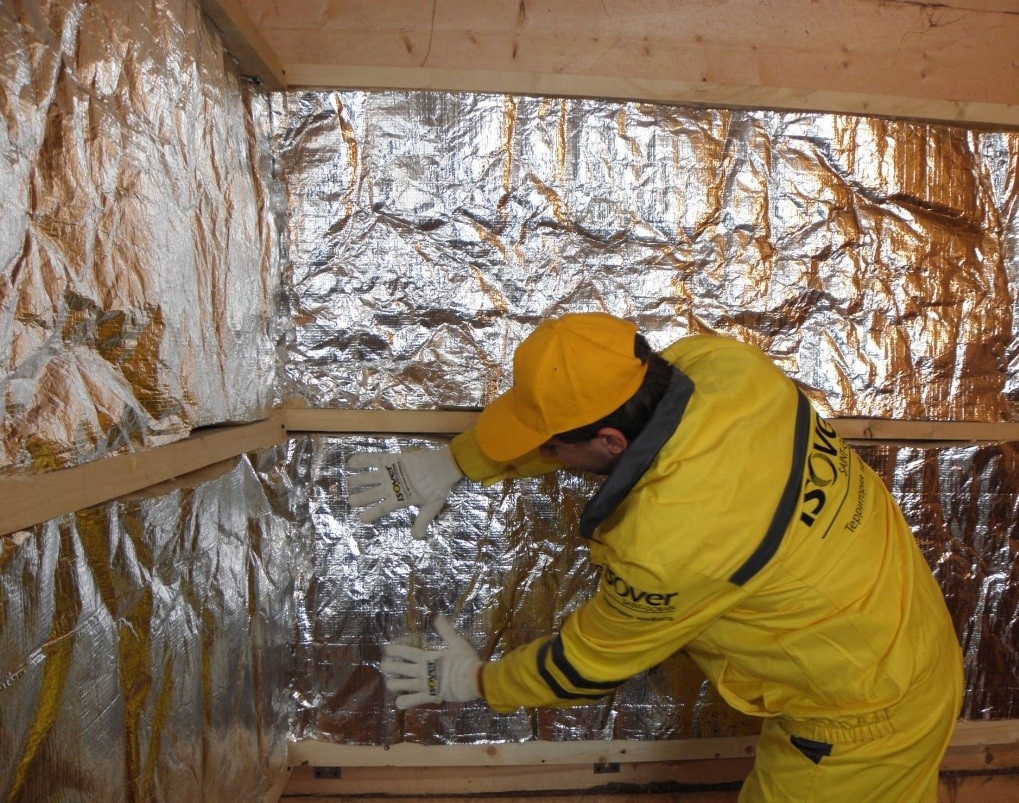
For warming saunas, glass wool, mineral and basalt fiber are most often used. These are the most durable and fire-resistant materials, which, moreover, are not subject to rotting. Thermal insulation is carried out in two layers with insulation and foil. Fiberglass lay in the frame of the steam room.
The foil is fixed to the ceiling and walls with a special tape or buttons, and the insulation material is fixed with nails into wooden corks placed in pre-drilled holes.
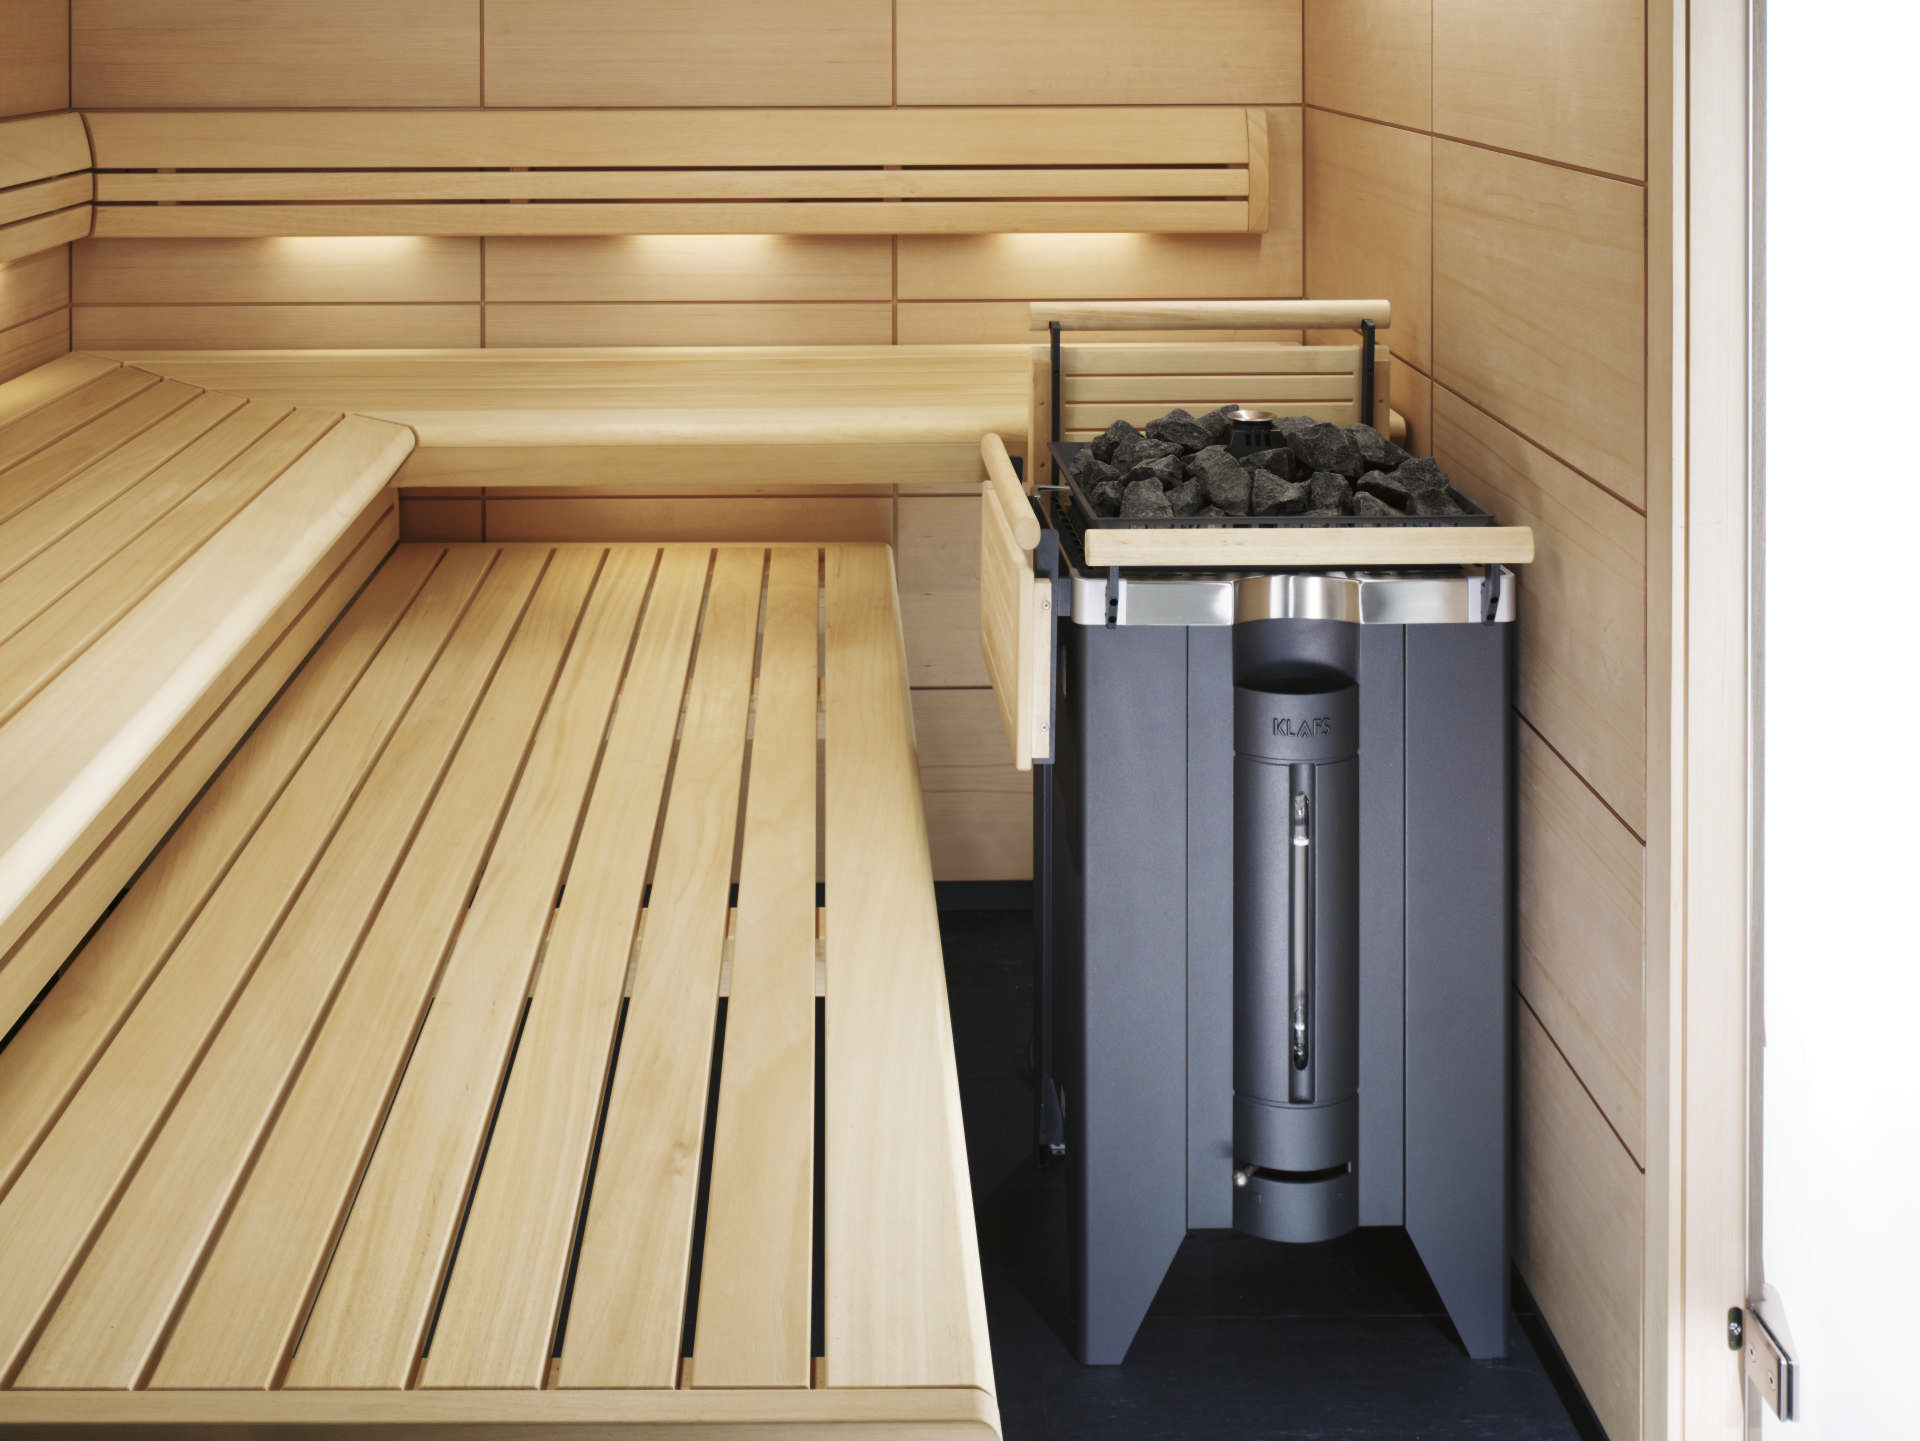
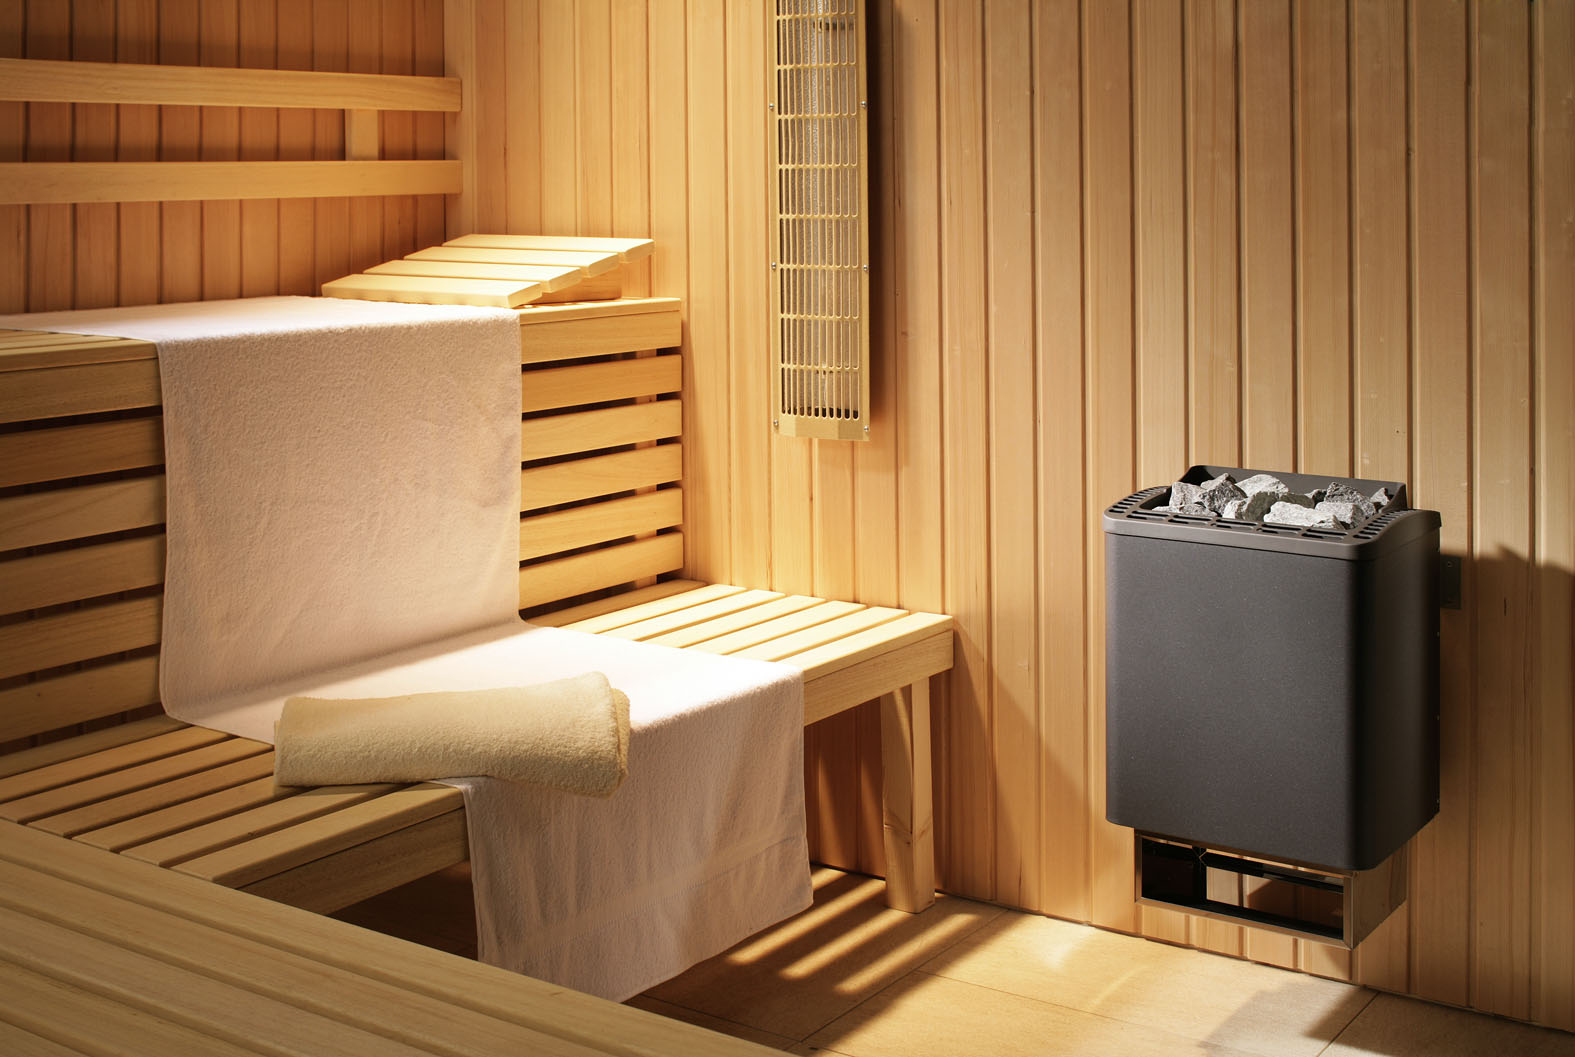
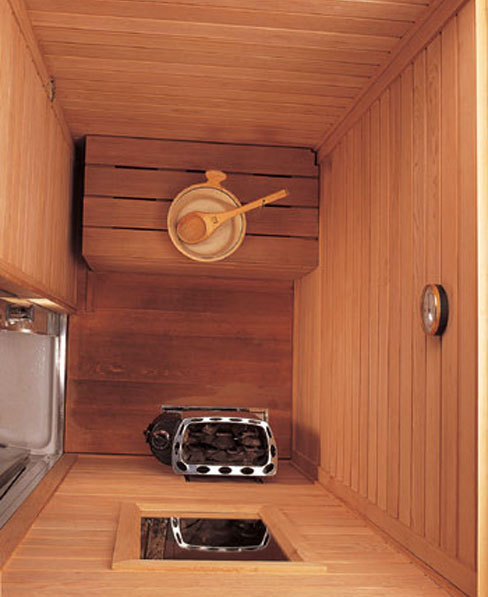
heating equipment
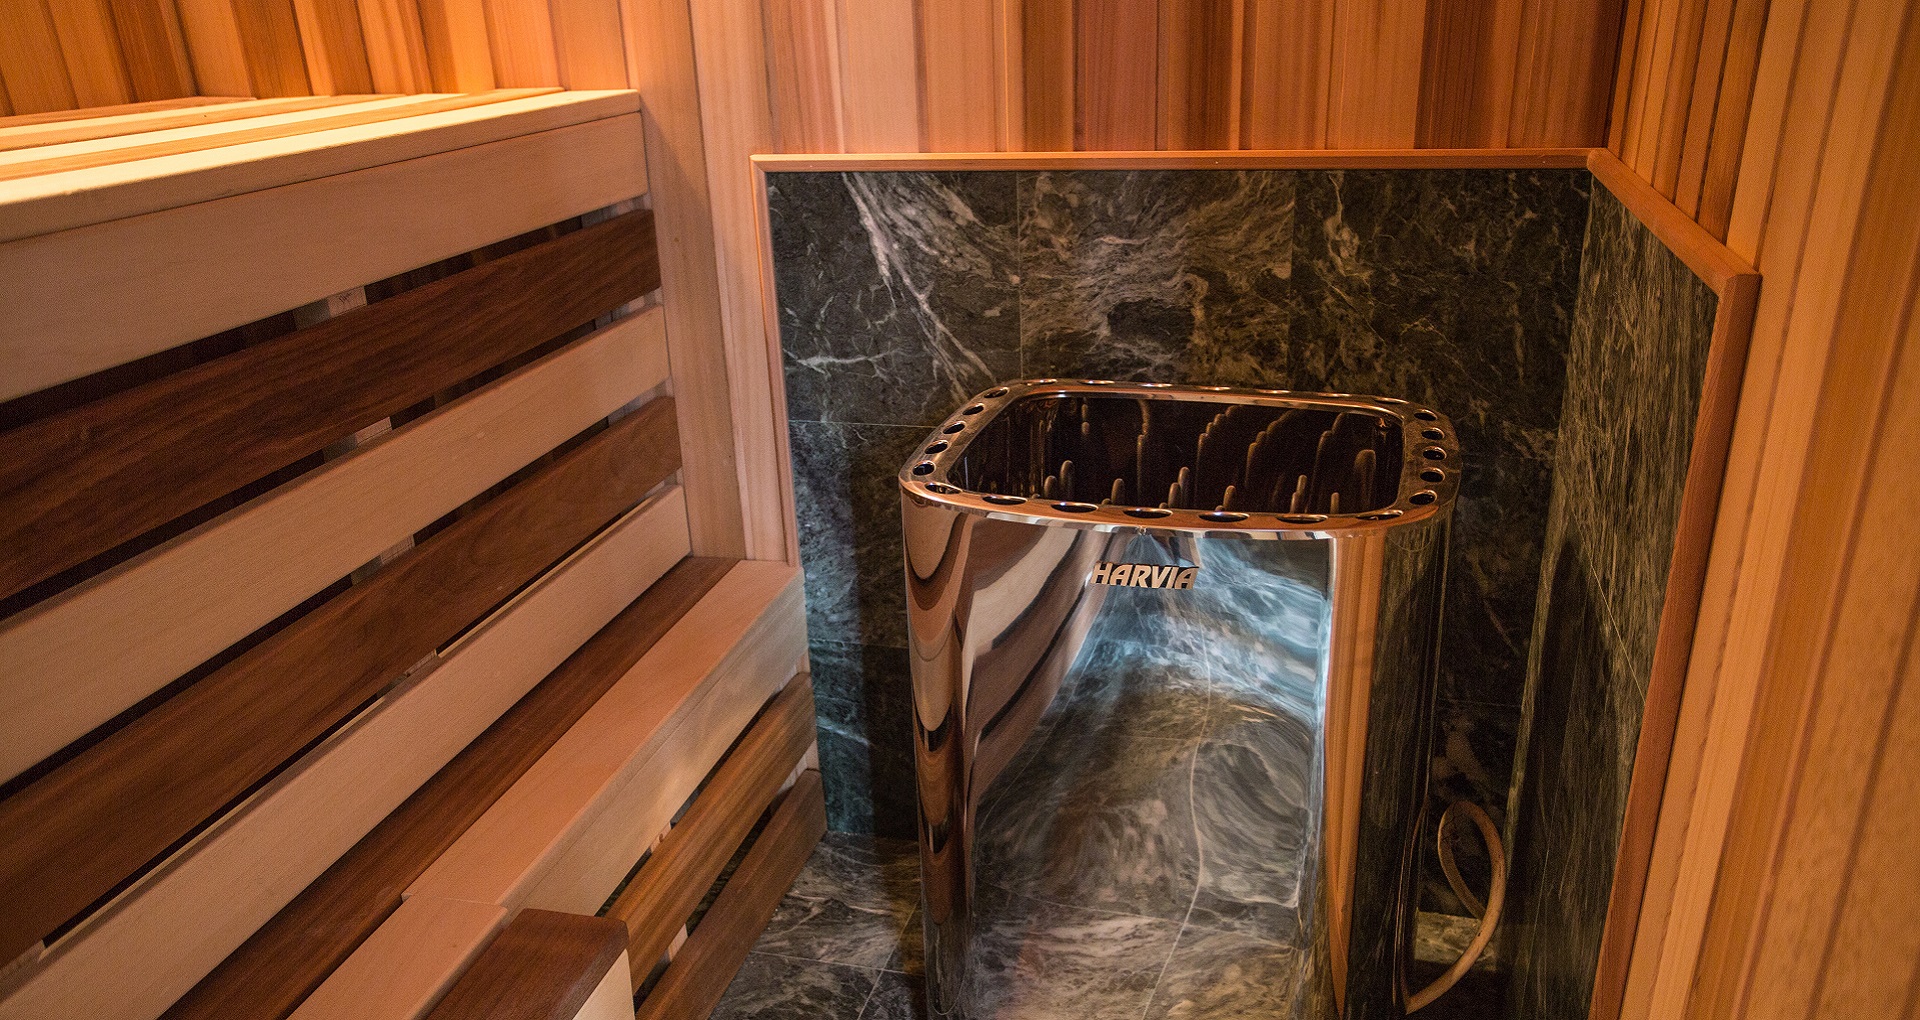
An electric stove is used as a heating device in the apartment, which quickly heats the steam room. This should be a structure intended for a bath. Its feature is a special coating of the spiral, which is optimal for operation in conditions of high humidity. The unit requires a voltage of 220 V.
You will need to make a barrage of rails to eliminate the possibility of burning on the body. Mount the stand for the stove; about 20 cm should remain up to the floor. It is important that no water gets on the device.
If the area of the steam room is about 3-4 cubic meters, then an electric heater with a power of 6 kW will be optimal. On one meter of the area, usually, 5 kg of stones are necessary. The walls around the furnace are protected by heat-resistant materials, in most cases, they are sheets of metal.
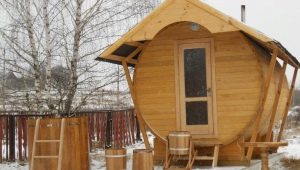
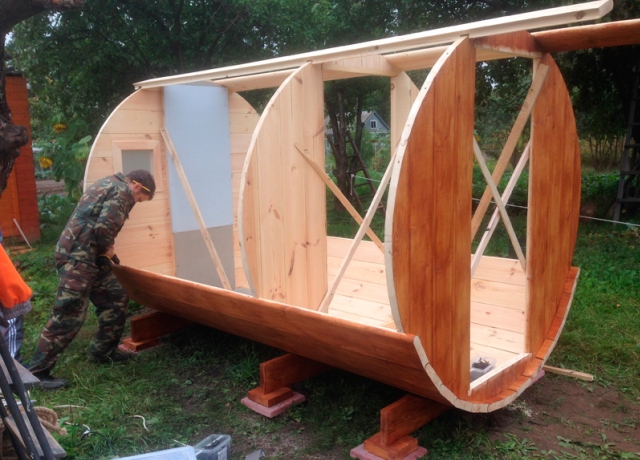
Bathhouse with your own hands
You can make a bathhouse with your own hands.For the construction choose high-quality cedar or larch wood. These are edged boards up to 95 mm long and 4-5 mm thick with a slot connection.
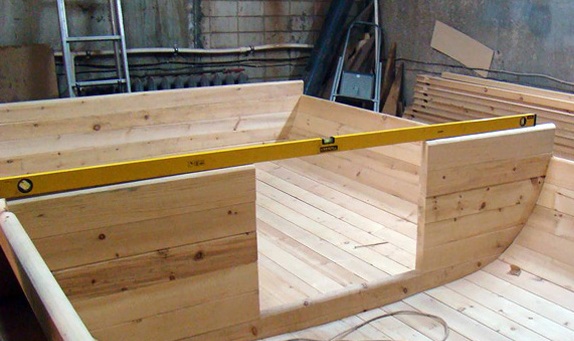
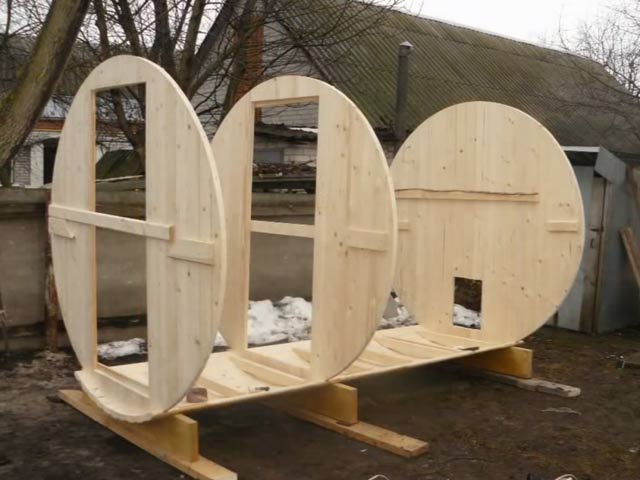
- Depending on the height of the structure, wood is prepared for the front wall and the backdrop. They make a support from strong bars, on which they assemble shields for walls, tightly adjusting the beam and immediately fixing materials with a coupler.
- After the center of the shield is determined, the circle of the required diameter is marked (by the height of the bath). The ends are cut, it is important that the ends do not have irregularities, chips and other defects.
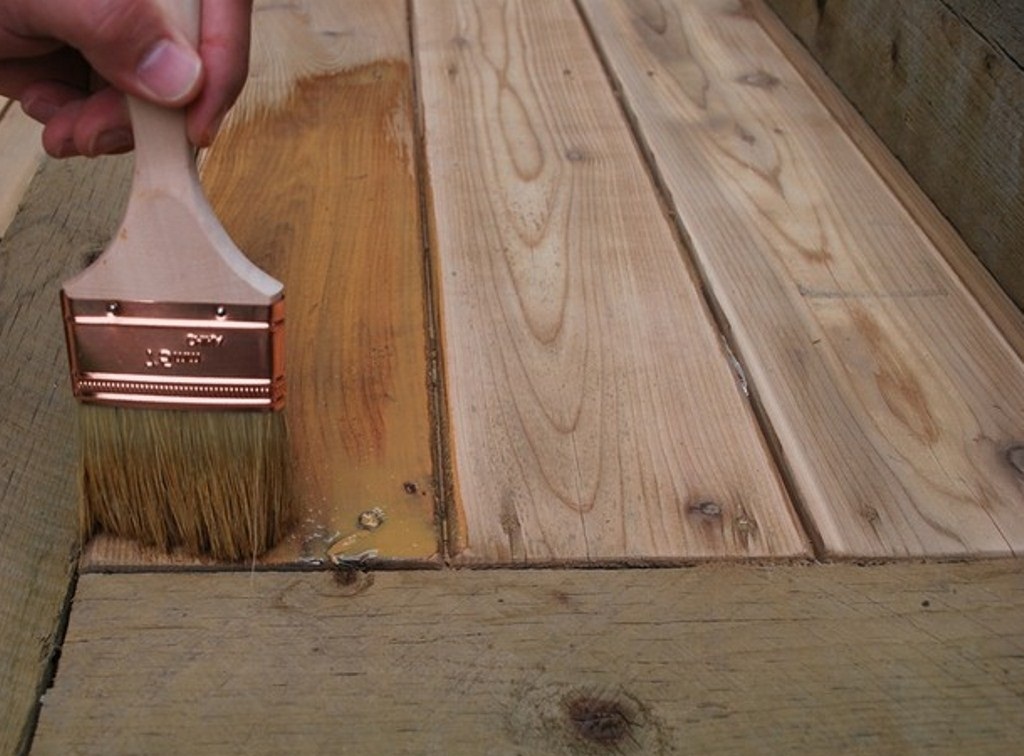
- The assembled barrel as tightly as possible in 4 places with stainless steel tape using screws. After that, you can cut the opening for the door and window. At the end, wood is treated with special waterproof impregnation.
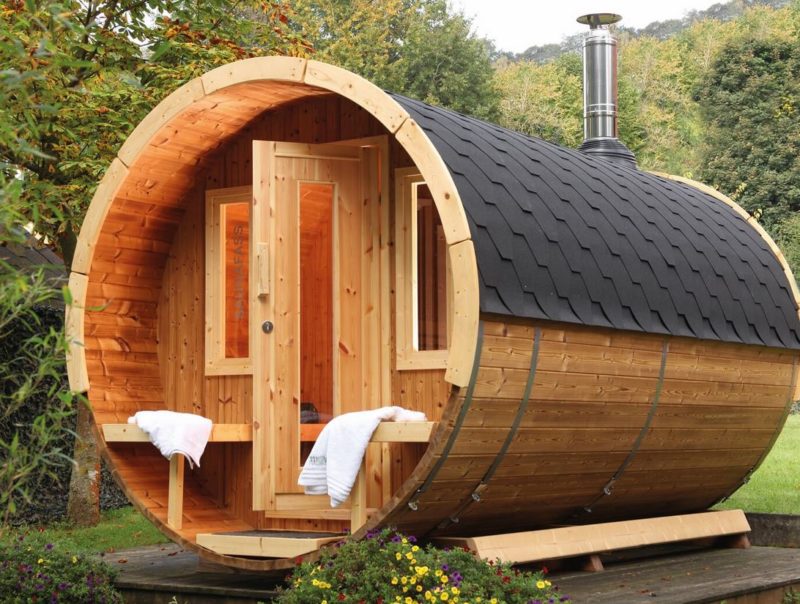
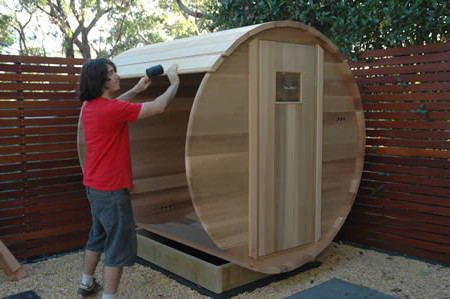
The bath can be equipped with a wood-burning or electric stove, in the first case, you will need a chimney and ventilation. In addition to electrical wiring, you will need to install a protective fire-fighting device.
Homemade baths, built with their own hands, cost much less than the purchase options. However, it is necessary to understand the installation process in order to build a truly high-quality and safe structure that will last a long time.
How to make a sauna in the apartment with your own hands, see the following video.