Steam: how to do?

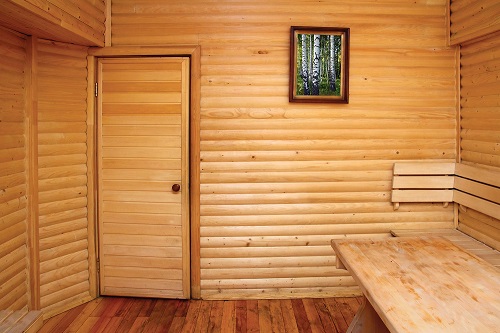
The main functional room of any bath will be the so-called steam room or, as it is also called, a steam room. Its high-quality arrangement allows you to make wellness procedures more effective, high-quality and enjoyable for people and significantly increase the popularity and relevance of the bath itself. And imagine that the Russian bath does not have a steam room, it is simply impossible.
Features of the device
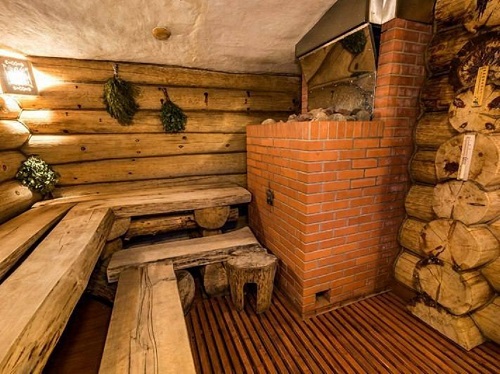
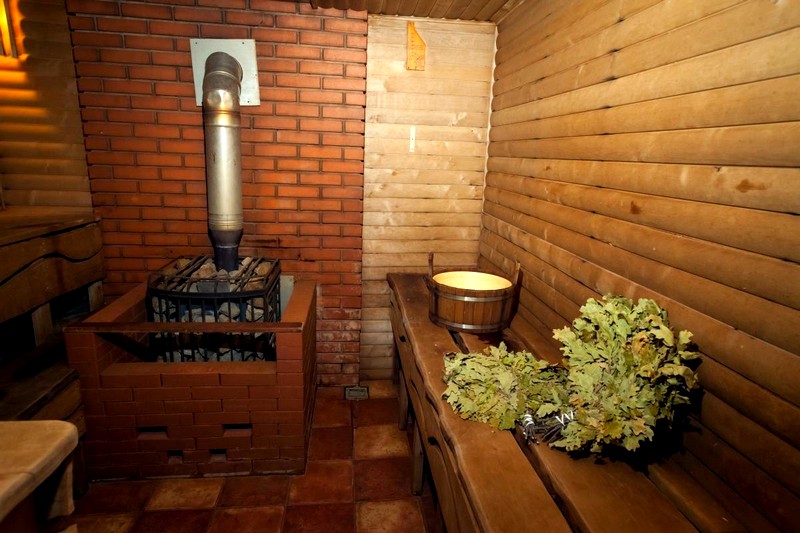
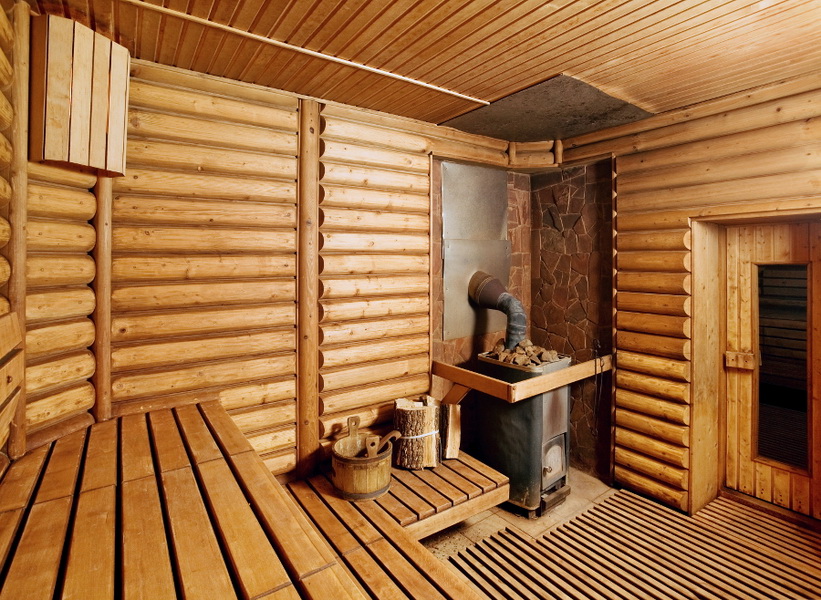
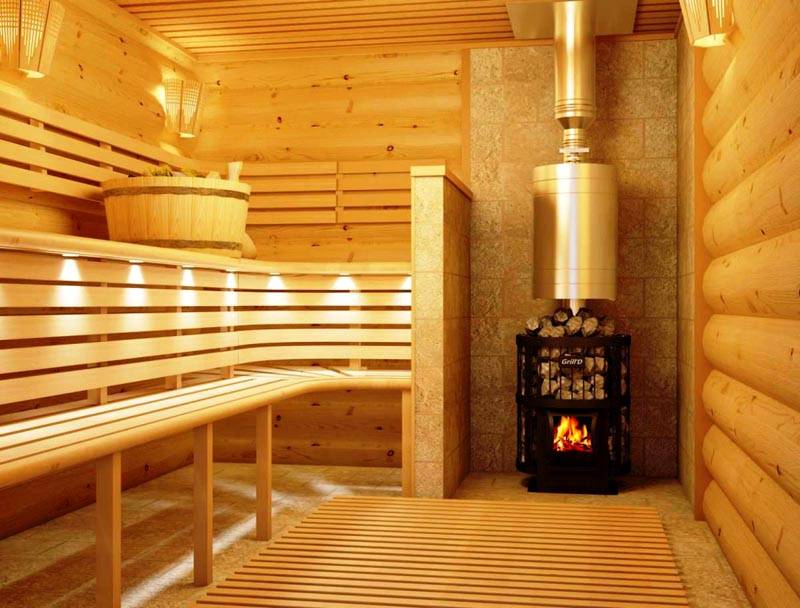
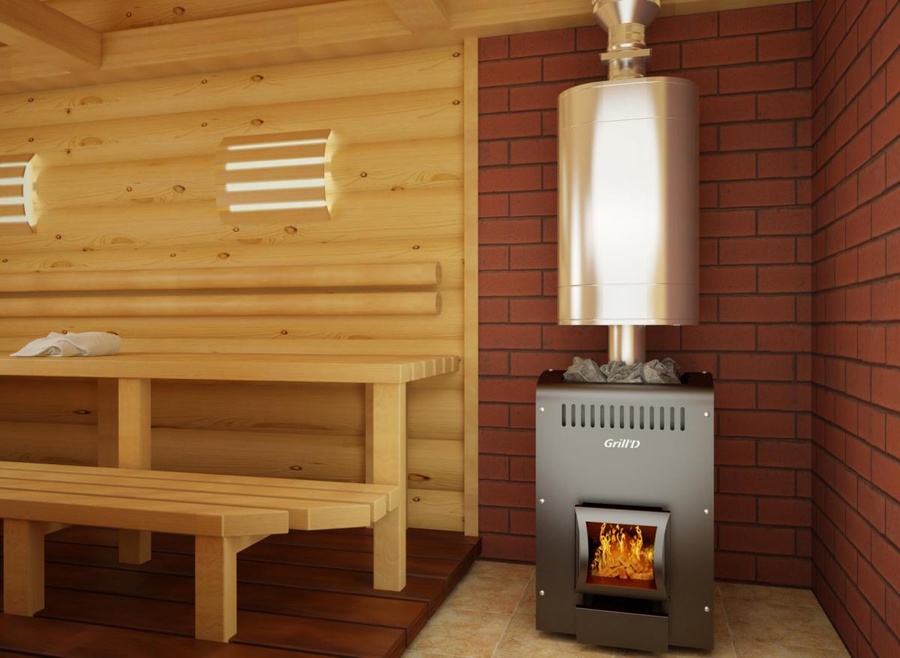
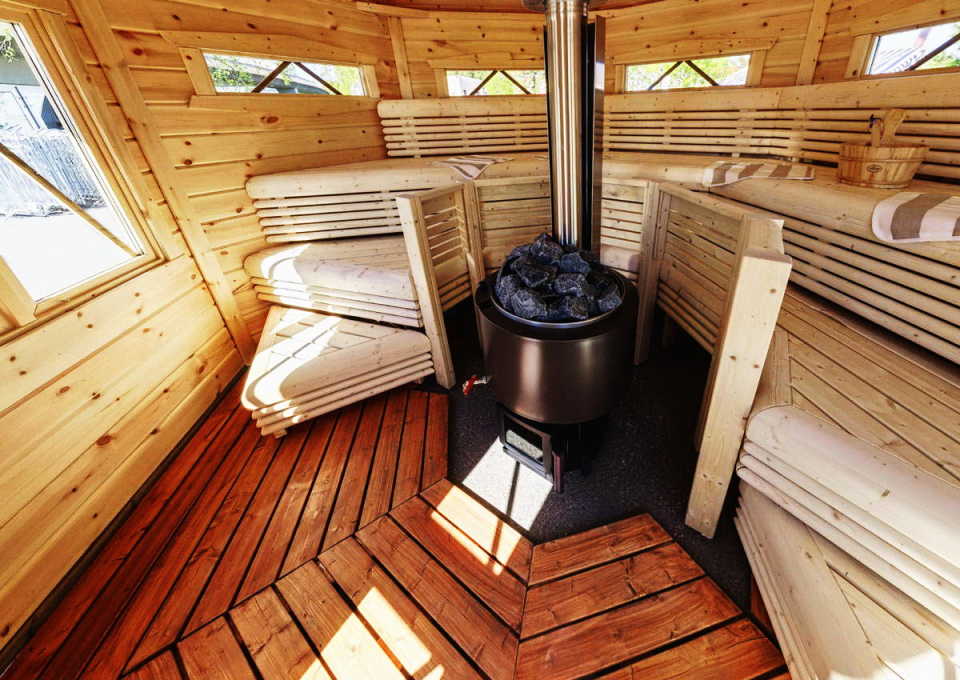
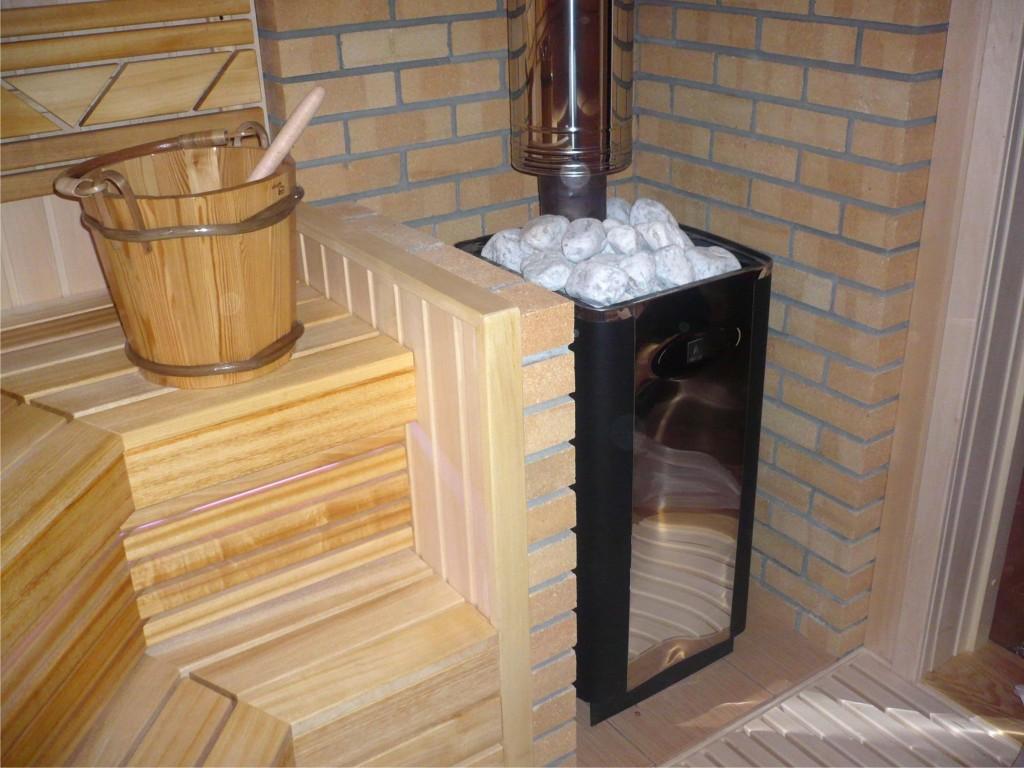
The device of this room should be not only simple, but at the same time as comfortable and convenient for those who will use it. The most important thing is that it should contain the required number of shelves and racks. Should saythat the stove is the main component of any steam room, because just it has been assigned the role of ensuring the correct microclimate, as well as a comfortable necessary temperature in this room. Today in the steam room it is possible to easily install any type of stove: stone, electric or metal or brick.
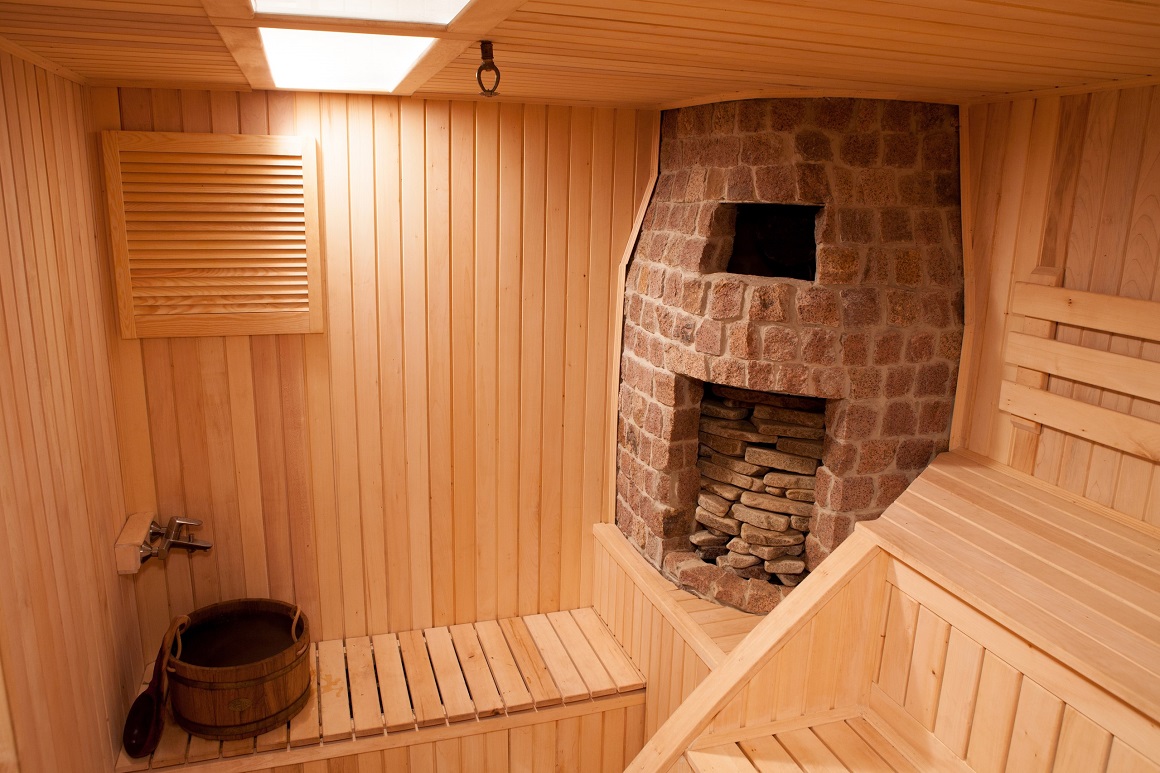
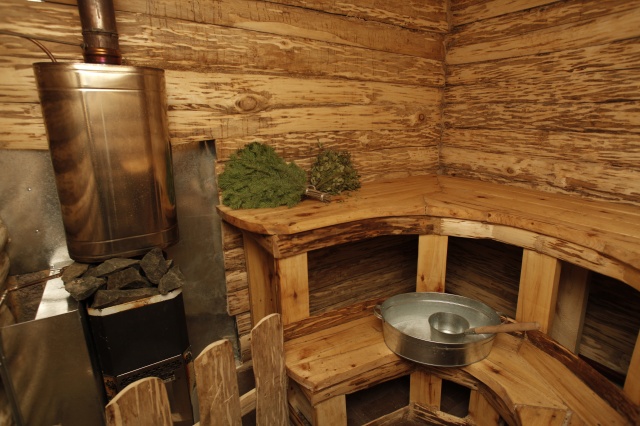
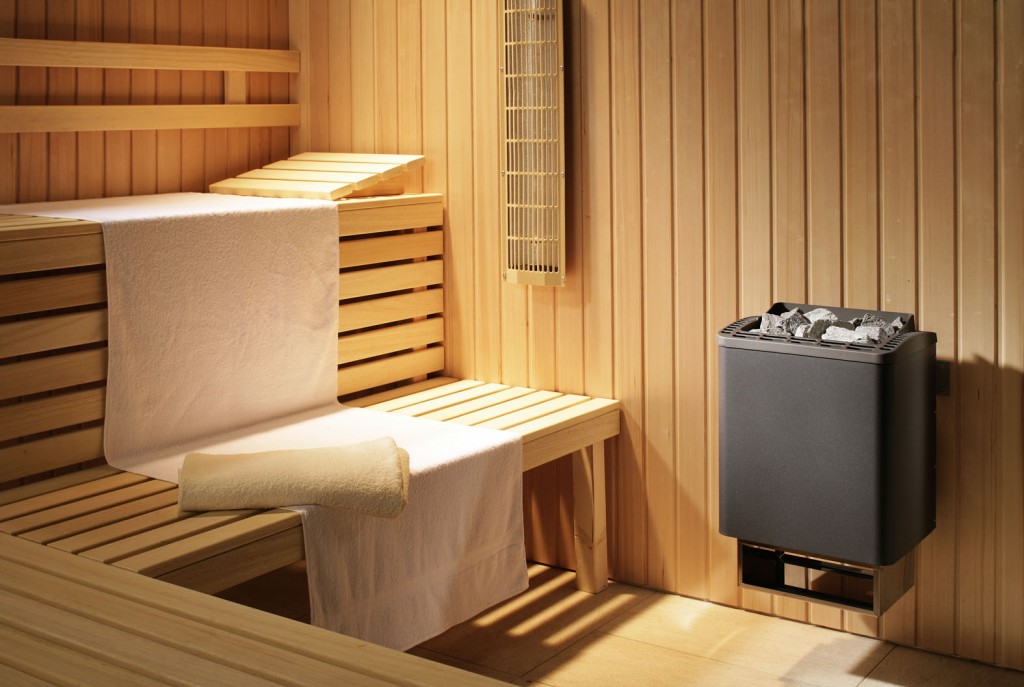
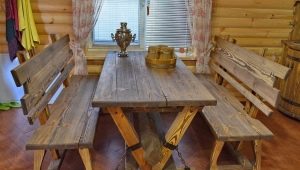
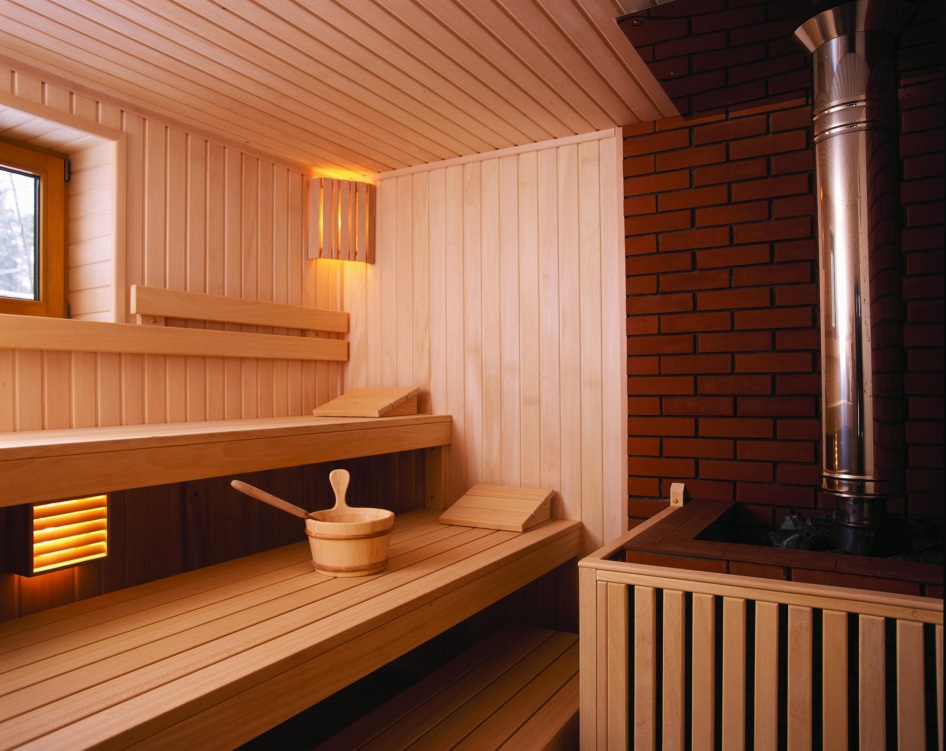
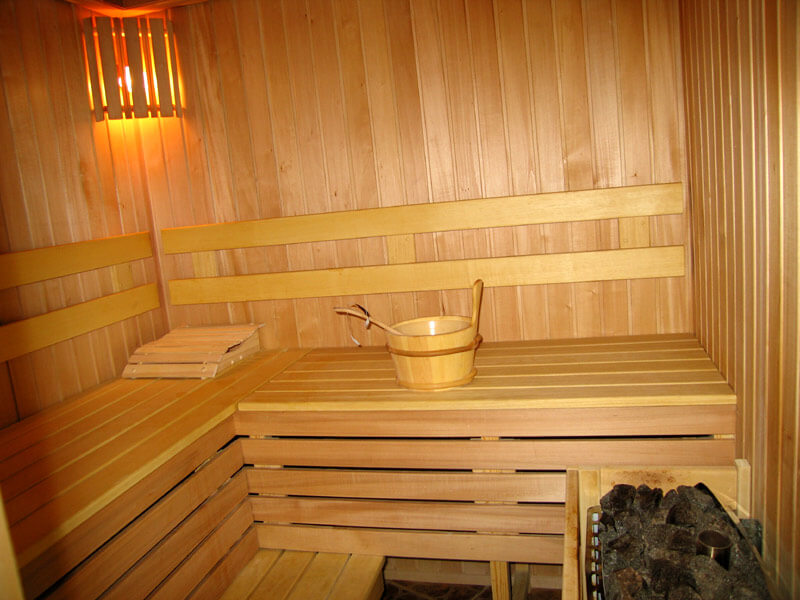
If we talk about shelves, they are formed from boards and leave a small space between them, thereby forming a drain. By the way, it is better to use any wood for shelves, except for conifers. The shelves should be fixed so that there is as much free space as possible and there is an opportunity to carry out a quick cleaning after visiting this room. Under them you can arrange various kinds of bath accessories such as various buckets, buckets, and brooms. At all, the distance between the floor and the shelves should be maximized, because cold air masses accumulate just below them.
The steam room should have perfect proportions so that it warms up well to the required temperature level.
It is best to design a variant with an area of 2 to 2.5 meters. Its height should be 2.10 - 2.15 meters.This size is enough for a brick that for a wooden steam room.
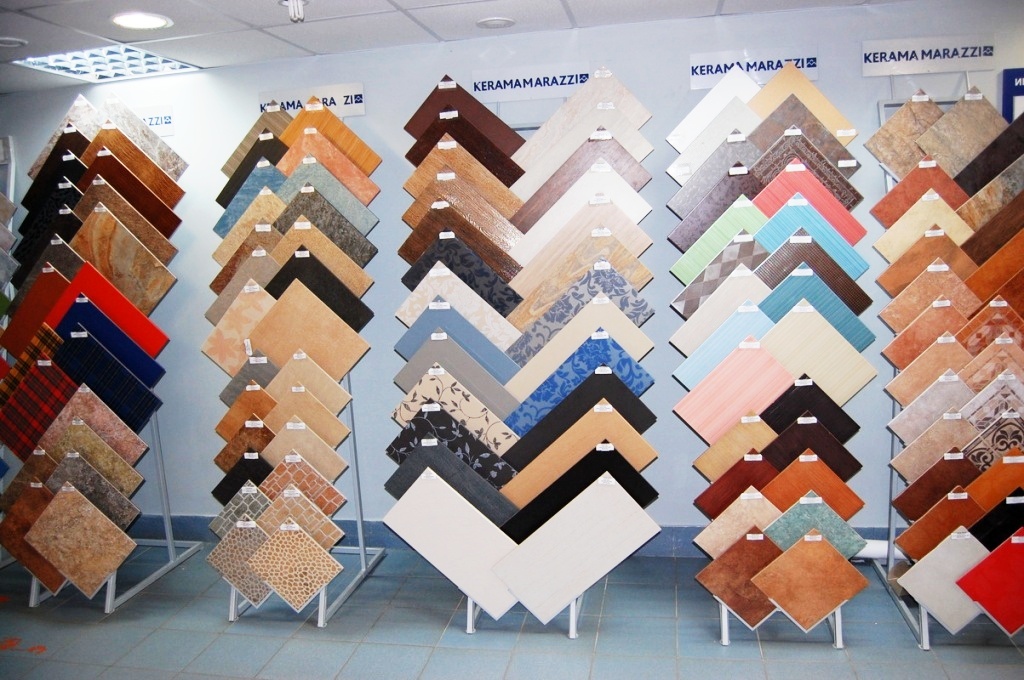
Its walls should also be sheathed with special insulators that will keep heat inside for a long time and at the same time under the influence of high temperatures will not emit harmful substances into the environment. If we talk about flooring, then it is usually made either from boards, or from tile, which is quite easy to care for.
The door should have a minimum size, because it can be a source of additional heat loss. It is better if it will be located near the furnace. It should not be constipated and easy to open, and tightly closed. The latter is extremely important due to the fact that there are cases when such doors are wedged due to the swelling of the tree due to high humidity. Windows in this room cannot be at all, but if you still want to make them, they should be very small, deaf and located as high as possible to the ceiling.
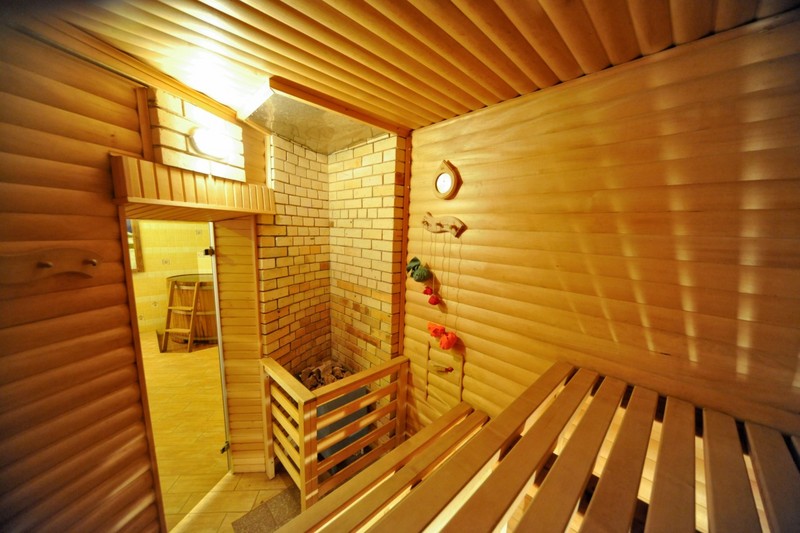
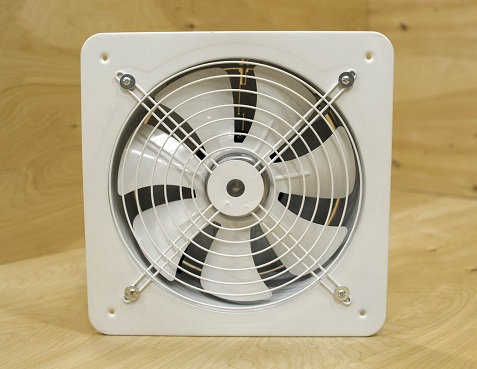
An indispensable element, without which the effective use of such a room is impossible, is a ventilation system that will bring out excess moisture and will provide a constant supply of fresh air.

Materials
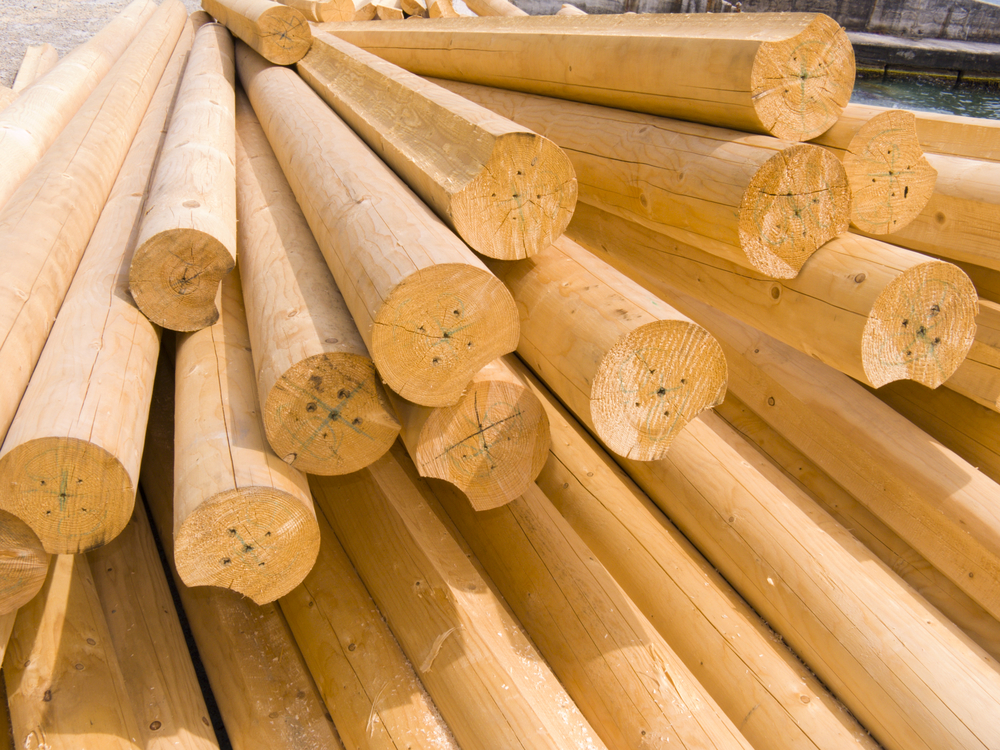
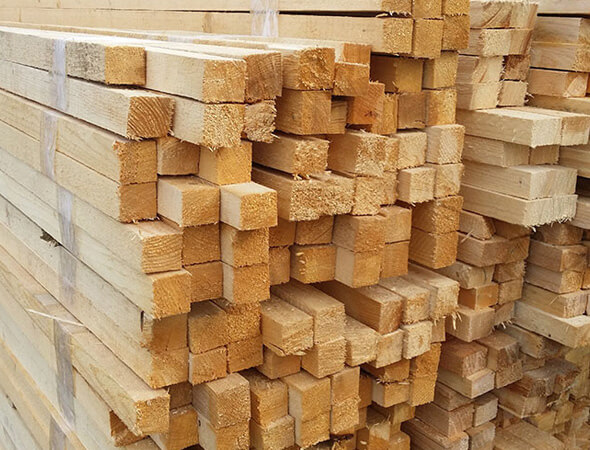
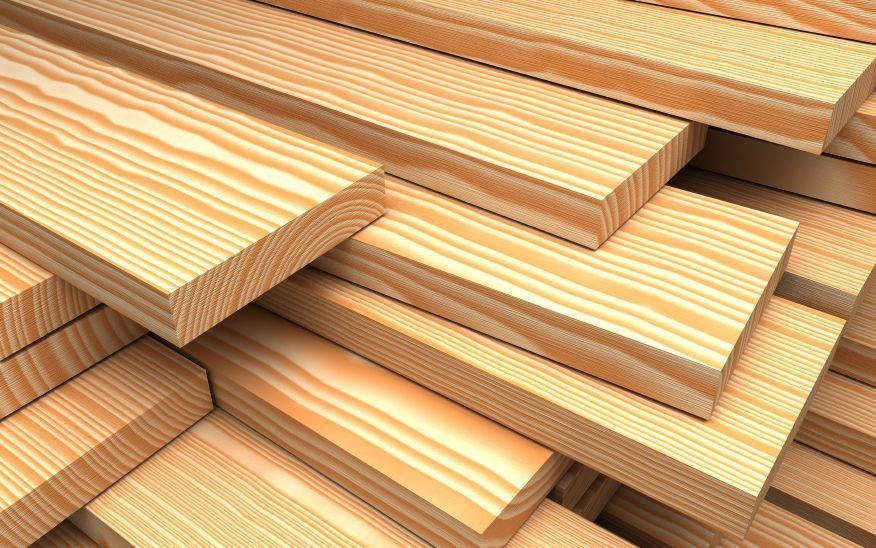
Such a room can be constructed from various materials - brick, stone (natural), foam and gas blocks. But, of course, the best material would be wood. As a rule, for a steam room, logs or planed logs are taken. There are often cases where you can use and timber. Also a good solution can be glued laminated timber due to maximum moisture resistance. But it has a corresponding value.


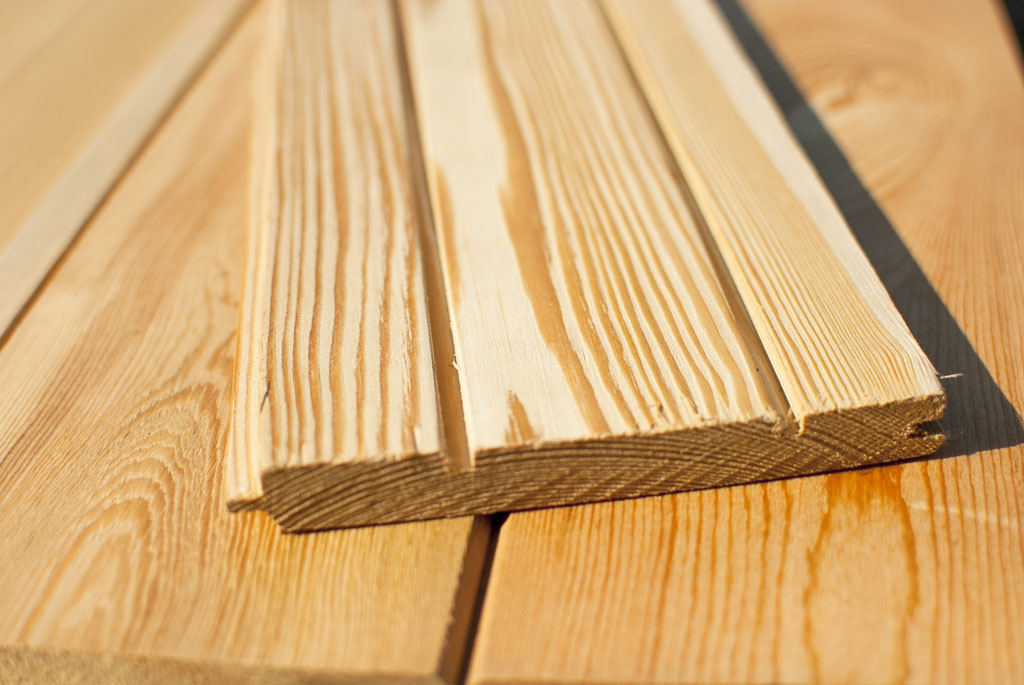
The most convenient in laying and the most affordable can be called a profiled beam, which is also quite resistant to deformation effects of various kinds. For the construction of the steam room is ideal for such wood species as aspen, birch or larch and linden. The mentioned rocks of these trees do not emit any resin at all. You must be extremely careful if you decide to choose a pine. It is better to make only walls from this wood, but now it is better to trim them inside of non-coniferous woods.
Also for the steam room as a whole, a linden is an excellent solution, because it has excellent cleansing and diaphoretic drugs. In addition, this material has excellent strength, durability and hardness, besides its price is attractive.

Project and calculation
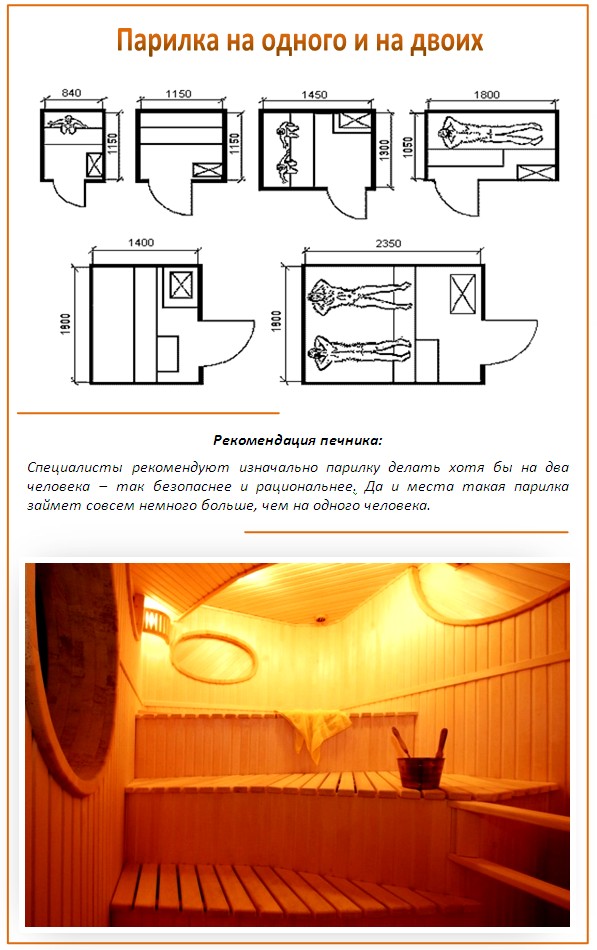
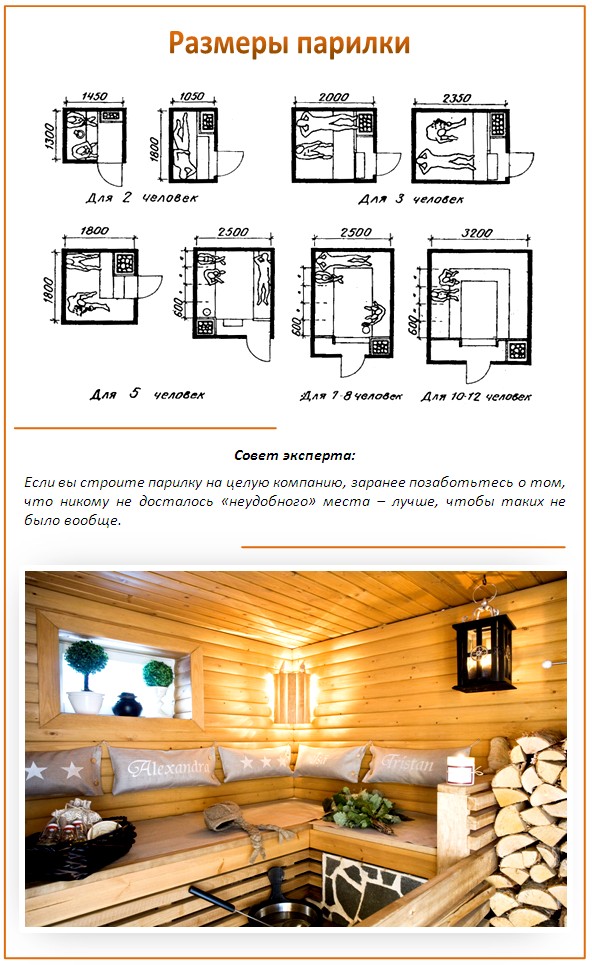
You need to create a project before construction. The sizes will vary taking into account a large number of nuances. To begin with, it should be understood how many people will be steamed here at once. From this indicator will directly depend on the overall size of the room. If we talk about standards, then for each person should be allocated not less than 0.7 m2.
To calculate the height of the room, you can choose the height of the highest family member and add 20 centimeters. During the calculations, you need to understand that the ceiling will receive additional insulation, which means that its level will be slightly lower than originally thought. Making the steam room too high is also not a good solution, since this can cause not only insufficient warm-up, but also extra energy to compensate for this drawback.

Hot air masses will simply go under the ceiling and will not have any necessary effect on those in the steam room. Best of all, if the height of the steam room will be 2.2-2.4 meters.
Placing people in a sauna can be either recumbent or sedentary. A sedentary arrangement of the steam room will make it possible to make it more compact. The shelves on which it is supposed to lie require significantly more space.In this case, the minimum figure in length will be 20 centimeters more than the height of the highest family member.
Be sure to work out the issue of the ventilation system. Since this room is not a washing room or a rest room, steam will accumulate here so much that if there is permanent and constant humidity, all wooden elements will quickly become unusable, and this will also cause mold to form, which will make the microclimate unfavorable to humans.
Where to put the oven?
Another important question that we will try to answer in this article. If you refer to the SNiP number 41-01-2003, then the furnace should be located in the bath at a distance of at least 32 centimeters from the structures made of wood. If the walls are protected by materials that are not exposed to burning, then the distance can be reduced to 26 centimeters. These norms are very important, since any steam room has its central element - the stove.
Its location is very important, because the efficiency of the entire system will depend on it. As a rule, it is installed next to the external wall, which allows you to bring the chimney through the wall outside, without damaging the attic floor and roof.
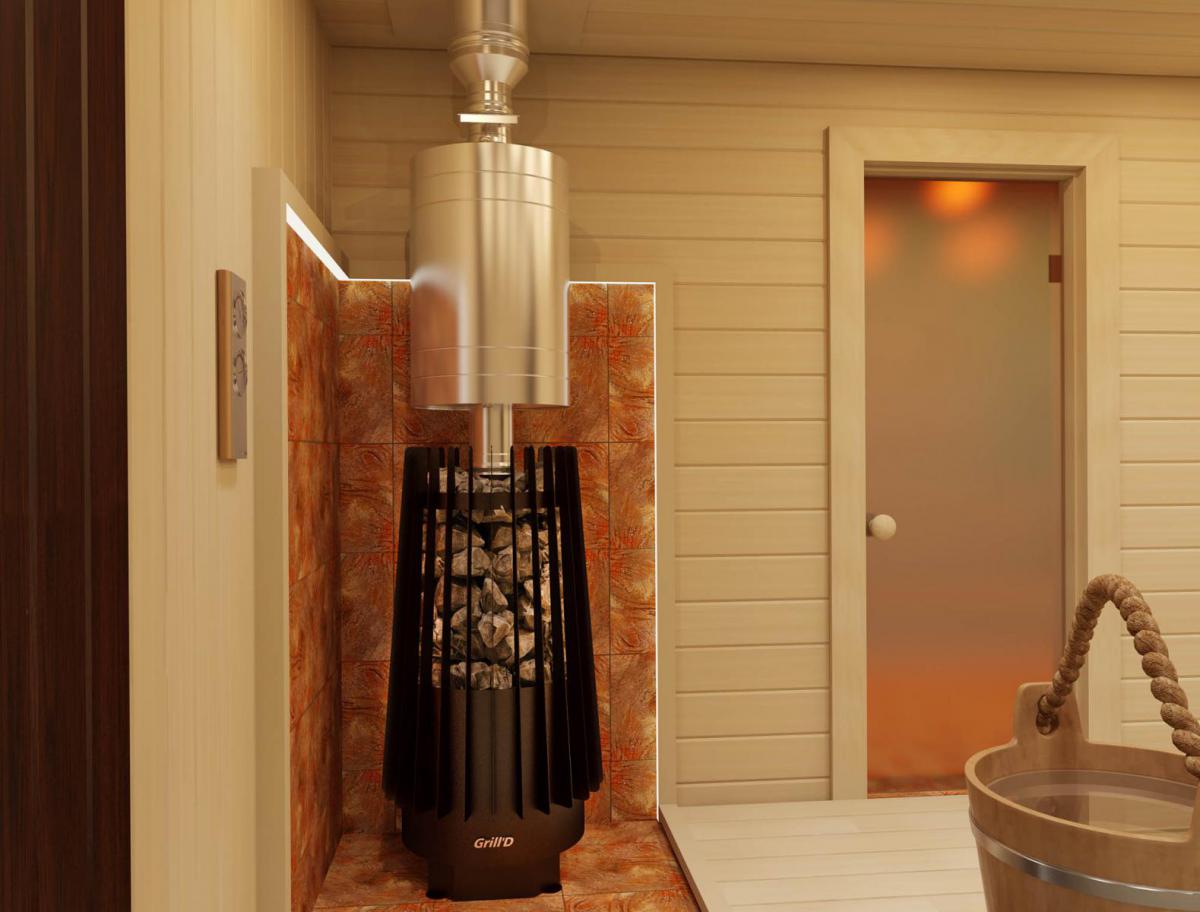
But there is the option of creating a traditional construction with a vertical pipe running through the entire construction of the bath. To do this, in the ceiling ceiling a special hole is made through the attic, which is passed through the roof. After that, the gaps between the pipe and roofing material overlap waterproofing. This option is more difficult to implement in terms of chimney installation. But if you give him preference, then this will significantly save space in the steam room due to the distance from the wall. But here we should not forget that the stove must be compact.
By the way, on the market today you can find quite small options that are more effective and will be a great solution for any steam room.

Tools and accessories
In order to make the steam room, we need:
- bars for the construction of walls, as well as partitions;
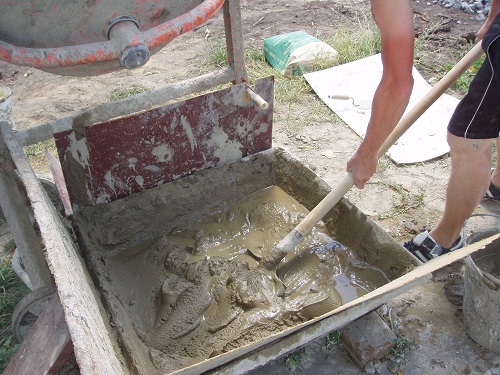
- concrete based mortar;
- clay, sand, crushed stone;

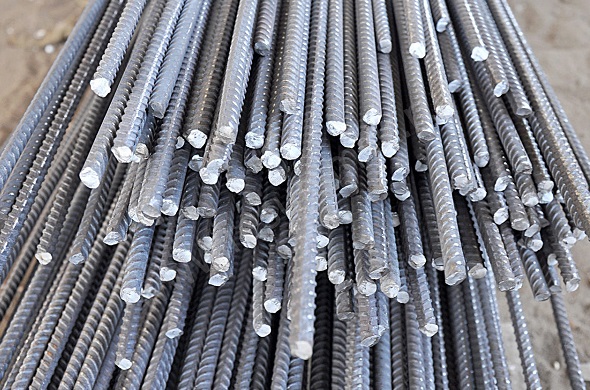
- fittings to create the foundation;
- formwork boards;
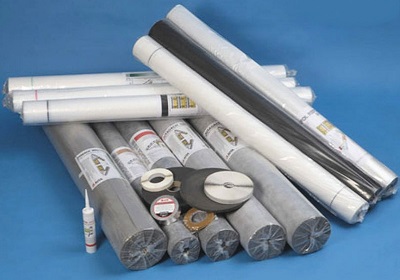
- waterproofing materials;
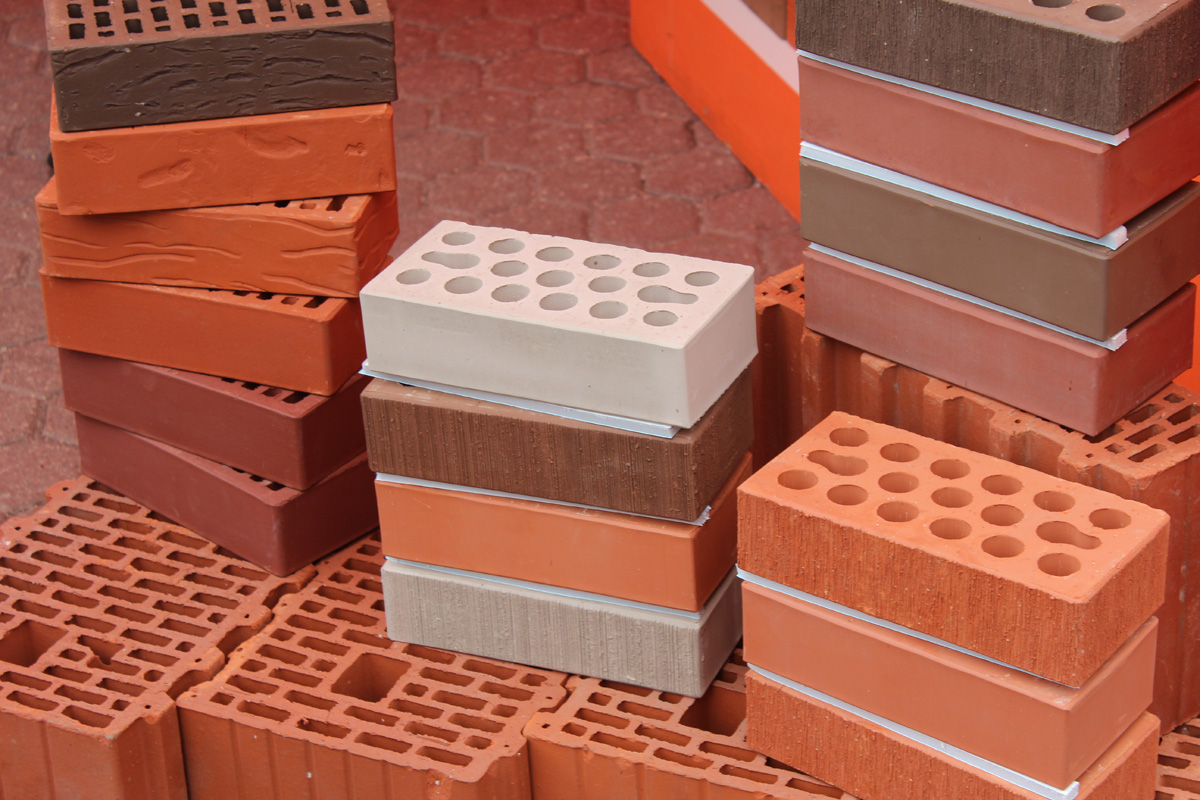
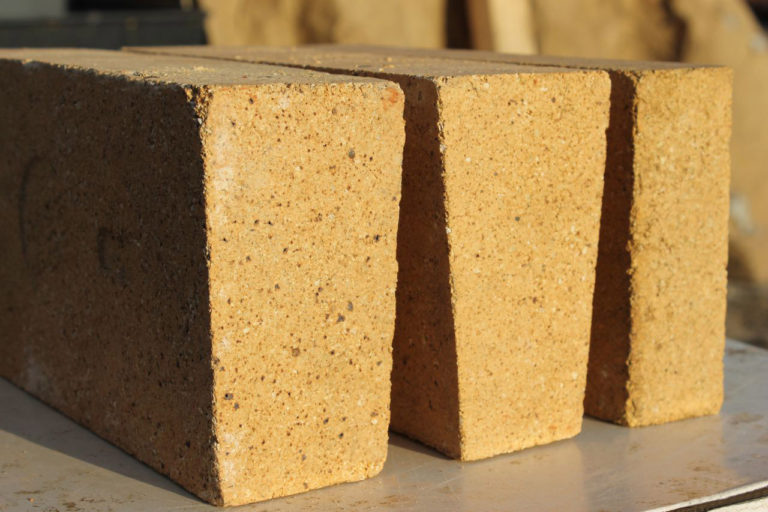
- fire brick;
- tile;
- lining;
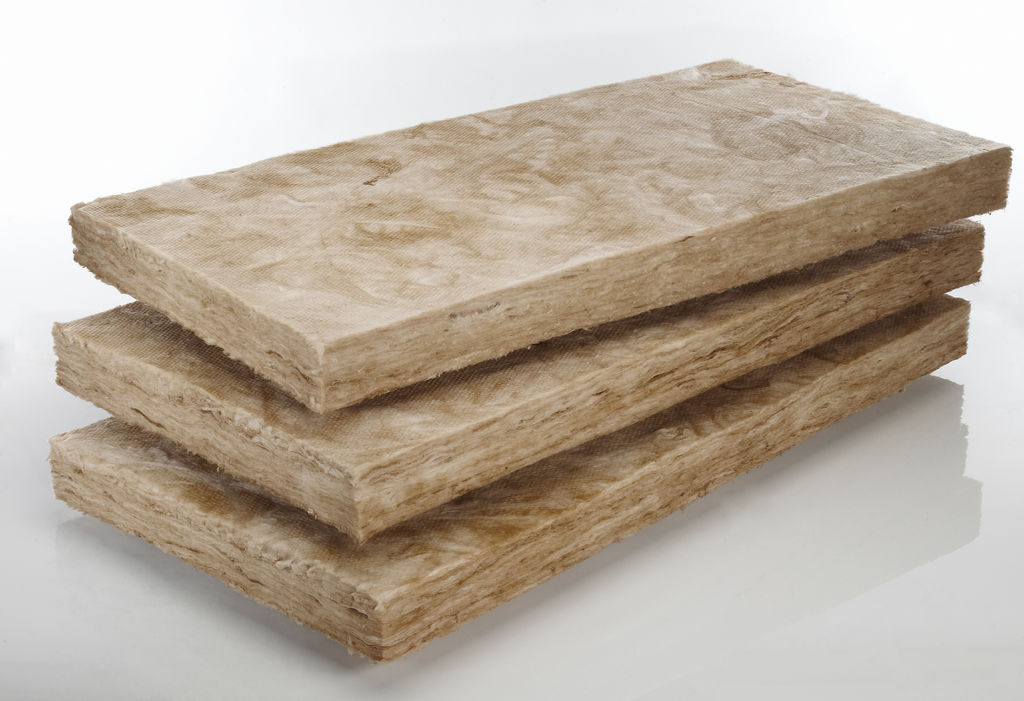
- mineral wool or any other insulation;
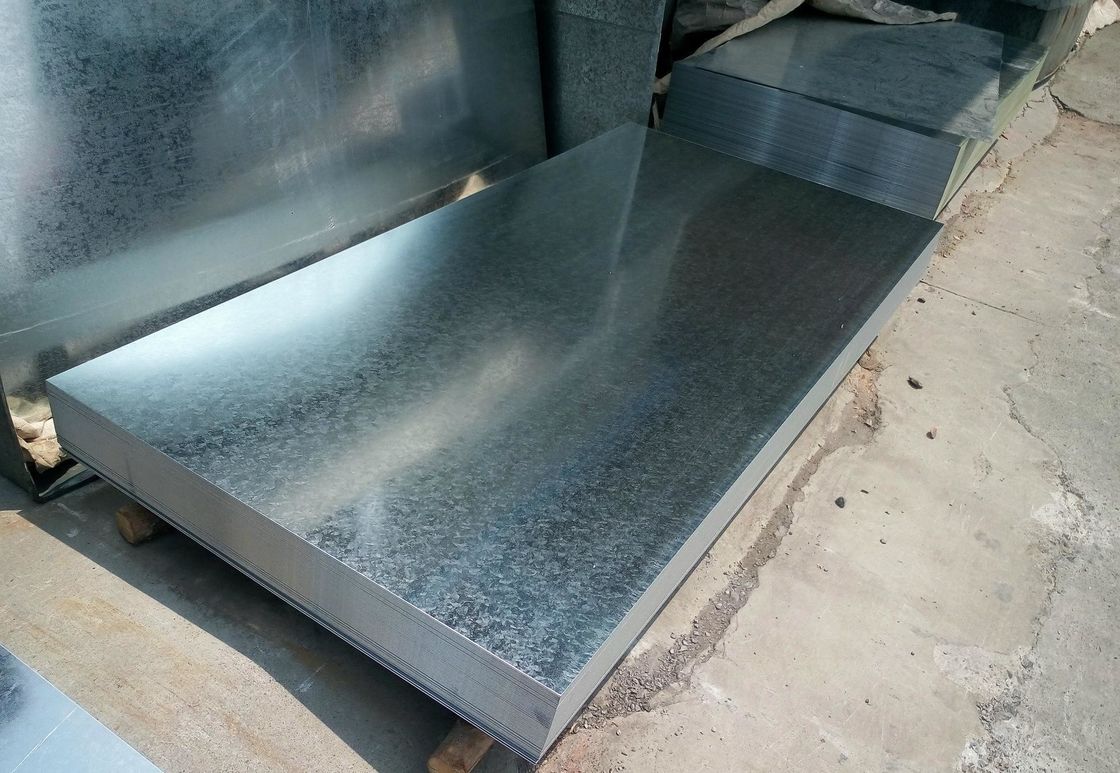
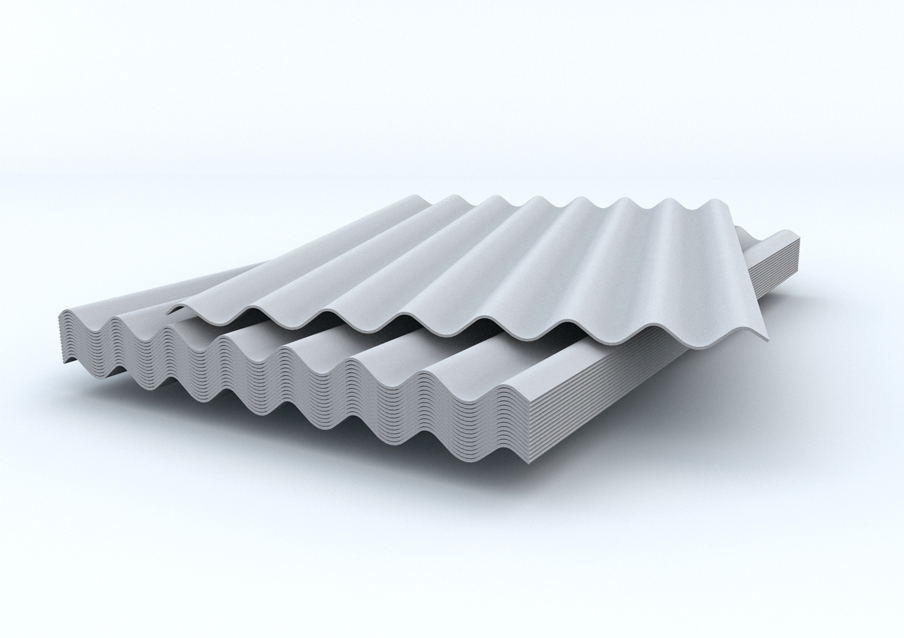
- slate and galvanized;
- antiseptics;
- fixtures, cable, junction boxes, switches and fans.

If we talk about tools, it will be necessary:
- a shovel or a small excavator;
- saw (electric or gasoline);
- ax;


- electric drill;
- hammer;
- electric screwdriver;


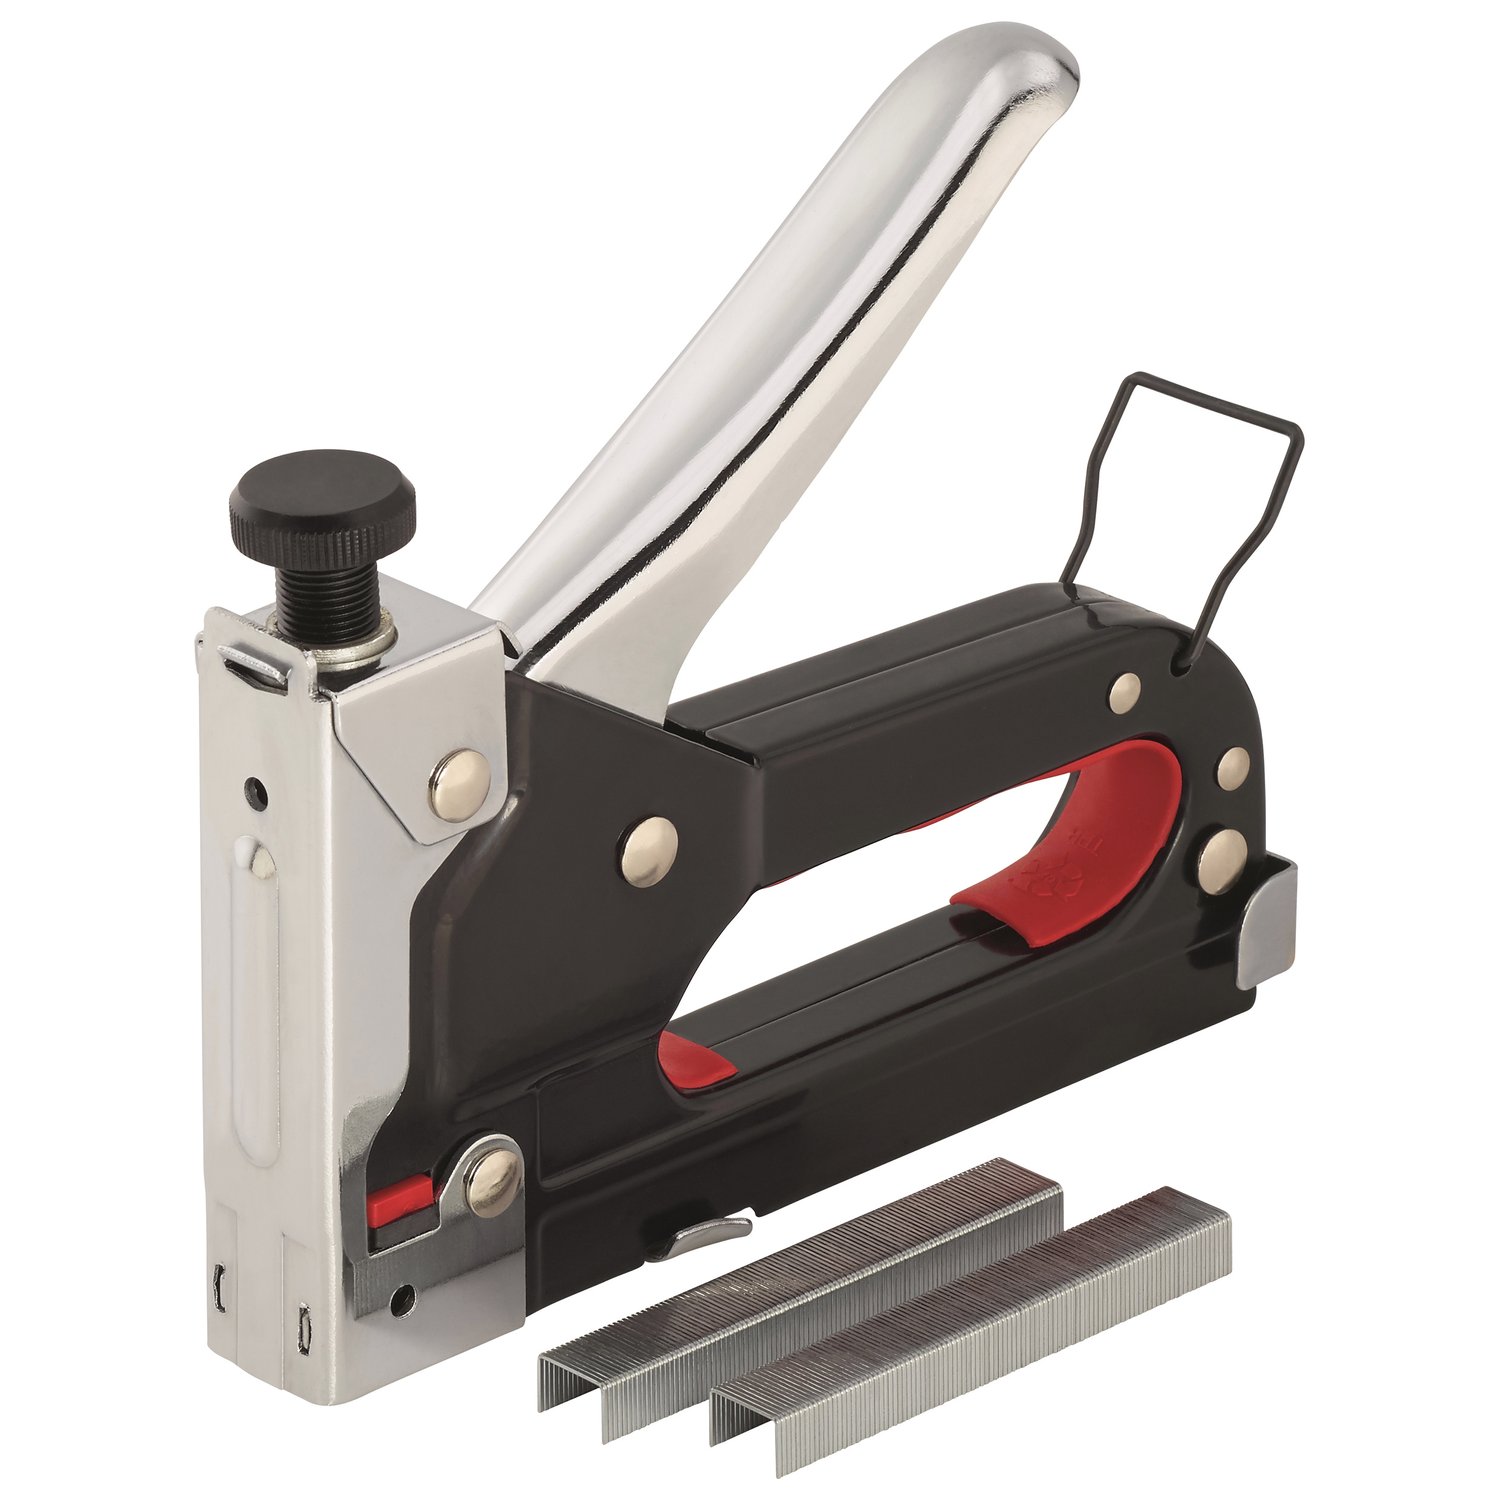
- construction stapler;
- caulker;
- mallet;
- level and rule.

After all of the above is at hand, you can proceed directly to the construction.
Installation and insulation
After the project has been completely drafted, and the calculations you have made are checked for inaccuracies and errors, you can start building the foundation for the future steam room and walls with your own hands. This will help the next step by step instructions.
So, the first stage of work will be laying the foundation. To do this, first dig a pit in the shape of a rectangle. Its depth should be at 1/2 of the ground freezing. Height above ground should be 17-19 centimeters. If there is no base, then you can raise the structure by 60 centimeters. It is also important that the width of the foundation is 10 centimeters more than the width of the timber itself. After that, install the reinforcement, on which the first crown will be fixed.Next, we make the formwork and fill the foundation with prepared concrete. If during the pouring bubbles appear, then remove them with a special tool. Now, under the sink, we dig out a drain hole with dimensions 1.8 x 1.8 x 1.5 m and fill its walls with concrete.
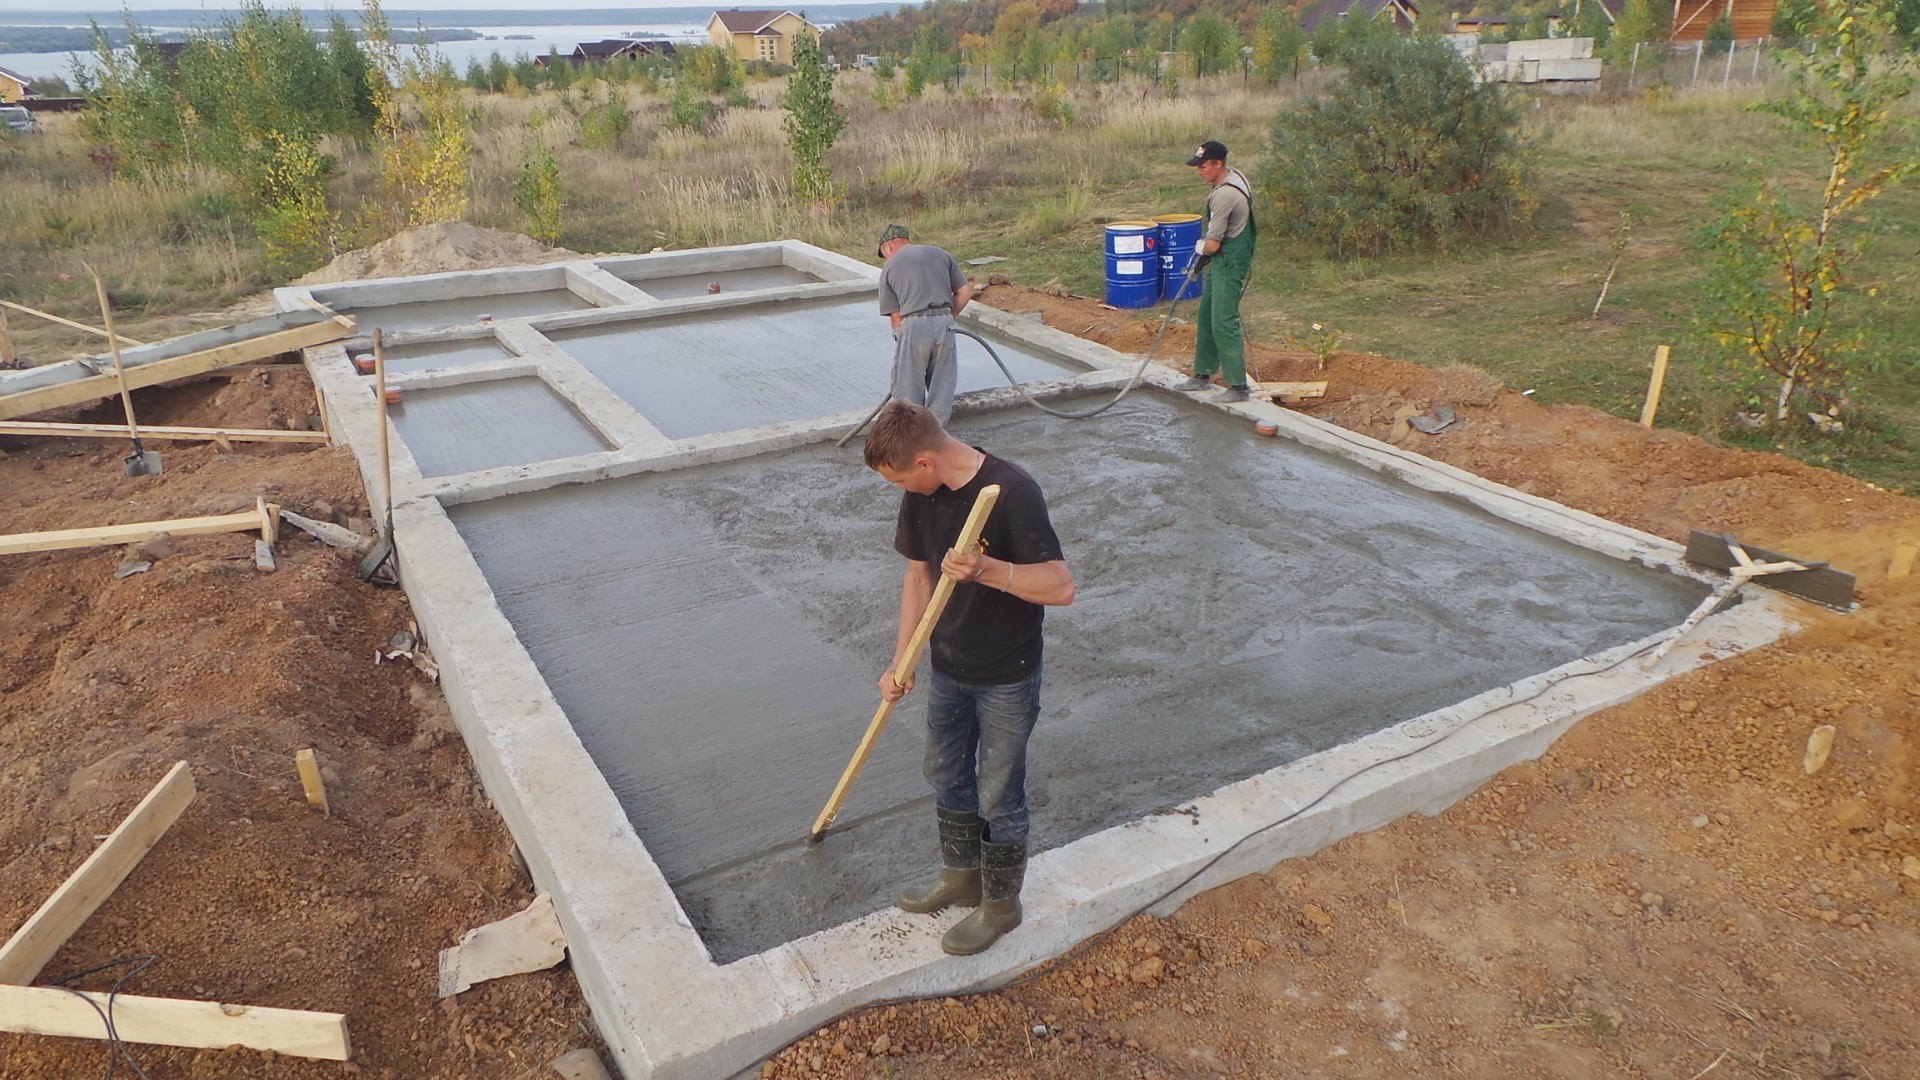
After this, the foundation must be allowed to settle for 6-7 days. In the upper part it is necessary to make ventilation openings, which should be located on opposite walls to each other. At the next stage we build a blind area around the foundation. To create it, we take clay and mix it with rubble, sprinkling a layer 5-10 centimeters thick.
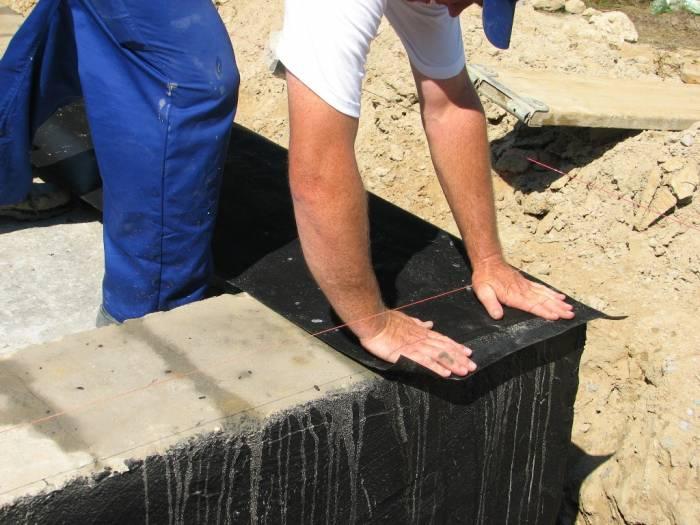
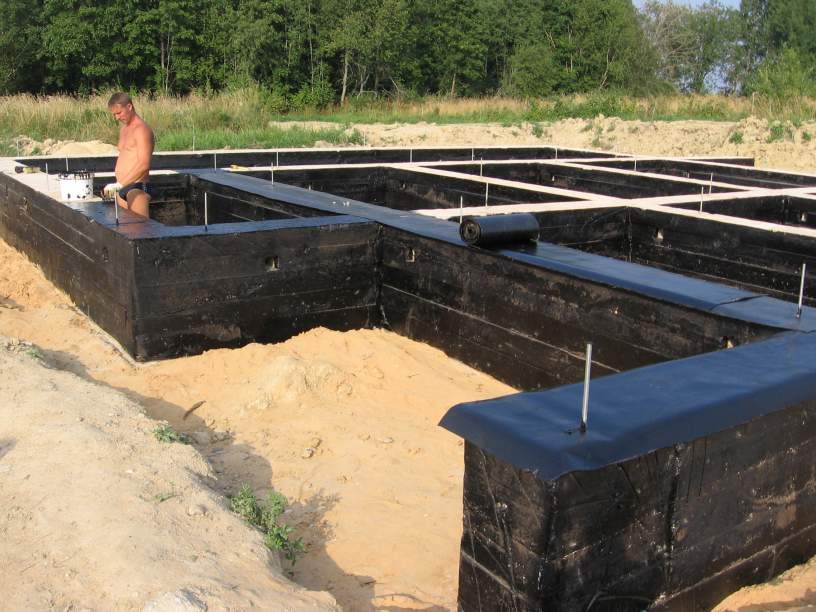
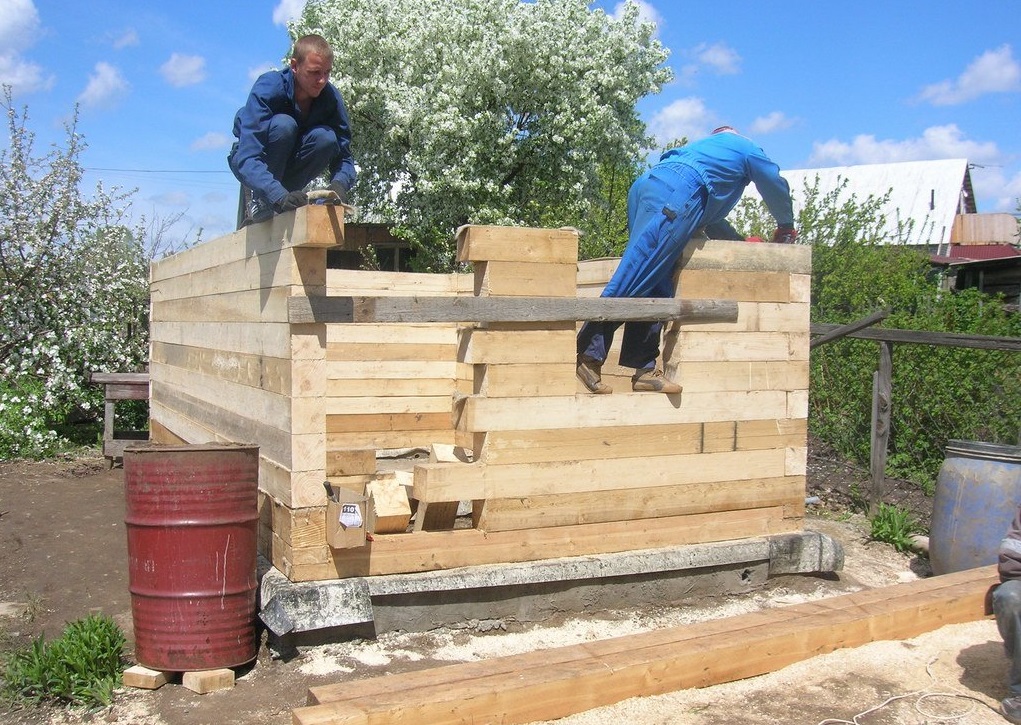
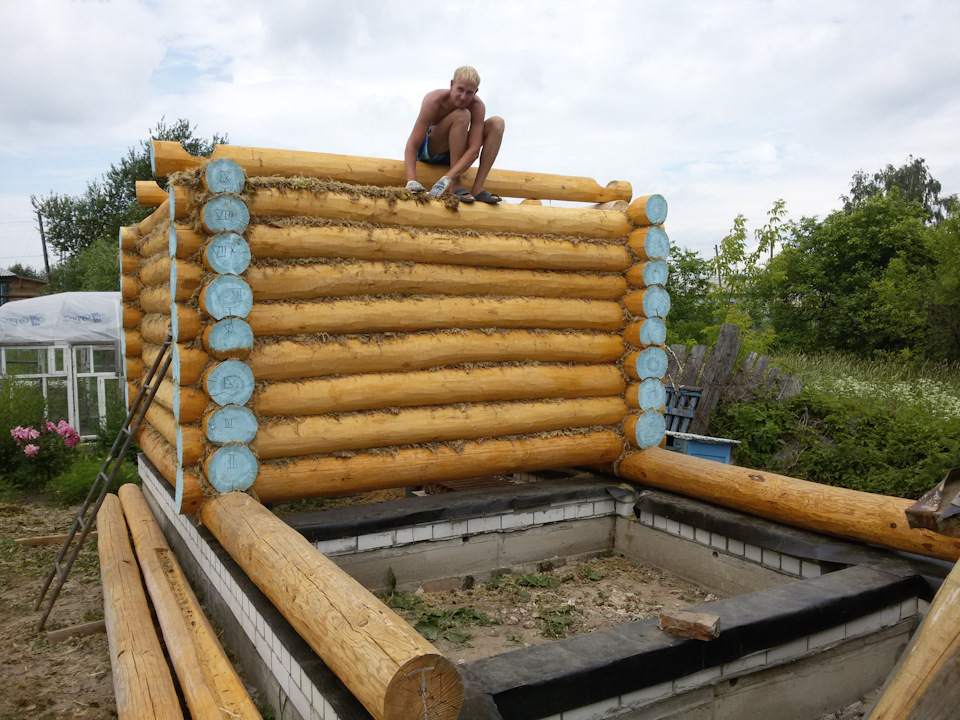
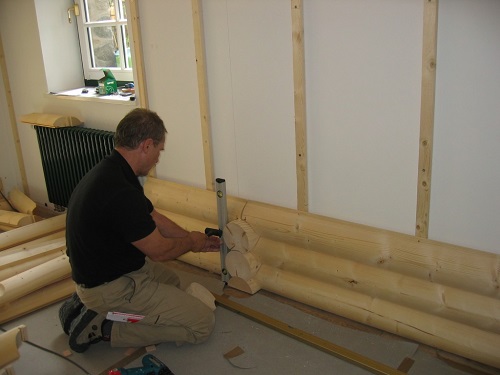
Now, along the perimeter of our foundation, it is necessary to lay roofing material. It would be best if it is laid in several layers. It should go beyond the size of the base by 50 millimeters. In order to build walls, you can use factory wall kits if you wish. You can also cut the timber into pieces of the required length. They need to make special spikes and grooves. After that, in the initial row, we make the markings in accordance with the installation of the reinforcement and drill through the holes with a depth of 25 millimeters, after which we can proceed to the installation of the first crown of the bath walls.To do this, put it on the pins, make the connection bars, then seal the connection points.
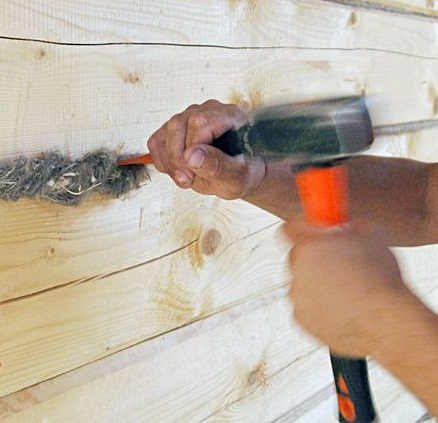
Then put the second row, drill holes that will go to half the height of the first row. Now we take out the second row and in the holes of the first we drive dowels into 1.5 of the height of the beam. After that we fill the next row. Now we connect the crowns with dowels, and we warm the grooves with the help of jute. We also reserve space for doorways. And thus we build a bath with a steam room to a certain level of height.
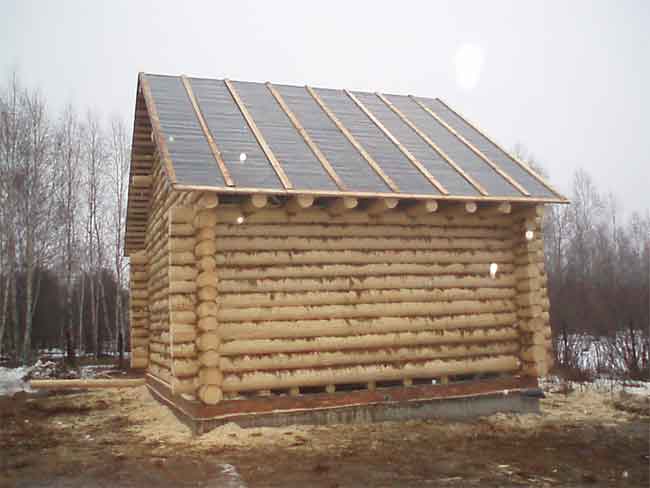
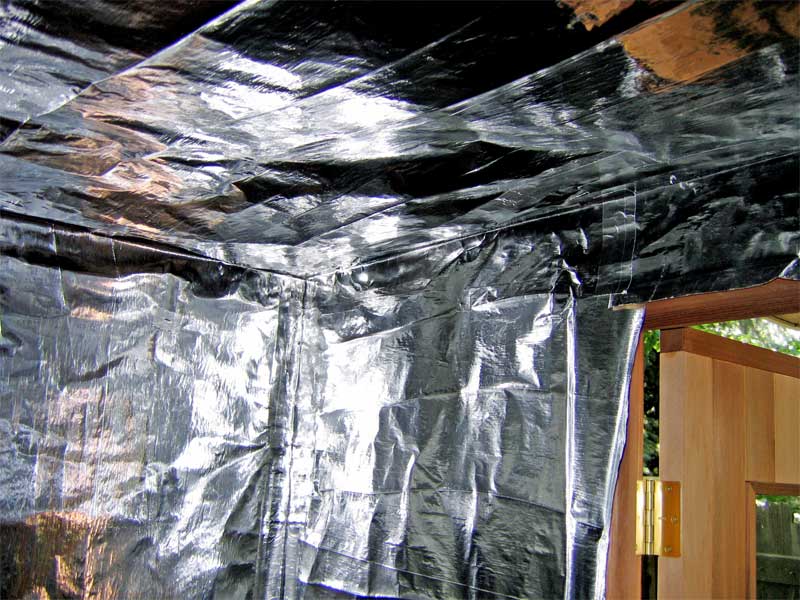
Now we cut in the upper crown beam ceilings, and in their lower - rafter ends. The upper ends should be joined in a skate. Between the rafters we make steps of 1–1.2 meters, after which we pave the ridge board and crate to them. A vapor barrier and waterproofing, which can act as a foil, is laid on top, and then we put on top of any roofing material, such as slate. It is also worthwhile to foresee the presence of embedded pipes. After that we can say that the frame of the bath with the steam room is ready.
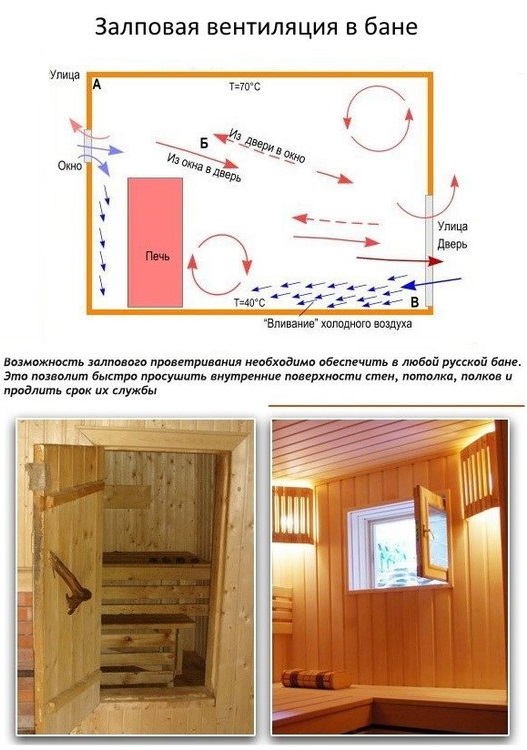
Ceiling: proper ventilation
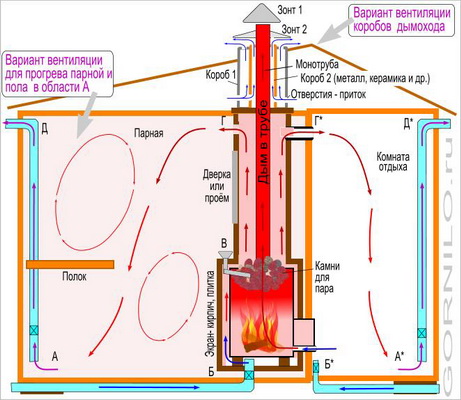
In order to reduce the high humidity in this type of room, as well as to prevent the occurrence of mold and mildew, the steam room in the bath should have a really effective and reliable exhaust ventilation mechanism.Such a system will be the best solution for the timely removal of excess moisture and the supply of clean air from the street. According to experts, it is best to do the supply and exhaust ventilation mechanism in the premises of this type, which will have an integrated air duct.
In this case, the intake channel should be located near the firebox at the bottom of the steam room. The hood in this case should be installed in the upper part of the opposite wall almost under the ceiling. The size of the exhaust channel must be twice the diameter of the inlet.
And you can regulate the air flow with the help of the most common built-in valves.

Floor
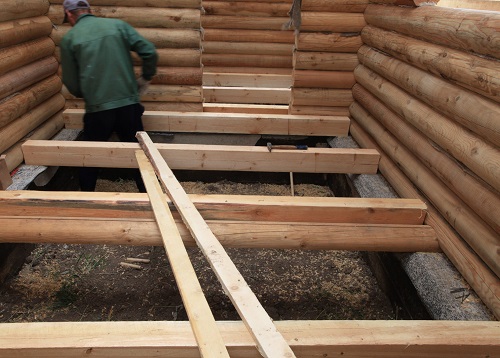
Installation of the floor can be done immediately after the frame was built premises. If we are talking about a steam room, then the level of the floor should be significantly higher than in other rooms. Consider how to properly lay the floor.
On the already prepared foundation lay lags from a wooden beam, then we nail the boards on them. The distance between them should be 6-9 millimeters, and between the floor and the ground the distance should be at least half a meter. After that we make holes for ventilation.
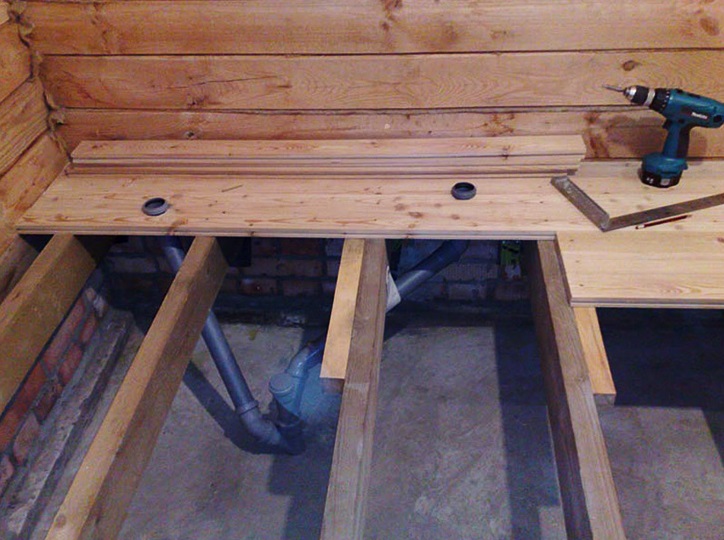
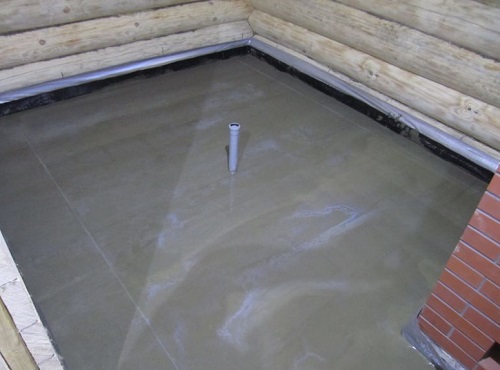
It should be said that the floor of concrete will be more durable and stronger, but its cost will be significantly higher. In the washroom, where there will be a shower, and a steam room, we tear out a pit 12 cm deep for draining water. Its walls are made of concrete solution. Top lay crate of metal. From here, the water will drain into the sewer drain. When he is ready - we make a coupler. First we need to mark the points to which the level of the floor will be brought, after which we measure the distance from them to fill the screed. Now it is necessary to level the ground and remove a little of the upper layer, then pour a layer of sand up to 45 centimeters, moisten it with water and thoroughly tamp down, making a slope towards the drain.
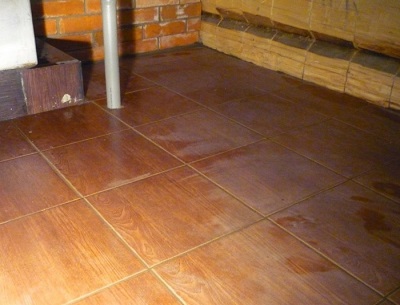
Now fill the first five-centimeter layer of concrete solution. After the screed has dried, we roll out the glass-fiber or roofing felt on it, after which we lay a layer of thermal insulation with a thickness of half a centimeter. On all this we put a metal reinforcement from the grid, over which we pour the second concrete layer 10 centimeters thick. Now align the concrete and remember the slope of the drain. A tile or other flooring is placed over the whole structure.

Walls: "pie"
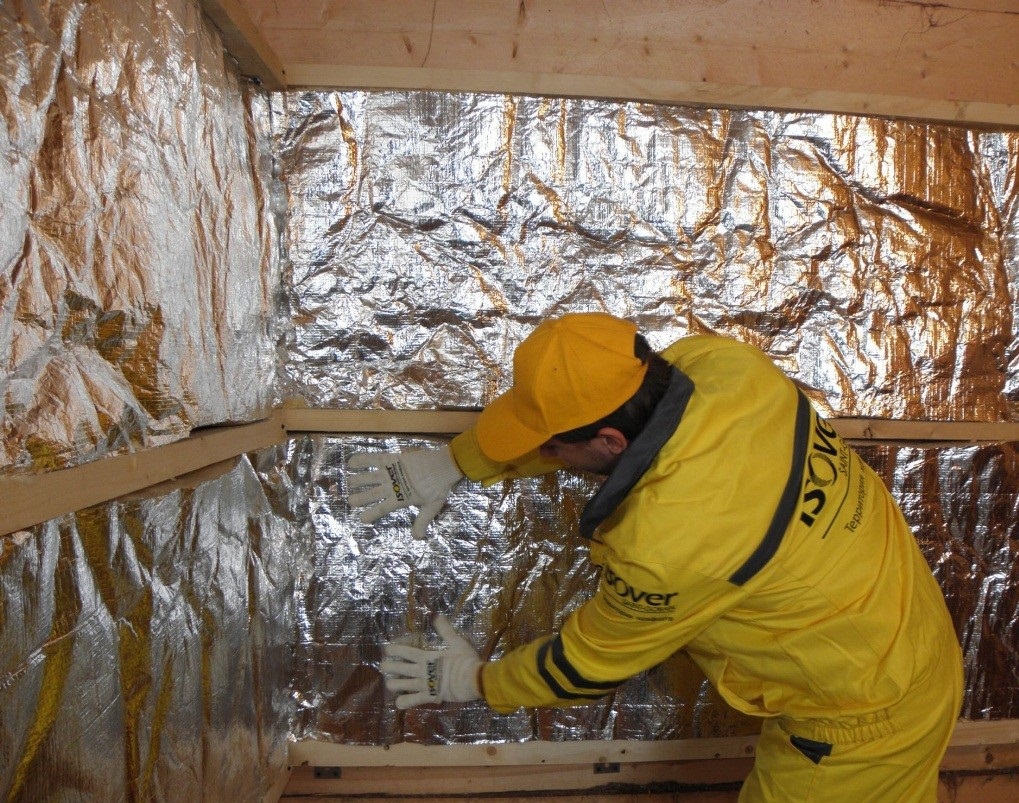
If the walls of the sauna are made of foam blocks or by the so-called frame technology, then they need additional insulation. In fact, inside we have to get a thermos where the cold air will not get and which will keep the heat coming from the furnace. This will make it possible to significantly save resources that will be spent on heating, as well as maintaining a certain temperature regime here. In essence, you need to create a “pie” wall. So it is called, because the materials are stacked in layers, because of which it turns out the similarity with the cake.
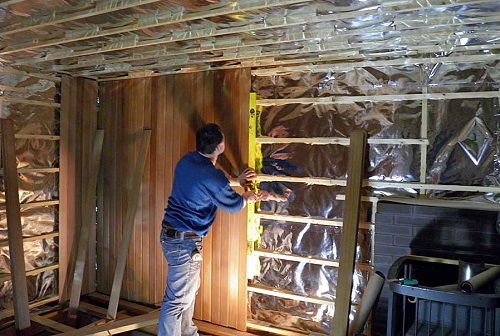
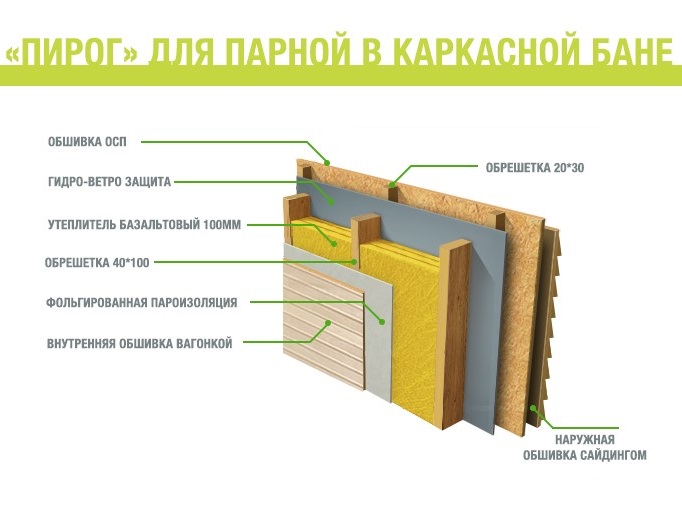
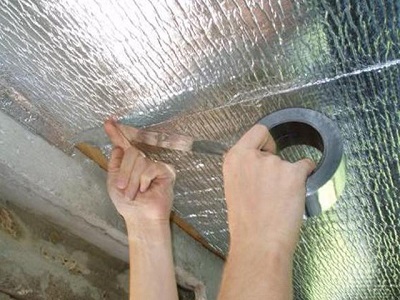
Before starting a hole is made in the wall where the furnace will be installed. After that, a wind-proof film is fixed on the walls and bars of 5 centimeters thick and 4 centimeters wide are screwed. The pitch between them must be equal to the width of the insulation boards. After that, between the bars mentioned, the insulation from basalt, which falls into the category of non-combustible, is quite tightly packed. Now it is necessary to nail waterproofing to the bars. It is best to do this with galvanized brackets. As protection, you can use one of three options:
- waterproofing bath membrane;
- high density foil;
- foam-based foil-based foam.
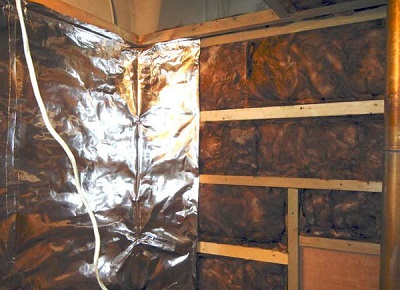
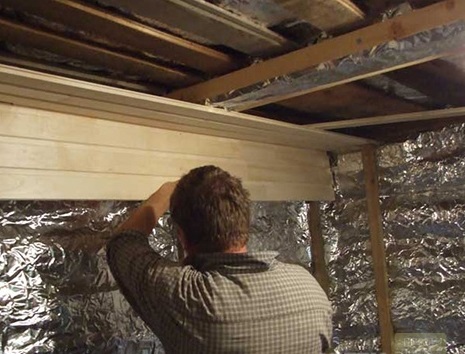
The strips of one of these materials are nailed using the same clips with an overlap of at least 15 centimeters. All joints need to be sealed with a special adhesive tape, and then galvanized screws are attached to the slats with a thickness of 25 mm and a width of about 40 mm every 70 centimeters from each other. Now we set the crate exactly using the laser level.
Its installation starts with 2 rails around the edges, between which they tension the cord, which serves as a guide for nailing other crate elements. After that the wagon board is already attached. To fix it, you can use special galvanized nails. After that, it remains to make holes in the wall for ventilation, which must be masked with plugs or flaps.
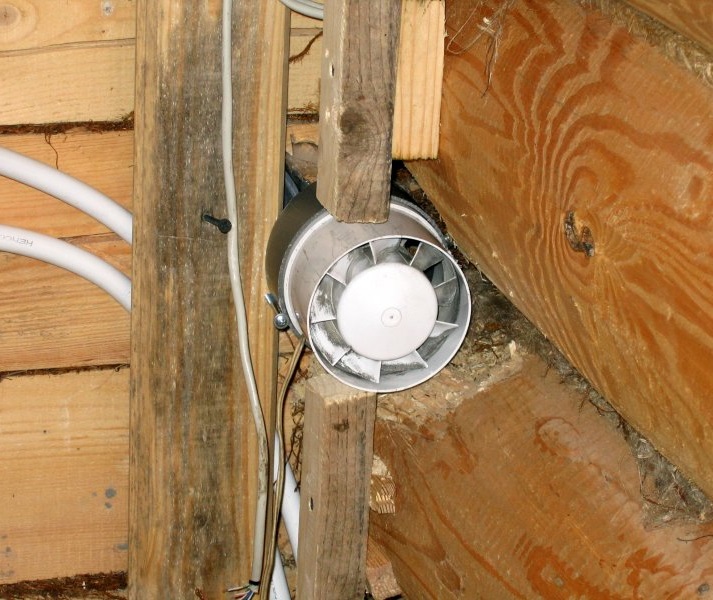
If necessary, you can install a fan in one of the ventilation holes.
Installation of windows and doors
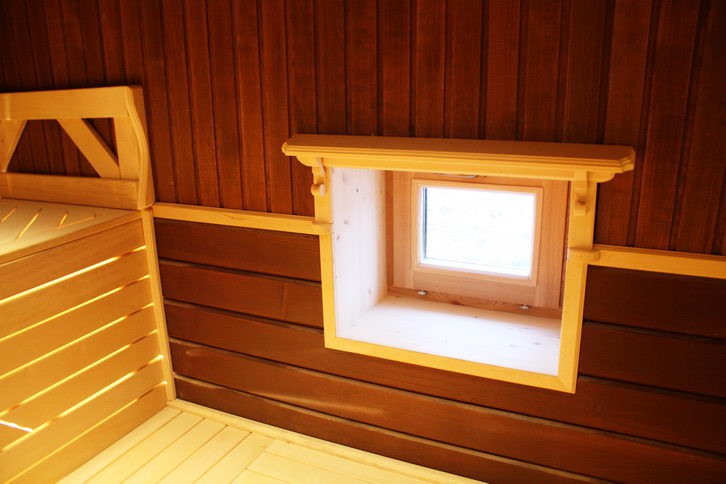
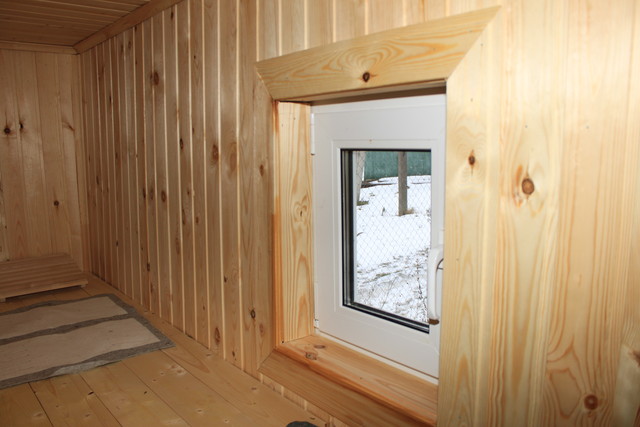
As mentioned above, the construction of a separate steam room does not provide for the installation of windows, so lighting of an artificial type will be more than enough.By the way, we should not forget that for all windows it is required to make the insulation of the blocks, which would entail additional costs. Alternatively, you can mount 1 blank window measuring 50 by 50 centimeters. In order to make the steam room really high-quality, you should definitely buy the best double-glazed windows, which have maximum efficiency in matters of heat and sound insulation.
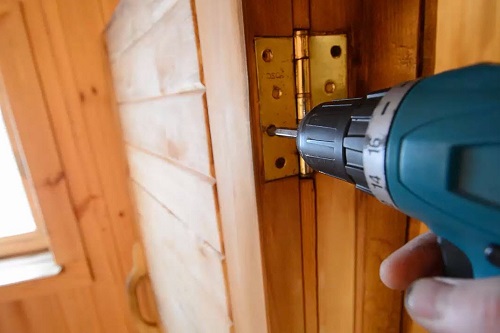
Naturally, you need to make the door in the steam room. It should be understood that the door frame is at the level below normal, and the threshold is slightly higher. Such a solution would reduce heat loss and prevent drafts from forming. The optimum height of the threshold is a figure of thirty centimeters. Installation of the door is made so that people entering it could not get burned by the material that was heated during operation.
Wood has good thermal conductivity, for which reason it is better to sheathe the door on both sides with foil and special insulation. And on top of them you can disguise the same lining.
An alternative to this solution would be simply the acquisition and subsequent installation of glass doors.Externally, they look great and will be perfectly used in any conditions that may arise.
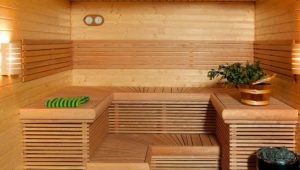
Finishing and arrangement
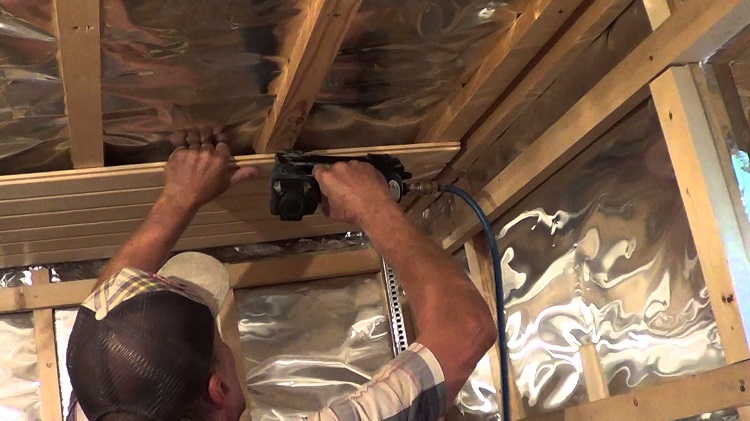
For finishing it is necessary to choose a suitable tree. We are talking about oak, cedar, larch or lime. Sheathing should not be made of resinous pine-type rocks. Before mounting inside the wood is better treated with oily substances. Such impregnation will reduce the hygroscopicity of the material. Making clapboard starts from the ceiling. It is mounted on the crate by the mechanism of spikes and grooves, or it is mounted with the help of clamps.
When the wall paneling is mounted on the ceiling, the work with the walls begins. Sheathing will go along with the installation of shelves and occur in a certain sequence. First, using the level mark the surface of the walls. At the same time, the layout of how the loungers with all the elements, including the backrests, will be placed.
After that, the side and front of the shelves are sheathed. After that, the remaining walls are sheathed. Now it remains to carry out the installation of baseboards, both ceiling and floor.The details of the skin are usually used only in a special case, if it is fitted at the joints one under the other very carelessly. It should be said that by this time it is necessary to take a careful look, because moisture may start collecting in the gaps, which may be the reason for the development of fungus and mold in these places.
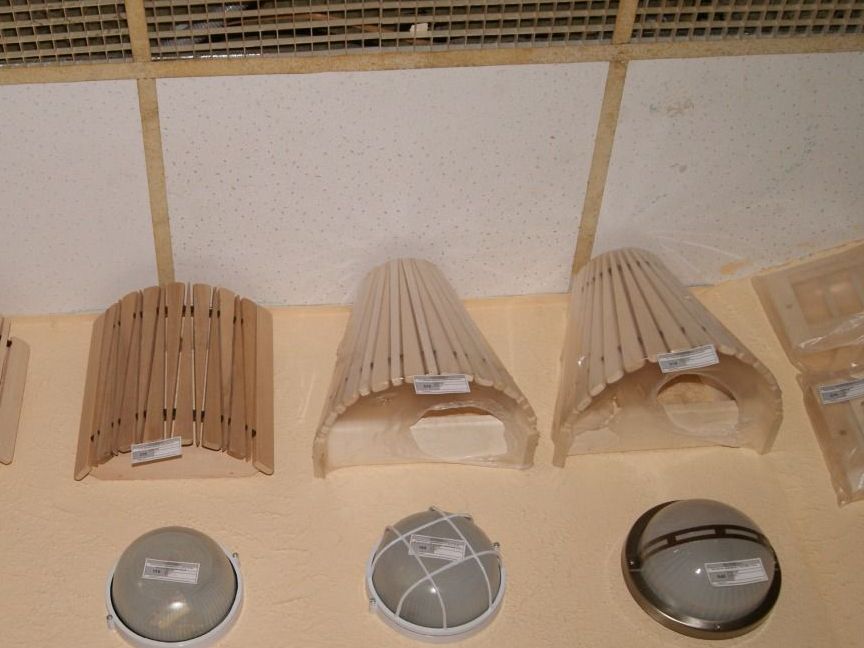
Already in the final works are mounted doors, as well as various lamps and lamps. The wires must be carefully insulated so that they do not get wet and short circuit does not occur, followed by a fire.
In addition, after that you can, for example, make a pair of hangers or additional shelves to accommodate some accessories.
It should be noted that the most beautiful bath is obtained from those who want to introduce into it some kind of their own idea and do something non-standard. And the steam room is a room where any material can become a work of art, be it wood, stone or metal. The main thing is that imagination and finance allow you to realize your ideas.
You can make a steam room with your own hands, although this requires a considerable amount of knowledge. At the same time, if everything is really done correctly, then you can be surethat it will turn out exactly no worse than if you ordered the development of the project and its subsequent implementation from professional builders. In addition, the technology of self-creation of such a building has already been tested by more than one person and has proven its high quality and viability. In general, if you want to build a steam room with your own hands, then thanks to the knowledge described above, you can implement such an idea without any problems.
You can learn more about how to make a stove for a bath with your own hands.