Making a garage door with your own hands
Garage doors are an expensive construction, because many car owners seek to make and install the gate on their own. The technology of assembling a garage door with its own resources is not as complicated as it seems, and if you follow the instructions clearly, the “home” for the car will acquire reliable protection.
Manufacturing features
The process of building a garage door construction begins with the design and preparation of detailed diagrams and drawings. This does not require special skills. Take paper, ruler, pencil, measure all sizes. First determine the width.It should be equal to the width of the car body, but have an additional tolerance on both sides of at least 30 cm. To make the measurement more accurate, it is better to hold it at several points, and then stop at the arithmetic average value. Then measure the height. This is easier, because the garage is usually built for a specific car, so that the necessary parameter is already available.
Now you can create a drawing, in parallel thinking through all the structural elements.
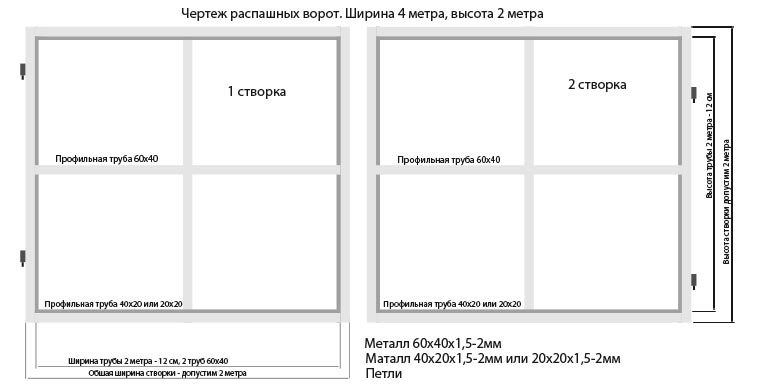
Swing gate scheme is the simplest:
- draw two rectangles, indicate their dimensions;
- if you want to have different in size sash, specify it in the drawing.
Similarly, drawings are made for other types of gates, but it must be remembered that lifting and sliding types have only one section. Here we must be careful in determining the ribs. When drawing a sectional gate, the number of sections is taken into account.
Types of designs
There are several types of garage doors.
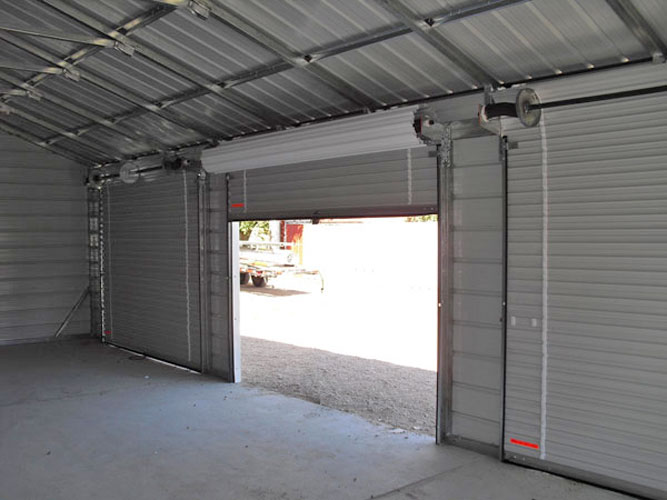
Recoiling
Their main element is a sash moving parallel to the wall of the garage.
Among the main advantages of this gate are:
- trouble-free operation;
- duration of service;
- strength;
- space saving;
- relatively low price.

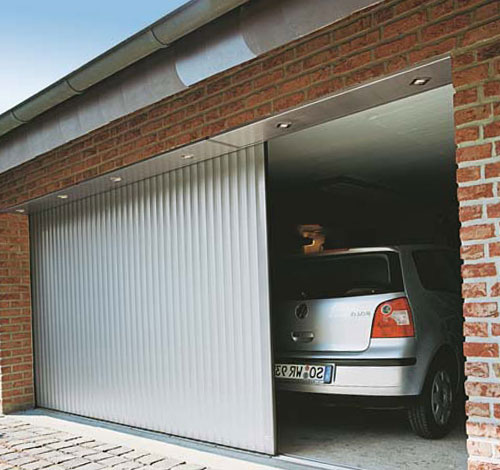
The main disadvantage is that such sliding gates can be mounted only on garages with a wide facade. Its width should be at least such that the departing flap could fit entirely on it. Similar gate can be made and established independently. The doors are made in almost the same way as the doors of the usual swing gates. The difference lies in the installation: instead of loops are used guides and rollers.
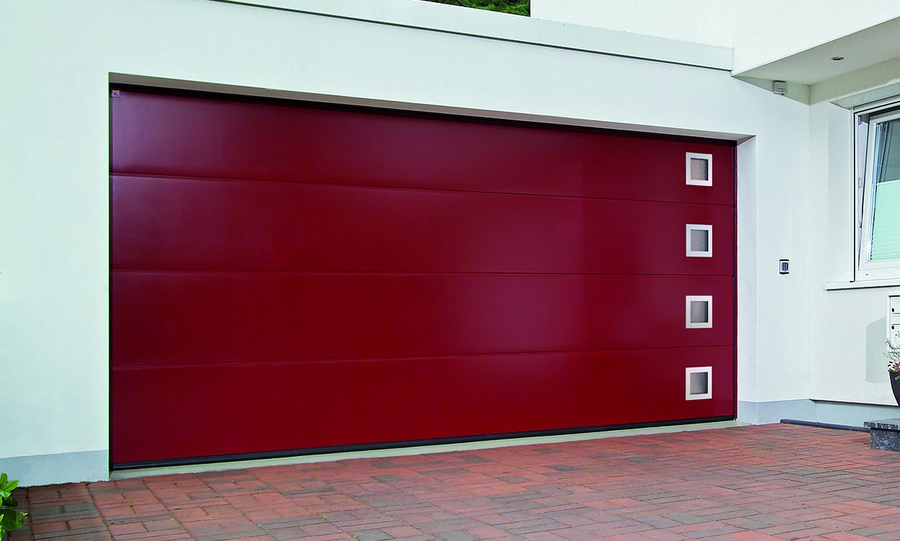
Lifting sectional
The canvas of this gate consists of individual segments, which, when lifted, are refracted, come under the ceiling. Their basis is a lever-spring device and guides with chain transmission. Making a sectional door at home is almost impossible.
Their advantages include:
- multifunctionality. There are gates for low and high openings of various widths;
- high heat and noise insulation characteristics;
- ease of use;
- saving space in front of the garage.
Disadvantages - relatively low burglar resistance and high cost.

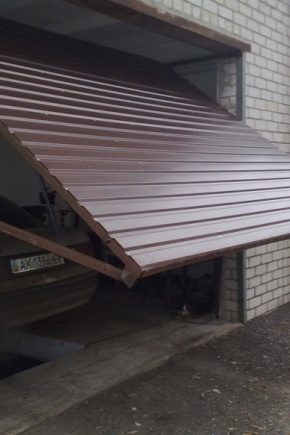
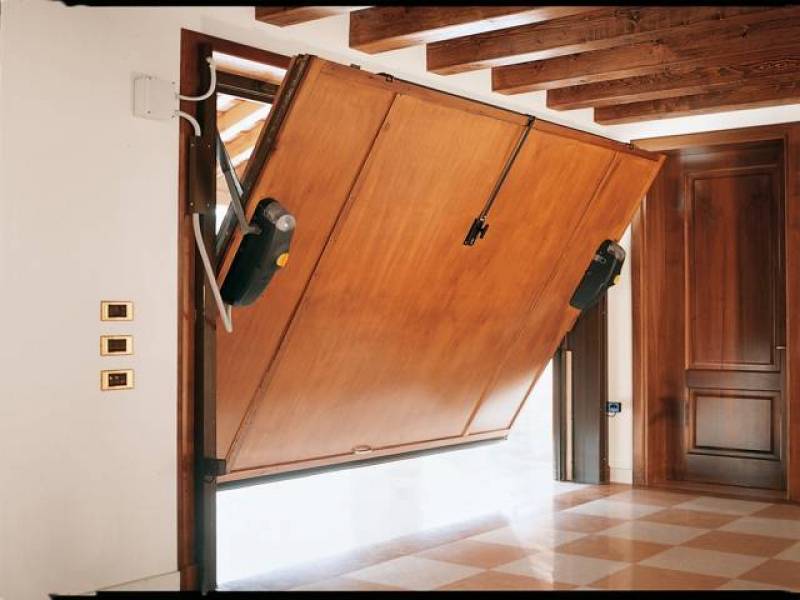
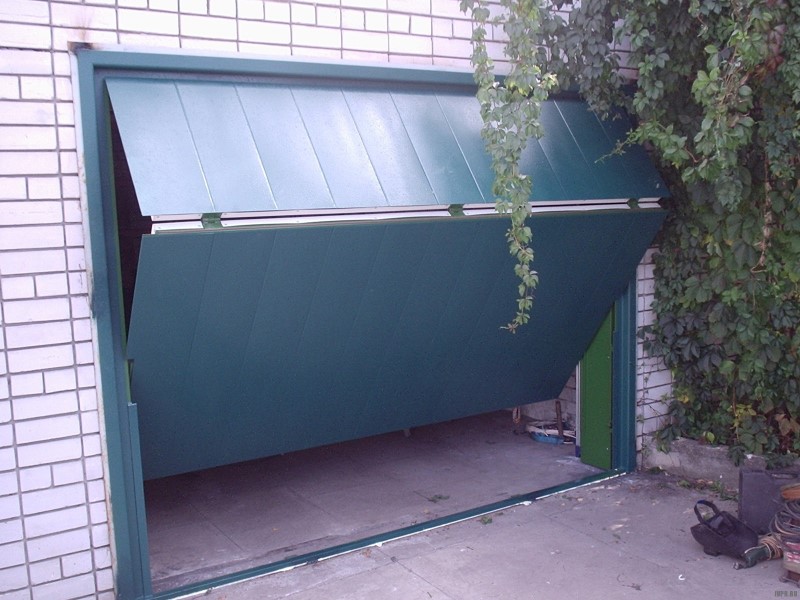
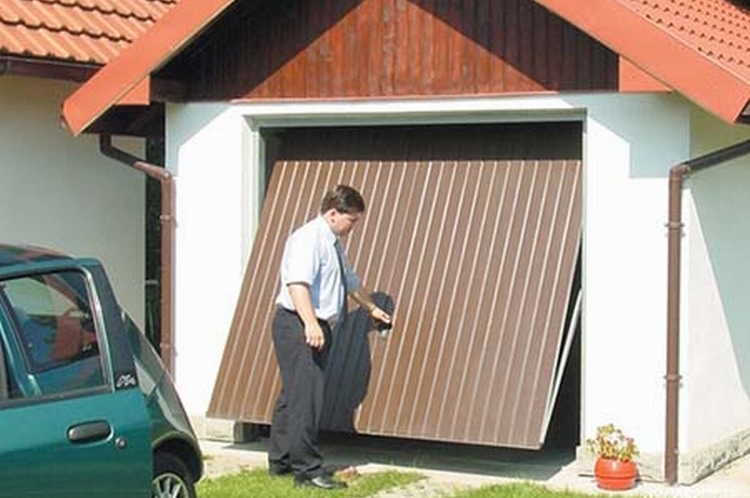
Lifting and turning
This design, in which the sash when opening rises under the ceiling. Lifting is carried out by means of a hinged mechanism. The design of the overhead gate is quite complicated. To make them yourself, you must have a good engineering experience and have special knowledge. Beginner master, you can try to mount the factory-made finished gate itself.
The main advantages are increased anti-burglary and space saving. The disadvantage is the increased requirements for the space under the ceiling.
If there is not enough space, then use the swing gate will not work.
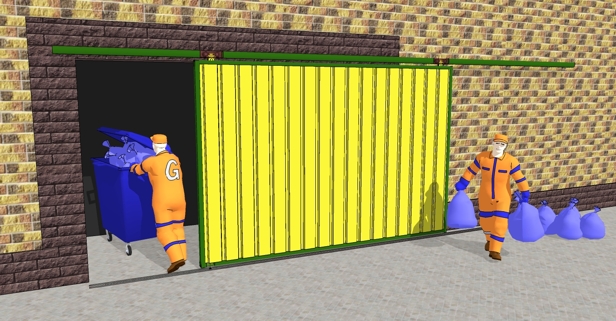
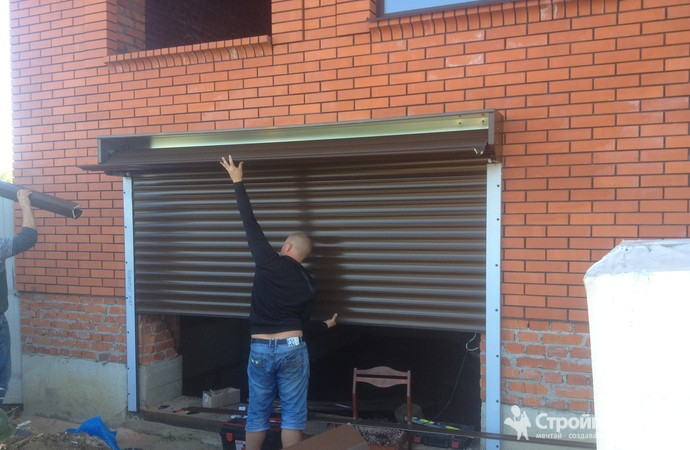
Automatic roller shutters (roller or roller blinds)
This design is rare. It is not widely used due to its unreliability. Such a gate consists of aluminum strips that slide into the box under the ceiling. Shutters can be installed on objects that are under protection, and in heated garages.
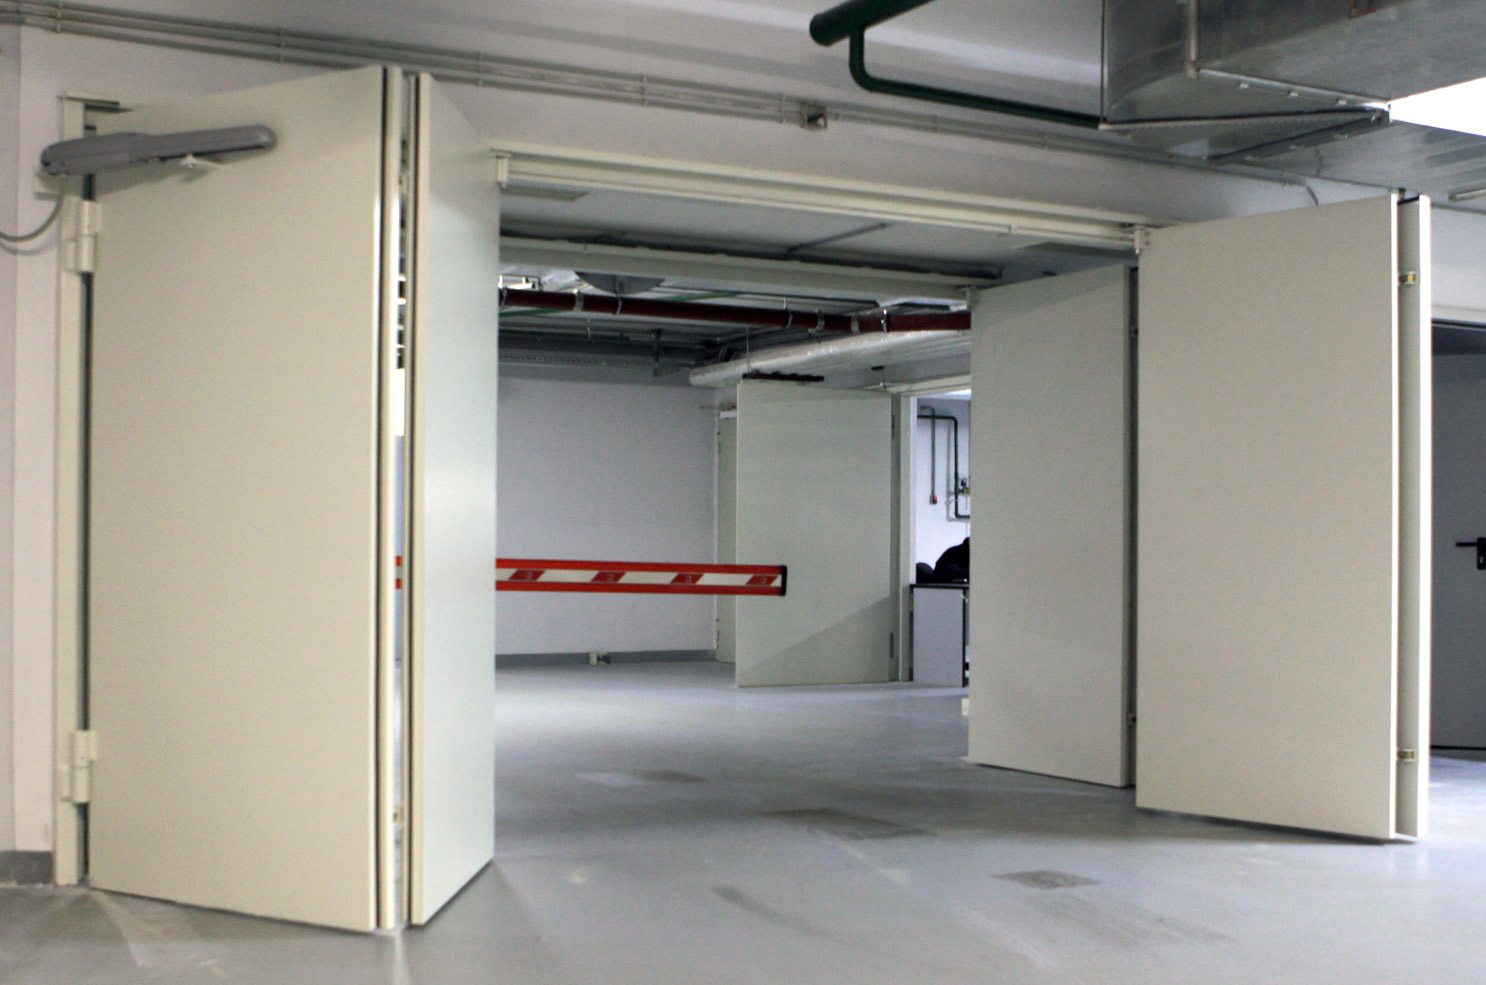
Folding (folding)
This design includes several separate canvases, interconnected by a dense flexible material (rubber, synthetic fabric). When opened, they fold.When closing the canvas is stretched, completely closing the opening.
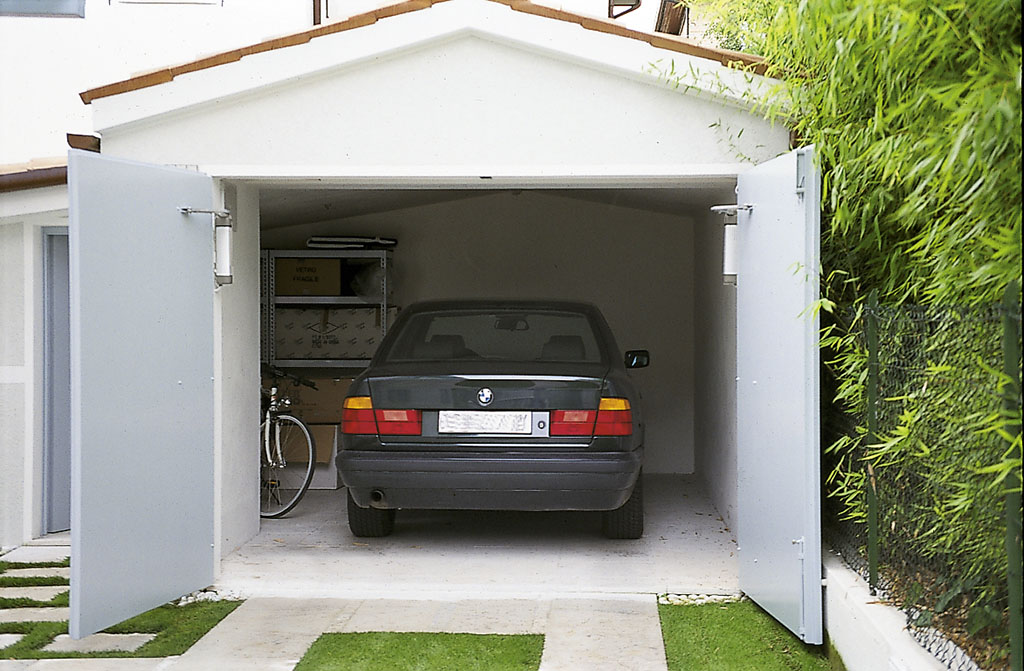
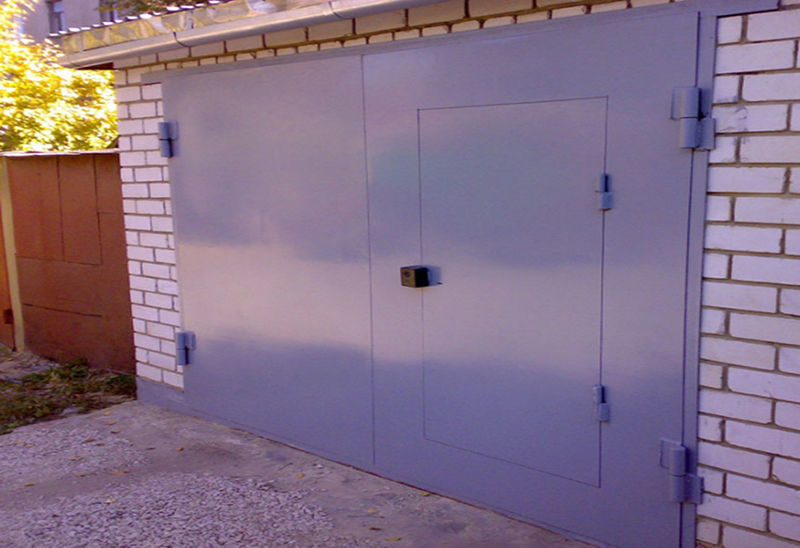
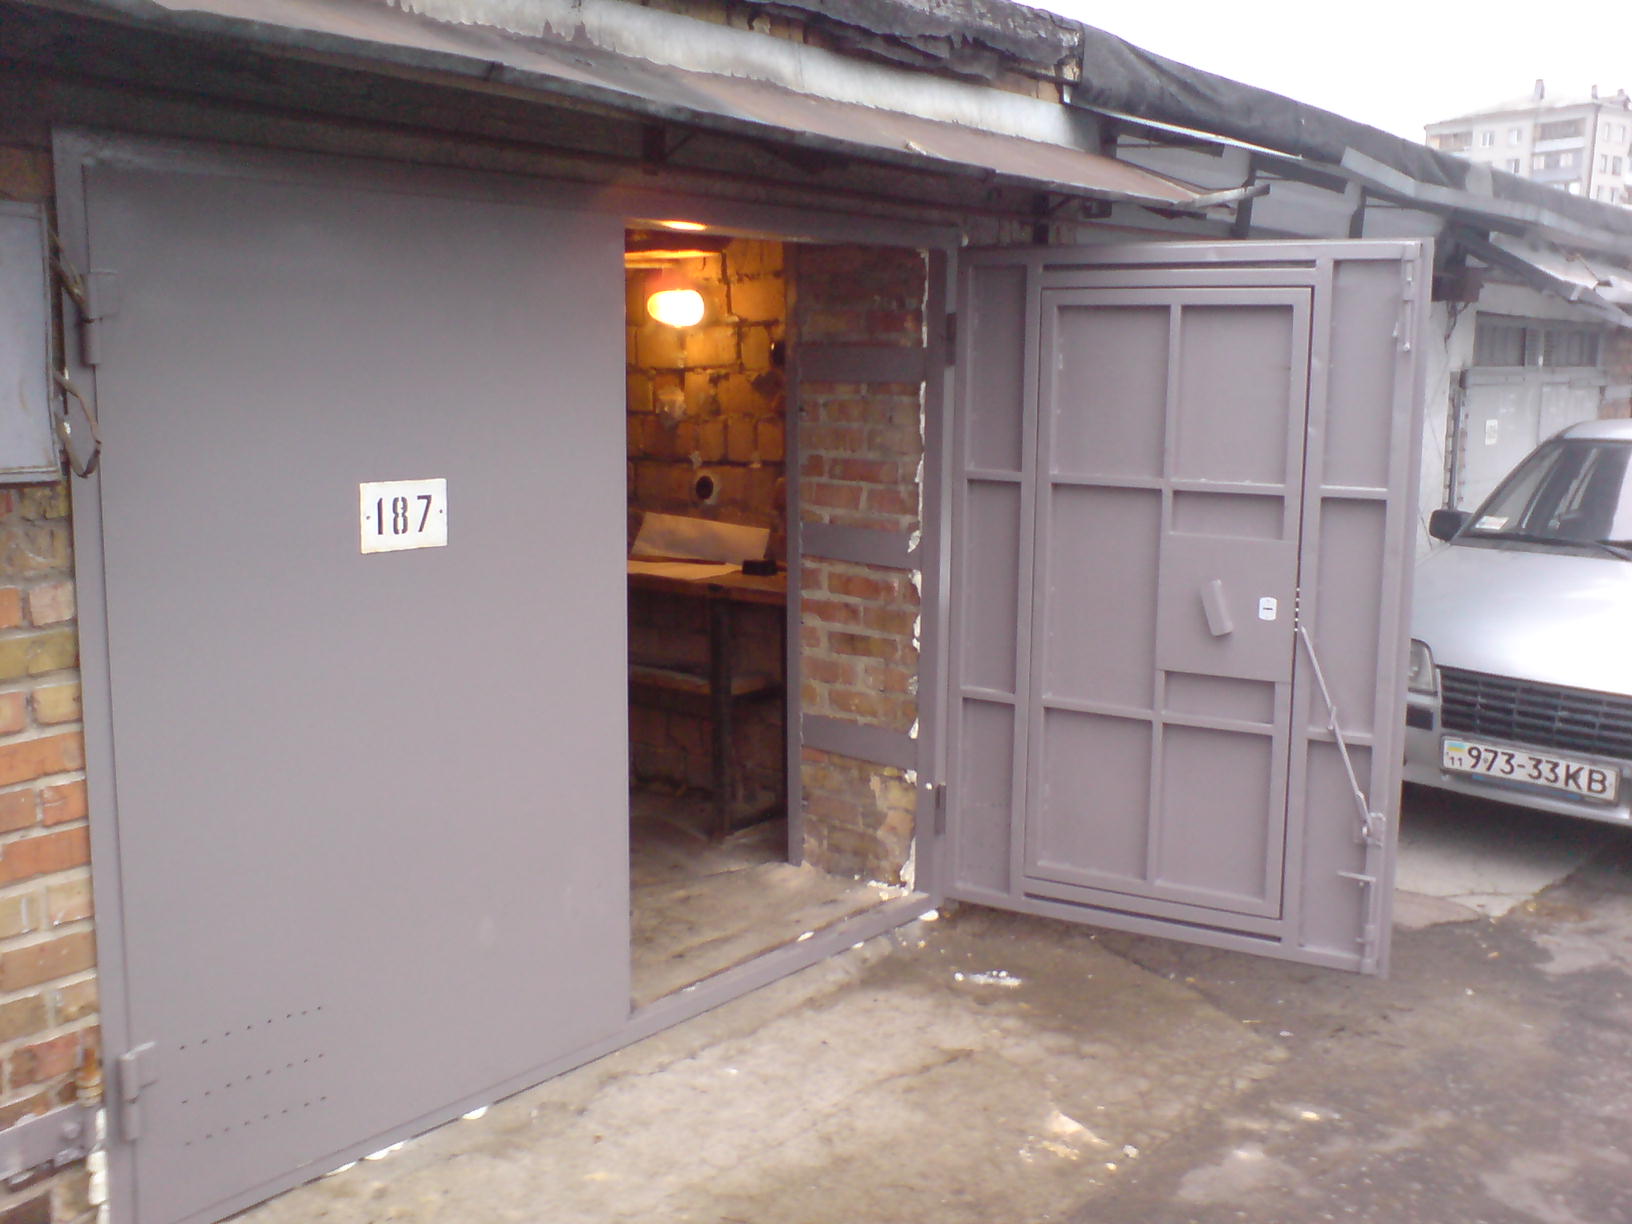
Swing type
The most unpretentious system that does not require the use of expensive materials and time-consuming when mounting. The box for it is made of a metal corner, the casement is made of iron sheets. Operating the gate is simple, but the reliability index is extremely high.
The advantages of the system are as follows:
- maximum ease of construction;
- function without electricity;
- universal;
- low price;
- reliability.
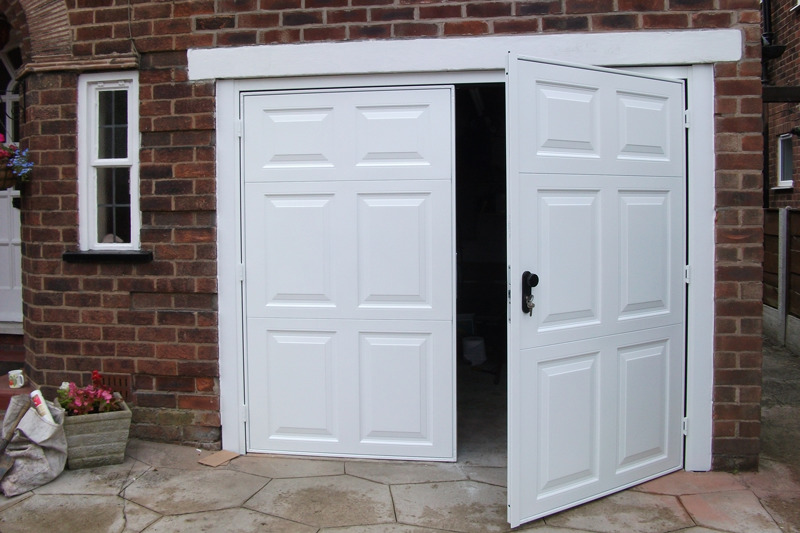

The main drawback is the need for free space in front of the garage for swinging the doors. This brings some discomfort in winter: in order to open the gate, you must first clear the space in front of them from the snow.
Since the swing gates are fairly simple to manufacture, it is better for novice craftsmen to opt for them.
As mentioned above, the manufacture of swing gates is simpler and less expensive than the manufacture of other types of structures, so it is worth considering the technology of their creation. Independent production of swing-type gates does not require hard-to-reach andexpensive equipment. Materials can also be purchased at any construction mall.
Before starting work, you need to stock up:
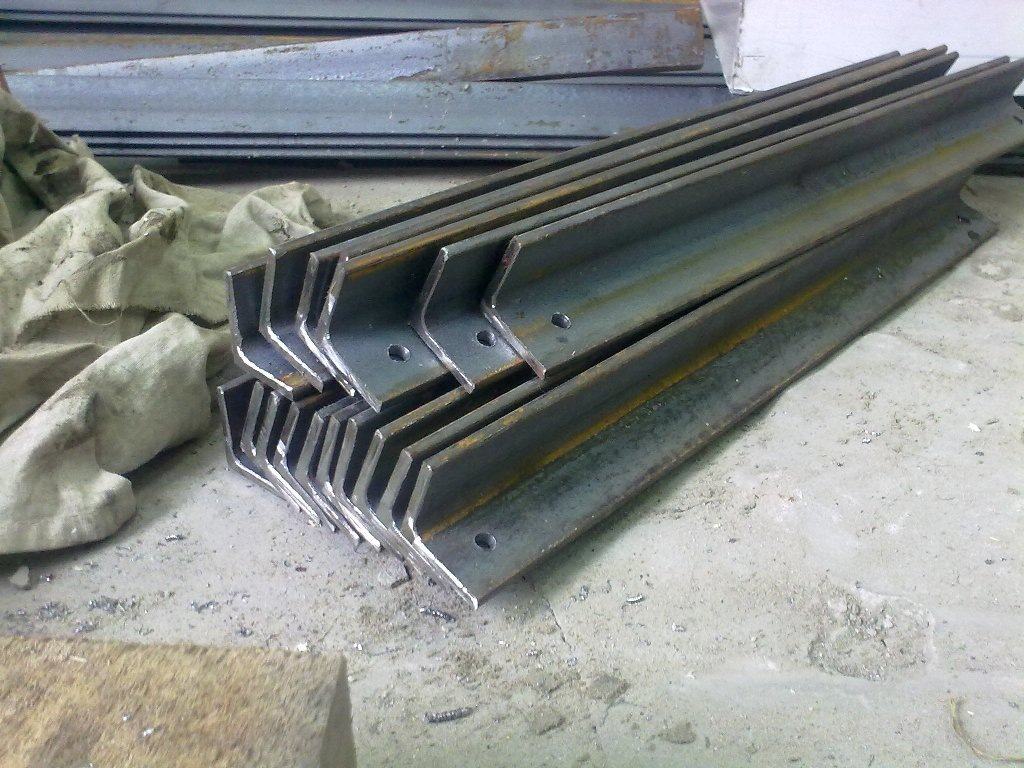
- metal corners for the manufacture of the supporting frame;
- steel profiles;
- profile tube;
- material for plating at your discretion:
- forging;
- wood paneling;
- metal sheet or lining of corrugated.

- steel strip or reinforcing bar;
- tie rods;
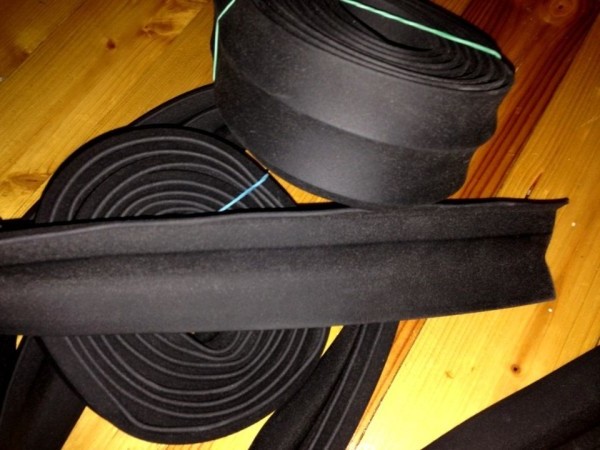
- seals;
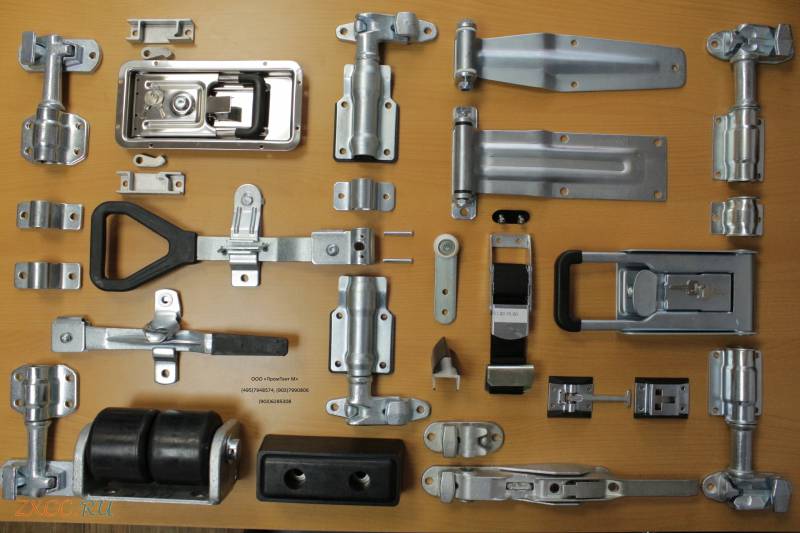
- canopy;
- clamps.
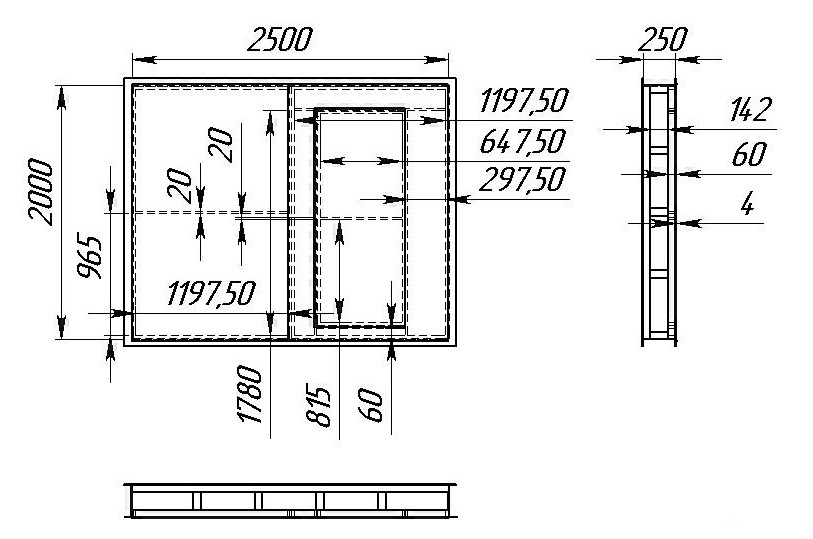
Dimensions
First of all, it is necessary to deal with the height and width of the future input structure. The smallest width should be such that the distance on both sides from the car to the frame of the gate is 30 cm or more. The minimum width is 5 m, but the generally accepted width of the gate varies between 2.5-3 m. This size ensures comfortable access to the garage. When determining the width of the gate, one should take into account the distance between the frame and the perpendicular wall. It should be at least 80 cm.
The height of the structure is calculated by the size of the car. Under the minibus, an opening of 2.5 m is required. A typical car needs 2-2.2 m.
To avoid inconsistencies with the garage plan, experienced experts recommend creating the outline of the gate during the design of the room.
Tools and accessories
Along with the materials, you need to take care that components and tools are at hand, such as:
- grinder (Bulgarian) with a set of grinding and cutting discs;
- welding unit;
- square locksmith, tape measure;
- construction level, hydro level;
- accessories;
- fasteners.

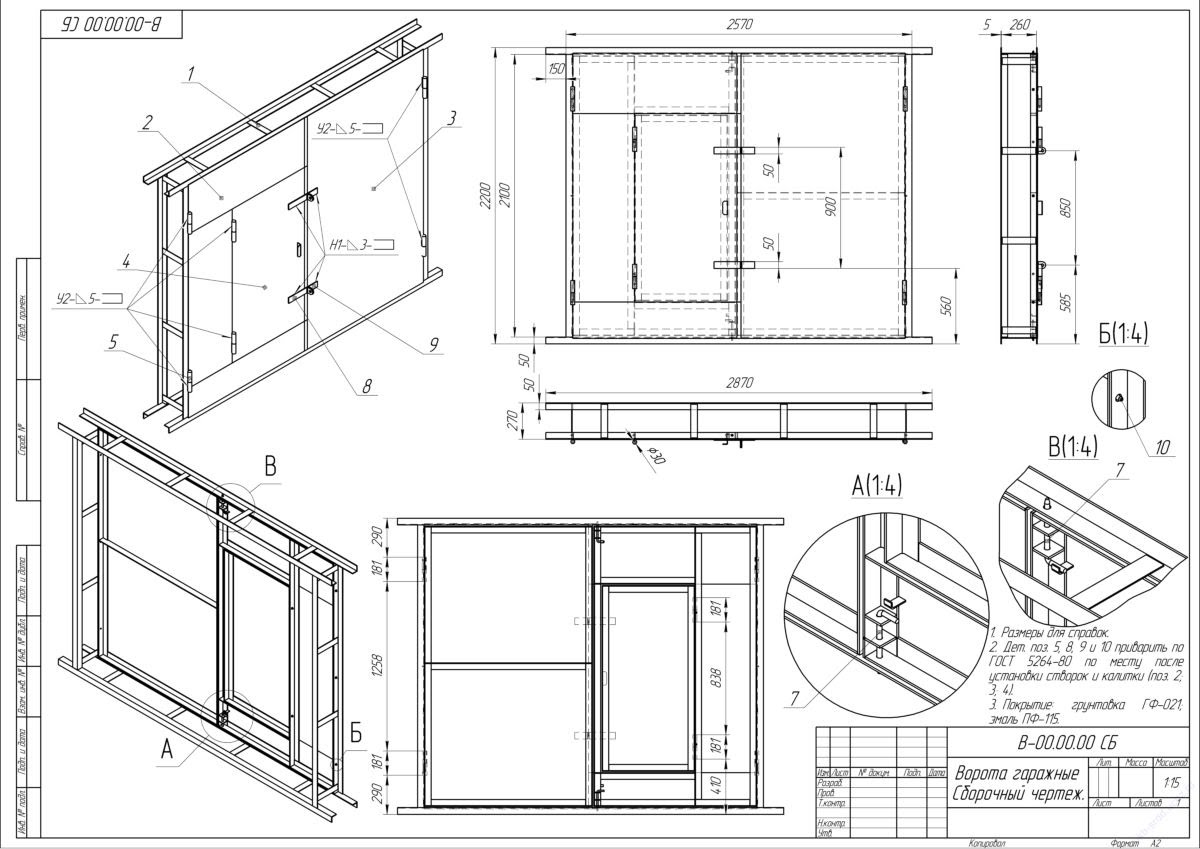
How to make and install?
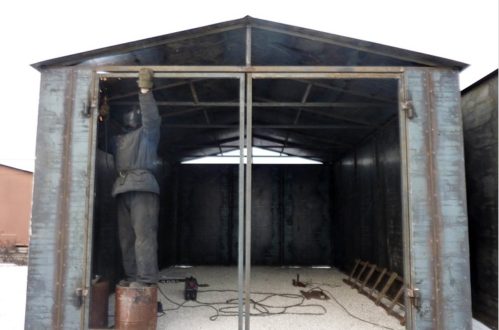
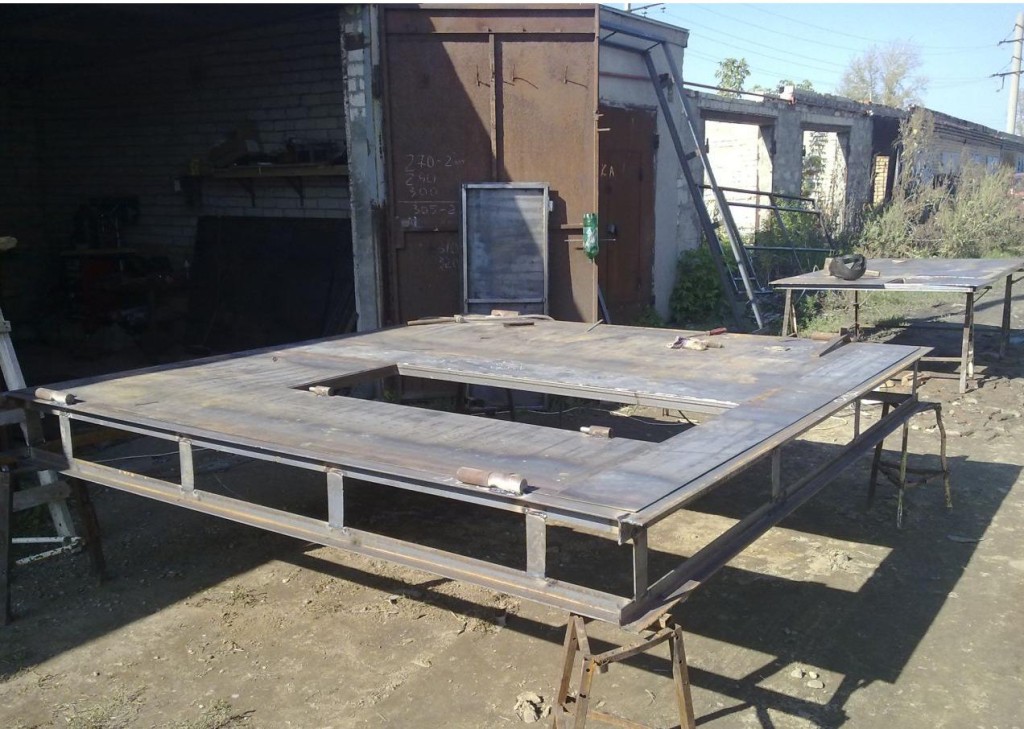
Build your own box (frame). It consists of two structures in the form of a rectangle, which will later be interconnected. On the outside of the box, hinges are welded to install the leaves, the inner one keeps the gate in the opening. They are made from the 65th corner.
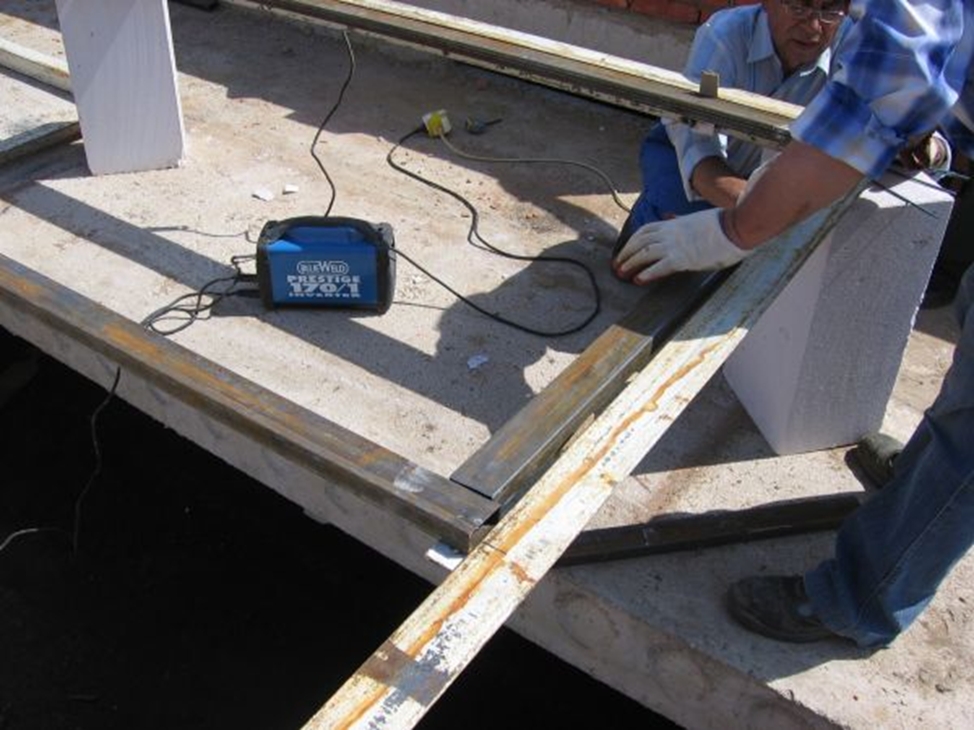
Cut 8 pieces of the corner, corresponding in size to the height and width of the gate (4 pieces of each size). Spread the corners on a flat surface, assemble the frames. Vymerya angles and diagonals, achieve perfect proportionality of the elements of the garage wall aperture. Weld parts of designs.
Insert the finished rectangular elements into the opening, fit them to the installation site. Weld between the inner and outer elements with crossbars of reinforcement or metal strip, breaking the height and width of the gate into equal segments.

When using reinforcement, holes can be made in the wall and then pushed into them pieces of reinforcement bar of the required size, fixing them by welding on the frame. Usually the joints are welded over the edges of the opening.
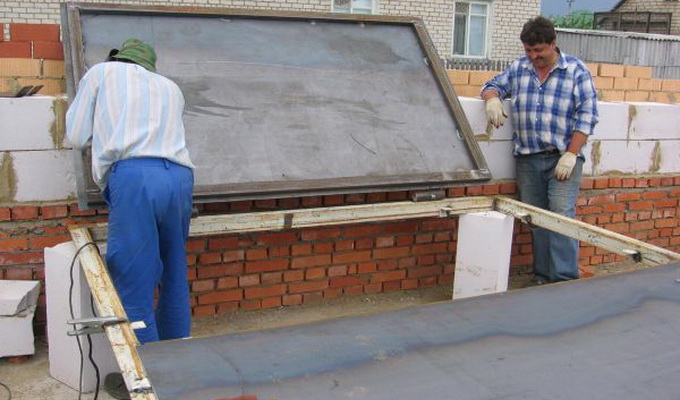
Assembly and installation of sashes
Guided by the drawings, measure and cut elements from the equal angle of 40x40 mm, place them on a flat plane. Assemble the basis of future sashes and doors (wickets). Align, measure out the diagonals and corners of all rectangular frames, and weld. Cut two pieces of sheet. They must be 40 mm longer than the length of the garage opening, but cut different webs in width. One should be 20 mm less than the width of the frame, the second - 20 mm more.
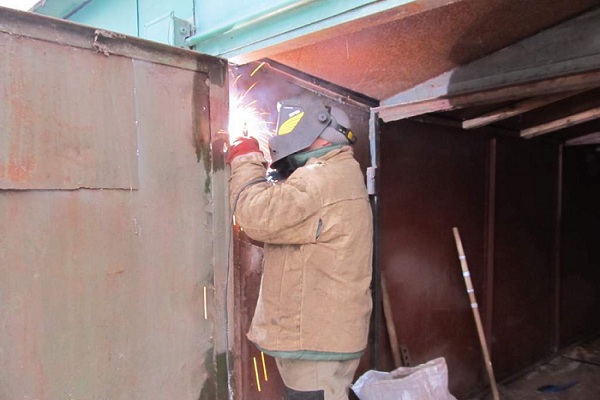
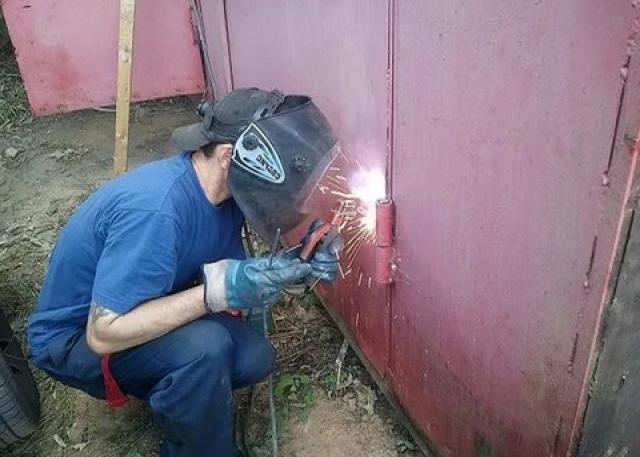
Weld the fabric with the frame, while making sure that the fabric protrudes beyond the framework for 2 cm around the perimeter. A similar protrusion should be on the gate. This is done in order to close the gap between the box and the frame.This design will prevent the penetration of excess moisture and drafts through the gaps. When welding sheets, do not make a solid seam. It is better to do the welding with a dotted line on the 1x5 principle.
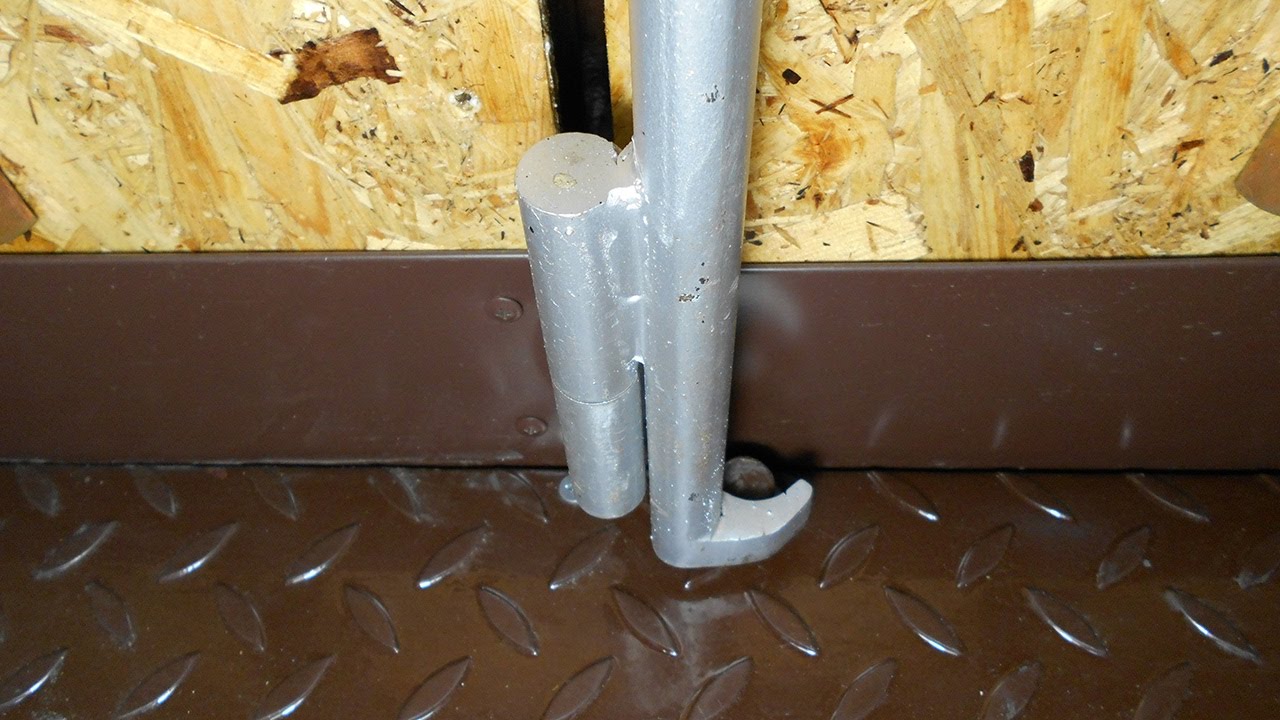
The final stage - welding loops. The lower segment of the loop with a finger is fixed by welding to the box, and the upper segment - to the door leaf. For reliability, it is possible to strengthen the fixation of the loops by means of metal plates. In the place of fixing the hinge to the box, you can install an iron bar to increase the area to be welded. Place the gate in the position indicated in the drawing. Make sure that such a position makes it possible to open the gate without difficulty. Mark the location of the second segment of the lower loop. Weld it on the markup, aligning exactly vertically.
Without loading the bottom loop, hang the sash. Mark the location of the top hinge on the door and box, remove the sash. Weld the hinge segments according to the marking, hang the gate leaf, test its course. If it opens freely and remains in the position given to it, then you can mount the second part. This process is similar to the one already mentioned.
After mounting into one of the wings, install a wicket, acting in the same sequence as for the gate itself. Handles, hooks, locks, latches install after full installation of the valves.
In a heated garage, it is desirable to sheathe the gates, insulate and seal. Also remember to coat the hinges.
Installation of other door models
Rolling and folding models involve the use of ready-made devices for opening and closing, so they are mainly purchased in a ready-to-install form, and also made to order, creating a scheme in advance. In such situations, you can only assemble and put the gate box, then hang the canvas, guided by the attached description.
To mount the sliding door type is not required box. Independent creation of such gates is reduced to the assembly of one large canvas. To do this, you can apply the procedure similar to that used in the assembly of the canvas with a wicket. For the installation of such structures, guides are placed at the top and bottom of the opening, along which the web will continue to move. All equipment is bought already finished.

Installation is limited only to installation of parts according to the instructions.
Care Tips
For each type of gate appropriate recommendations.
Swing
The “sore spot” of such a gate is a hinge. High load provokes stock breakage, hinge displacement, longitudinal deformation and other faults. Delay the occurrence of such failures will help systematic lubrication of the loops. The second problem is sagging. It may appear due to the absence of crossbars and deformation of the frame of the structure. In this situation, the alignment of the valves or their replacement, as well as the installation of spacers will help.
Sectional
They are equipped with many small moving parts, so it is necessary to lubricate the bearings, working rollers and hinges at least once a year. At times, it is worthwhile to control how evenly the gates move when opening and closing.
To increase the service life of sectional doors, it is required:
- Systematically remove accumulated dust using warm water and a means to remove dirt.
- Do not allow contact with the mechanisms of aggressive chemical compounds.
Lifting and turning
Compared to other models, they do not need special maintenance or care.Sometimes they need to be washed to maintain a respectable appearance. You can paint them yourself. You can also put on them anti-corrosion composition.
Successful examples and options
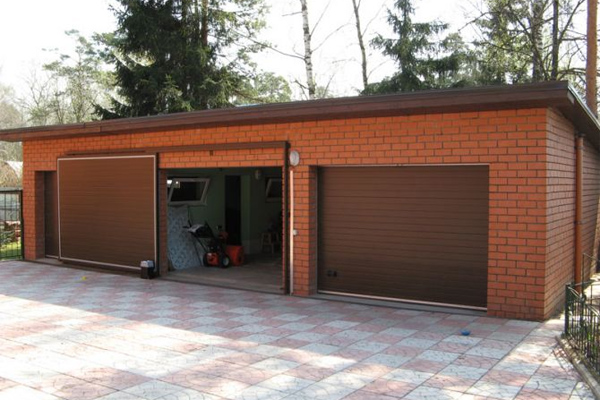
Exterior trim garage doors may be minimal. A simple form of construction, smooth metal, monochrome gray color - everything should be moderately, strictly, constructively. This option can not be called faded, because this solution is in perfect harmony with the walls of brick of any thickness.
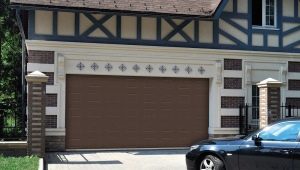
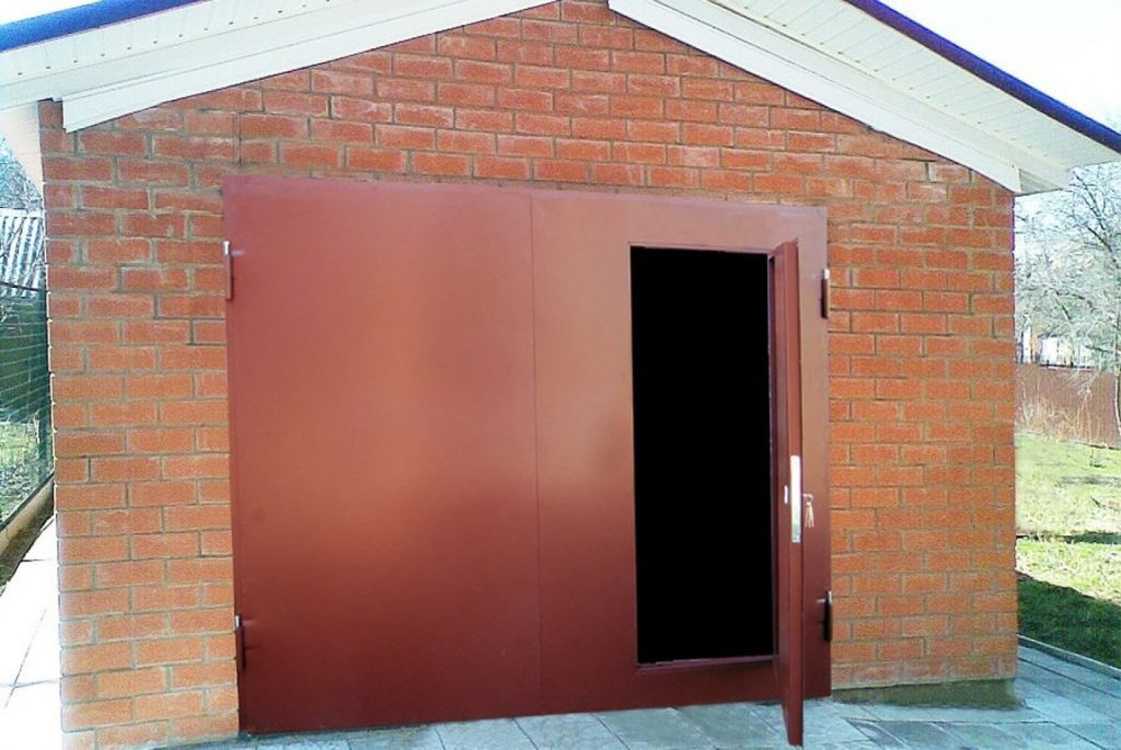
Here is a combination of congenial colors. The brick of pink color is “diluted” with a dense red square of moderate intensity. The shiny surface looks very attractive, it causes only positive feelings.
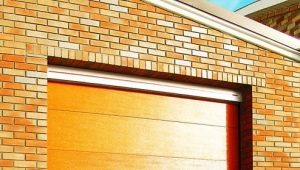
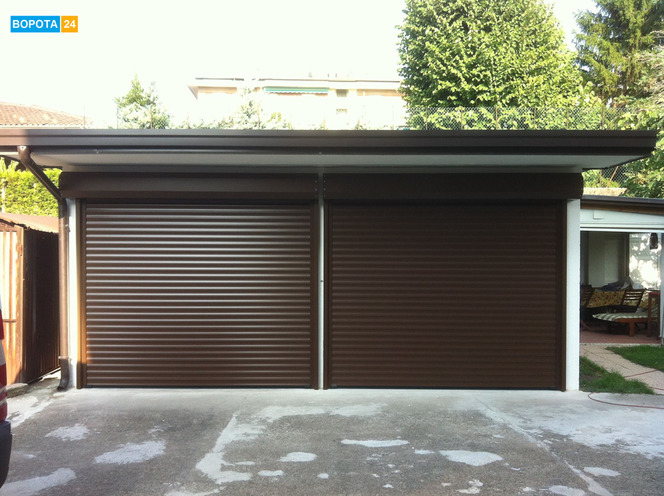
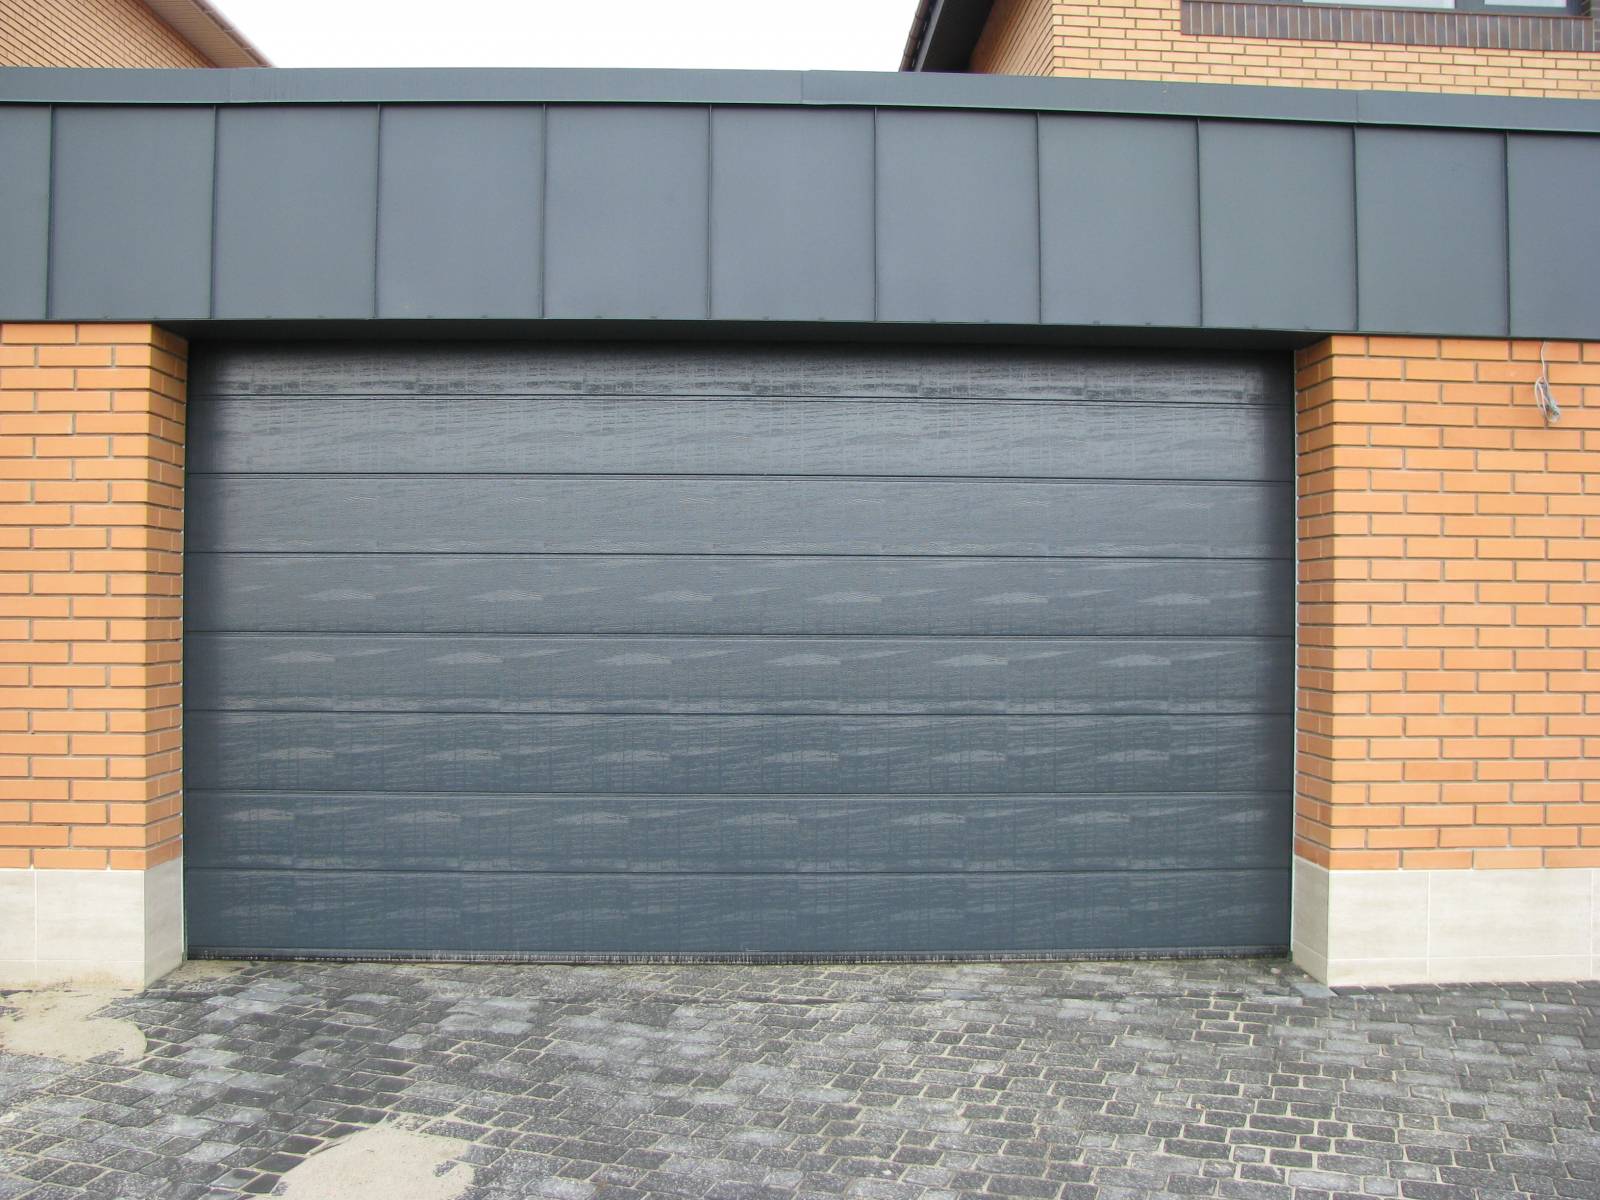
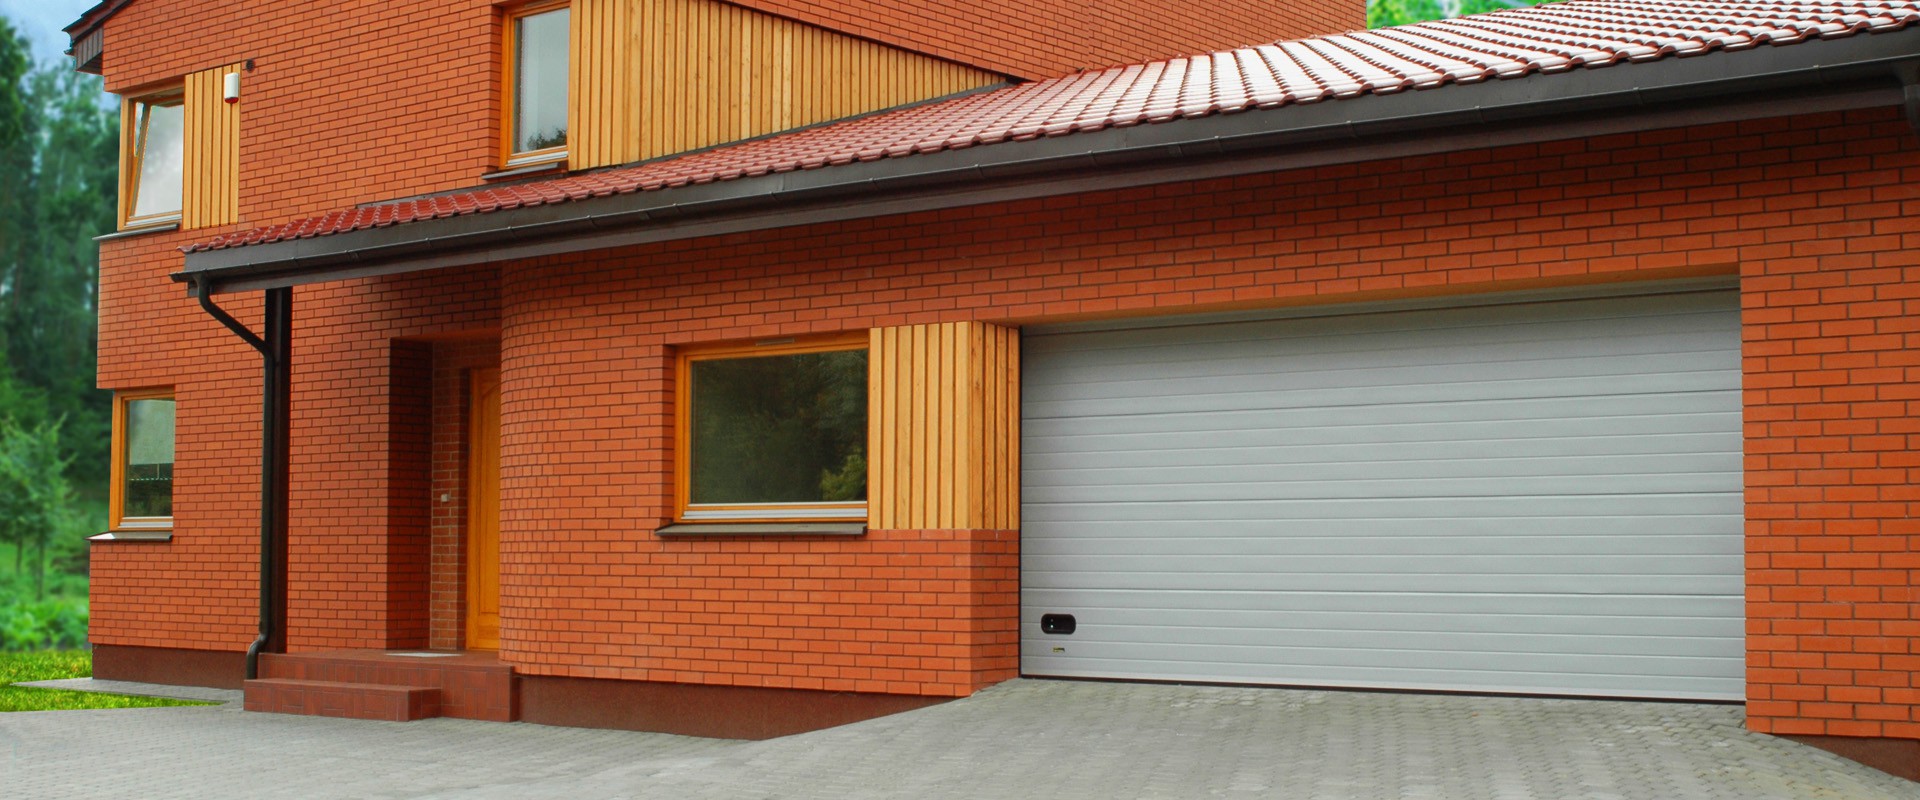
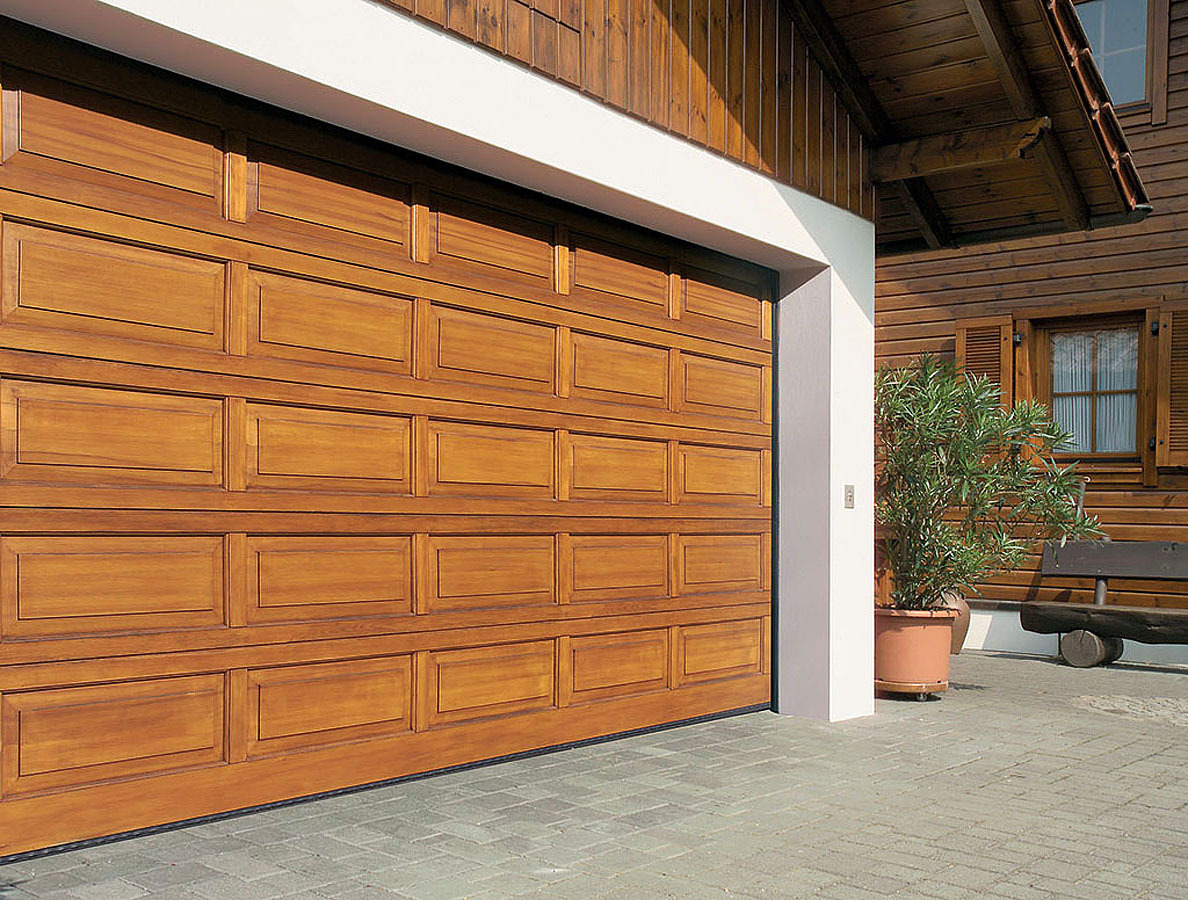
In this sample, the surface texture, its evenness and neat longitudinal gray stripes attract attention. Pay attention also to the gate covered with rectangles. Decorators, obviously, preferred the effect of maximum naturalness. The elegant yellowish color scheme is organically combined with the stands of white. It fits perfectly to the color of the walls and roof.
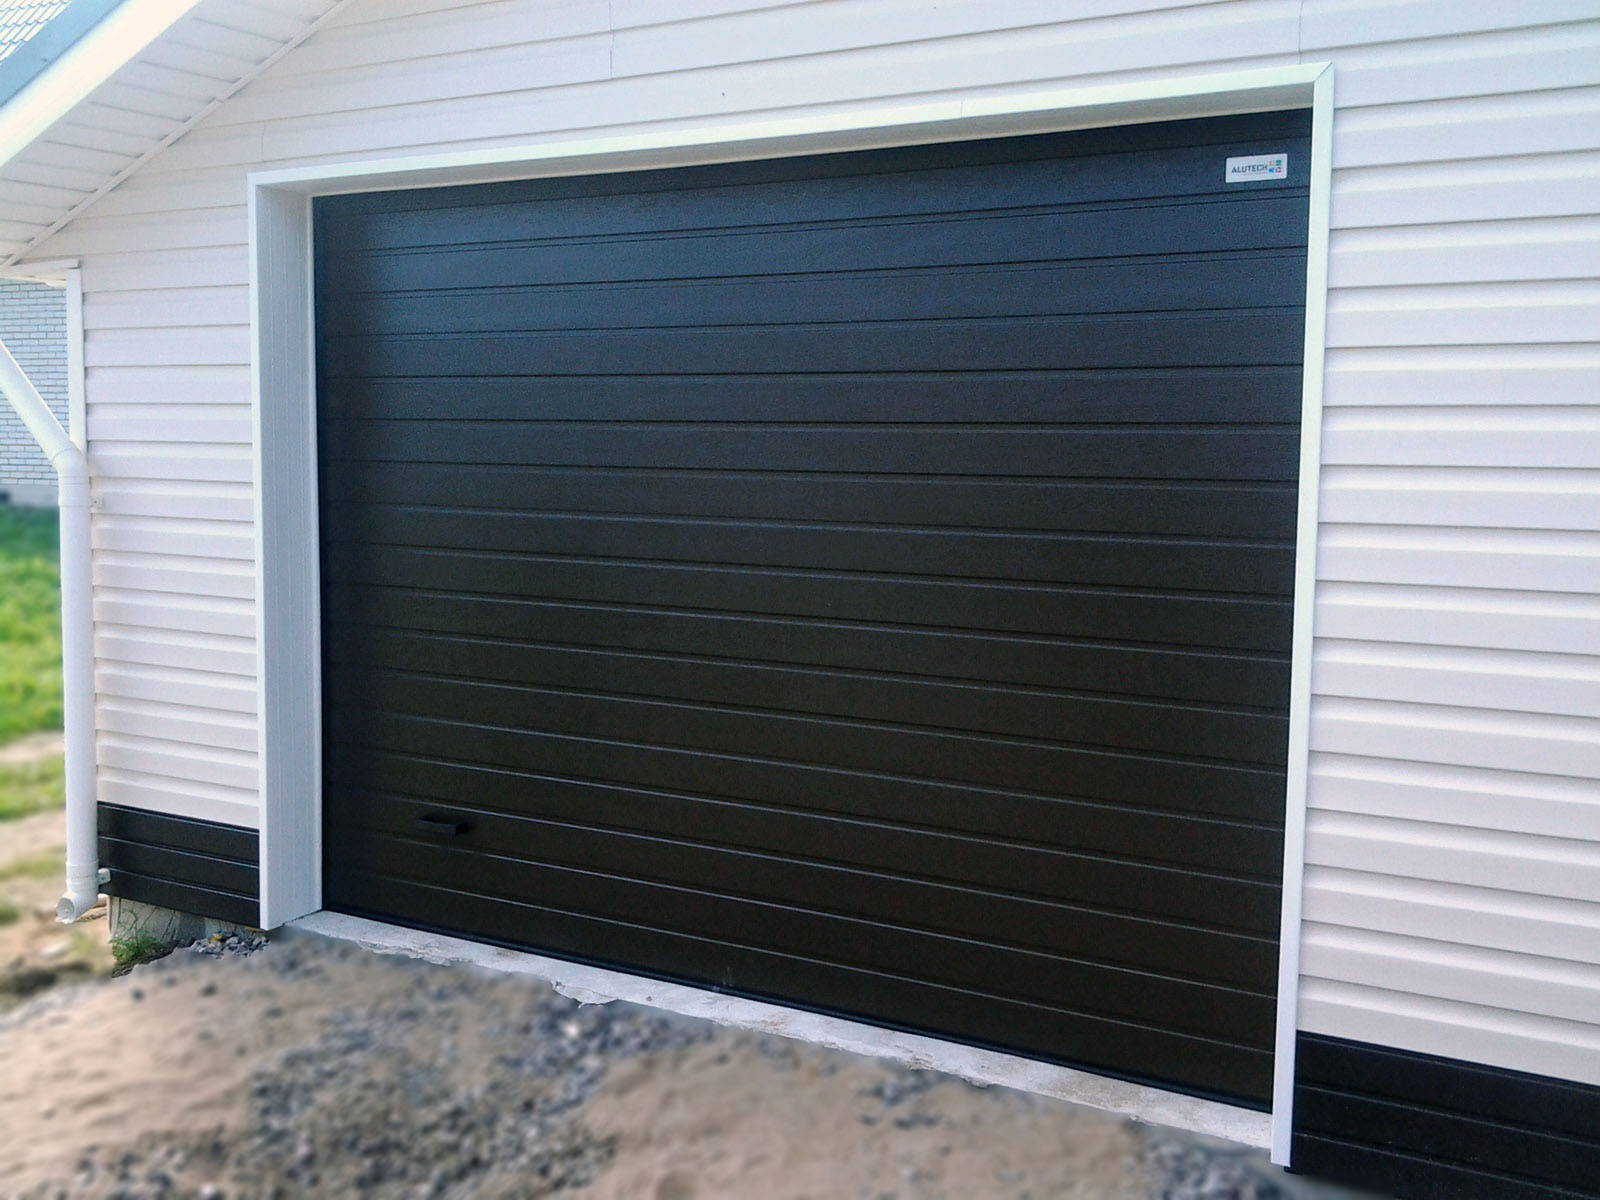
The authors of this project tried to show the contrast of white and black colors.They completely managed to realize their plans: the stylistic unity is emphasized by the same type of construction material.
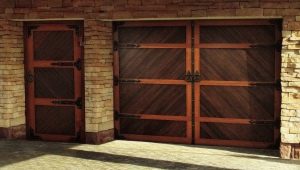
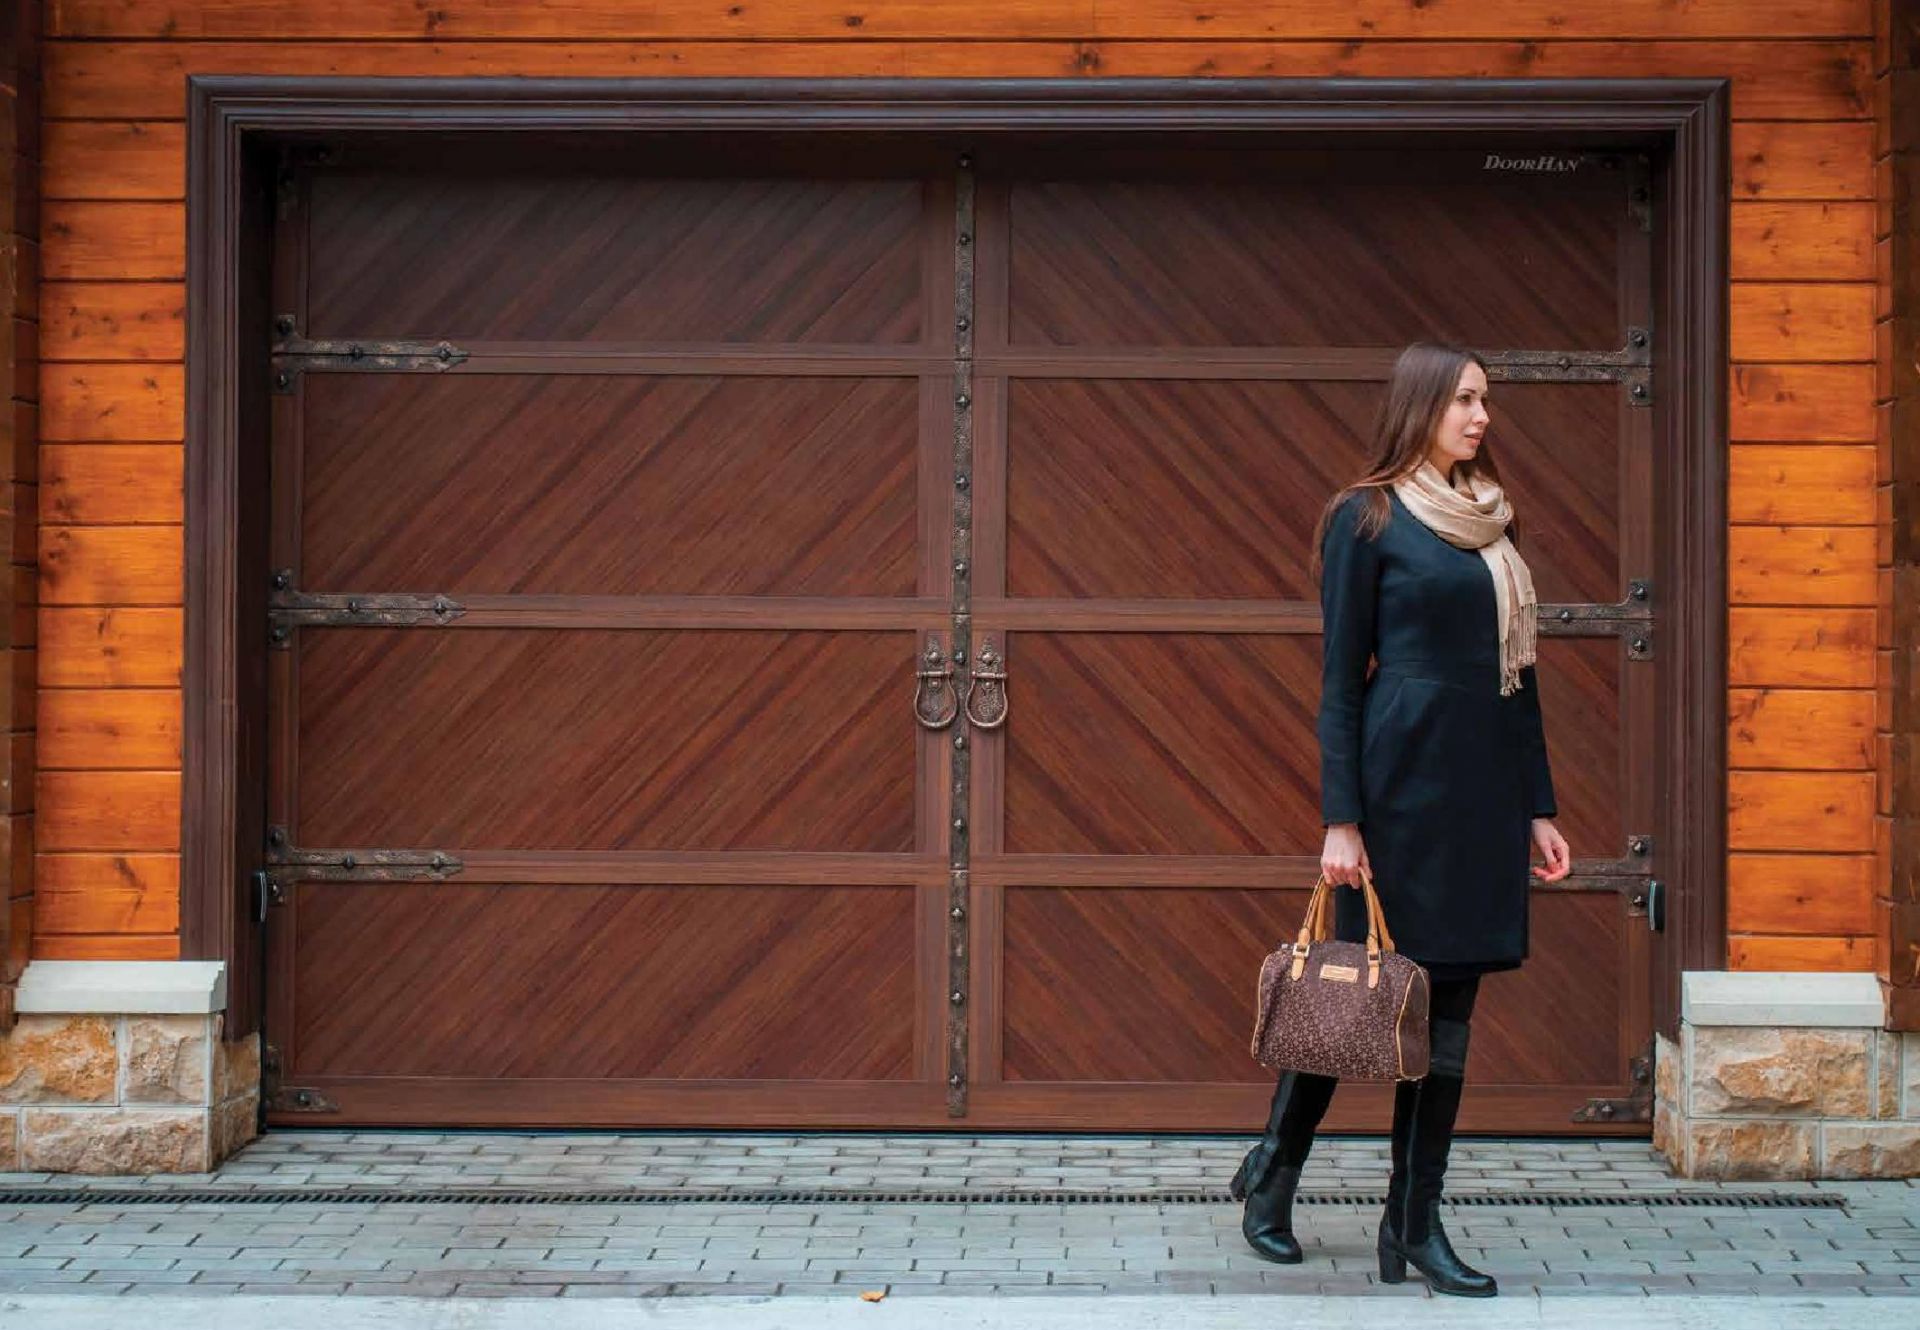
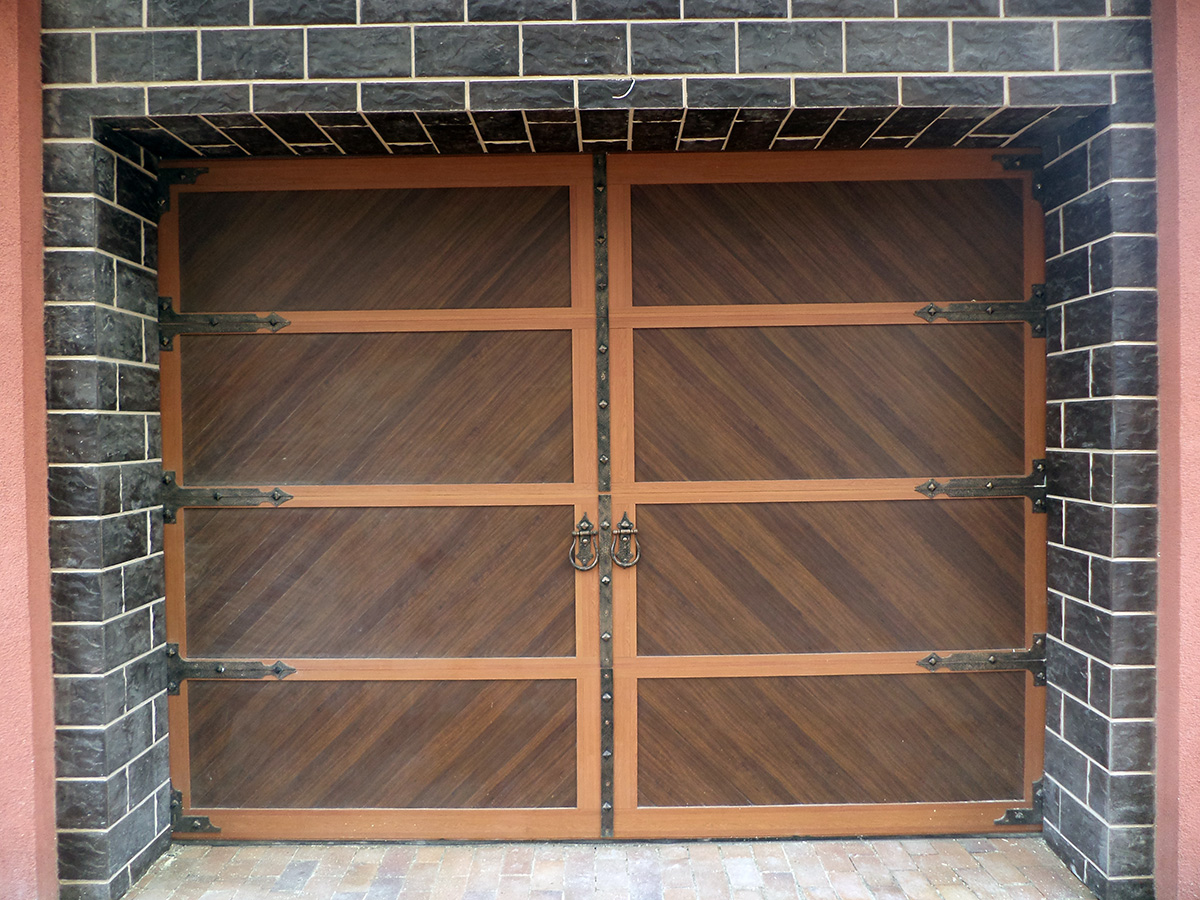
It is possible and such stylization "under the tree." Dark rectangles with fibers along the diagonal are advantageously shaded by brighter stripes located on the borders. Dark elements of fastenings imperceptibly turn into an even darker frame of the building. Vertical pinkish elements at the edge are slightly noticeable.
See the following video for a lift gate.