Tile "hog" on the kitchen apron

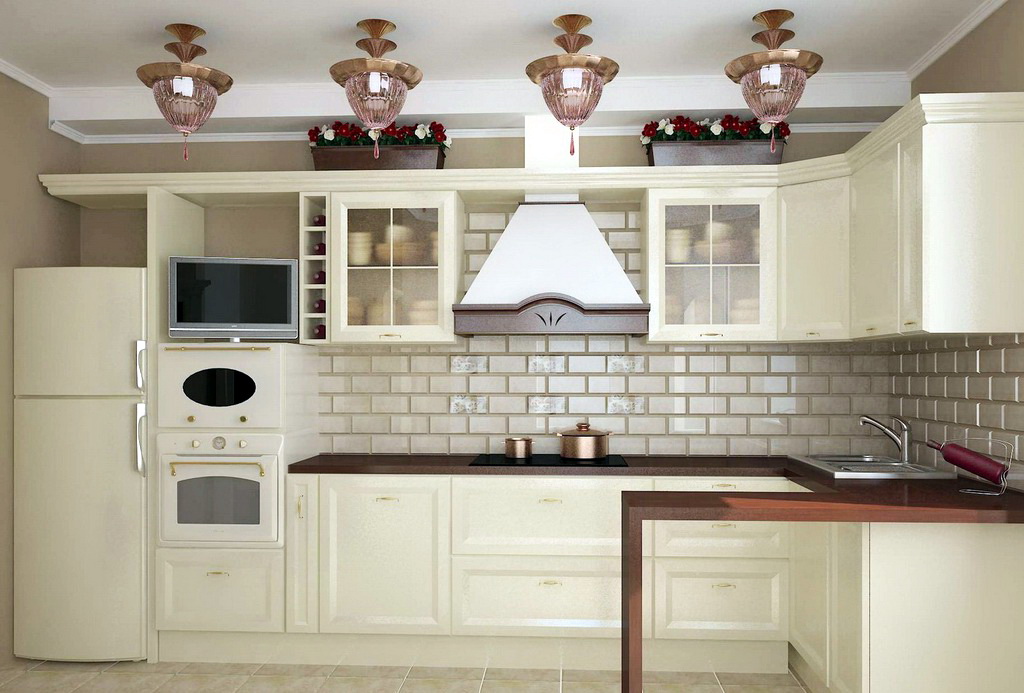
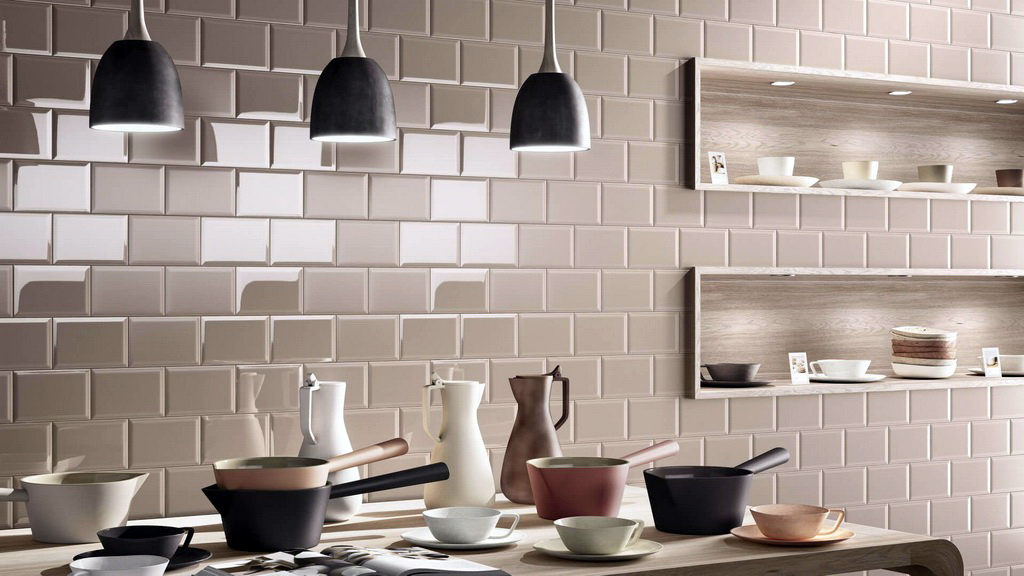
If the kitchen is being renovated, then tile will most often become the finishing material for a kitchen apron. And this is understandable, because it is durable, has minimal porosity and is resistant to negative external influences. In addition, this finishing material is on sale in a huge range, so you can choose the tile for every taste. Of particular popularity in our time has acquired a kitchen apron from the tile "hog", its shape is similar to decorative brick.
Special features
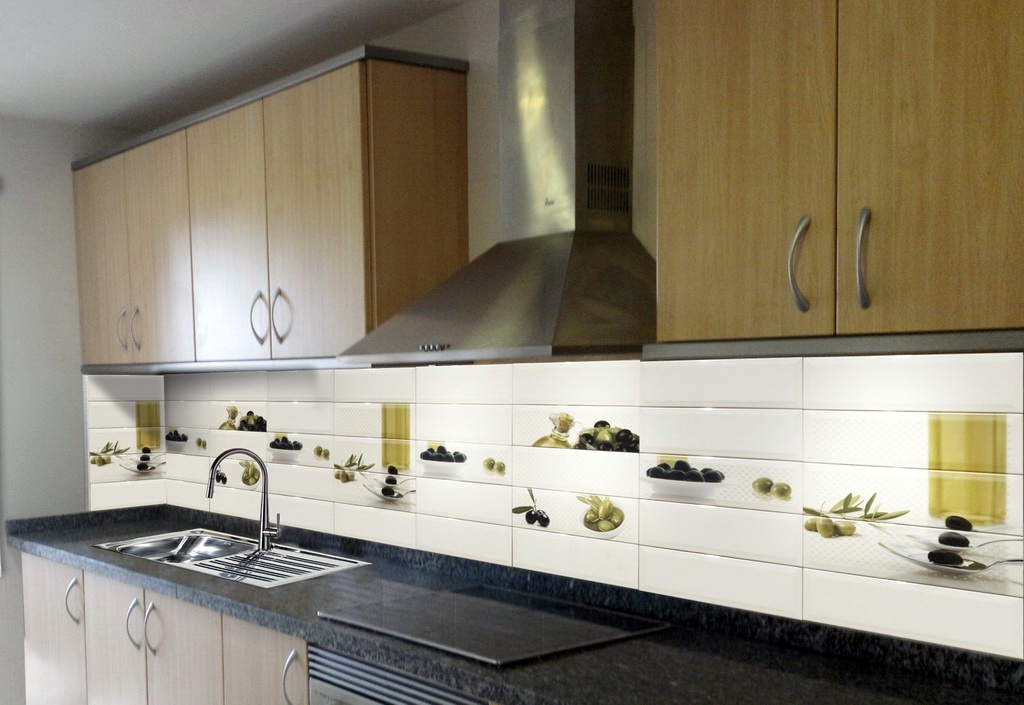
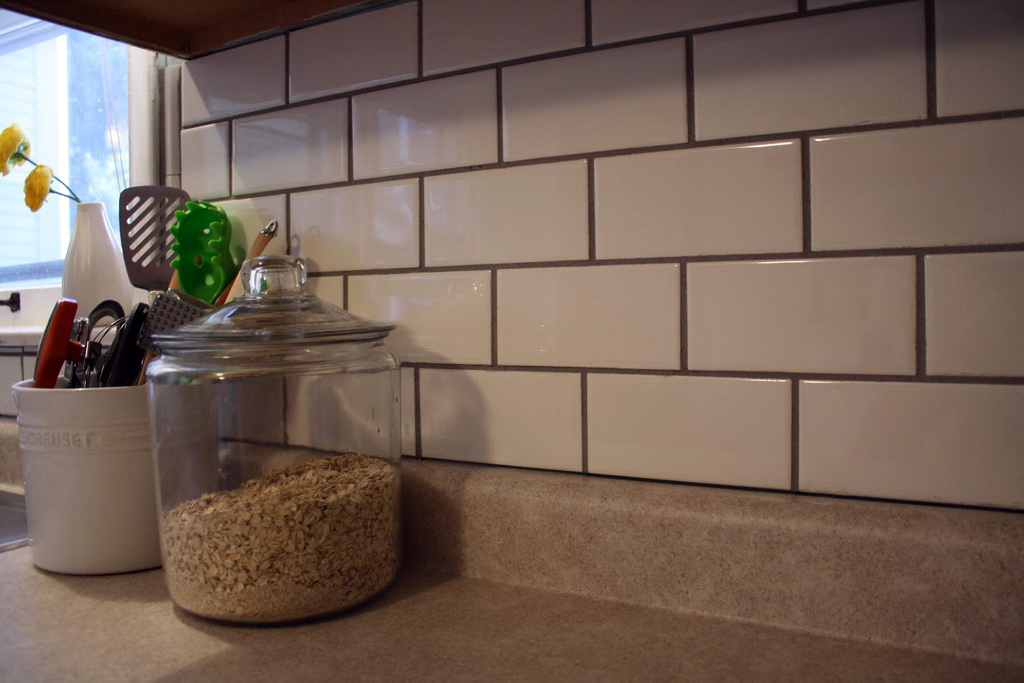
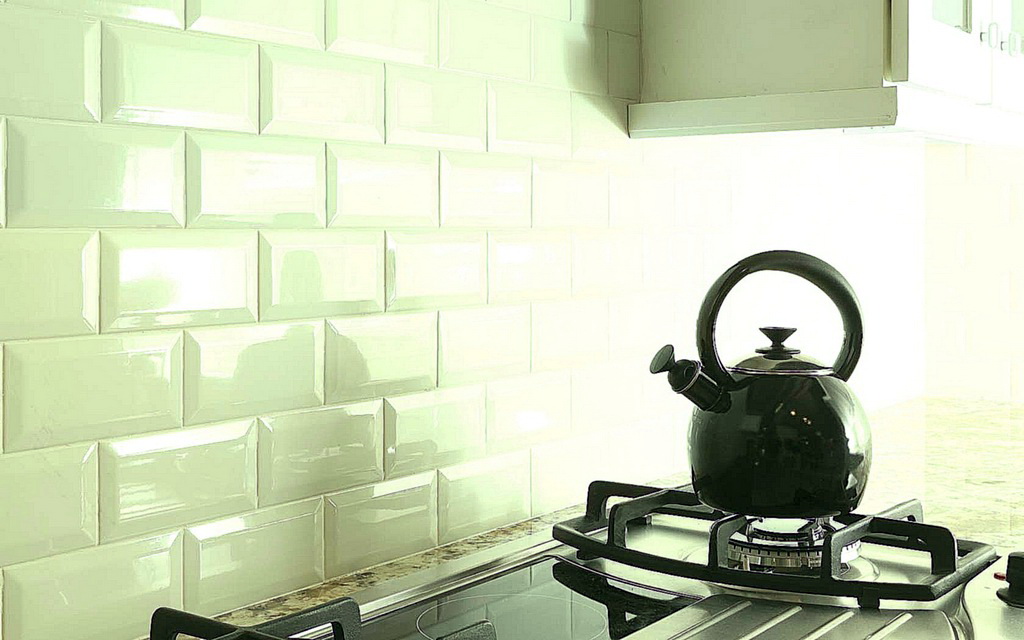
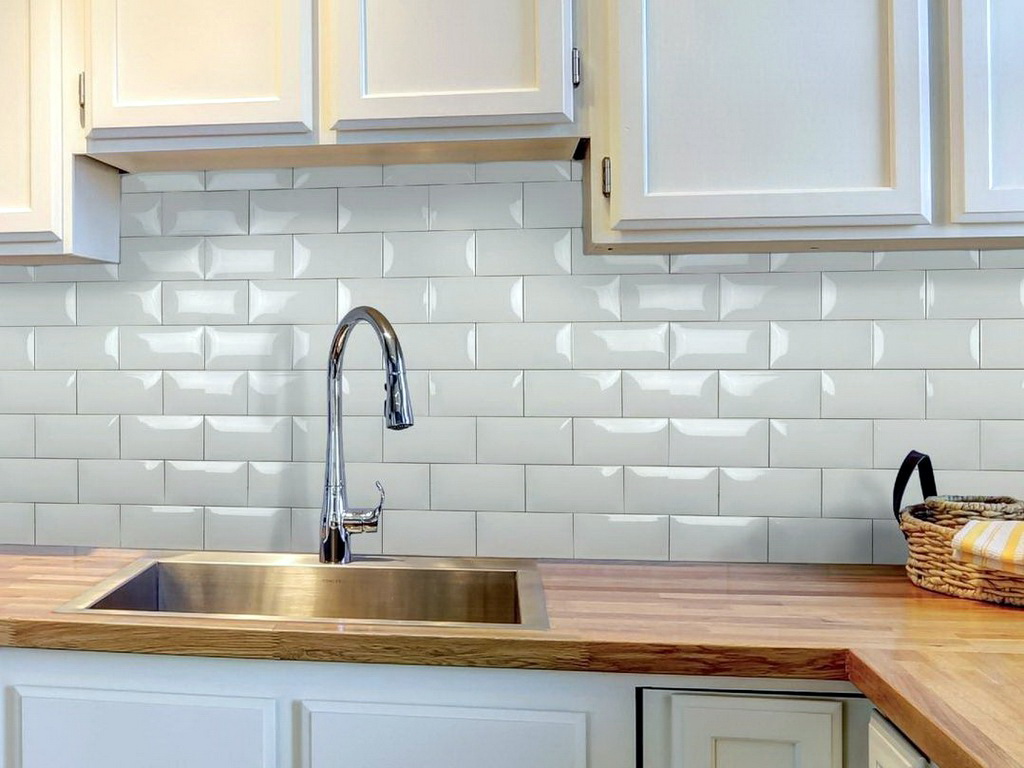
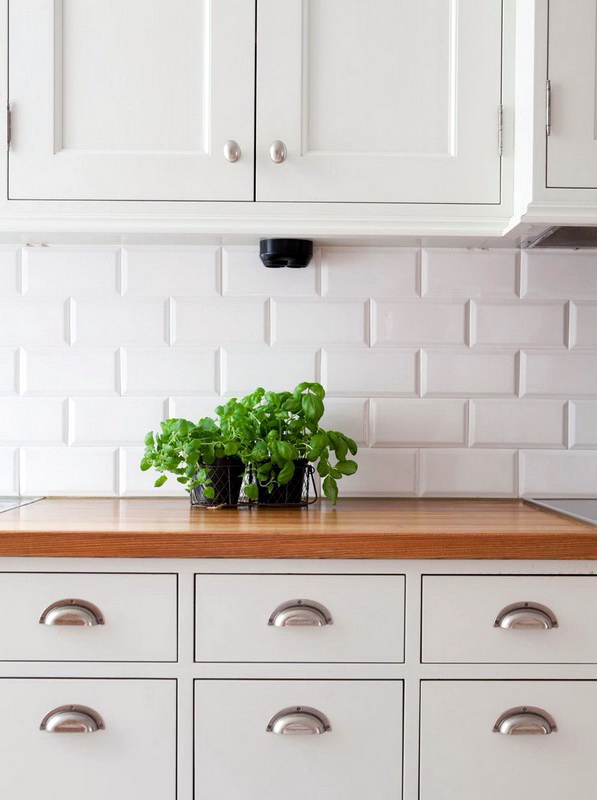
Tile "pig" on the kitchen apron is a ceramic tile in the form of a flat brick with a coating of glaze. Most often, tiles are beveled around the entire perimeter of the edge, so that the tile looks more textured and voluminous. But there is a “hog” on the market without chamfer or with a small chamfer.
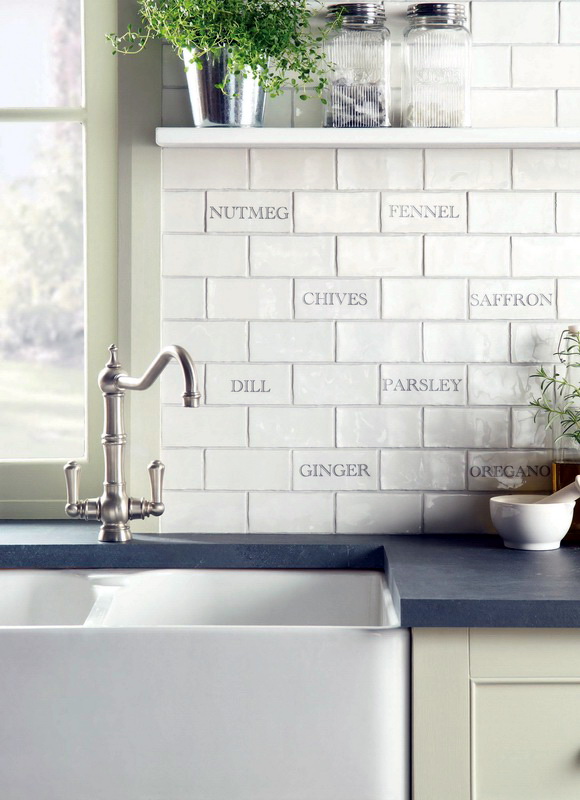
In another way, “piglet” is also called “metro”, and this is due to Western countries (France, Spain, USA and others), in which the design of the “bricks” of underground stations is made of decorative tiles, very reminiscent of “piglet”. But in Russia, tiles are called more original.Why so? Everything is simple: it is connected with the blank under the “hog”, which has two through-holes in the butt end, and on the side the design really looks like a pig nest.

Dimensions
The length of the tile, as well as a real brick, is twice or three times larger than the width. Different manufacturers produce tiles of different sizes: the shortest is 12 cm long, and the longest is 30 cm long, and the narrowest is 6 cm in width, and the widest is 10 cm. A hog tile is 7.5 cm * 15 cm very large size, although other sizes are in demand: 7.5x30 cm, 10x20 cm, 10x30 cm and 15x30 cm.
If you are going to buy ceramic tiles “hog”, remember that you need to add about 10% to the quantity calculated by you in case a part of the tiles will be spoiled by an unsuccessful trimming and another possible defect. Thus, you will insure against the situation with forced downtime in the middle of the workflow, from running around the shops in search of a suitable shade and from the fact that your apron will result in a different color.
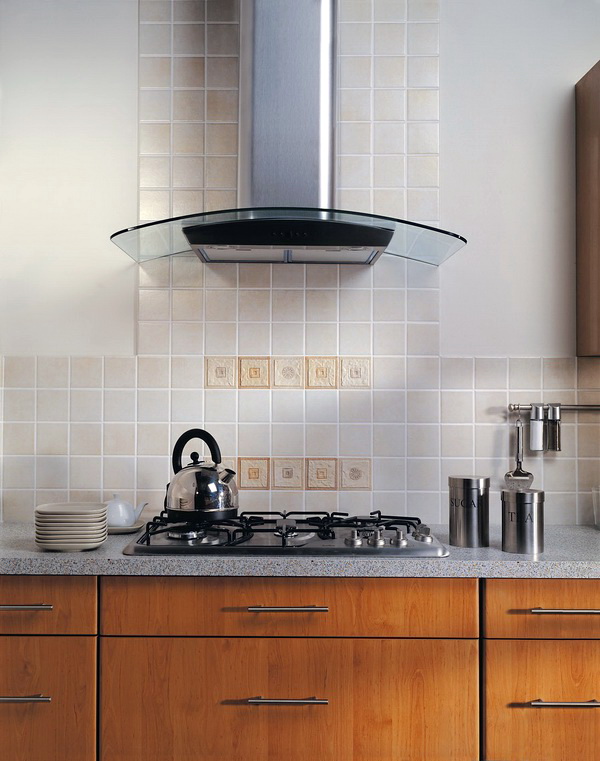
What interior will suit?
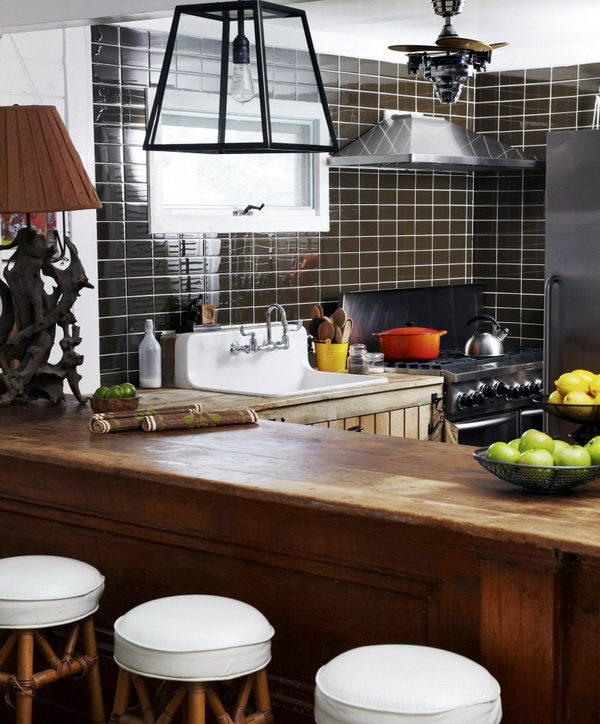
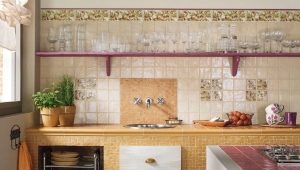
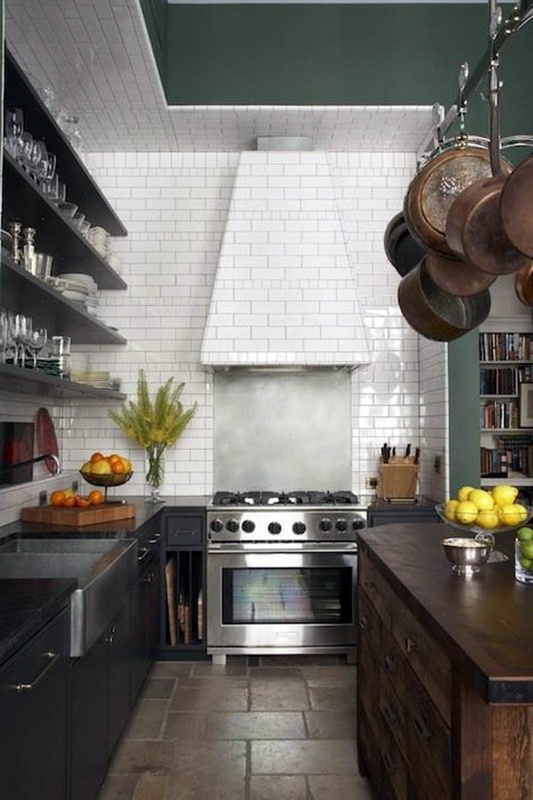
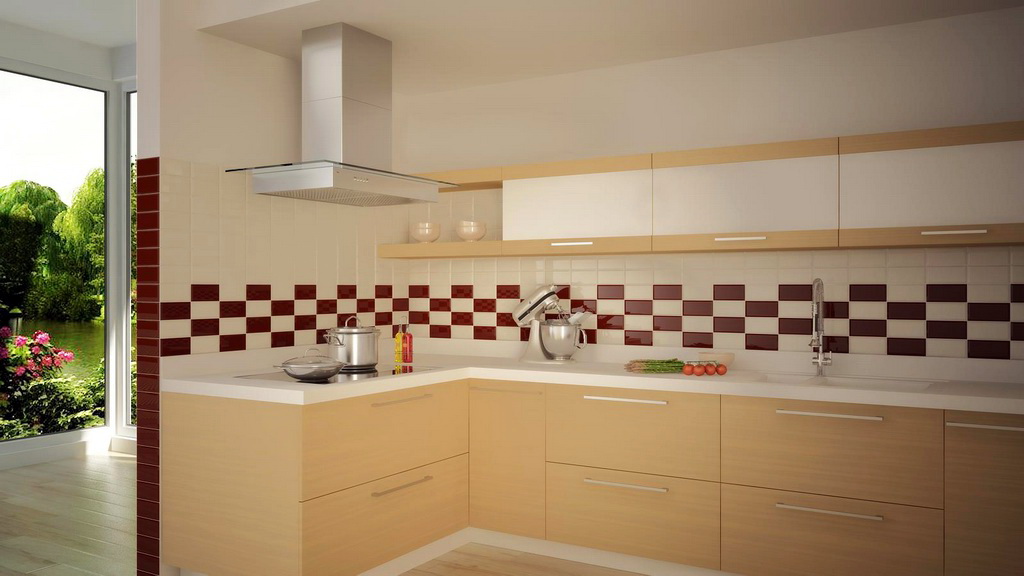
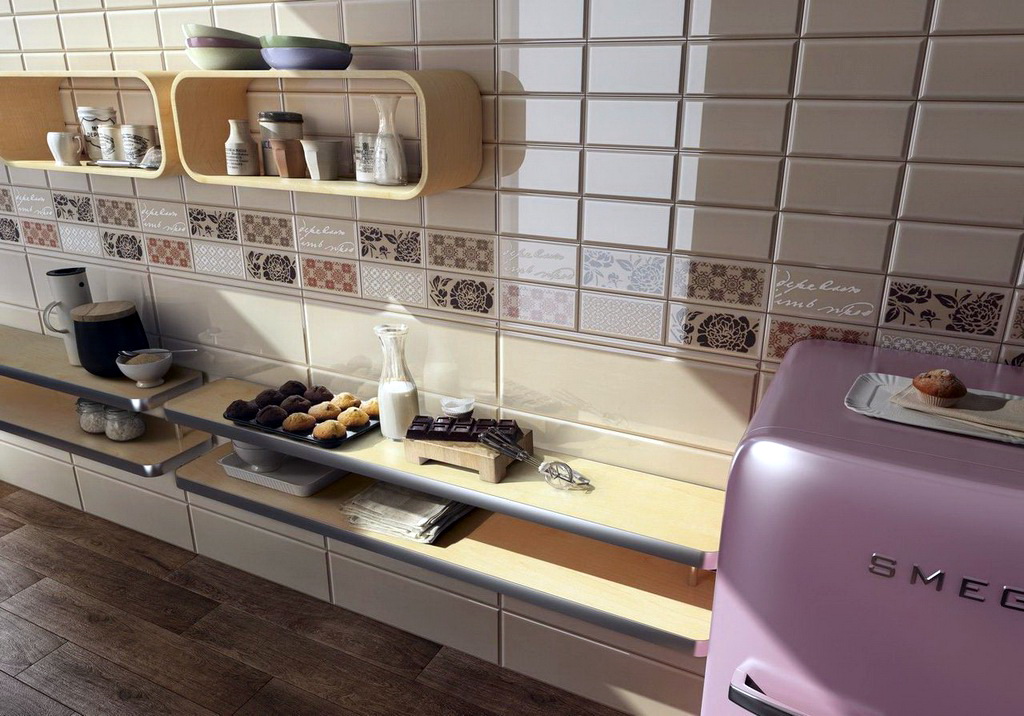
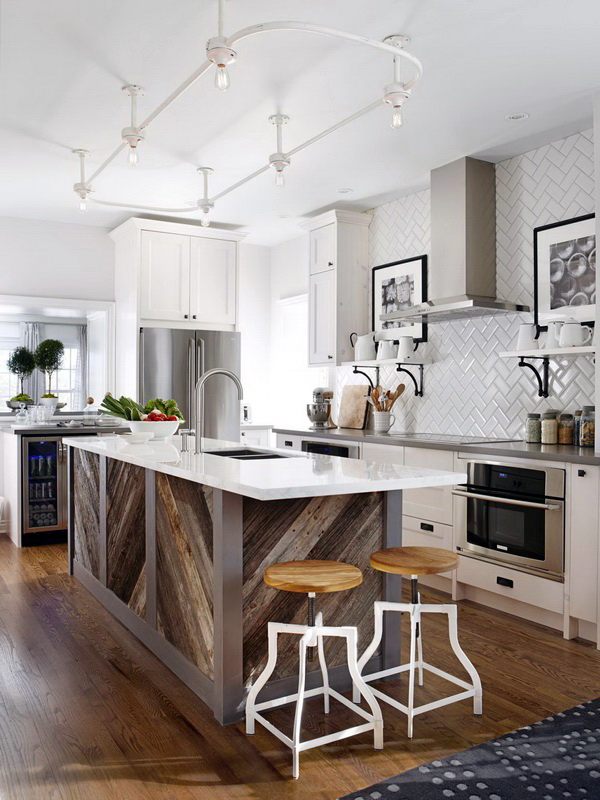
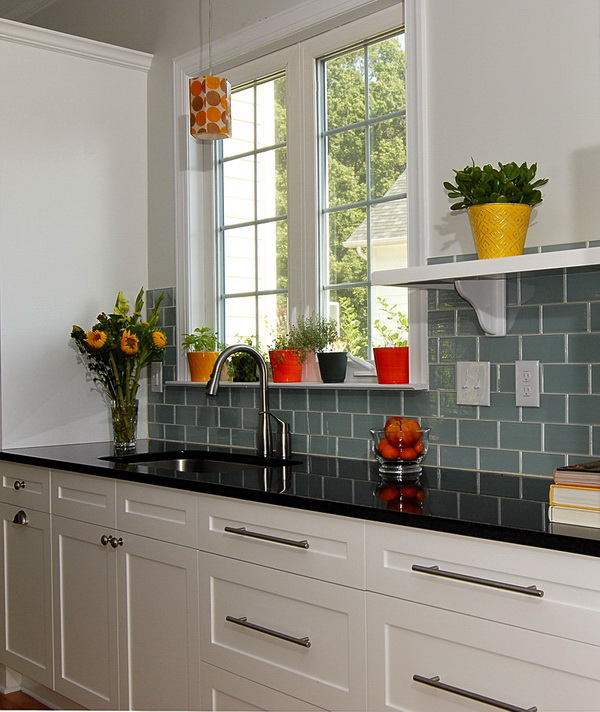
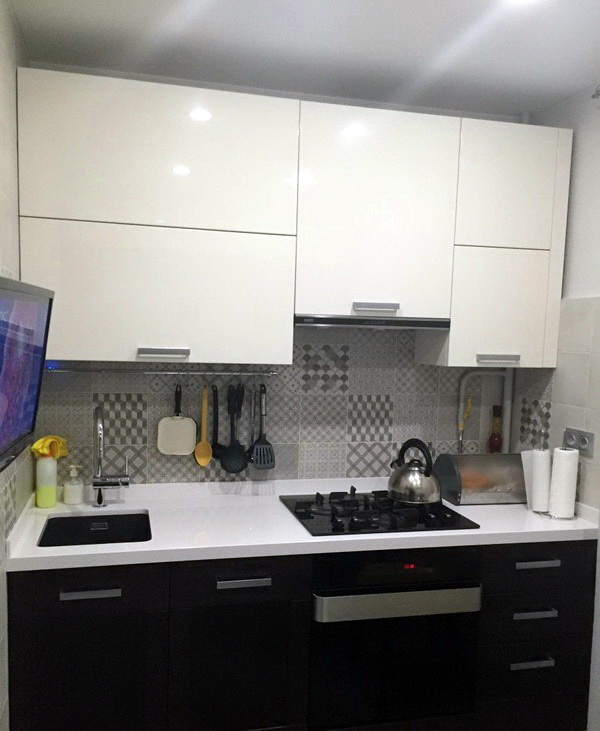
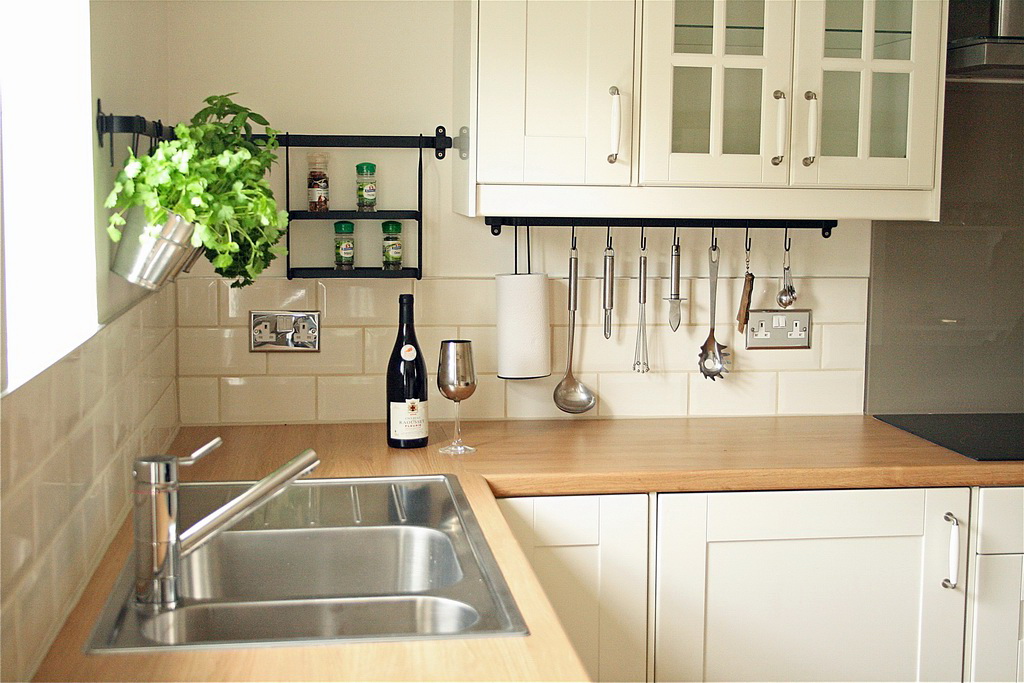
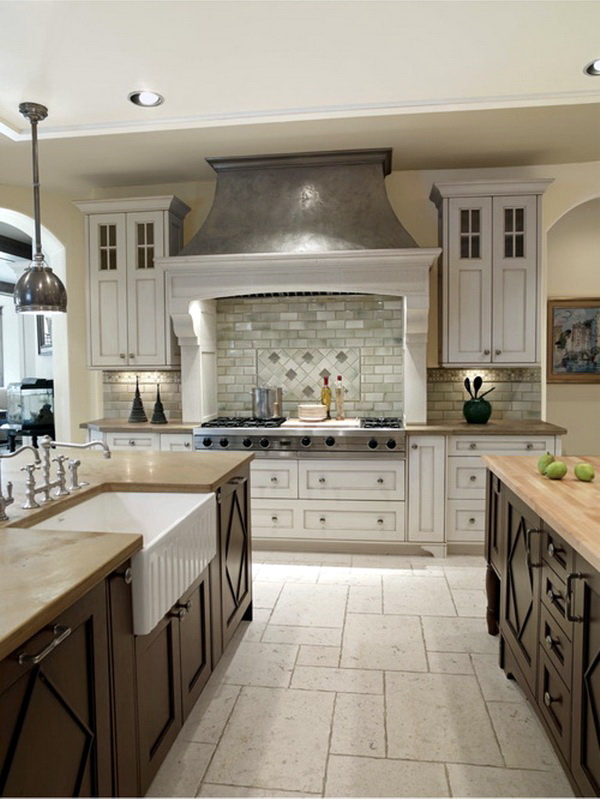
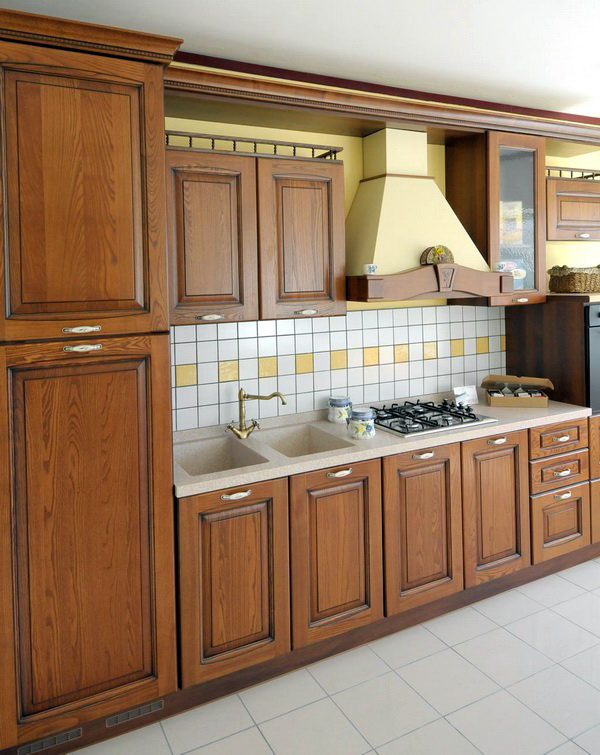
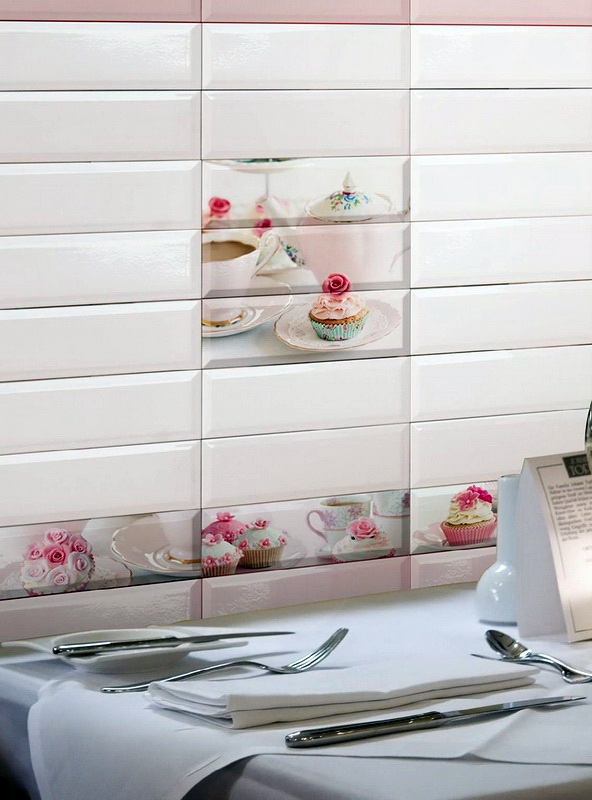
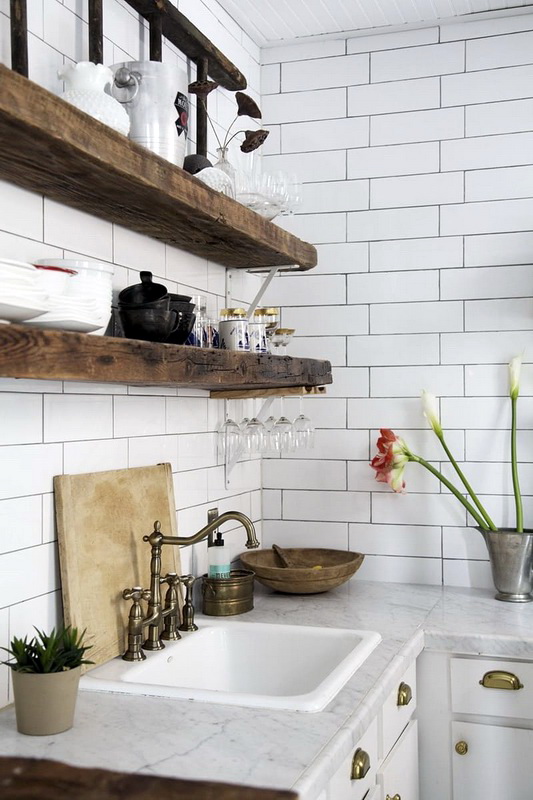
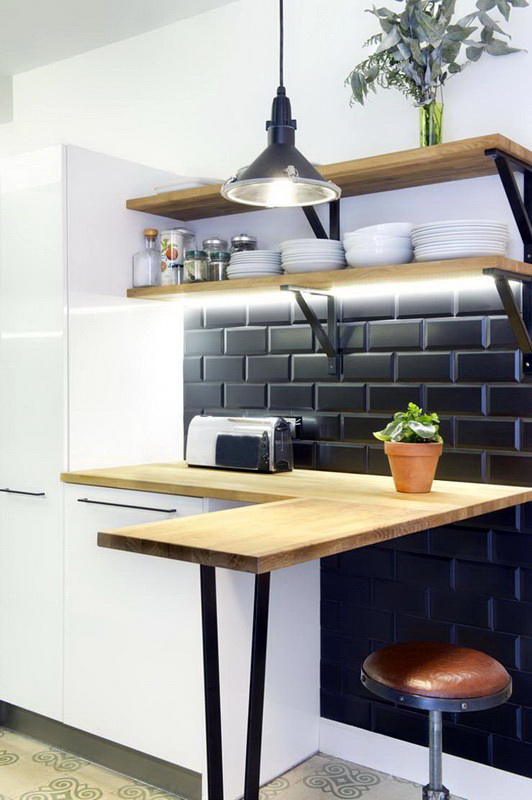
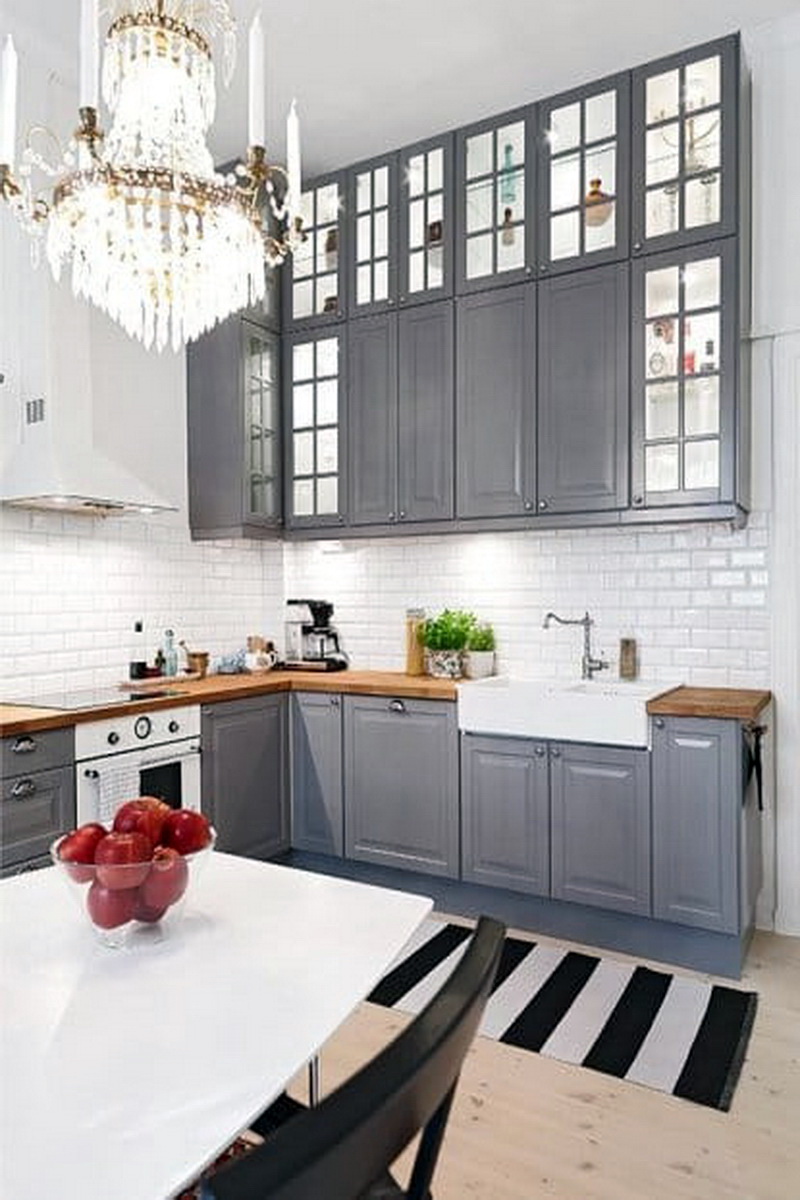
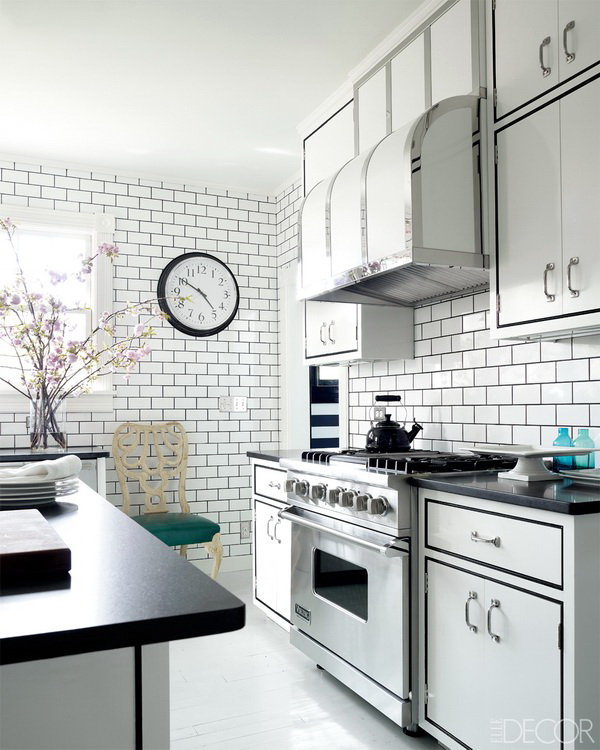
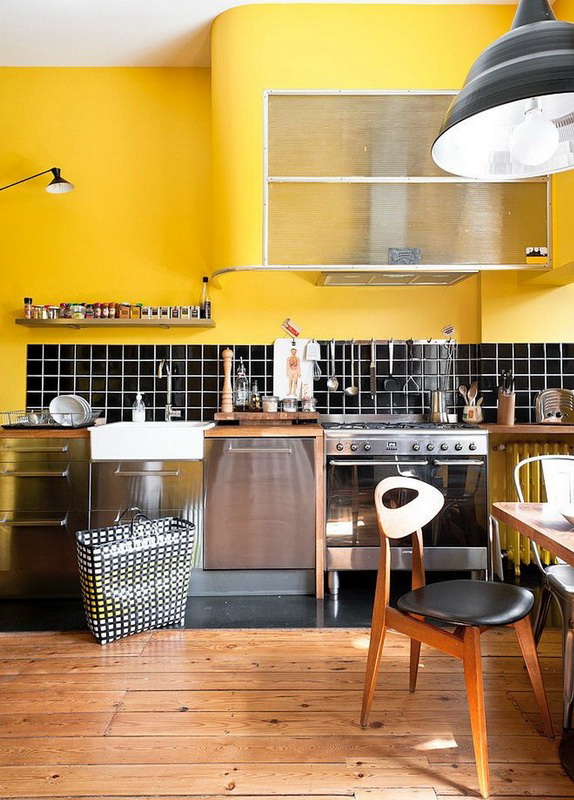
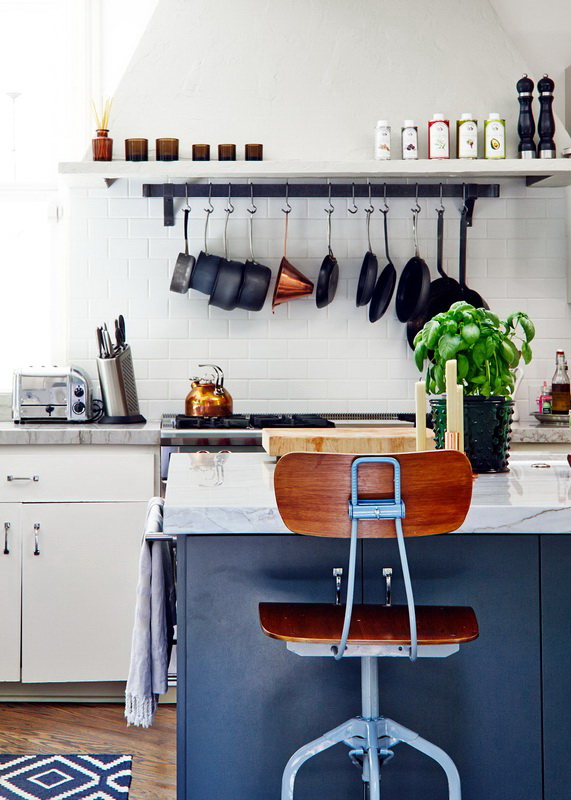
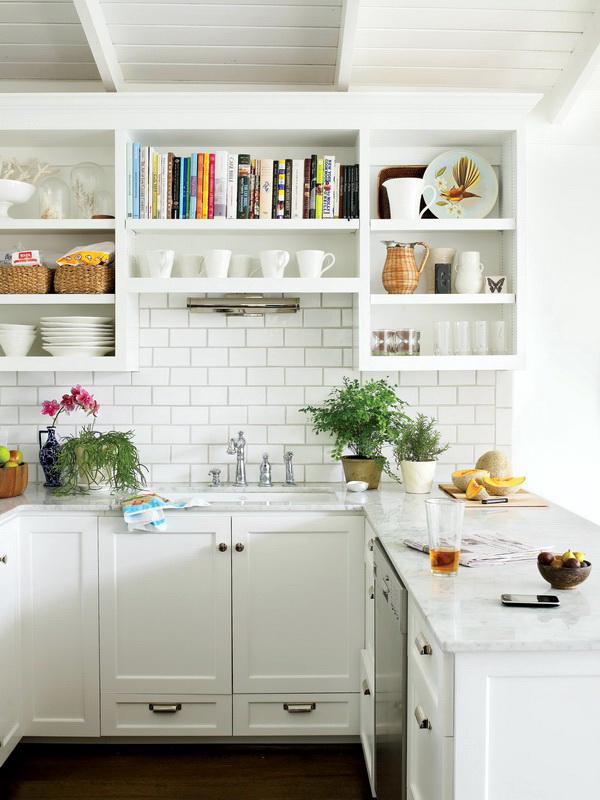
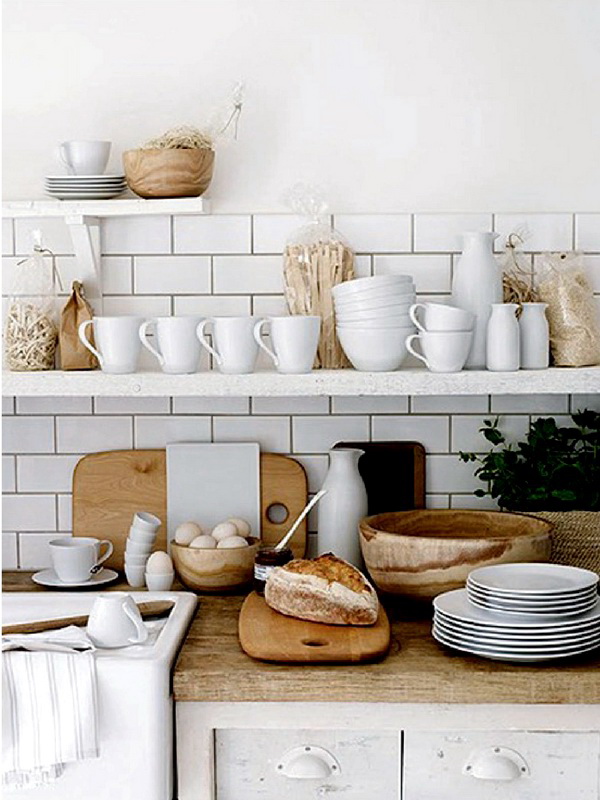
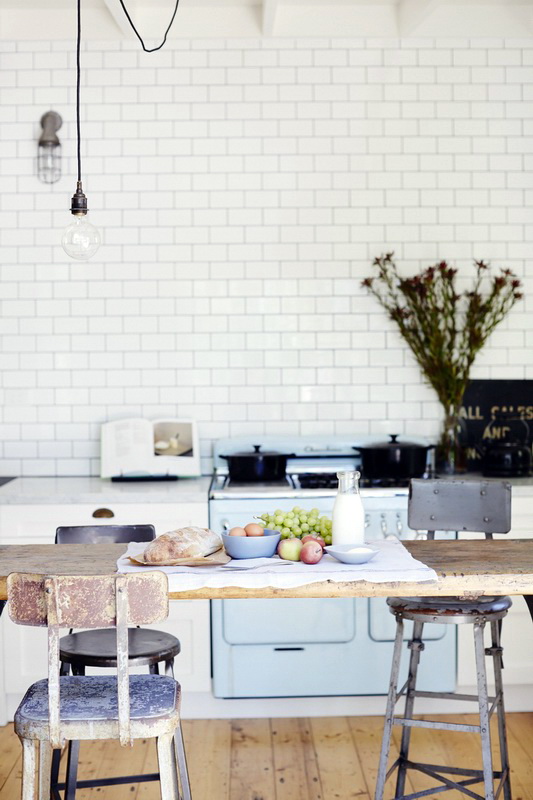
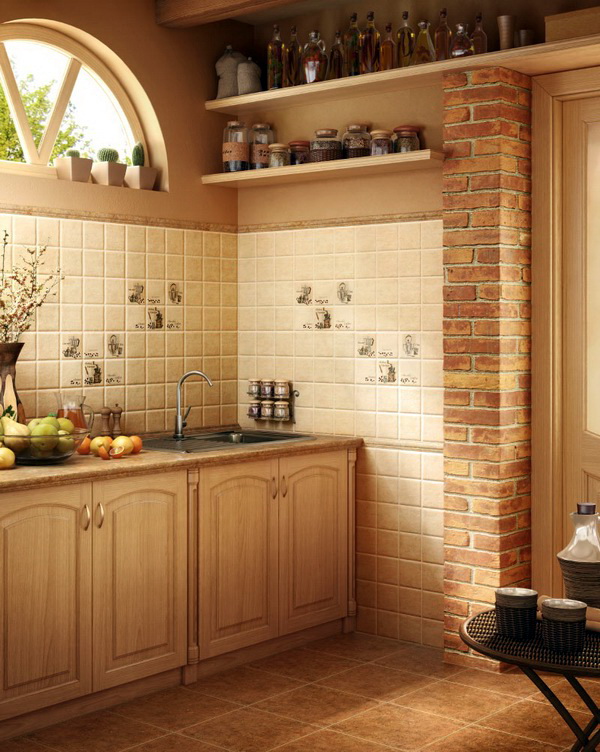
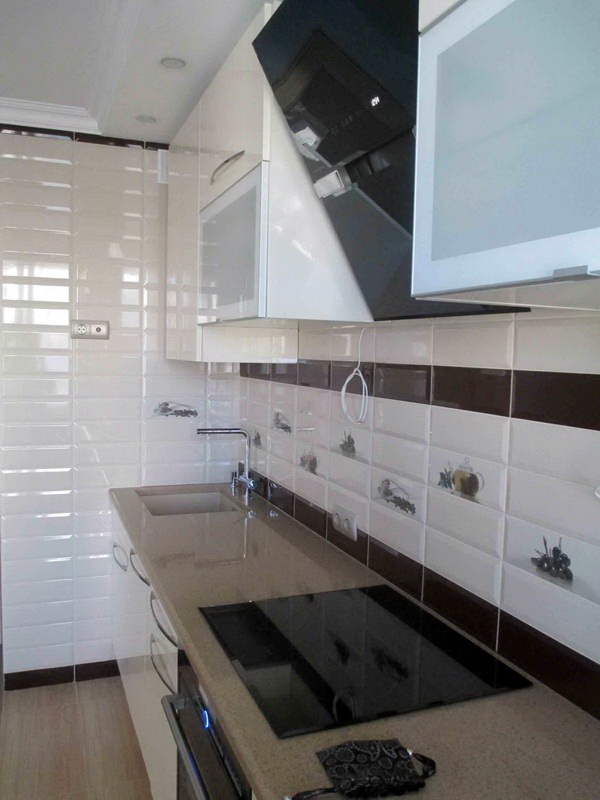
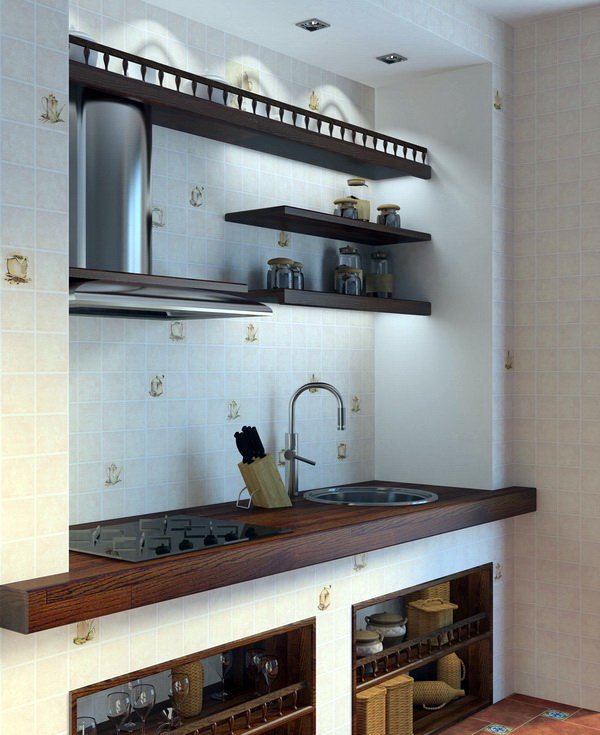
The most popular and popular in our days "hog" is considered to be for the Scandinavian style, for Provence, industrial, loft and country. "Kabanchik" at the base of the apron allows you to create the most unexpected compositions.This is achieved by using tiles that differ from each other in color, texture and size.
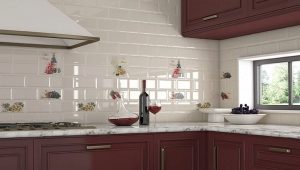
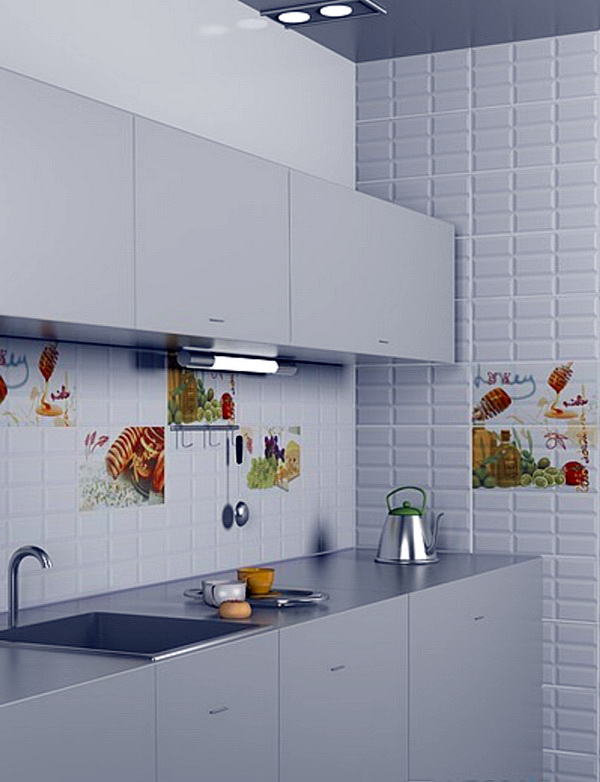
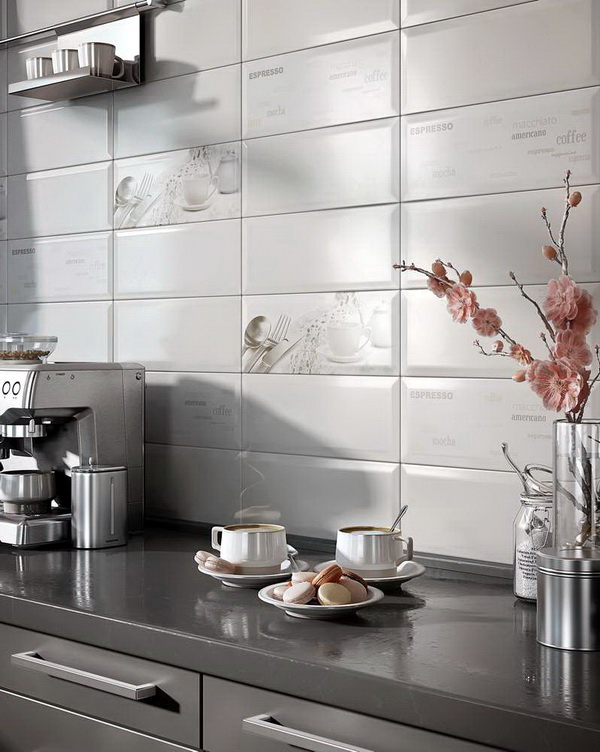
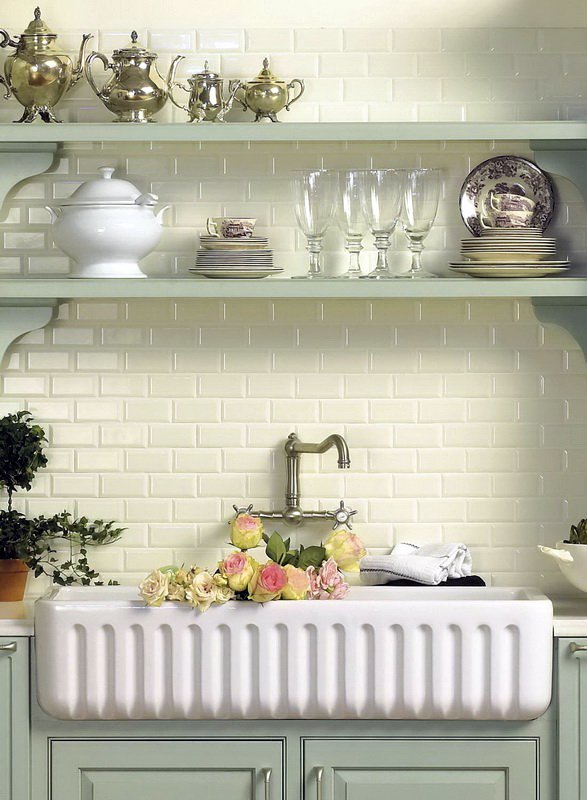
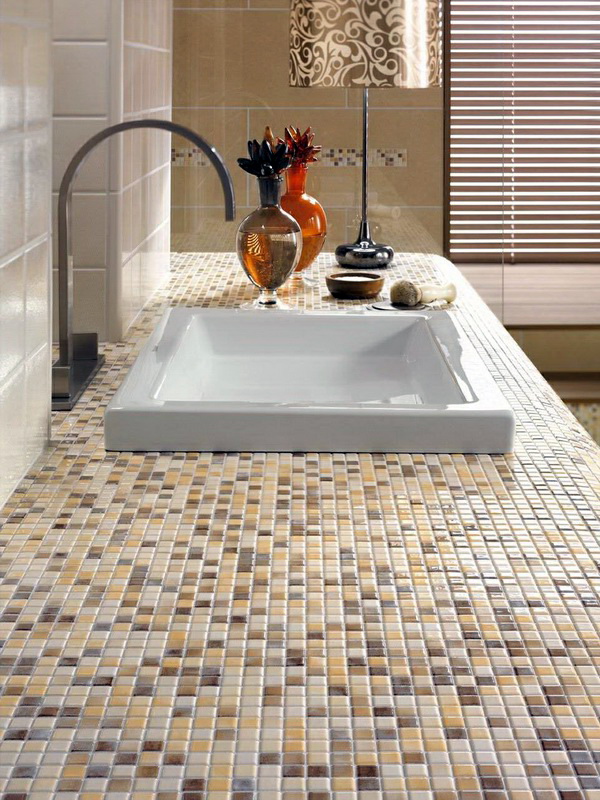
If you have chosen an old kitchen style, it is best to purchase tiles covered with craquelure glaze, thanks to which small cracks form on the surface of the tile. Some design trends are best suited addition in the form of "hog", which has a matte surface. Tile of neutral tones will become universal for any interior:
- white;
- cream;
- beige;
- gray
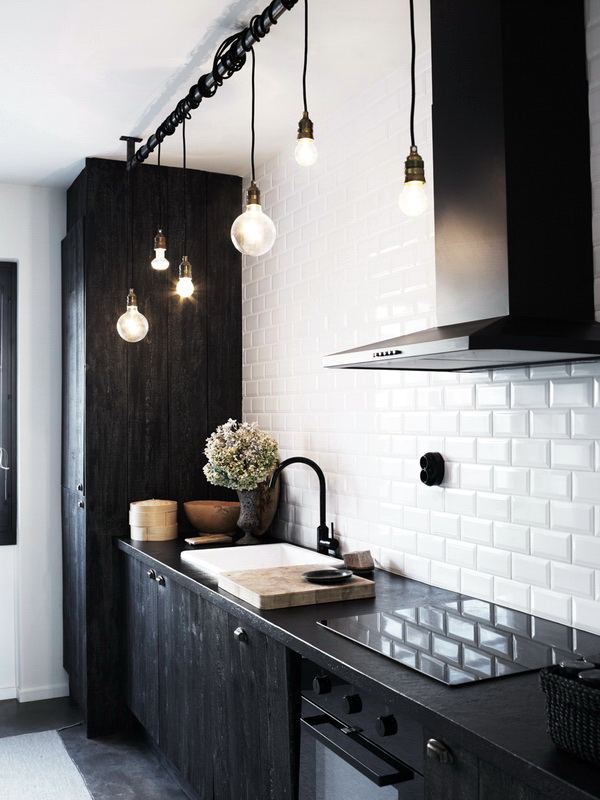

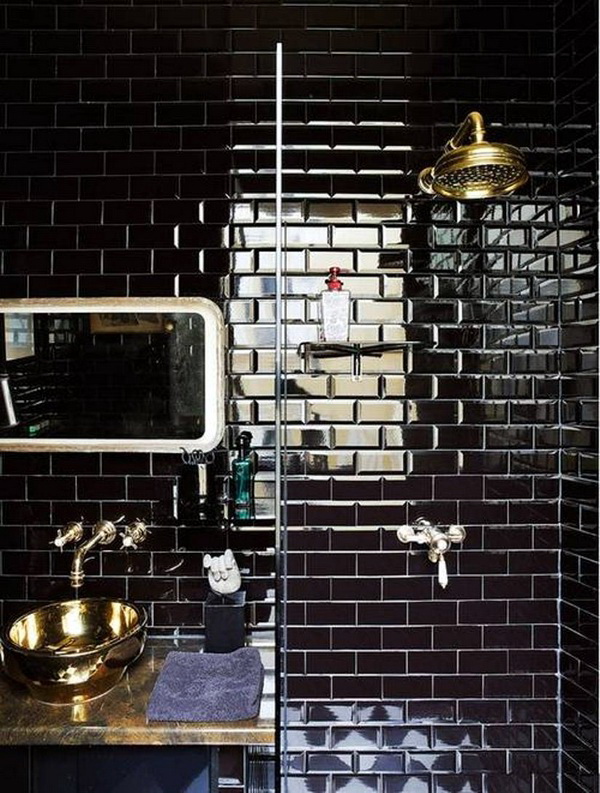
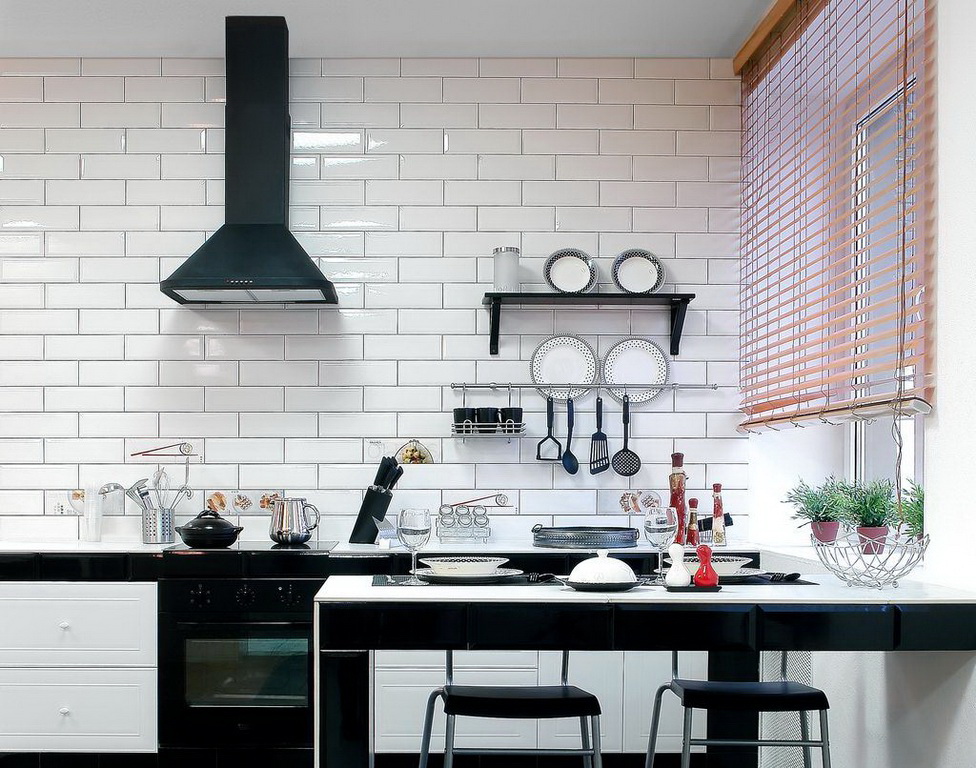
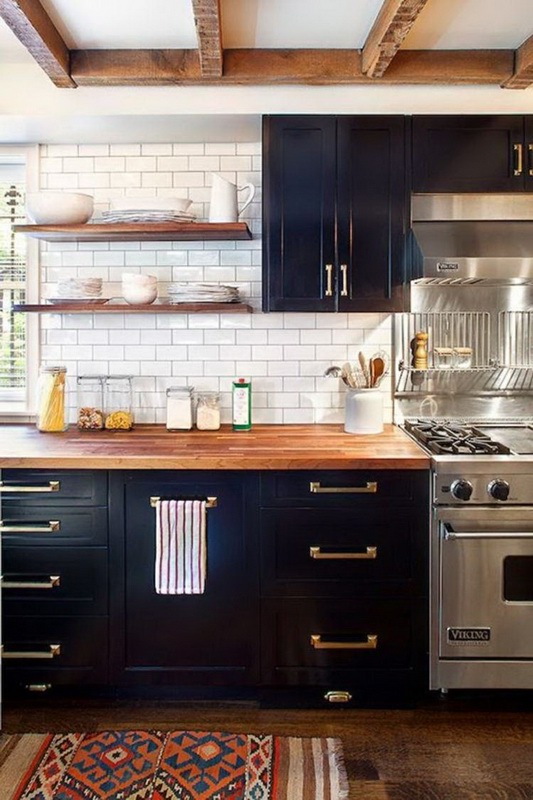
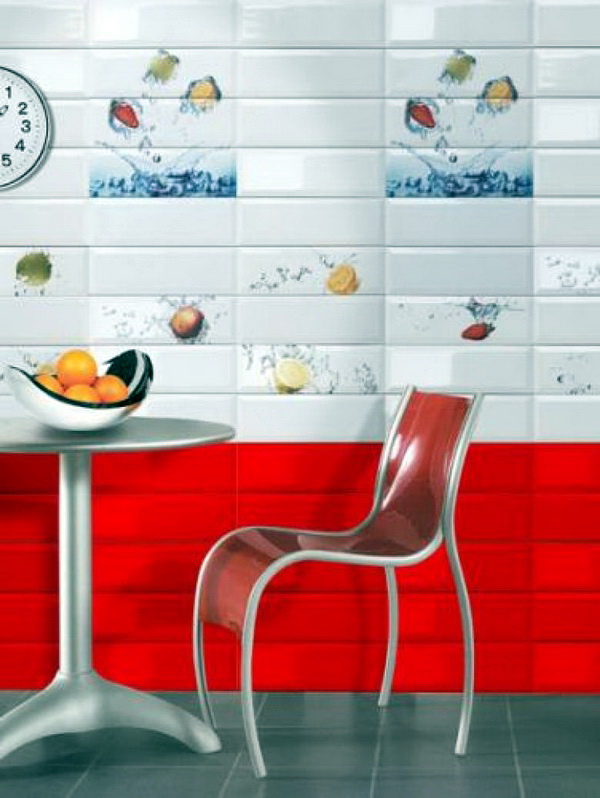
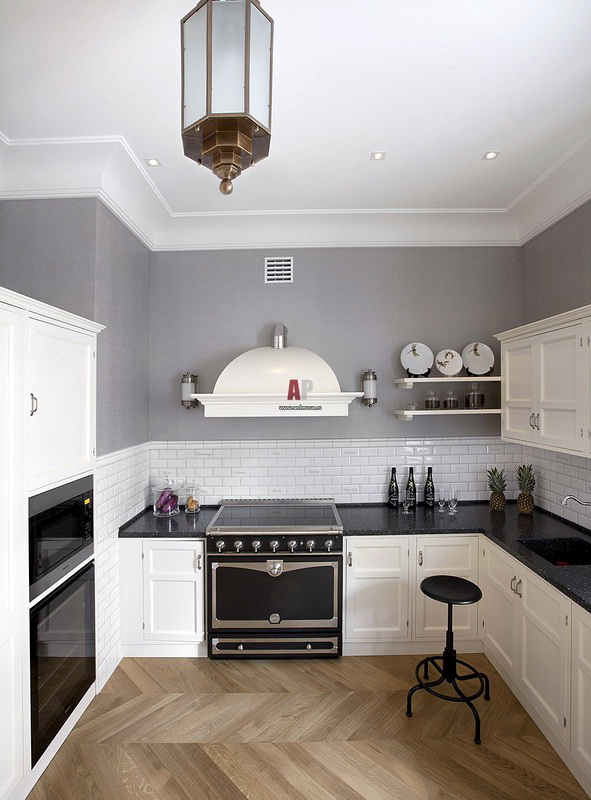
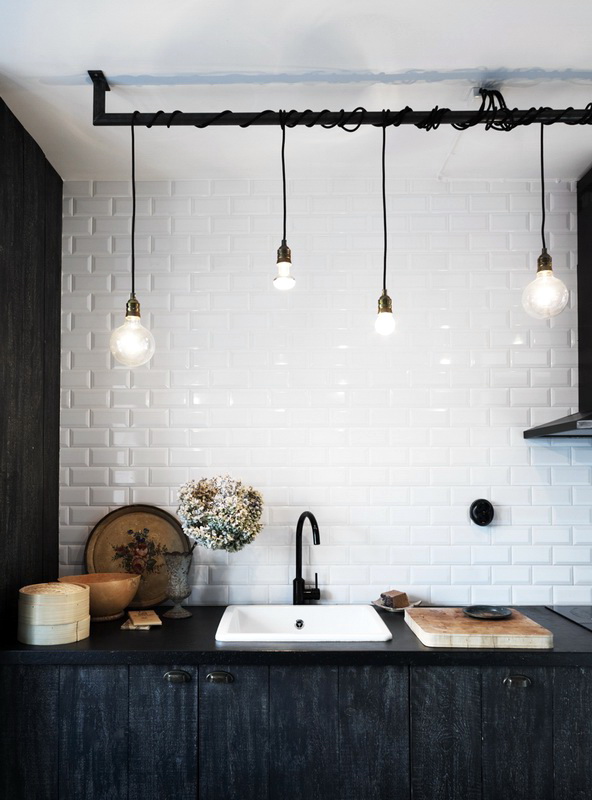
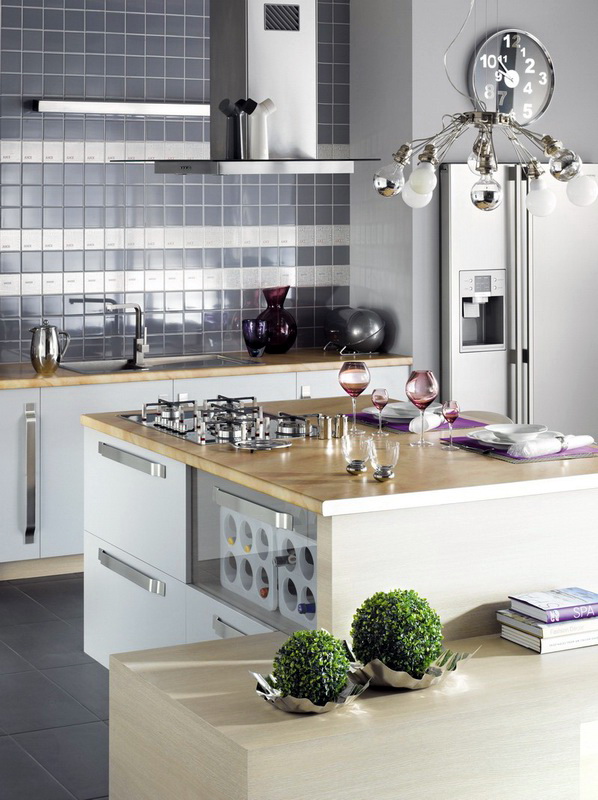
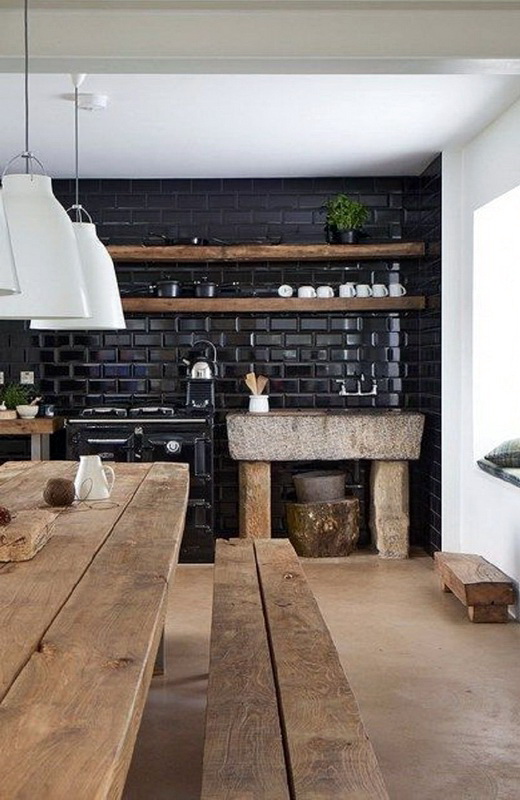
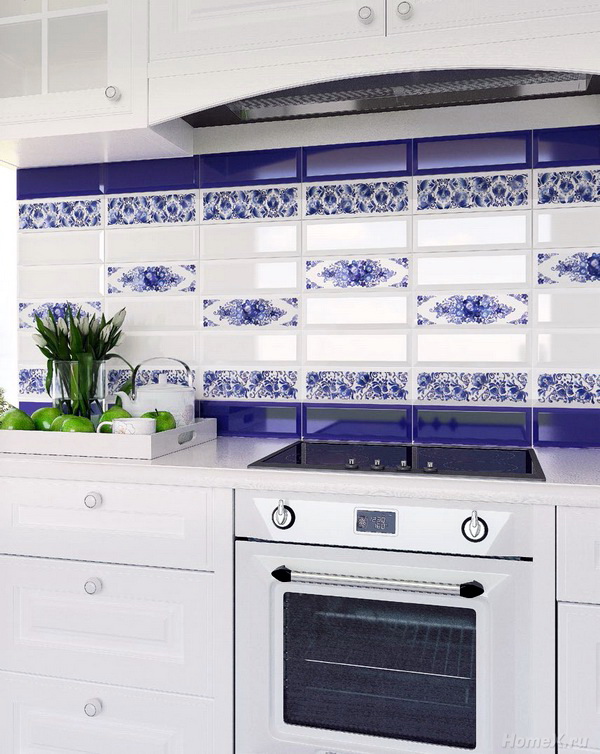
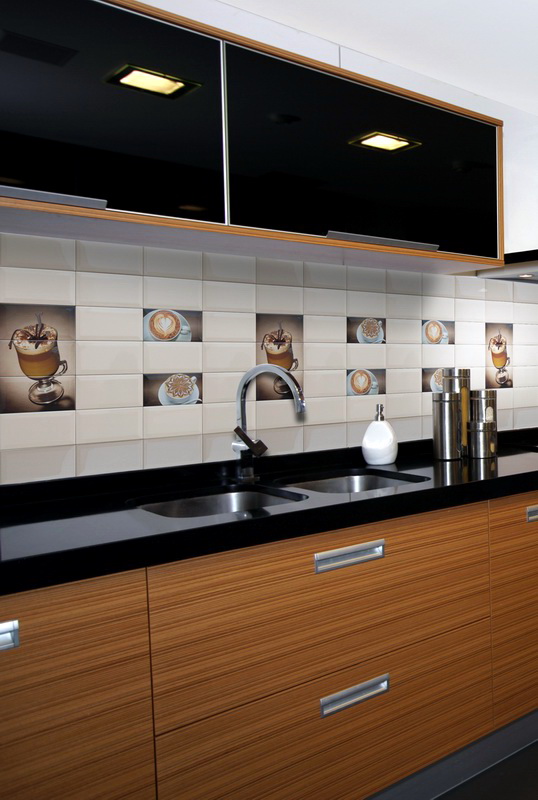
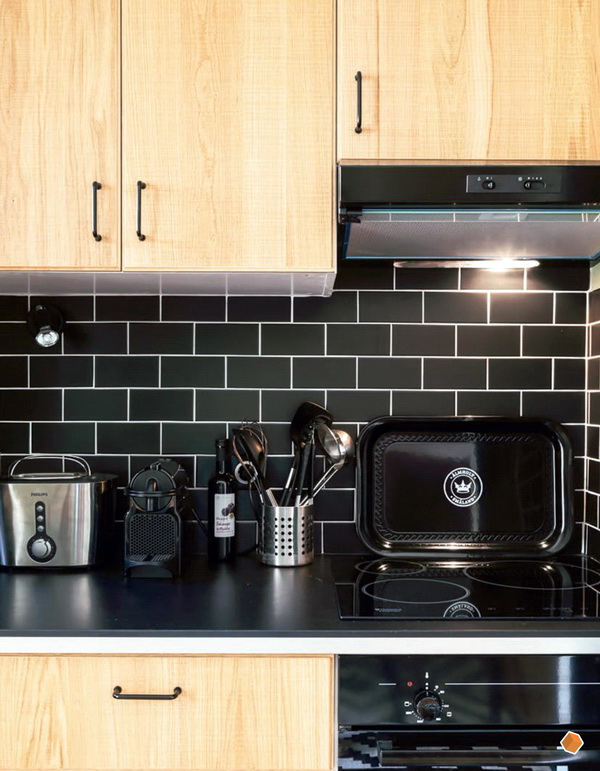
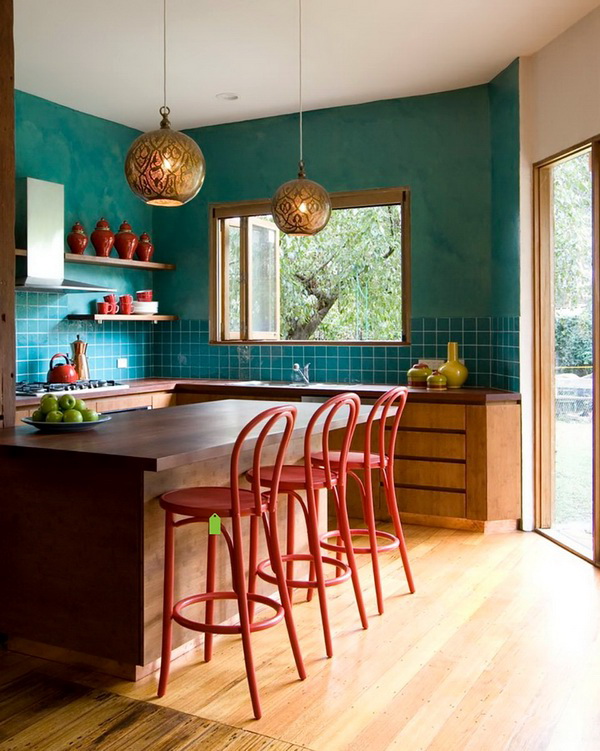
The kitchen decorated with black “hog” looks very modern, especially if the kitchen furniture contrasts with it. The green tile will suit the rustic style, you can say about blue shades that they look bright and all attention is riveted on themselves. But most housewives prefer elegant and fun red aprons.
About grout
For a specialist, nothing complicated will be in the tab, but for a beginner to cope with the ideal external corners will not be so easy. To imitate brickwork, it is necessary to place tiles in a run. Such an option, as offset, is also possible, as well as laying the method of "seam in the seam."
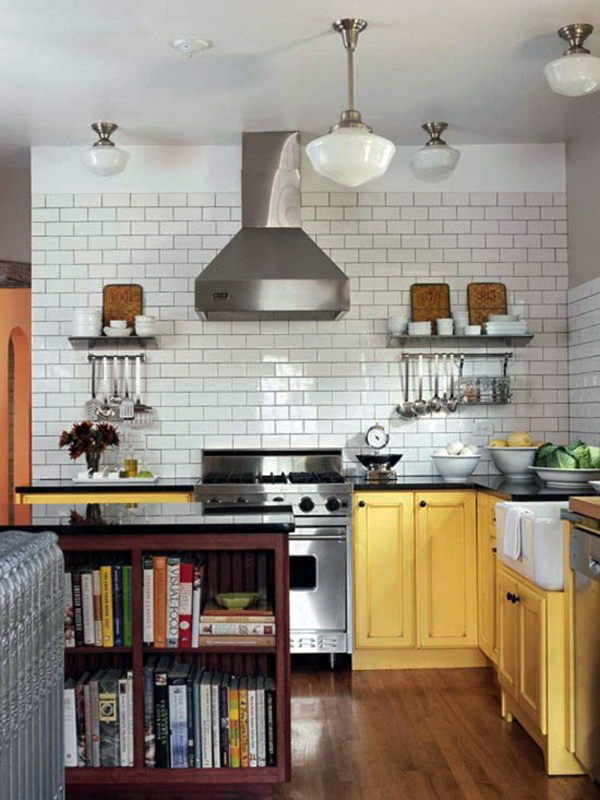
In the latter case, special attention should be focused on the joints, you need to choose a contrast grout, and the layout and embedding should be just perfect in quality. In order not to risk, it is better to choose a more standard grout color, it can be:
- white;
- sulfur;
- cream;
- beige
or black, corresponding to the tone of the "subway".

The mixture must be of high quality, not afraid of moisture, frequent washing and temperature changes. If you pursue cheap grouting, be prepared for the fact that it will darken very quickly and will not have any aesthetic appearance. The best option in this case is a powder, the base of which is epoxy resin.
Features of epoxy grout
This moisture-resistant substance that repels dirt will not darken even with time, the only drawback is that all actions should be performed very quickly, otherwise the composition will simply dry out. For the same reason, tiles should be rubbed from site to site, choosing small surfaces, otherwise you may not have time to clean the surface and the grout will harden.
The grout is removed with a special compound, which can then be used as a detergent for ceramic surfaces.

Kerama marazzi
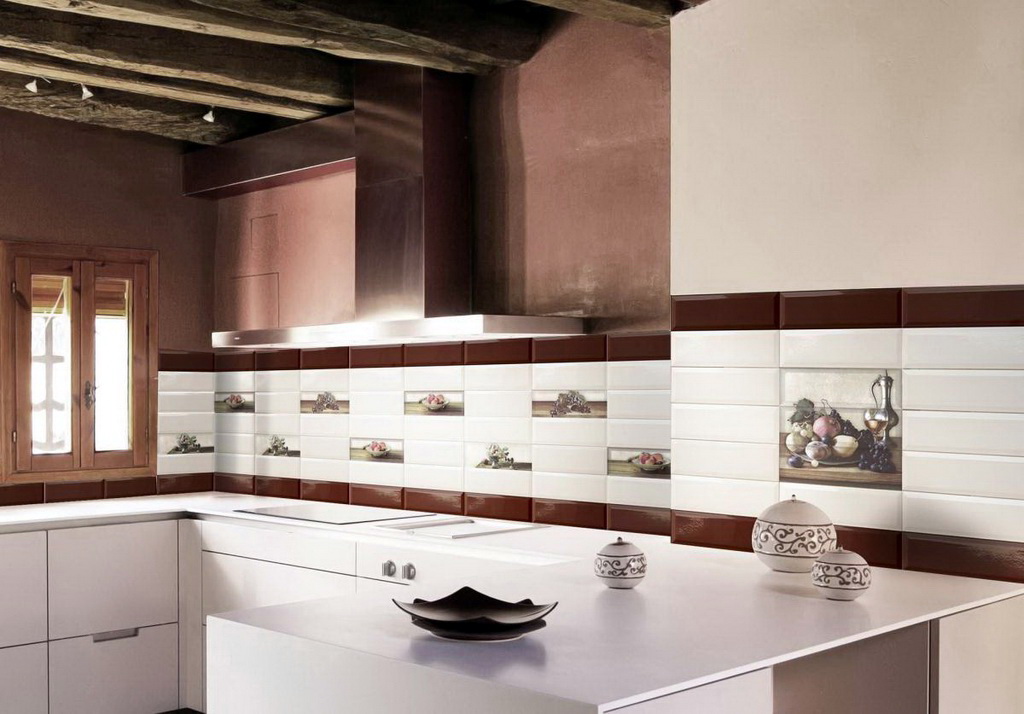
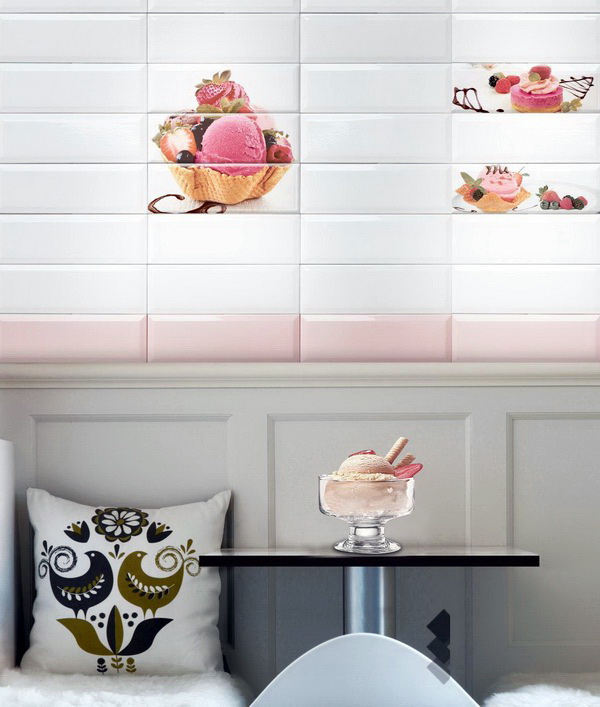
Factory Kerama Marazzi introduced the tile "pig" for the kitchen apron in the Indian collection, which is called "Gamma." This is a matte kitchen tile of a rectangular format and with edges, reviews of which are only the most positive. The decor impresses with its variety of layouts and brings some kind of exclusivity to the interior.
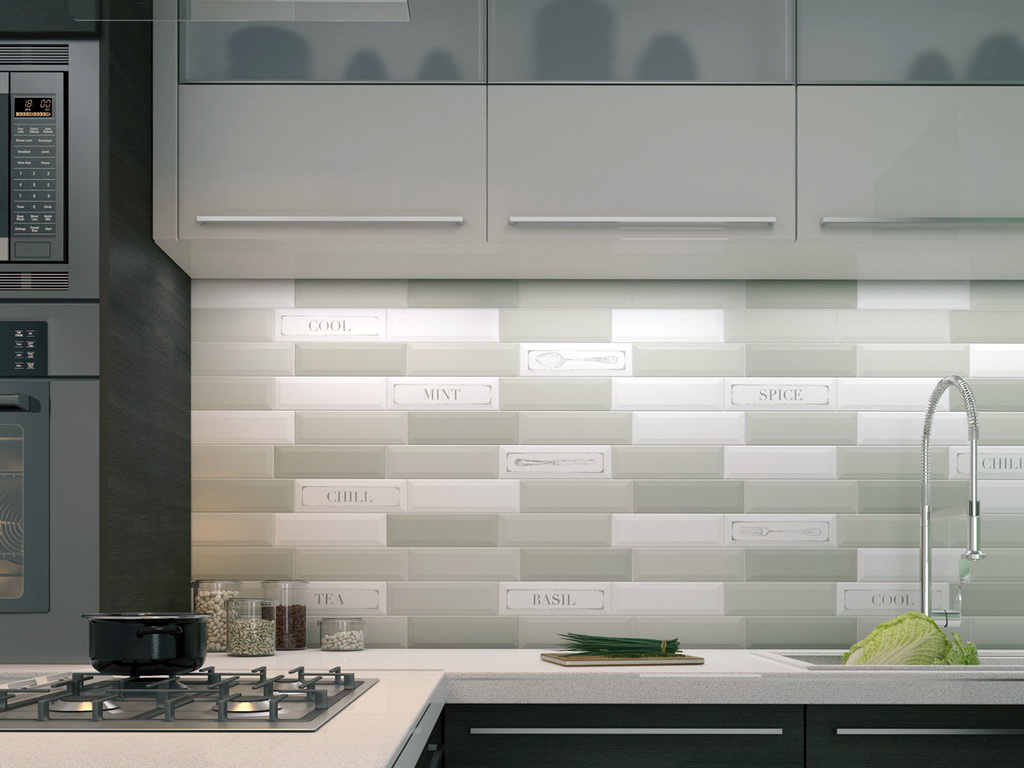
They produce ceramic tiles Gamma Kerama Marazzi in a variety of monochromatic colors that can be combined when laying or sticking to one tone.
How to care
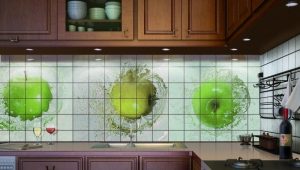
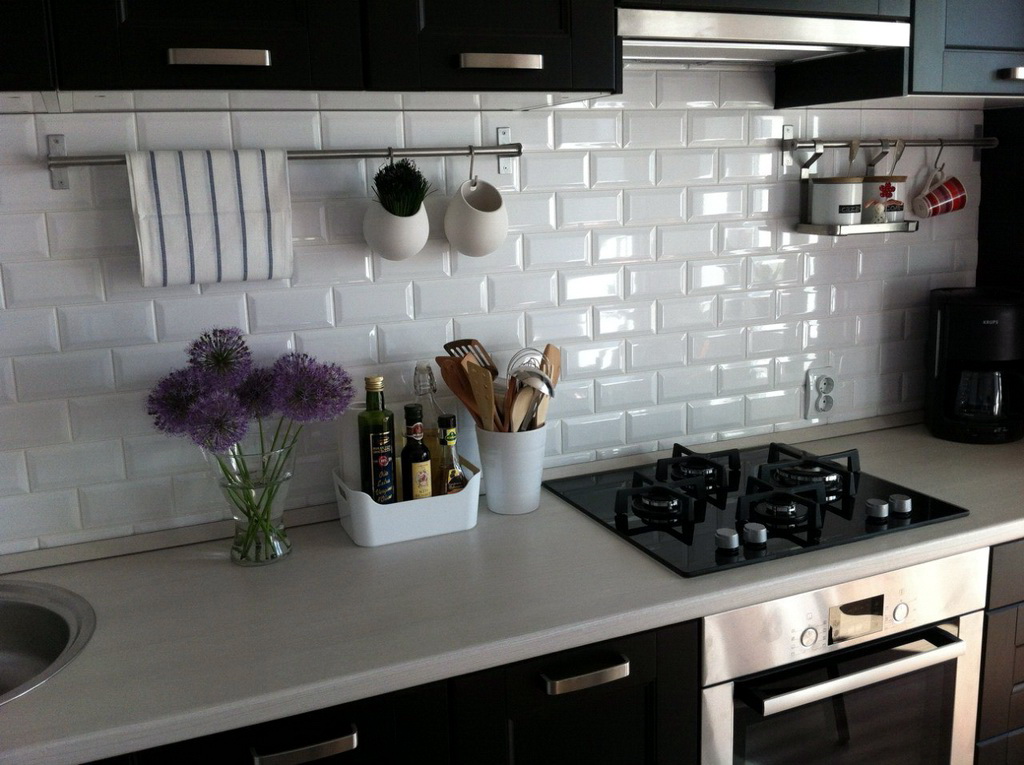
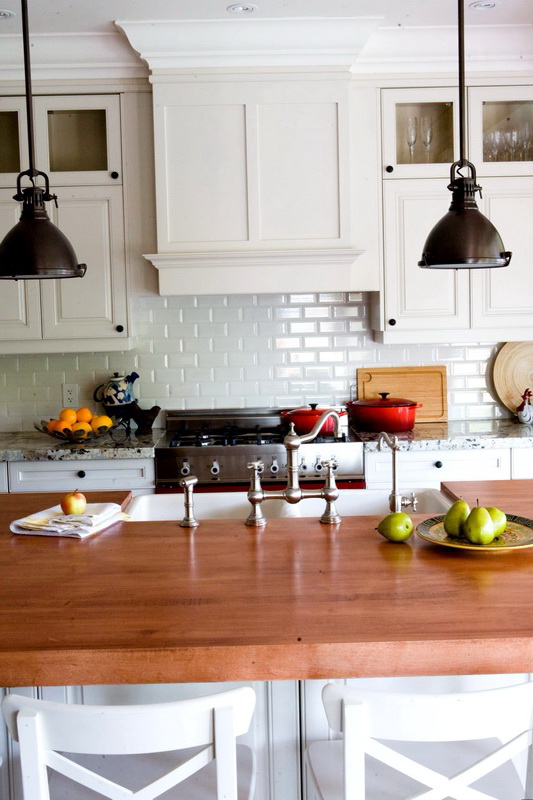
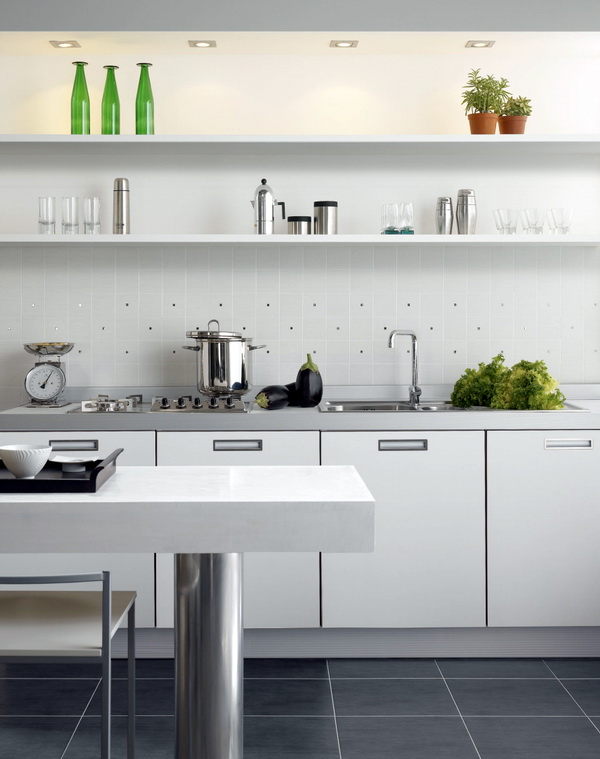
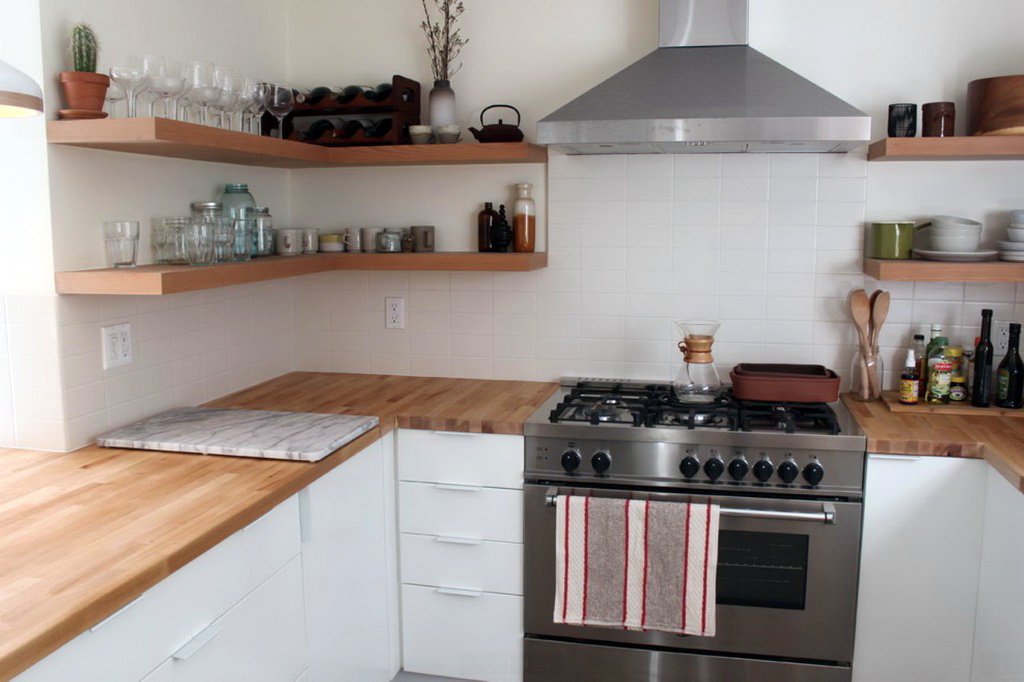
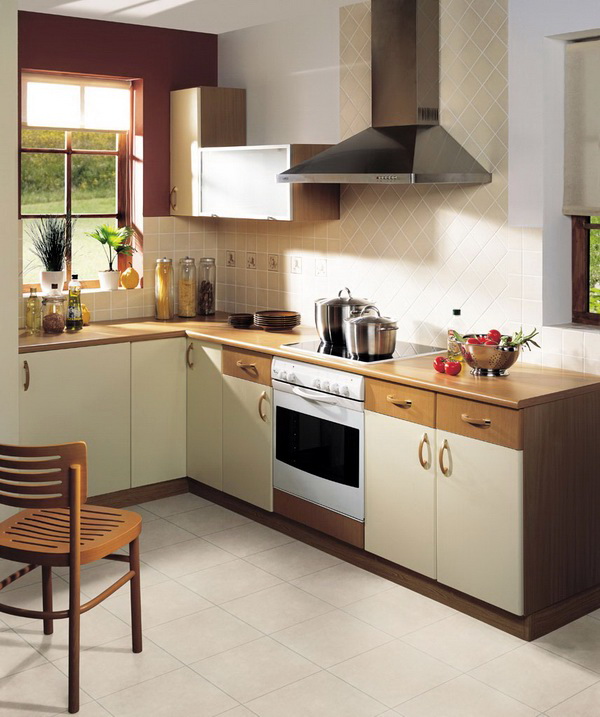
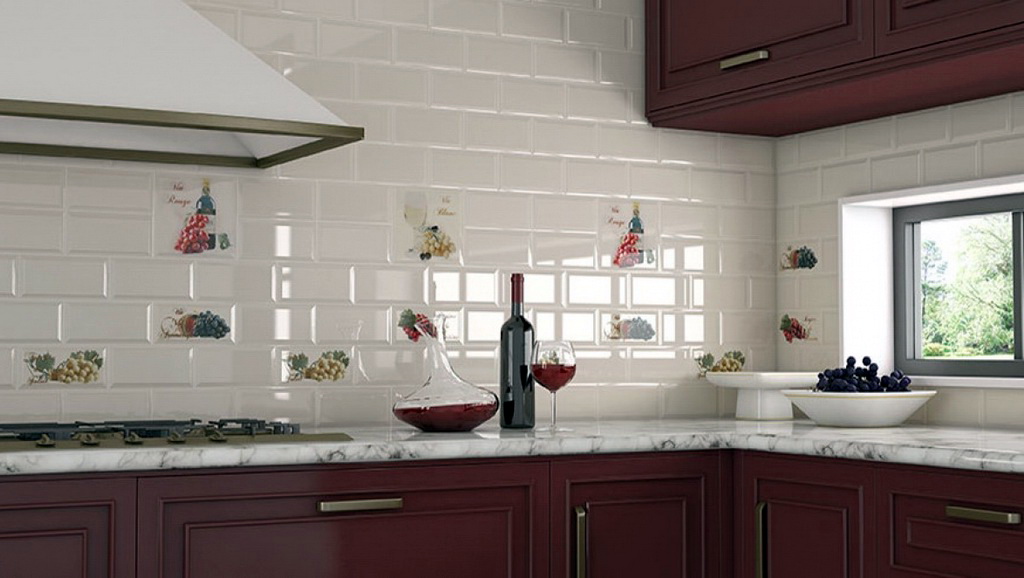
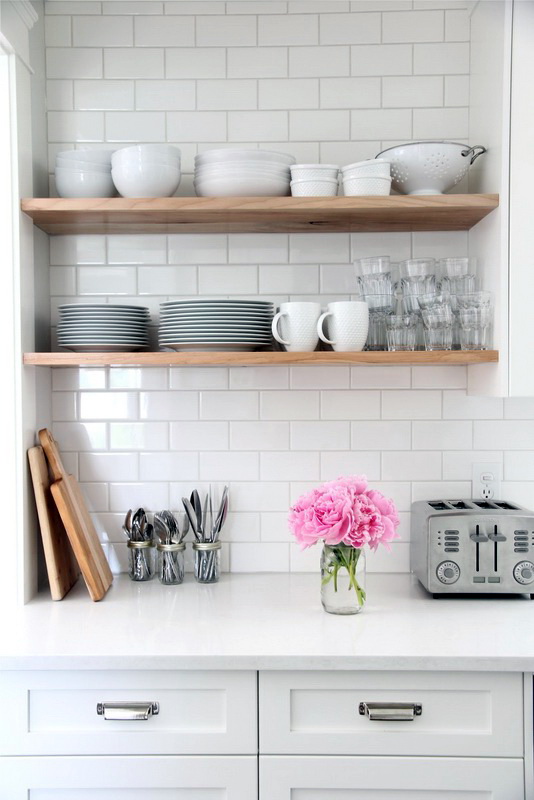
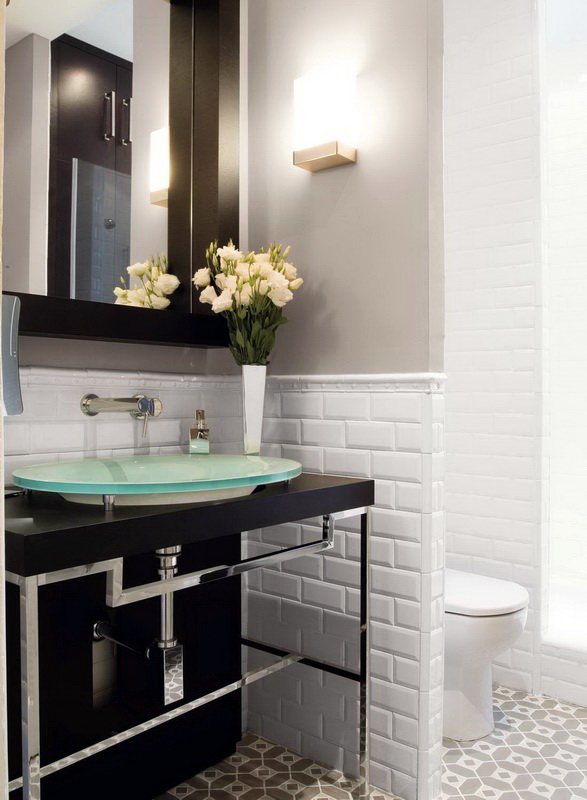
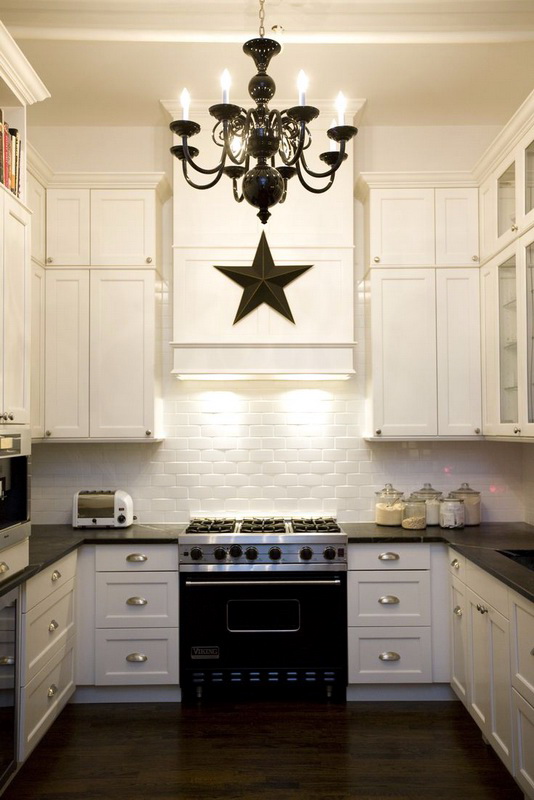
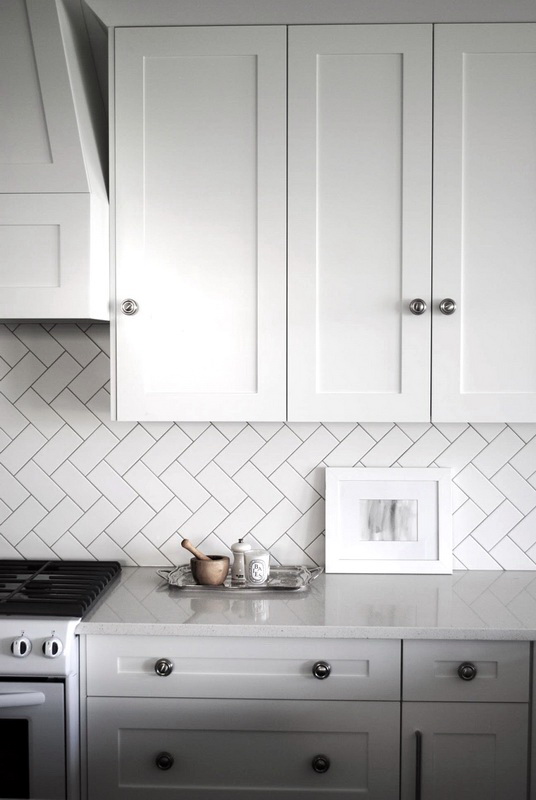
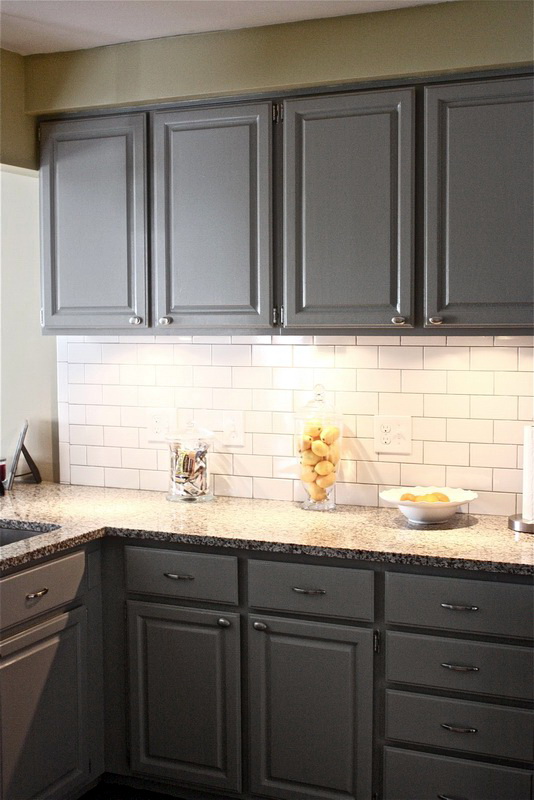
Do not be afraid to buy white tiles in the kitchen, because caring for them will not be more difficult than caring for tiles of any other color. After all, this material for finishing belongs to a number of the most practical, and neither glaze, nor dust will settle on the glaze covering a tile "hog". And if any pollution appears on it, then it will easily be removed with a damp cloth.
So a white kitchen with a brick apron may well please the view with its snow-white beauty, besides on a white background pollution in the form of dust, dirt, greasy splashes and stains from wet rubbing, will not be visible as clearly as on a dark tile.Another plus of the “pig” tiles of white color is that it will give the appearance of the kitchen aesthetics and accuracy. If you make a white tile with an apron of a mini-kitchen, its space will visually look larger than it actually is.
Disadvantage
The disadvantages of the “pig” tile include depressions that are formed at the very junction - they can accumulate various contaminants that are not so easy to remove from there. But such a drawback should not be a reason to deny yourself the pleasure of decorating a kitchen apron with a “hog” tile, because it has much more advantages.
On sale today, the tile is represented by a variety of colors, there is even black, but care for tiles of any color does not constitute any difficulty.
About secrets related to the calculation
It is not surprising that it is impossible not to fall in love with this tile at first glance at the picture or at the hog in its natural form. But not everyone will decide to buy it, because when laying out the “hog” you need a certain skill.
As a rule, difficulties arise due to some peculiarities of the “pig” form.The best solution would be to invite a professional with the experience of such masonry to display the “hog”. In addition, he probably has all the necessary tools that will allow him when cutting a very thick tile to avoid chipping.
What is the difficulty in laying a “pig” ceramic tile and how not to make mistakes if you take on this work yourself?
How to prepare the surface
Before you start laying, you need to make sure that the surface is prepared for this process. Both old paint and plaster should be absent on the wall, otherwise they will peel off when tiled glue is applied to it. When the wall is completely cleaned, it should be plastered and primed, leveling the surface with a level.
Due to the fact that this tile's thickness is not small, and the weight too, the masters advise to apply glue to both surfaces (meaning wall and tile). Thus, the clutch is more durable, and such a finish will serve you for many years.

Options that are used in the calculation
A very common option, which is used when laying tiles "hog" is a wayreferred to as "the run-up." This laying imitates laying of bricks, when bricks are laid not one above the other, but with displacement. Such a setting is for the “hog”, so reminiscent of the shape of a brick, quite logical and not at all complicated. It is only necessary to strictly observe the line of the horizon.

But the other way, which is called the “seam in the seam” - also looks quite impressive. So they lay out the standard ceramics, only in the case of the “hog”, its shape bulge and chamfer skewing make the whole picture more voluminous. And this is where the difficulties begin. The seams of the convex tile take all the attention on themselves, and this obliges the master to do his work with perfect alignment.
According to the recommendation of experts, the marking lines should be applied to the wall first and then strictly adhered to them during laying. These lines can be replaced by a laser level or a stretched line. What is the thickness of the seam between the tiles - the moment is controversial. It is believed that the seam should be equal to 5 mm, but those who disagree with it think that such a wide seam spoils the aesthetic appearance of the kitchen.
The size of 5 mm is easy to explain.After all, even an experienced master can not be avoided when laying the minimum errors, and even the tile itself can have minimum errors in size. And if the seam is very thin, all these errors will be obvious, so aesthetics is aesthetics, and you won't be able to lay tile right next to it, at least 2 mm, but you have to leave it on the seams.
How to make a corner
When finishing the corner with a hog, there are even more questions. The junction of the walls, the outer corner of the ramp, the box, the doorway - it always catches the eye and always creates problems when laying even simple ceramic tiles, but with a raised boar it is still more difficult.
But the recommendations of the tilers on this occasion is still there. They offer not to start laying from the corner, but to get a neat seam, cutting off the “hog” “on the mustache”, which means at an angle of 45.
To simplify your task, experts suggest that you use a special tool - a corner of plastic. It is brought under the tile, and it thus closes the junction of the tiles. As a result of these manipulations, you get a closed angle.
Another way
To cope with the joints, you can simply cut the tile, after which the corner is made sidewhich is not cut, and the other side should be disguised in the ranks. Trimming can be replaced by smaller tiles. Sometimes for this purpose collections are completed with special square inserts (half tiles). But do not worry, if you do not have them, you can go the other way and in the most difficult place to make the layout inverted 90 tiles.
But still, you cannot do without trimming at all: most likely, tile size will not be a multiple of the wall width, and you will have to beat the sockets somehow. So without a special cutter for the "pig", while laying out this tile, it’s hard to do.

Professional knows his job
Ceramic tile "hog" - the material is quite demanding, and to work with it, you need to have certain skills and working ingenuity. Therefore, in order for the outcome to be favorable, it is best to invite a professional tiler.
The second question is the technology of laying tiles from ceramics. It must strictly observe and use only certified materials, such as:
- putty;
- primer;
- tile adhesive and grout.
The quality of the finishing material can not be saved, otherwise you can waste a considerable amount of money and time.

Do not be afraid of all the difficulties associated with laying the “pig”, all obstacles are surmountable, but the result will be really excellent. And all the difficulties with time will be forgotten, there will be only a beautiful design that will please you for many years.