How to lay tiles in the kitchen
We spend a lot of time in the kitchen, not only preparing meals, but also eating meals and talking with family and friends. Therefore, to this room have increased requirements. It should be both beautiful and practical. That is why tiles are great for wall cladding in the kitchen.
Material Features
Choosing this material for laying in the kitchen, you will get not only a beautiful finish, but also a surface that perfectly copes with all aggressive requirements. She is not afraid of either high temperatures in the area of the hob, or high humidity from the fumes. The tile is well cleaned of grease and soot, easily tolerates the use of chemical detergents. Also tile resistant to sunlight. It is durable and has many different colors and textures, allows you to make it unique panels.
Main types
Types of tiles a huge set.
First, it differs in the materials from which it is produced.
- Ceramic tile. It is made from a mixture of clay and sand, with the addition of minerals, coated on top with glaze. Mainly used for laying on the walls.
- Porcelain tiles. Floor covering. Strong, resistant to attrition and blows.
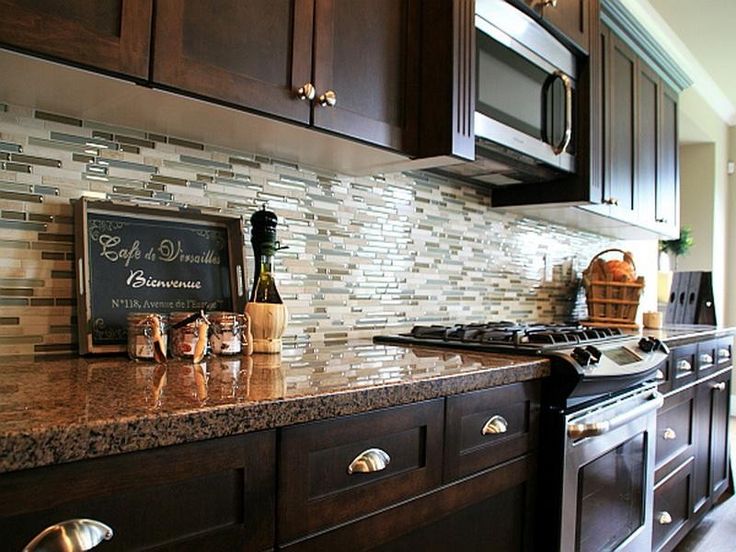
- Glass tile. It is made of glass, inside it is usually embedded leaves, dried flowers. Several of these tiles will be able to decorate the interior, especially if you correctly organize the lighting.
- PVC self-adhesive tiles. Modern vinyl material. It is made using stone powder, which makes it durable and puts it on a step above linoleum.
Ceramic tiles, in turn, has many varieties.
- Rectangular. Most often used to finish the apron.
- Square Also popular. It has various sizes.
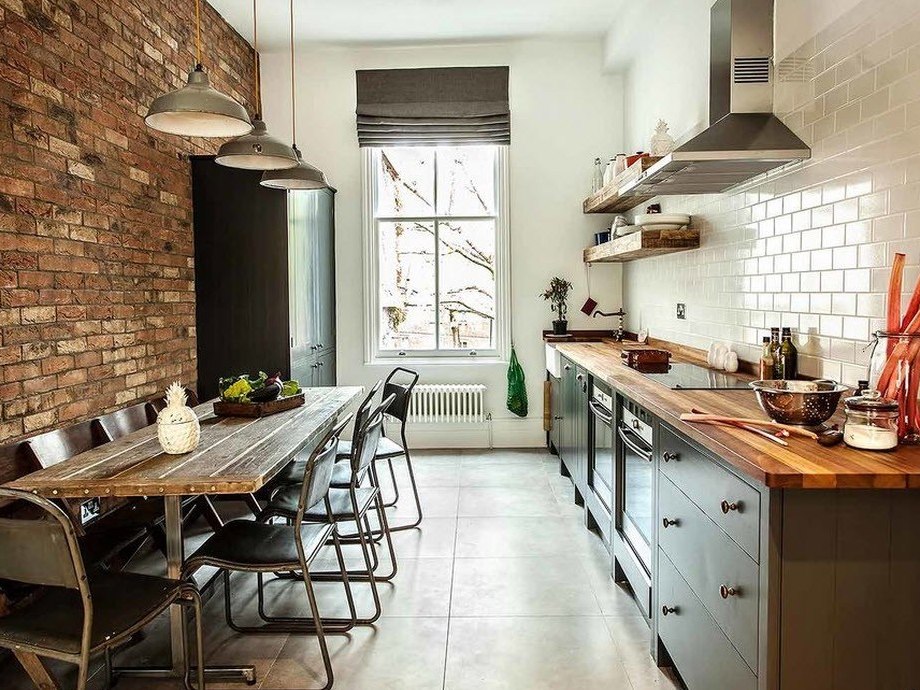
- Under the brick. It fits into a run-up, completely imitates a brick wall. Perfect for a loft-style kitchen.
- Fake diamond. A tile that has an unusual texture. Perfect for finishing the wall at the bar.Because of its texture it is not suitable for an apron, as it is difficult to wash it.
- Under the skin. Reptile skin will add glamor to the interior of the kitchen.
- Under the fabric. Modern technologies have helped to transfer the texture of various materials, which, with the right styling, can hardly be distinguished from the flaps of fabric.
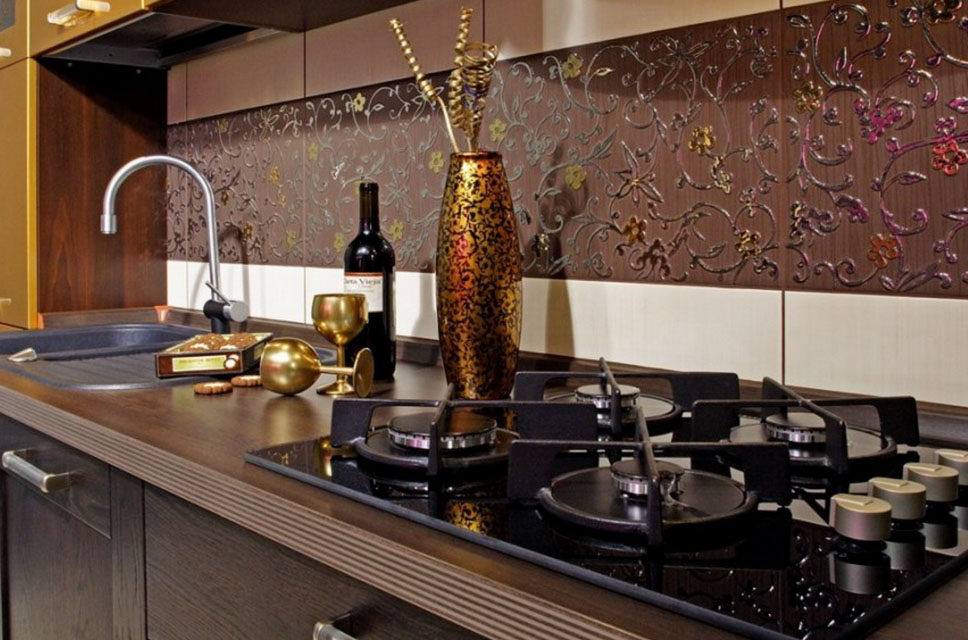
- Metallized. Mimics gold, brass, copper, and other metals. Perfectly fit into the high-tech style, highlighting its manufacturability.

- With crystals. A great option for an exclusive design - tiles with artistic painting inlaid with crystals. Will add shine and chic to your kitchen.
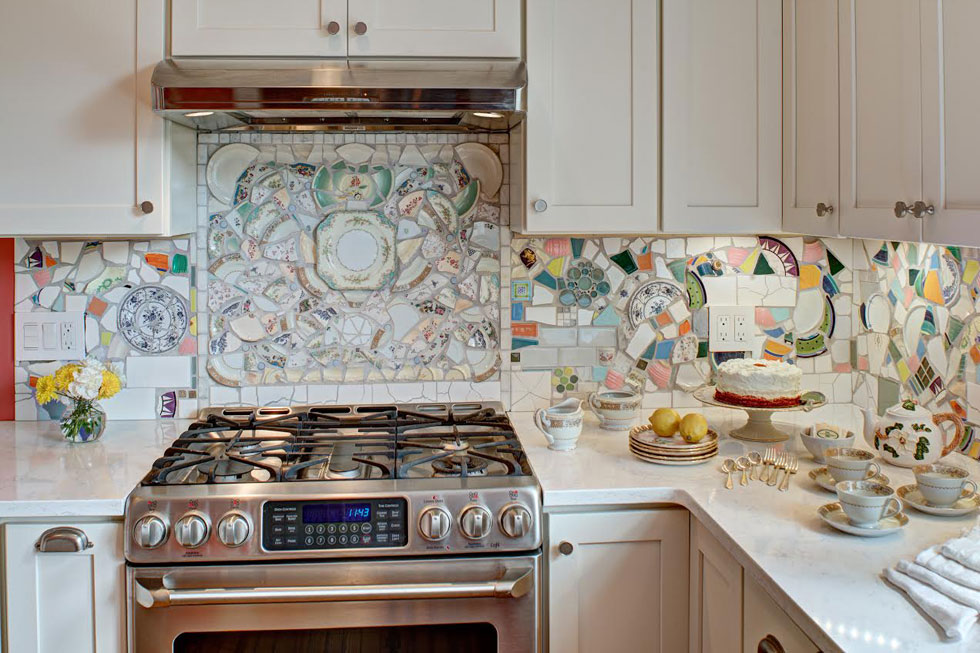
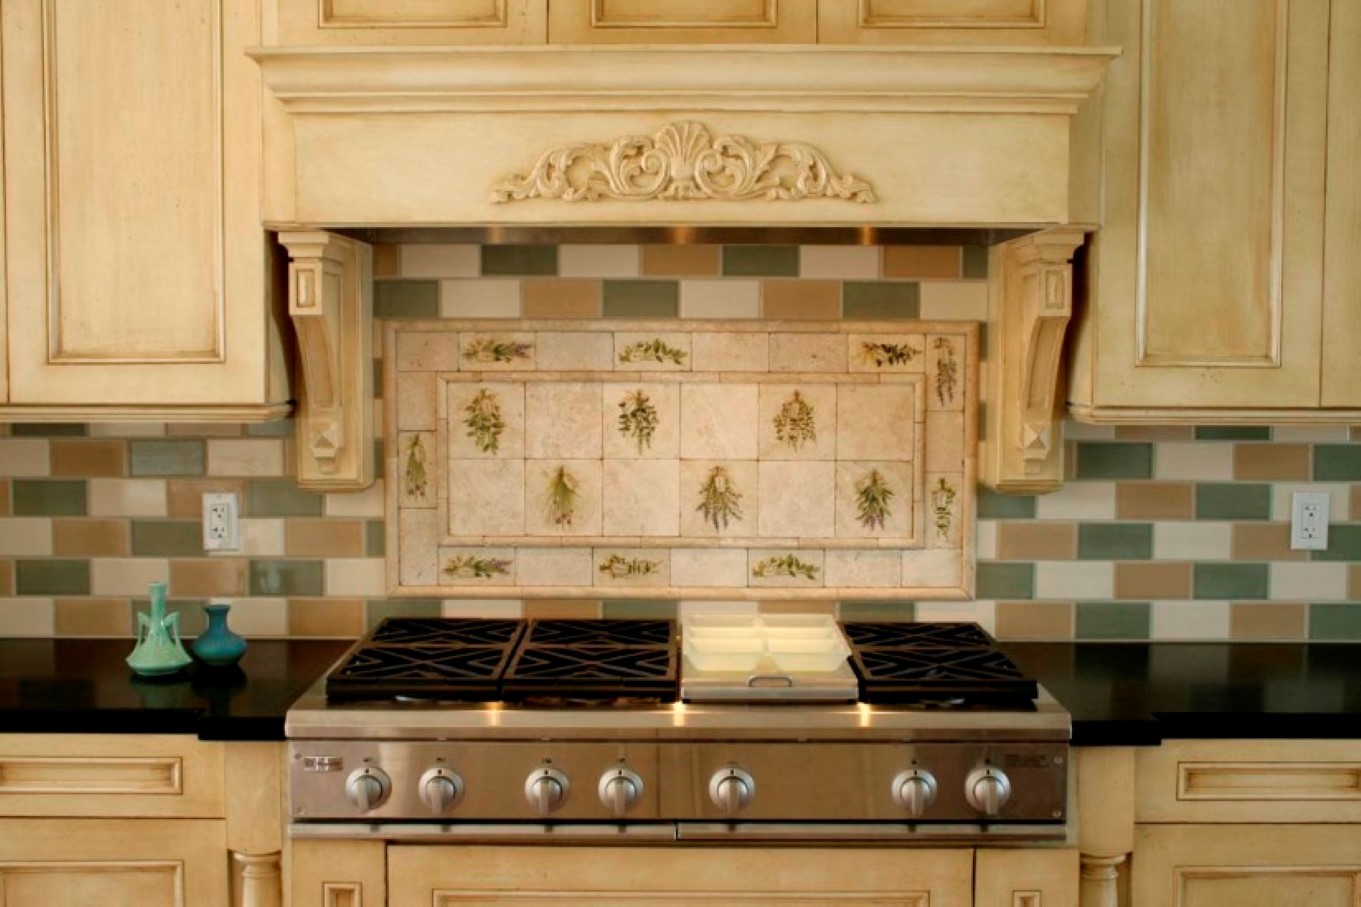
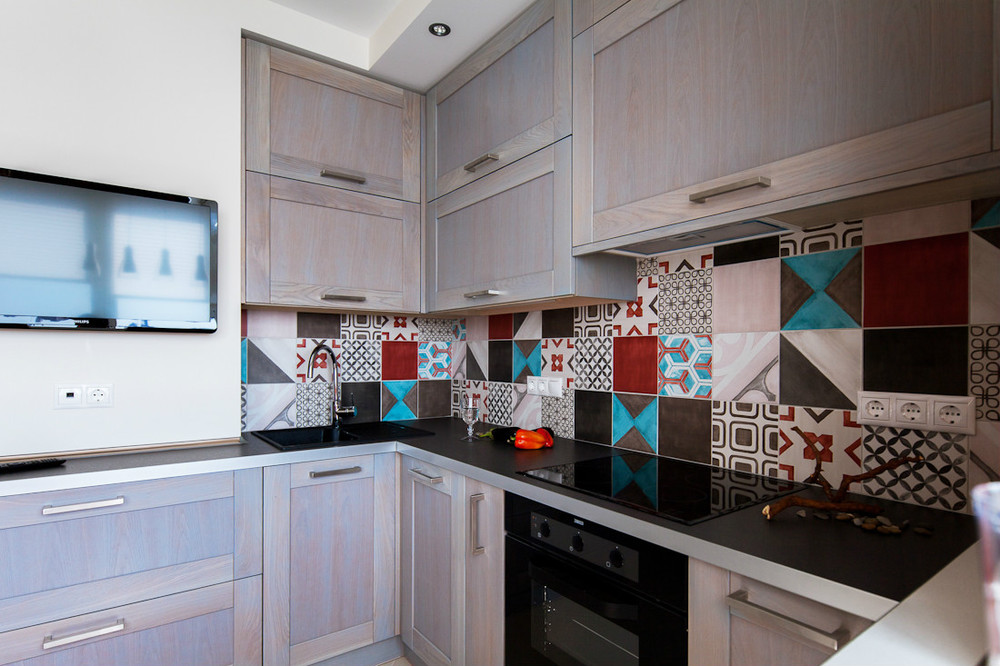
- Mosaic - small tiles, which will allow you to create a unique panel on your kitchen.
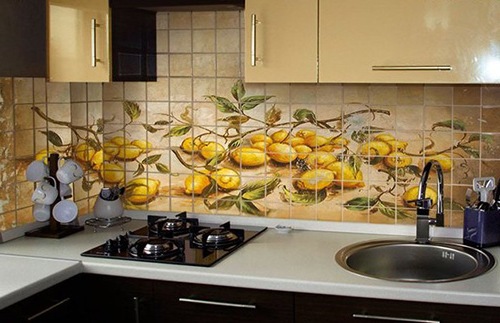
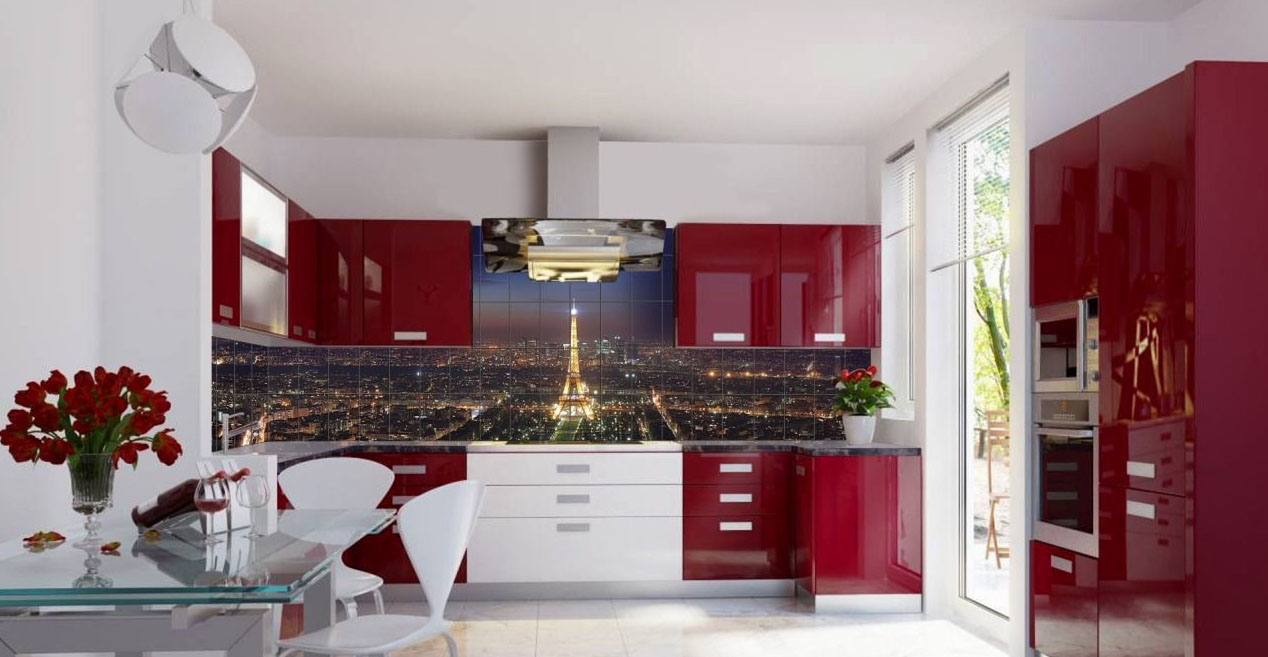
- Phototile. It will give a modern look to any interior. Vivid colors and realistic paintings add originality to the design.
- Figured tiles, usually small. With it, you can create an interesting coating that will decorate the wall of your kitchen. It is trapezoidal, round or in the form of polygons. It is not easy to put it, therefore this work is better to be entrusted to a professional master. Also, ceramic tile has several options for firing and glazing.
- Single glazed unglazed tile (clinker). Most often it is used as a floor covering, in the majority has no drawings.
- Double glazed glazed tiles. This method has been used since ancient times. The tile is molded, fired, then coated with glaze and fired again. This tile is usually used only for cladding walls, as it is rather fragile.
- Single fired glazed tiles. This is a modern technology that allows the tiles to be fired once with glaze. This method makes the tile more robust, which allows you to lay it on the floor.

All ceramic tiles have a matte or glossy finish. Everyone will be able to choose something for their interior.
Styling options
Laying tiles in the kitchen in several ways. They all have their own characteristics.
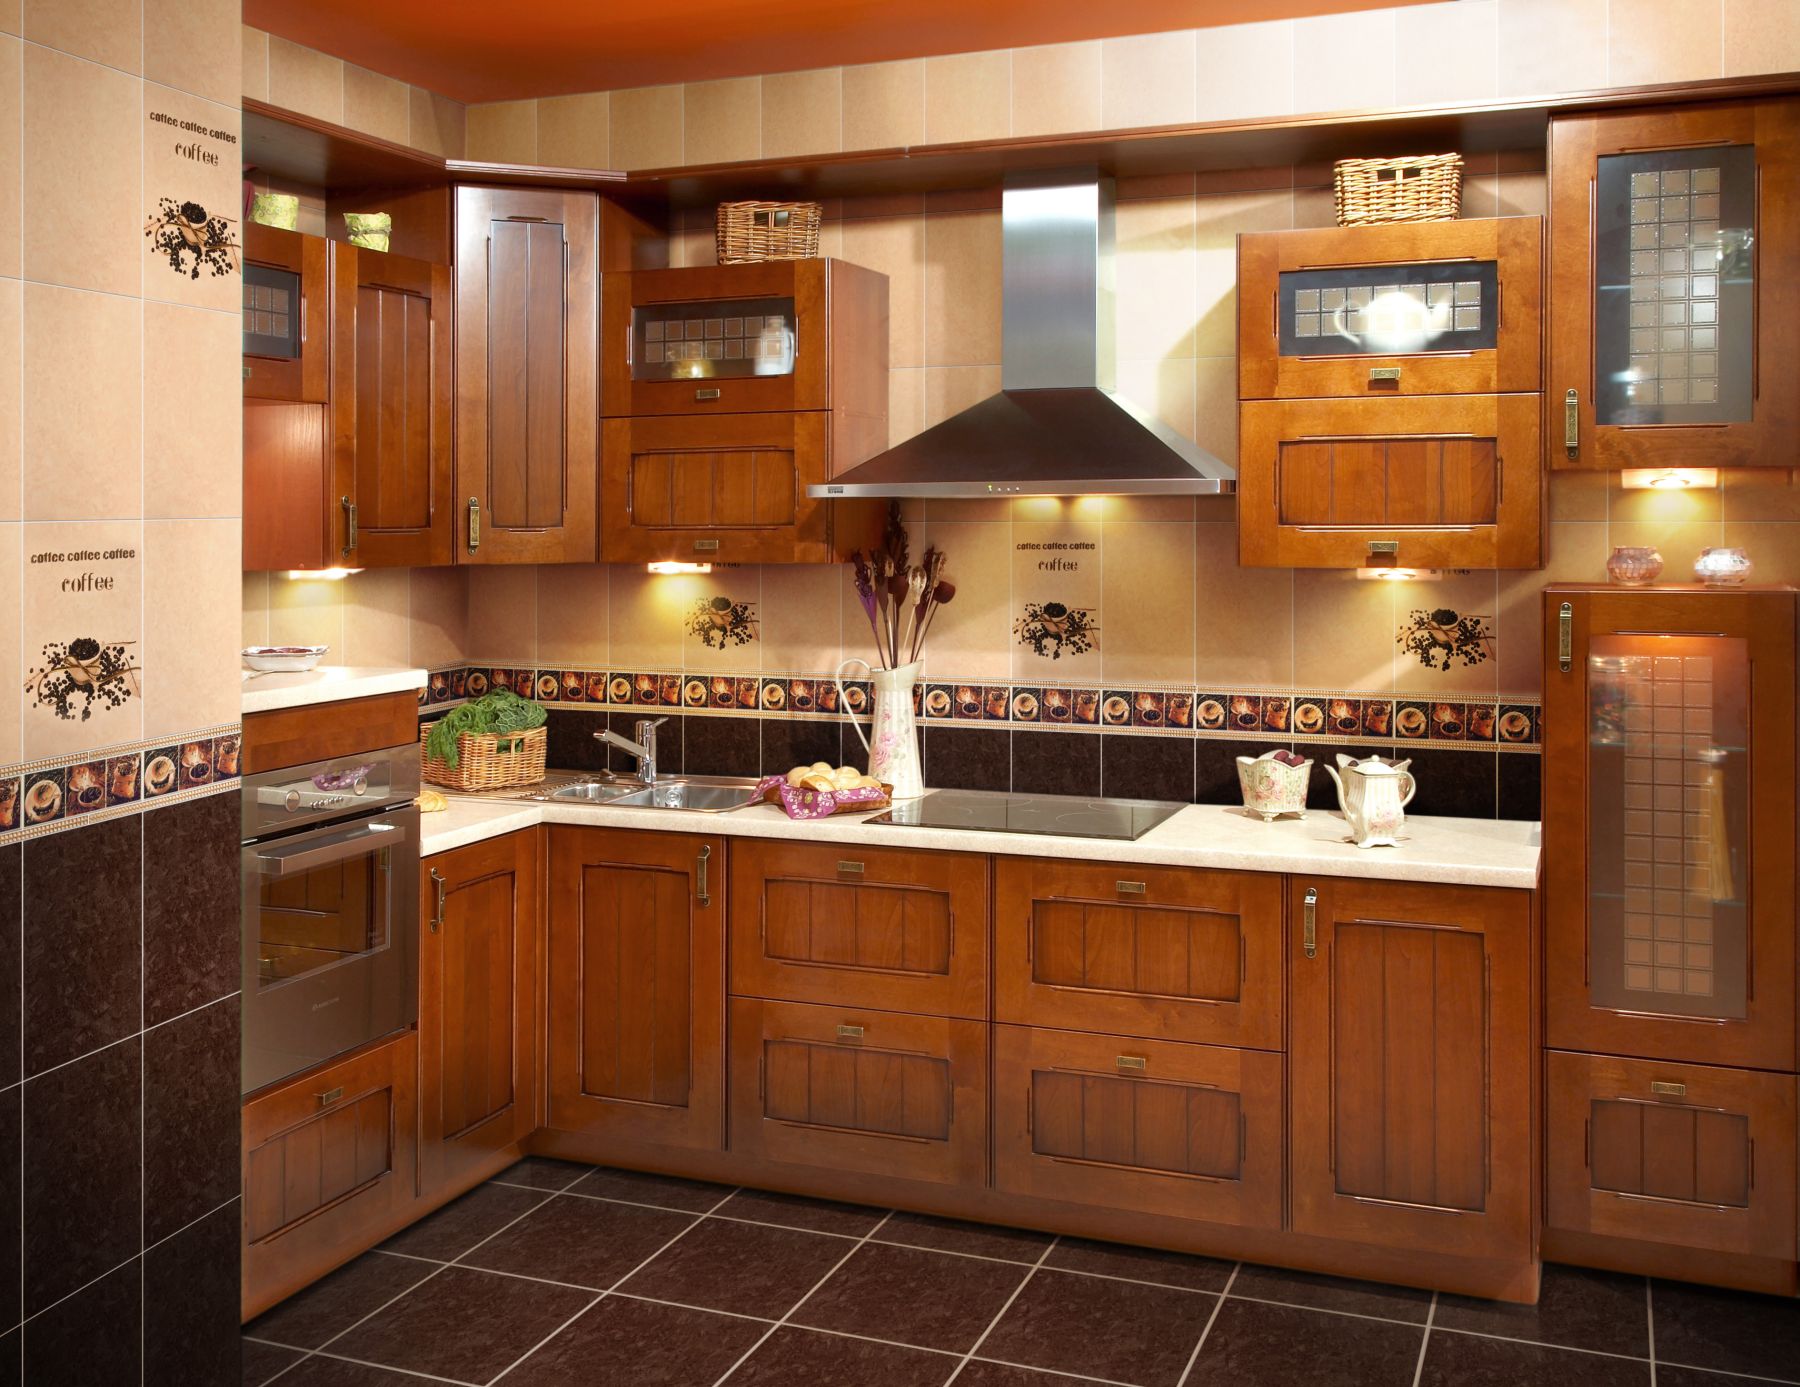
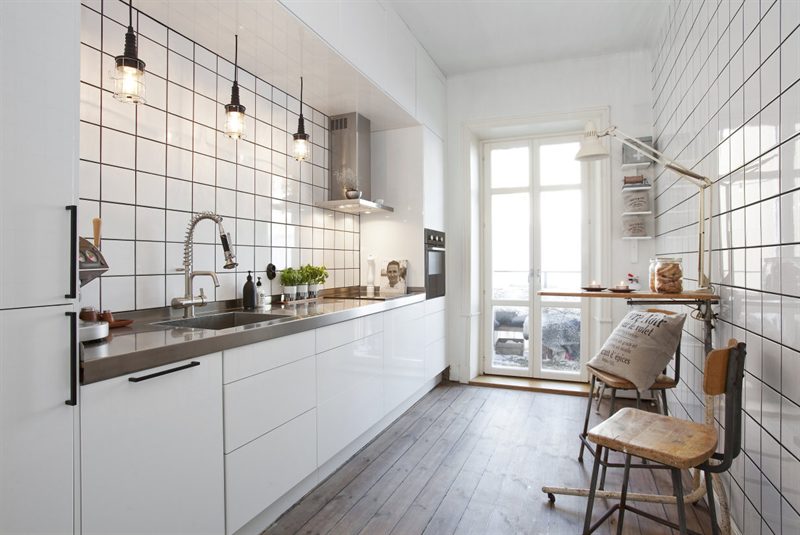
- The classic option. This method of laying the most simple and economical. There is almost no need to cut it. A square or rectangular tile is used, which is laid out in even horizontal rows, parallel to the floor. To make the wall look unusual, you can glue the borders, lay out panels, use other decorative elements.
- Laying on the diagonal. For this method it is necessary to lay the tile diagonally. Only square tiles are suitable here. The diagonal method of laying looks much more interesting than ordinary horizontal rows, but this increases the consumption of material, since it is necessary to cut the edges at the end of the laying area. This fact must be considered when calculating the required number of tiles.
- Mixed. Very interesting compositions can be created by applying various types of laying on the wall. Of course, in this case the tile consumption will be increased, but if you want to glue the tile in this way, you will get an unusual, unique look of the walls in the kitchen.
- In the run. In this way, tiles are usually laid imitating a brick or stone. But you can do the same with ordinary rectangular or square tiles.
Necessary tools and surface preparation
Before laying tile it is necessary to conduct a series of preparatory work.
Initially, we will define the tool that you will need to do the tile yourself:
- metal ruler;
- building level;
- pencil;
- rubber mallet;
- tine spatula;
- small spatula with a straight edge;
- tile cutter;
- beacons for setting the same gap between the tiles.
Surface leveling
Initially, it is necessary to level the surface on which the tile will be laid. This is necessary in order to lay the tile as even as possible, without bumps and falling.
Before leveling, it is necessary to prime the wall, wait until the composition dries, then wipe all irregularities with putty and apply a finishing coat of plaster. When all is well, grab again with a primer. It is very important to align the corners, especially if they are on the open spaces of the wall, since the unevenness of the corners will cause the tile to be cut at an angle, and against the background of even rows of inter-tile space, this will be very noticeable.
Markup
After the wall has become perfectly smooth, it is necessary to mark up for laying tiles.
If you lay out only an apron, then initially draw a horizontal line that marks the bottom of your masonry. We check this line with the help of construction level. This must be done, since the floor and ceiling may be far from horizontal. Then lay tiles in the lower corner and draw a line from it up and to the side.
If the tile fits on the entire wall, then you need to start from the bottom corner. We glue the tile to it, and then draw lines from it, as well as when laying the apron.

Glue preparation
To prepare the glue, you need to buy the finished mixture at any hardware store. Its composition is not different, so you can not adhere to much advertised brands, and buy a more budget option.
First, pour the water. How much, you need to read the instructions, but usually it is 6-8 liters per bag of 25 kg. The quality of the resulting solution is easy to determine how much water is needed. Too thin solution will not hold the tile, and too thick it will be difficult to mix and not stick to the surface.
After the first time you have mixed the glue, wait 5-10 minutes, then mix the glue again. This must be done because, when in contact with water, the binders quickly set, mixing the solution again, you break the structure and it will be in optimal condition for about 20 minutes.
When the glue hardens, you can not add water, you can only mix it.
Piling
Remember that when laying tiles it is necessary to strictly observe the horizontal and vertical, as well as to strictly observe the pattern of inter tile space.
We lay out the first layer of the tile, completely observing the horizontal, if the floor is uneven, you cut the tile, then this difference can be closed with a plinth.
Laying tiles is as follows.
Apply the layer on the wall on an area larger than the size of the tile, using a carved spatula. Use a small spatula to apply some mortar to the tile. Strictly adhere to the marked marking lines. We check that all the tiles are in the same plane with the help of a building level, and if this condition is violated, we correct the situation with a rubber hammer
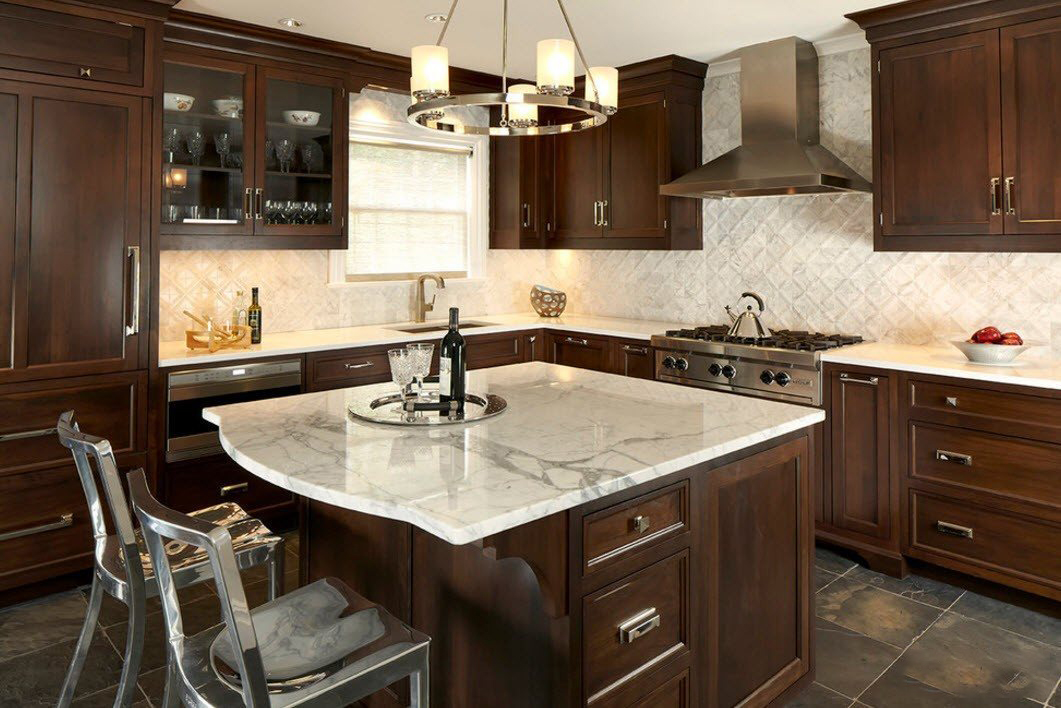
Walls
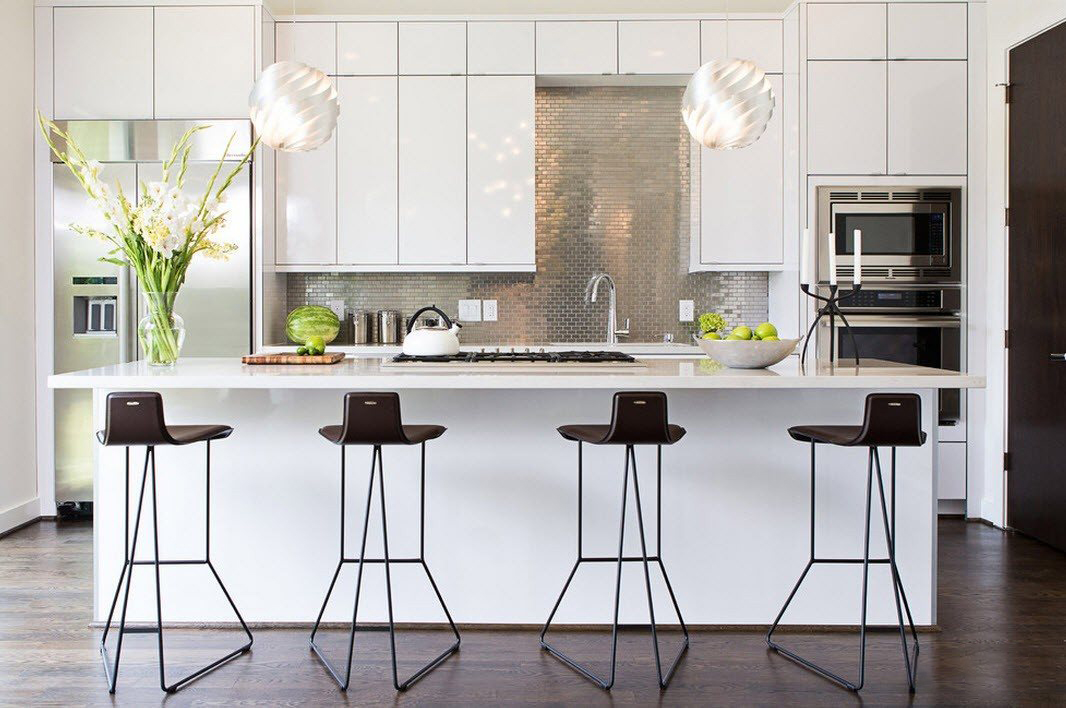
If you choose tiles on the wall, you can choose any material with any texture. Here it is not necessary that the tile is resistant to high temperatures and humidity. Need to pick up for the interior. The tile should be in harmony with the curtains and the rest of the interior in the room.
To glue the tiles, as we have said, it is necessary from the bottom corner, rising to the very top.
The masonry should be neat, because, especially in dim light, all the flaws become visible. Therefore, if you doubt that you can perfectly stick tiles, invite specialists.
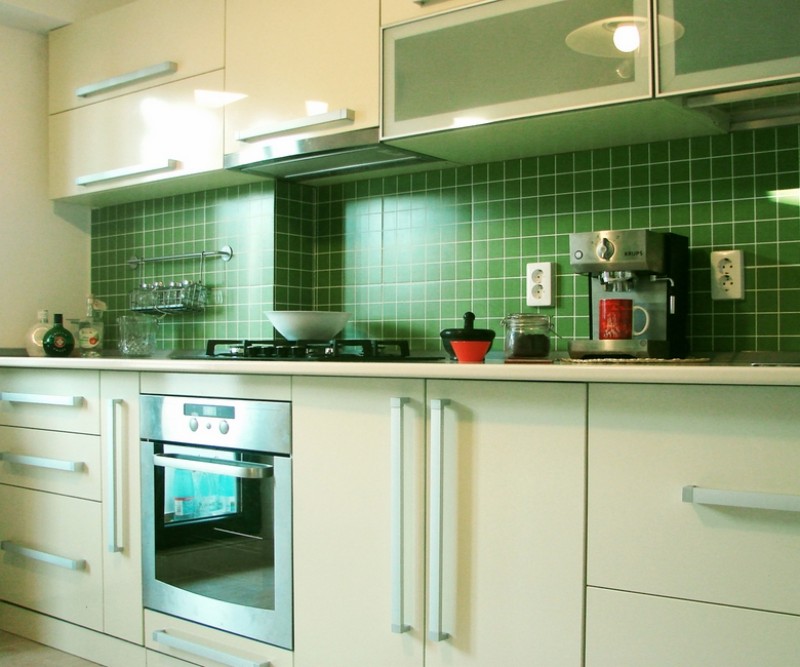
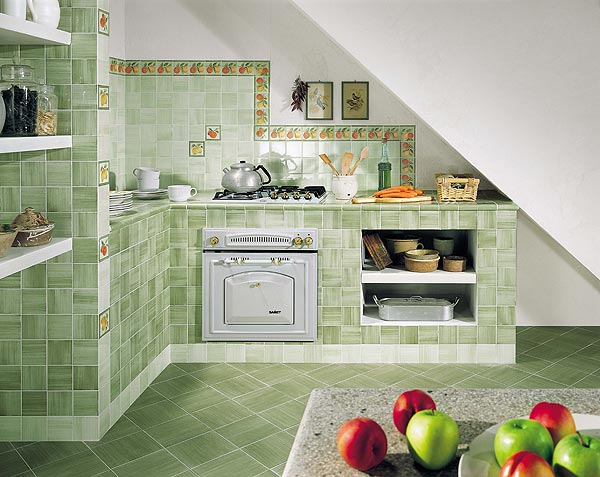
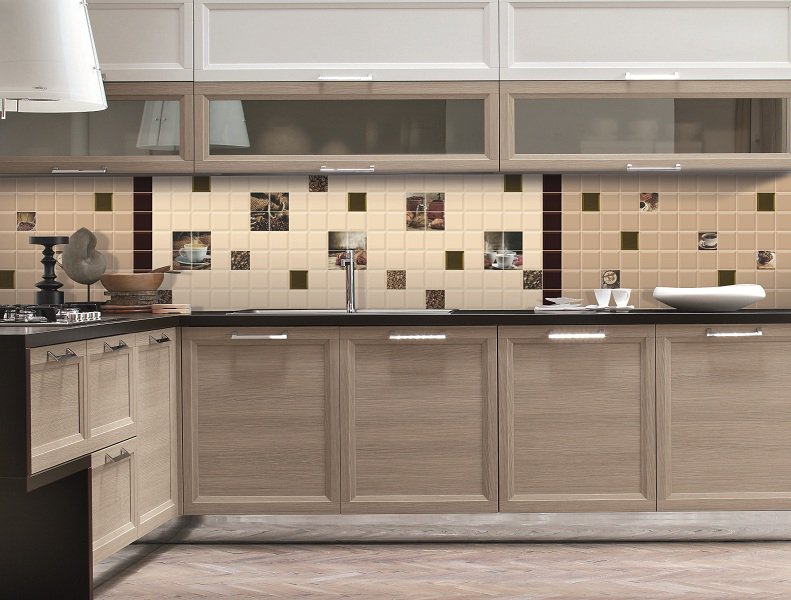
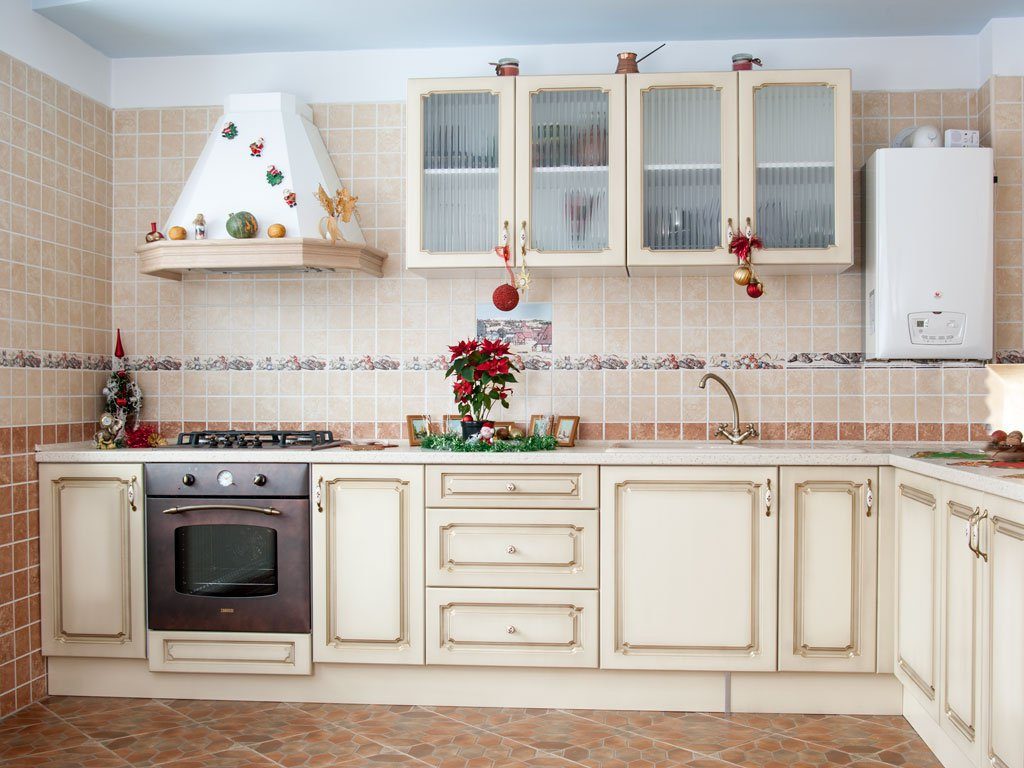
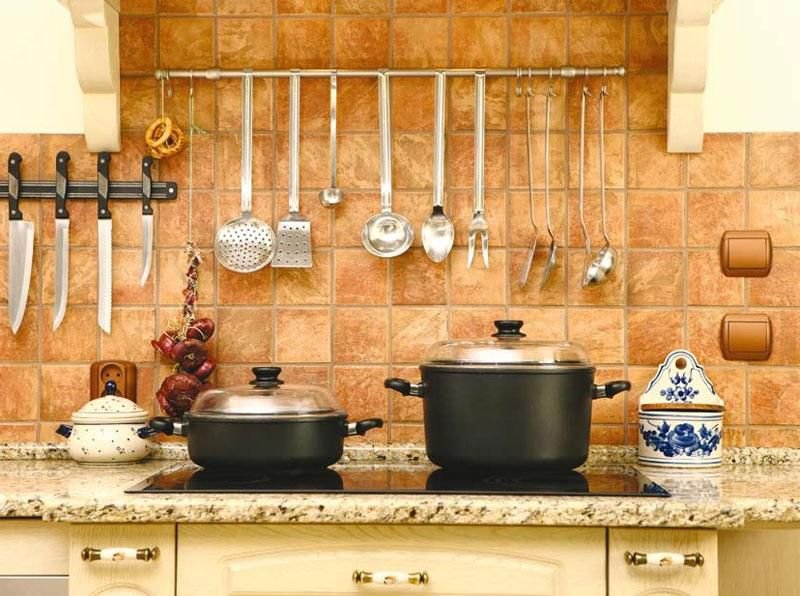
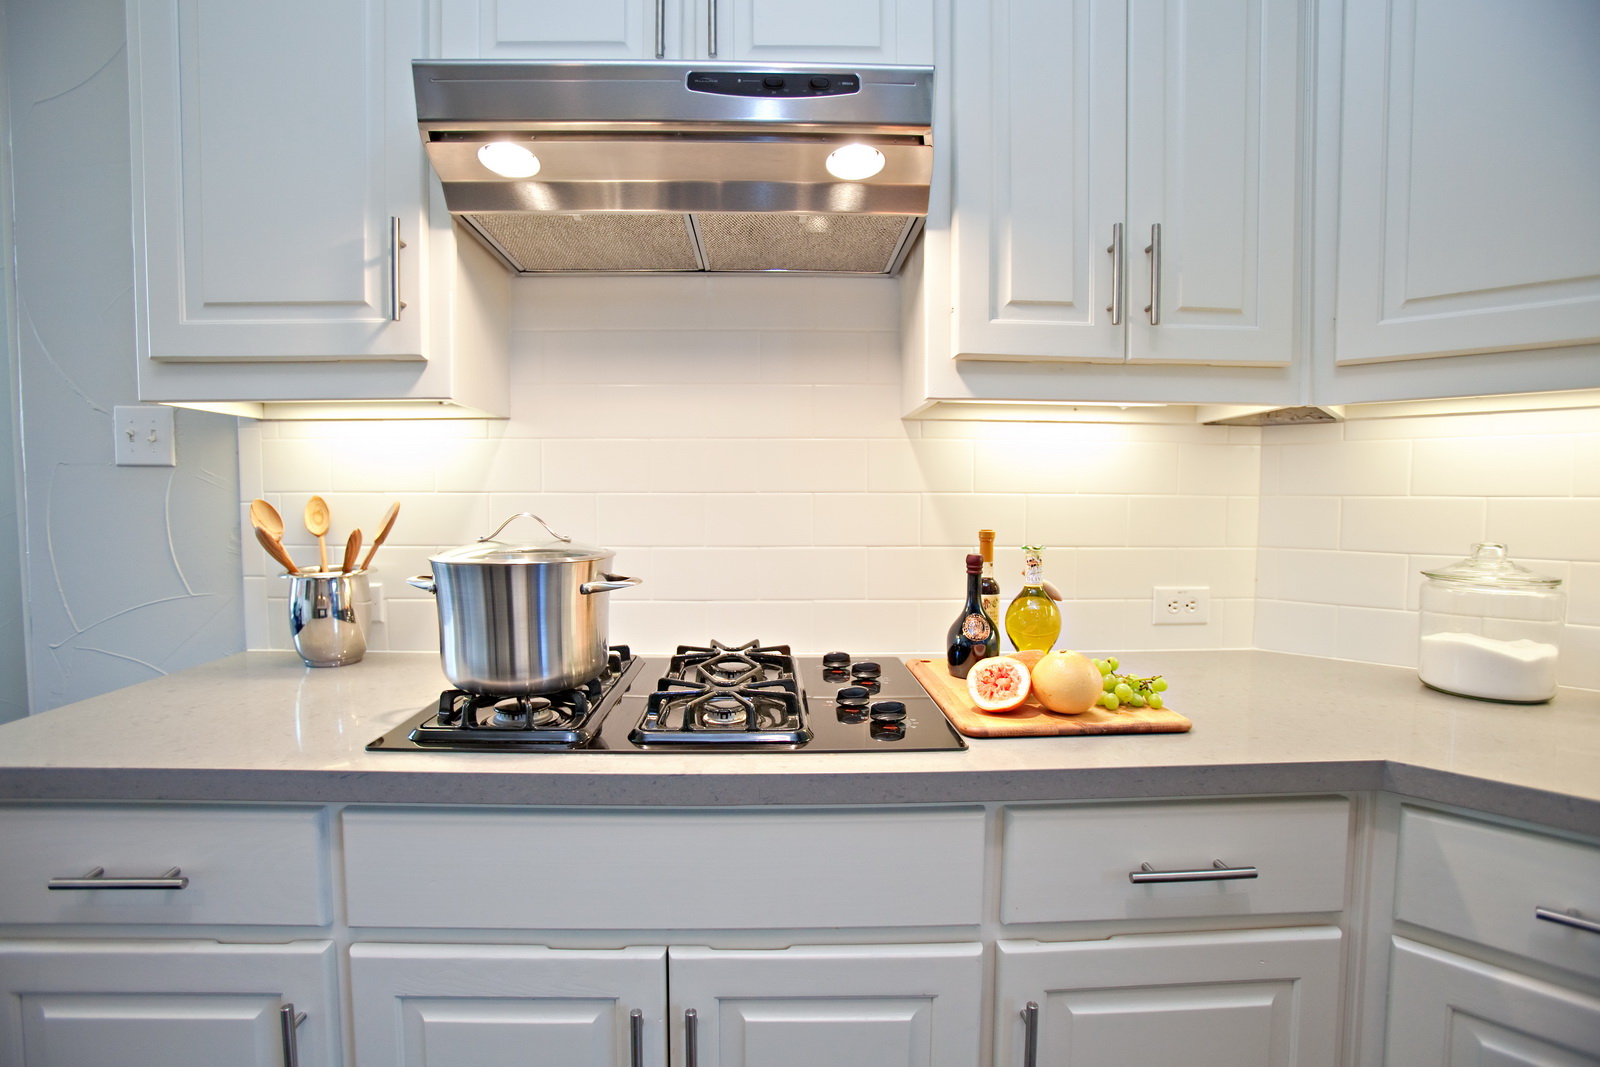
Apron
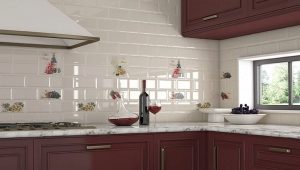
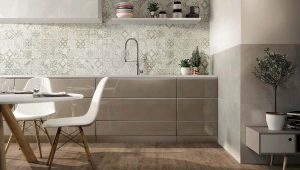
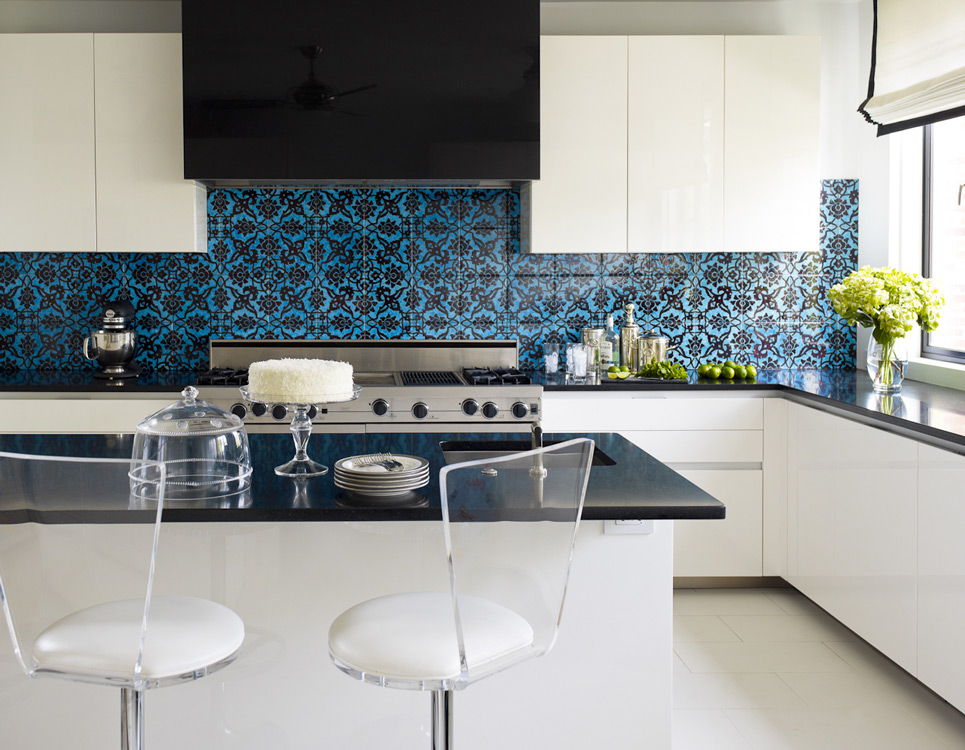
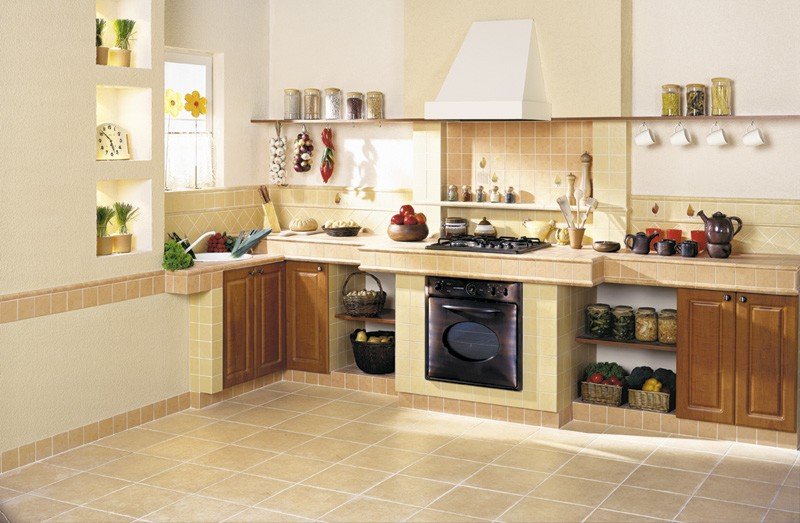
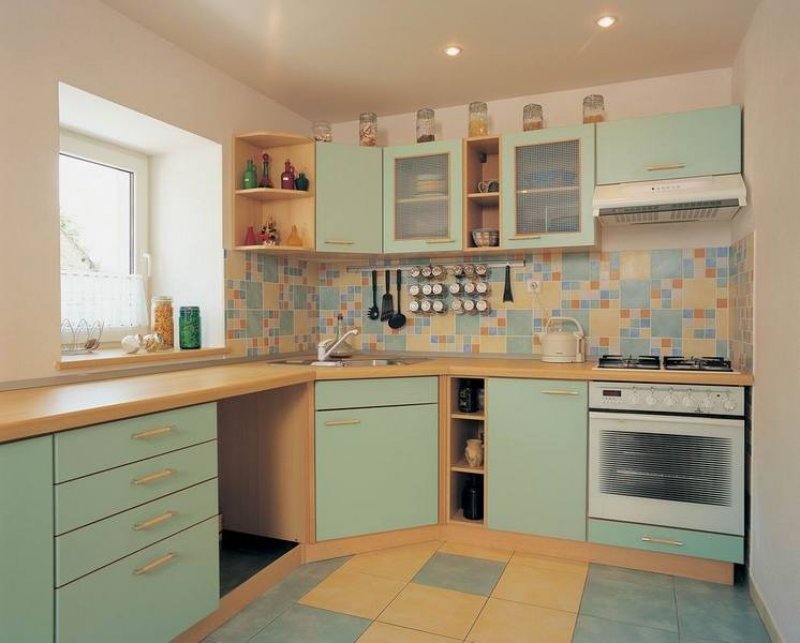
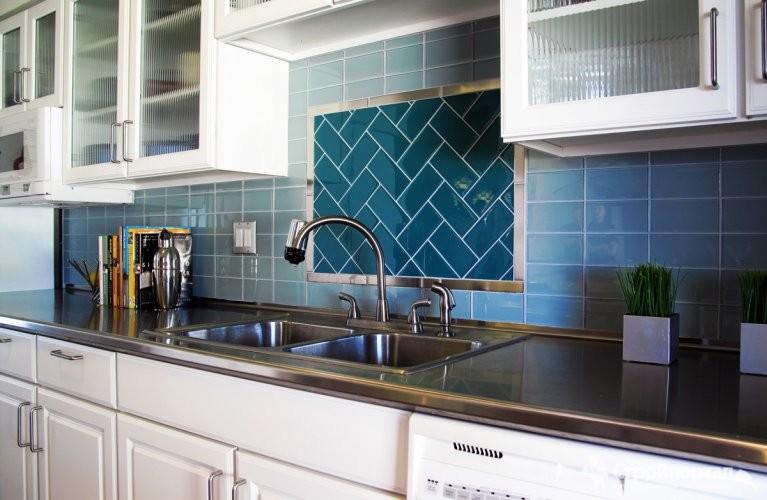
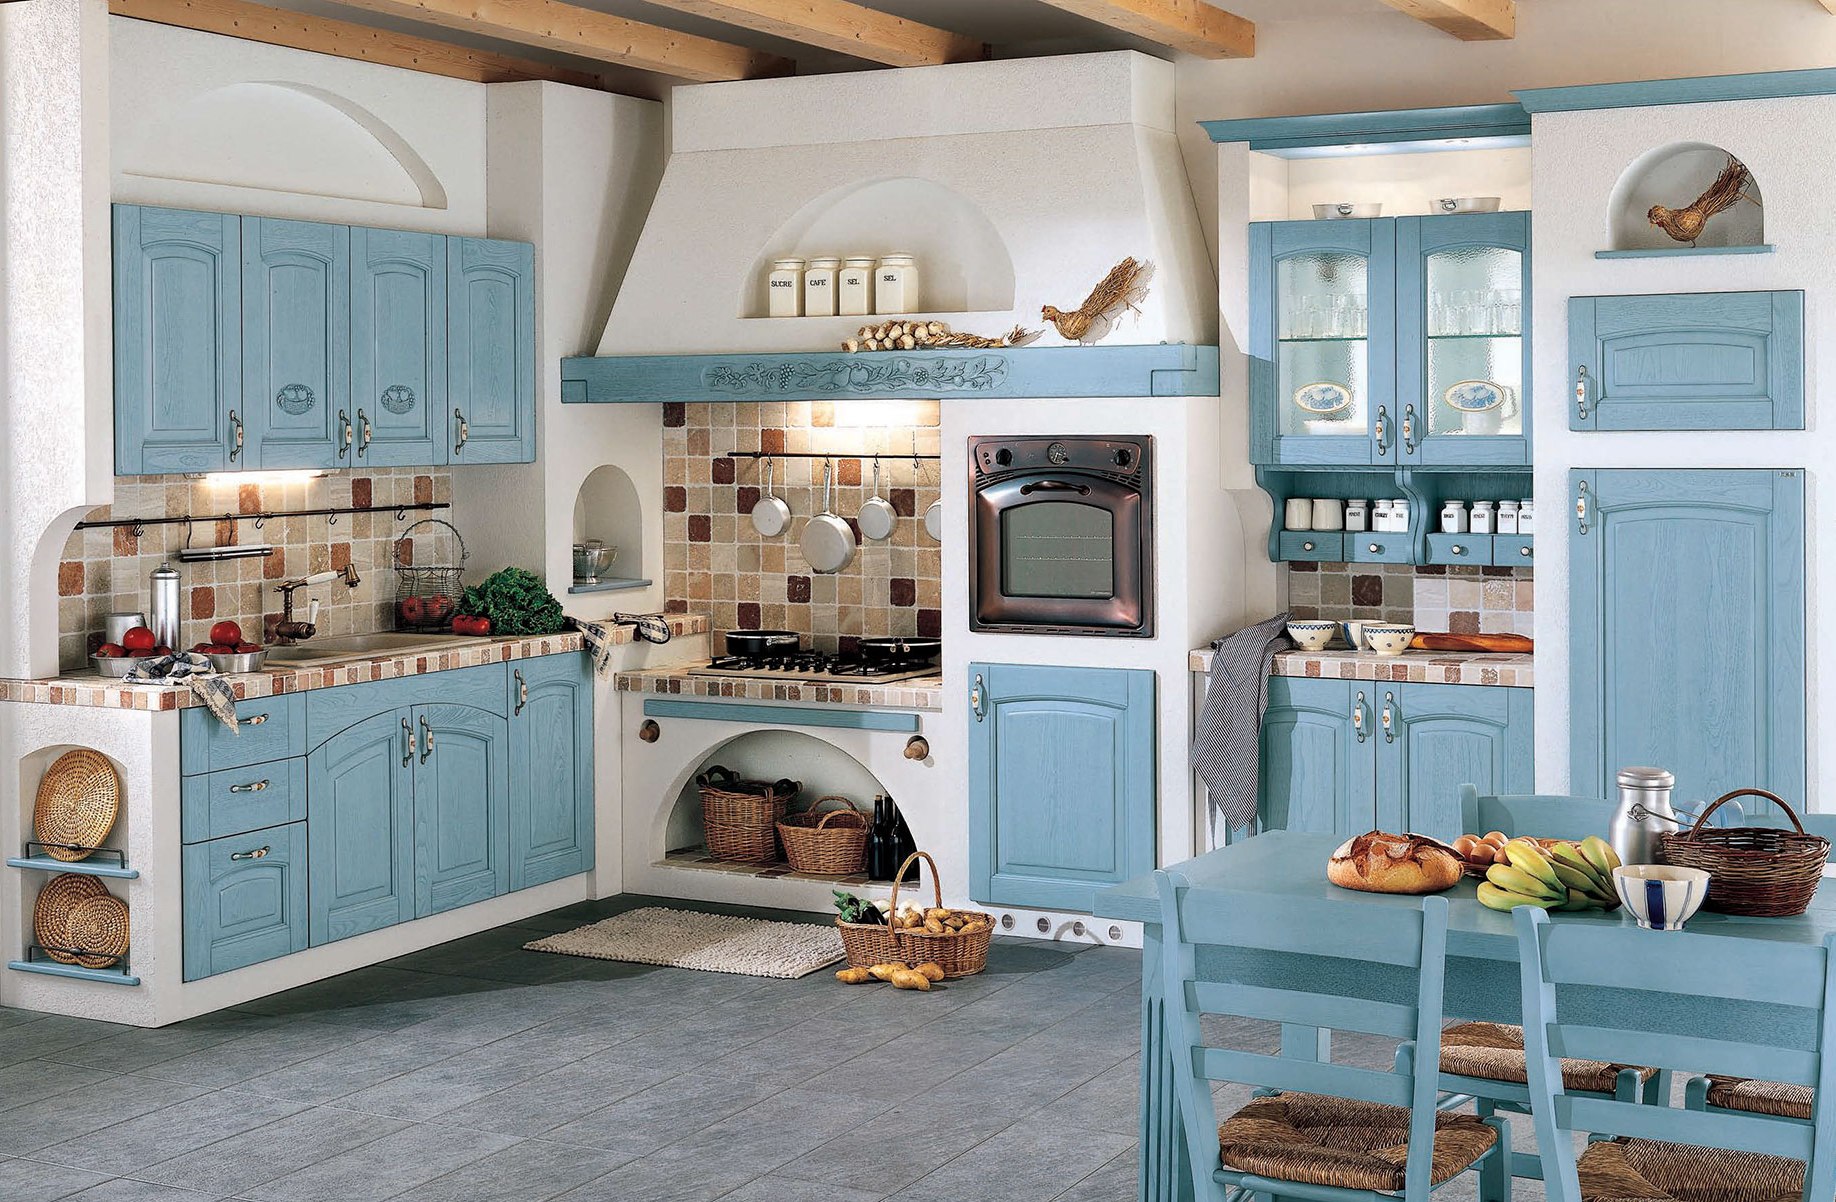
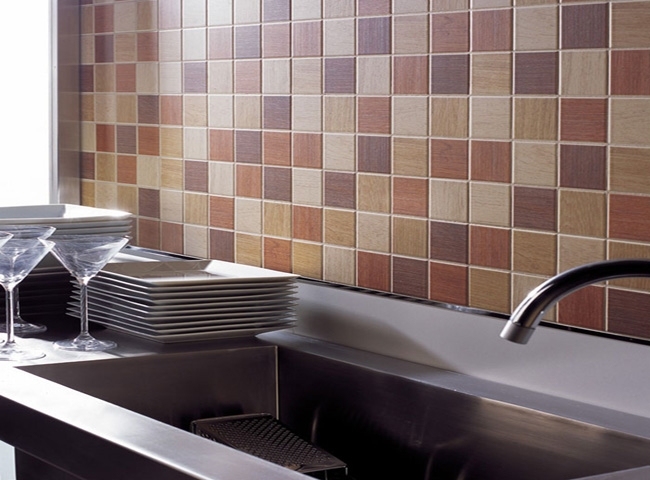
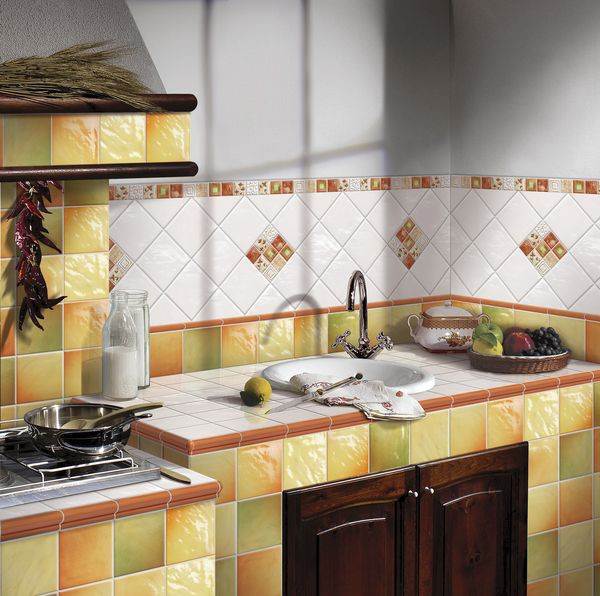
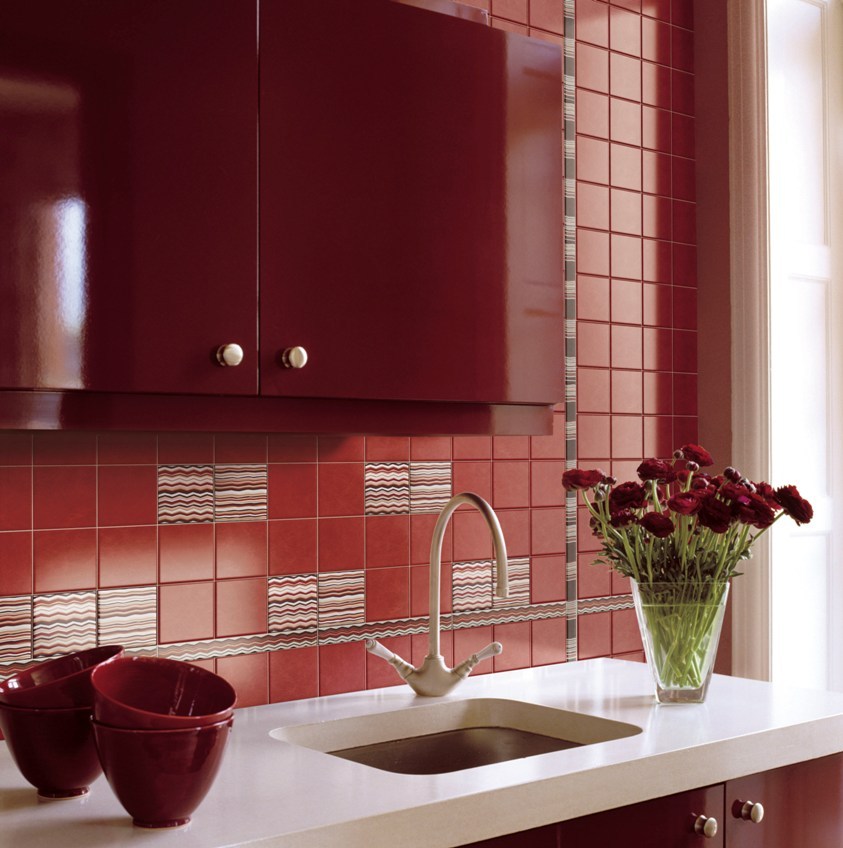
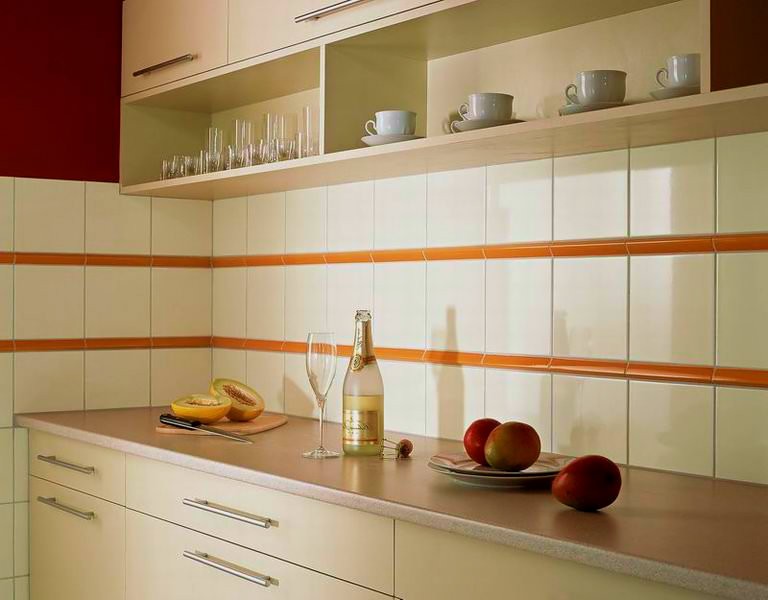
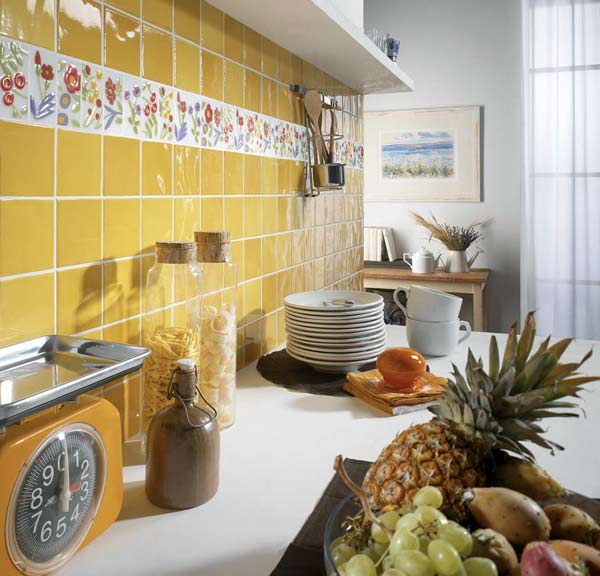
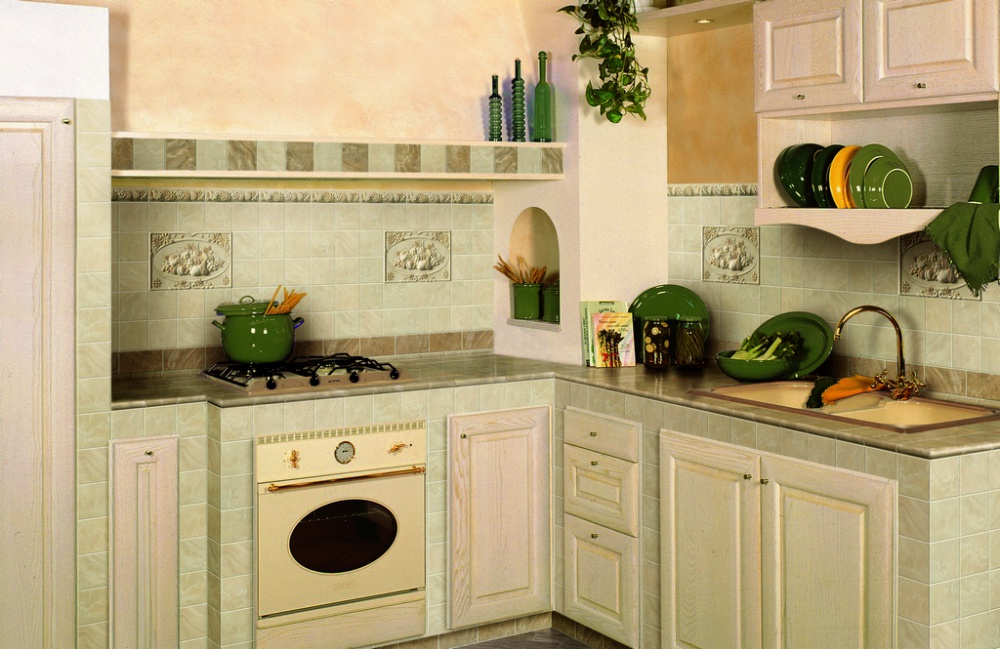
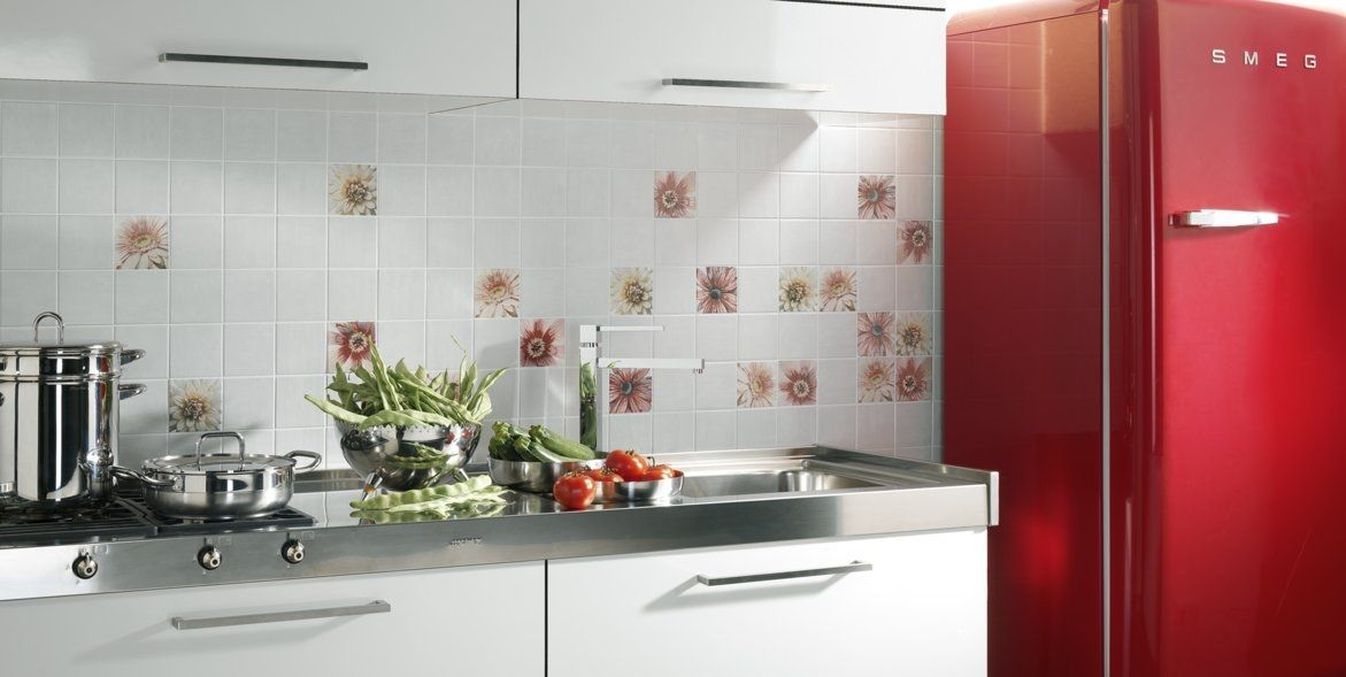
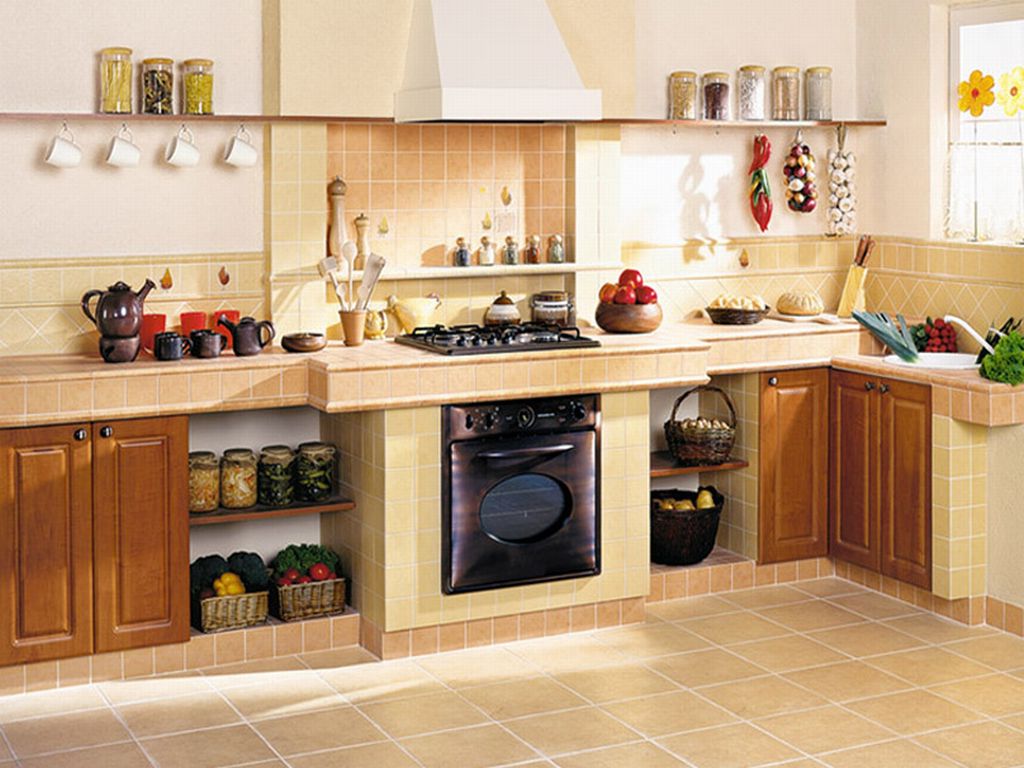
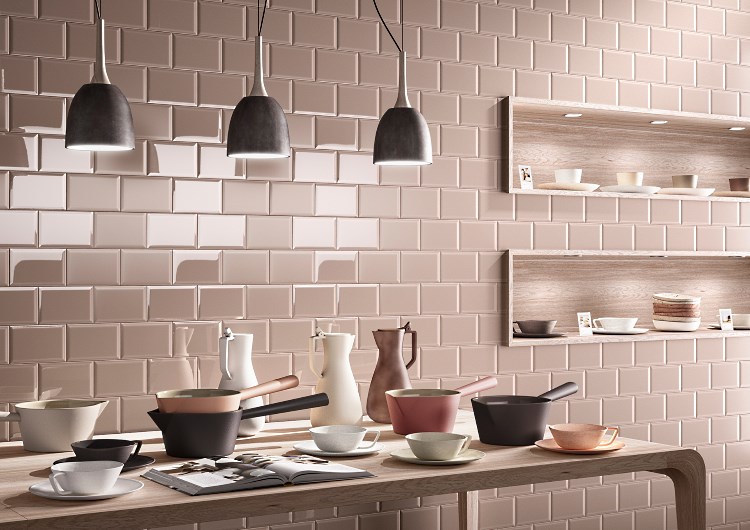
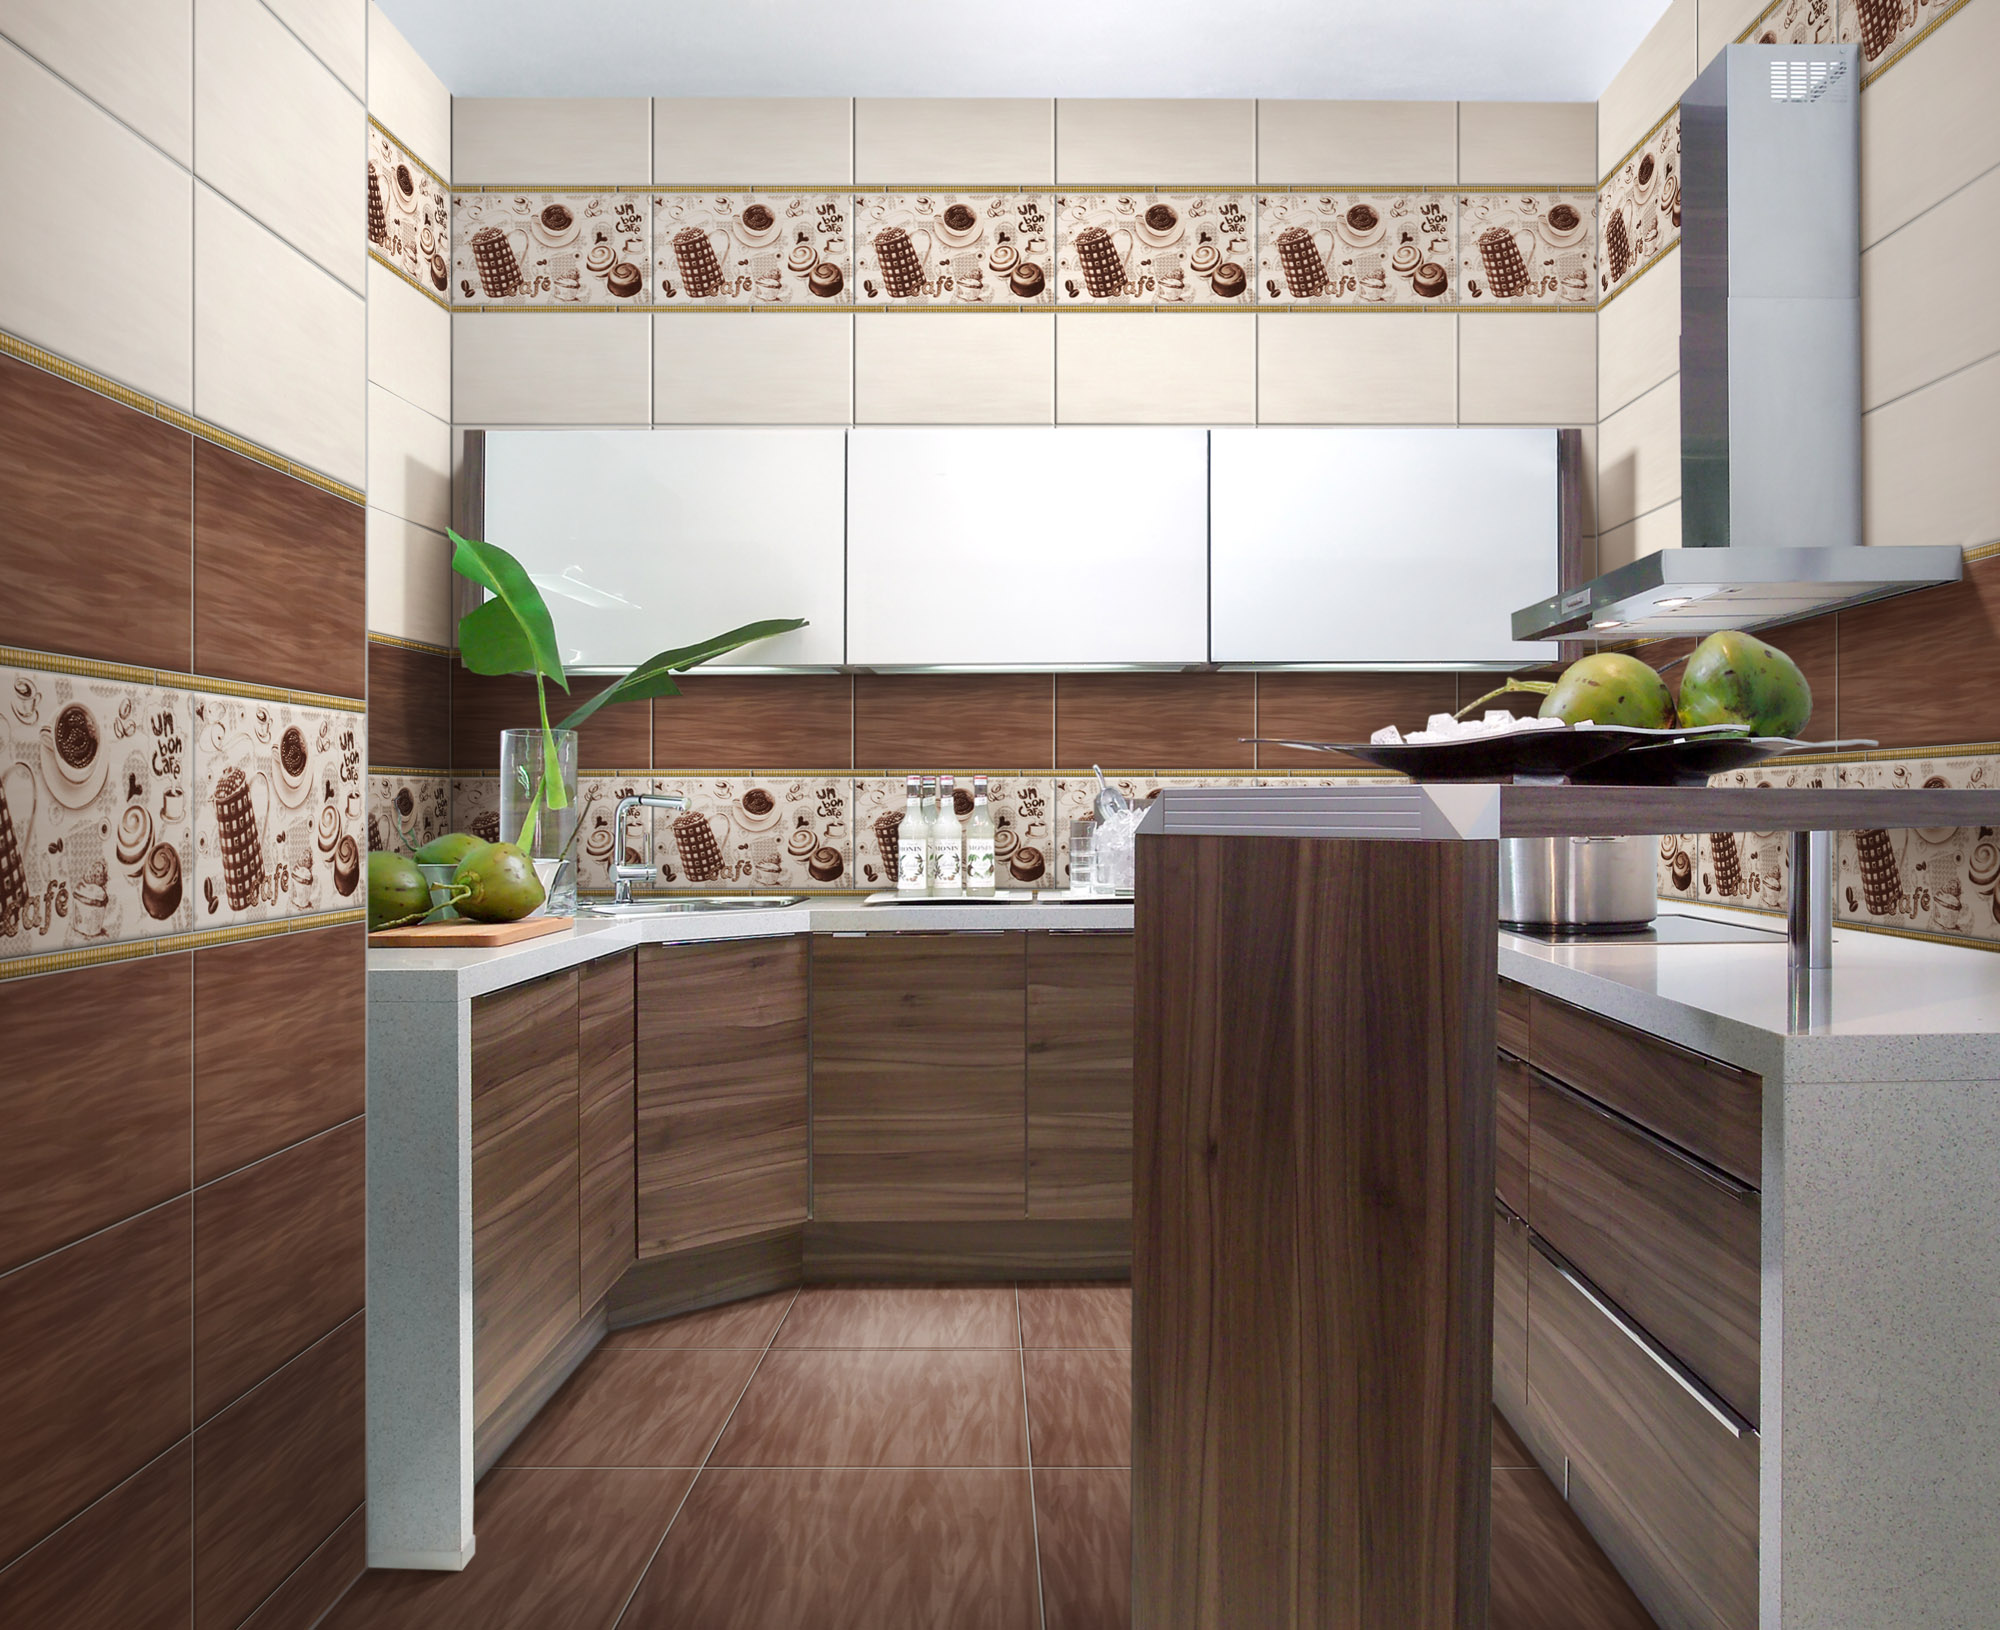
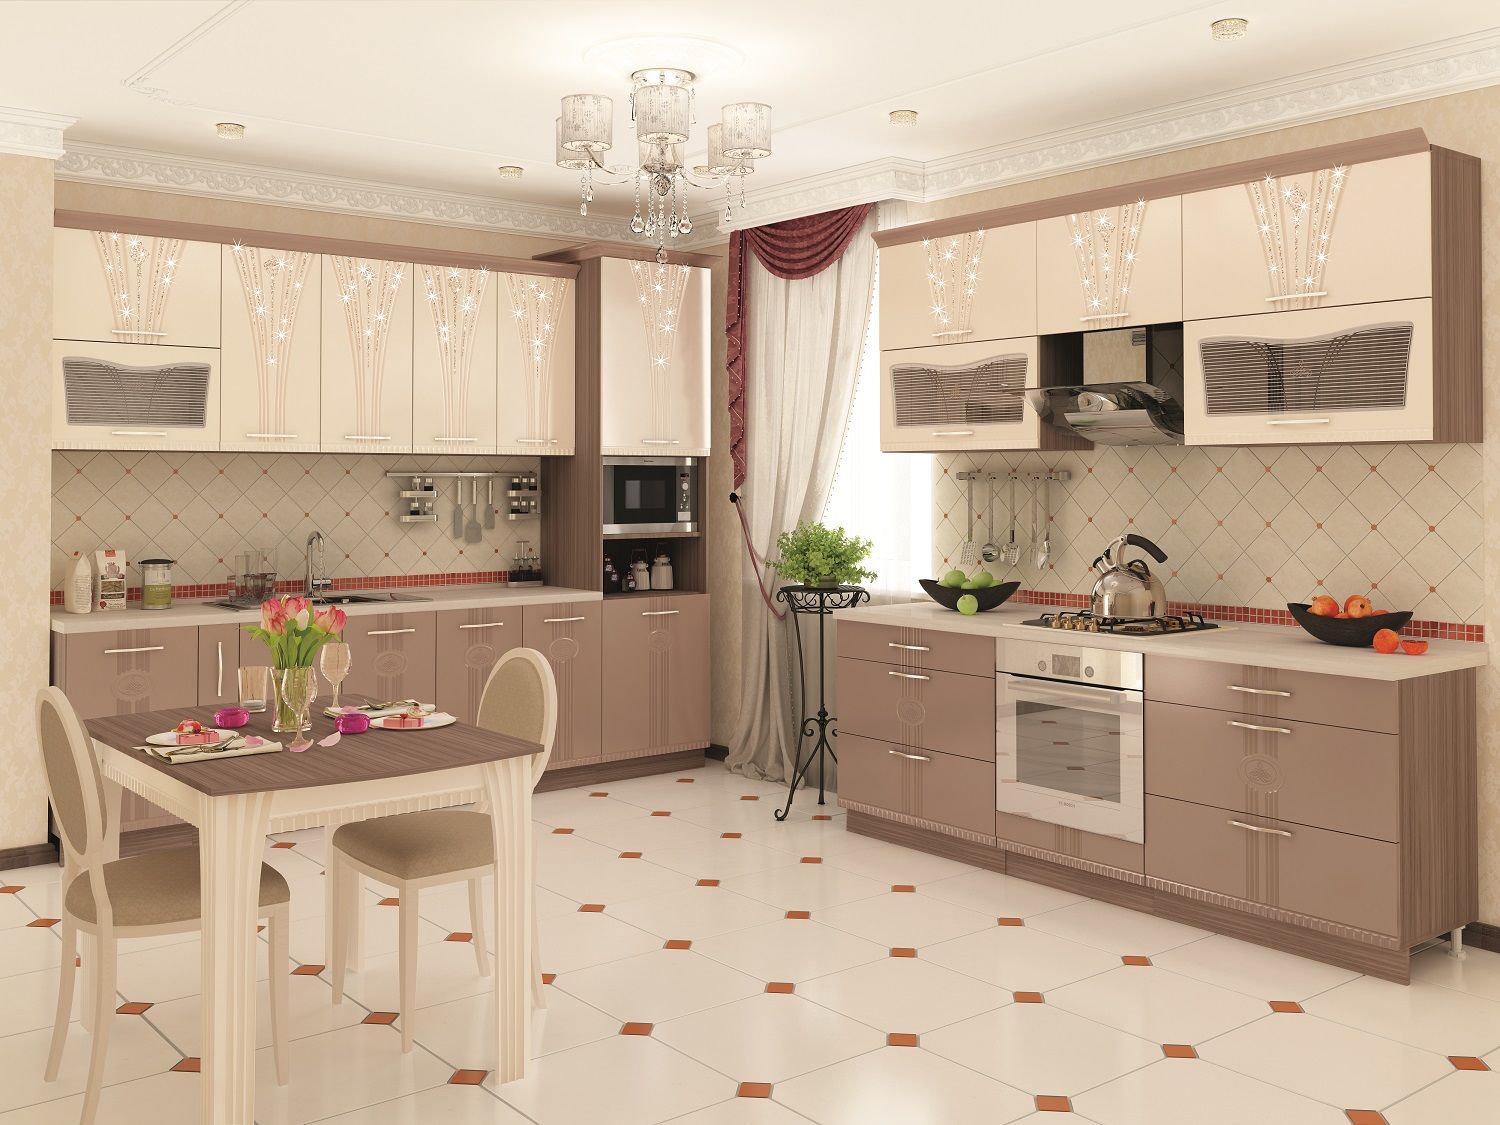
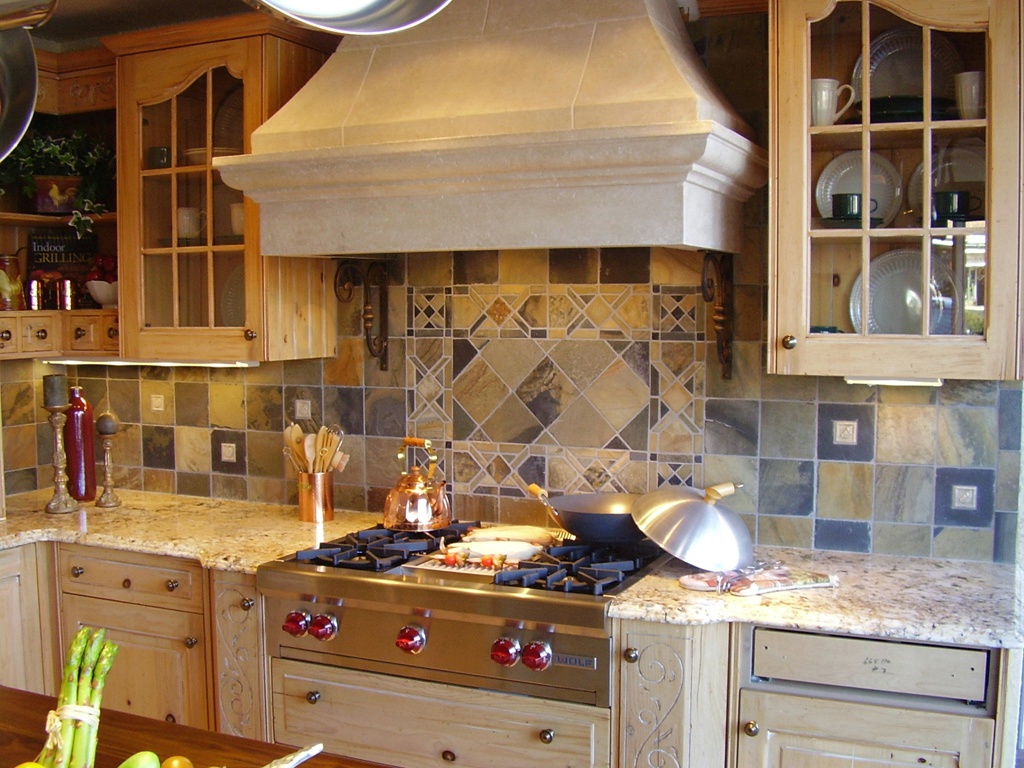
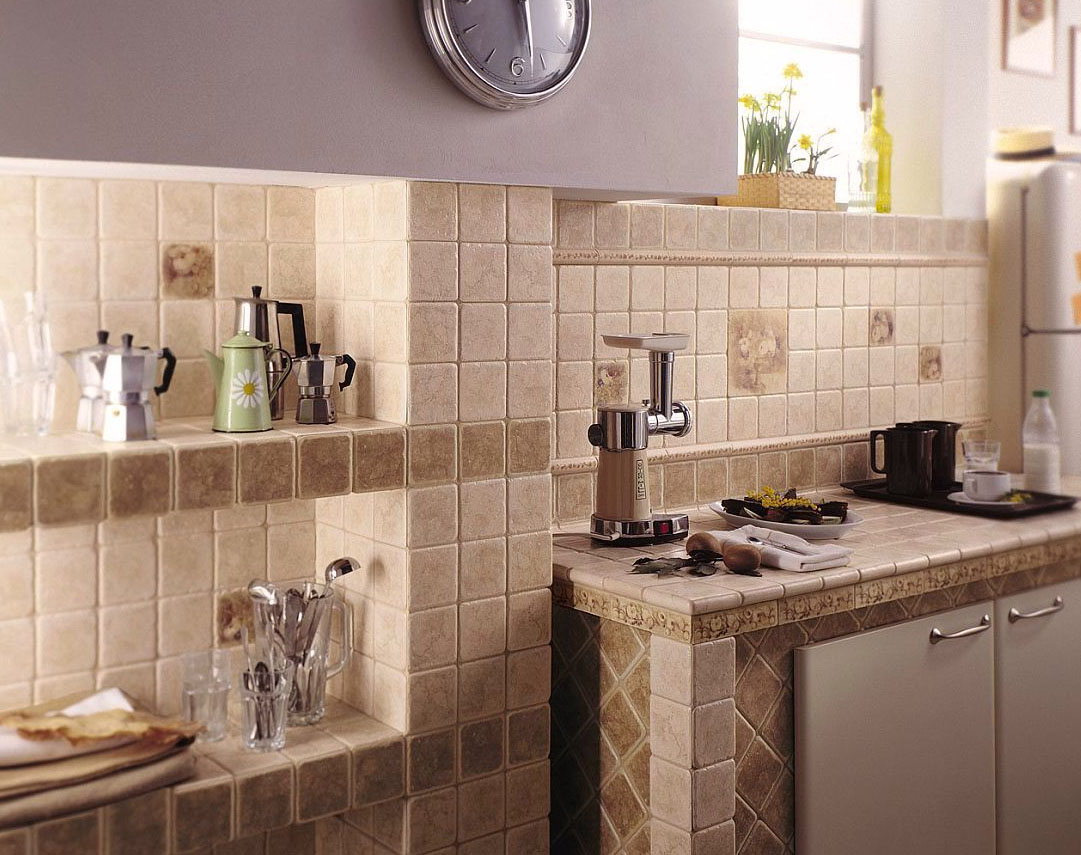
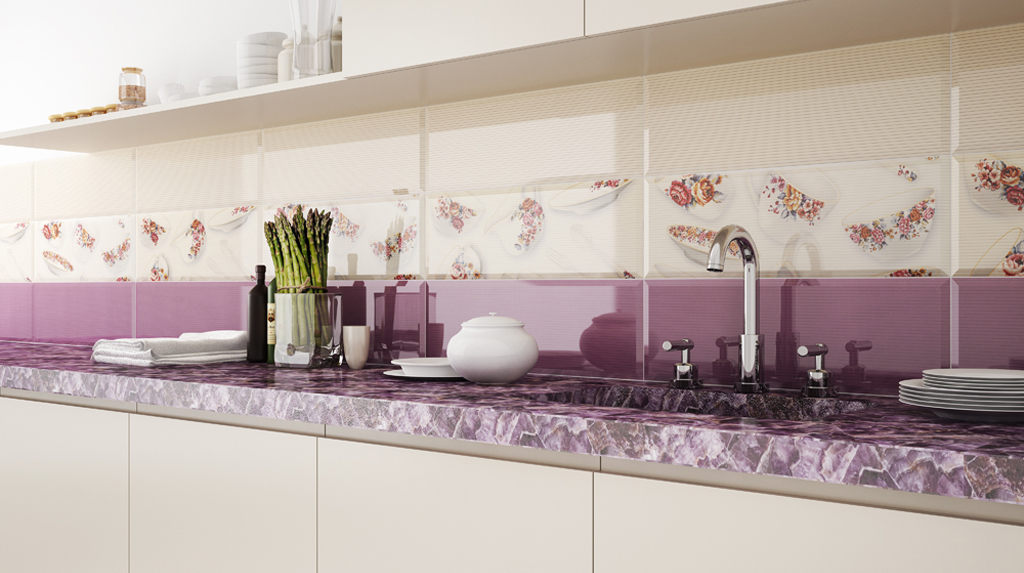
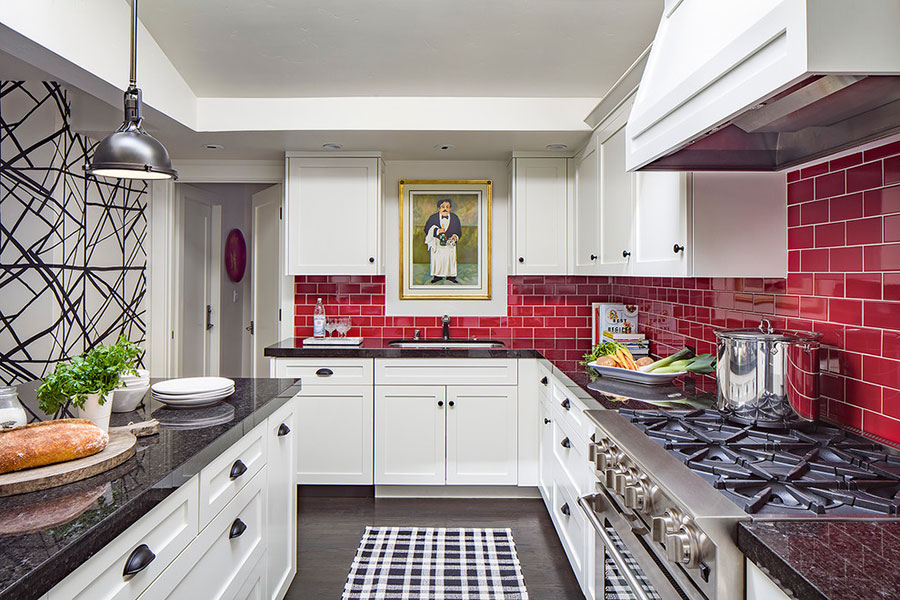
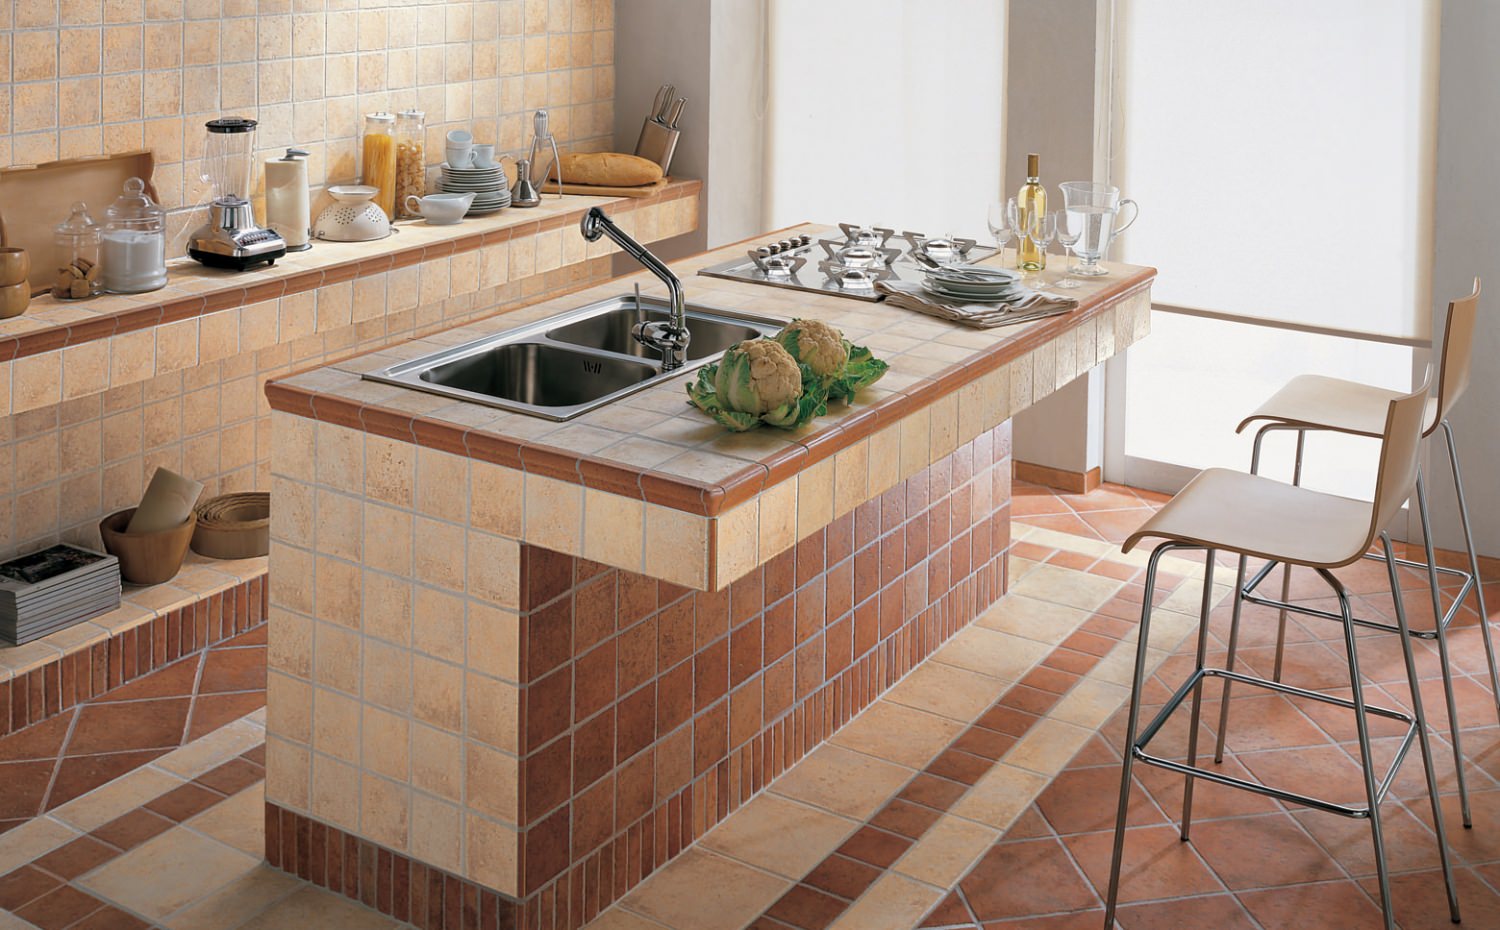
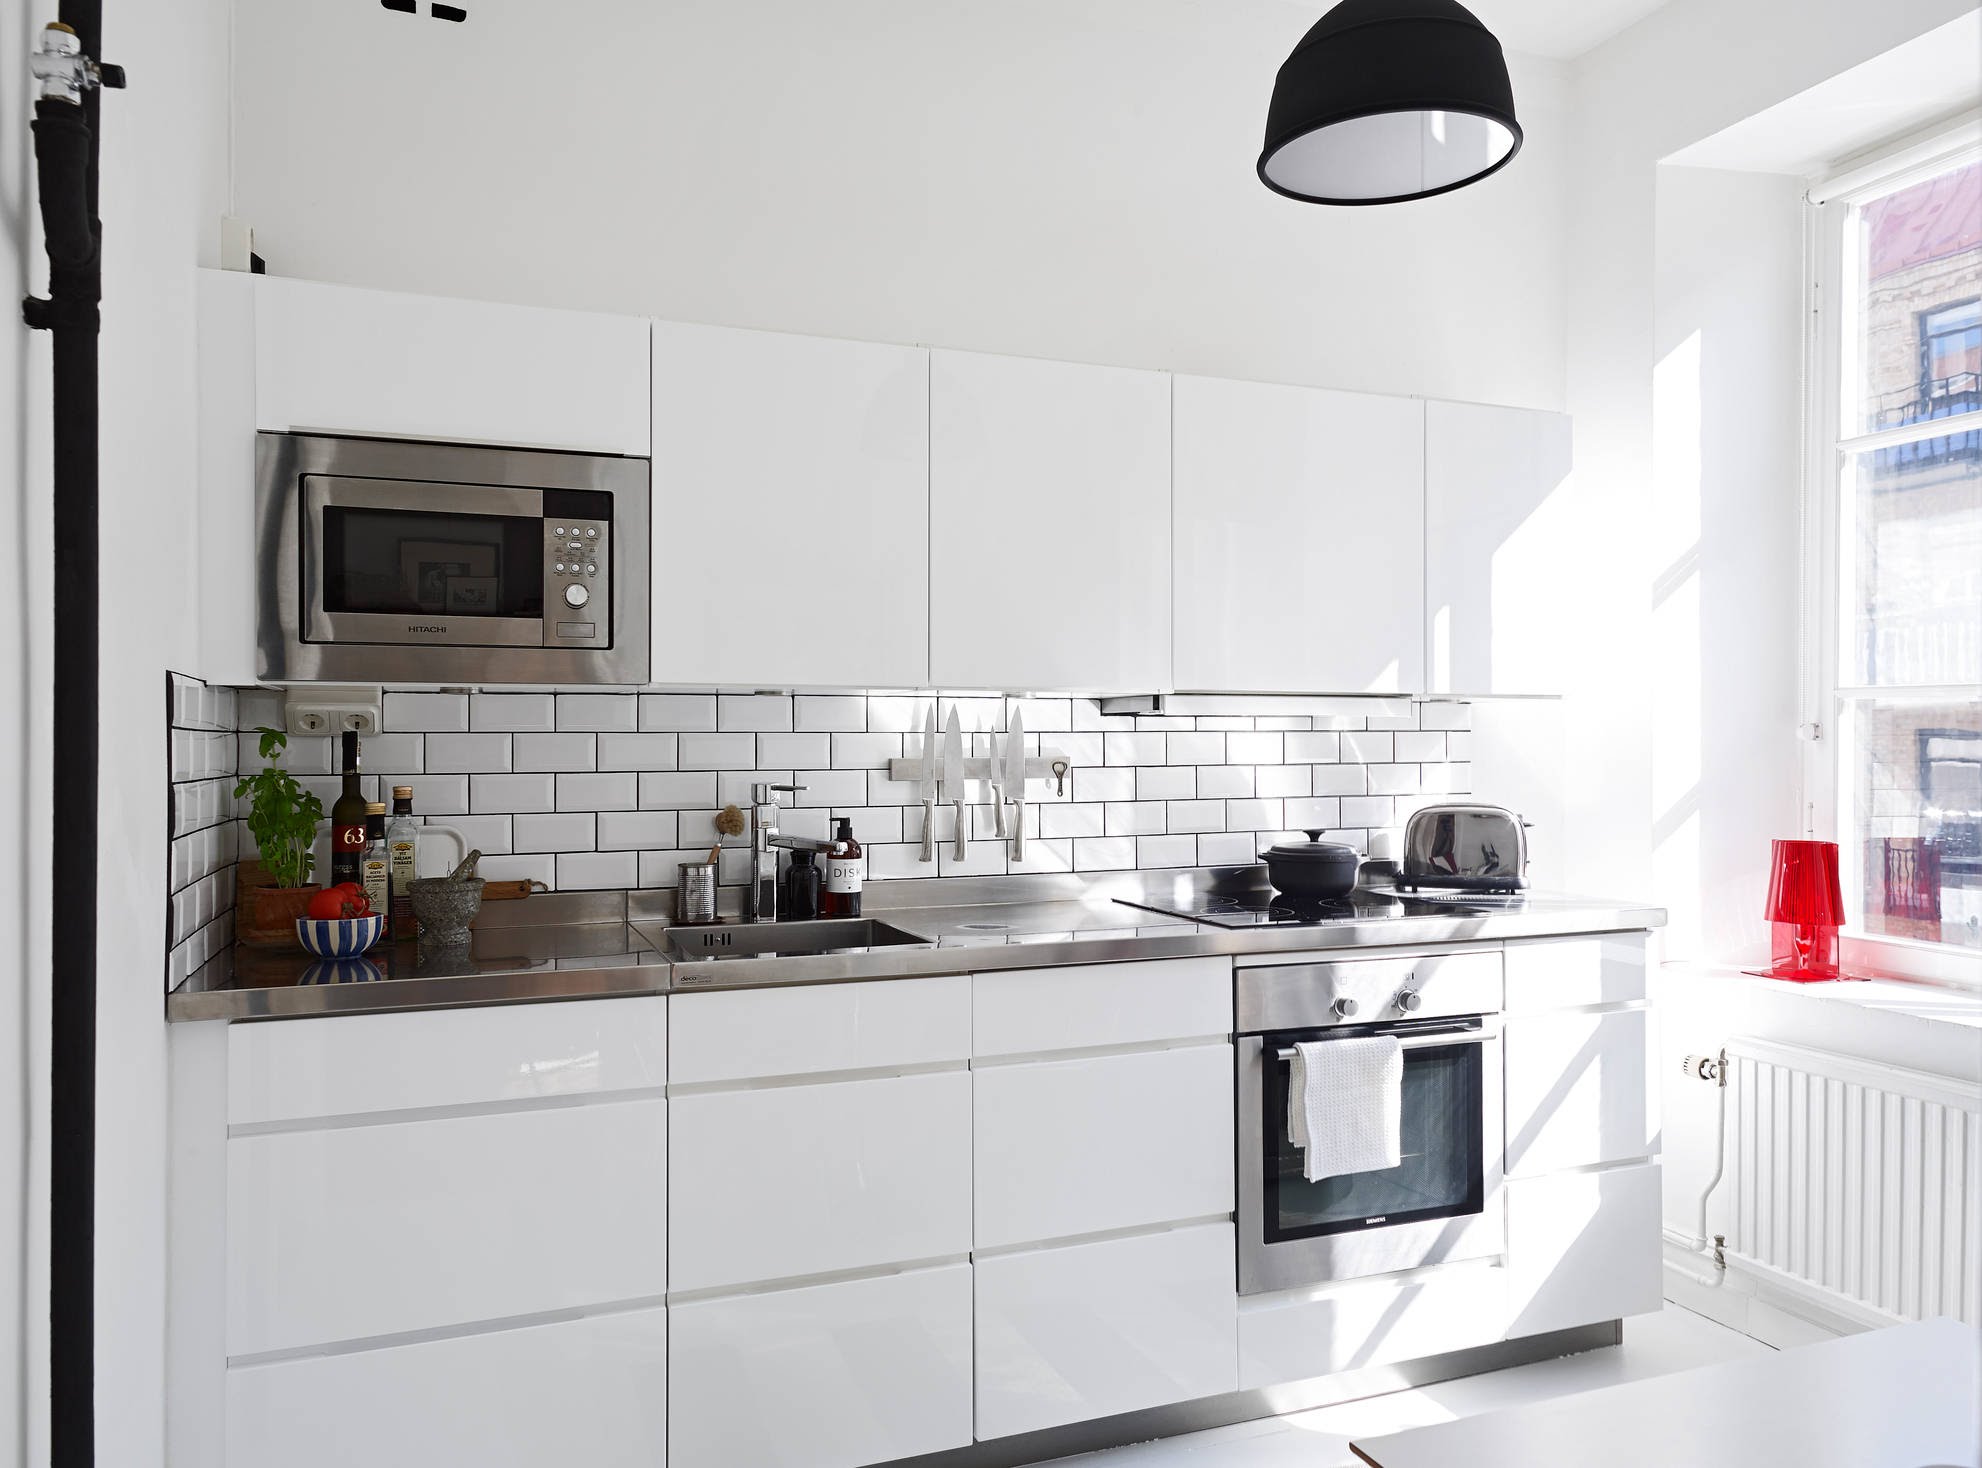
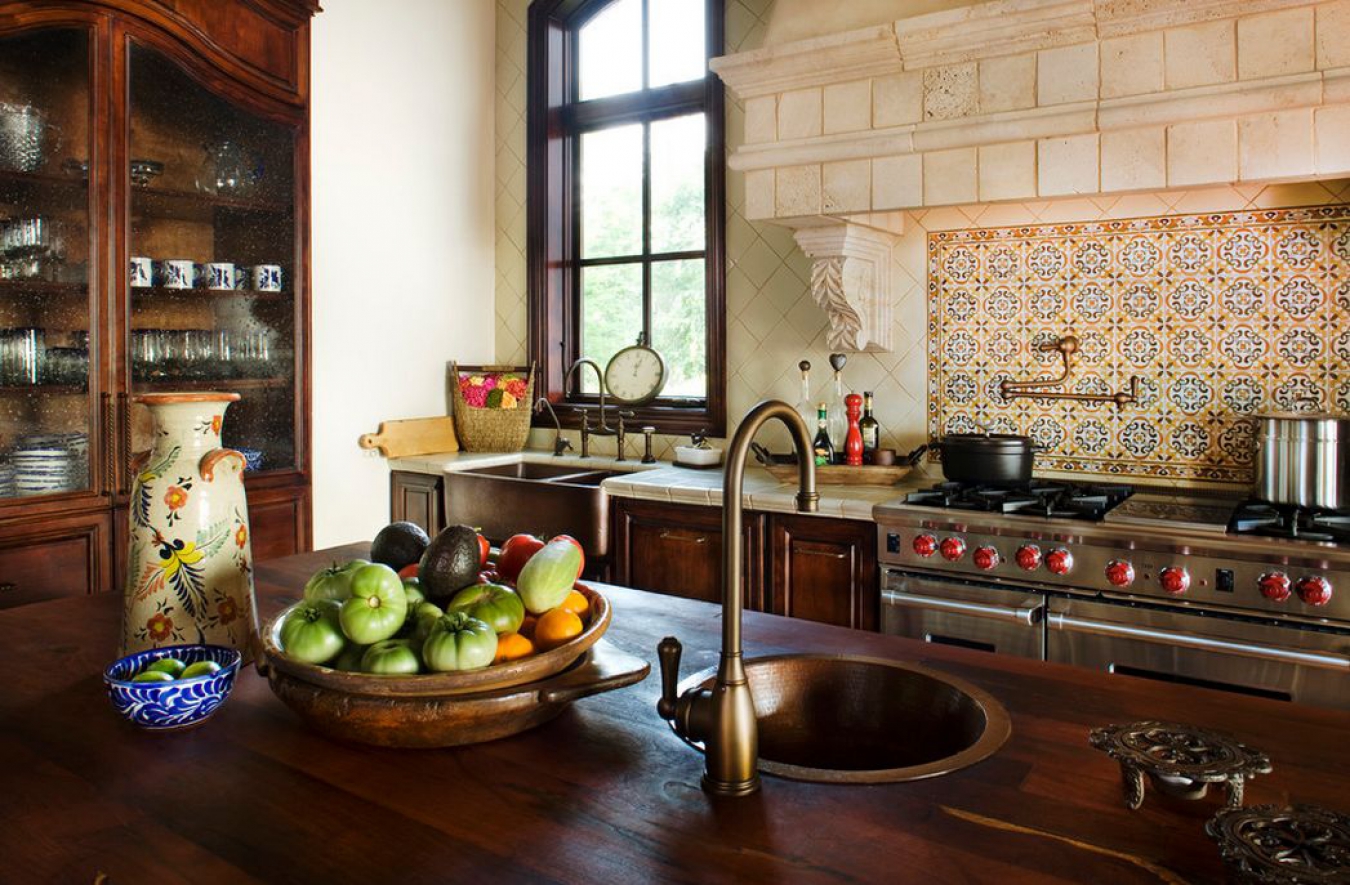
To the apron, on the other hand, they place increased demands. Here, the tile must tolerate both elevated temperatures and humidity drops. The benefit of modern tile to cope with these nuances perfectly. The design here can be varied. The apron from a tile can be both the central accent of kitchen, and smooth out interior brightness. Variants can be from white-white - classics in design, to a mosaic of different colors, photo tiles. Beautifully lay out the apron of a medium-sized square tile, and wipe the seams with a compound that is in color contrasting to the basic tone of the tile.

Floor
For the floor you need to choose ceramic tiles, unglazed and baked once. Such tiles are much stronger and will withstand the functions assigned to them. Also the ideal floor covering is porcelain. It will perfectly stand even walking on it in shoes with heels.
Classics laid on the floor is considered to be tiles, stylized under a tree, but other patterns are quite appropriate.
Laying tiles on the floor start from the corner, mark the parallel with respect to the wall.
It is also very popular to lay tiles on the floor diagonally. This will help to visually expand the room.You can also lay tile herringbone, especially if it creates an imitation of wood. So the flooring will be even more like parquet.
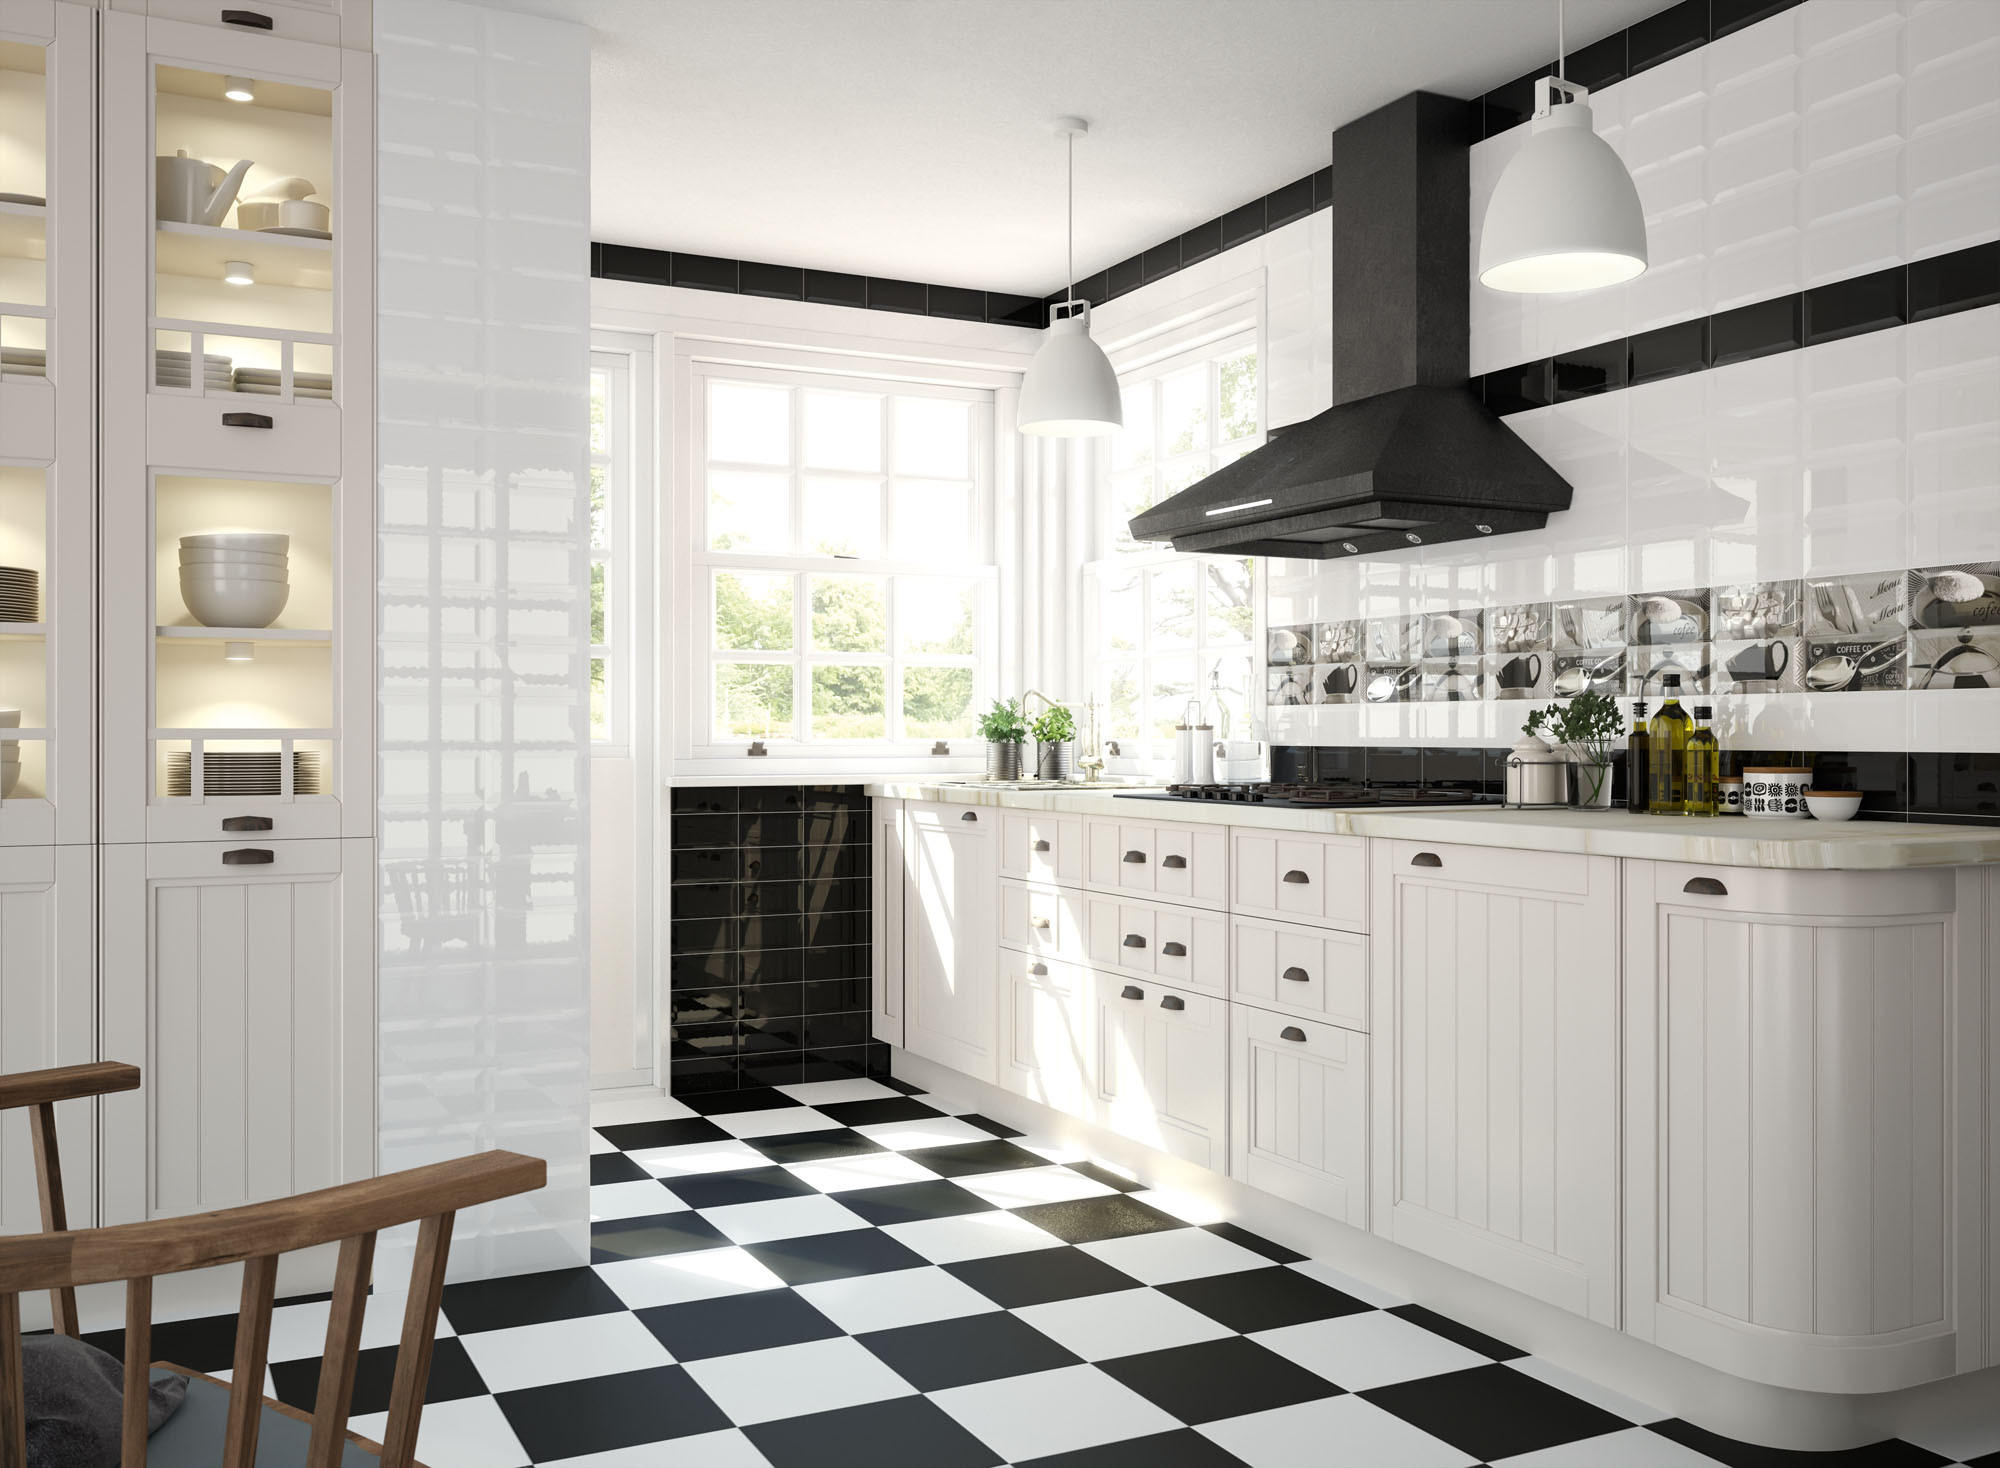
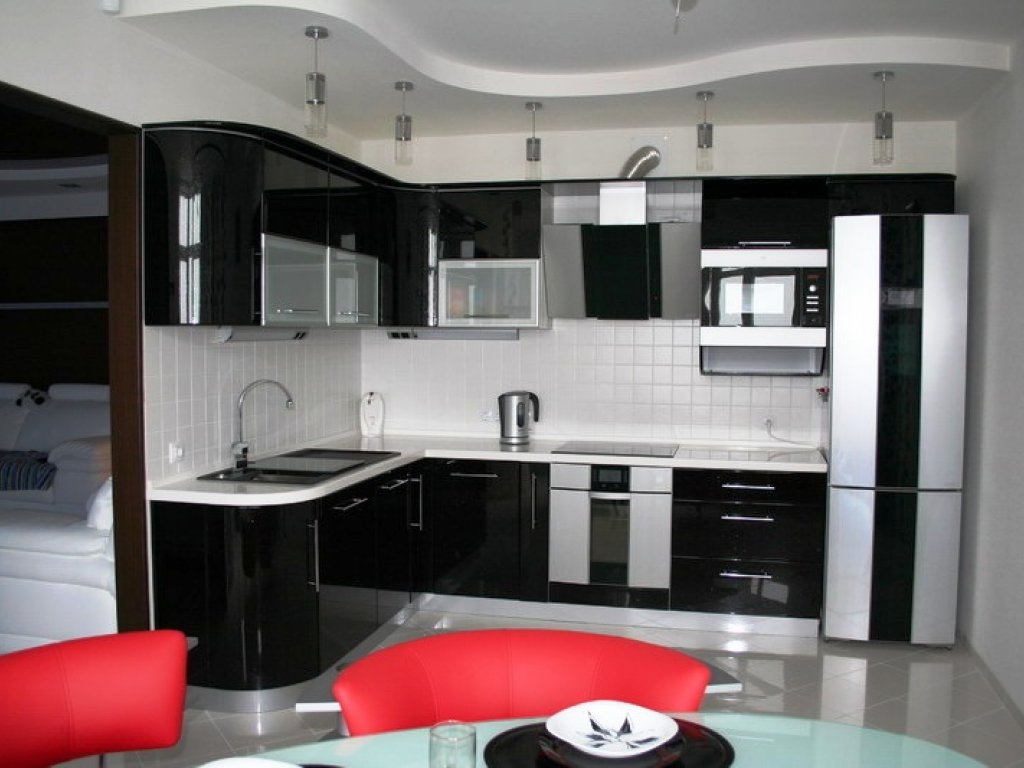
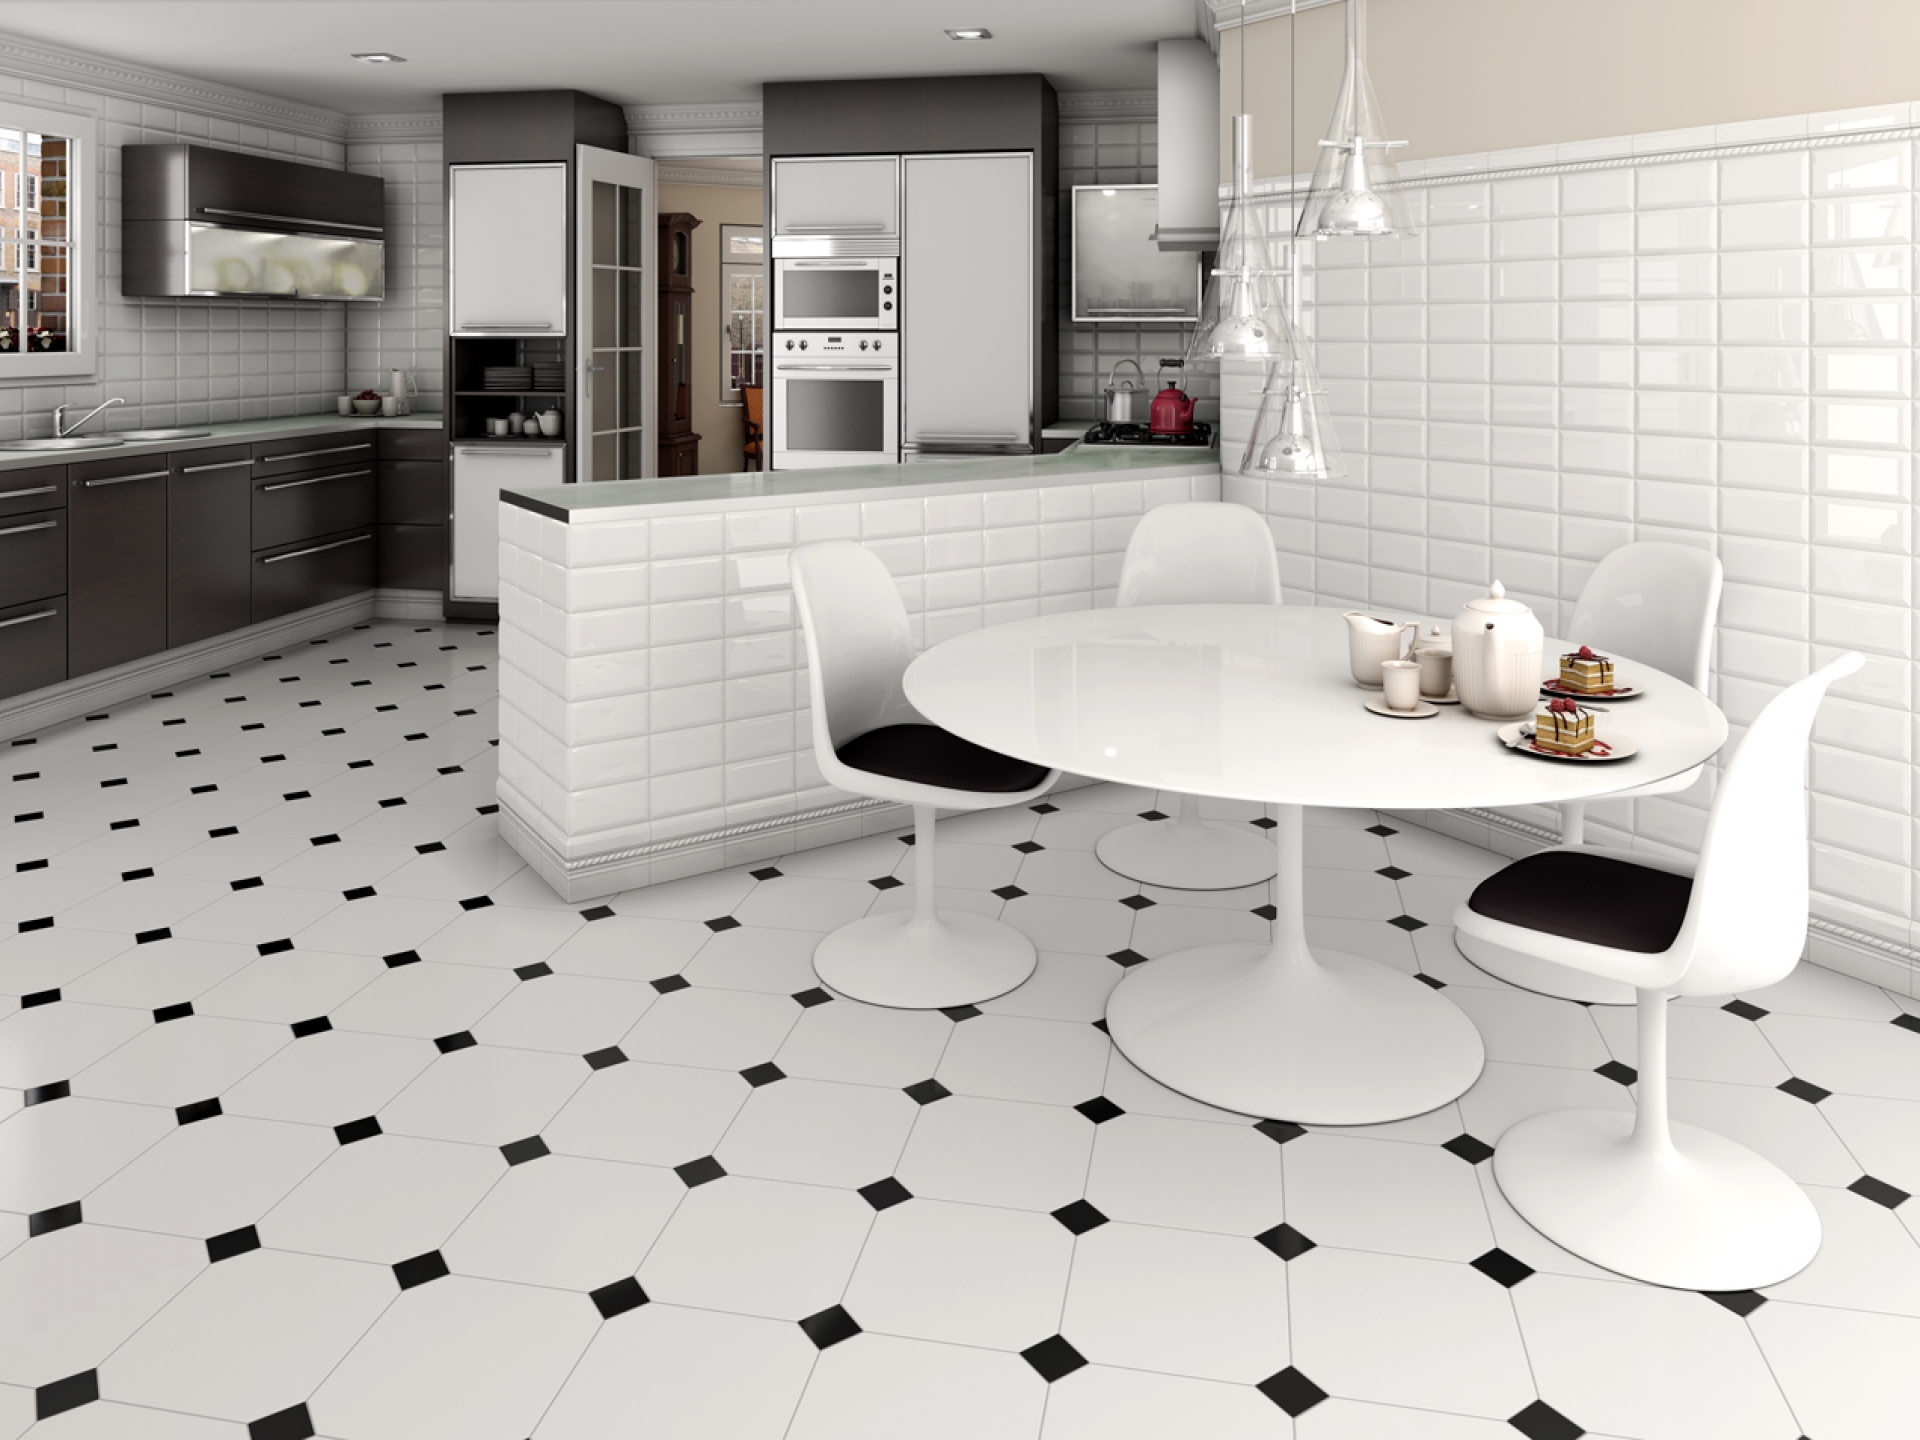
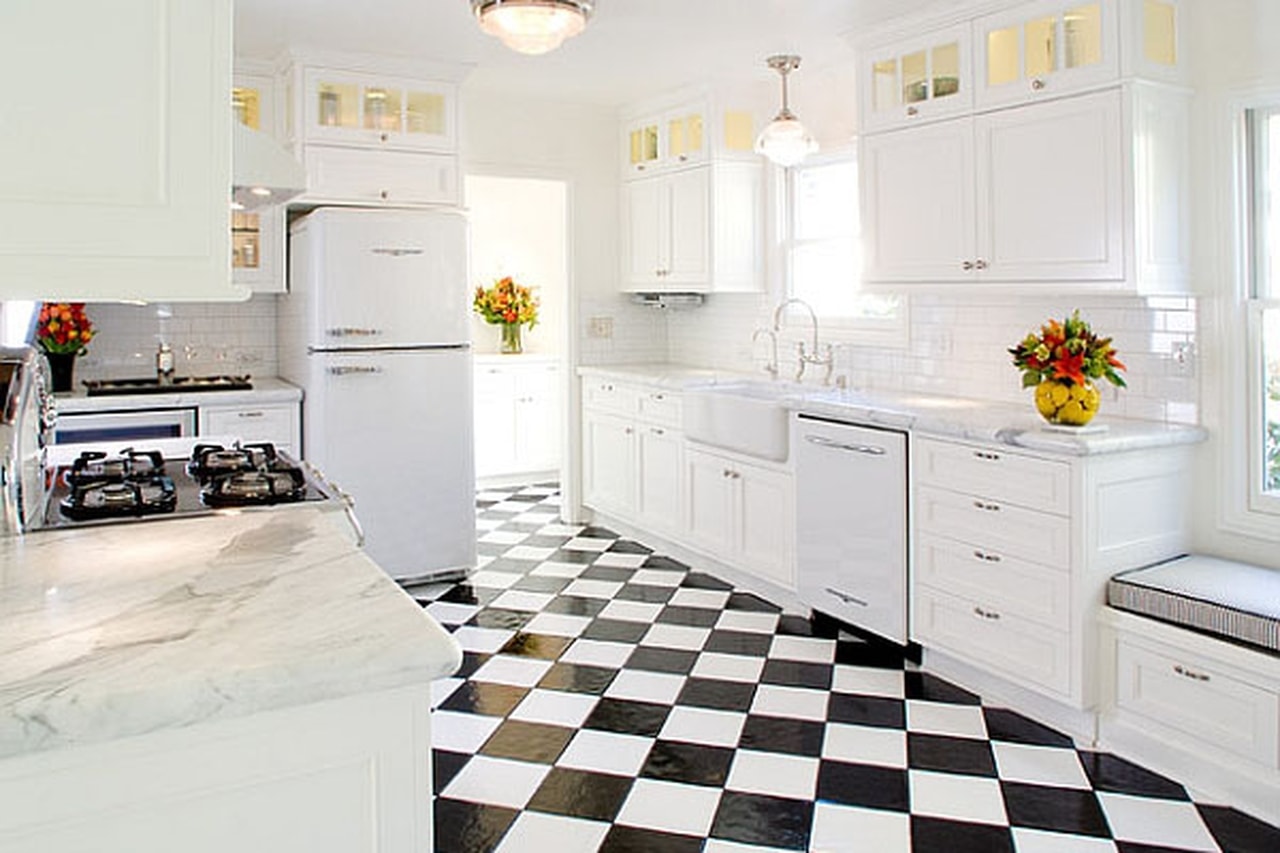
The color of the floor can match the color of the kitchen tiles, and can completely contrast with it. This is especially popular in the design of the kitchen, decorated in black and white.
Professional Tips: Important Nuances
It is very important that the coating of the tile, wherever it is, served for many years. Therefore, when laying it is worth taking advantage of the experience of the masters of their craft.
- That the tile did not fall off it is necessary to process a surface soil. If before that there was paint on the wall, it should be cleaned off completely or made notches, for better adhesion to the wall.
- If the walls and corners are uneven, they can be leveled using a sheet of drywall. As a result, you will get an angle of 90 across the entire height of the wall and a perfectly even floor in order to lay tile without any problems. When selecting glue, note that you need a compound that allows you to glue the tiles to drywall.
- If you are laying tiles on the floor, lay out the perpendicular rows using inter tile beacons to find out the accuracy of the laying pattern.
- For grouting, use a rubber spatula. He will be able to easily enter the composition in the inter-cut gaps. Remove excess grout with a damp sponge.
- If the floor you do not want to use tile, use vinyl tiles. This is a self-adhesive vinyl film for floor covering. It will last longer than linoleum, excellent resistance to abrasion.
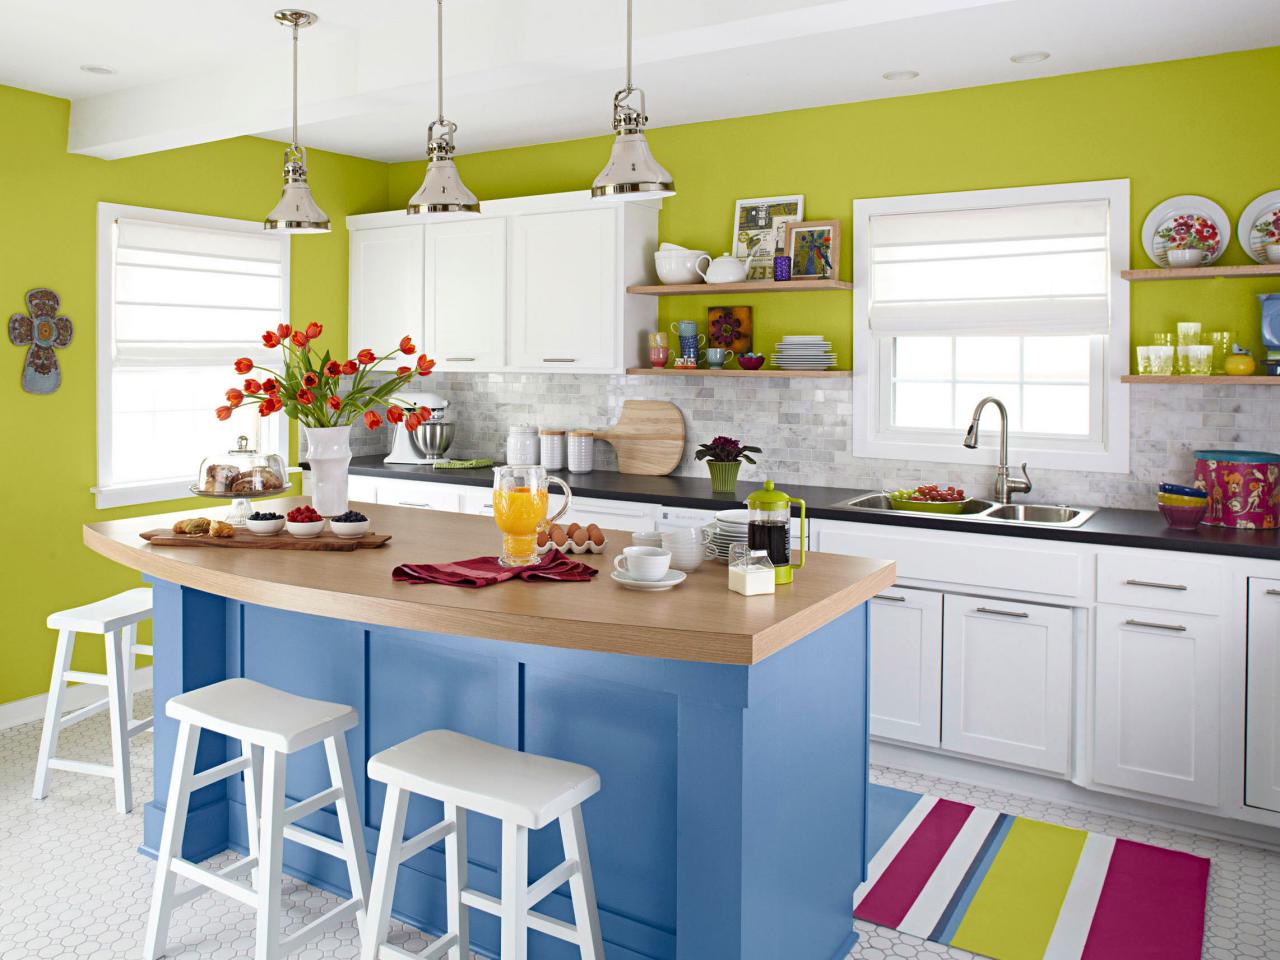
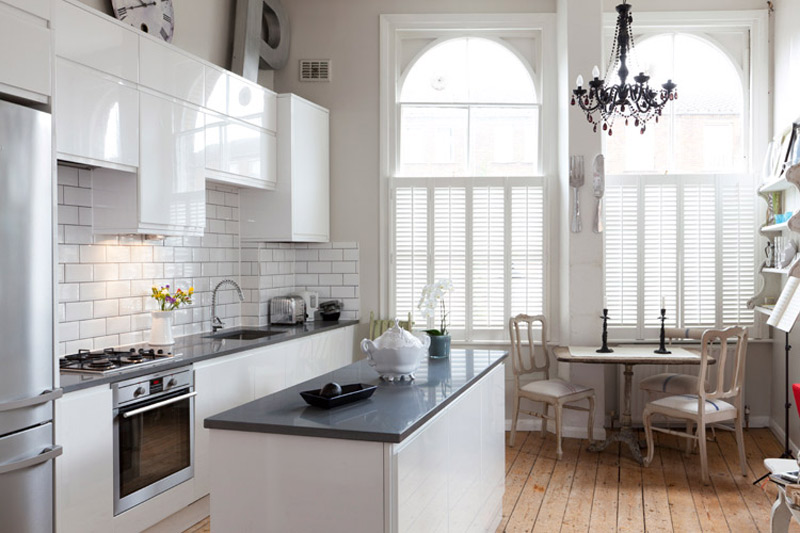
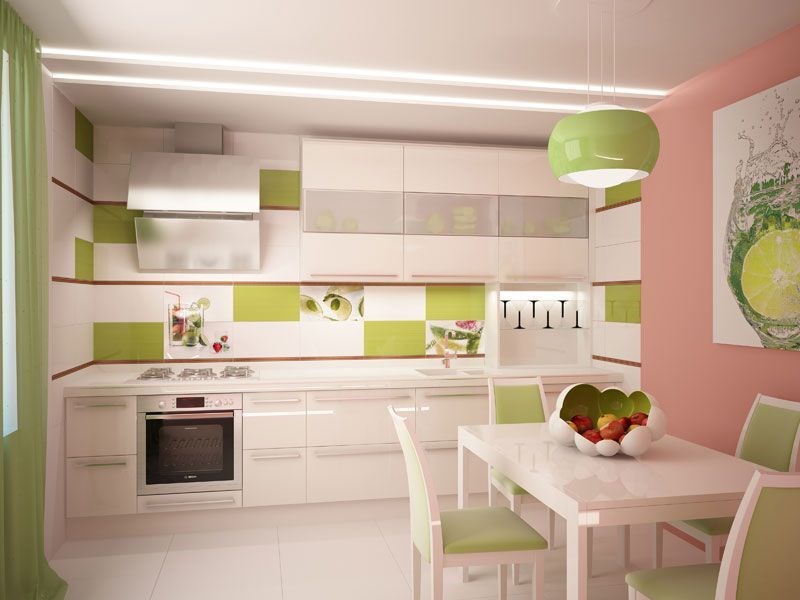
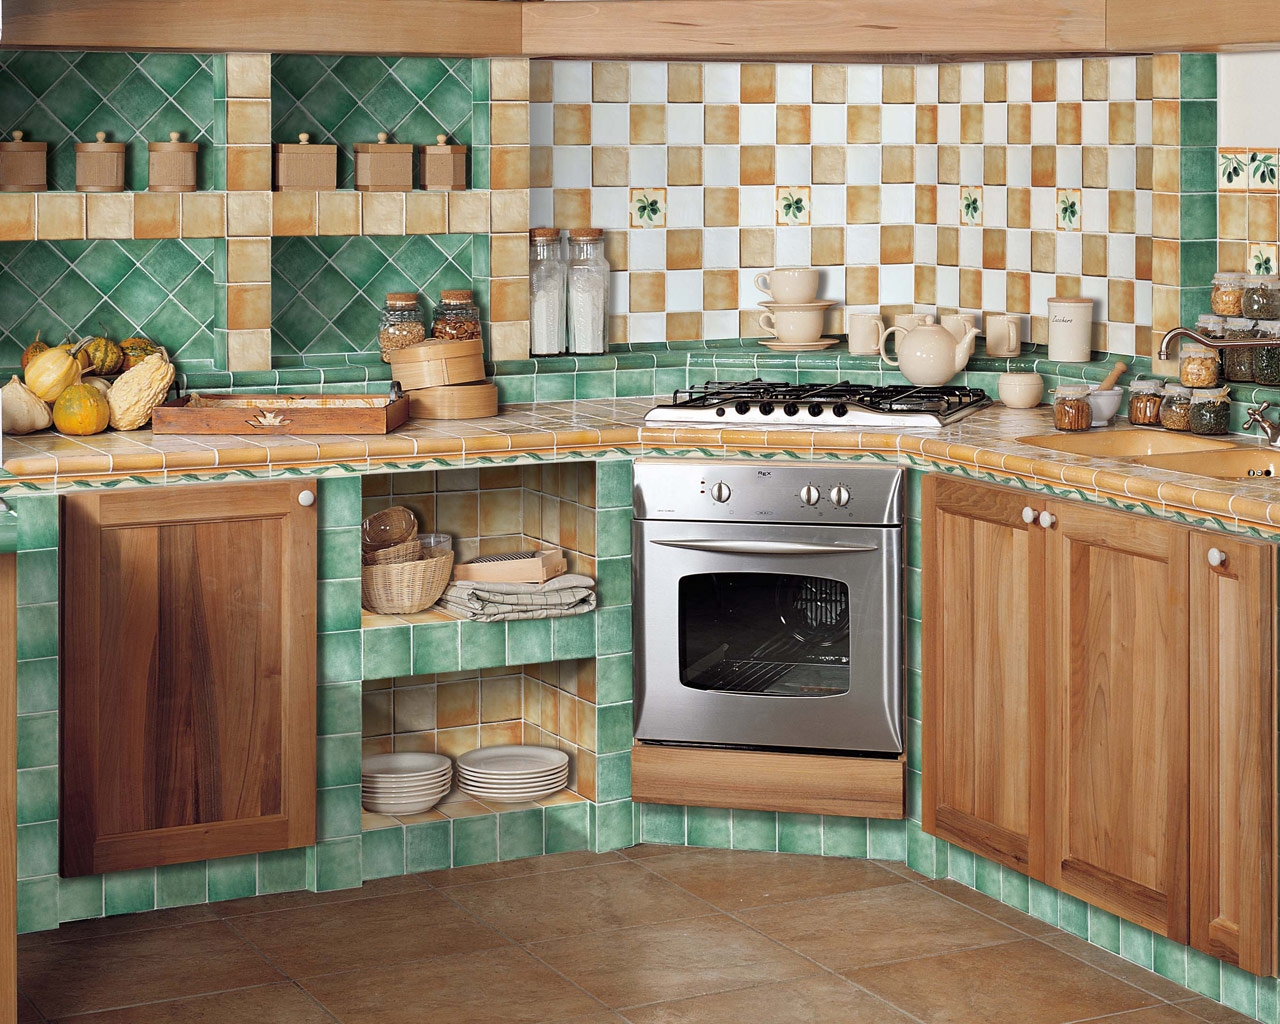
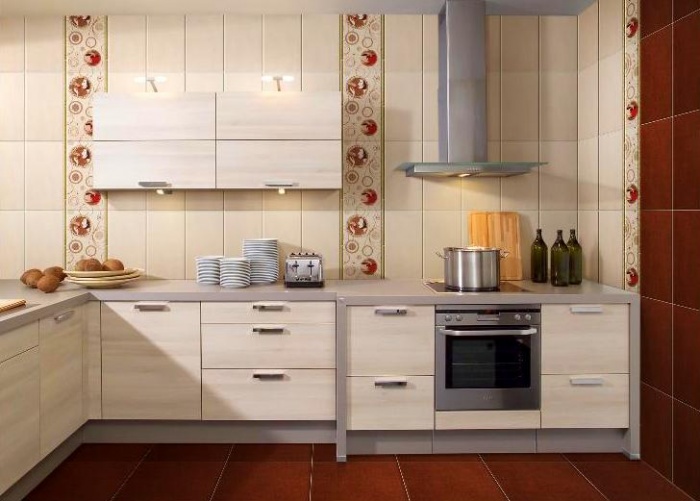
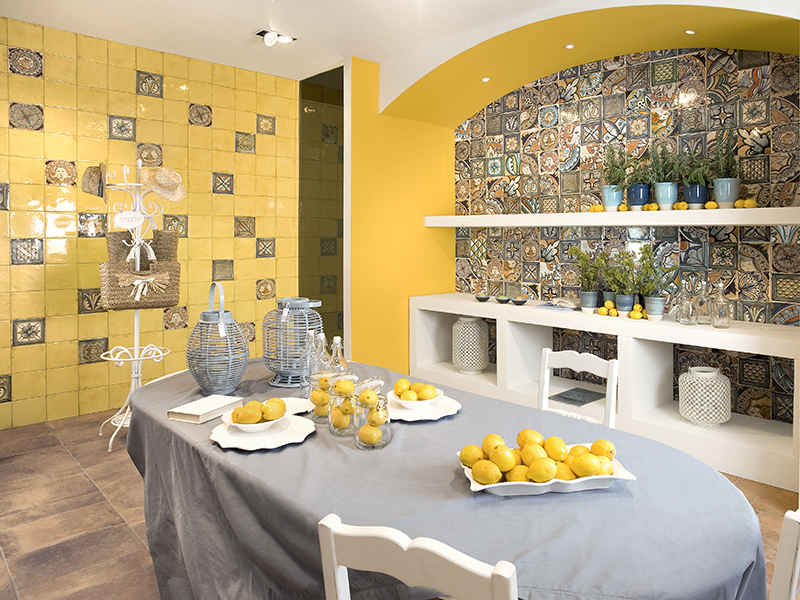
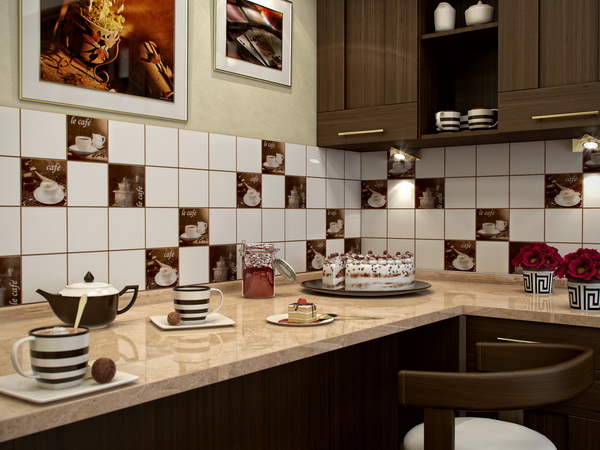
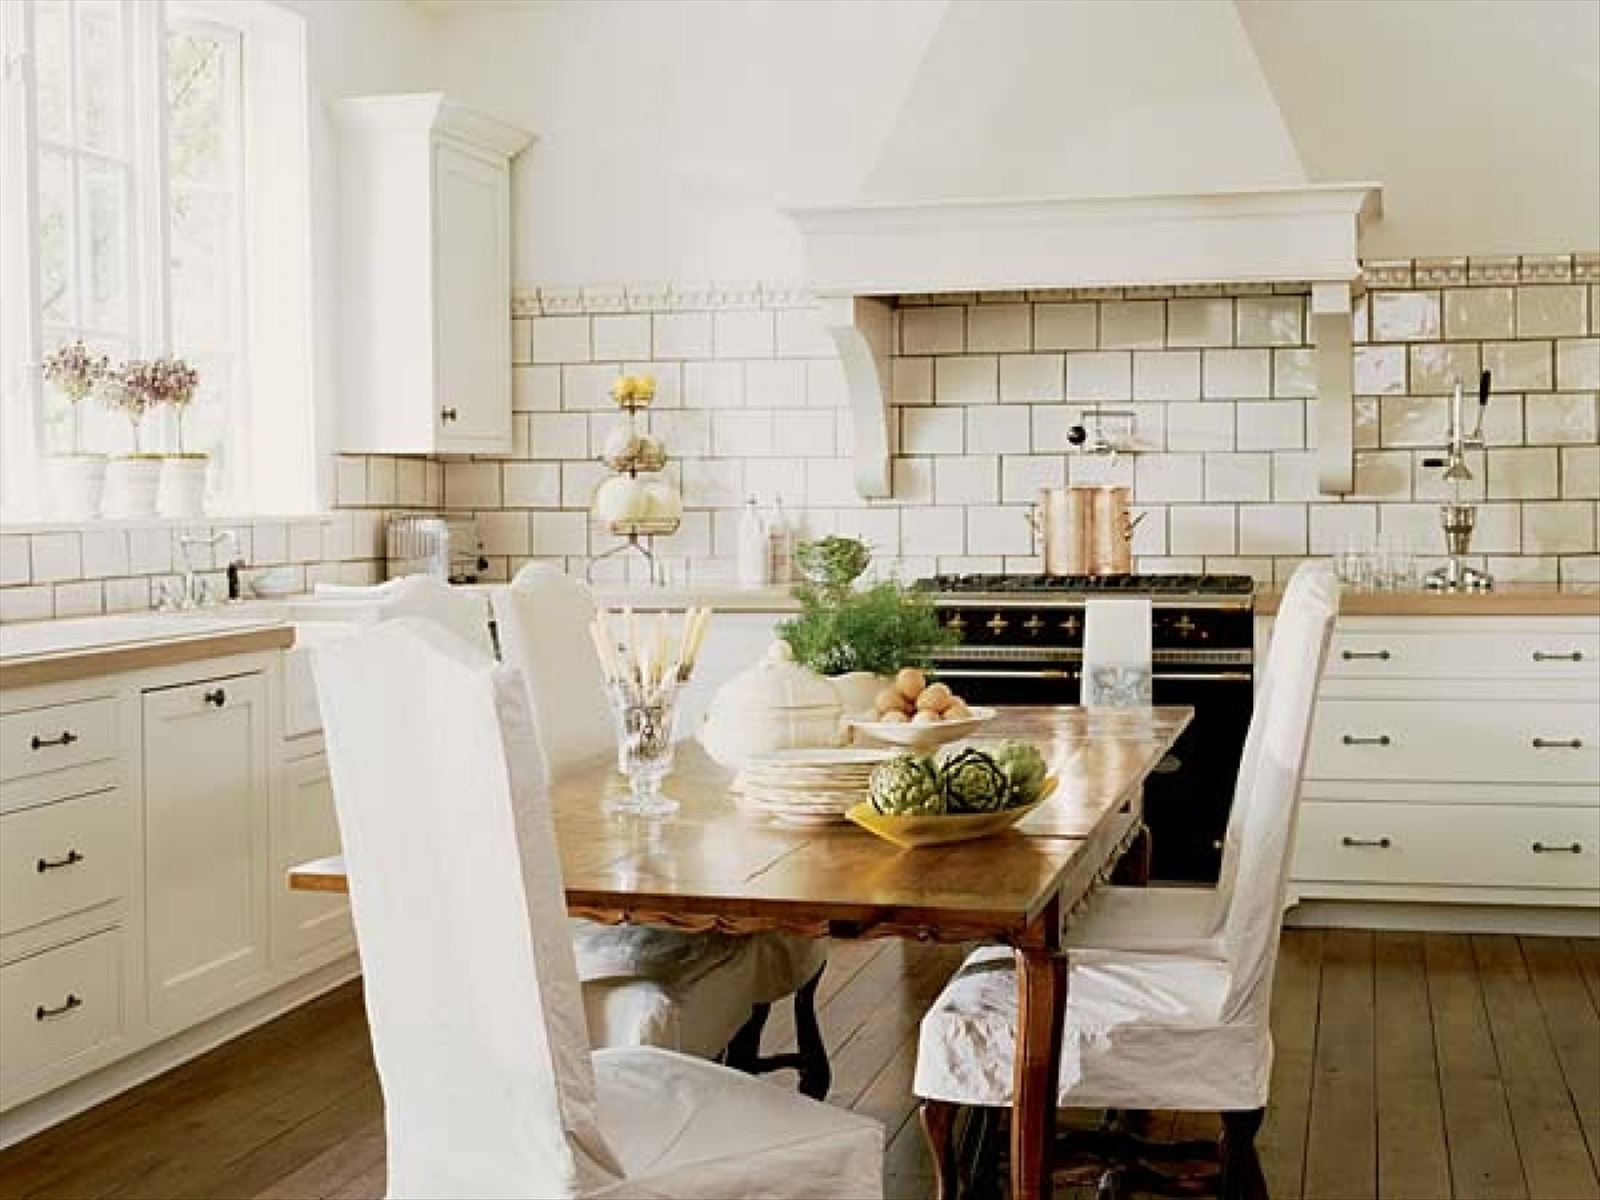
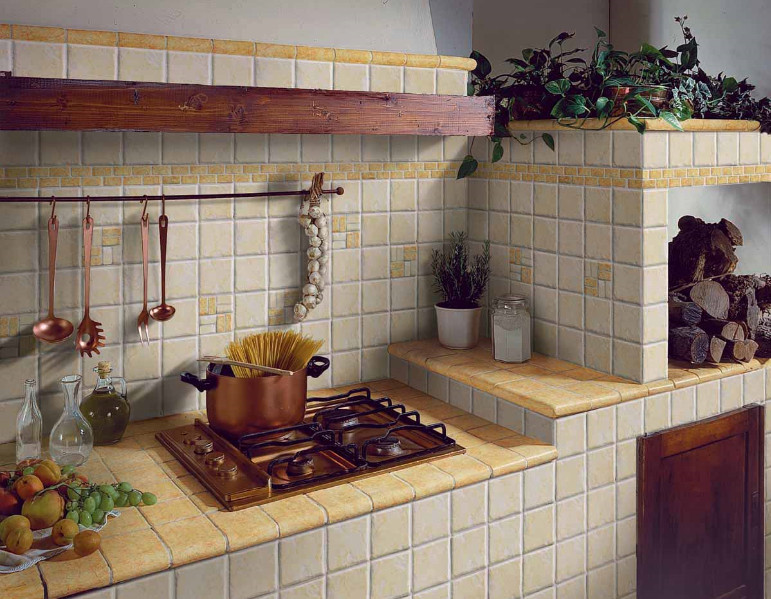
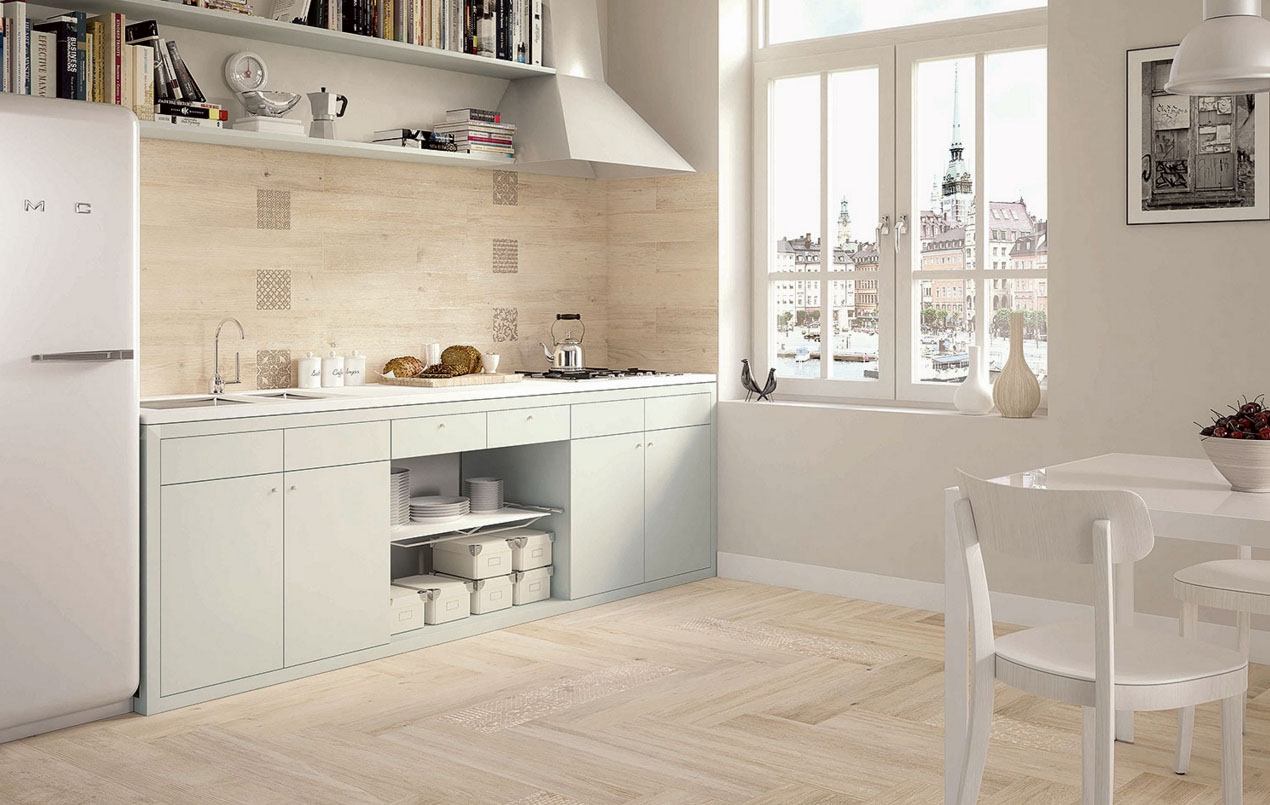
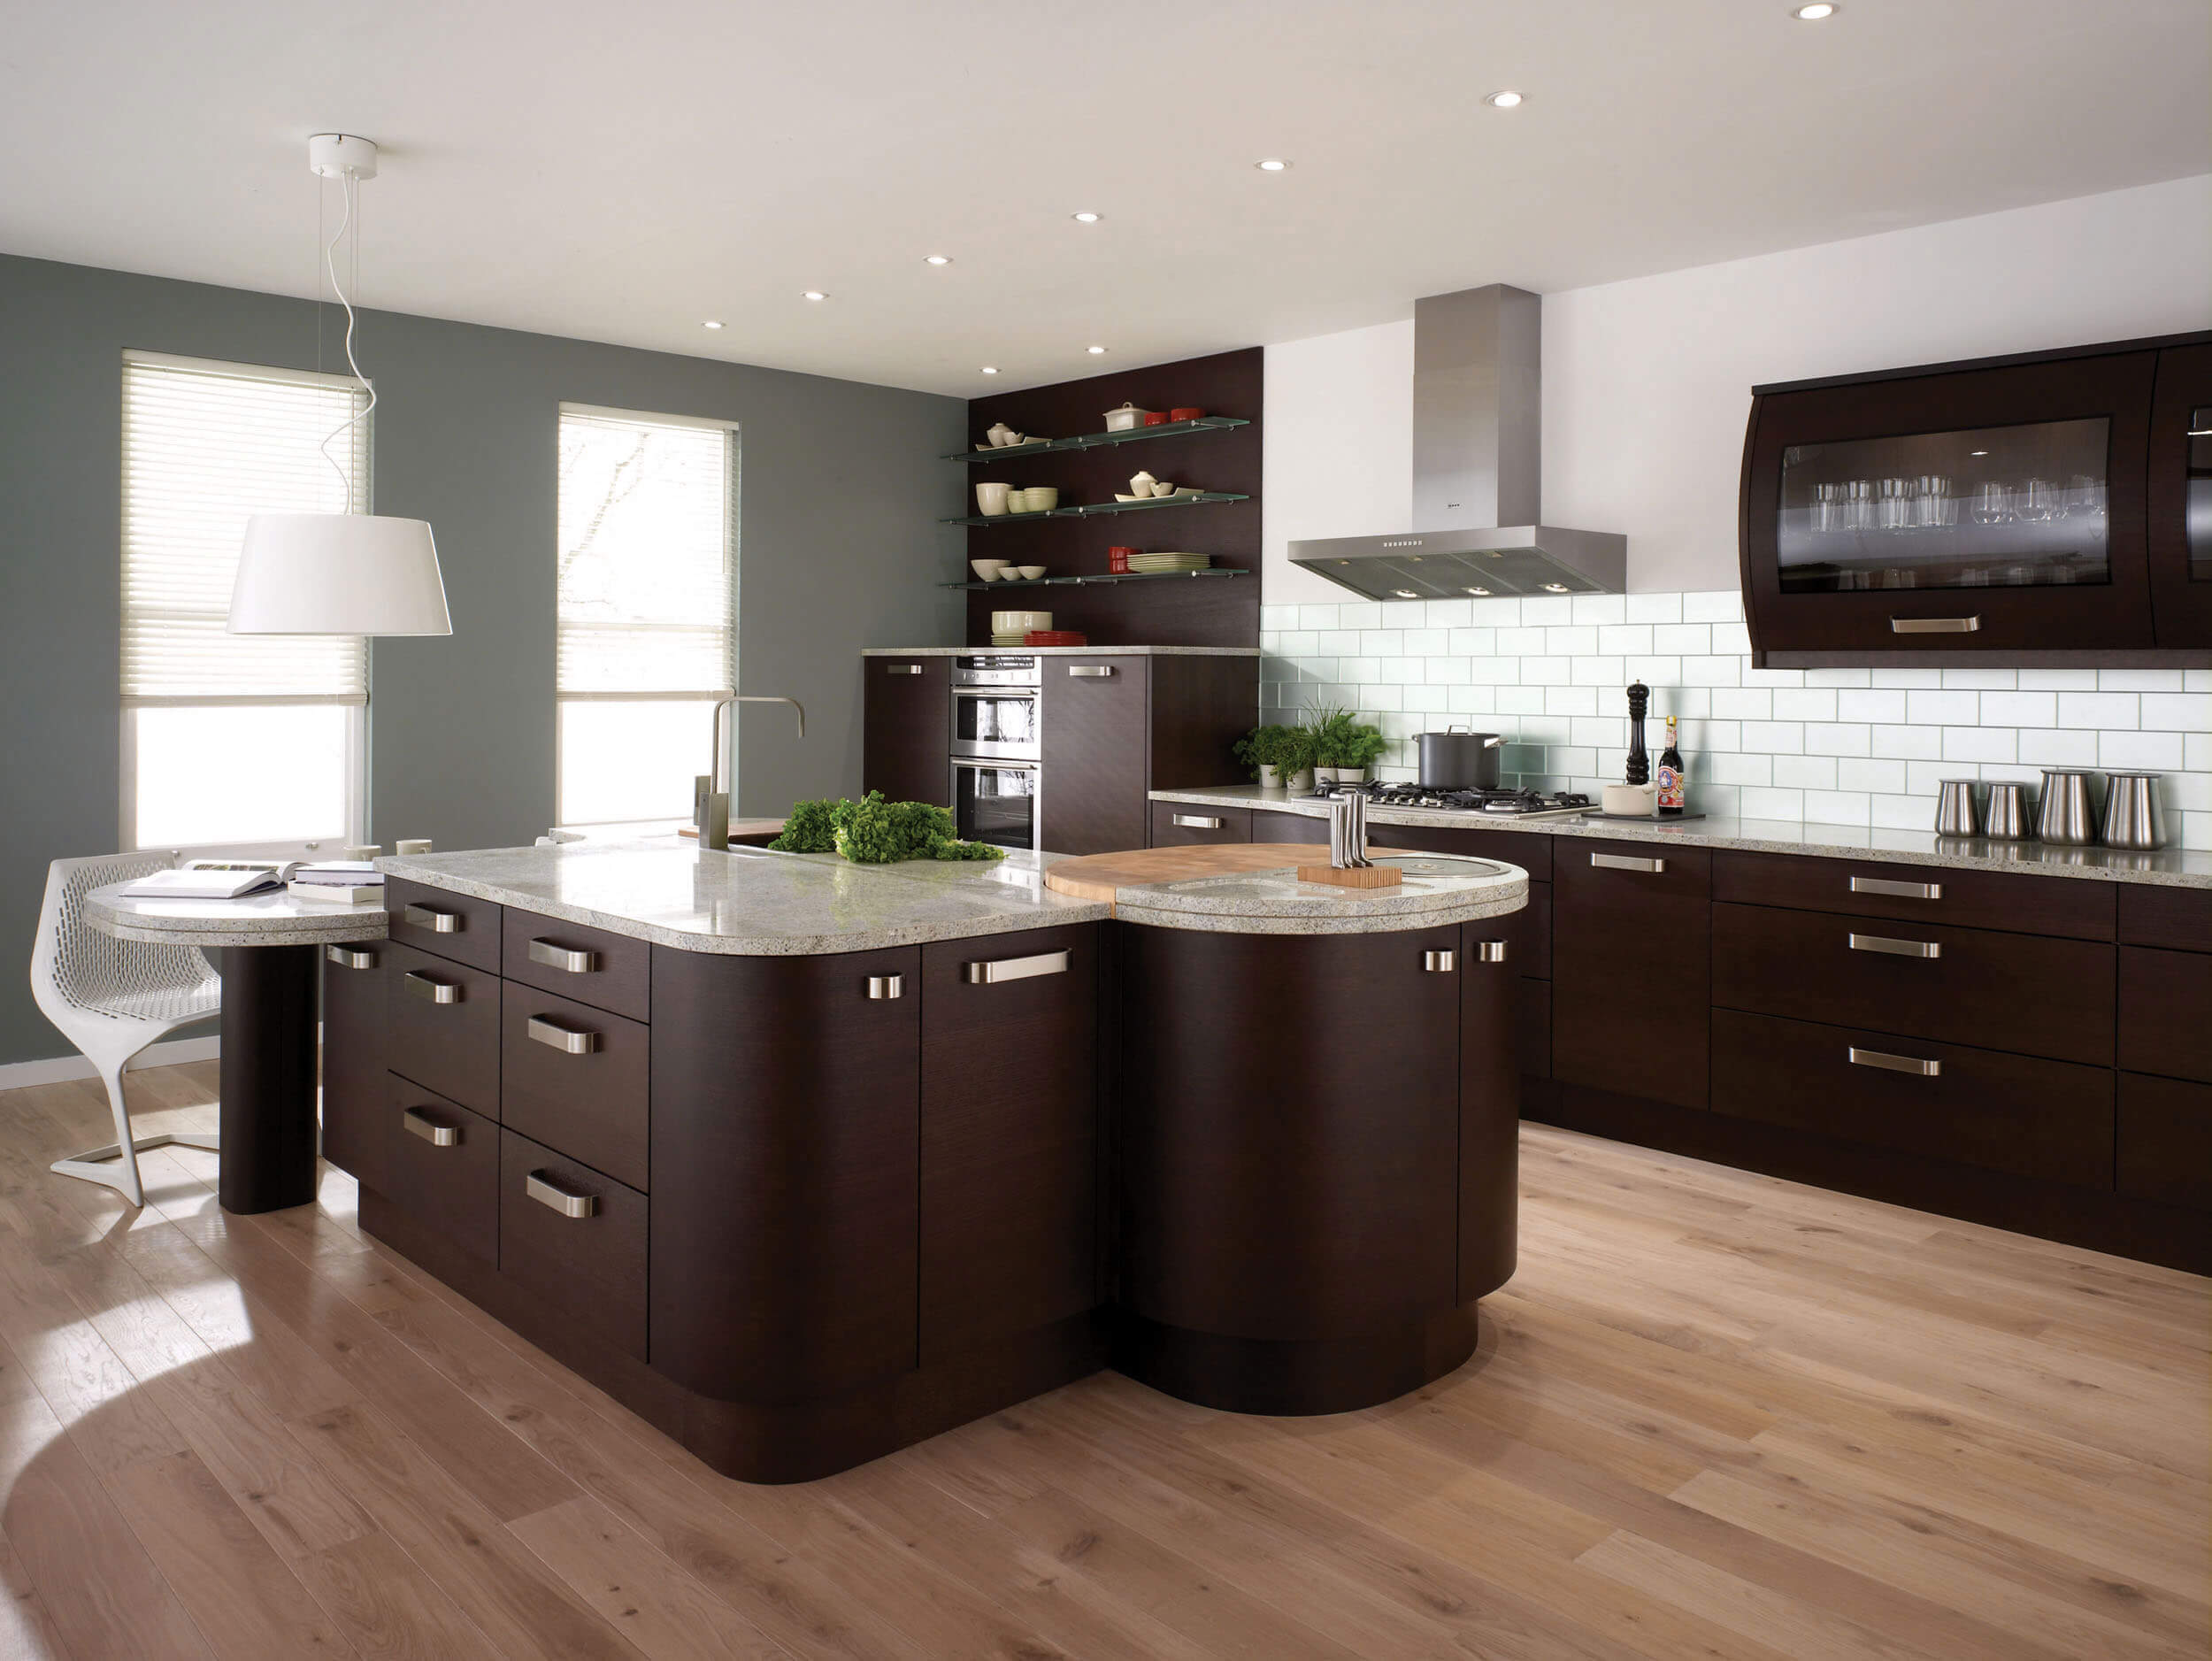
Design examples
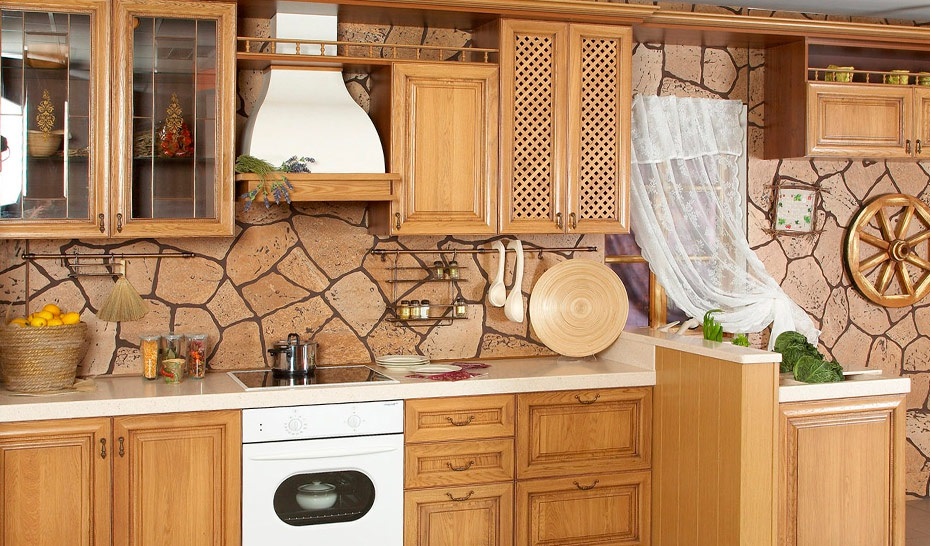
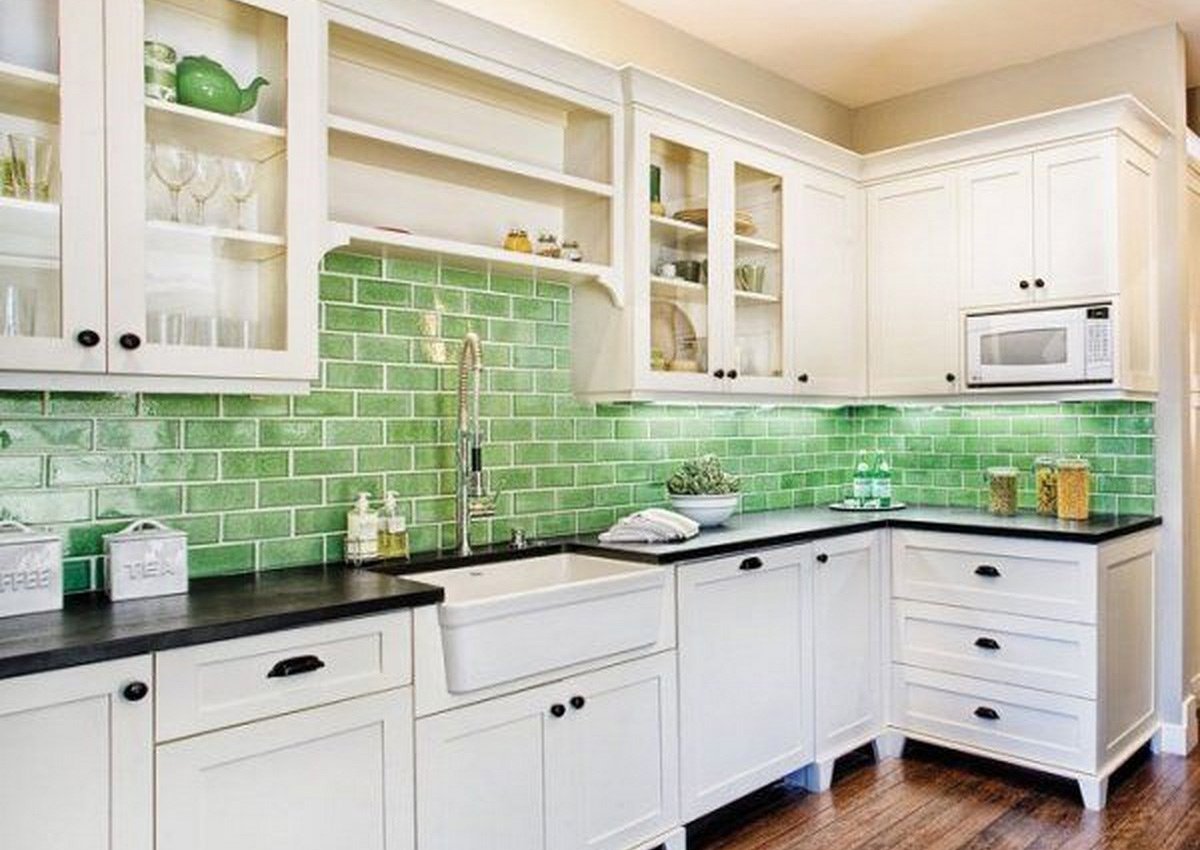
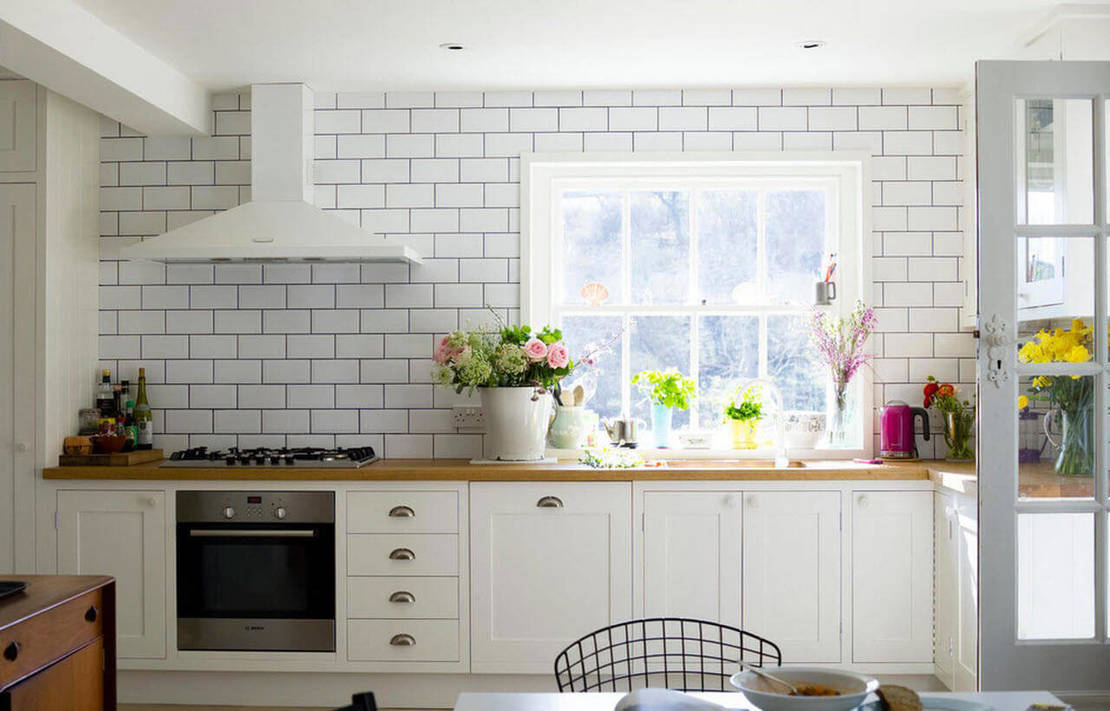
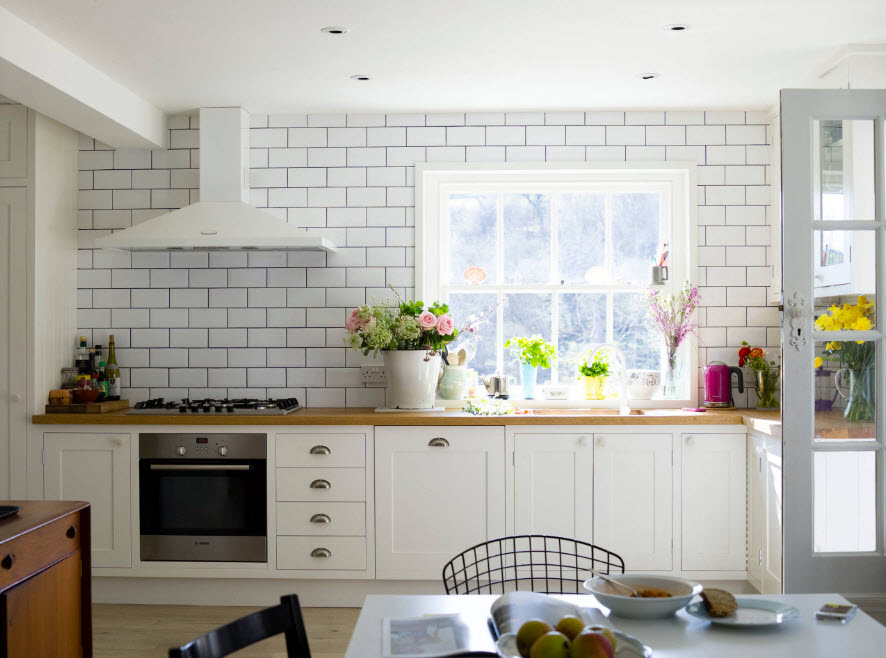
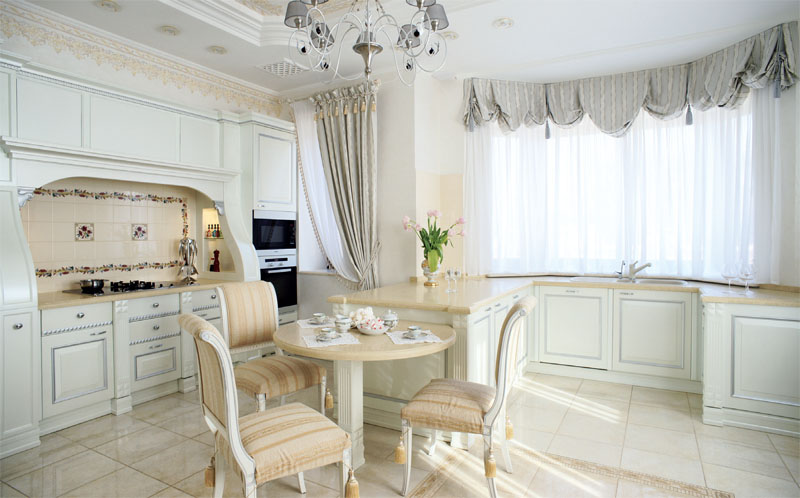
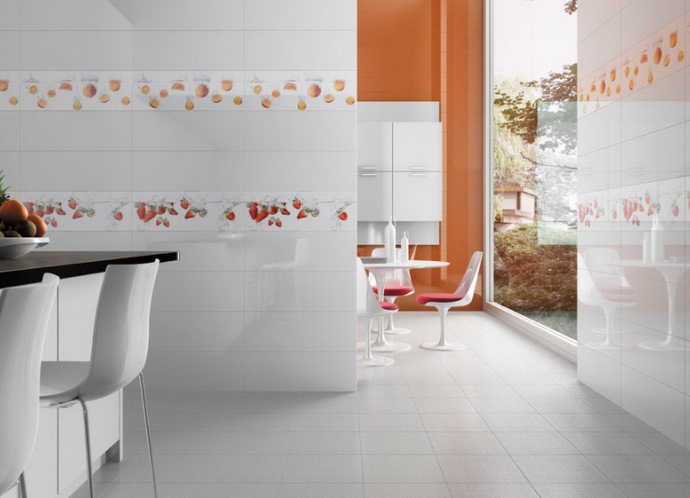
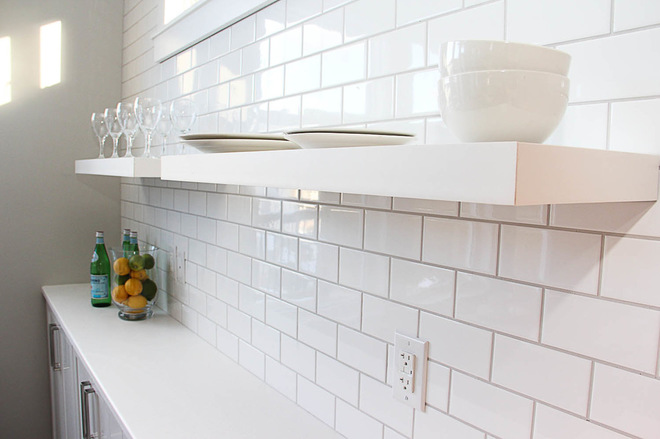
Classic white walls - A great option for the kitchen. The dullness of the design can be corrected by the texture of a brick.
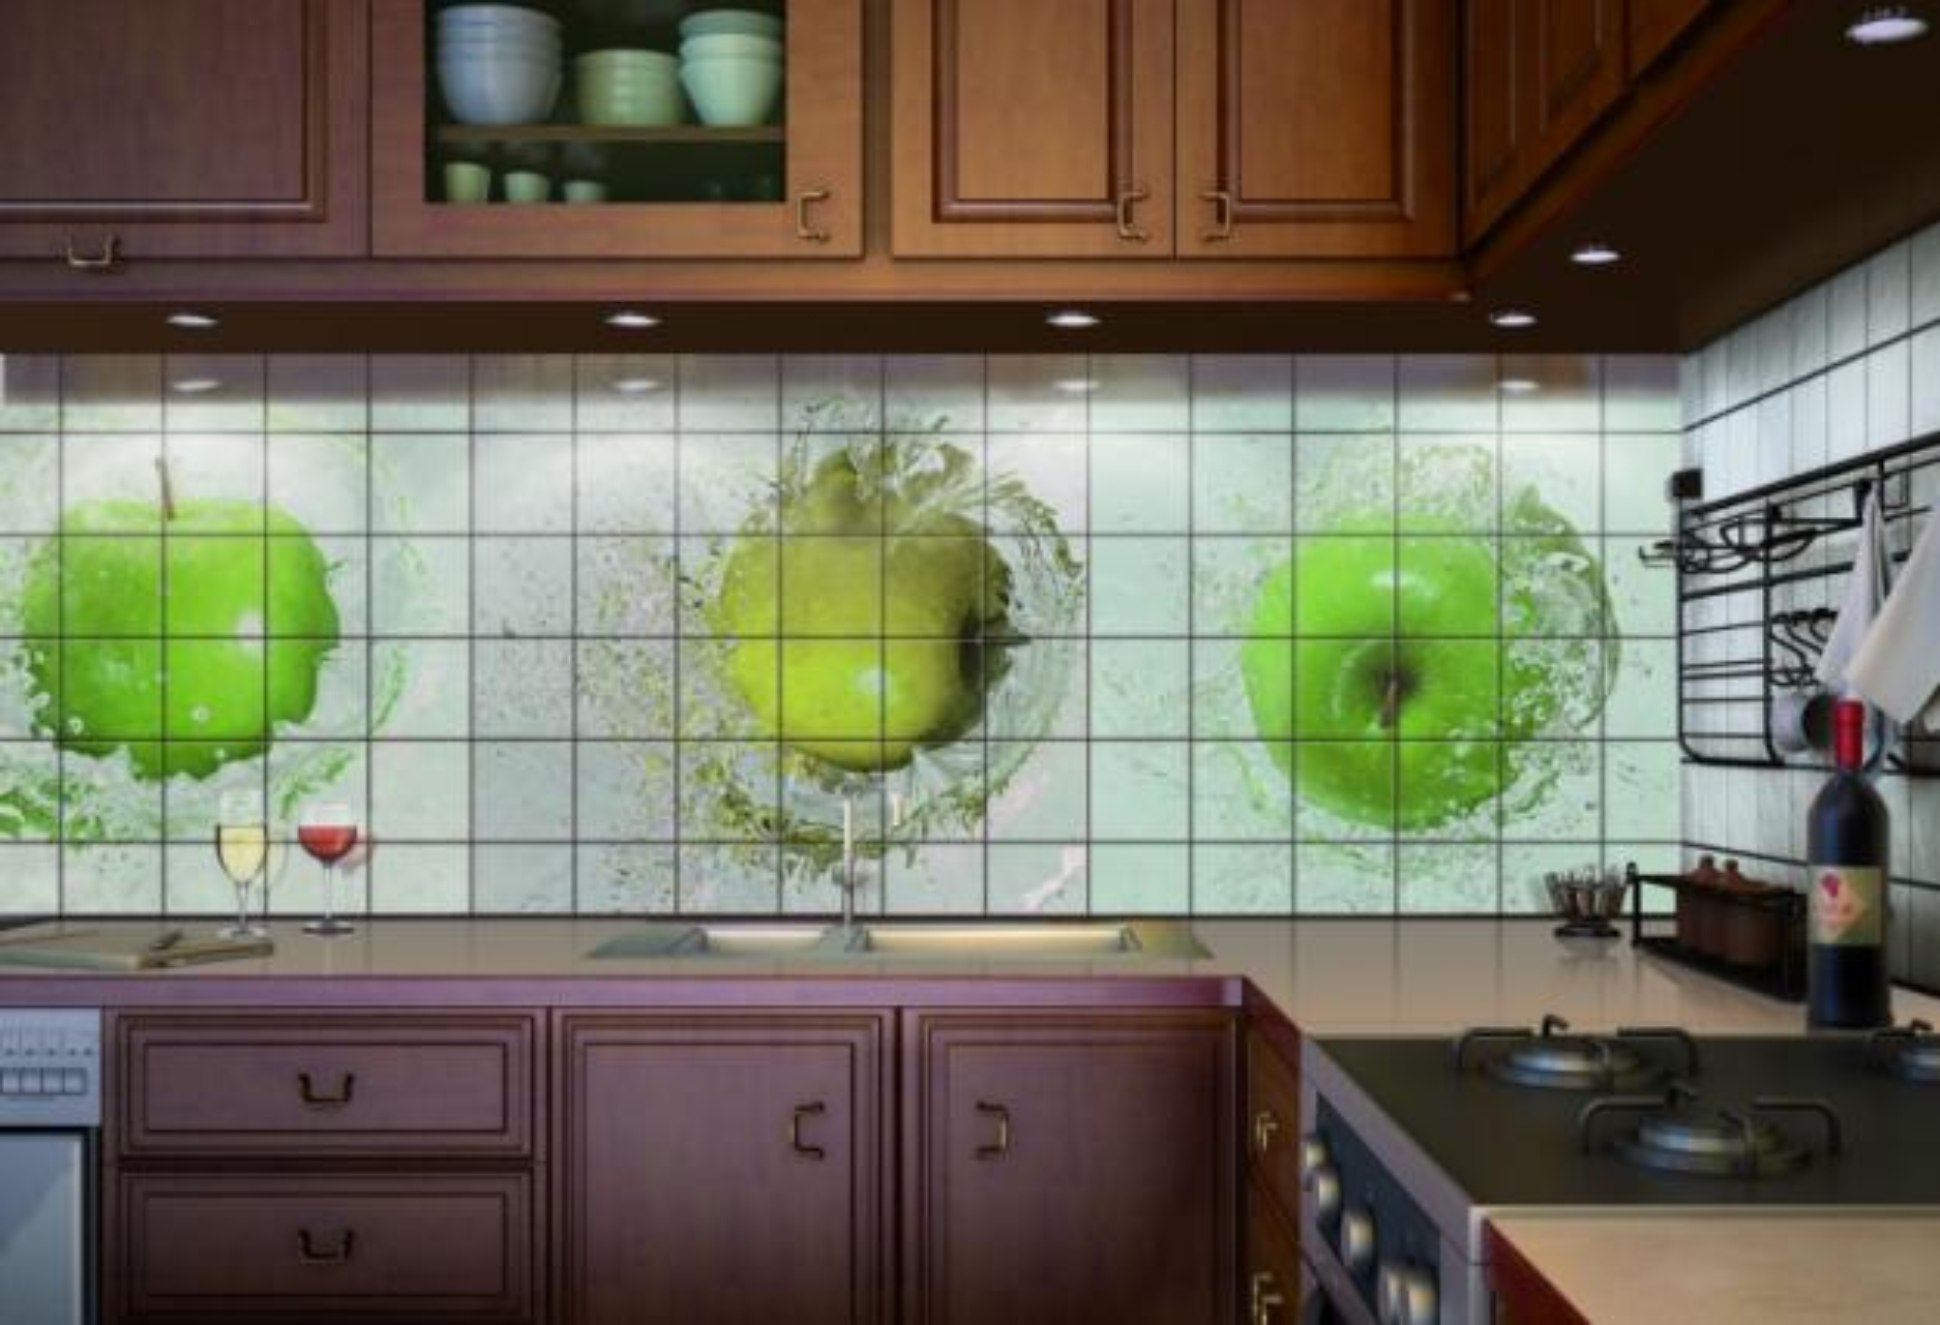
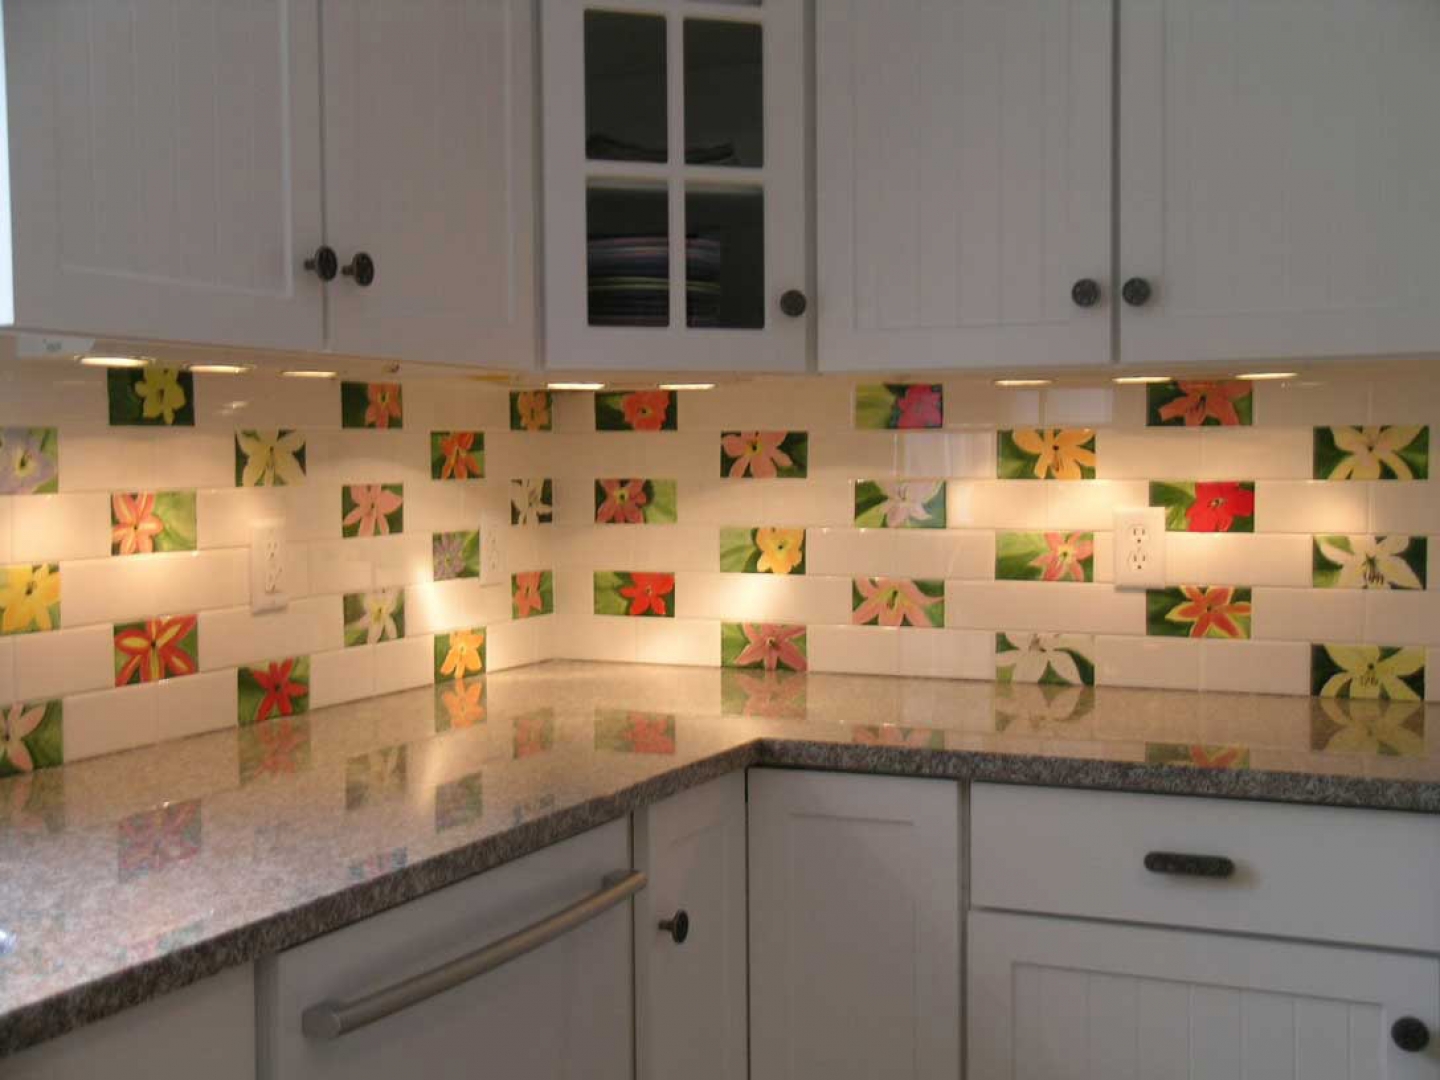
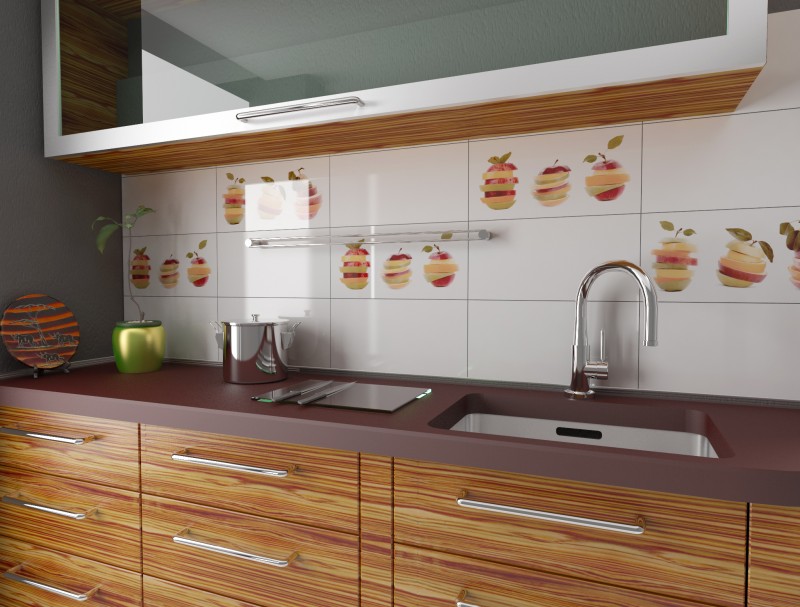
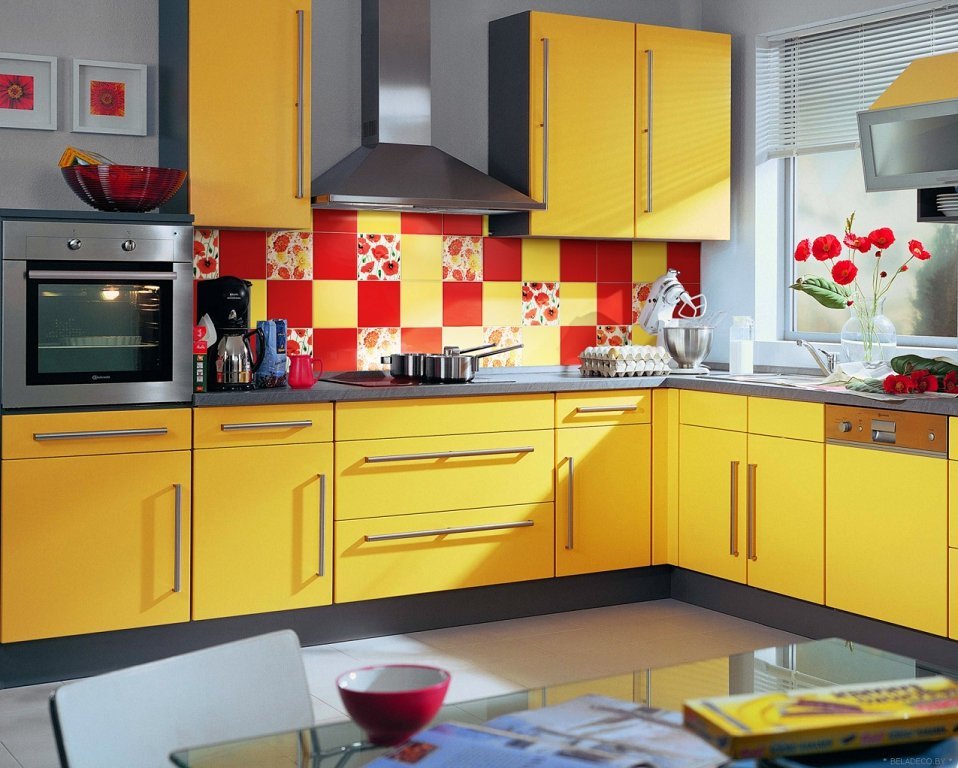
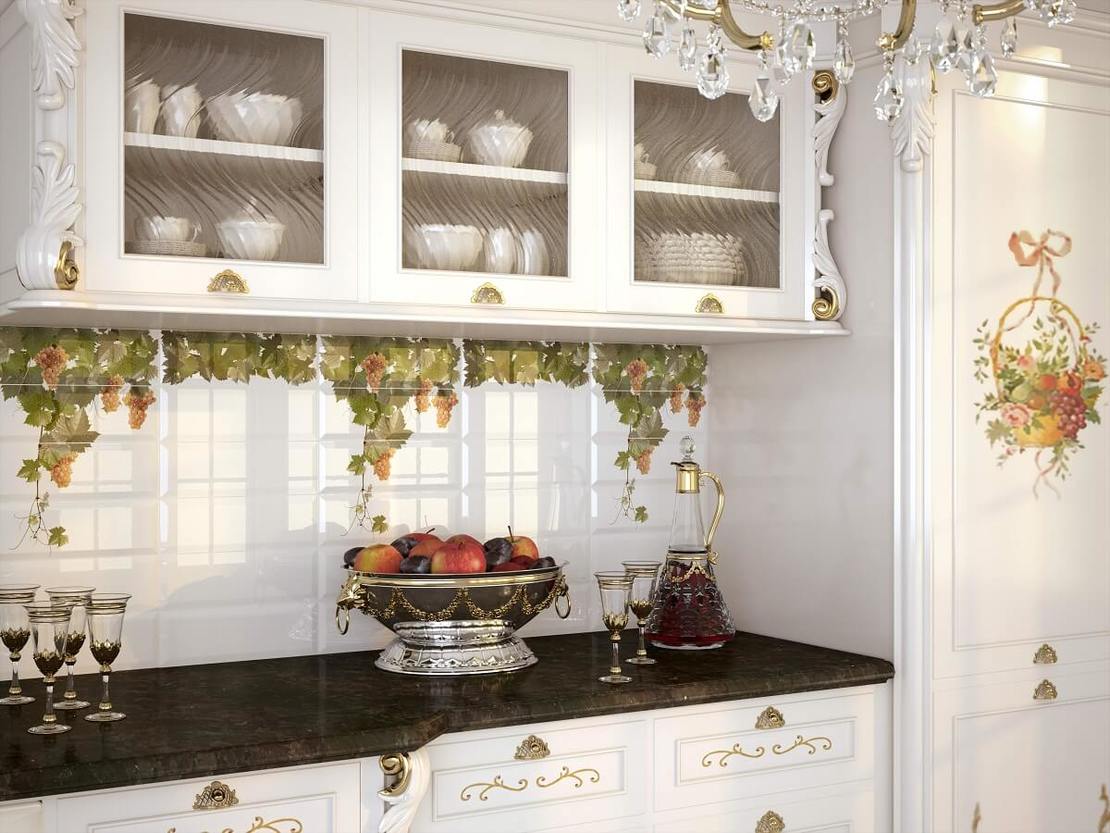
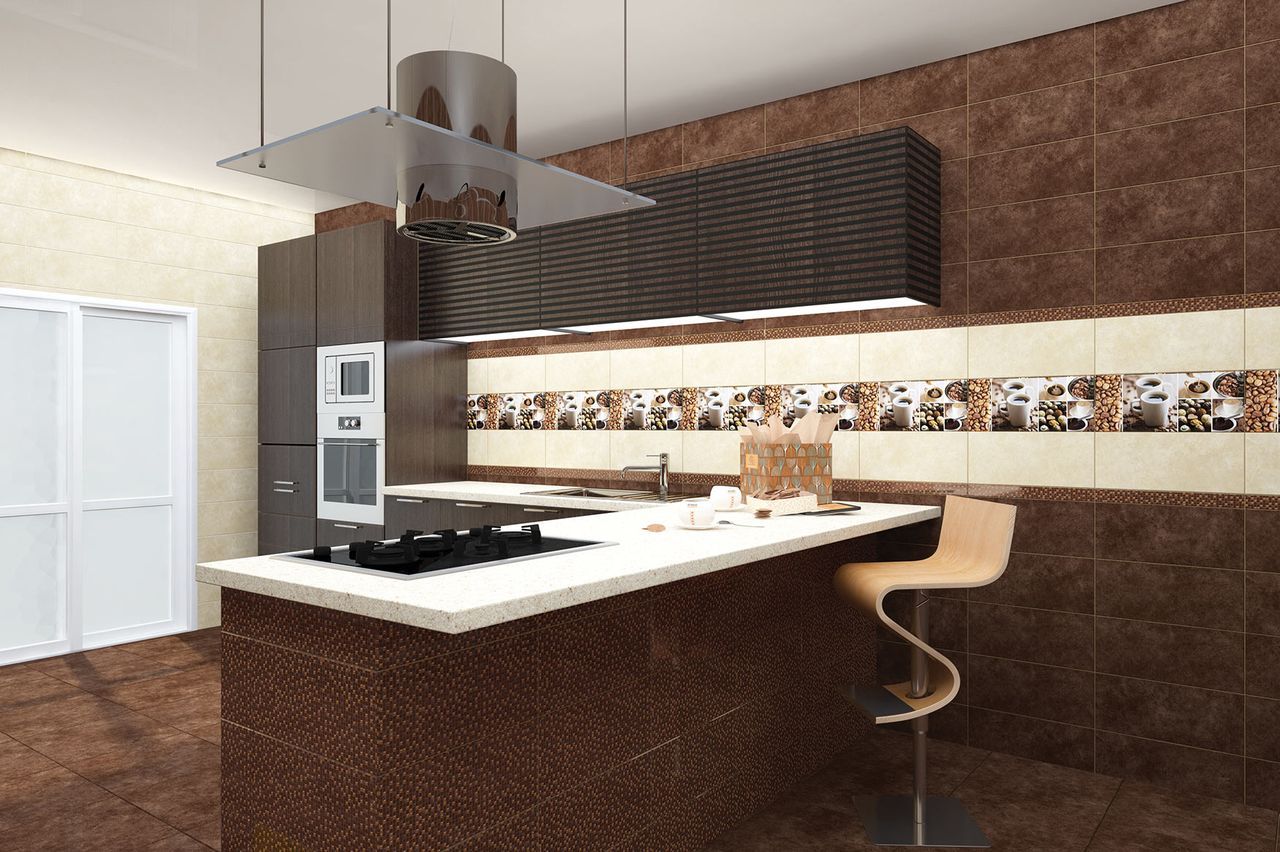
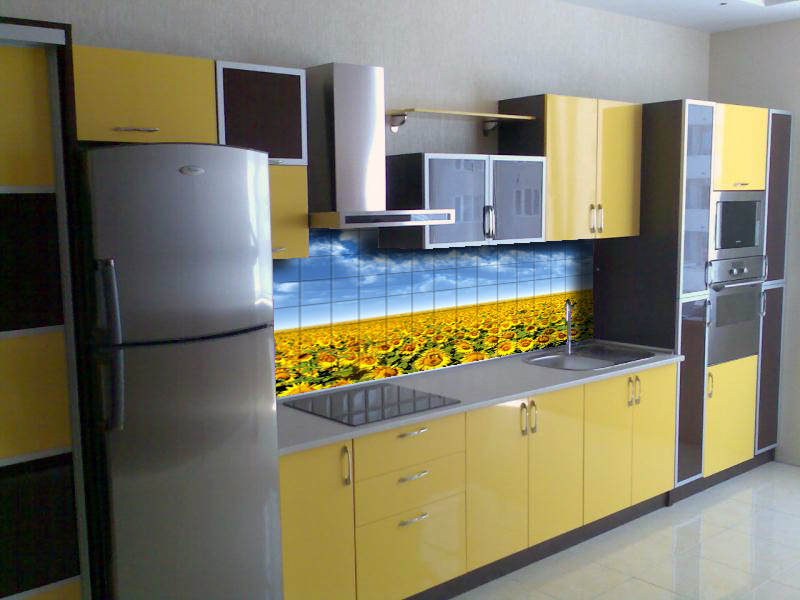
Apron from a tile with a photo printing will make a bright accent in the interior of the kitchen.
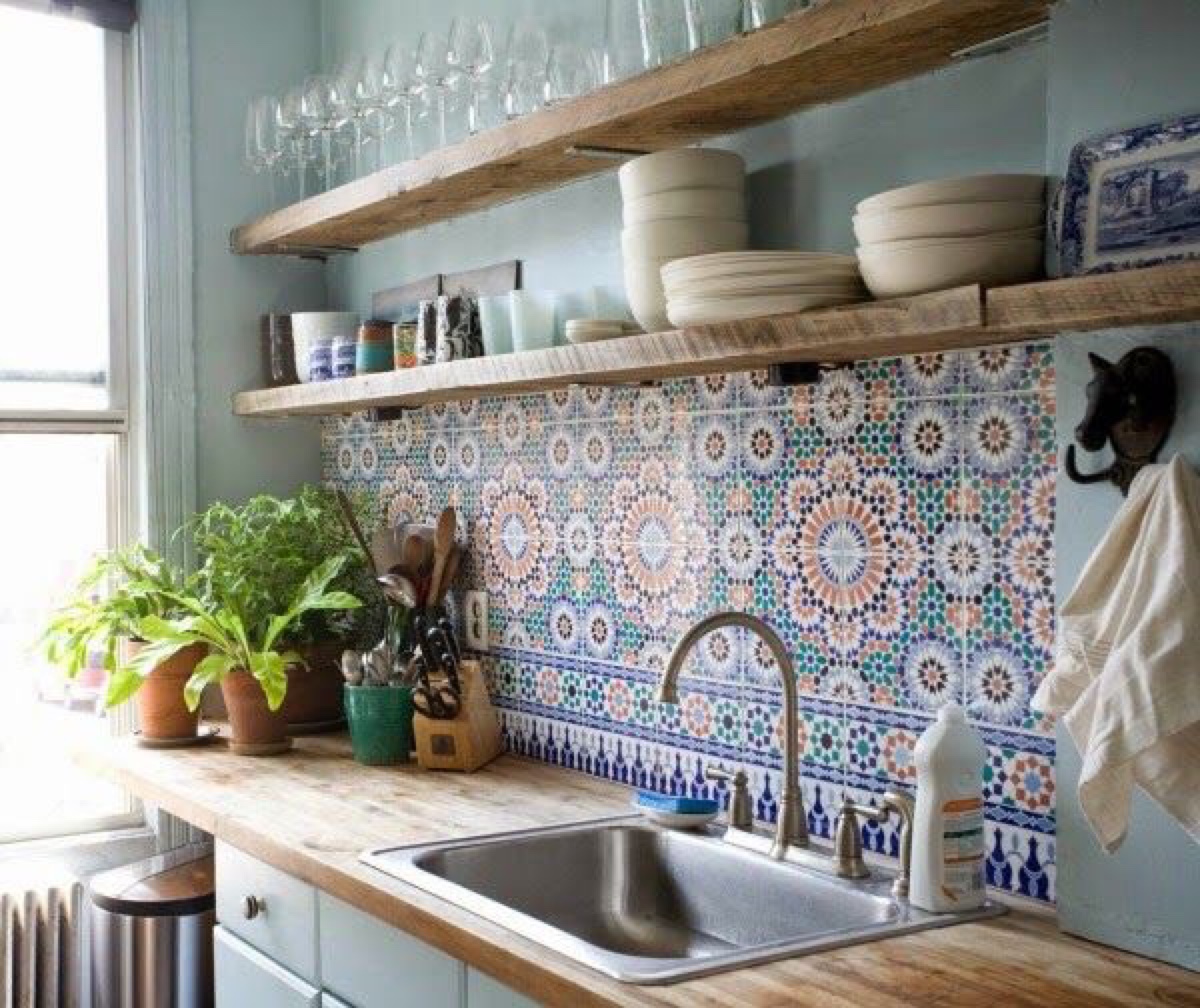
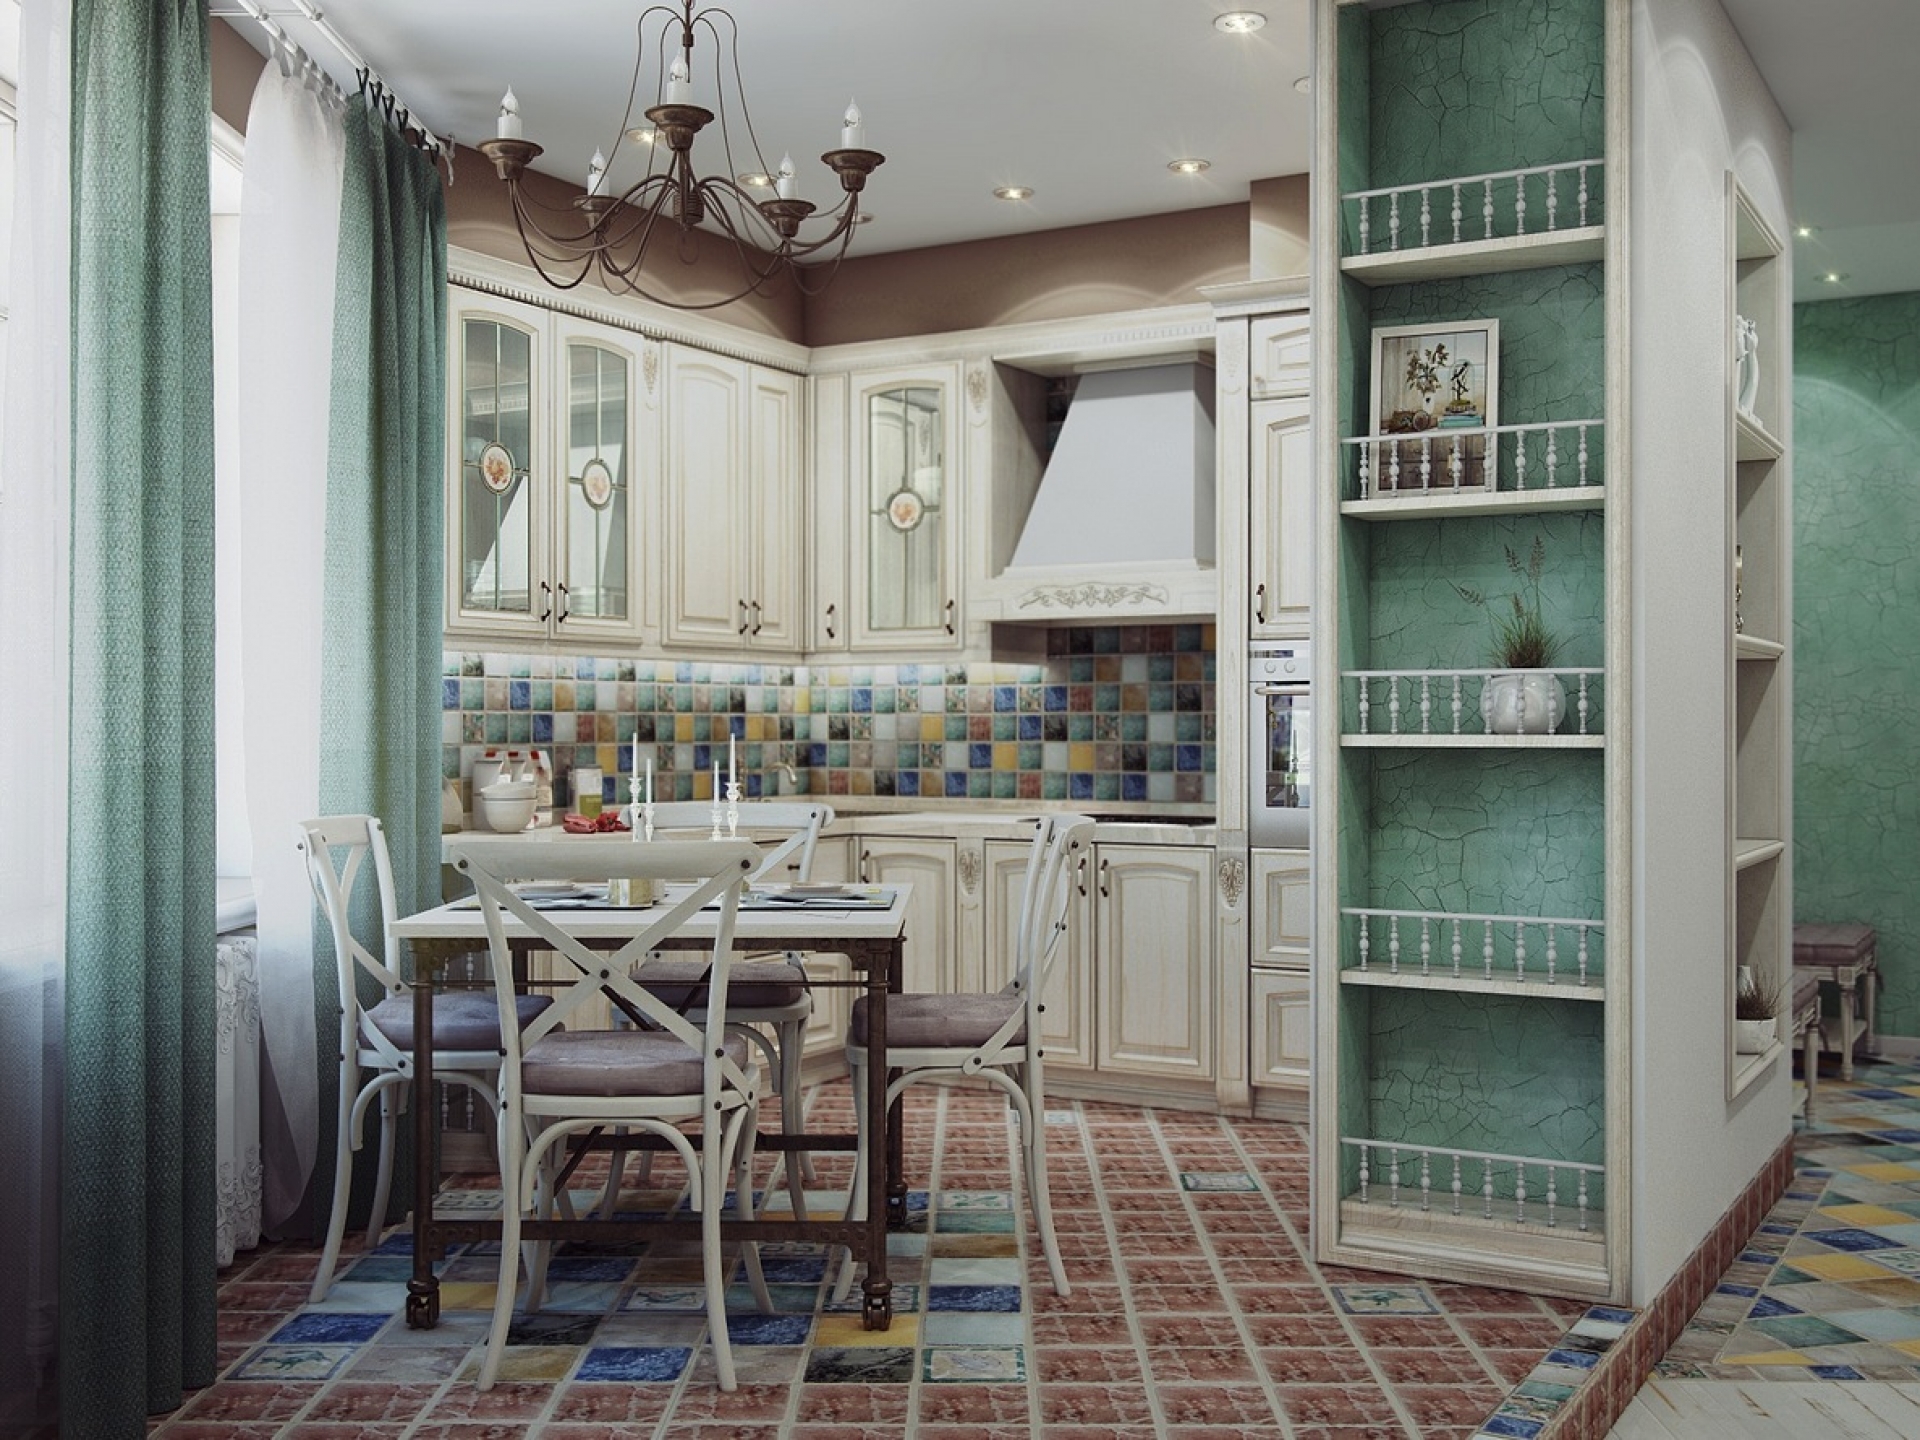
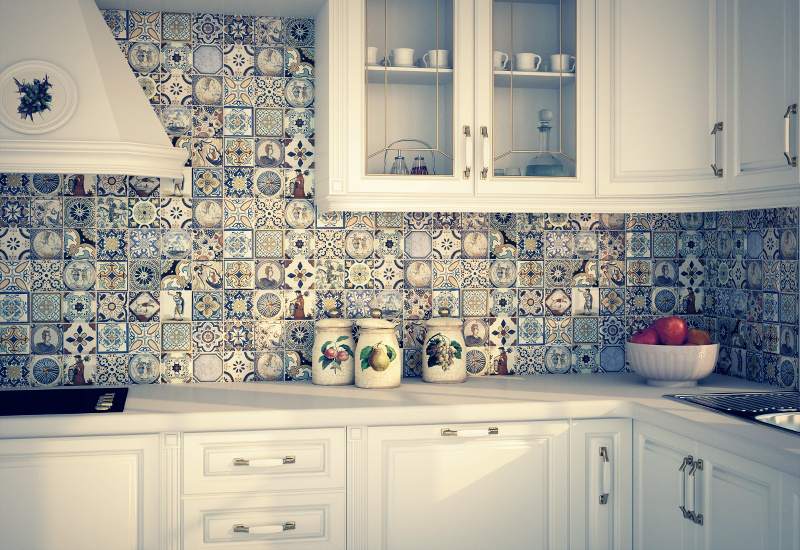
Mosaic in the kitchen in the Greek style - fashionable and elegant ..
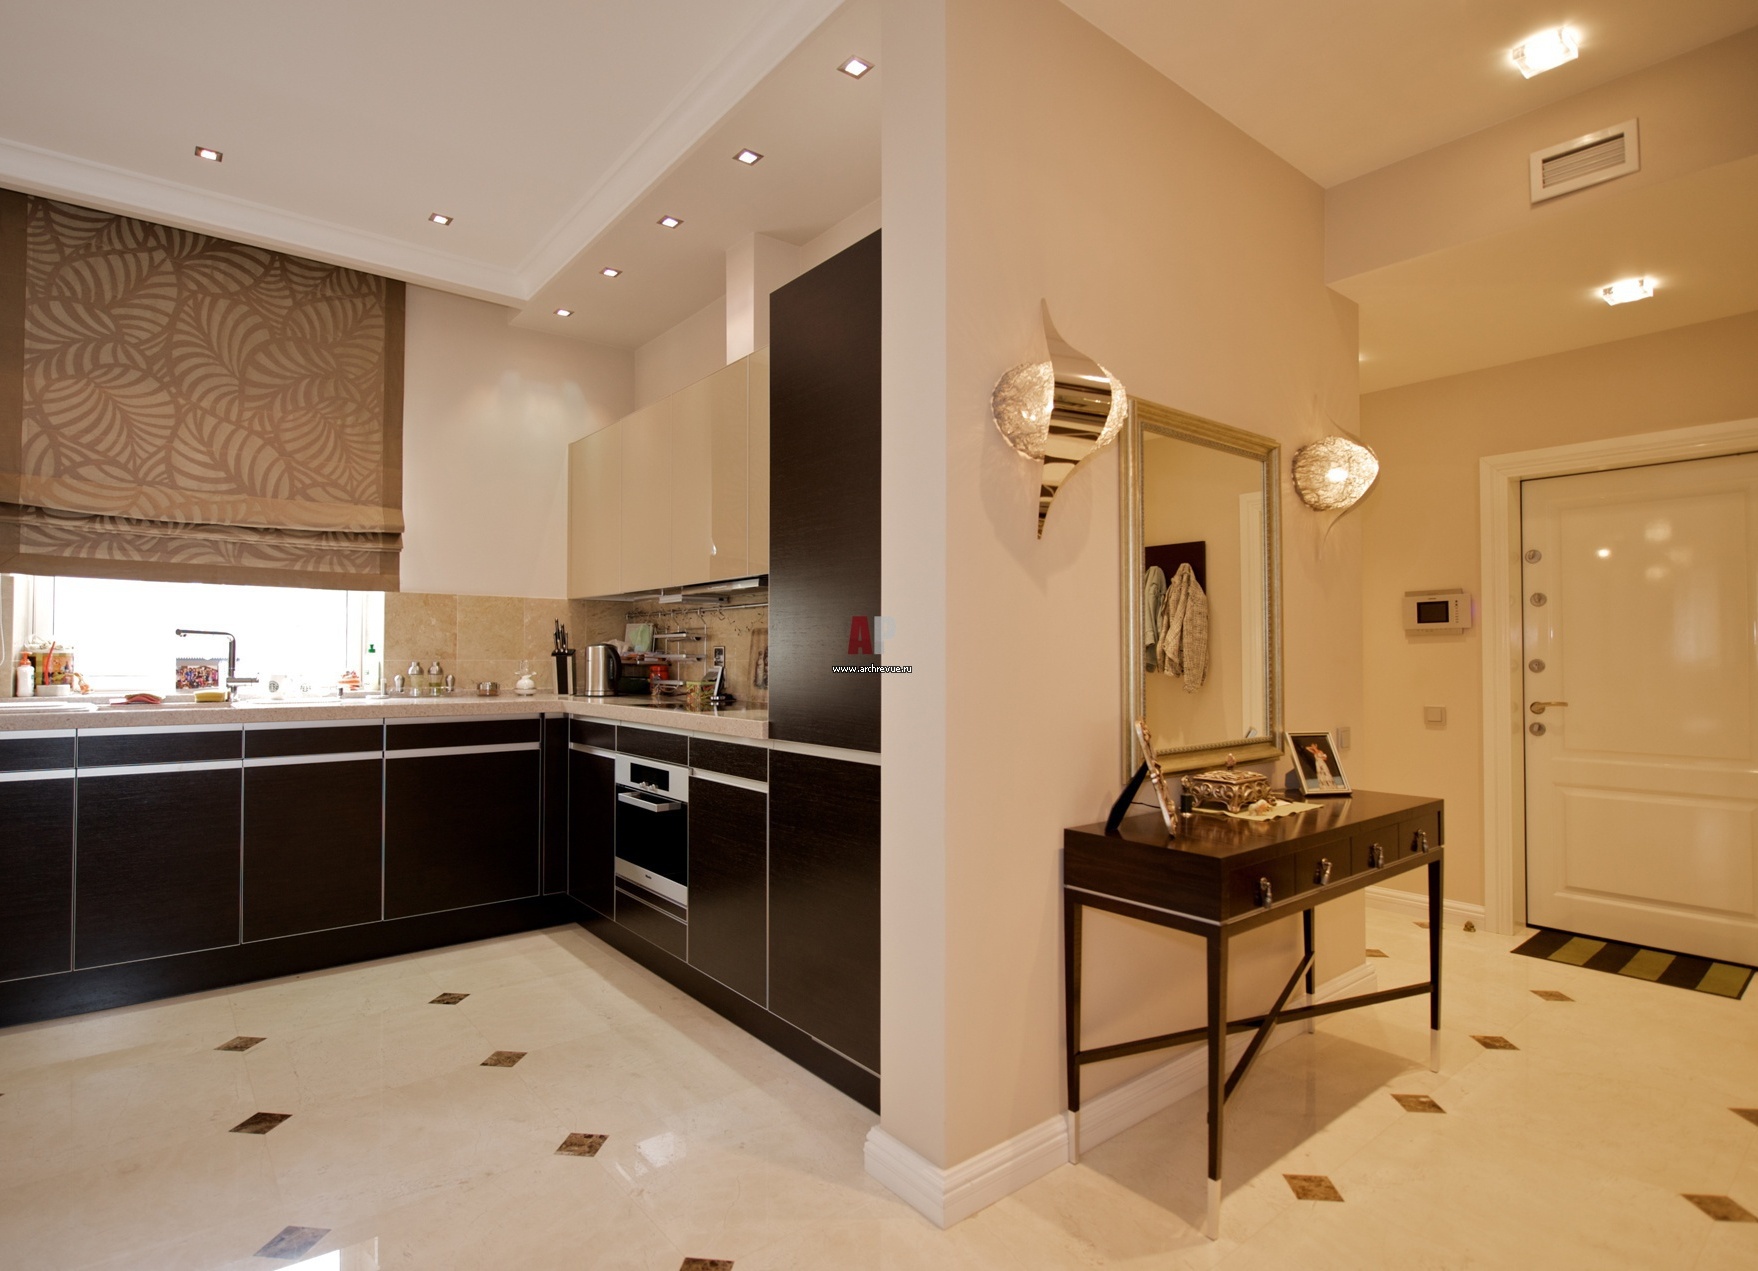
Modern designers offer the transfer of the kitchen in the hallway, if space permits. The tile on the floor in such a room is simply irreplaceable.