3D apron for the kitchen
Glass kitchen apron, or skinali - a new buzzword in the kitchen interior. They are made exclusively to order, any size and in any color scheme. Thanks to their excellent decorative and functional qualities, skinalis gained great popularity in a relatively short period of time.
Features and benefits
The advantages of installing a glass apron in the kitchen are obvious:
- this panel fits well into any interior and goes well with any surfaces;
- You can choose any, unique image;
- ease of installation - mounting takes no more than two hours;
- a solid glass surface is more convenient to use than a tile, since it does not have seams in which flying fat and dirt accumulate;
- tempered glass is shockproof, can withstand even the weight of an adult and a temperature of up to 120-150 degrees;
- easy care - can be cleaned with any detergent, sponges, brushes and scrapers, without fear of damaging the image;
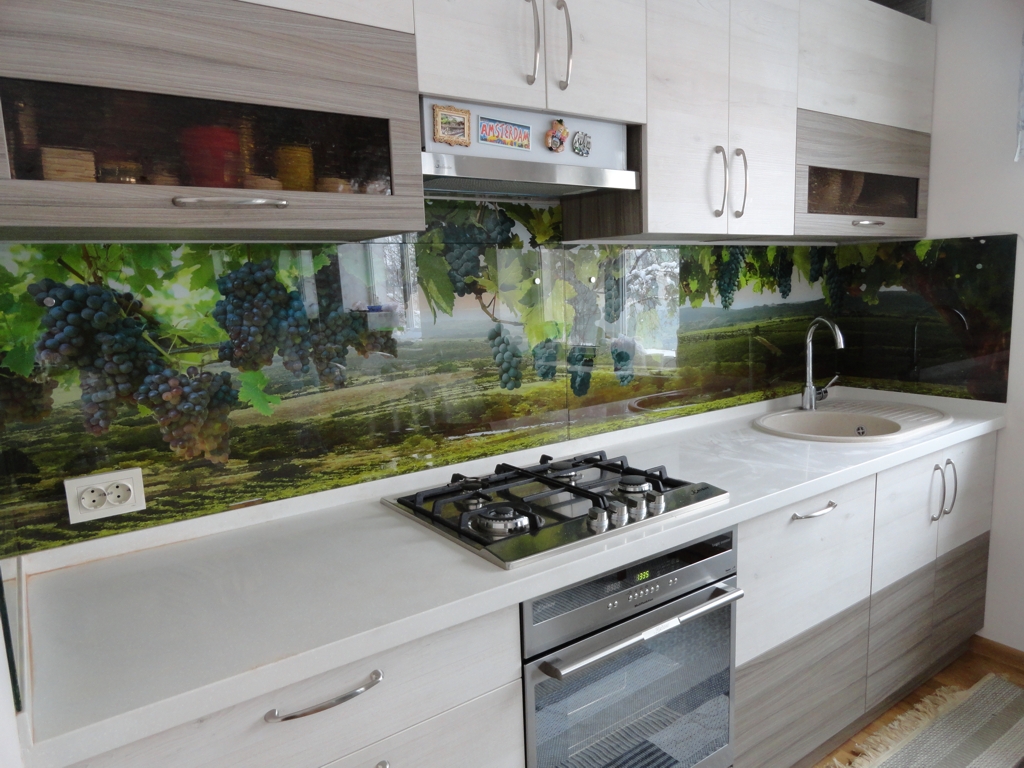
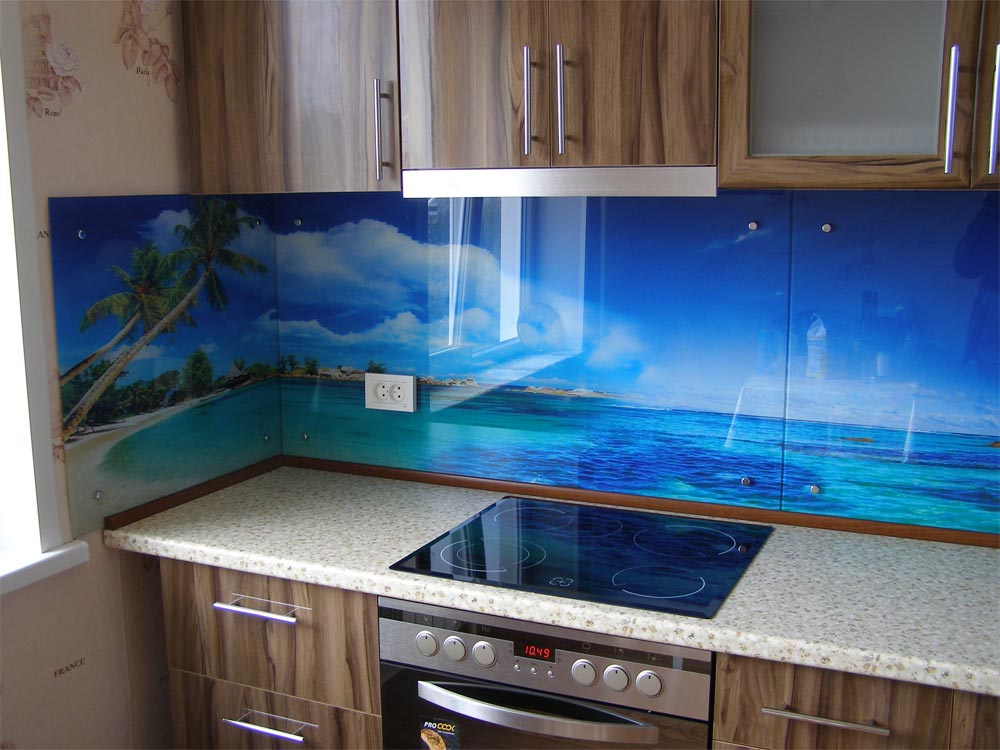
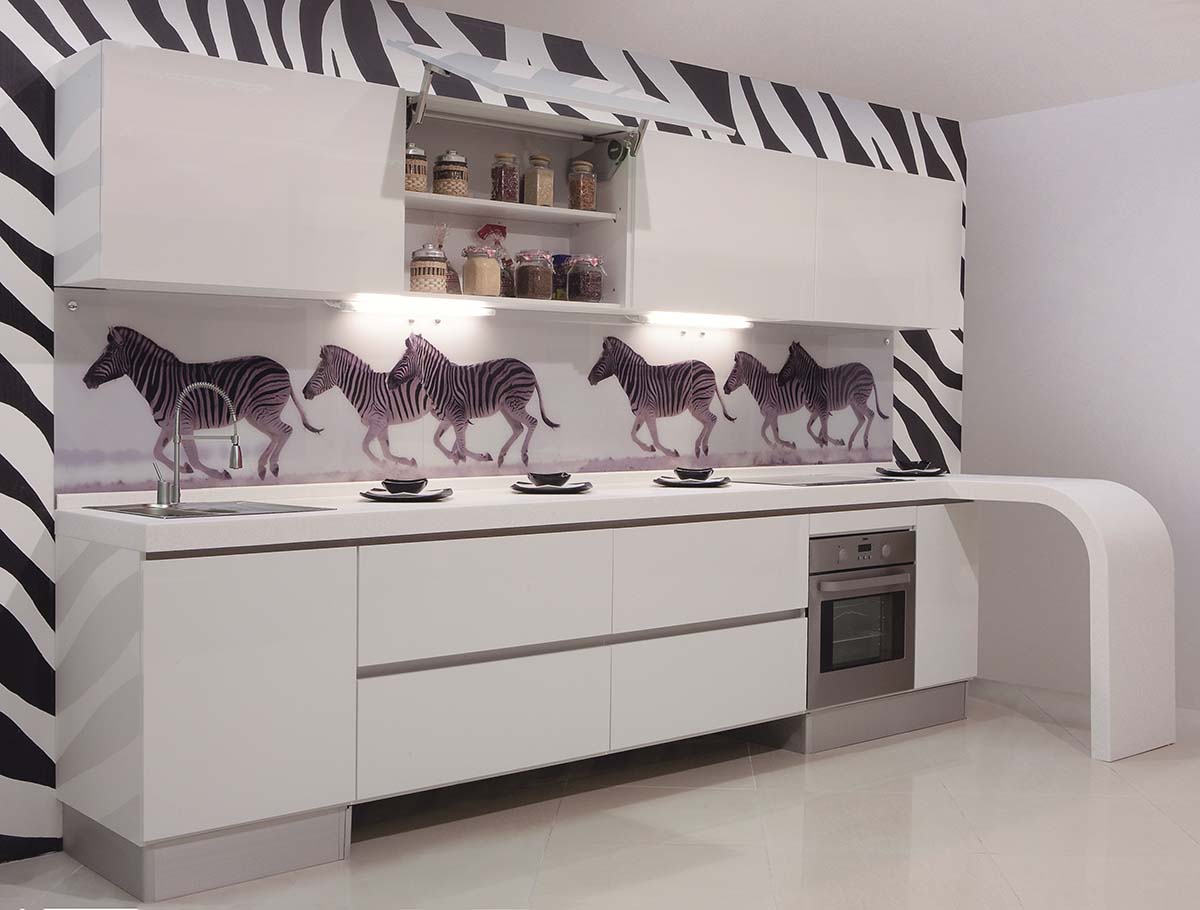
- 3D-image visually expands the space, creates an atmosphere of immersion and its own special mood.
The only minus skinal is a fairly high cost, starting from 4,700 rubles per square meter with installation.
Variety of models
3D kitchen aprons can be of several varieties:
- with volumetric, realistic stereo image: with perspective (two-dimensional pattern), with a relief surface, with the appearance of a 3D effect;
- from translucent plastic with non-uniform texture;
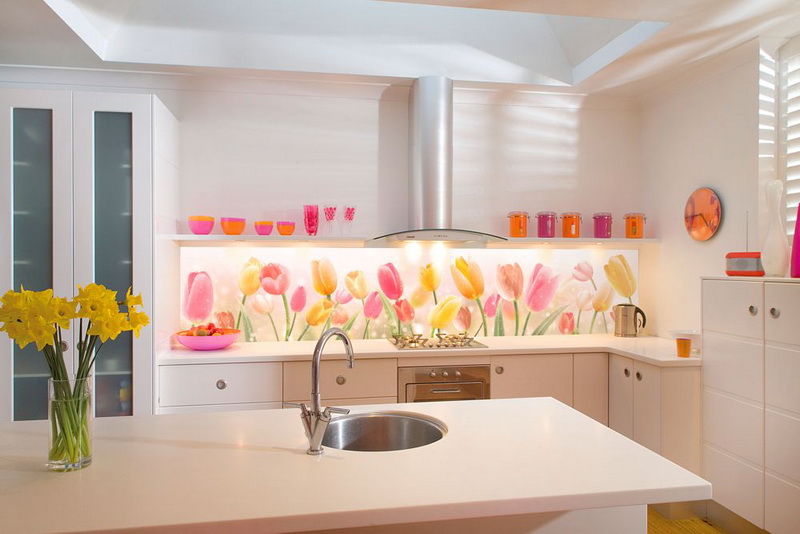
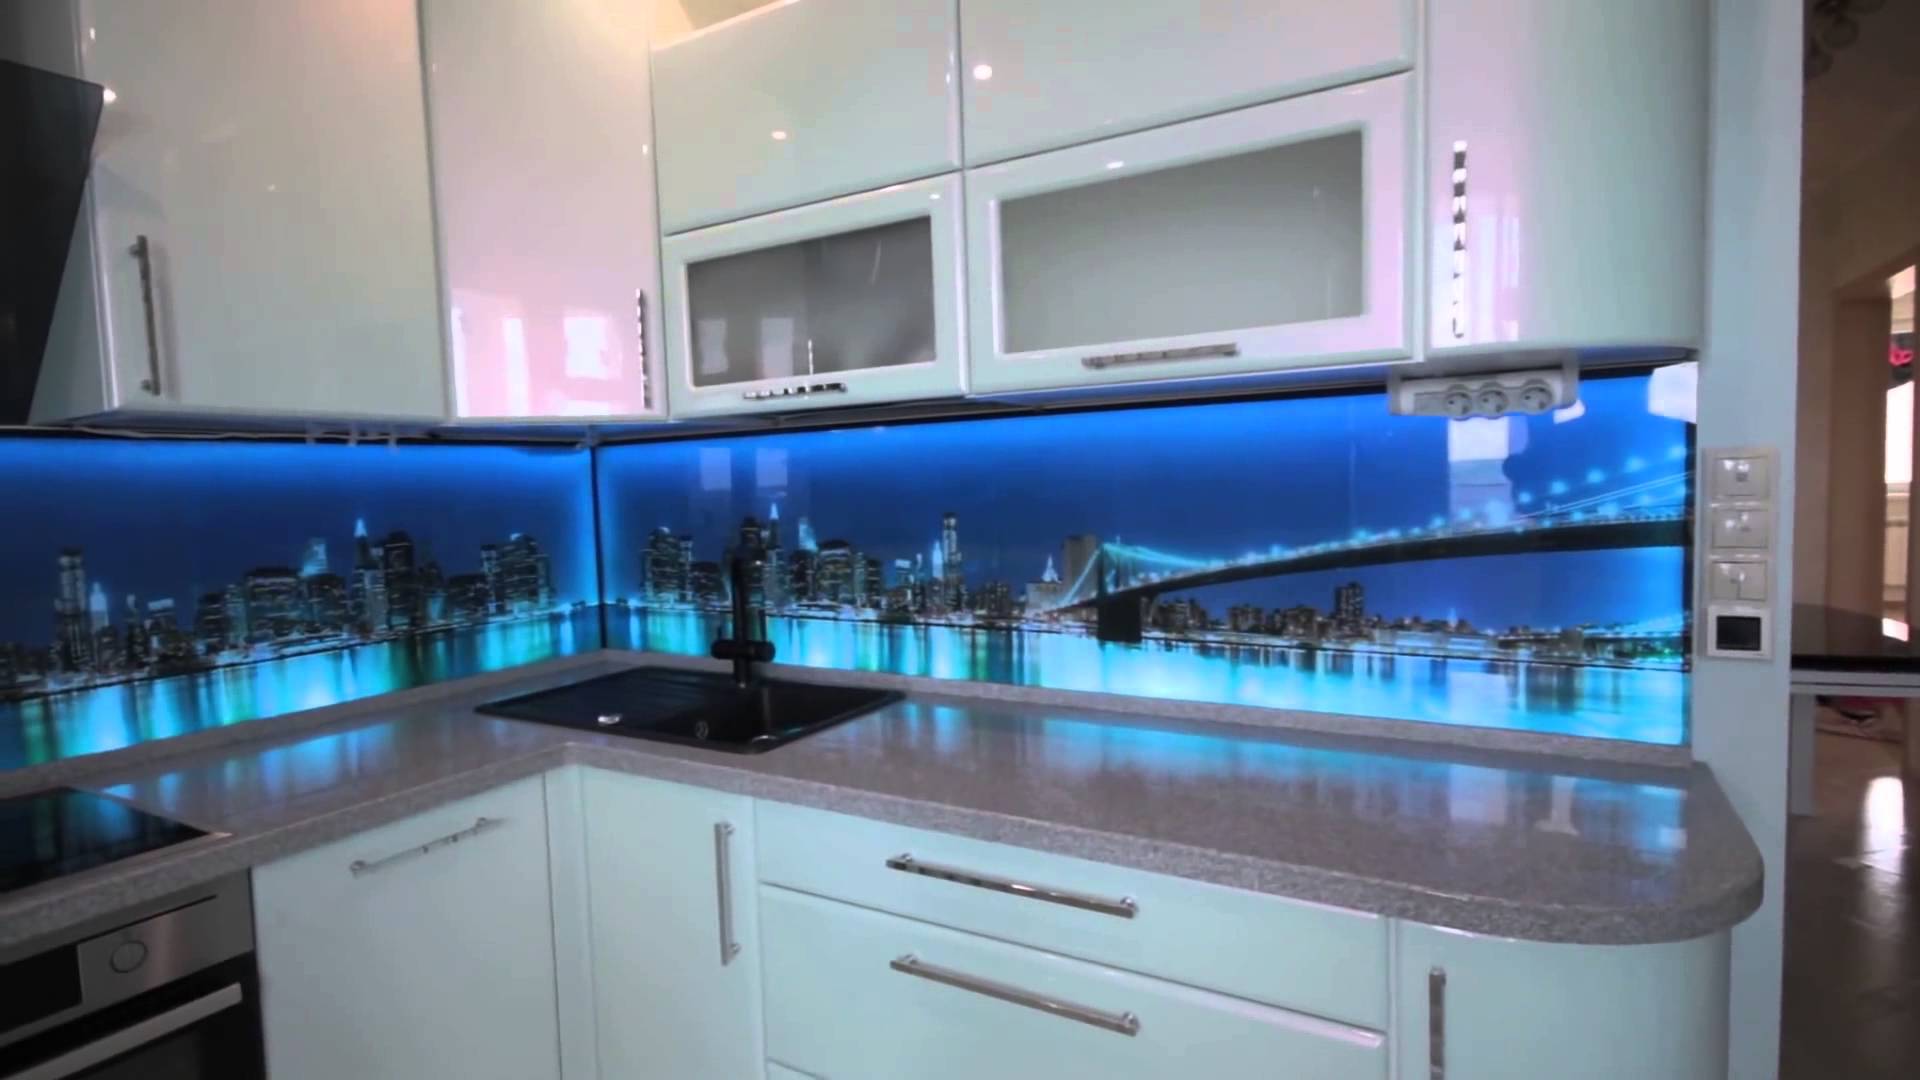
- with partial illumination of individual parts of the picture.
Creating aprons with backlighting is a rather complicated process, so such an apron is more expensive. In addition, they require the installation of additional points for connection, require periodic prophylaxis.
The most economical option - aprons with a two-dimensional image. They are easy to manufacture and completely safe to use.
Stereo images on aprons are created using a special photo printing technique with self-hardening ink on a wide-format printer. Variable way of filing ink droplets allows you to achieve a realistic three-dimensional effect.
Installation
Having decided to install 3D panels in the kitchen, it should be remembered that later it will not be removable and fixed, so at the beginning it is necessary to fully assemble the headset, hold the lighting, remove all the sockets from the apron coverage area, and only then begin to mount this element.
Installation is as follows:
- Plastic strips are installed on the cleaned concrete wall, protecting the glass panel from contact with the wall and fasteners.
- The panel is located near the installation site.
- The marking is applied on the wall, holes are drilled into it, into which plastic dowels are inserted.
- The apron is mounted on screws.
- The caps of the screws are closed with plugs.

Recommendations for selection
Drawing for 3D panels is an infinite field for creativity, and everything is limited only by the designer’s imagination and the desires of the customer.
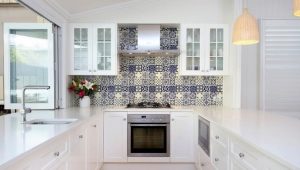
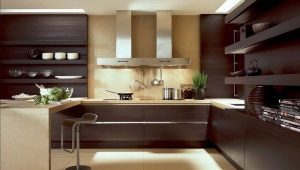
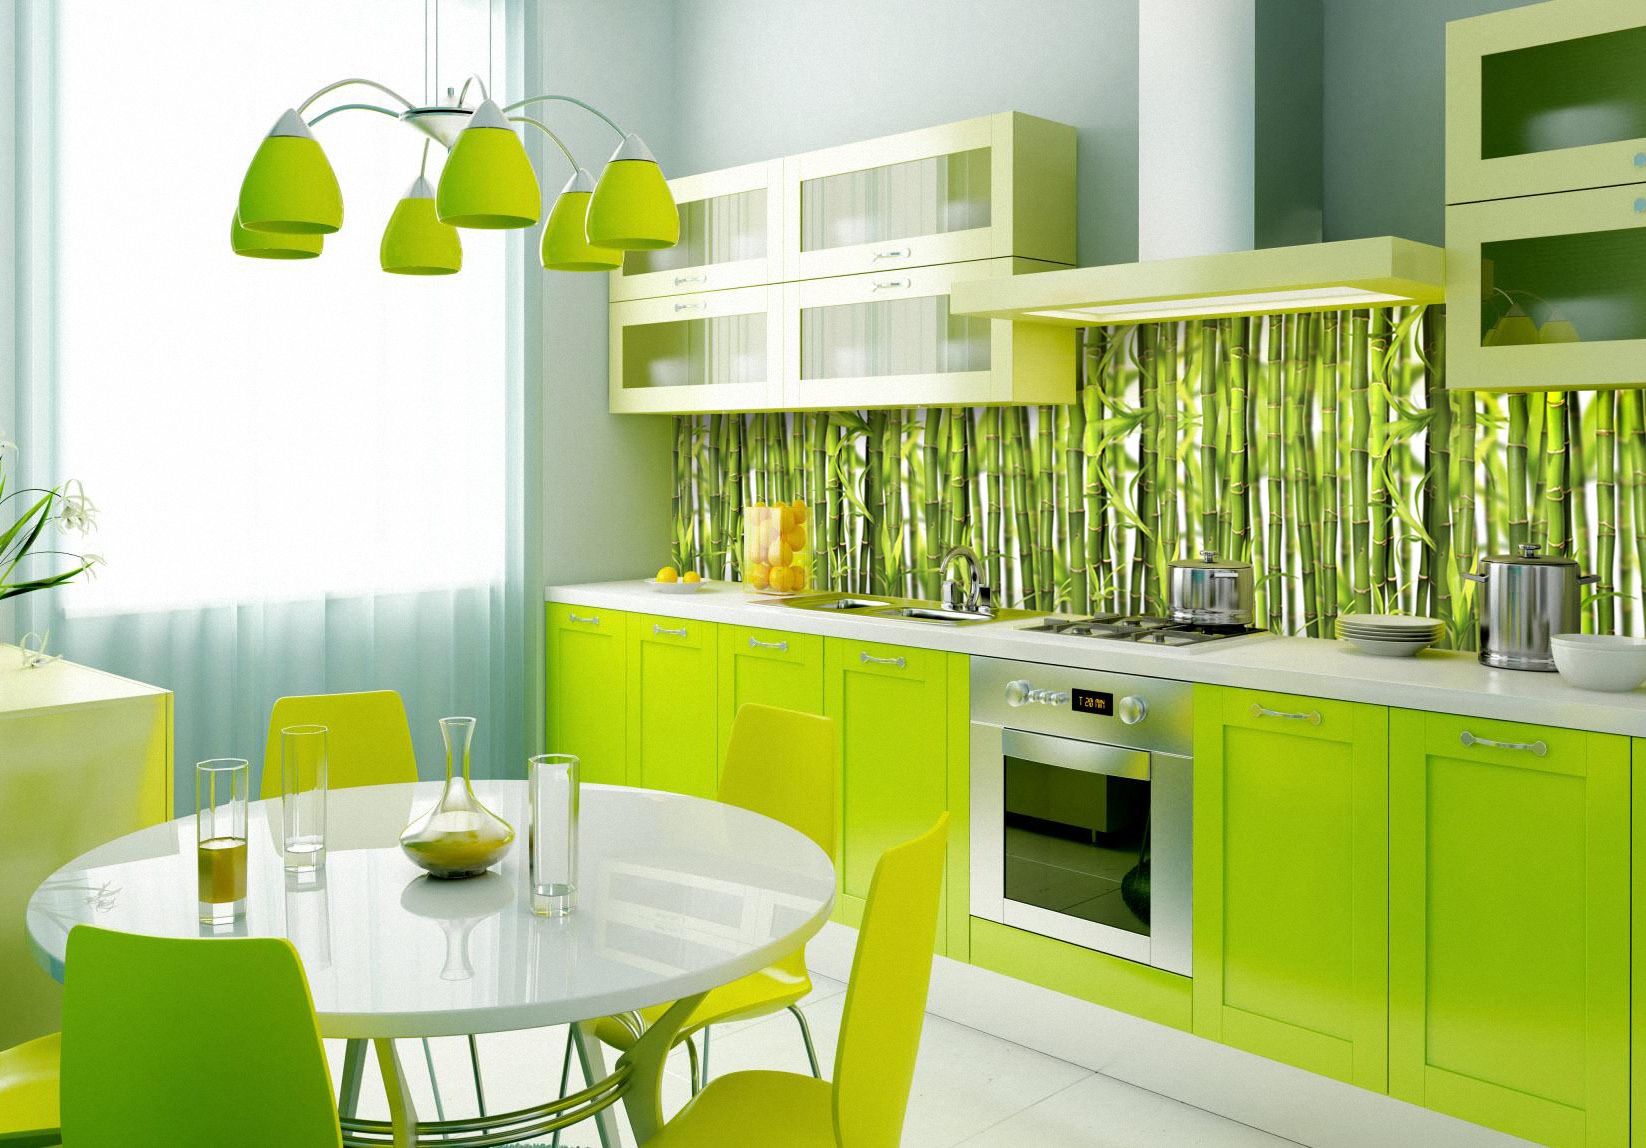
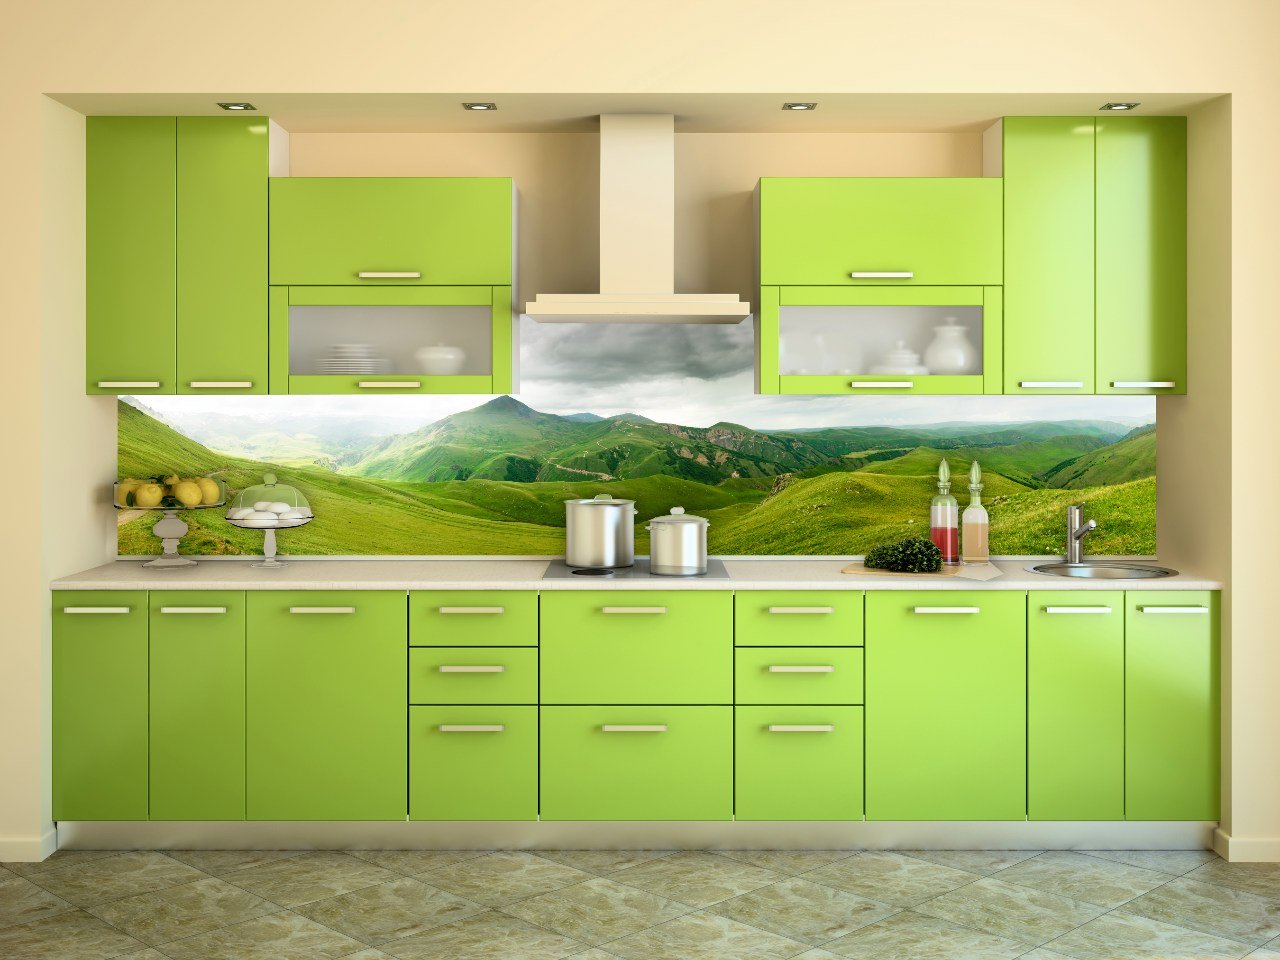
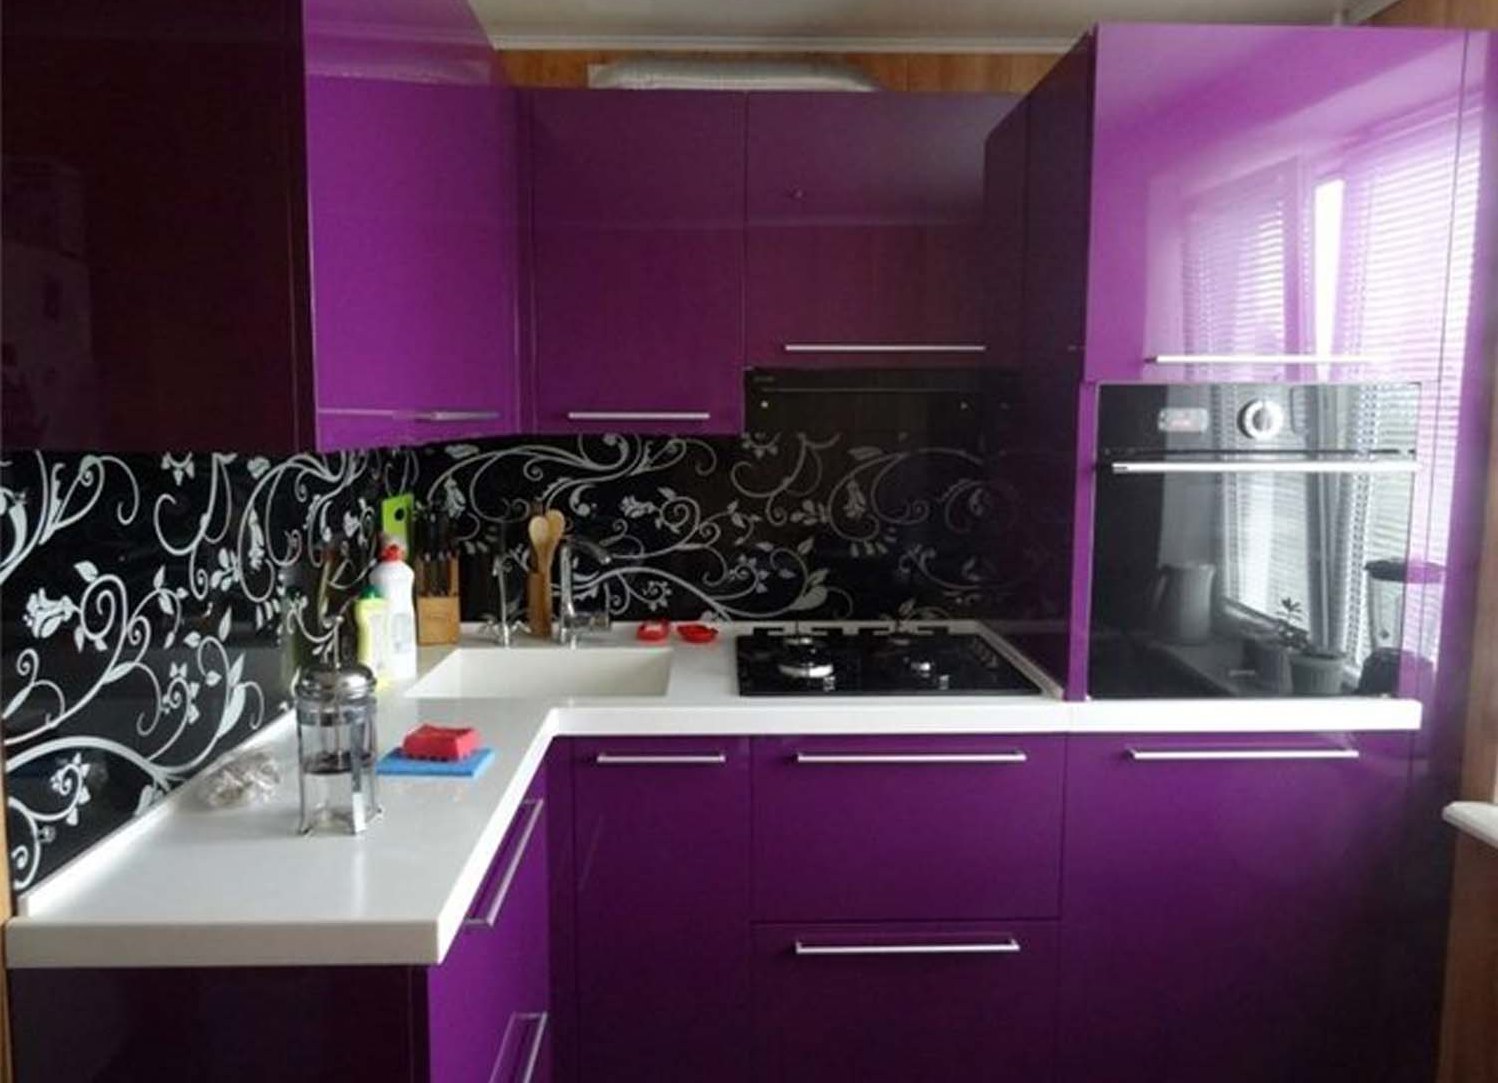
In the interior of the kitchen, skinalis can play both the role of the main accent, drawing all attention to themselves, and the role of a harmonizing element, imperceptibly dissolving in the surrounding space. In the second variant, it is worth choosing the color of the panels to match the color of the furniture, the walls or to make it transparent.
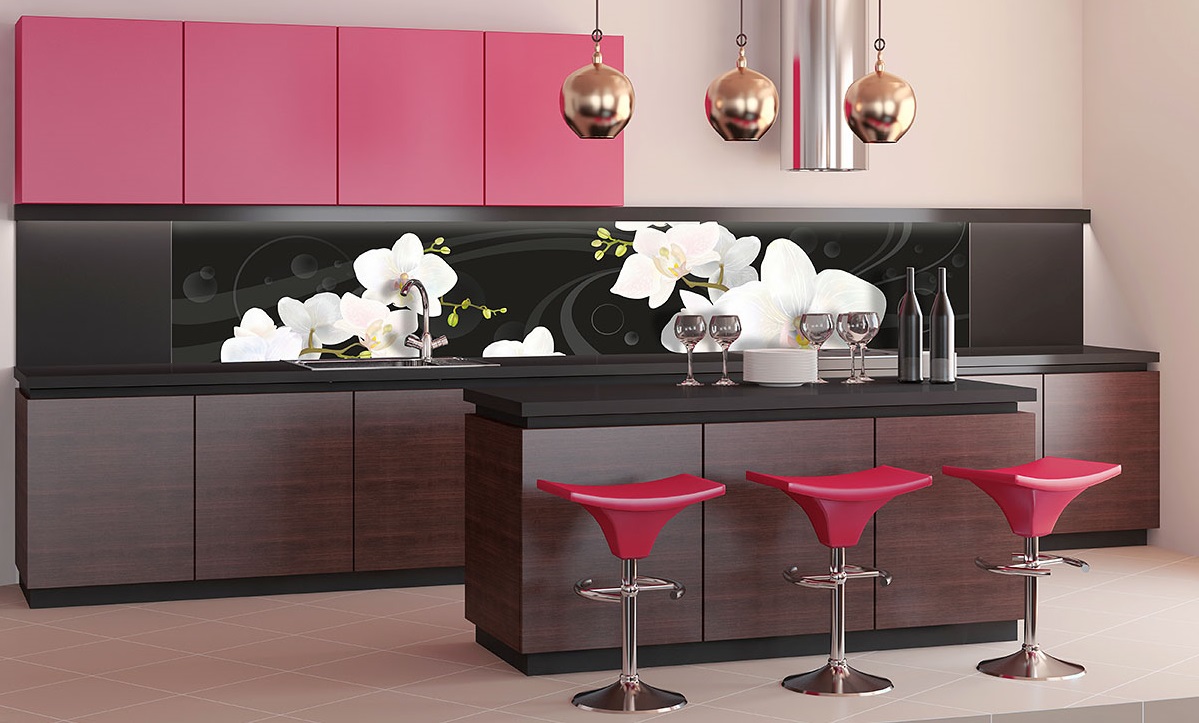
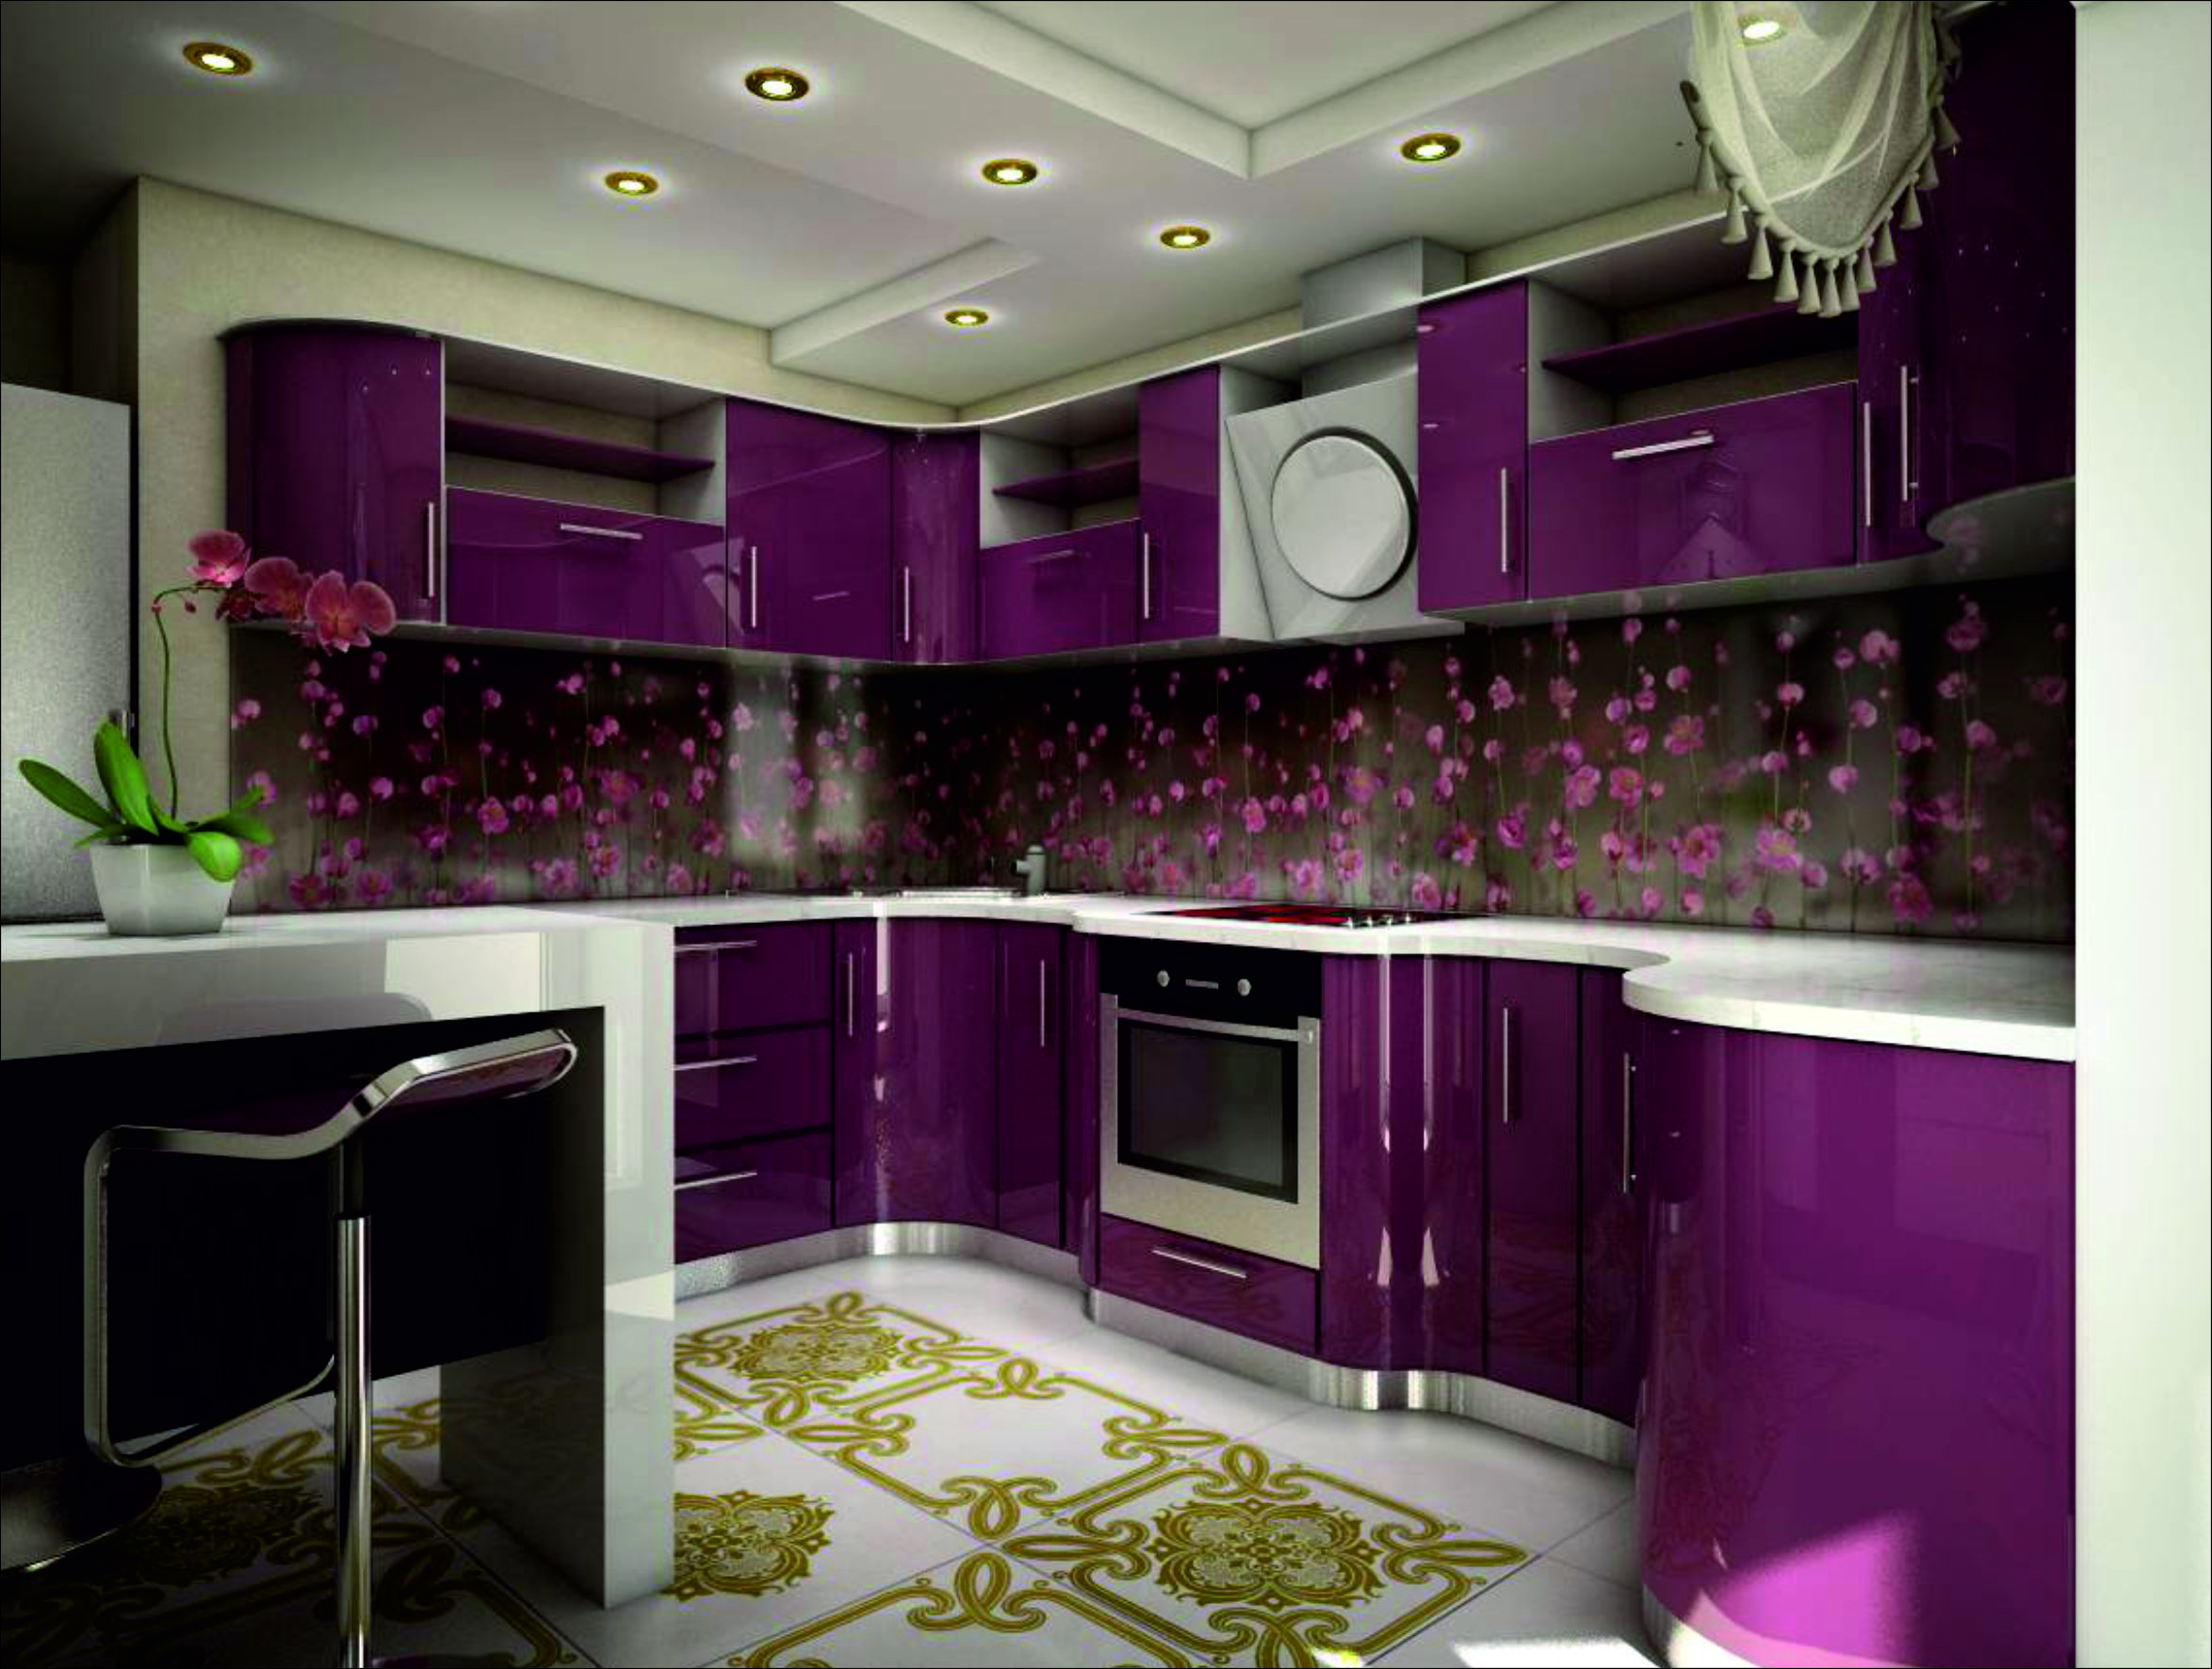
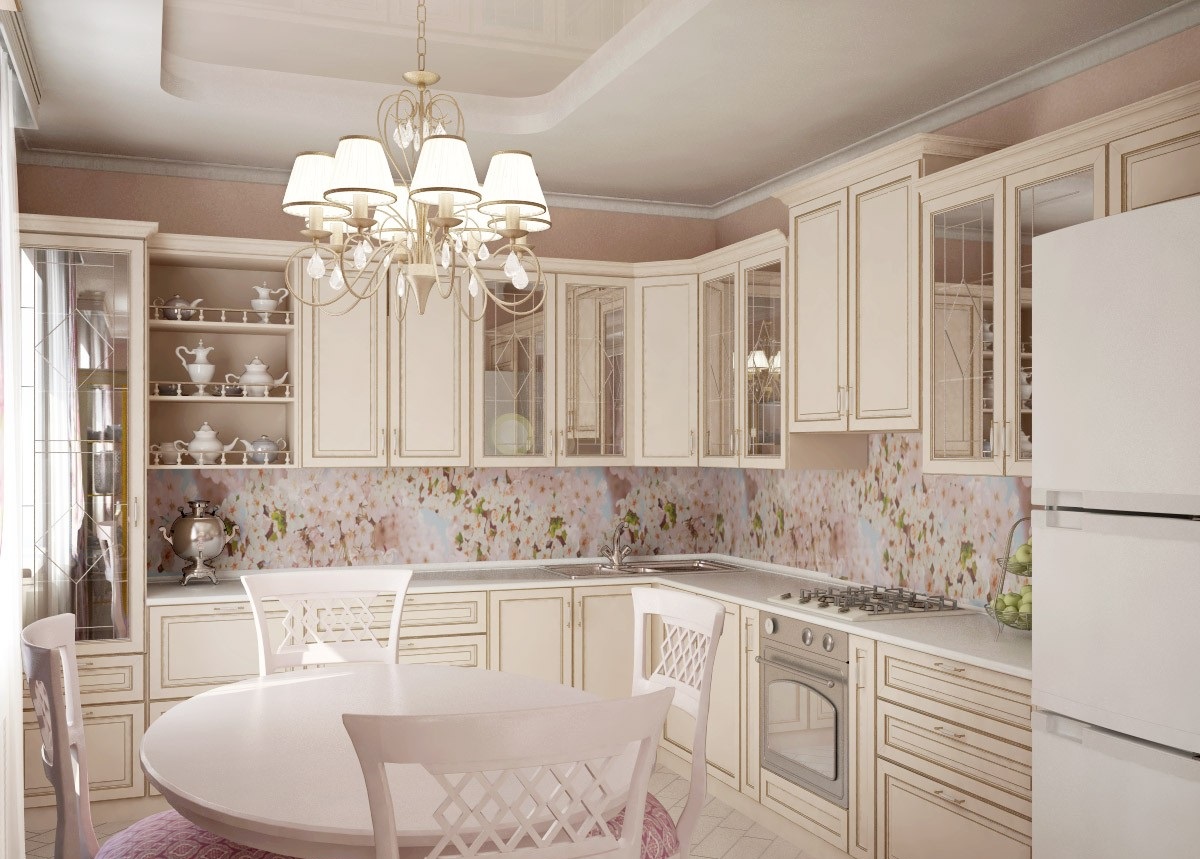
Neutral apron is usually made in calm, pastel colors with a simple, unobtrusive texture. Contrast skinali is better to choose, if you have the whole kitchen is made in the same color scheme. This will give the room a sharpness and dynamism.
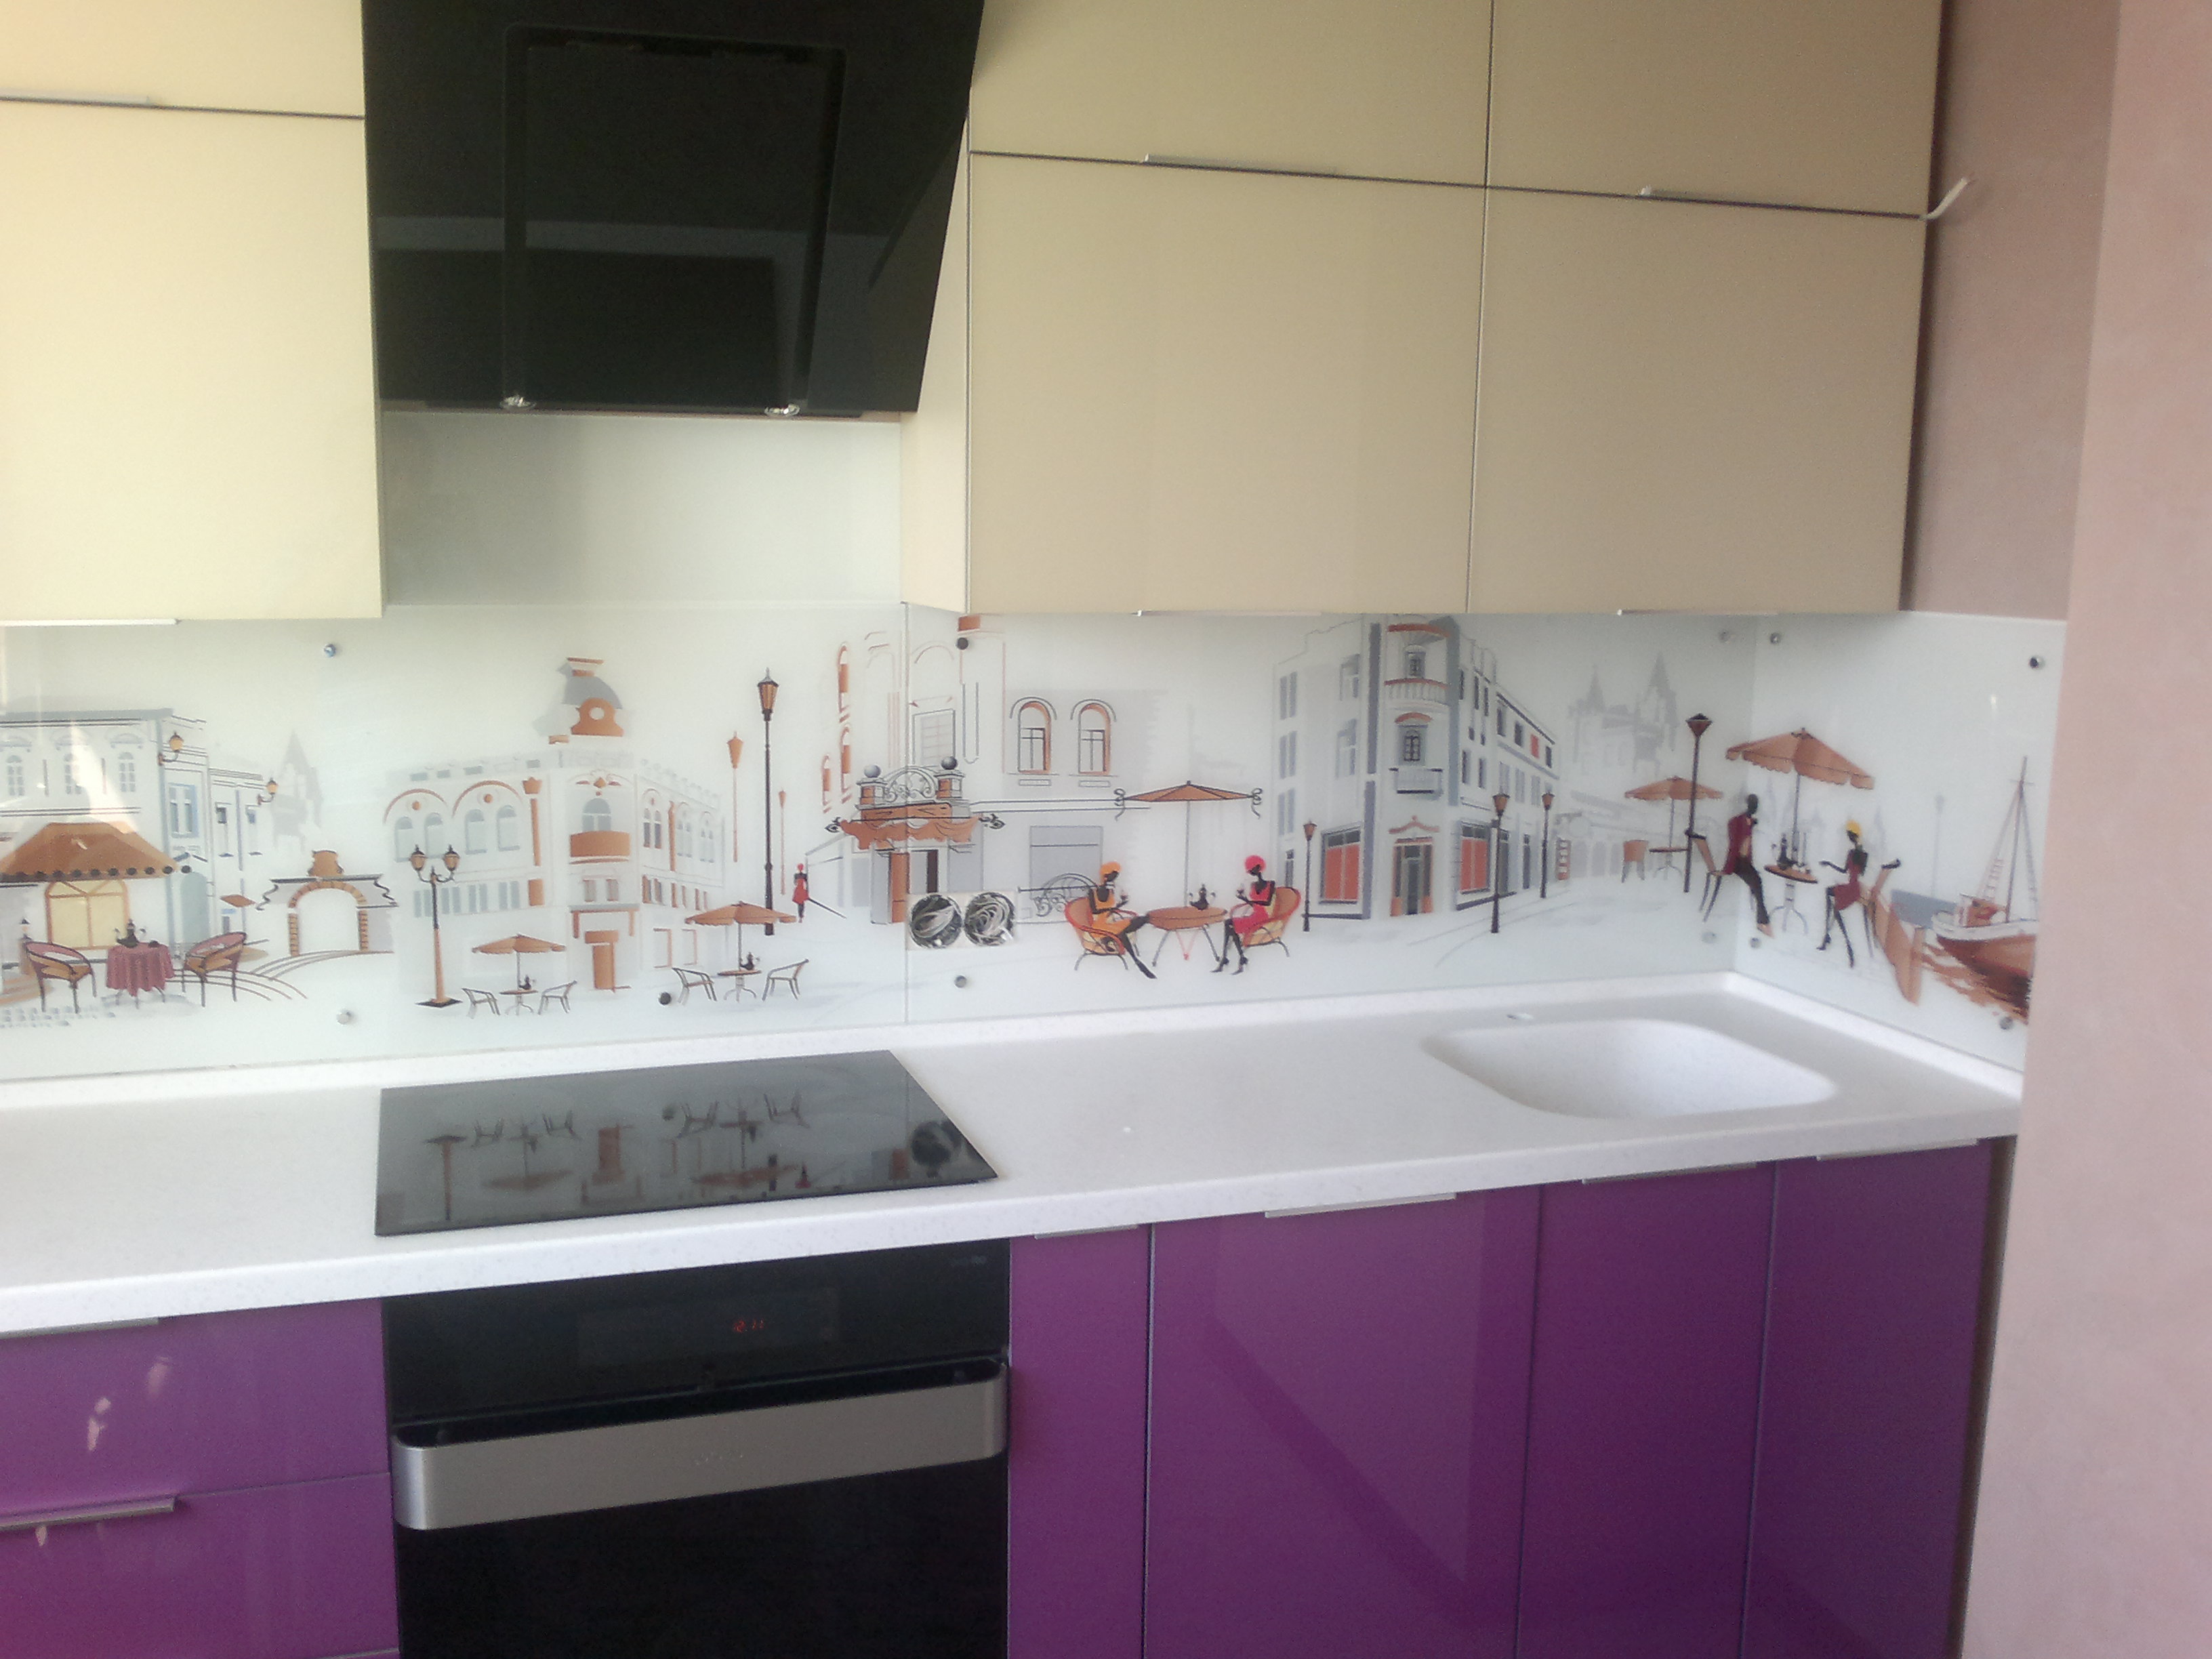
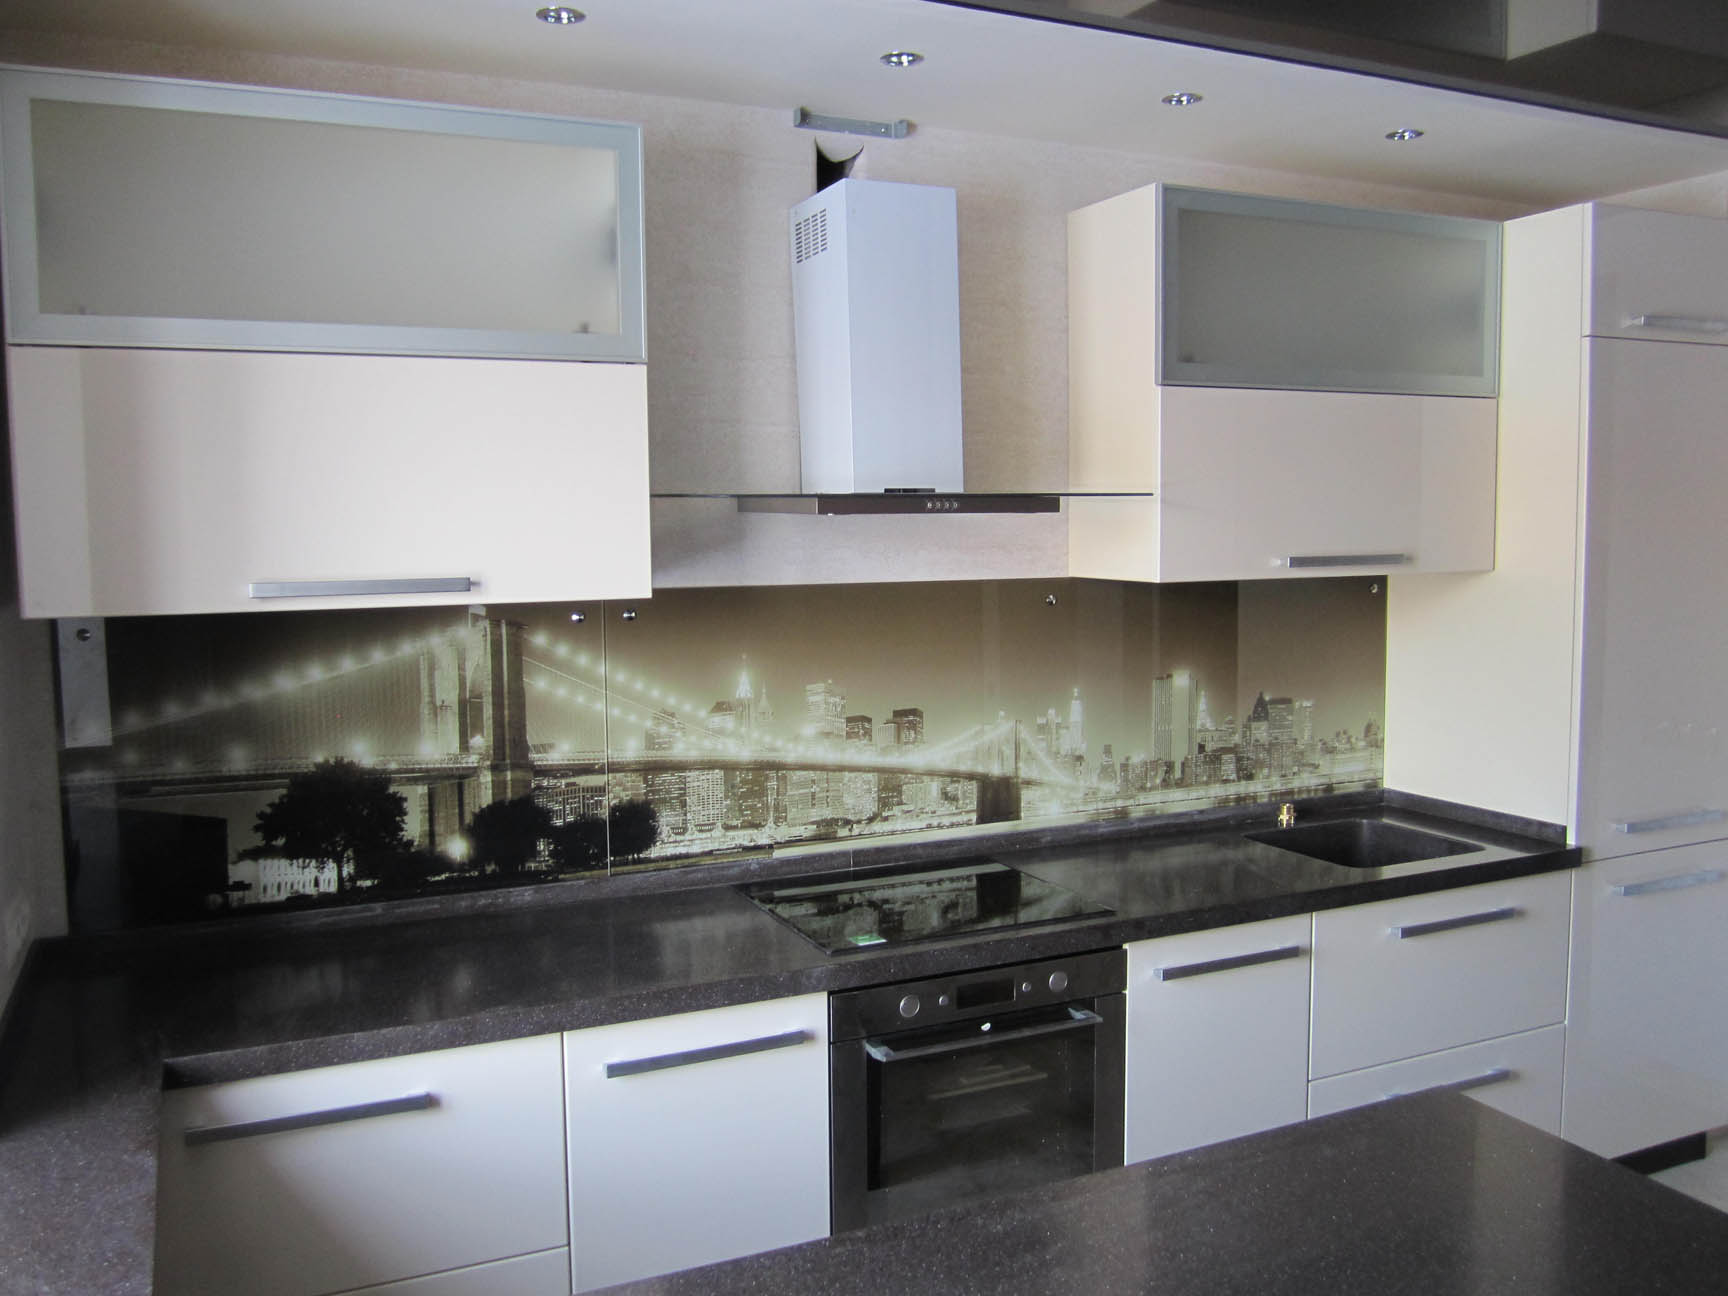
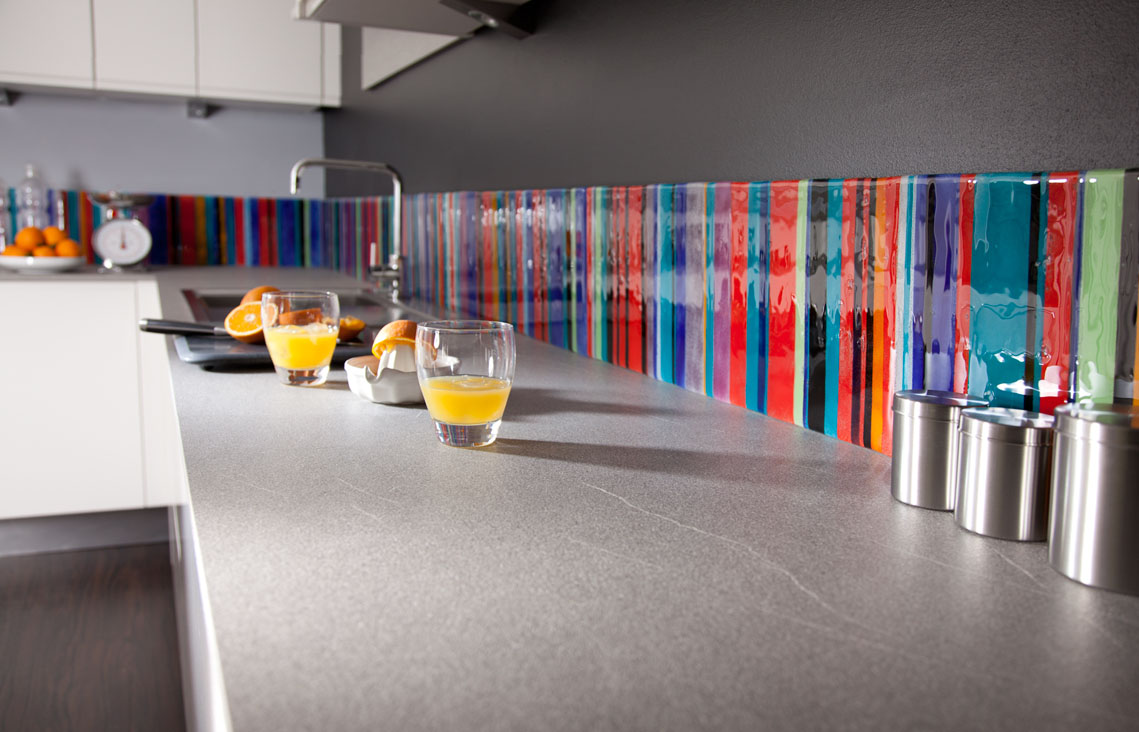
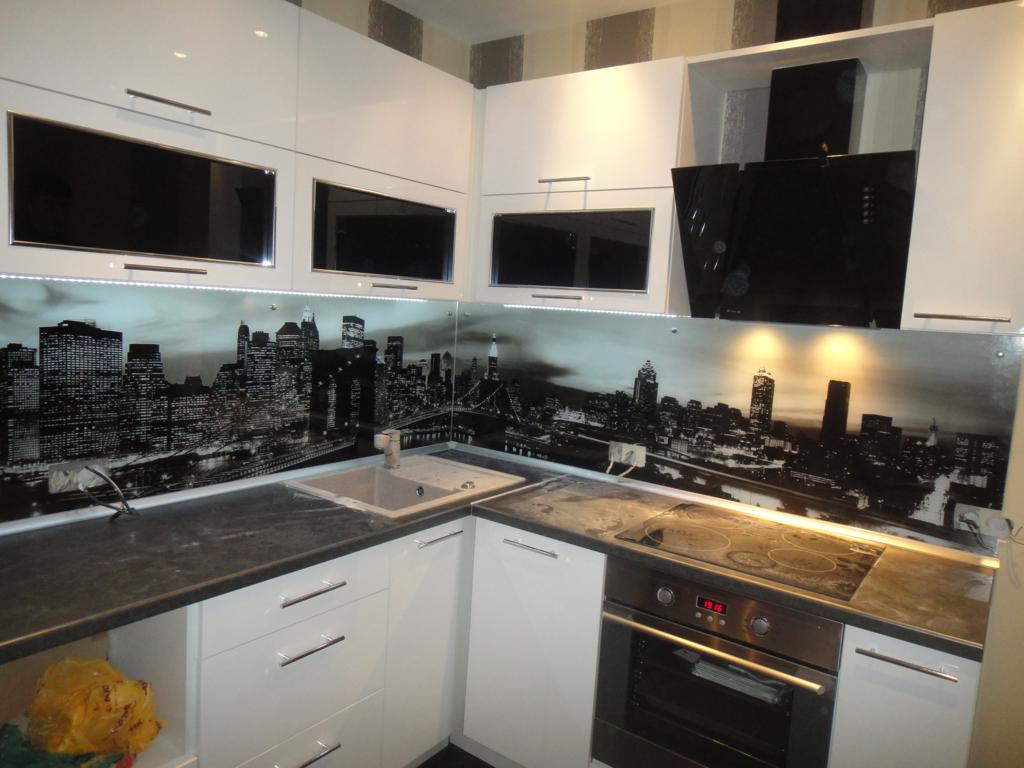
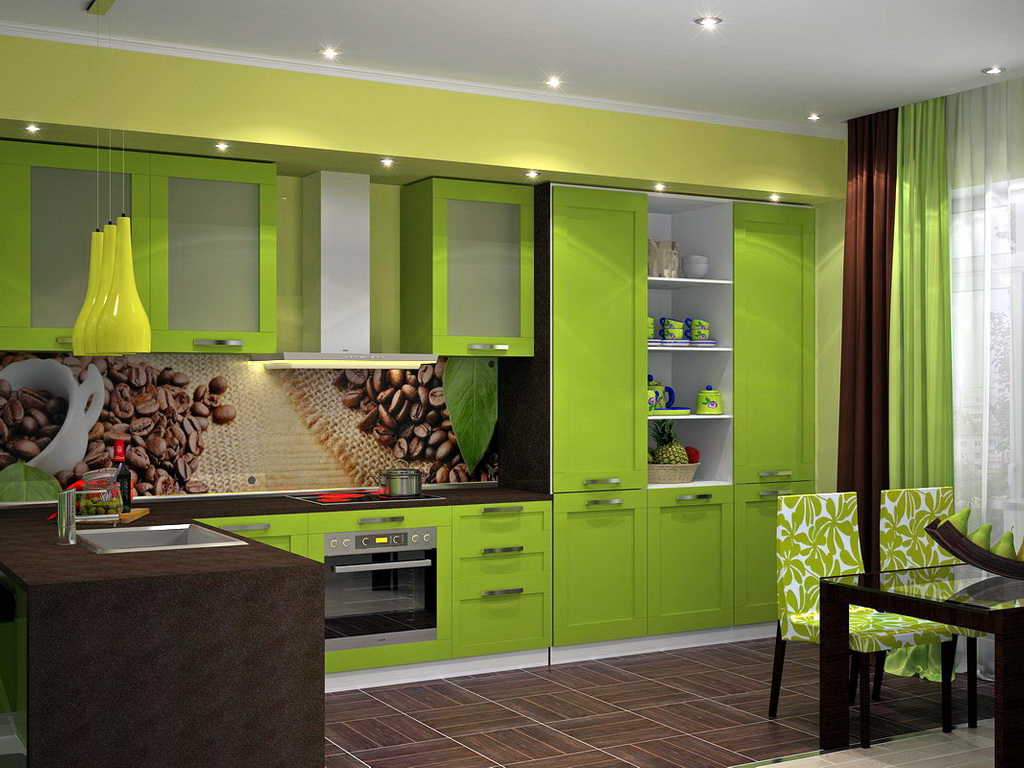
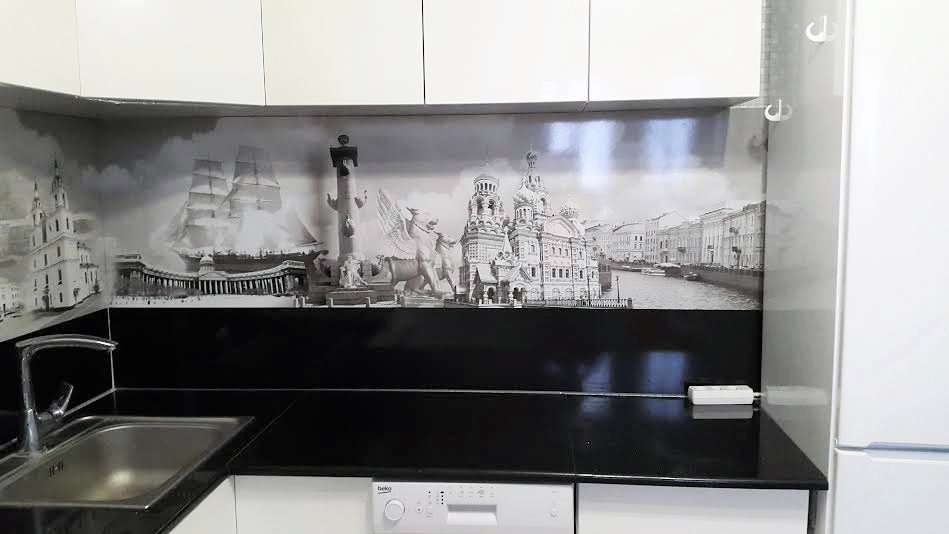
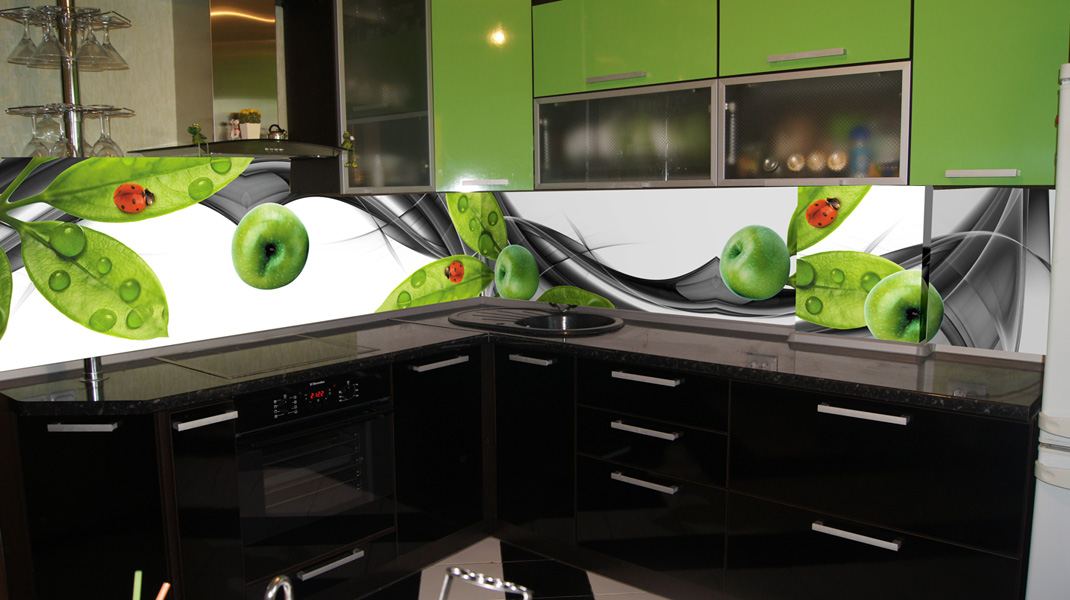
Brightly painted panels look best in large, well-lit kitchens. The most relevant drawings are:
- panoramas of cities;
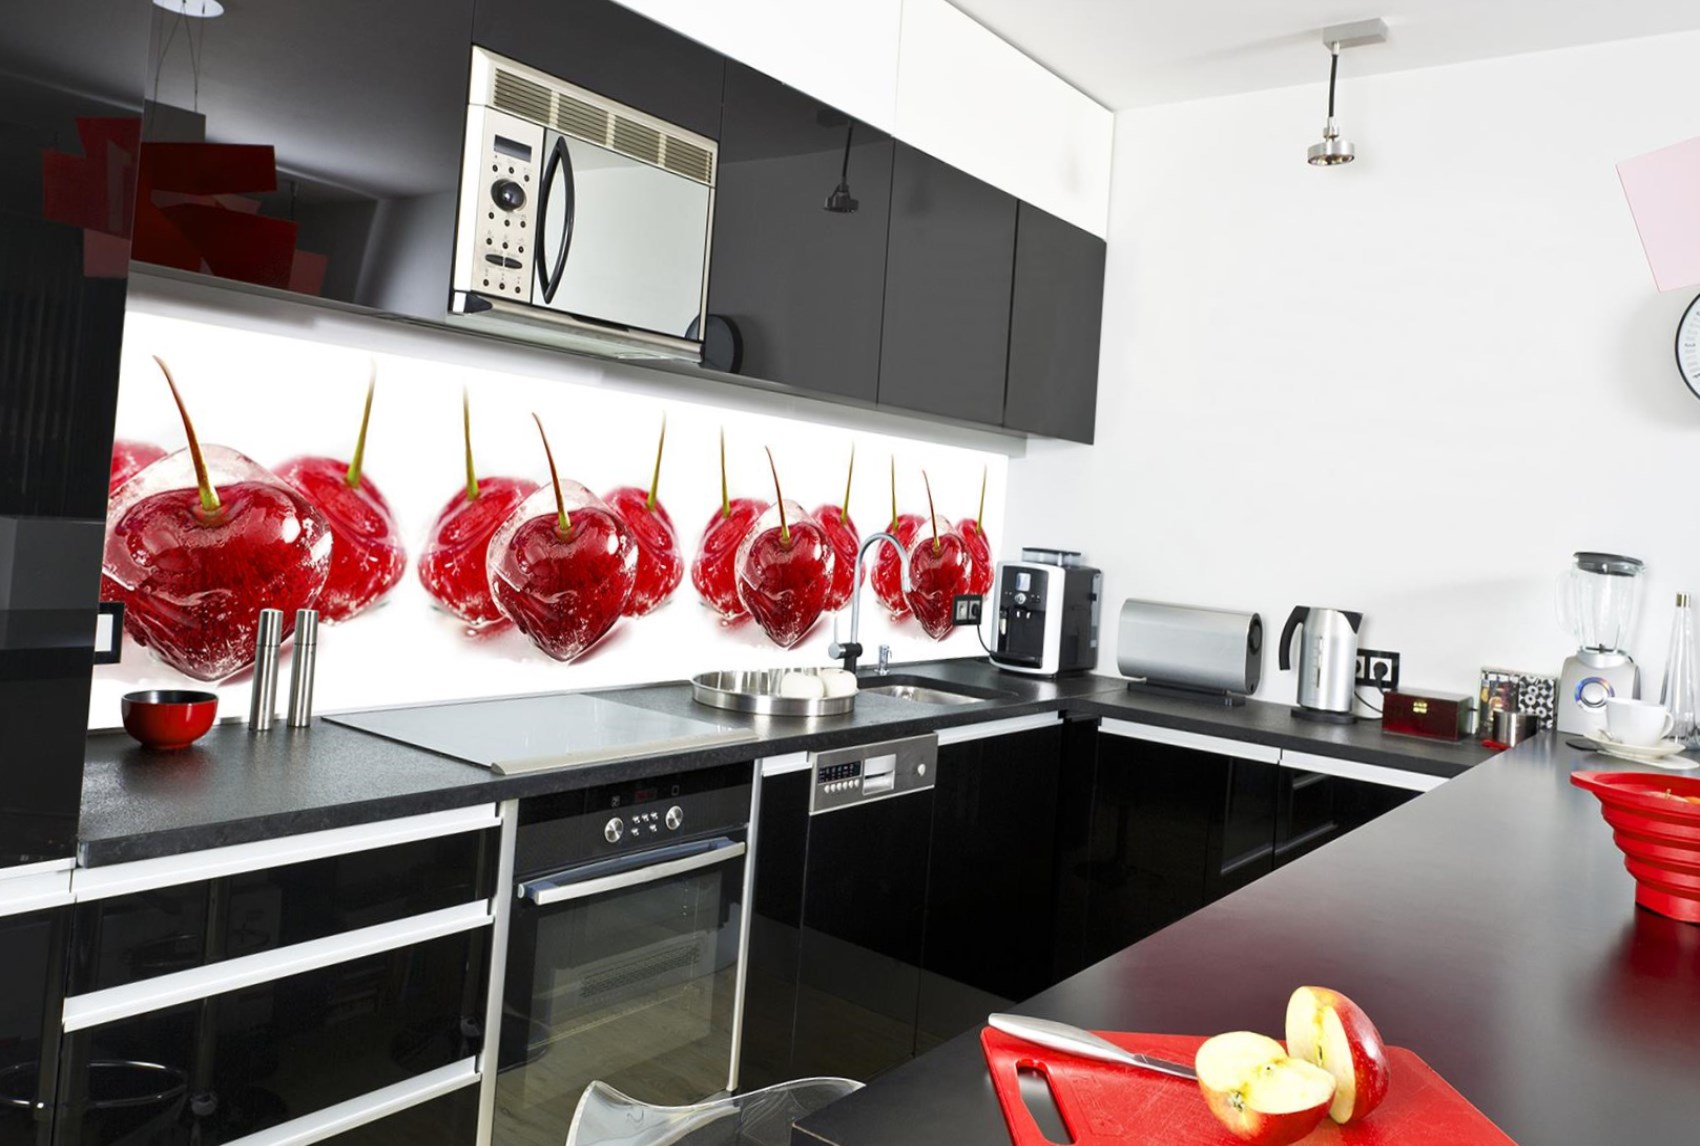
- paintings with vegetables and fruits;
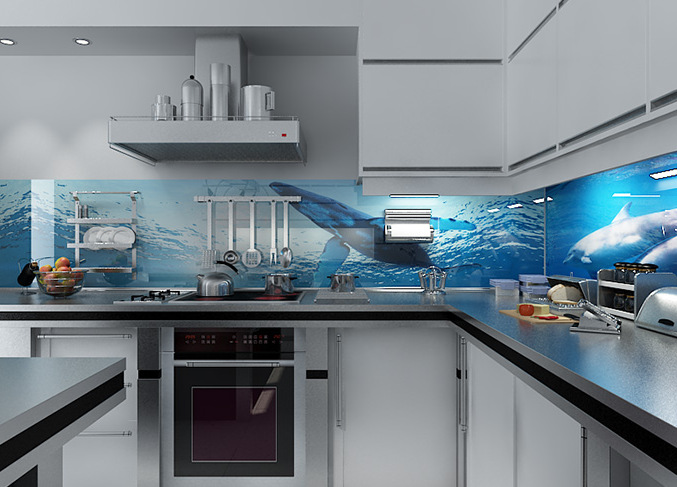
- landscapes, sea motives;
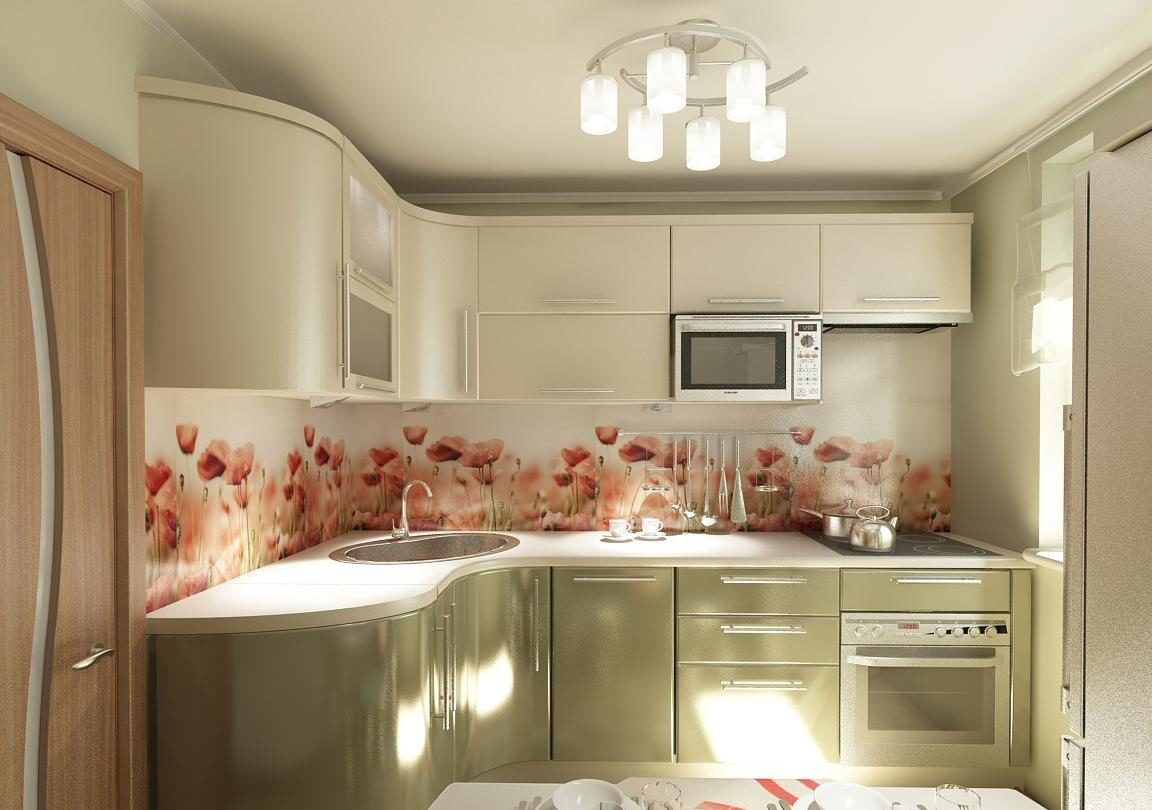
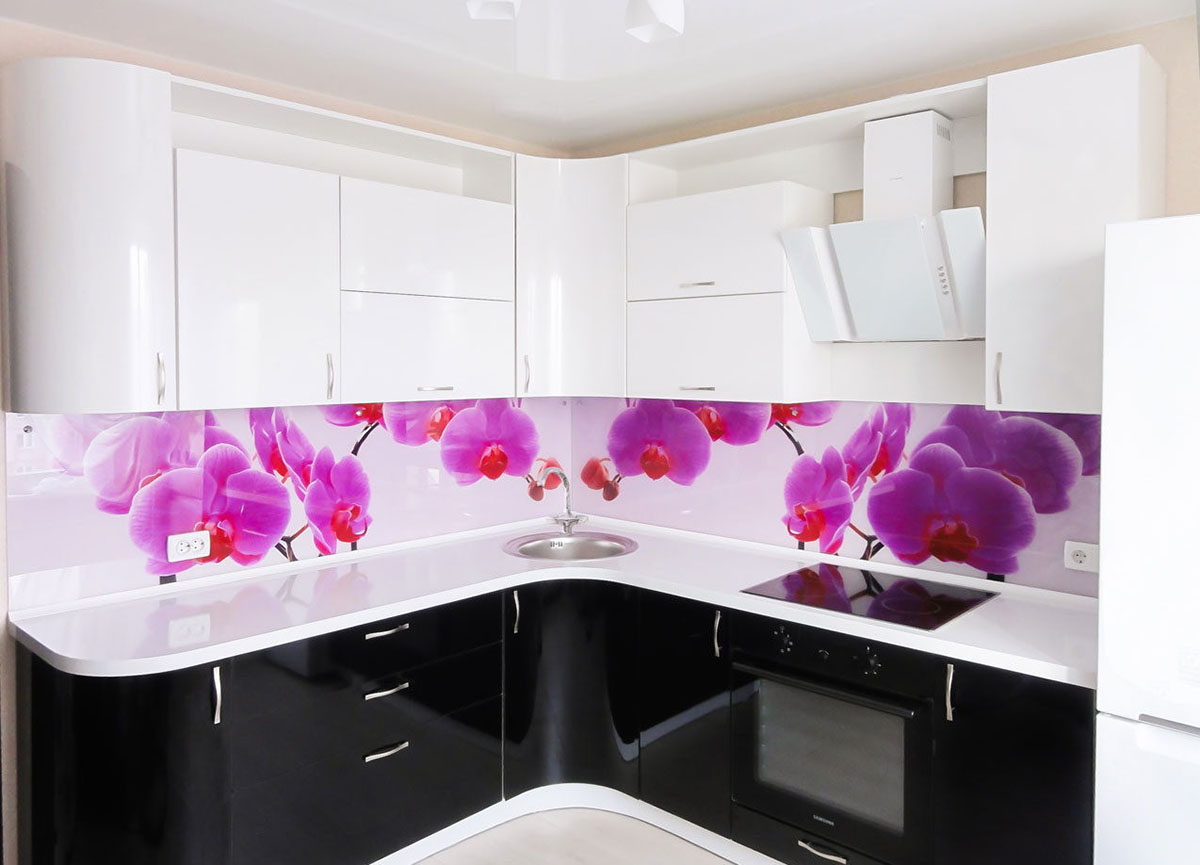
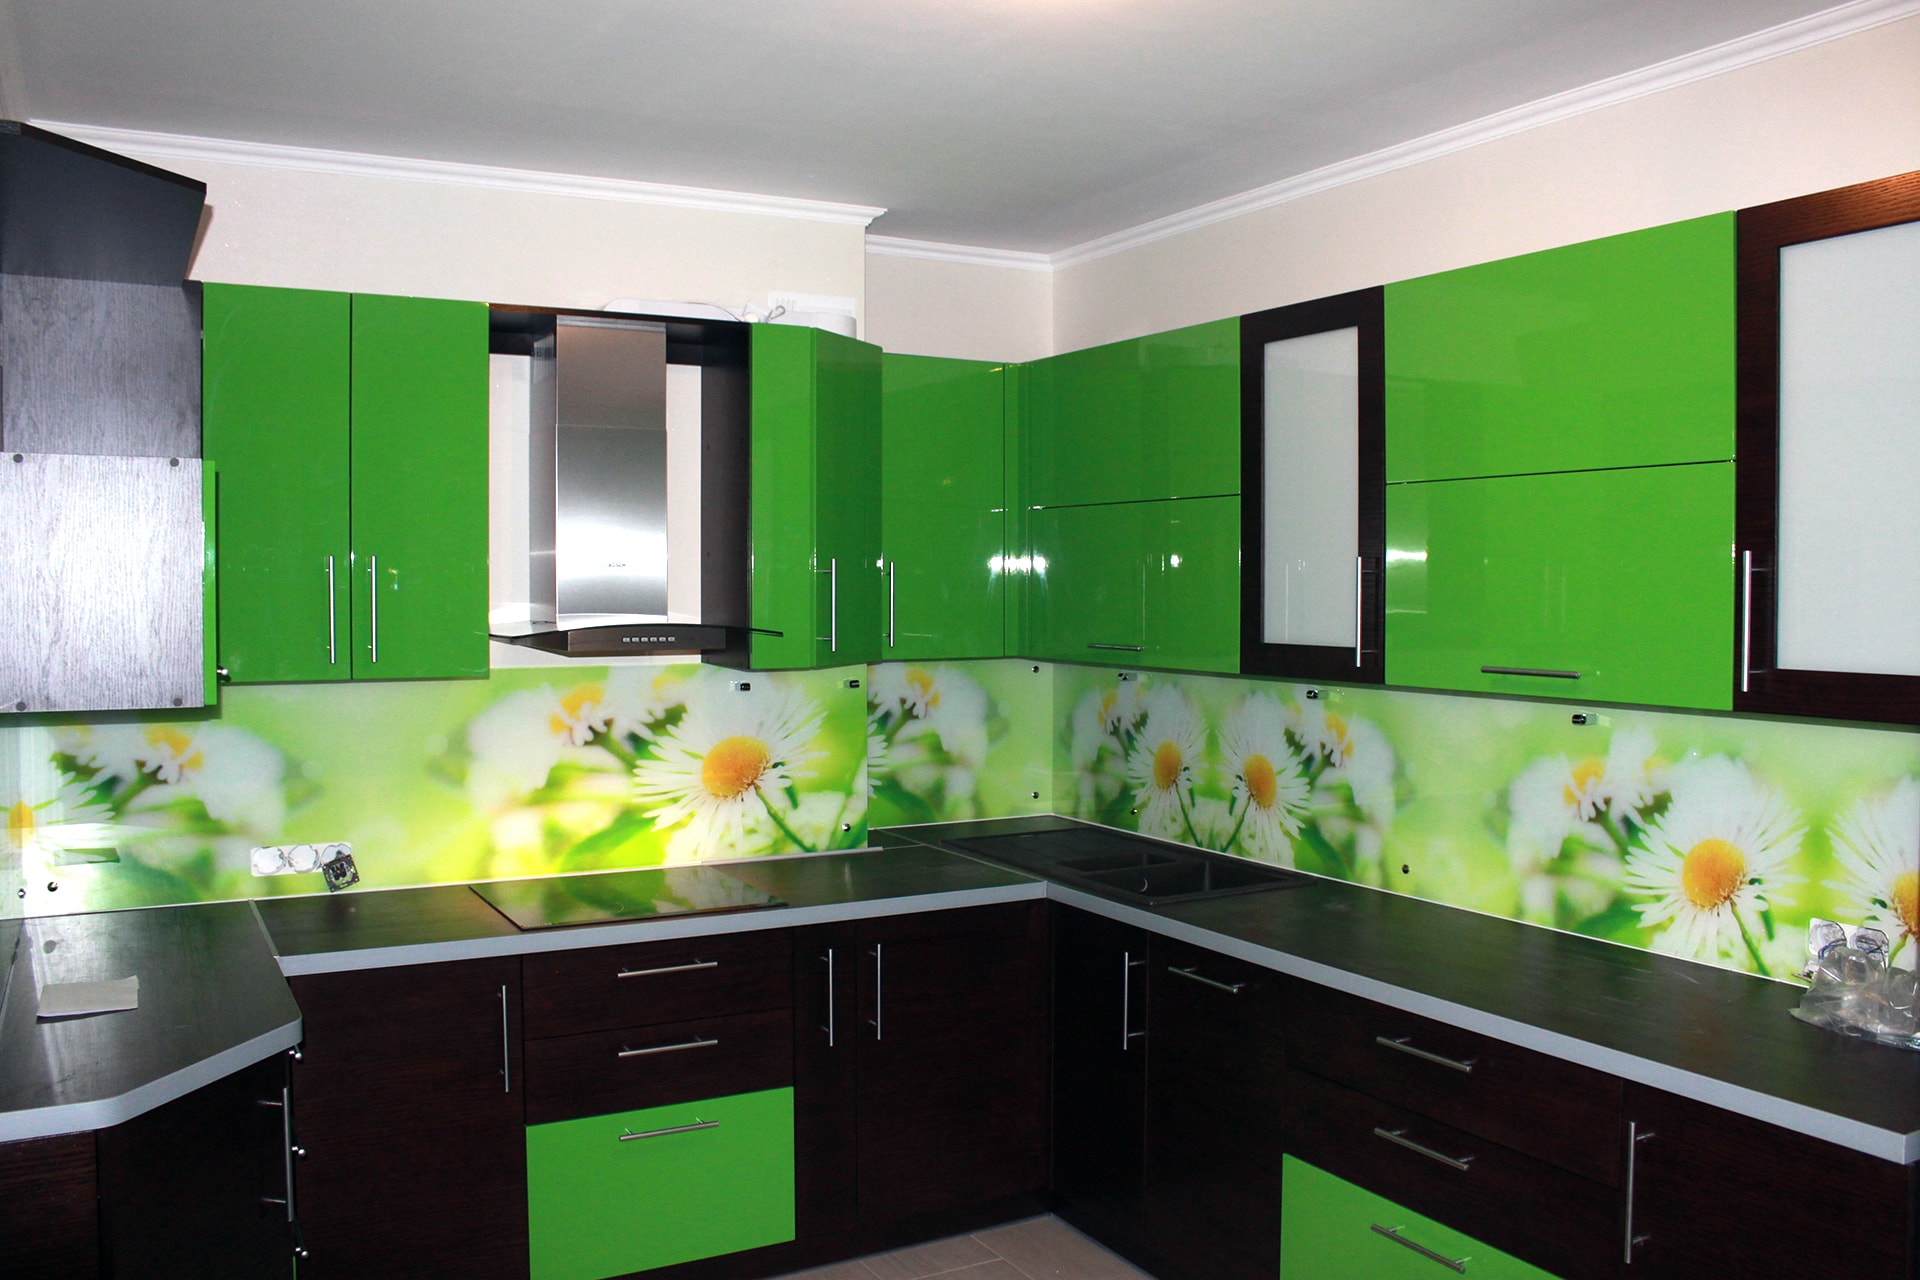
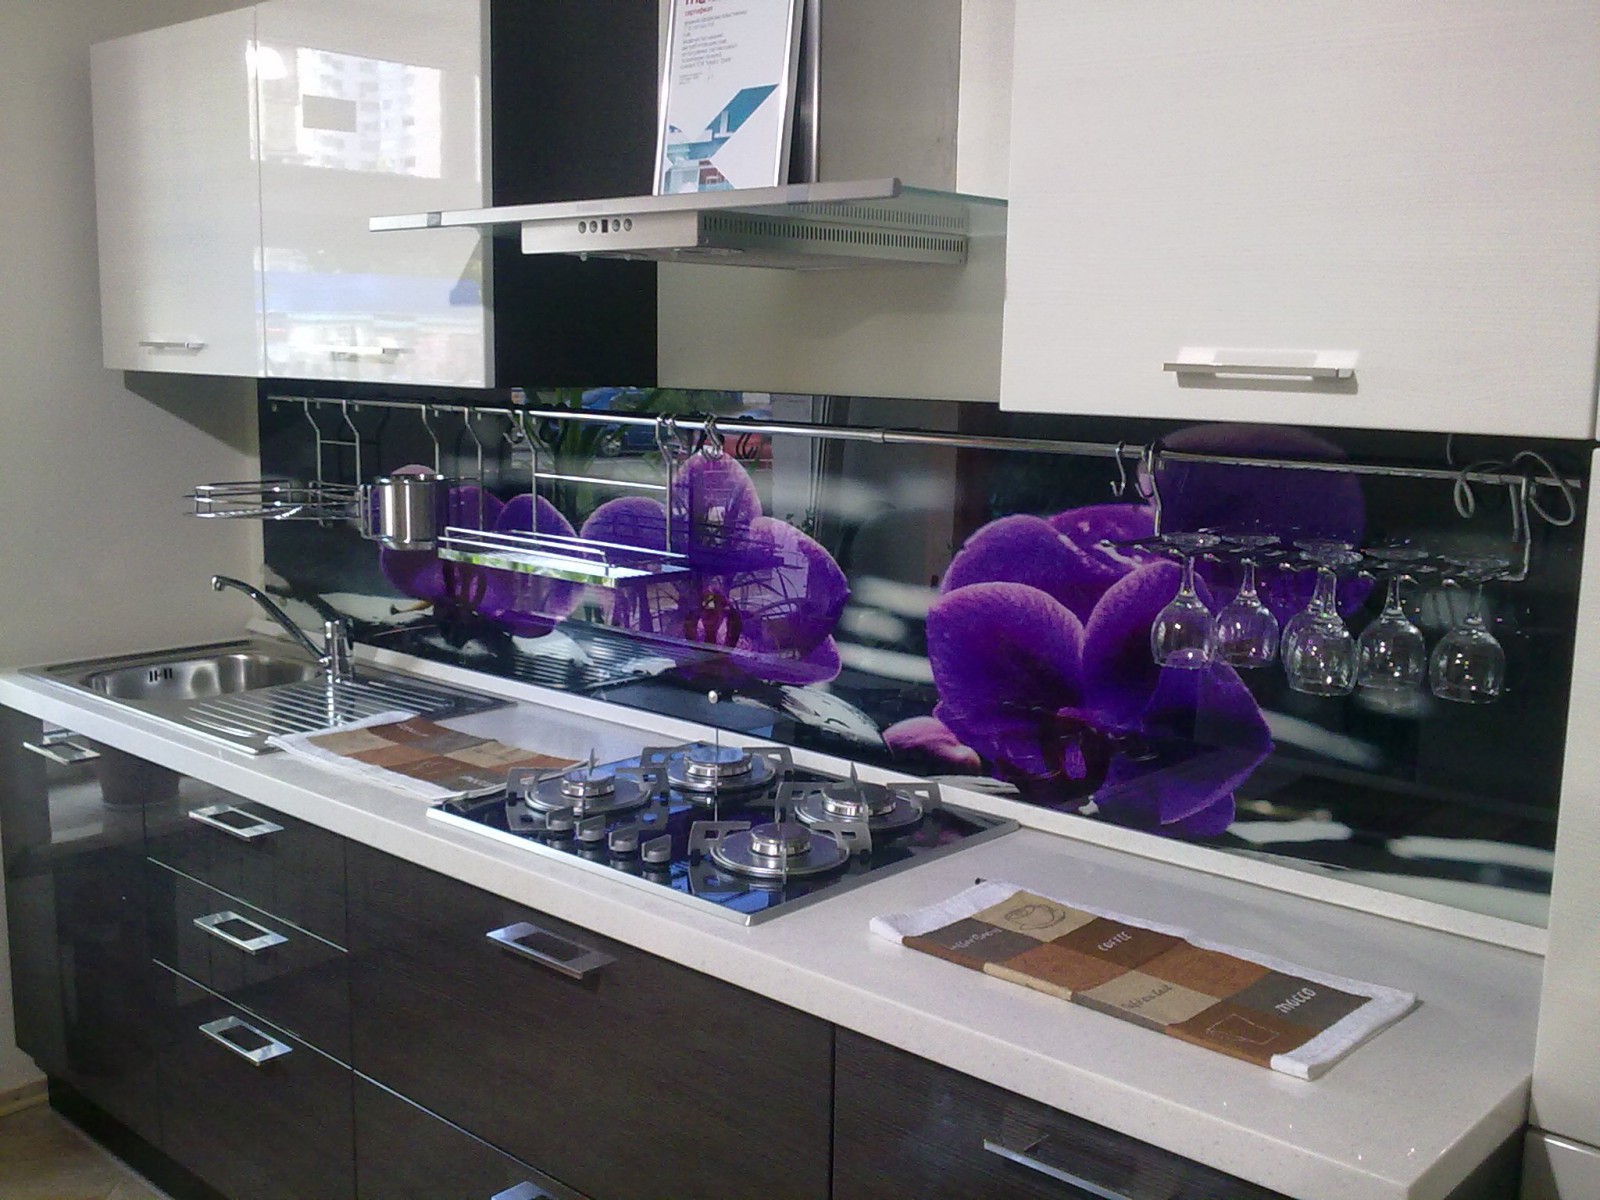
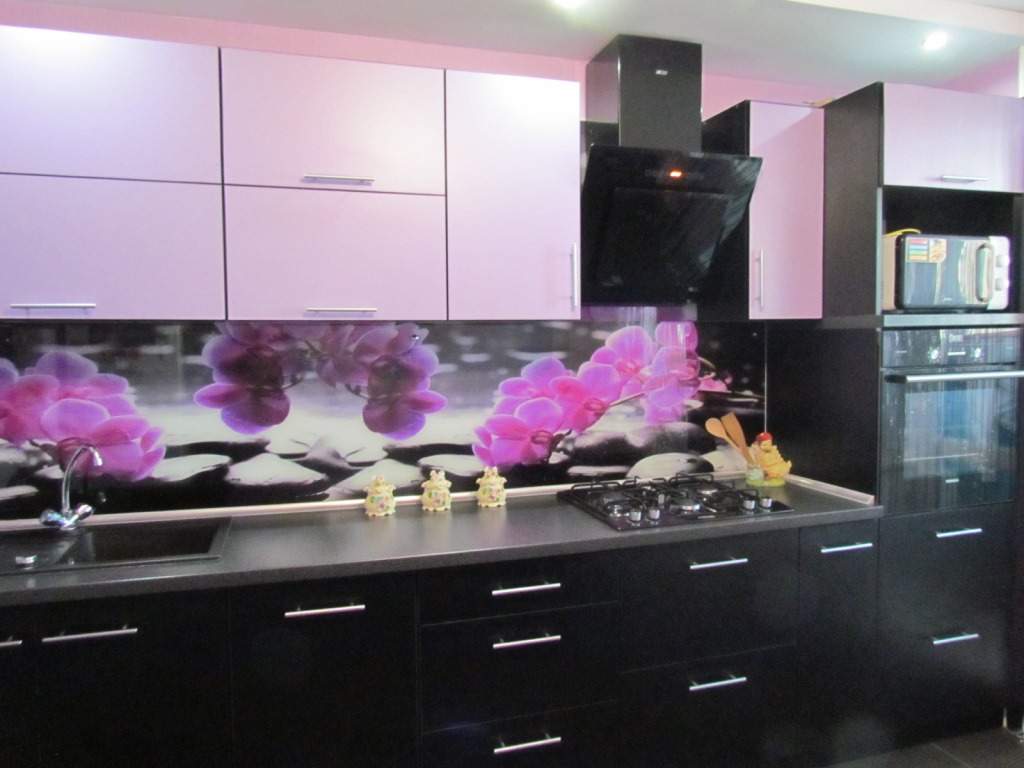
- flower motifs;
- geometric ornaments;
- kitchen still lifes;
- drops, splashes, abstract drawings.
The choice of pattern for glass panels should be taken quite seriously, because it will determine the mood in your kitchen for a long time.