MDF panels for the kitchen

When the kitchen is being renovated, there is always the question of what kind of finish to choose in order to upgrade both the ceiling and the kitchen walls, and that they should be beautiful and even. And the color of the finish should be in harmony with the color of the kitchen furniture and its overall design. In addition, I want to finish was durable, natural, and that there were no difficulties with its installation.
MDF panels meet all these requirements. They are great for kitchen and have long proven themselves in this quality from the very best side - and the quality of the material, and simple installation.

About the advantages and disadvantages
The most important advantages of this material is its environmental friendliness, which is not inferior even to wood. And this is quite natural, because they produce fibreboard only from natural material, namely, from small-sized wood waste that has been cleared of extraneous garbage.
The smallest sawdust is heated and then pressed. From heating sawdust emit a substance called lignin and is a natural binder component.
What are the characteristics of MDF:
- moisture resistance (the stove, dense in structure, does not pass water as quickly as chipboard, which is considered to be a material with greater porosity);
- high mechanical strength, identical to the strength of furniture board and natural wood;
- heat resistance (of course, the plates are not fire resistant, but will not crack from direct sunlight);
- insulation properties - MDF sheets will reliably protect from noise and retain heat;
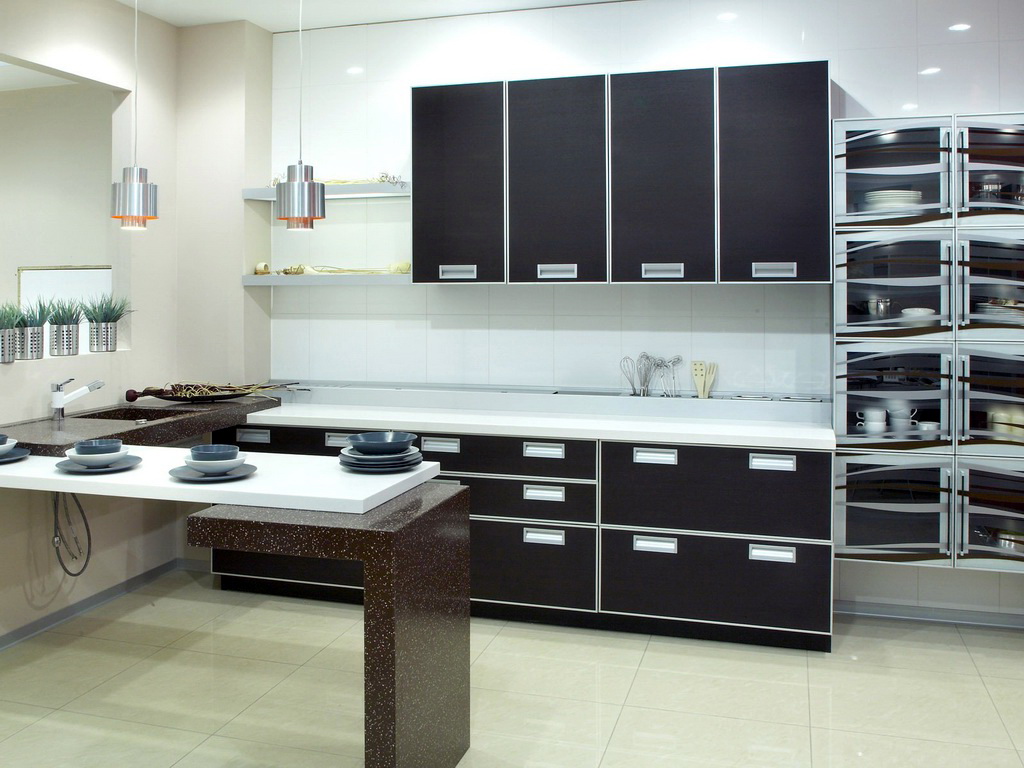
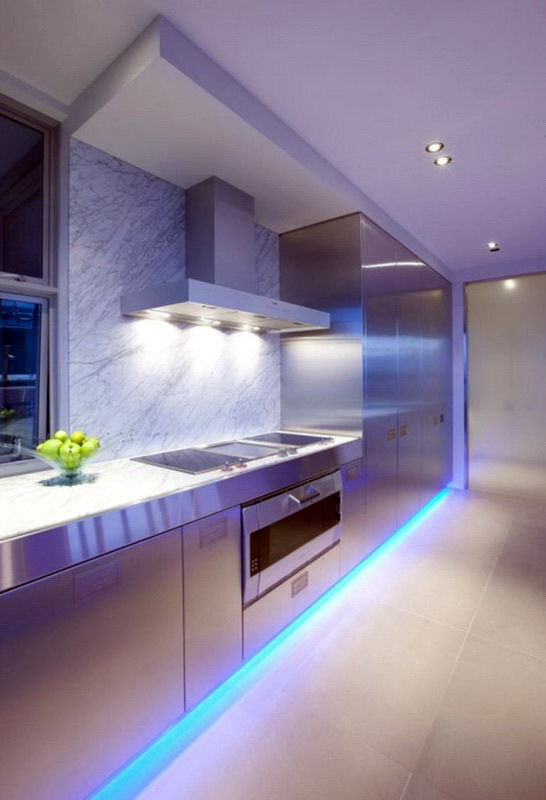
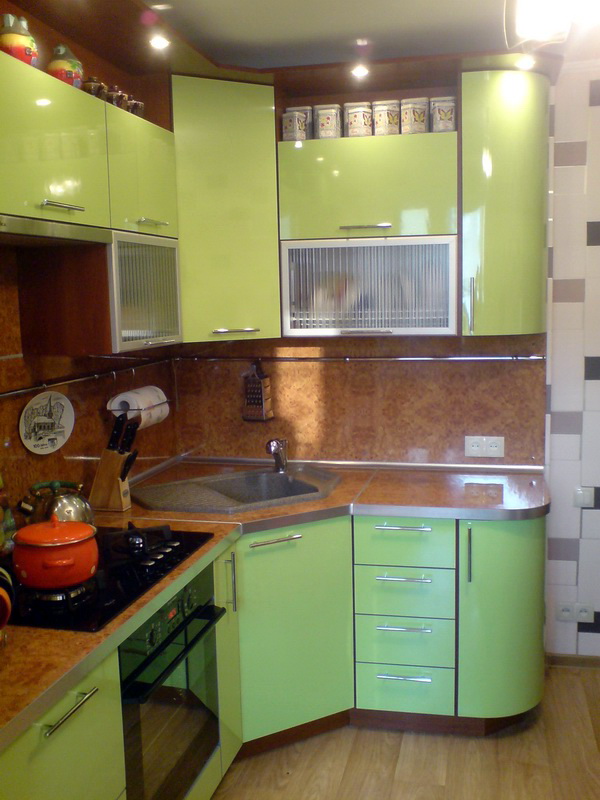
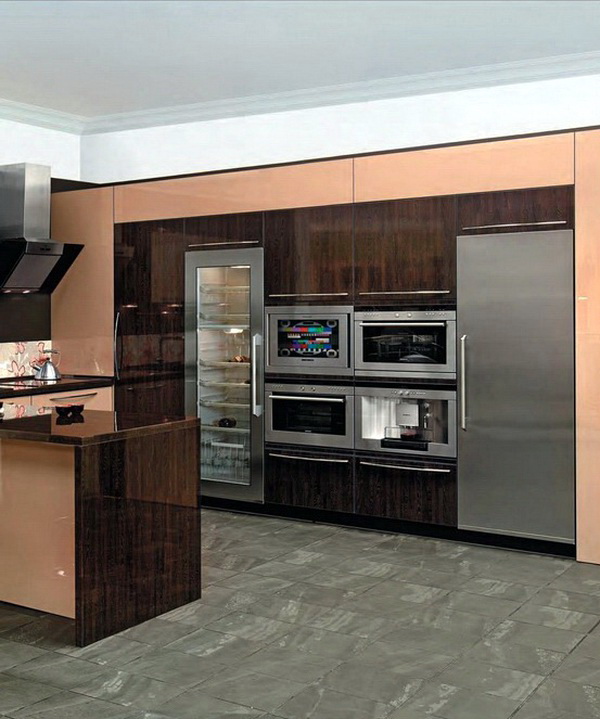
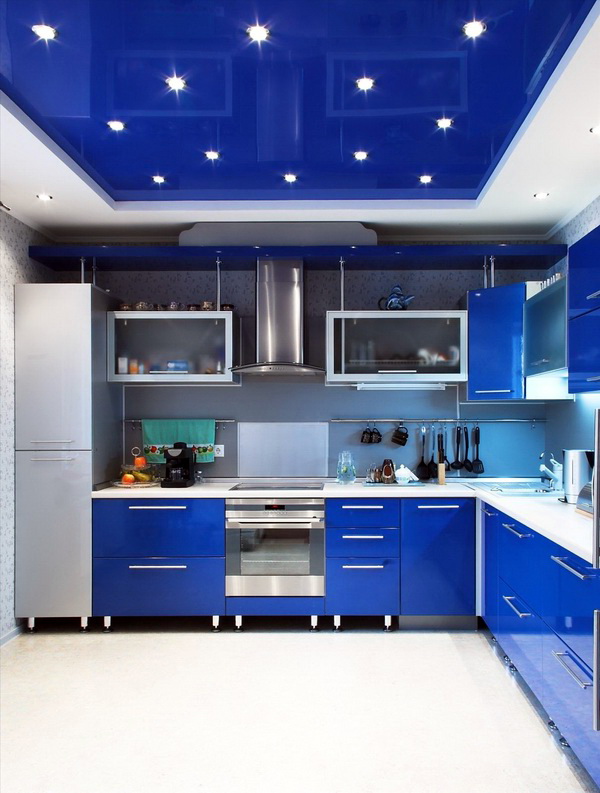
- plates look spectacular (especially glossy) and are suitable for the implementation of any design decisions.
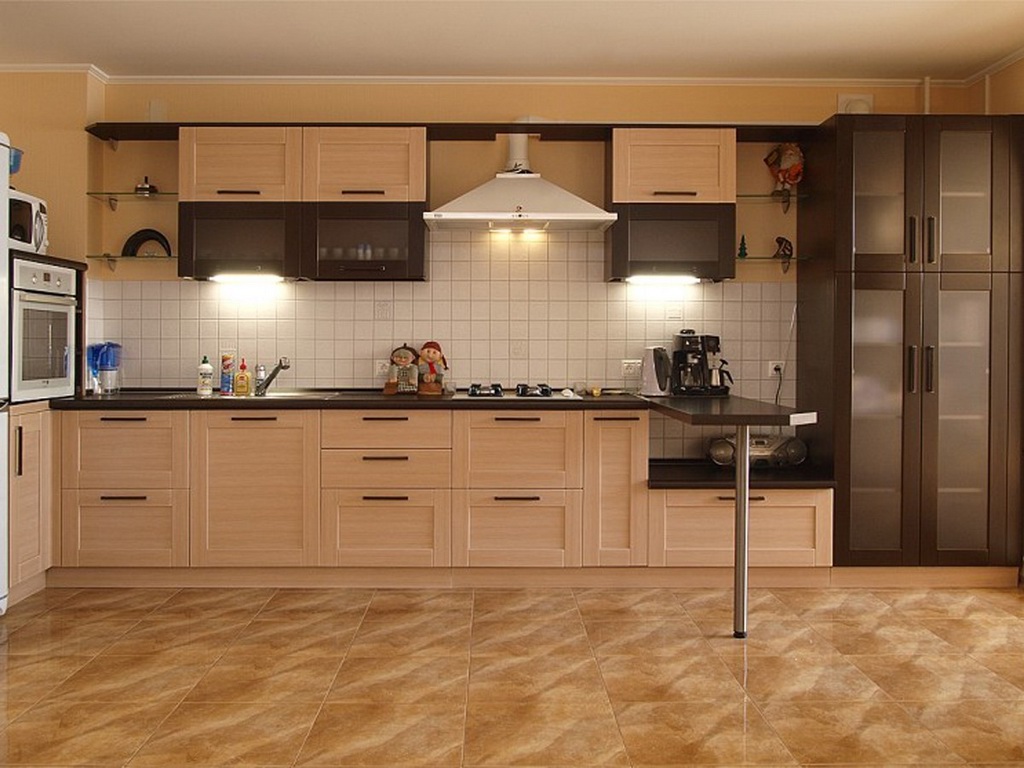
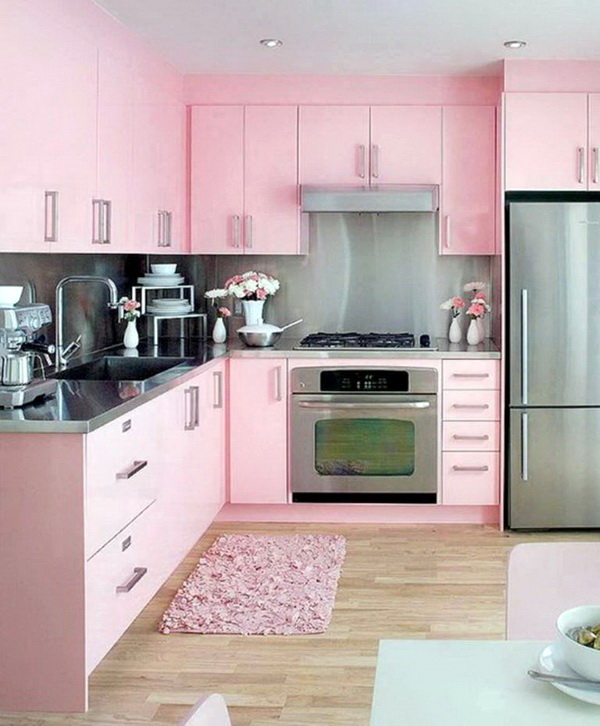
Material with such parameters is ideal for finishing the kitchen - a room in which often there is both high humidity and high temperature. A variety of MDF panels in shades allows their selection to absolutely any kitchen interior.
disadvantages
But this material has drawbacks - the material is not fireproof and not so waterproof to withstand prolonged contact with water - it is deformed.
Another disadvantage of such material is its ends, they are not protected by anything and the junction always requires additional processing manually or with the help of special profiles that can protect the material from moisture penetration.

How to improve the quality of the material
If this material is coated with any paintwork material, PVC film, plastic, veneer or acrylic sheath, its performance will be noticeably improved - it will become resistant to fungal infections, as well as to the effects of other putrefactive microorganisms.
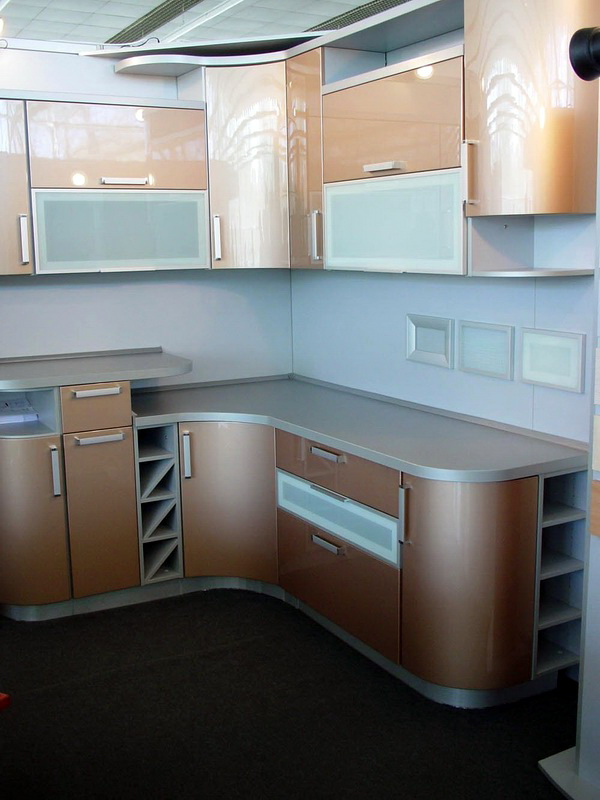
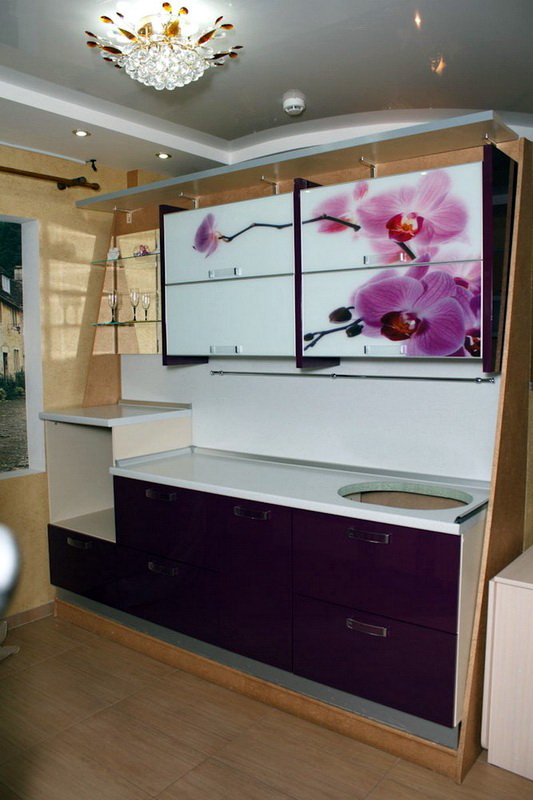
The most resistant to surface damage becomes material MDF, coated with plastic. The most environmentally friendly sheet will be MDF, lined with natural veneer, and the most beautiful - with a pattern or photo printing.
Classification
For the manufacture of plates used fiberboard, they are simply customized to any size. Plates are divided into groups according to their shape and size.

Reiki (lining)
Rectangle-shaped slats can be of different widths and have a special “lock” along the long sidewall. The slats are covered in whole or in part as the walls and the surface of the ceiling.
Long lining
It is usually sheathed large areas, and square and rectangular use, when necessary, for example, to perform the facing of such a room as the kitchen.
Square plates
They can be trimmed and the ceiling, for this, a sheet of MDF of the largest area is taken and cut out according to the parameters provided by the customer.
Wall panels are chosen in size, from 1040 mm to 2800 mm, so as to avoid joints as much as possible.
Thickness
The thickness of the MDF plates are also different. The thinnest ones are from 5 mm to 9 mm thick, they are lightweight and very convenient for installation, but they do not differ in special strength. Such material goes to the facade of furniture or to finish the kitchen ceiling.
Medium-thickness slabs, from 10 mm to 18 mm, are usually used in wall finishing, in the manufacture of doors and for furniture. This is a fairly strong material, but their thickness, although insignificant, will take away the useful space of the room.
The thickest, and hence the most durable plates, from 19 mm to 38 mm, are used mostly for furniture production, as well as in large rooms, which are sheathed for the purpose of additional insulation.
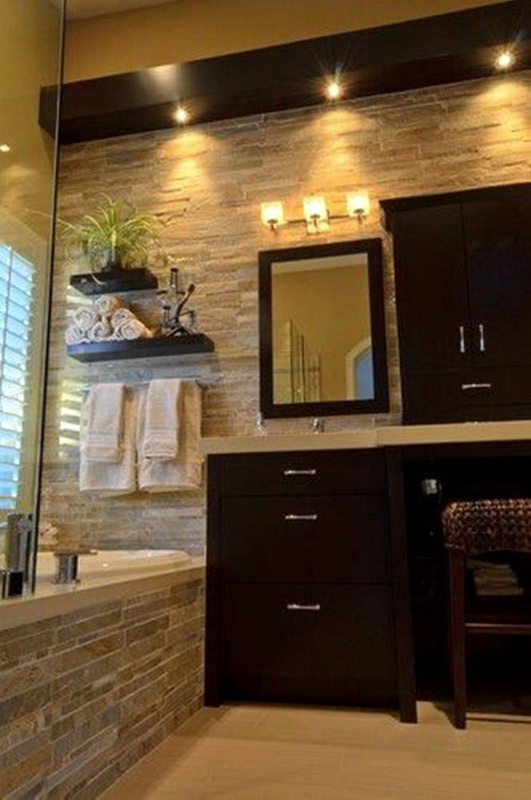
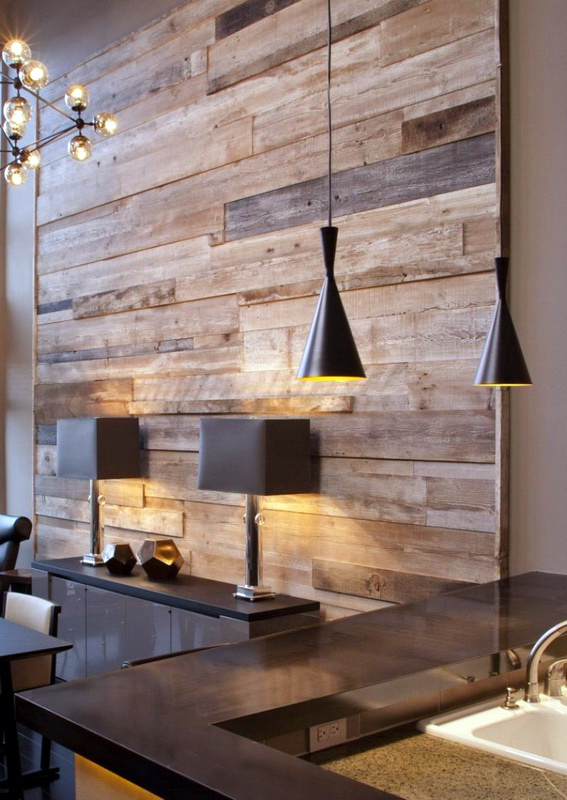
Texture
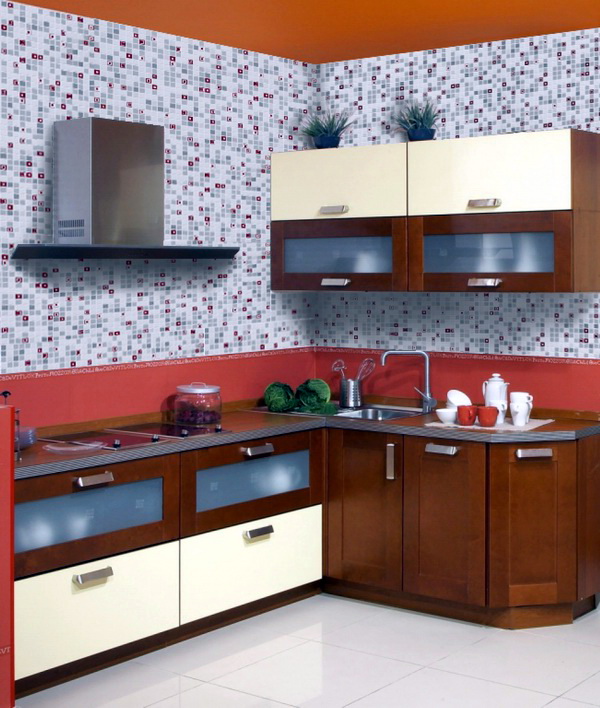
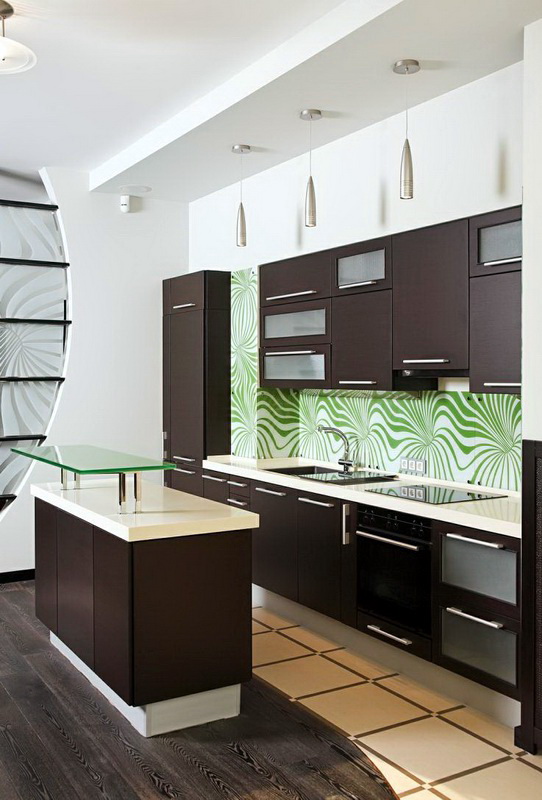
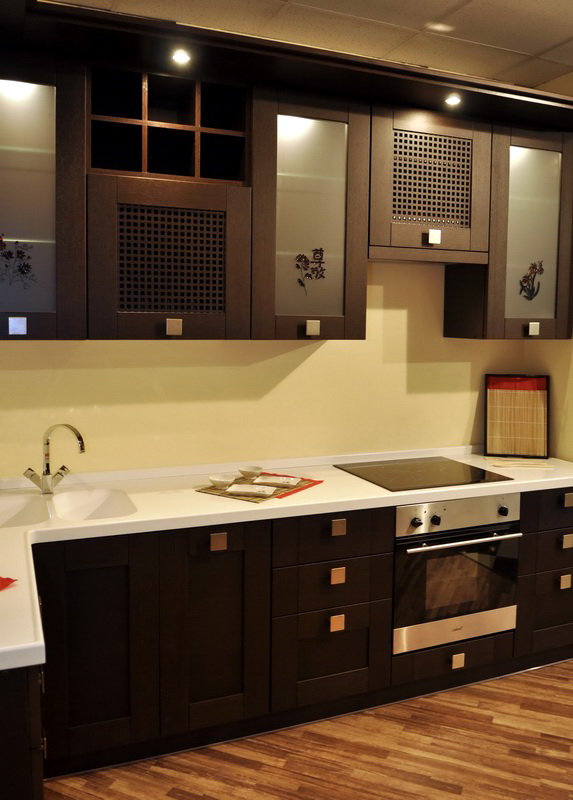
In addition to the length and thickness, the MDF wall panel for the kitchen also differs in texture. It can be both smooth and relief. A smooth surface, especially glossy, will visually increase the floor space, which is important in a small kitchen. But the textured relief lining has its advantages - it looks more impressive, and various minor defects on it are almost not noticeable.
This material makes it possible to roam design ideas - you can try to combine different colors and different textures, as well as try to make non-standard styling of MDF boards during installation (for example, diagonally).
And for those who do not count on their design talents, there are some fairly original proposals, including MDF with a 3D effect.
What are the options for kitchen paneling MDF
Before you proceed directly to the finish, you need to calculate what area to cover - whether the entire kitchen surface, or just an apron.
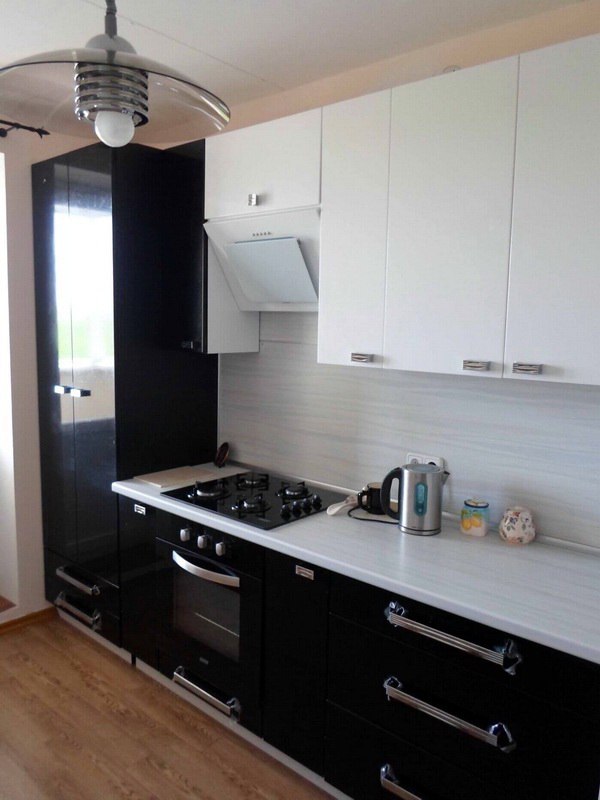
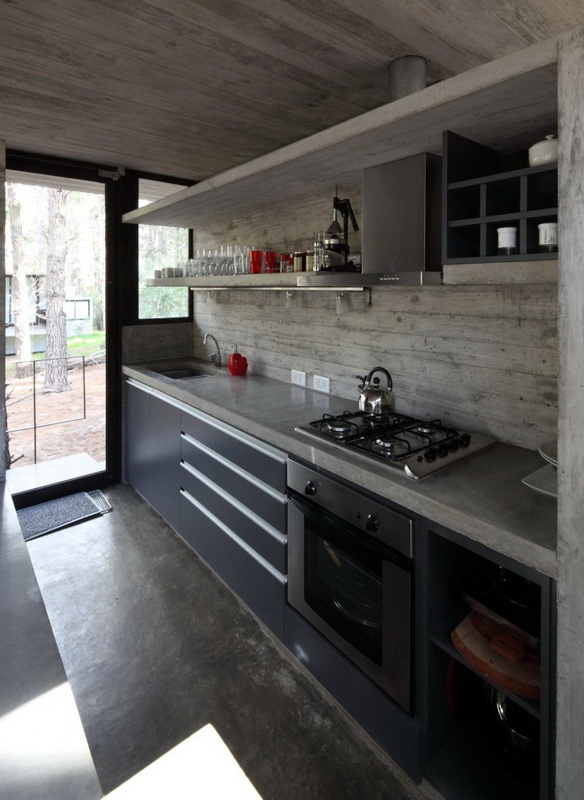
Full facing - is it good or bad?
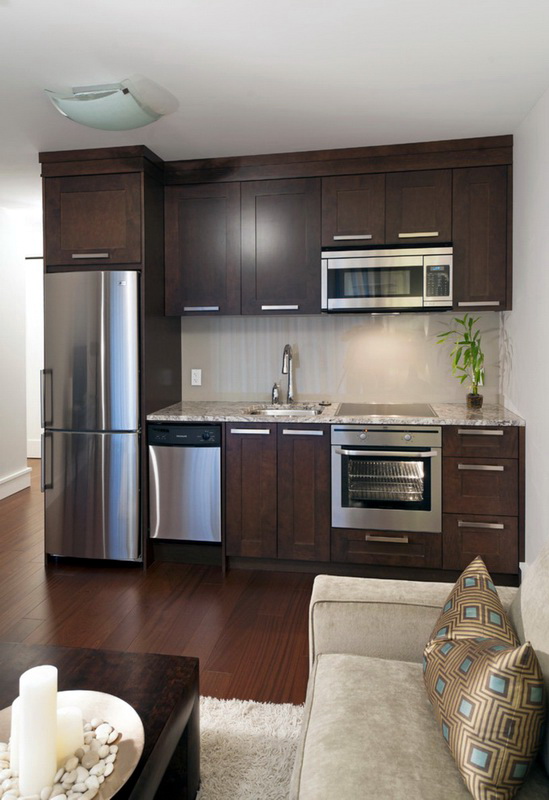
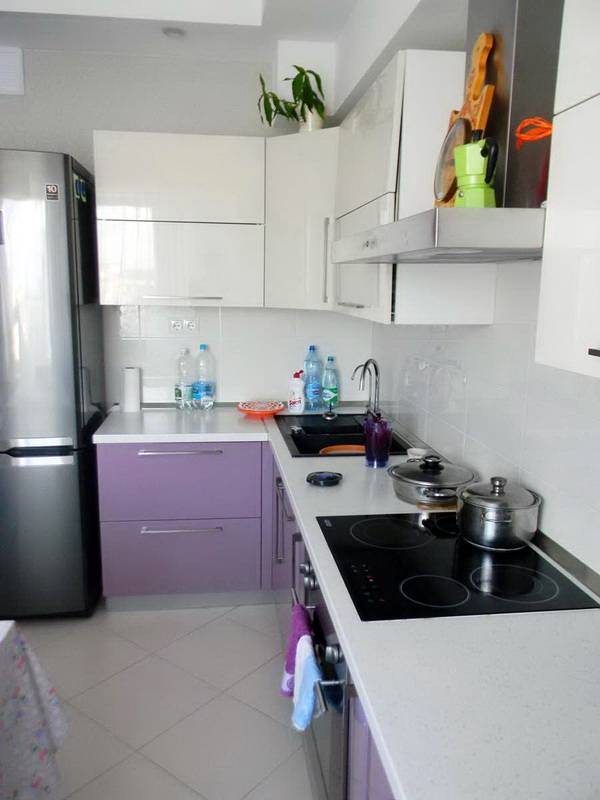
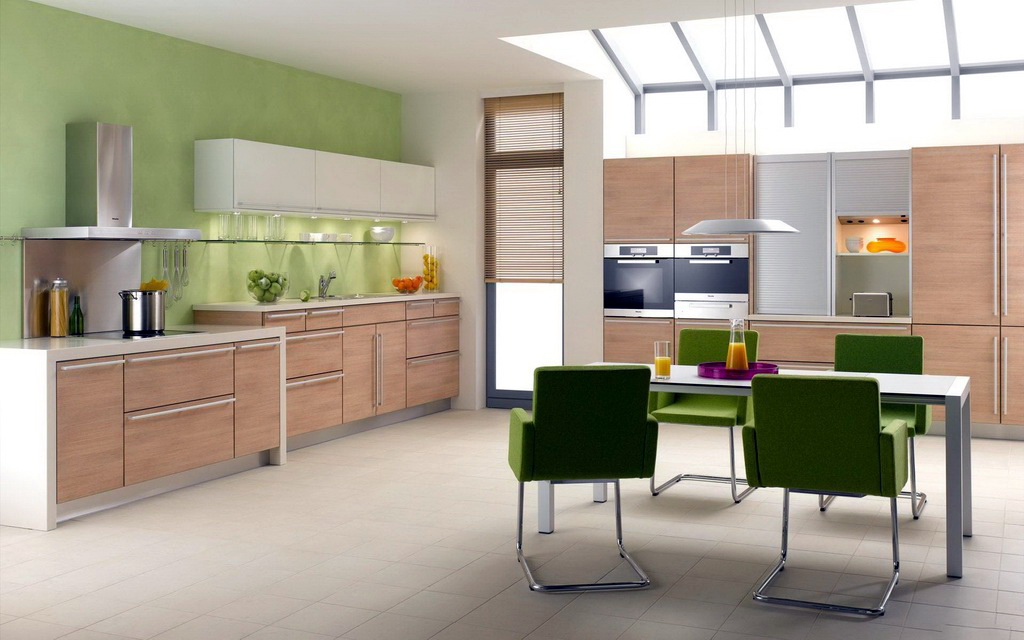
It would seem, repair - so repair, and it is better to change the entire surface. But with regards to the kitchen, this is not entirely true, because as a rule, this room is small, and if it is sheathed in this way, the kitchen will look like a cramped box.

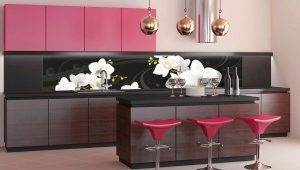
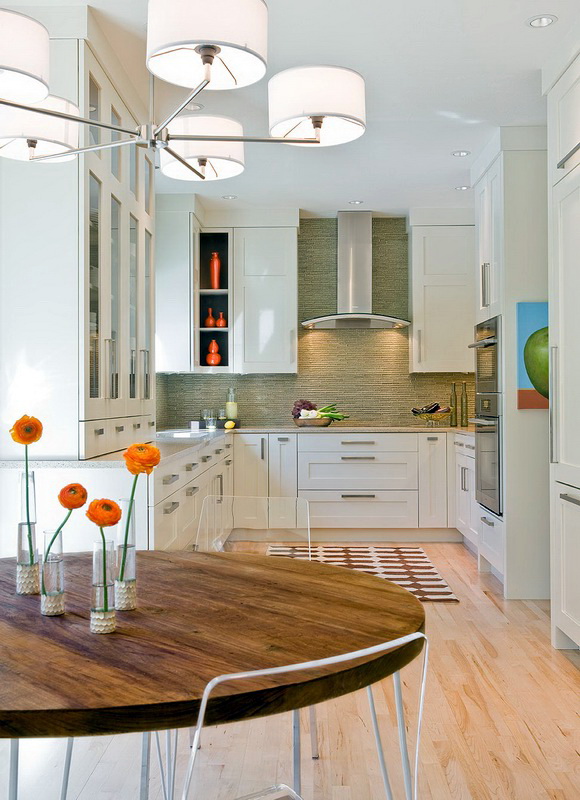
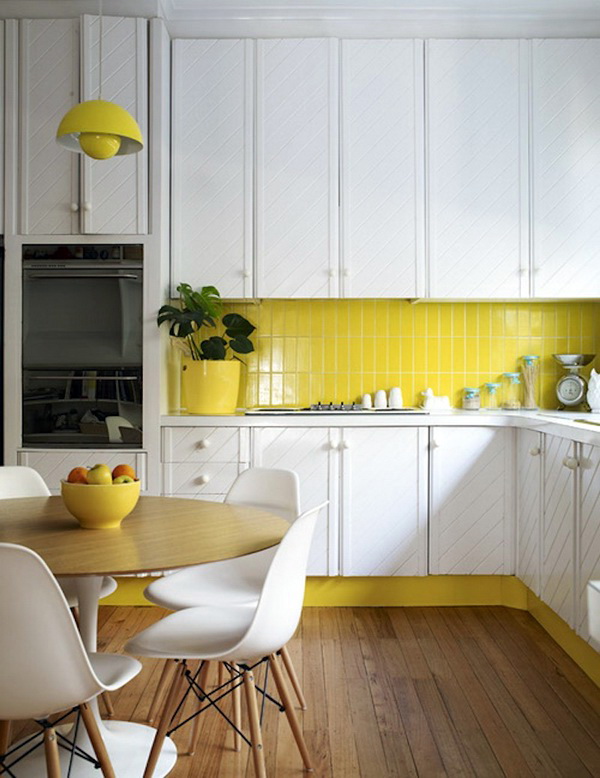
There may be options - you can try to solve the problem of cramped space with the help of a game of material of different shades, a combination of textured and smooth tiles or make an interesting laying: the floor should be decorated with square tiles, the walls with clapboard of different shades, and the ceiling can be made of seamless panels.
But such experiments are recommended to be done all the same in a country house, and in the apartment of the kitchen more often trim panels with MDF only partially.
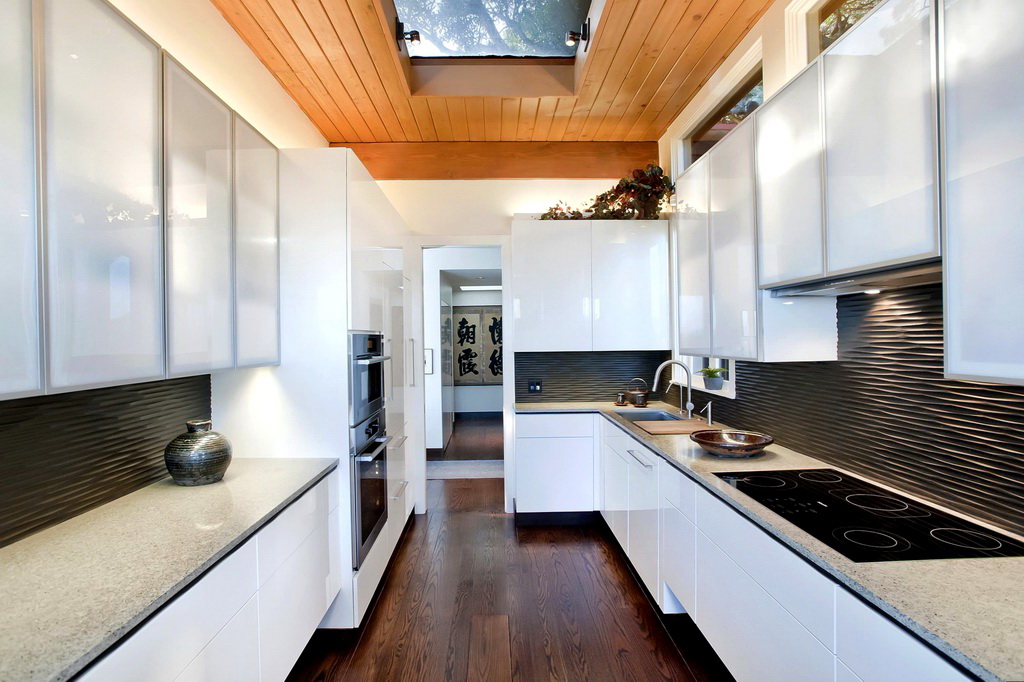
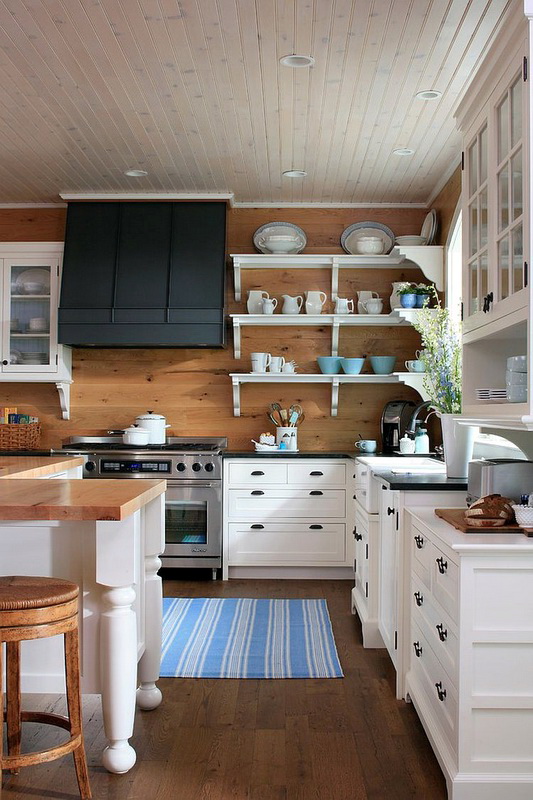
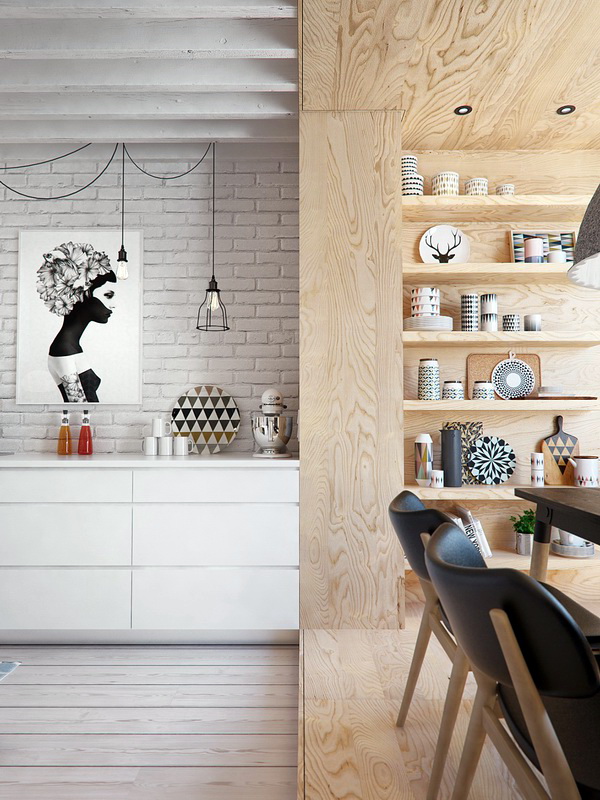
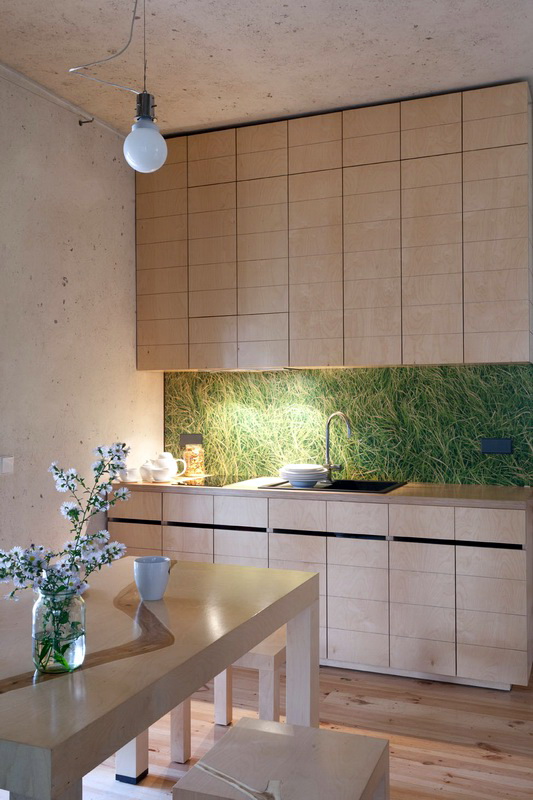
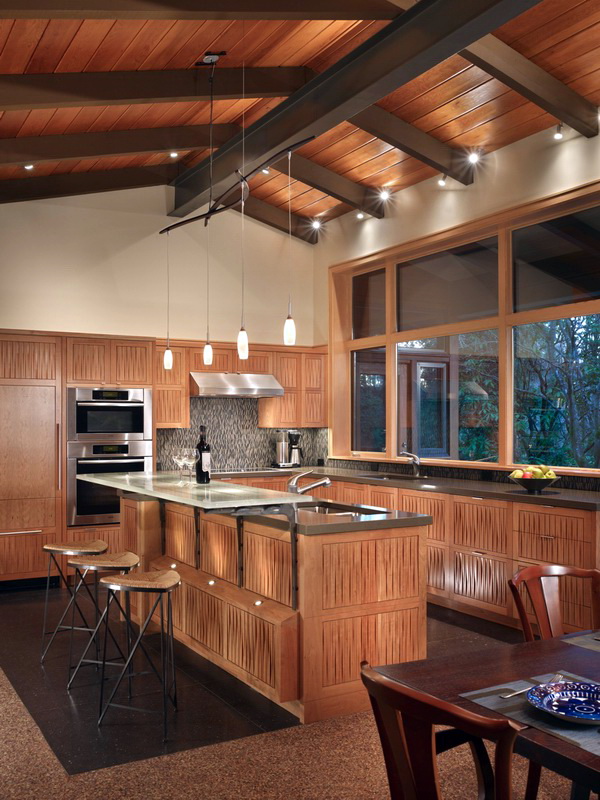
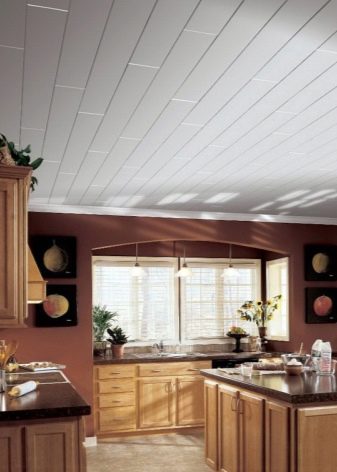
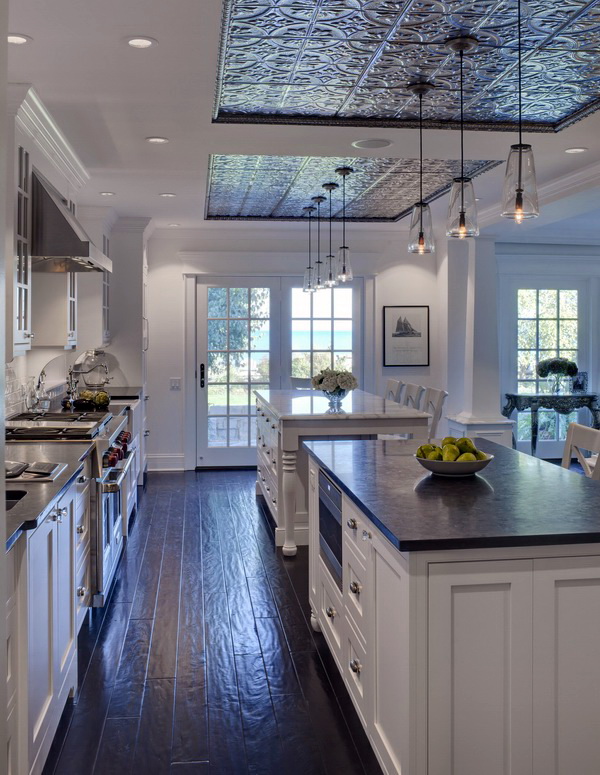
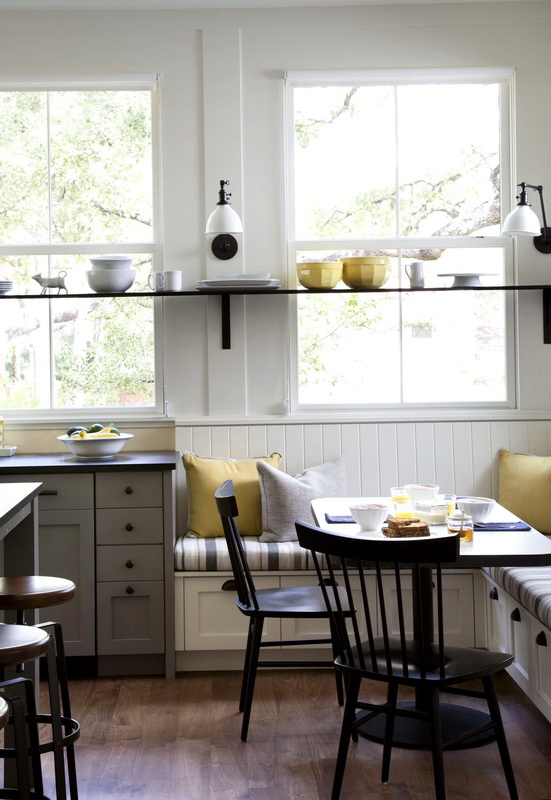
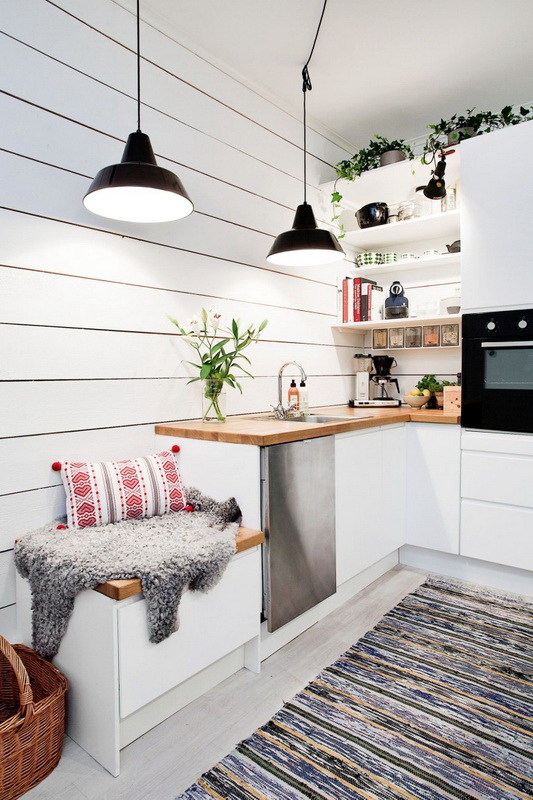
Ceiling
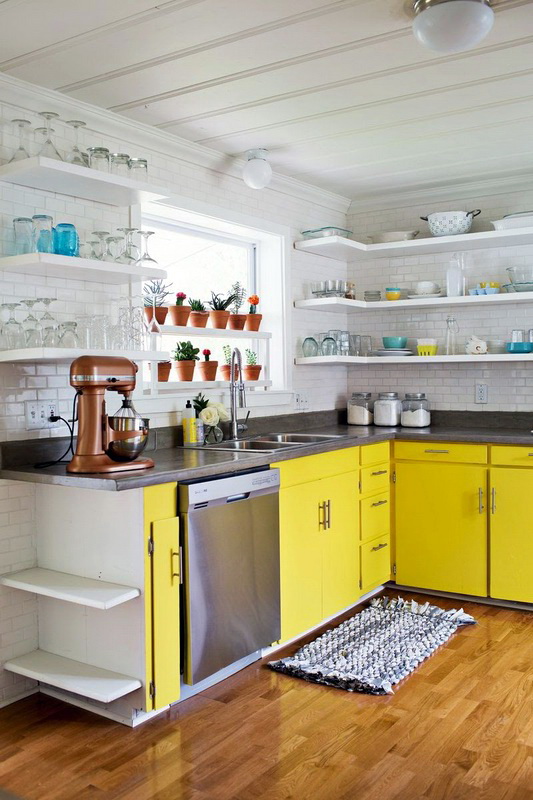
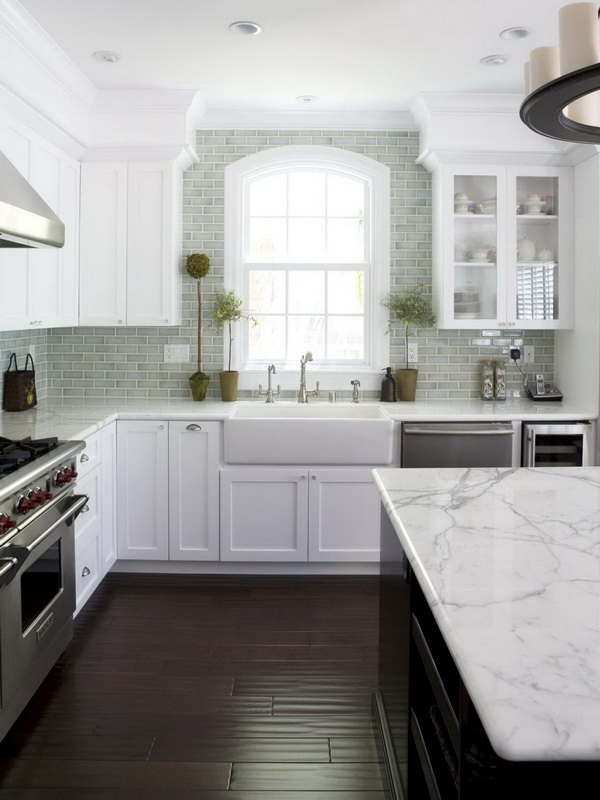
It is also a surface that can be covered with clapboard; the only condition for the ceiling is the bright colors of the finishing material. It can be monophonic or imitate a stone of light shades or some original relief. But the same trim for the ceiling and for the walls should not be selected, the kitchen looks much more attractive, on which its different parts look different, both in texture and color scheme.
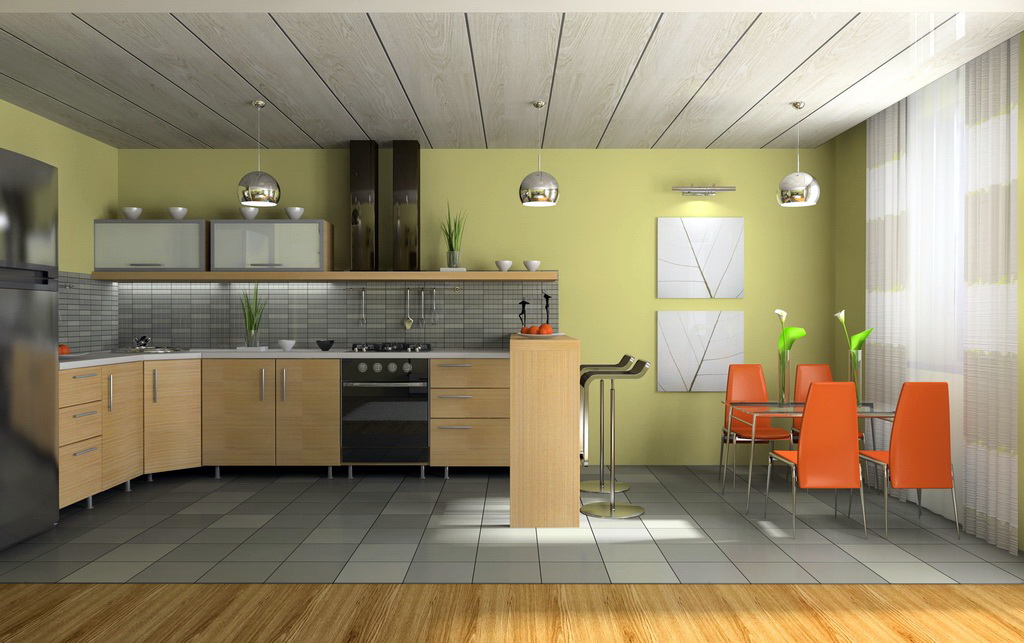
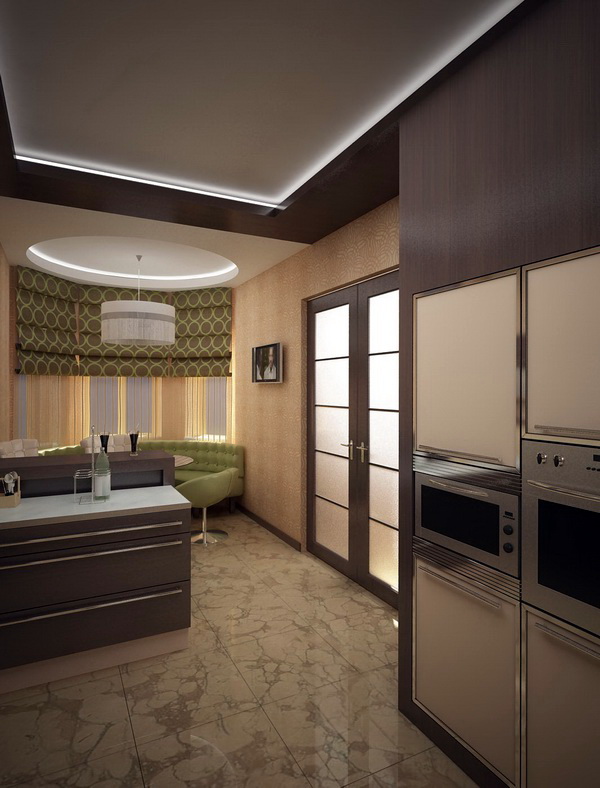
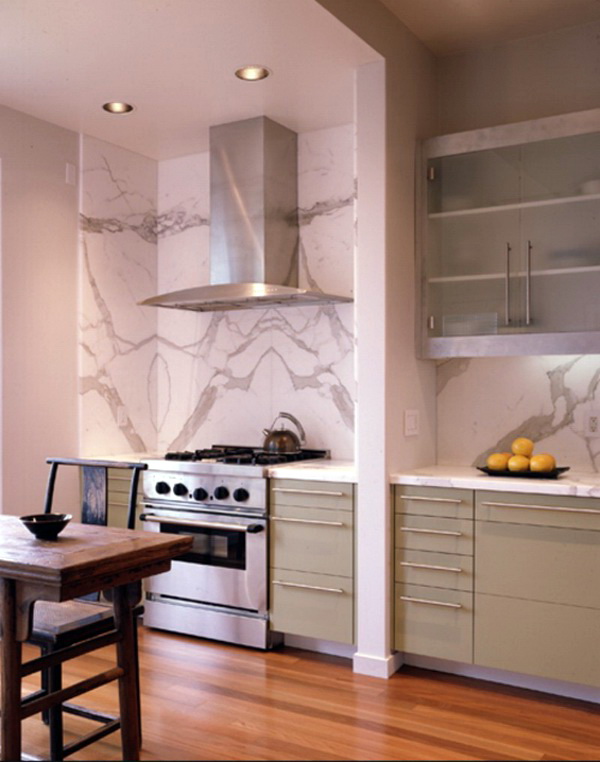
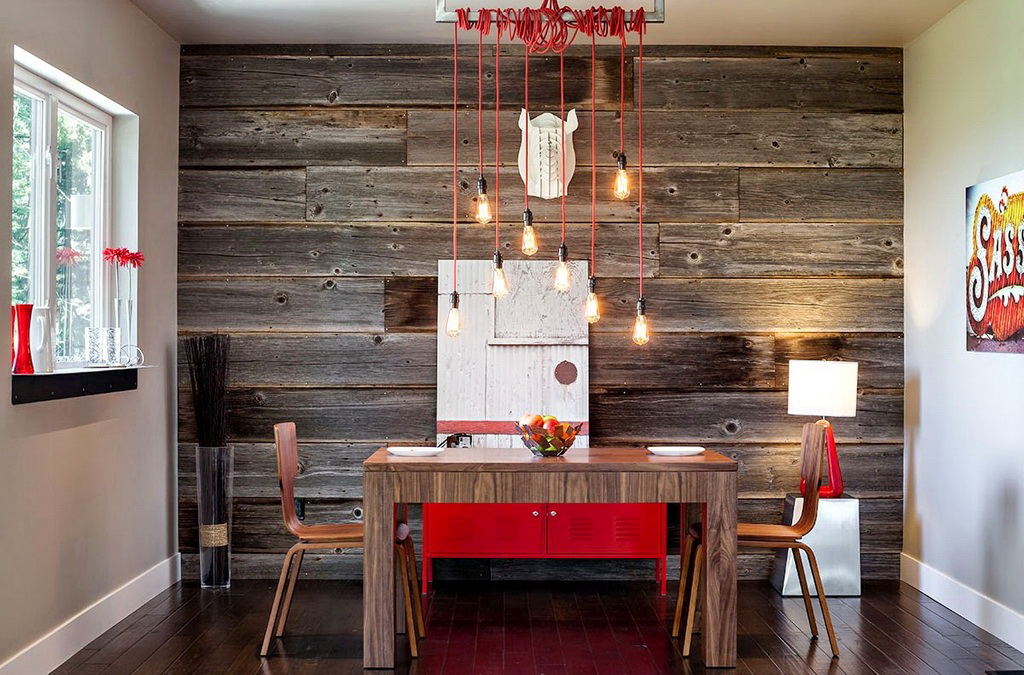
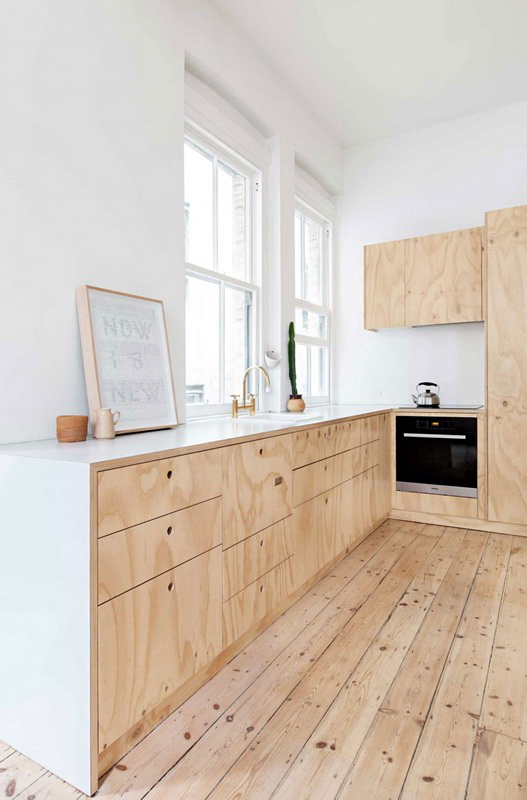
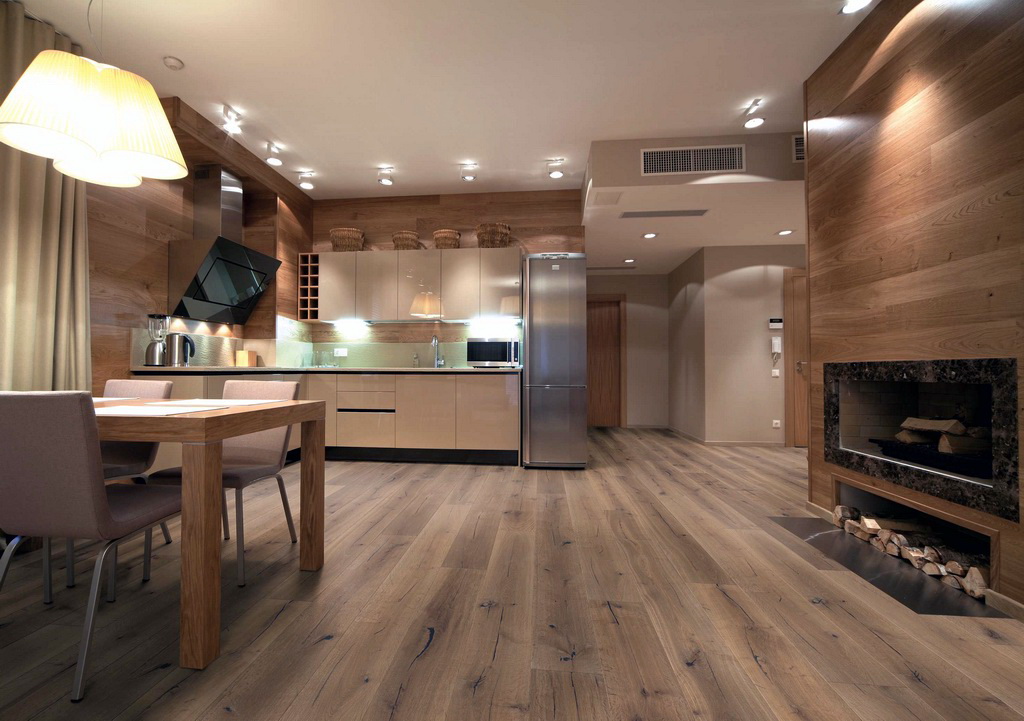
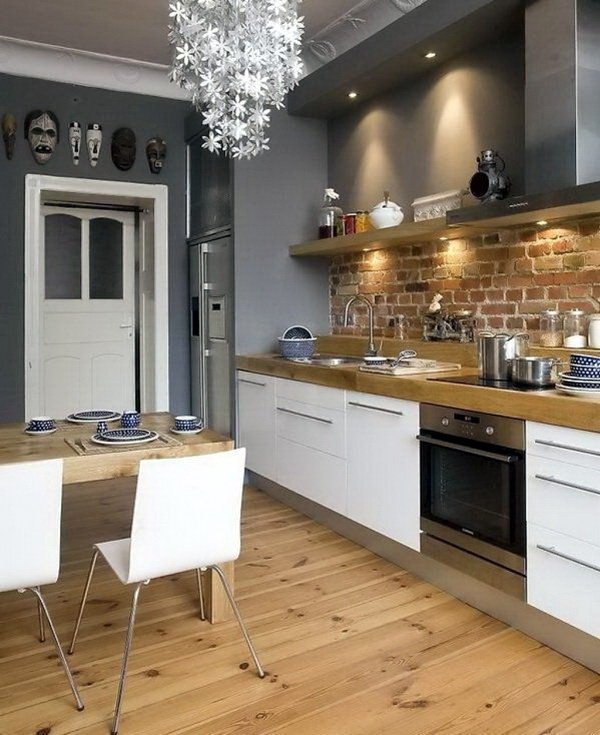
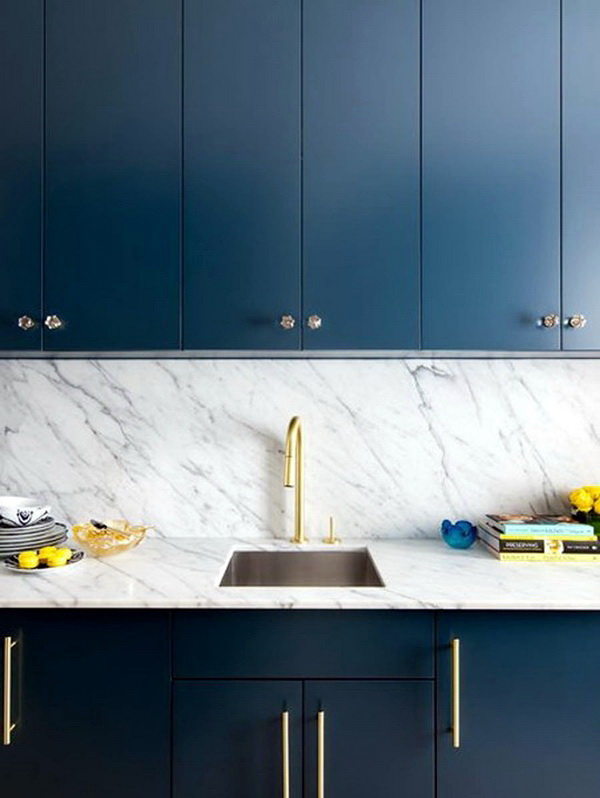
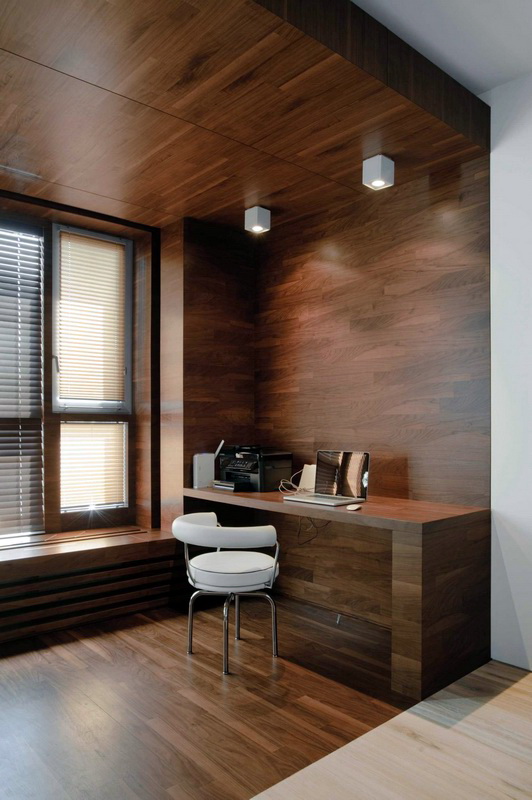
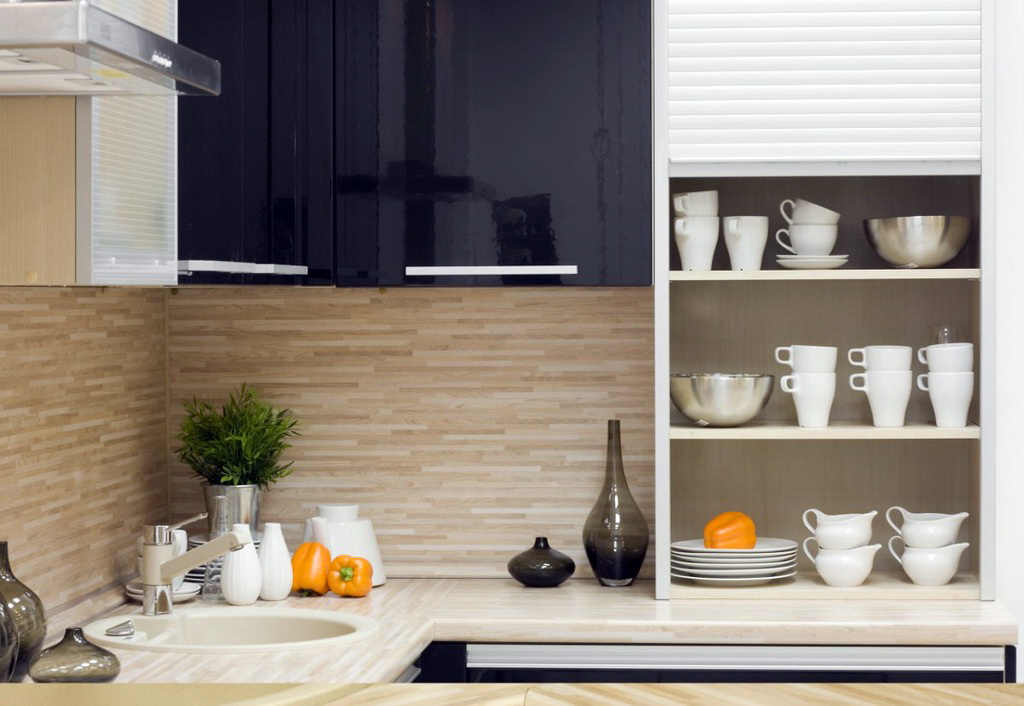
How to make a lunch zone trim?
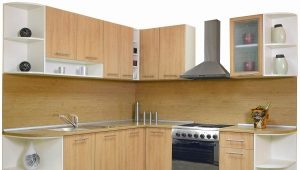
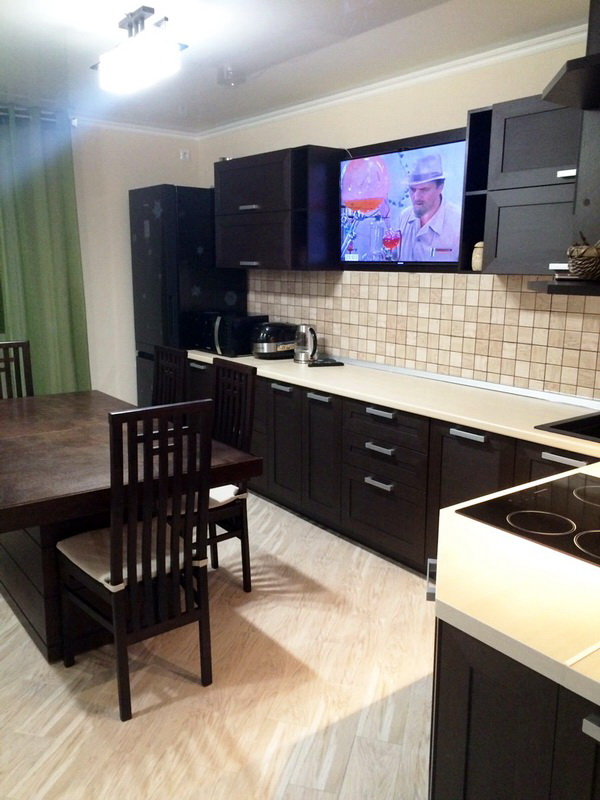
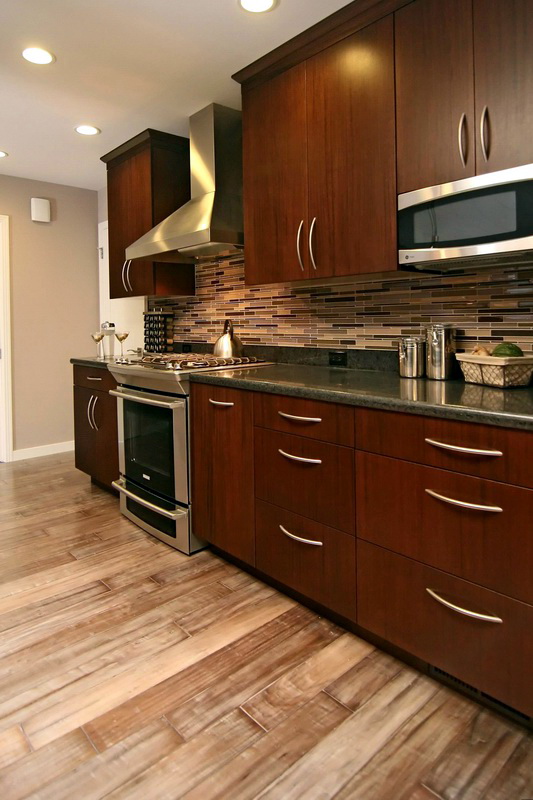
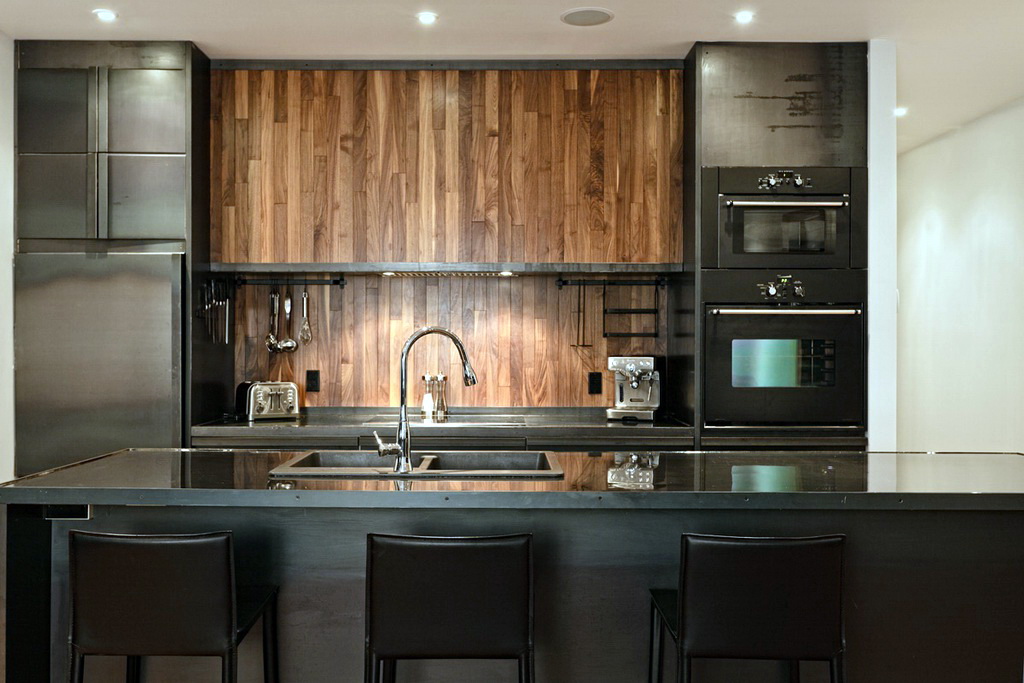
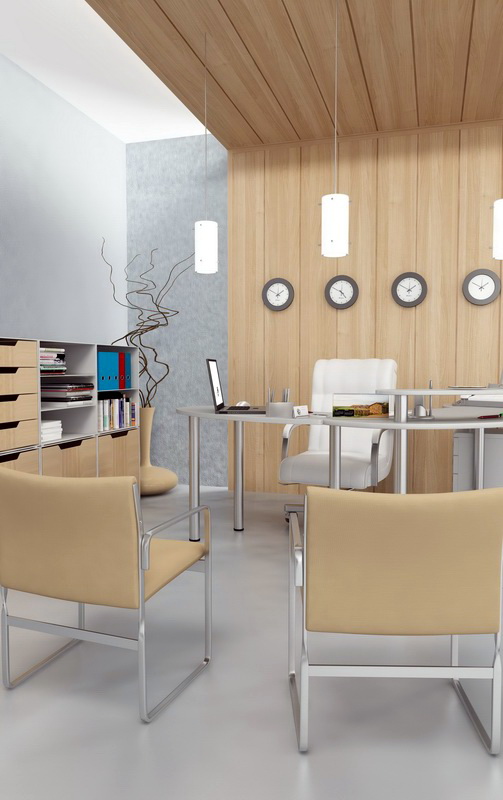
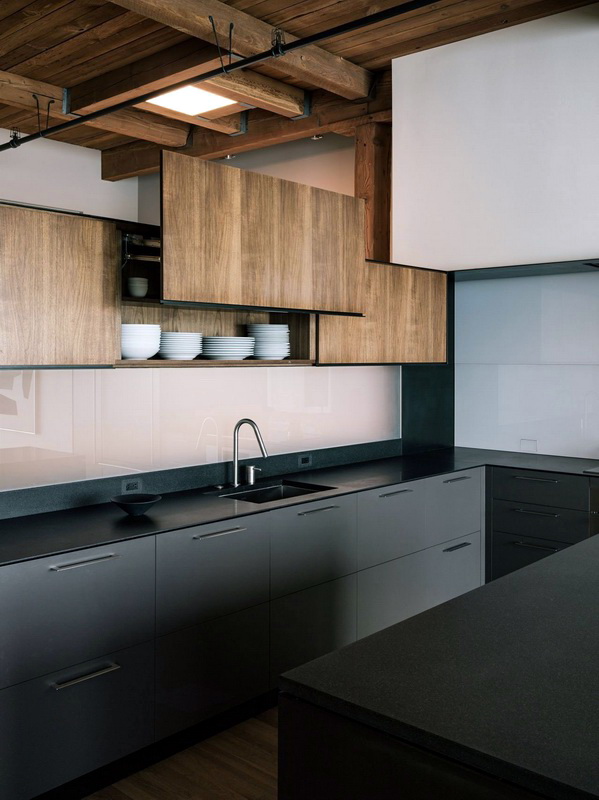
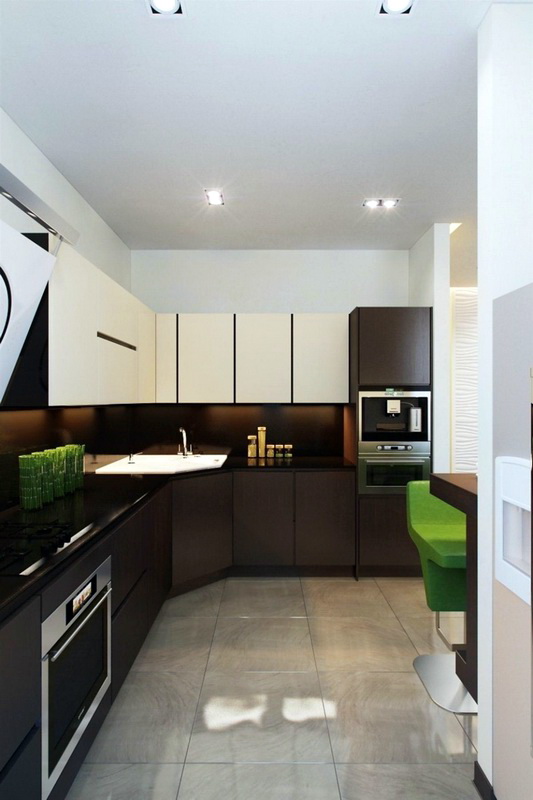
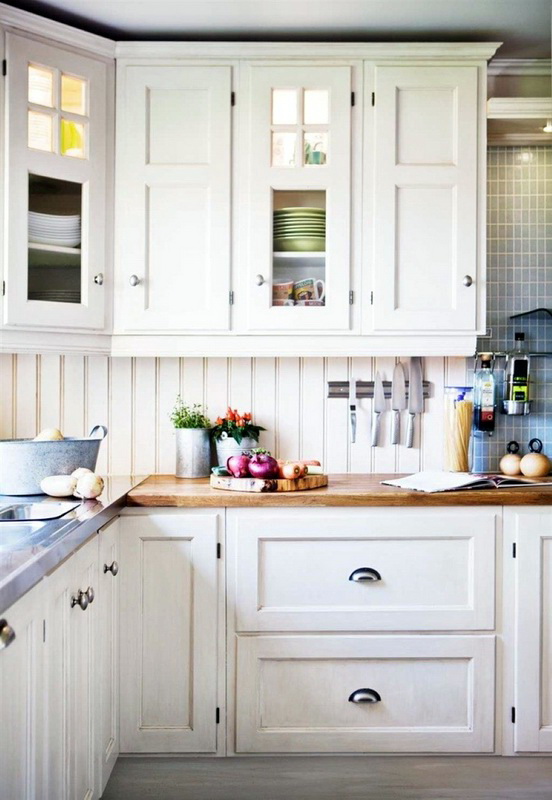
Laminated or veneered MDF boards are beautiful in structure and have a pleasant natural shade of wood, which is very suitable for arranging a lunch zone, where, thus, a warm, homely atmosphere and comfort are created.Such a material in this case will be much better than ceramic tiles and much more practical wallpaper.
The dining area is usually located at some distance from the stove and from the sink, and therefore it is not necessary to be afraid for excessive moisture and temperature in this case. If you wish, you can make the cooking and dining areas in different tones, so that they are visually delimited. And if the dimensions of the kitchen allow, this separation can be not only visual - a partition can be built between the two zones, for example, from MDF sheets under a tree.
The partition itself can be designed as an expensive veneer, as well as with a simple lacquer coating or realistic photographs. Very effective openwork partitions of the same material, but treated with laser cutting.
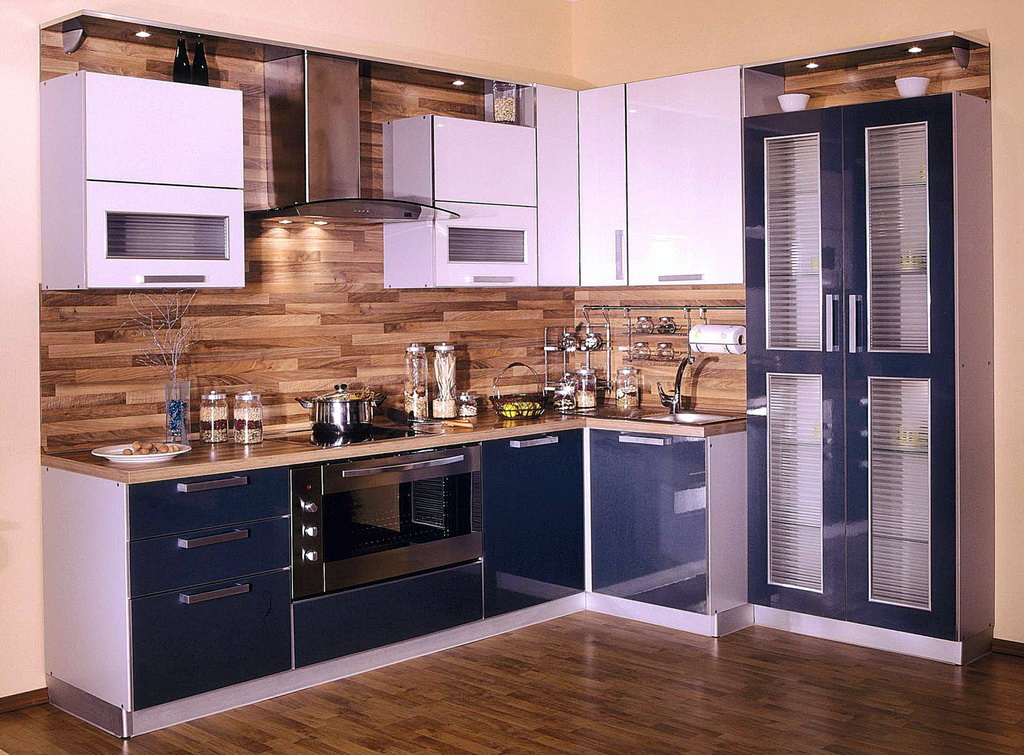


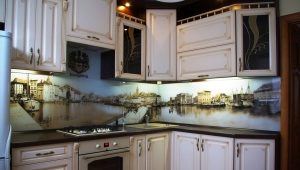
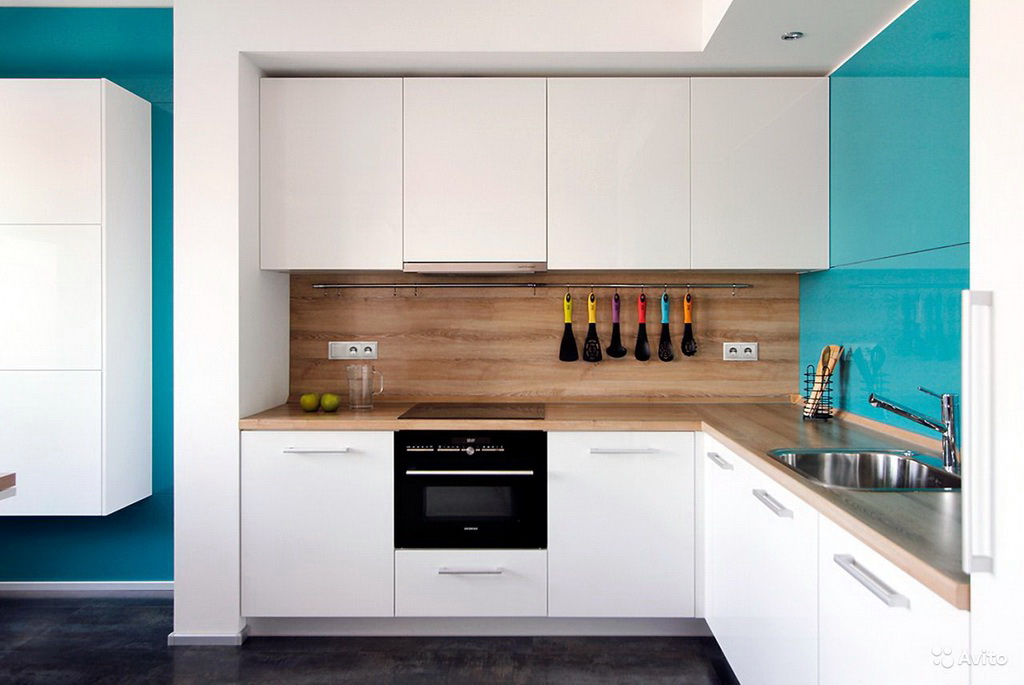
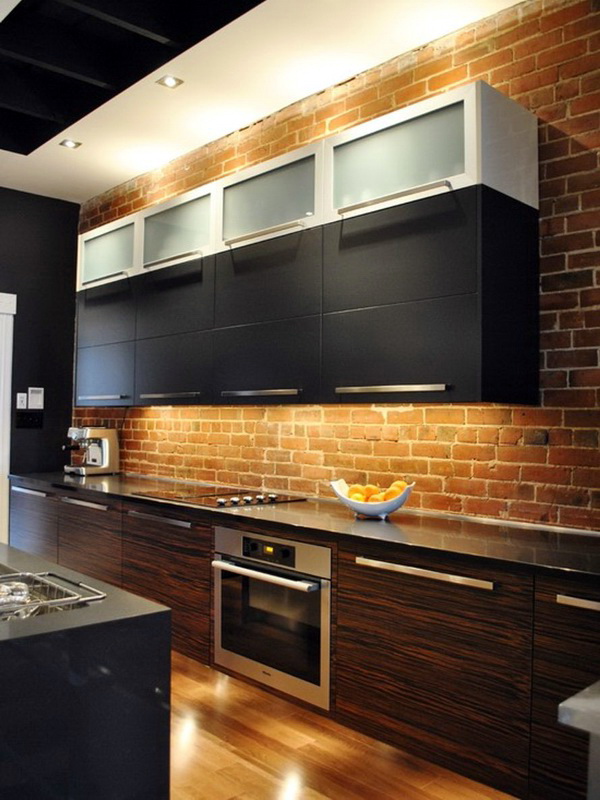
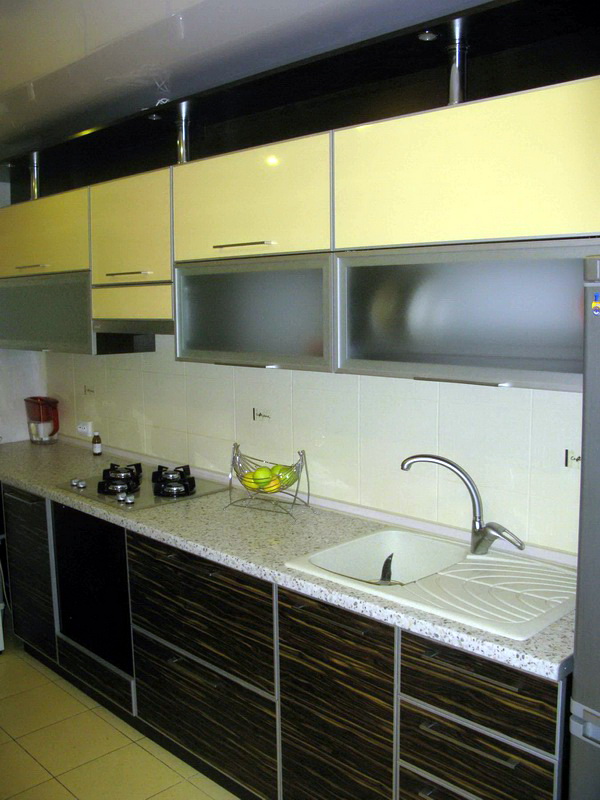
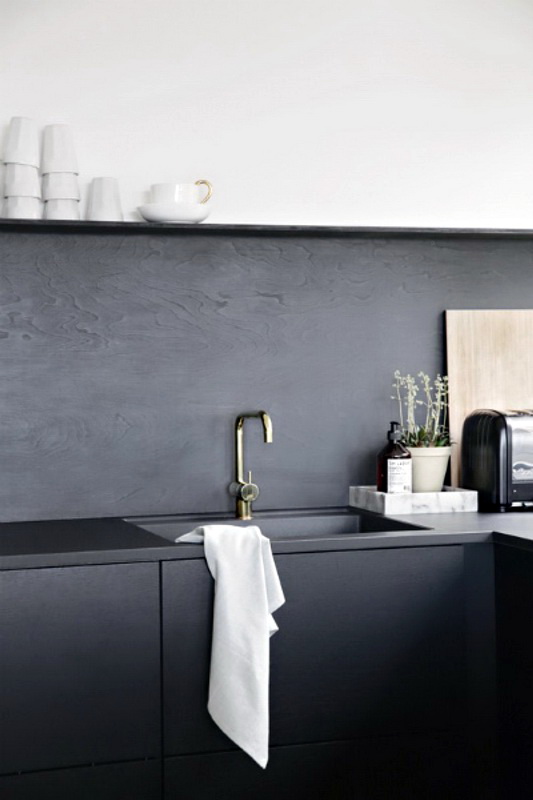
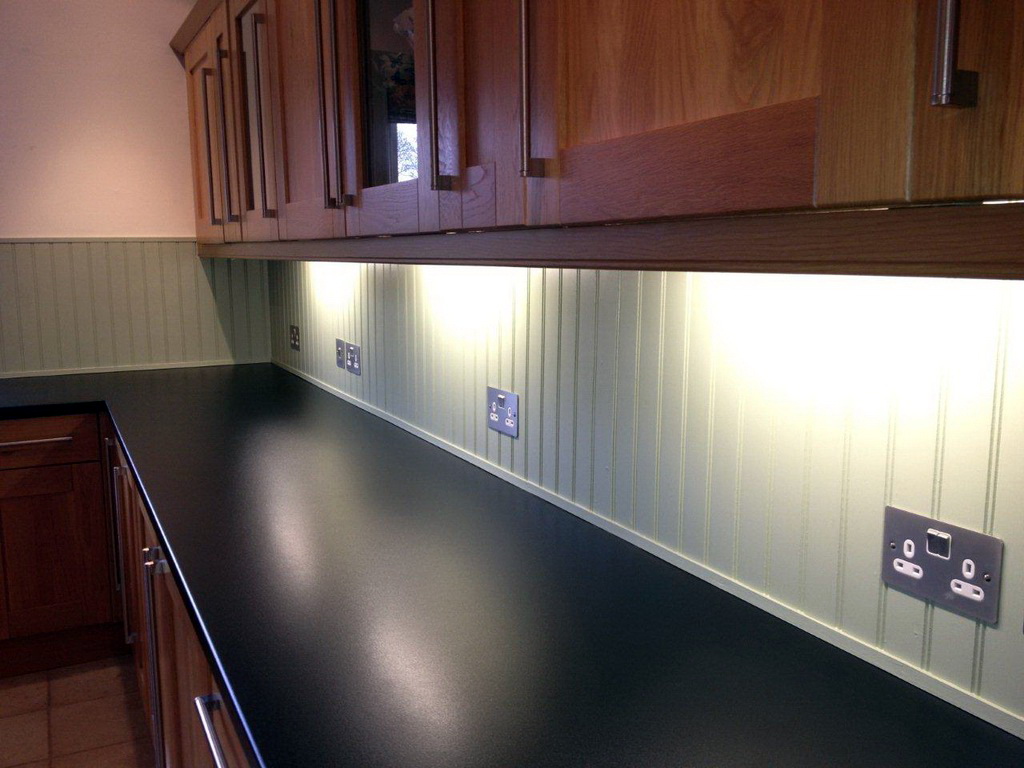
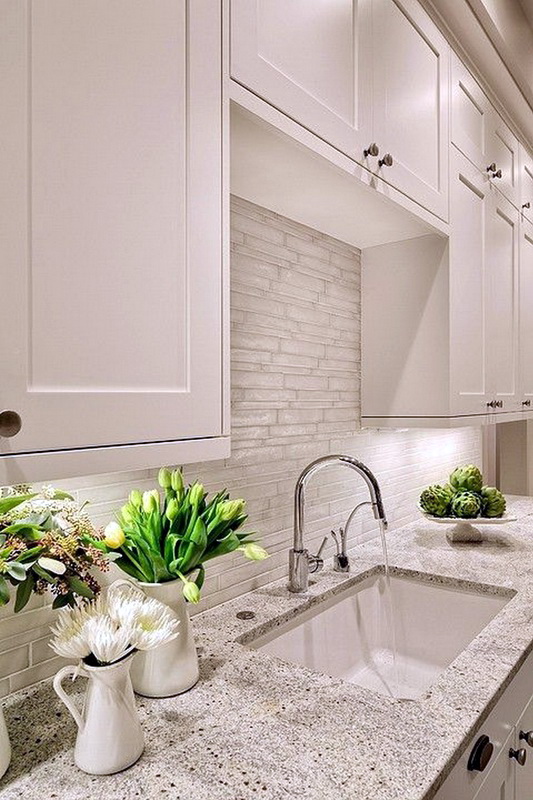
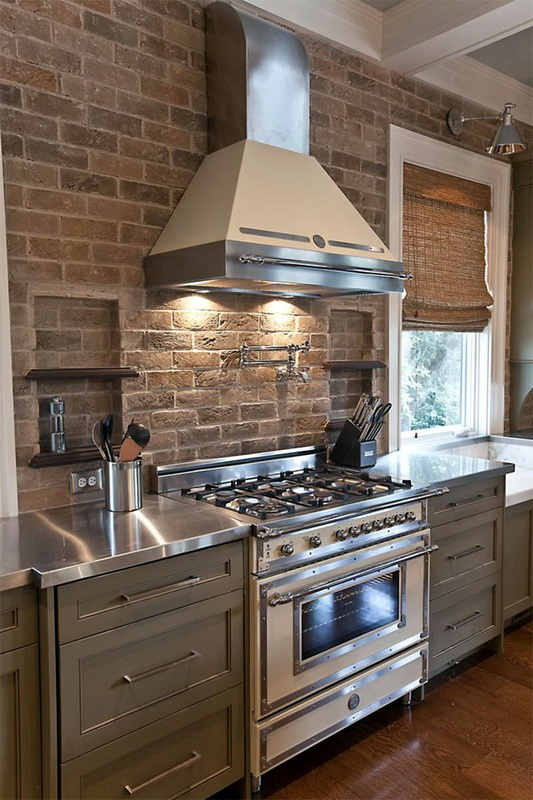
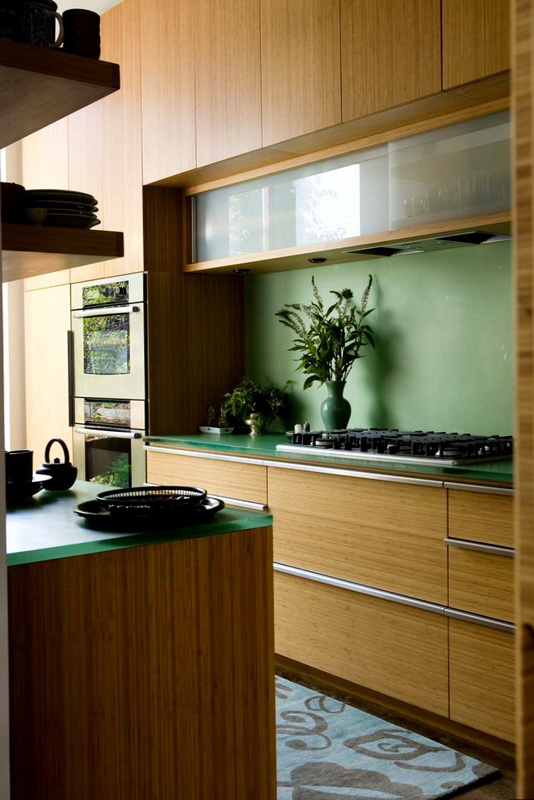
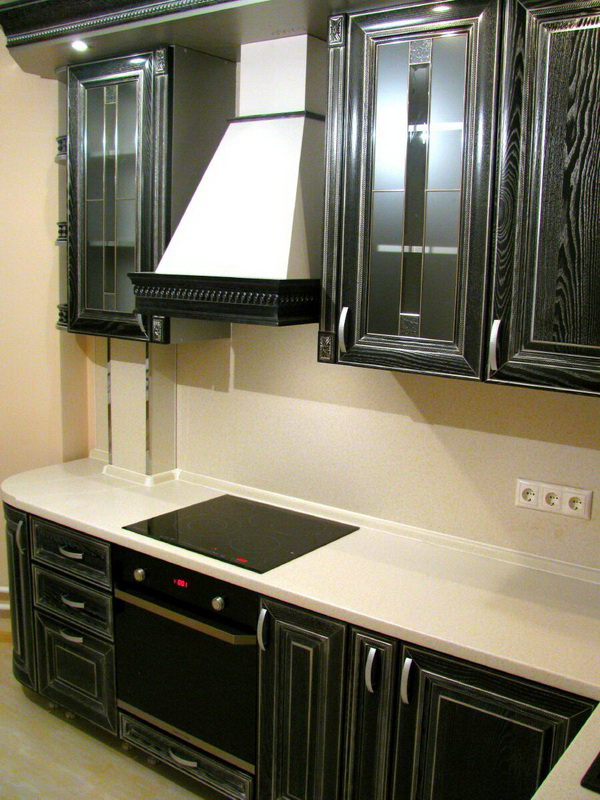
How to make a kitchen apron mount?
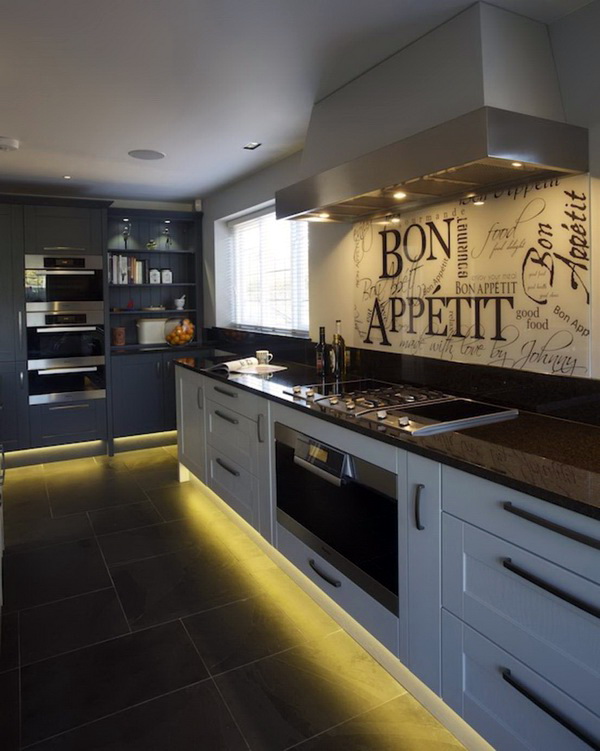
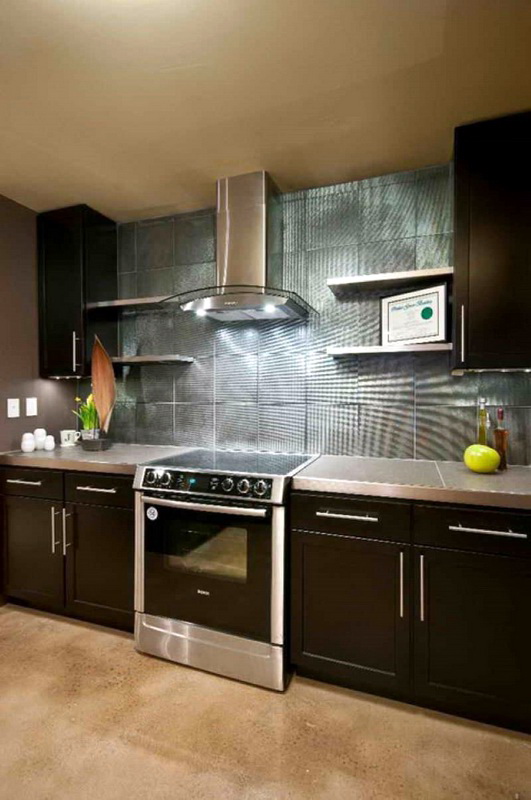
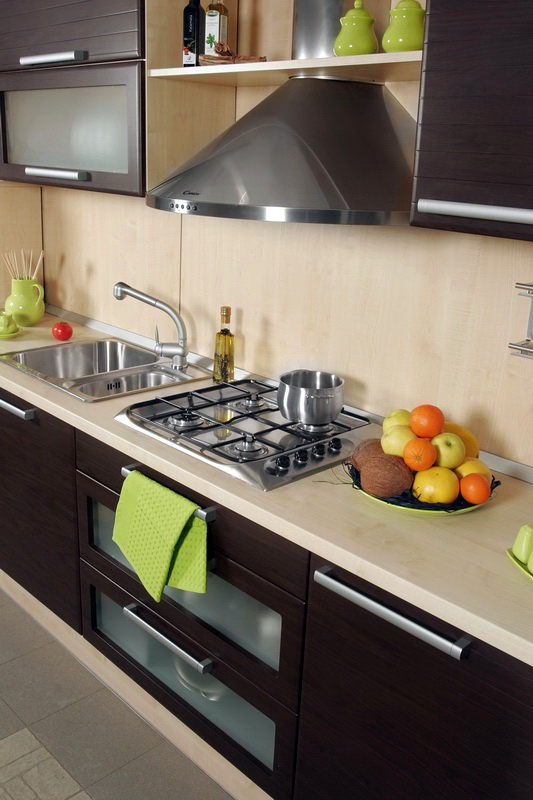
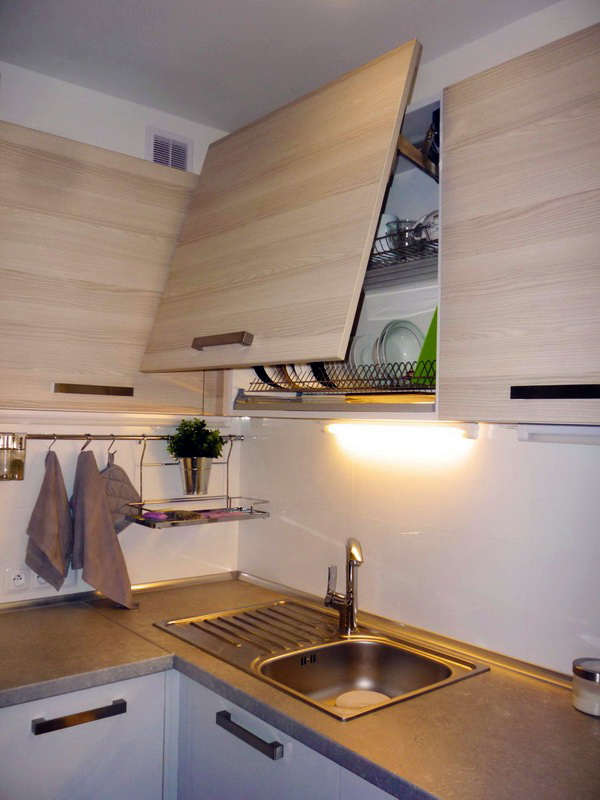
The areas located in the middle part of the kitchen walls (between the upper and lower rows of furniture) are the main working area of this room. This means that it is on this part of the kitchen walls that the greatest influence is made by moisture and heat. For such finishing MDF boards should be selected only moisture resistant or else they can be closed using a glass screen.
There is the most reliable way that is recommended to finish the interior kitchen room. These are special MDF-skinali, having a heat-resistant plastic coating. Moreover, taking into account the specifics of the room for which these plates are designed, they are made with the richest decoration, perfectly suitable for the kitchen area.
The best option for mounting wall panels for a kitchen apron will be a crate, for which it will be convenient to hide the various communications necessary for the operation of kitchen appliances and wiring, which will illuminate the work area.
How to make trim yourself
MDF plates can be mounted in one of two ways - either with a frame or with some kind of construction adhesive. The use of the frame is considered a more environmentally friendly option, because in this case it is not necessary to use any chemicals, because from high temperatures they can begin to emit dangerous fumes into the air.
But in the kitchen there is always exhaust ventilation, and therefore harmful substances will be immediately removed, so you should not give up the adhesive method of installation for covering one or another surface.

On glue
This method of installation is suitable for all types of MDF panels, although it is better, of course, to fix thin and medium plates. It should be borne in mind that this option is possible only if there are only minor defects on the surface that extend beyond the wall plane by a maximum of 3 mm.
When working with glue, you should take care of their protection - to buy a respirator and rubber gloves, in addition, the room must receive air flow.
Finishing the kitchen using MDF boards is a fairly simple task and does not take much time. First of all, the work surface should be cleaned from the old coating. On the surface there should be no paint, no wallpaper, or any other material.
Next, the surface is primed. This solves the problem of eliminating fungus and mold, as well as increases adhesion. If sheathing is done throughout the kitchen, then the metal profile should be attached with screws at the bottom of the wall, to the floor itself. The first level is measured by the level and, thus, the procedure of aligning all the other rows and mounting the baseboard is simplified.
Features of glue application and installation
The base is covered with glue either by the point method or by stripes in the form of zigzags. When a large sheet material is attached, the glue is applied to the surface to be glued, and if the strip is very small, glue can be applied only on it.
Mount to start at the corner of the kitchen. The first panel should be pressed to the surface, aligned vertically and horizontally, using a level for this. Then you need to tap the panel with a special rubber mallet so that it fits snugly. Next, fix the rest of the panel.
When gluing lining or tile, then you need to check every 5 fragments by level - if the connection is correct. If excess glue comes out, it must be immediately removed with a piece of cloth that needs to be wetted in alcohol or at least just in water.
When all the cladding is fixed, proceed to the installation of fittings: corners (interior, exterior, finishing) and plinth. For those who are going to do the kitchen decoration for the first time on their own, experts recommend using liquid nails as an adhesive, and who has more experience, any universal reinforced adhesive or just foam can be used.

With the help of crates or frame
This option has to be chosen for kitchens in which the walls do not differ in perfect smoothness of the surface, but quite the opposite. For the frame using either a metal profile or wooden slats. This option is also suitable for installing hidden wiring, and when you need to make a ceiling lining.
Works are performed in the following sequence:
A special anti-fungus primer is applied to the work surface. The same impregnation needs to be processed and the wood from which the framework will be erected. The next stage is the marking of the batten. On the walls at the top and bottom of the rail should be located from the ceiling and from the floor in five centimeters, between the rest the distance is about half a meter. On the ceiling, the batten is a grid with the size of the side of the square one meter.
The frame on the surface is attached to the screws, with a half-meter step. Check the accuracy of the installation using a level. Start the installation should always be from the corner.
The first lamella is leveled with the level vertically and fixed to the crate with small studs, which are then hidden under the fittings. The second side of the lamella is attached to the frame with a comb.Here the most suitable method of mounting clamps. This work is repeated throughout the perimeter.

When all the basic elements are installed, it comes to the fittings - all the corners and plinth are made out.
There is nothing difficult in using MDF panels for the kitchen, both for the ceiling and for the walls. Nonprofessional master can quite cope with this work, you just need to carefully consider all the tips.
But it also happens that there is simply not enough time for self-installation, or a person is not sure that he can do everything beautifully, then it is better to entrust the installation to a specialist and in a very short time to get a quality repair and a beautiful kitchen.