Apron heights in the kitchen
A better name than an apron is hard to come up with for this part of the kitchen. Like the hostess's apron, it creates a working mood, protecting the walls from splashes, heat and humidity. This cloth should be easy to wash, be durable and resistant to moisture, heat and the effects of household chemicals. If you have already decided on how your new kitchen will look like, then it's time to think about an apron and decide on its size.
What sizes depend on
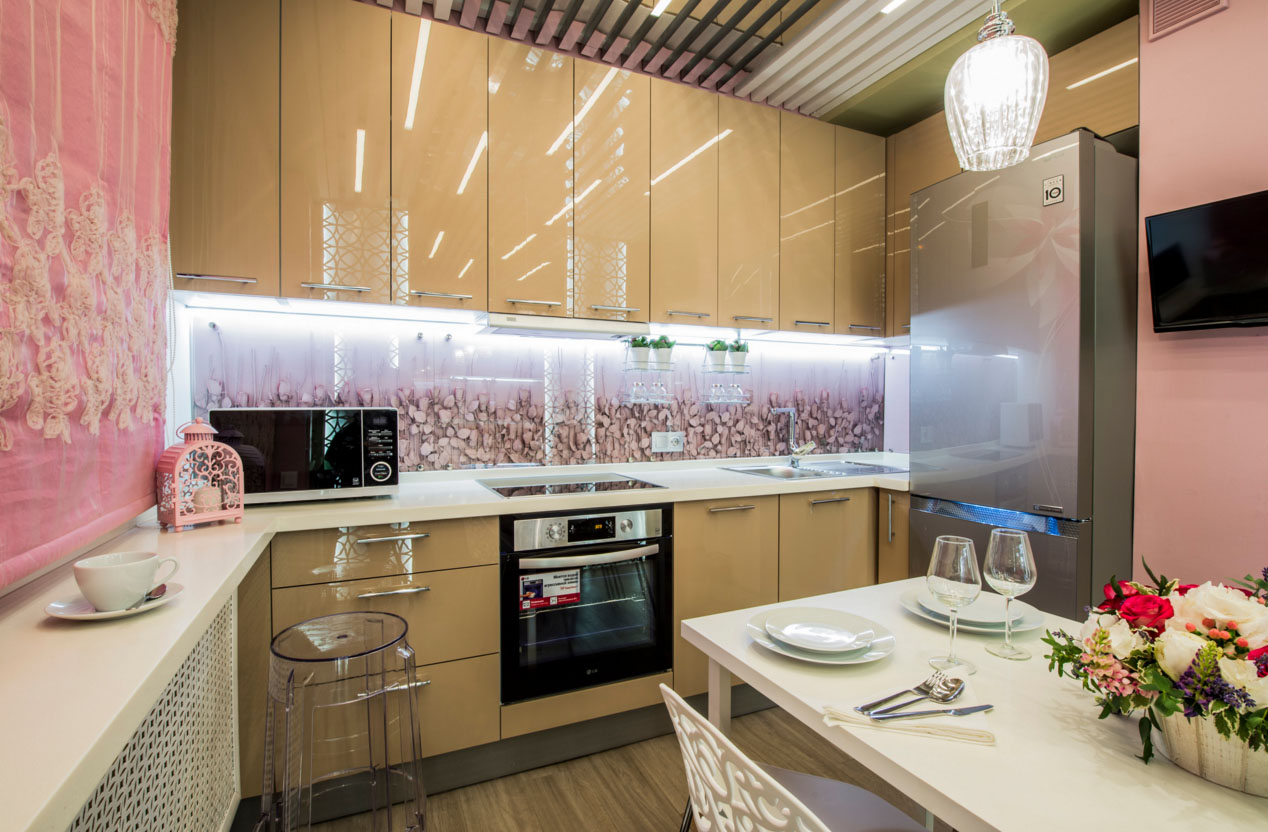
Kitchen sets are often chosen for appearance and budget, forgetting about such an important parameter as growth. Because the recommended height of some cabinets is more suitable for tall people, while others will be extremely uncomfortable. Therefore, the size of the apron and its position strongly depend on your individuality. But the set itself, its design and kitchen appliances can put an imprint on the measurements of the protective canvas. There are no trifles here, because we want to receive pleasure and pleasure from a new kitchen!

Height
This parameter determines the height at which the canvas will be located, its position relative to the floor. It depends on several parameters:
- Height of the working surface;
- Features of technology - the choice of free-standing and built-in elements;
- Height of wall cabinets;

Model and position of the hood
The optimal level of the working surface depends on human growth and is usually assumed to be 85-91 cm. It will be more convenient for tall people to work on a surface at a height of 95 cm.
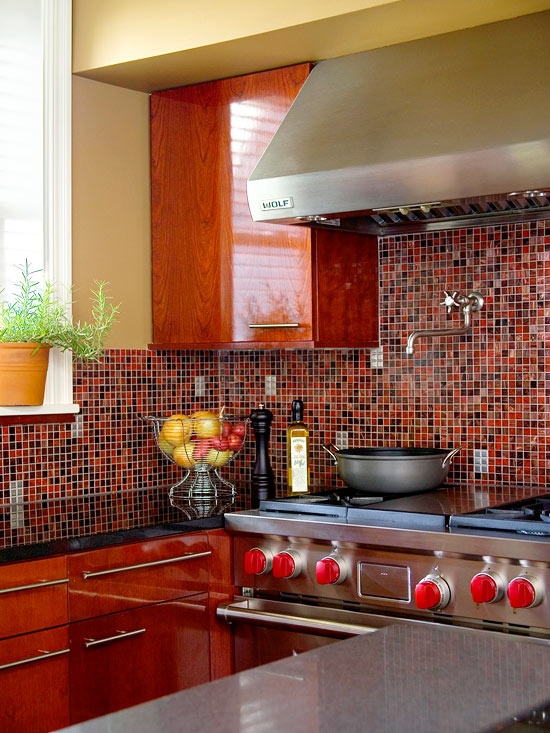
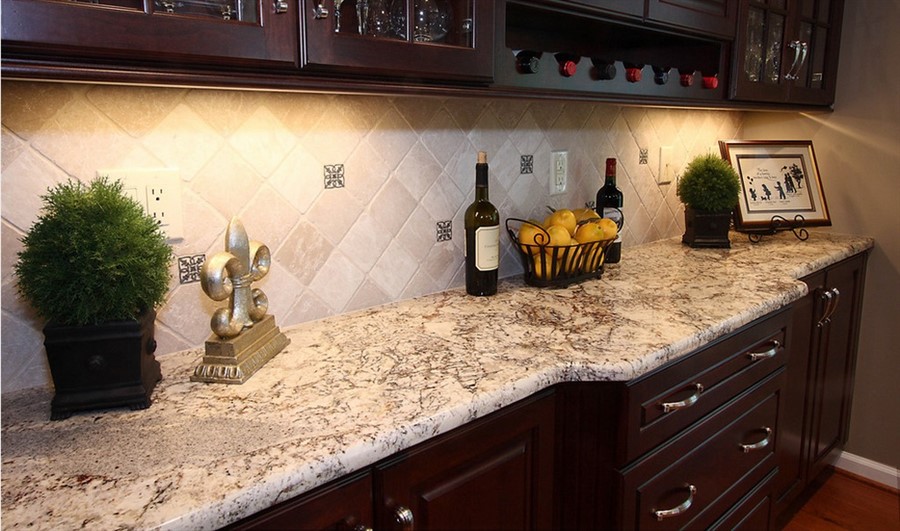
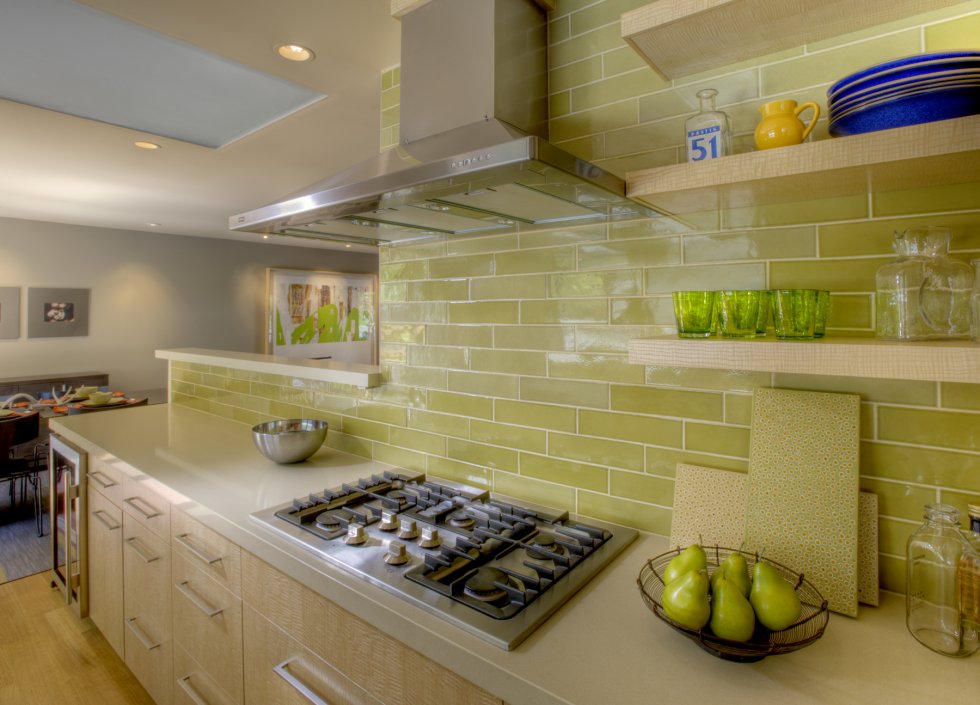
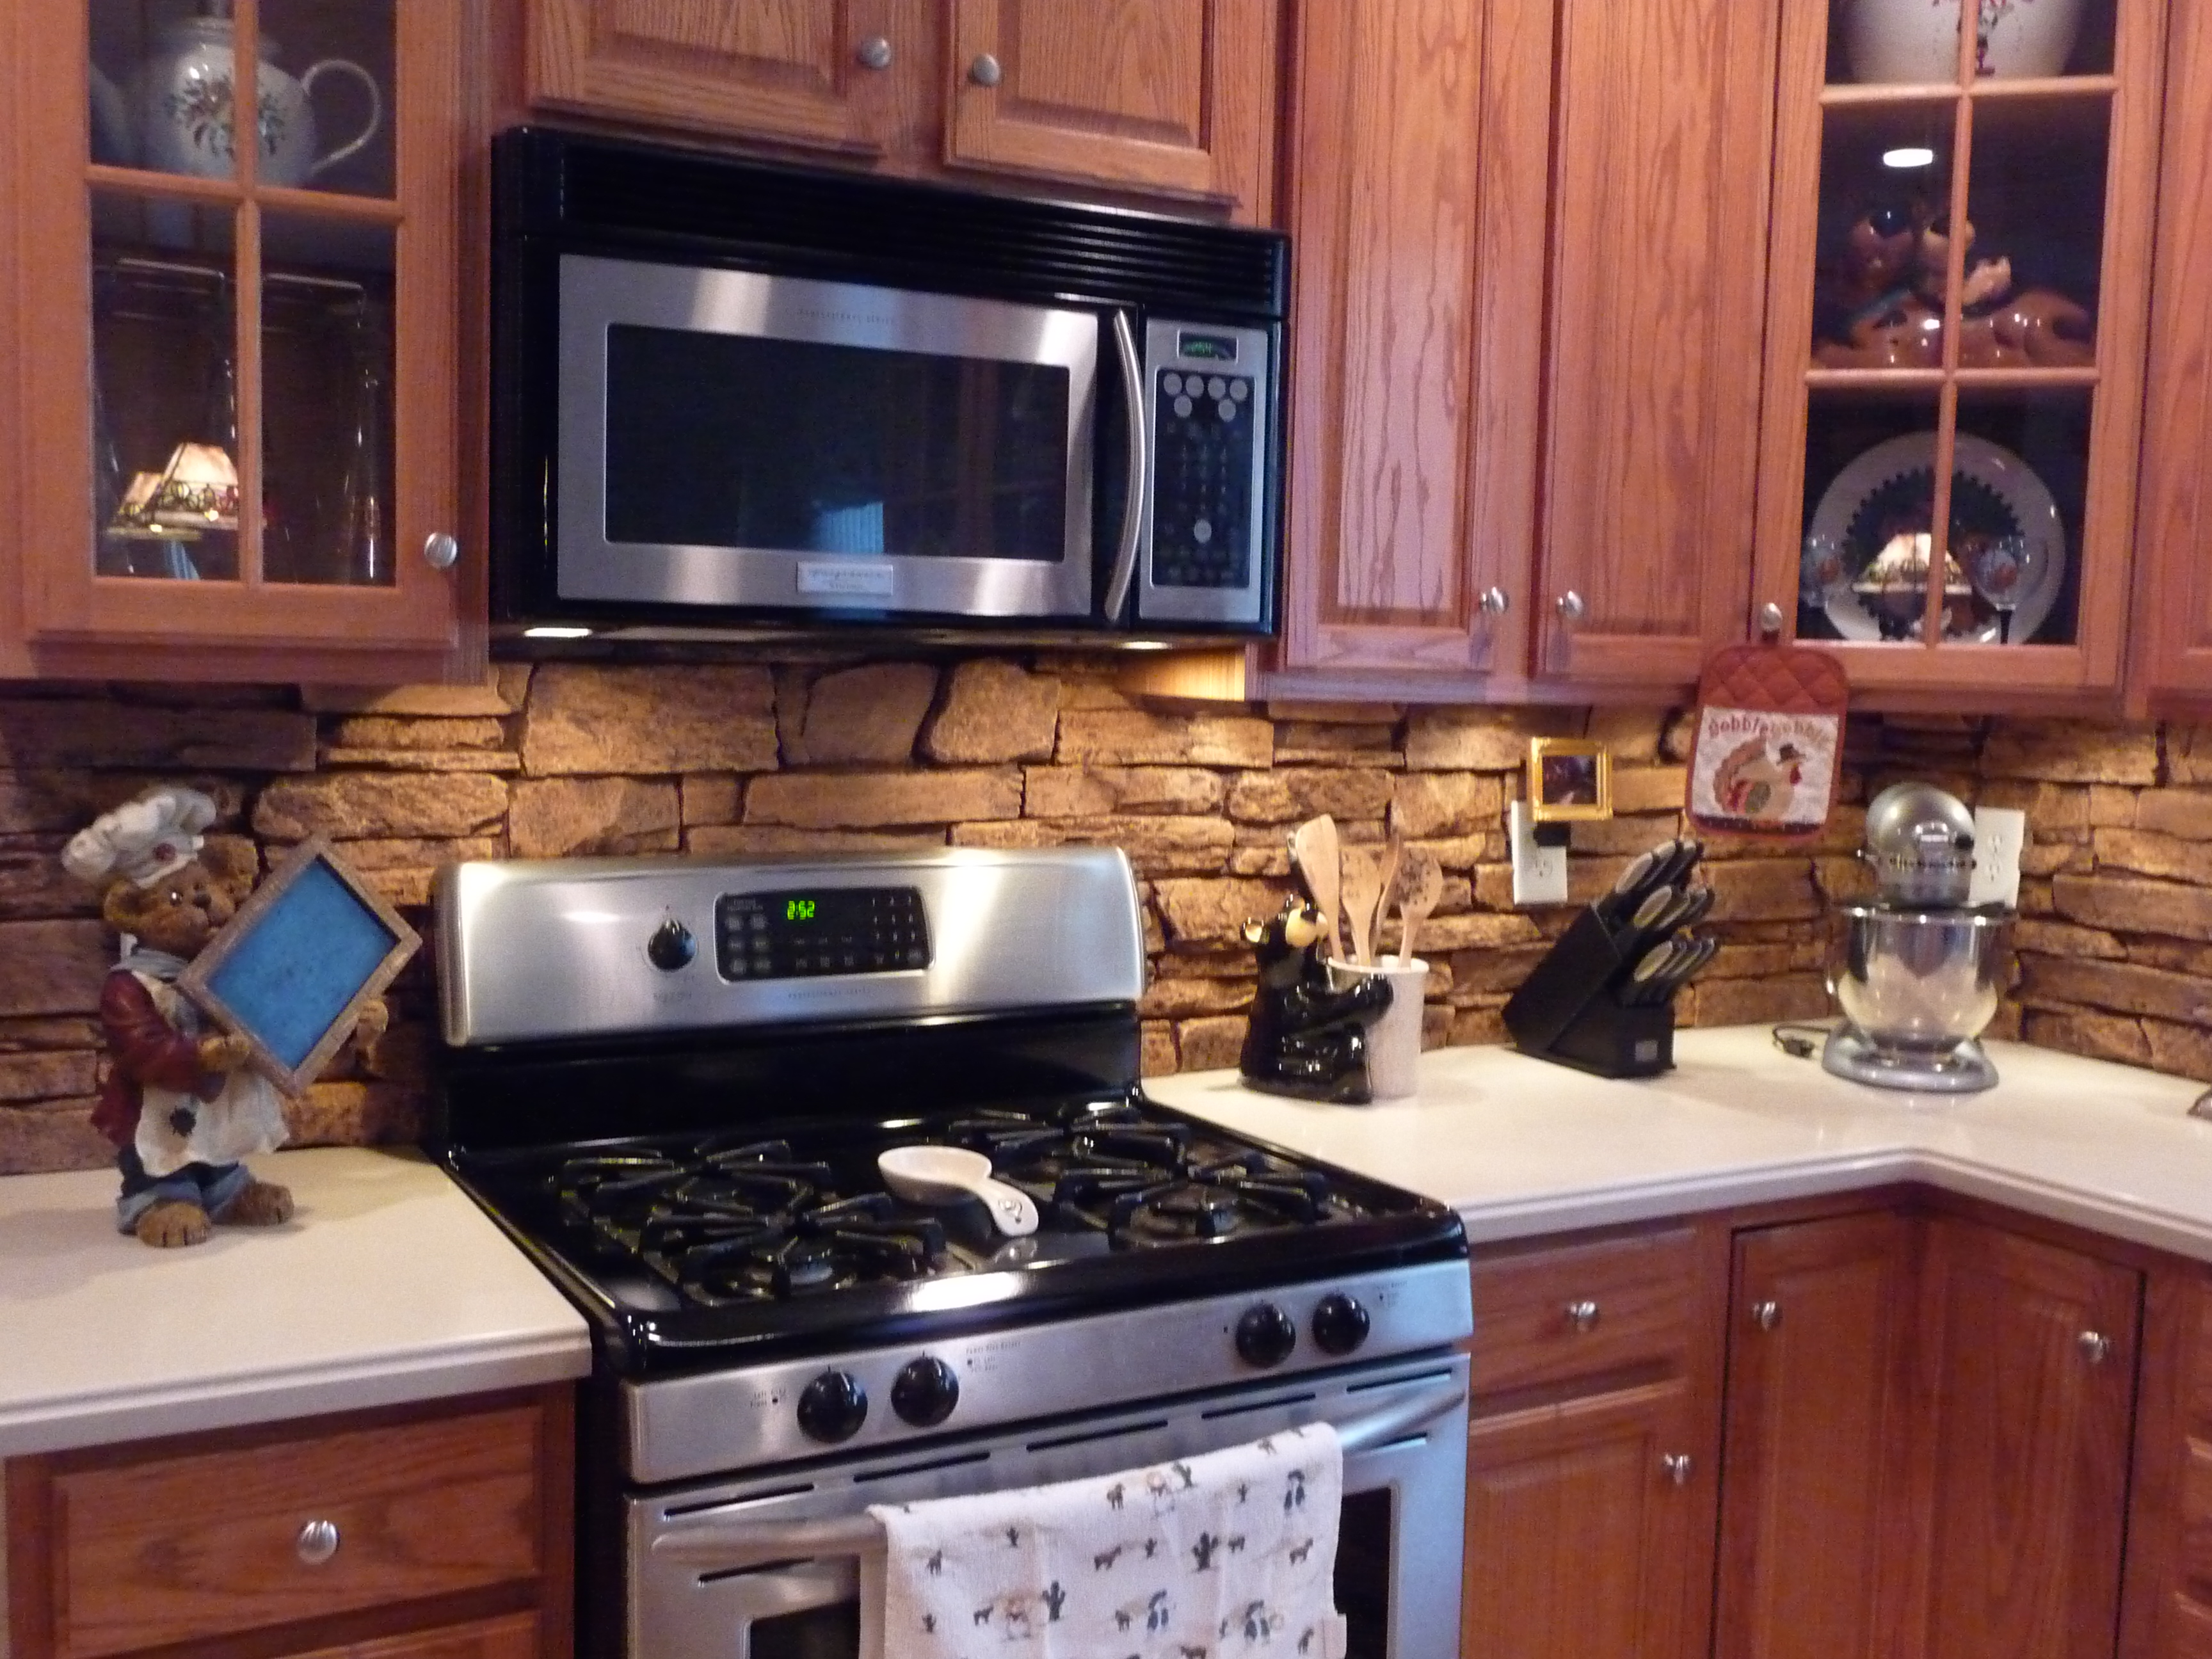
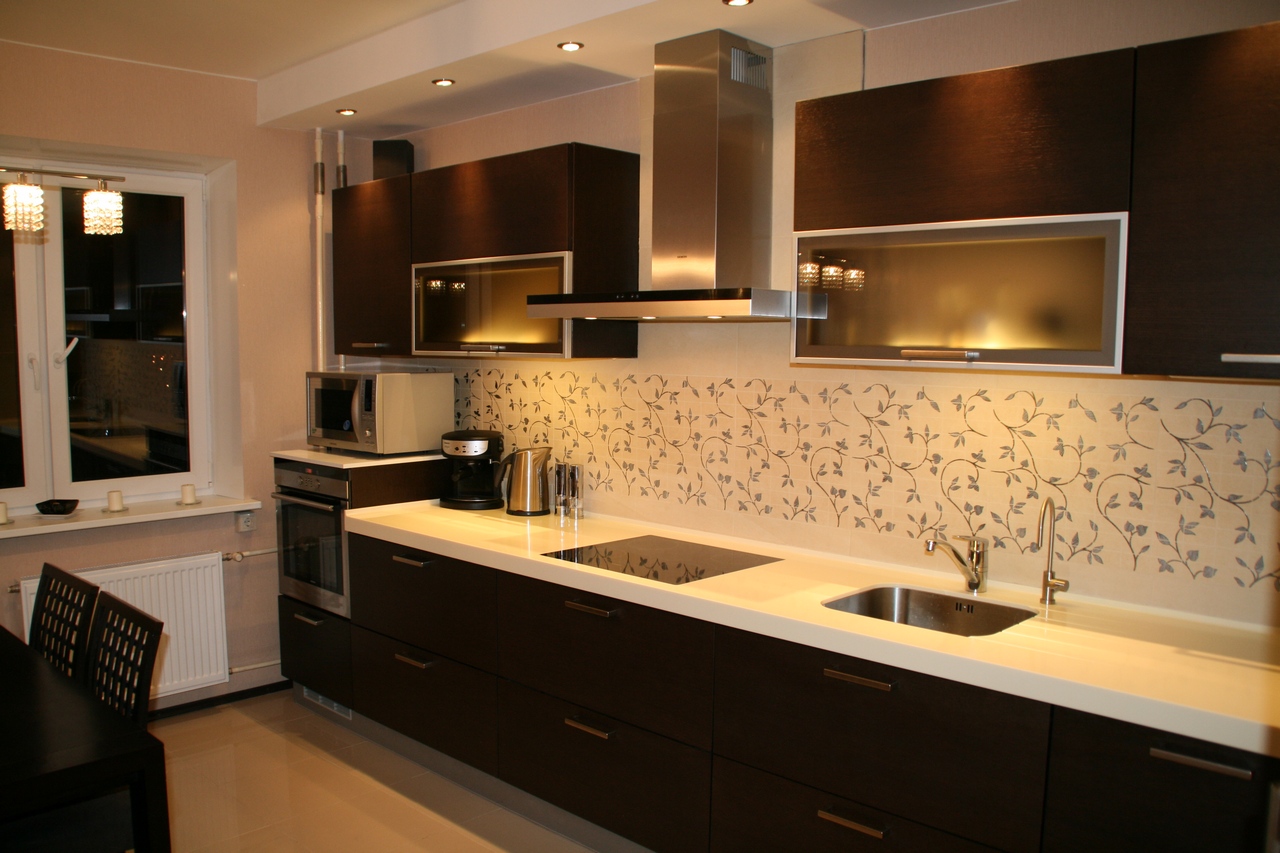
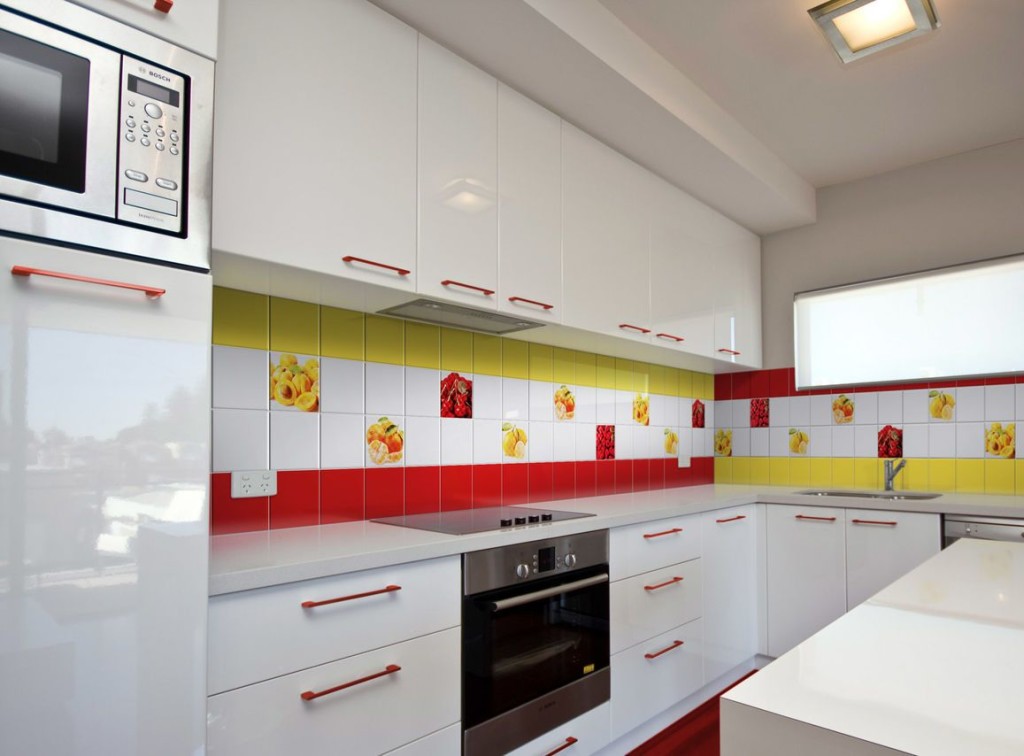
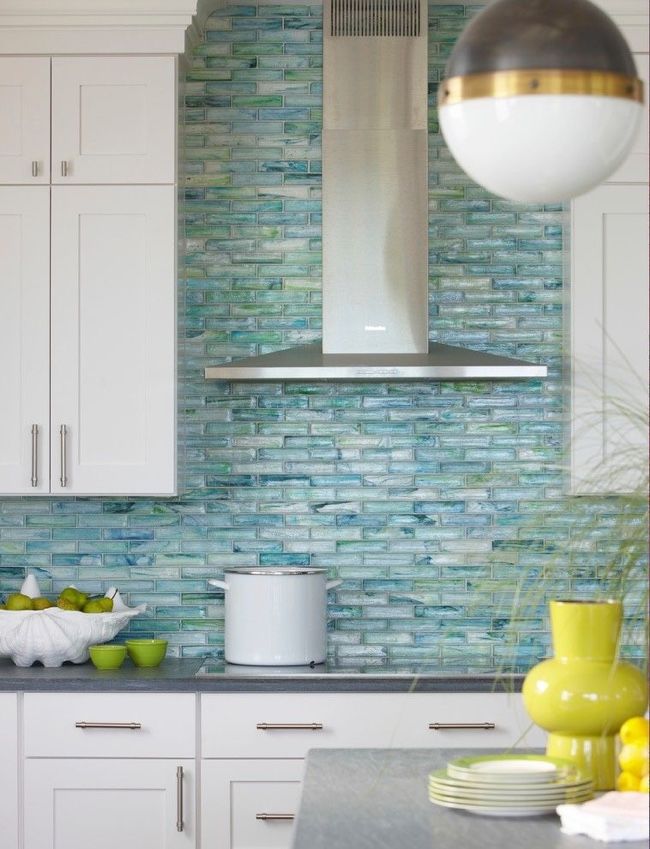
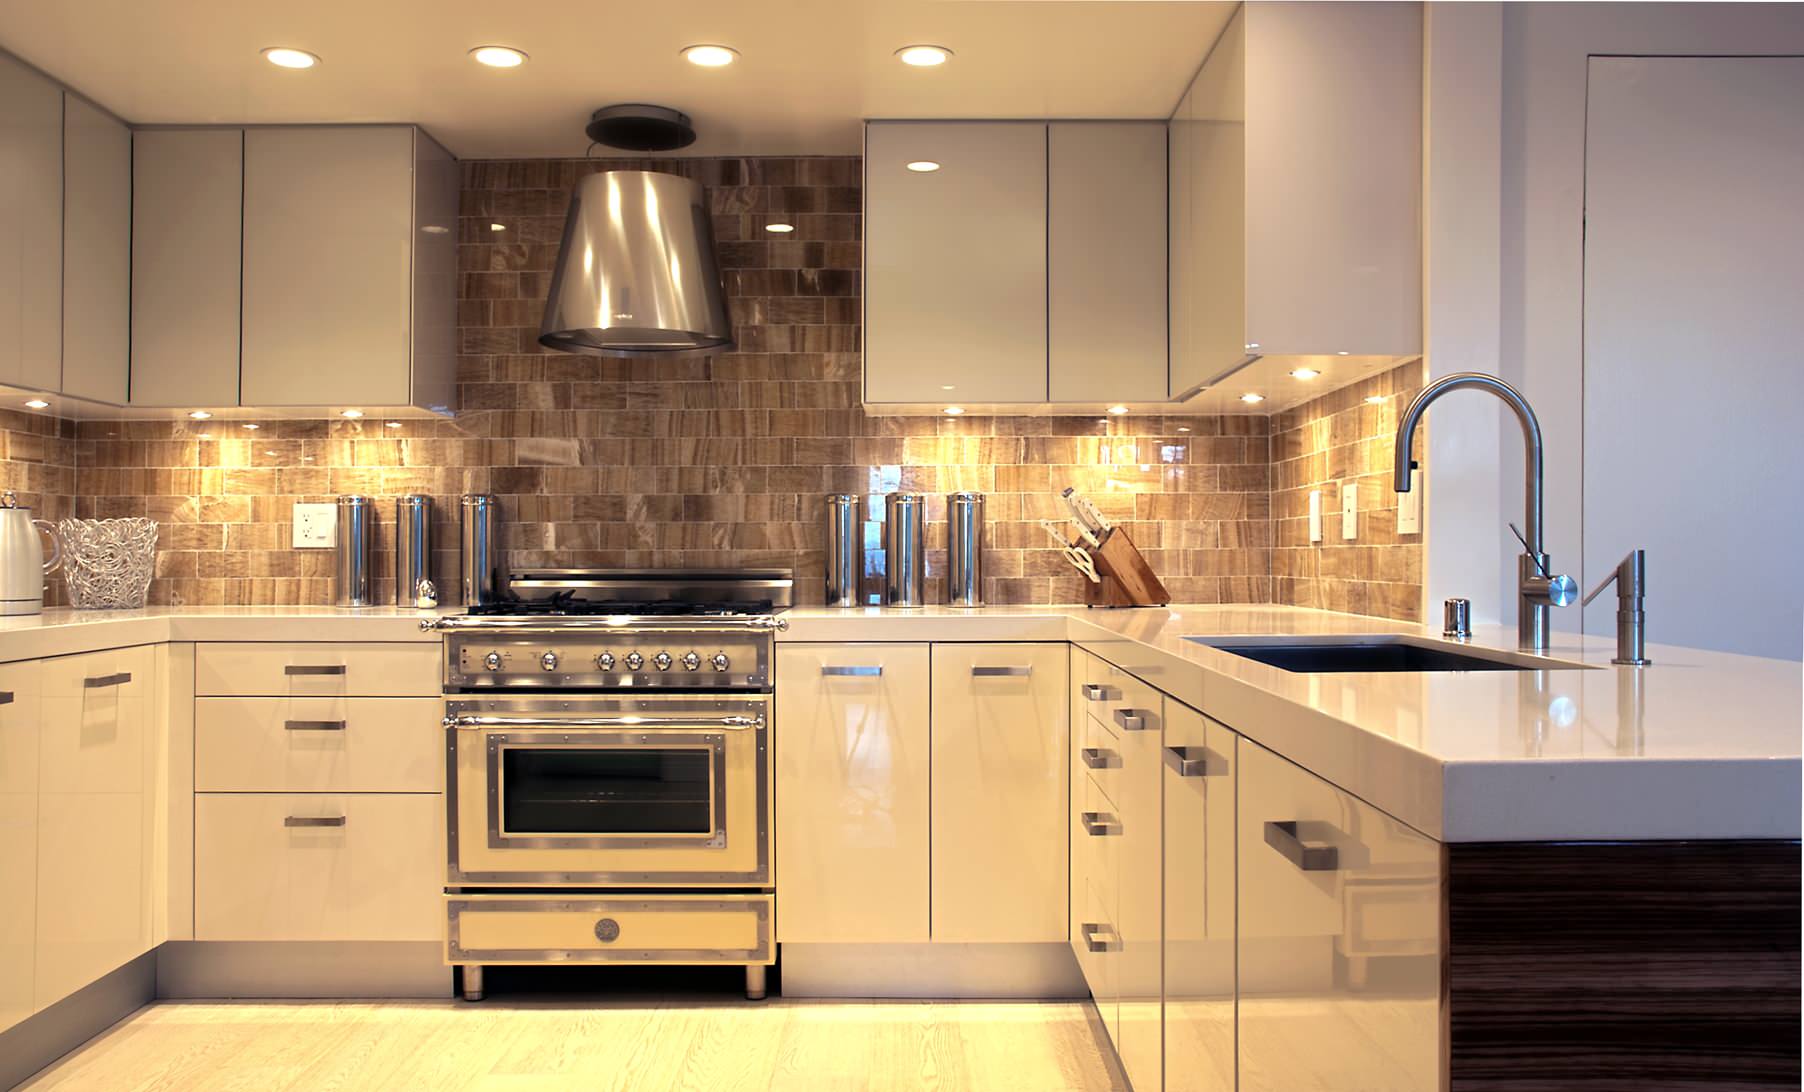
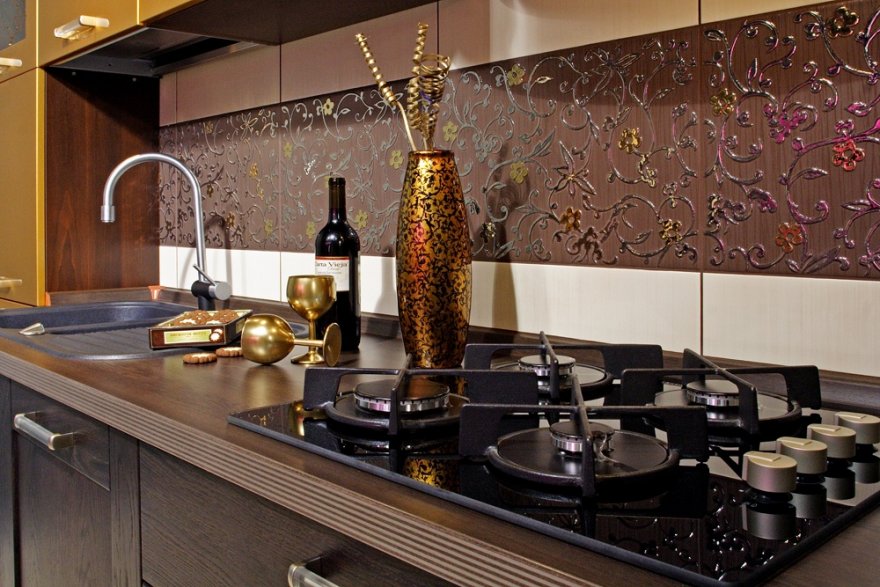
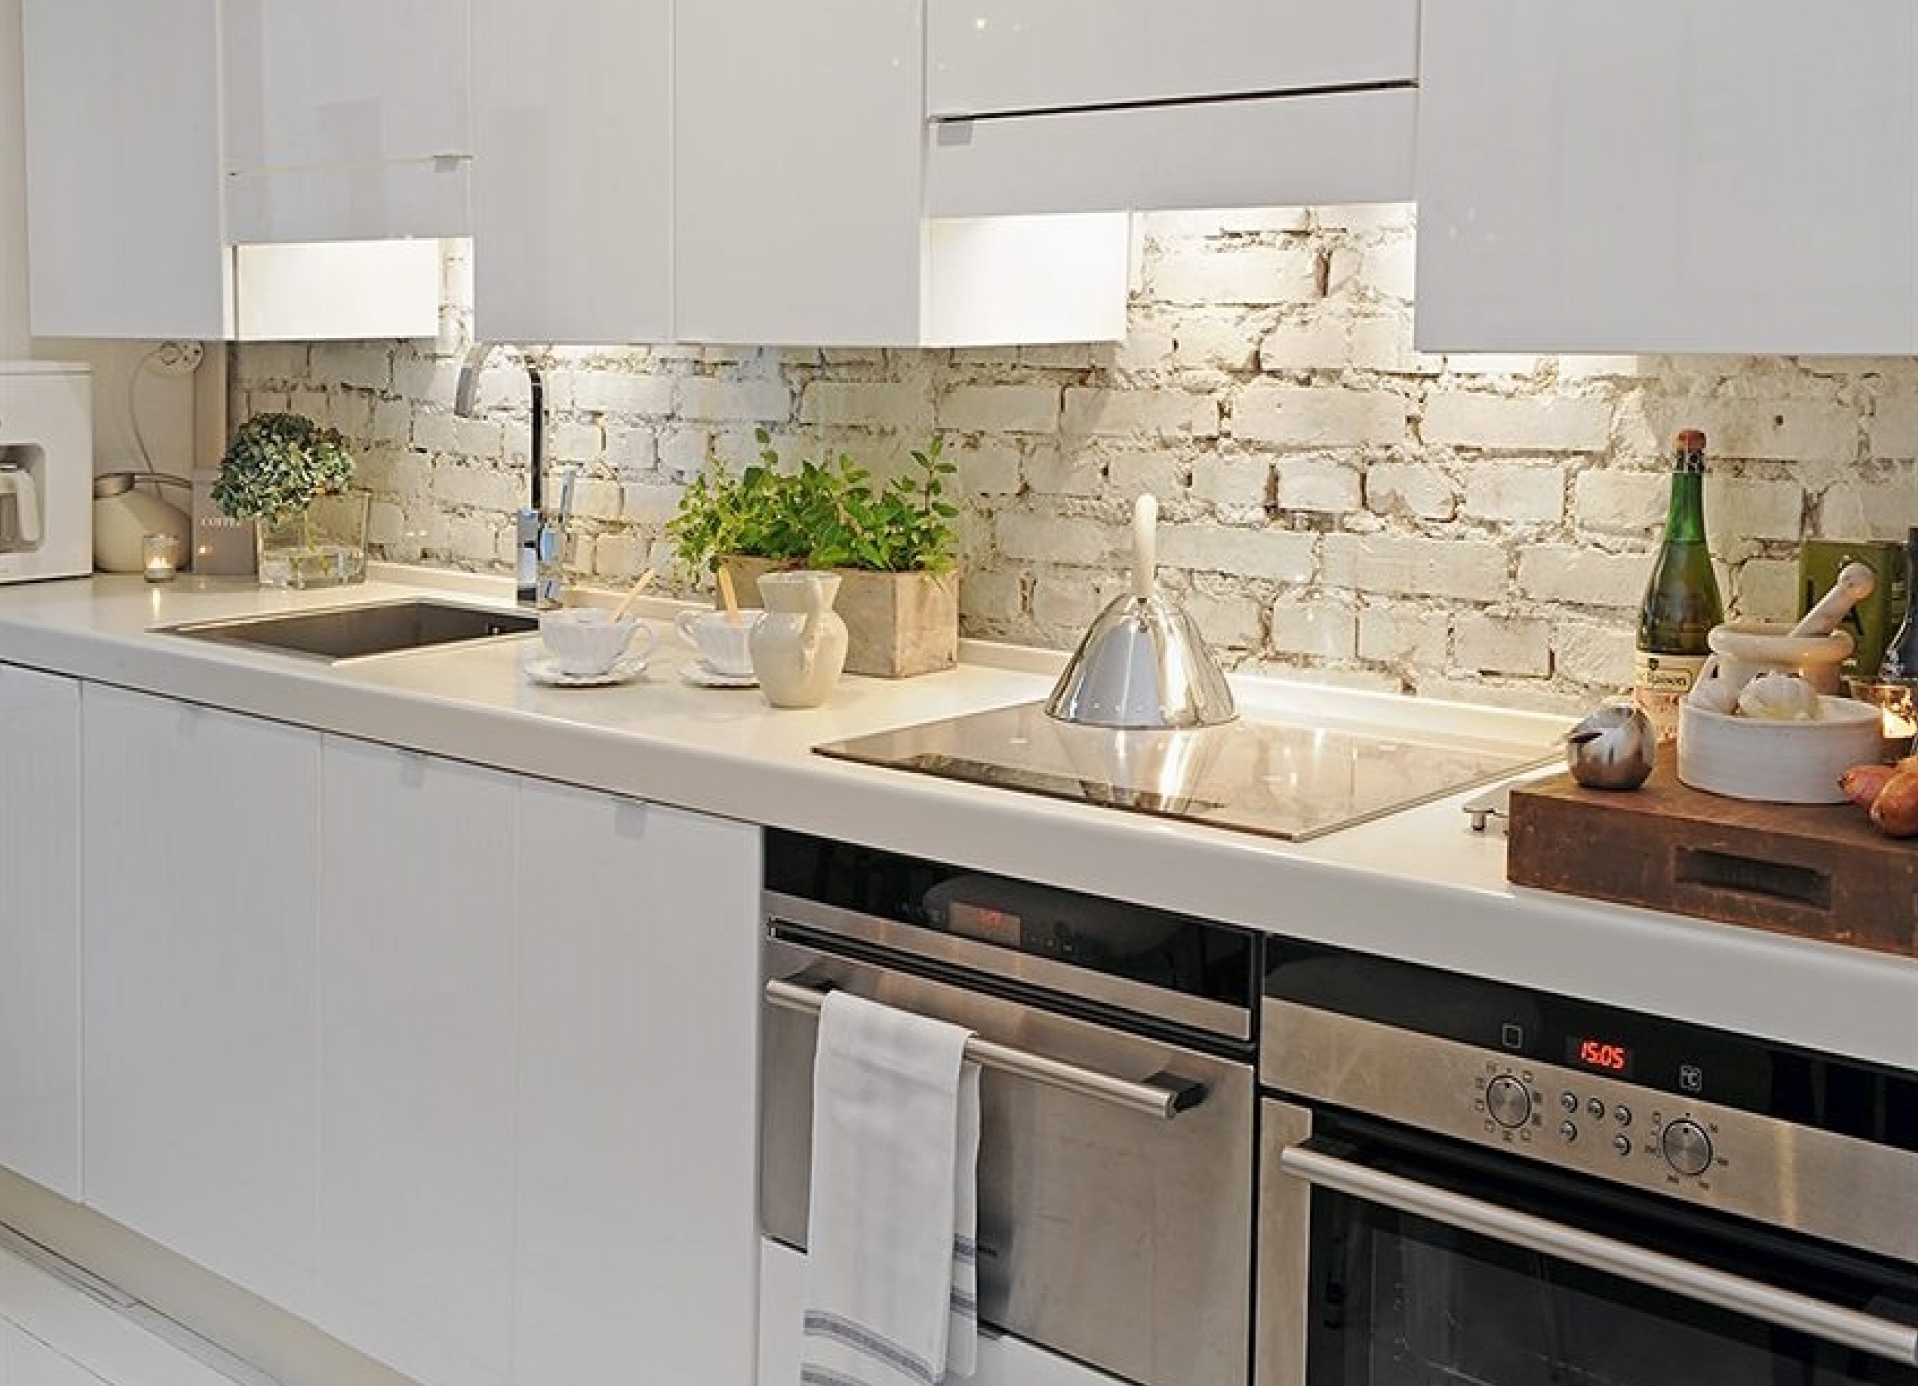
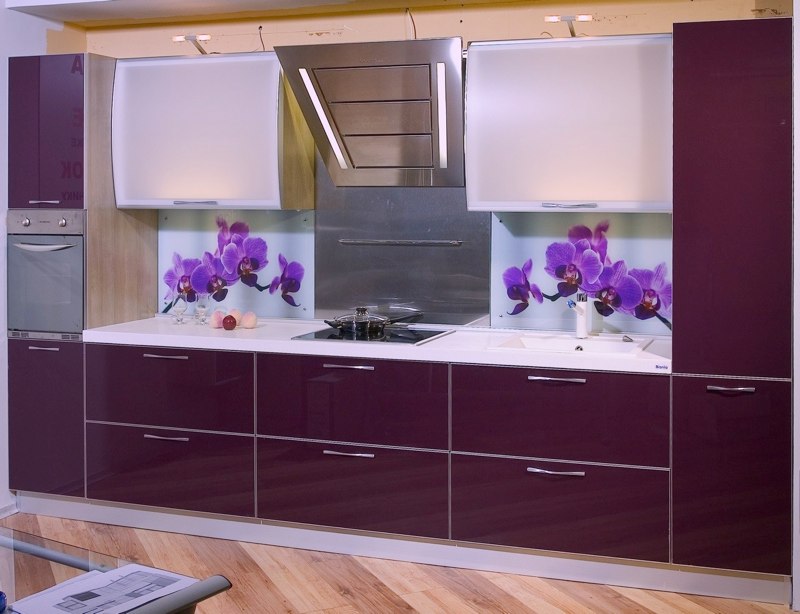
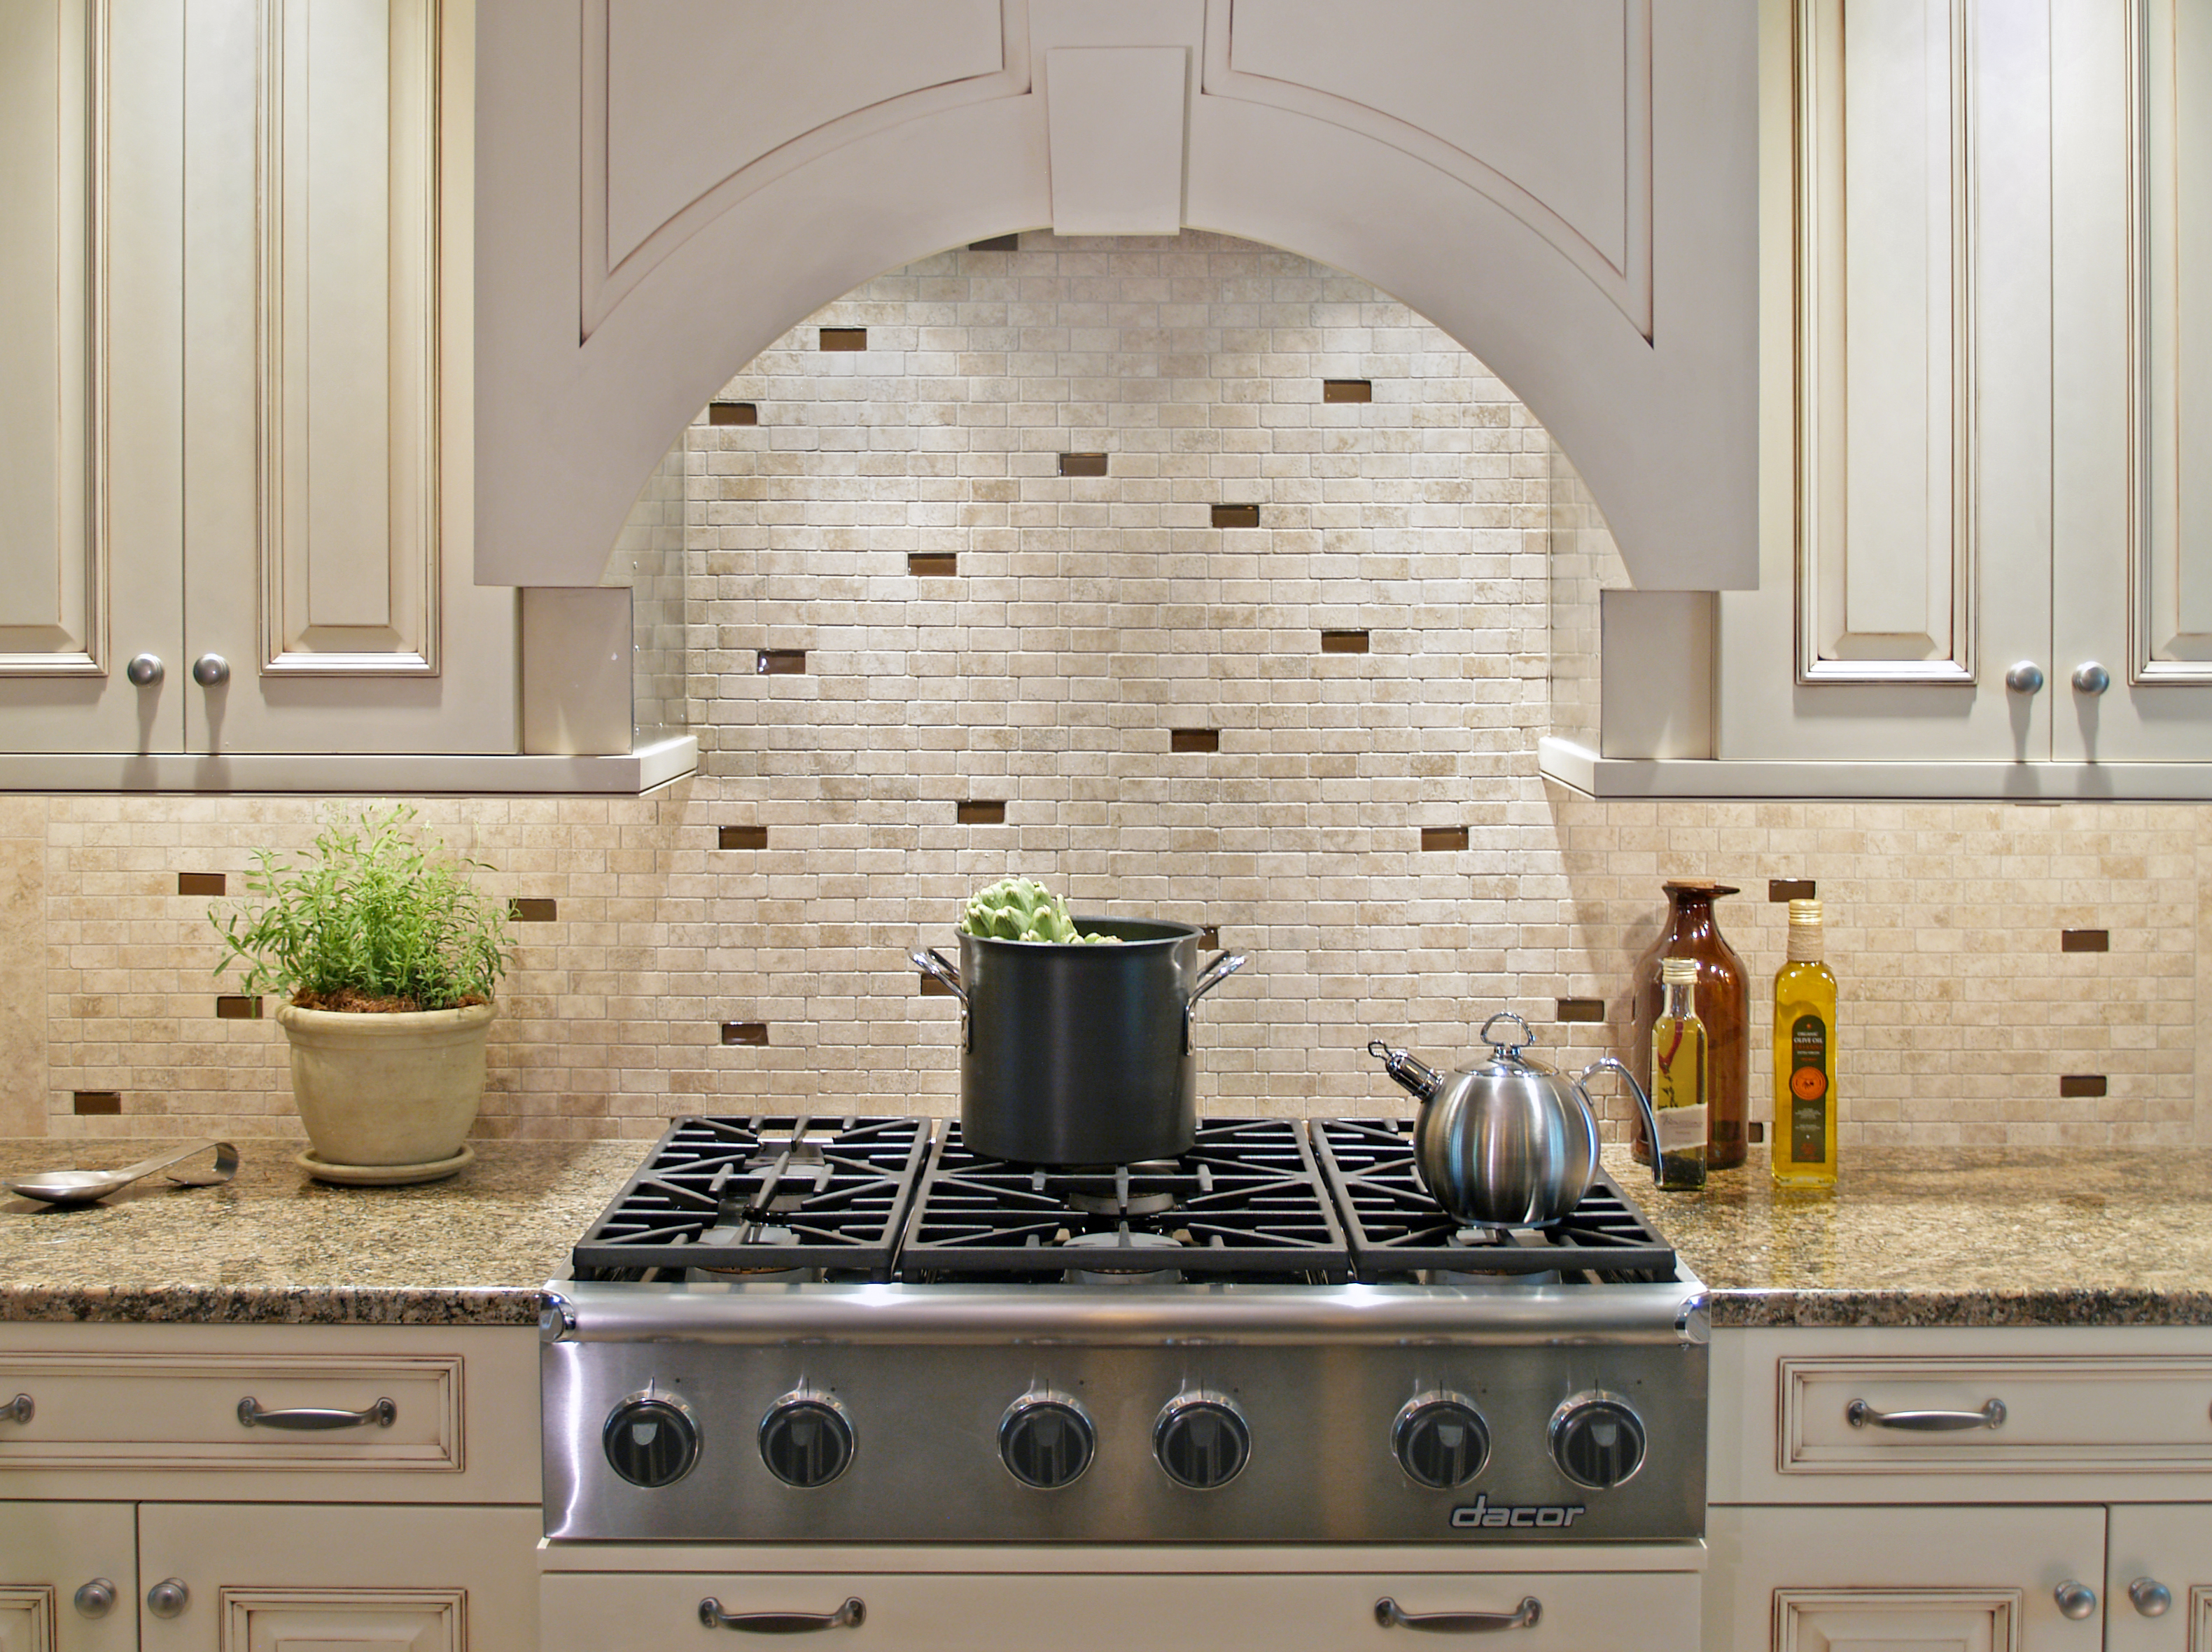
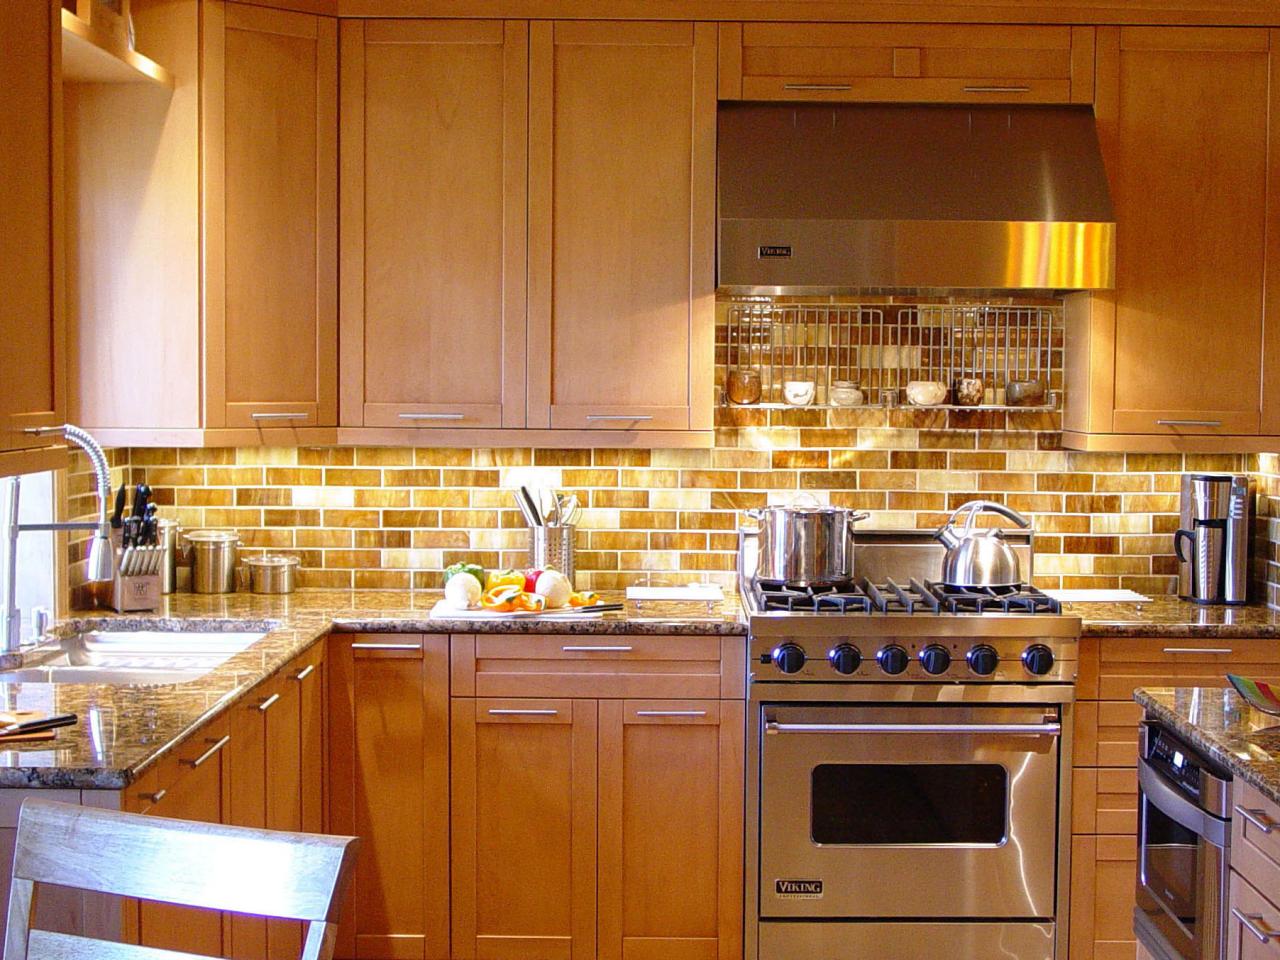
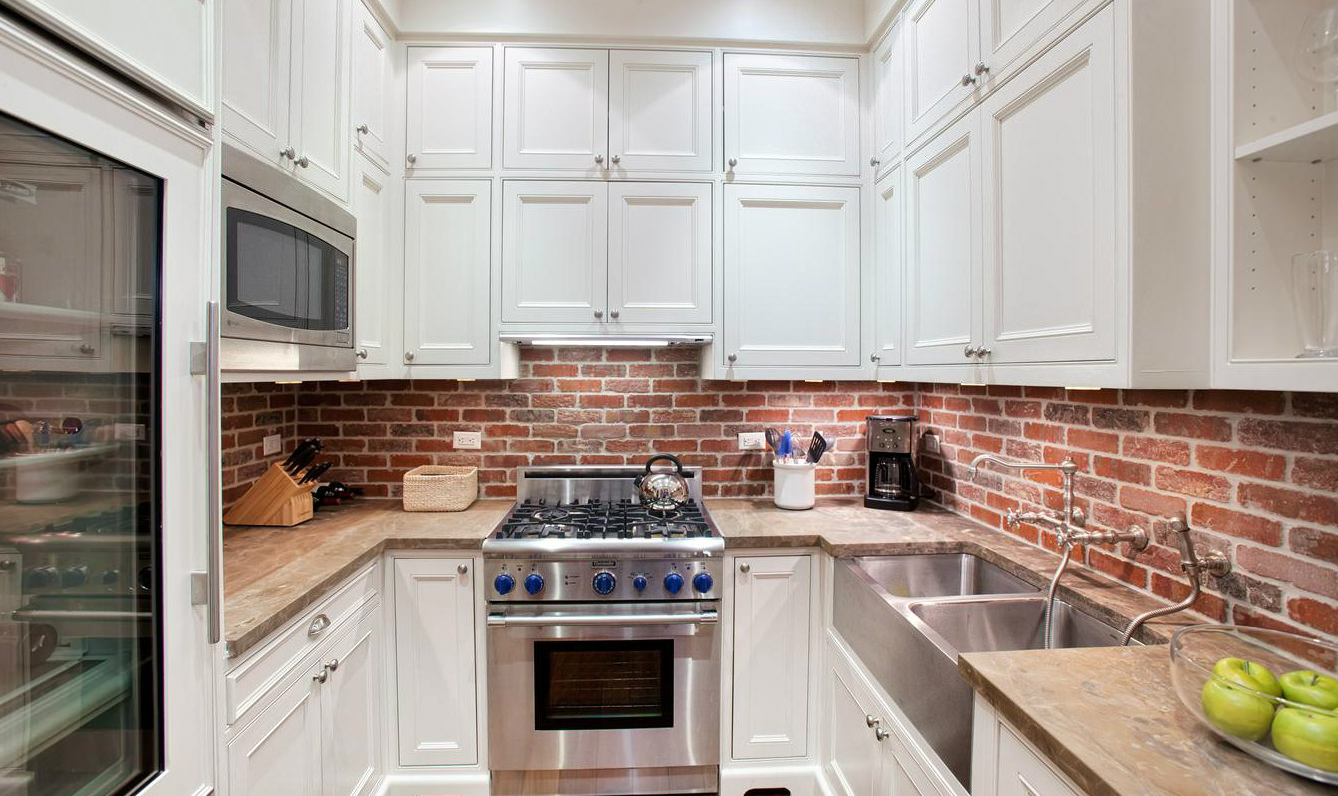
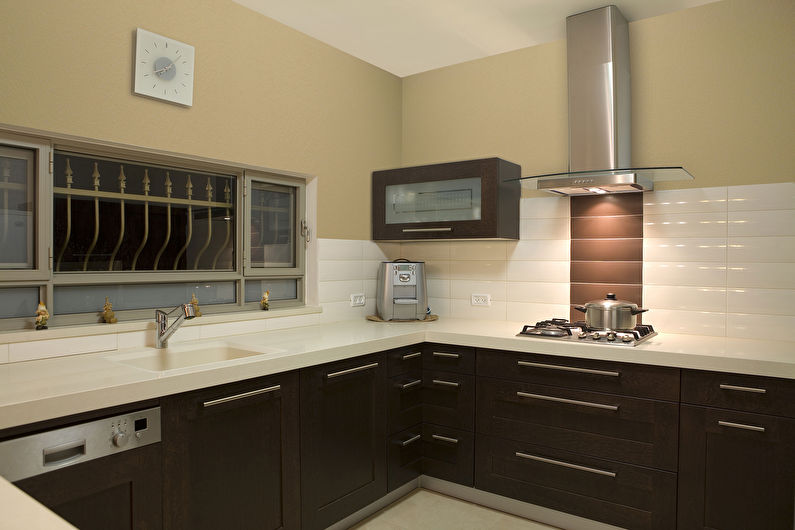
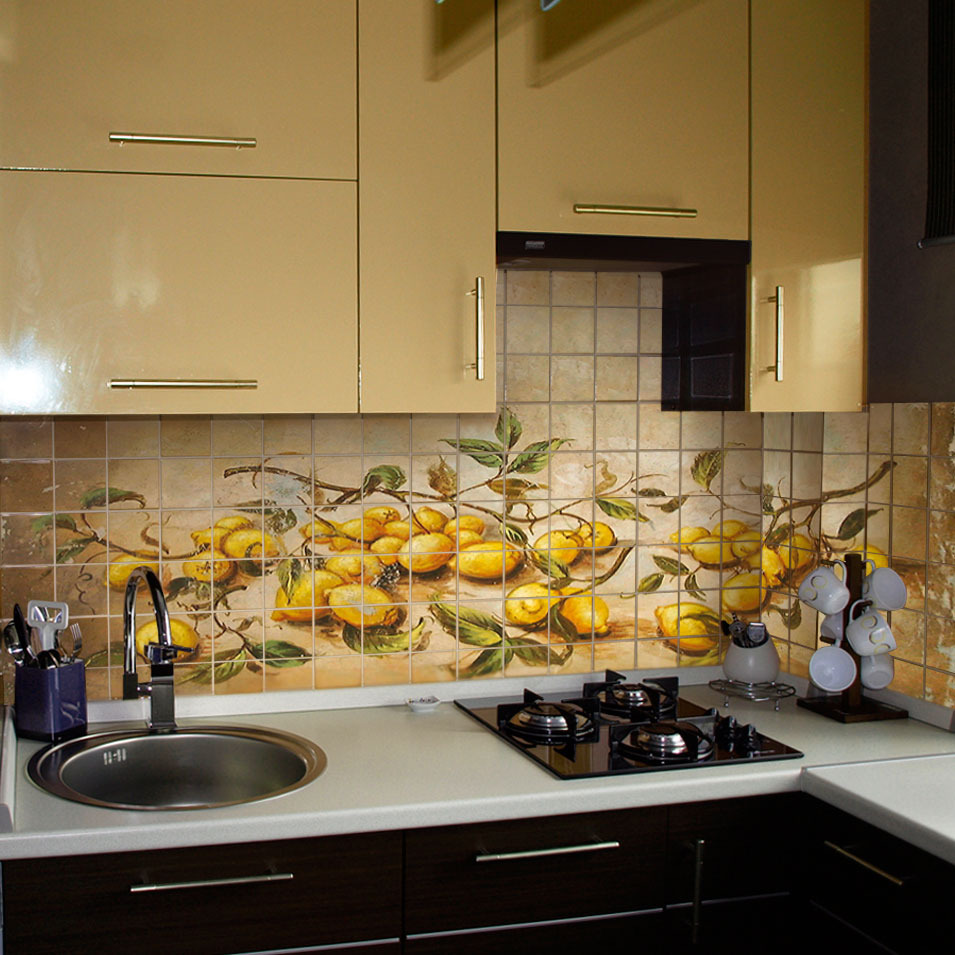
Surprisingly, the model of the stove and washing machine in the kitchen also leave their mark. If their height coincides with the height of the working surface (built-in hob, washing machine is “hidden” under the common worktop), then this will greatly simplify the calculations. In practice, such a technique is knocked out of the headset: it differs in height, it stands alone. An apron on the walls helps to “collect” a complex composition and to unite the space, and its height should be at the level of the lowest object (most often it is a plate). At the same time, the apron slightly "lowered" a couple of centimeters (allowances are made) so that the wall does not look behind the stove.
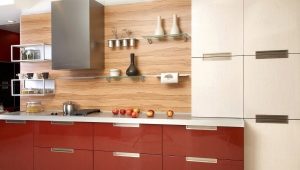
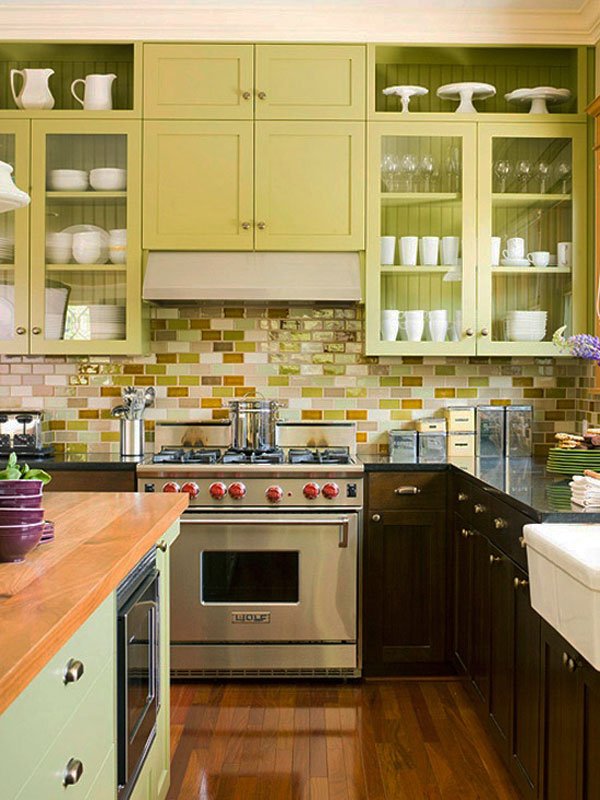
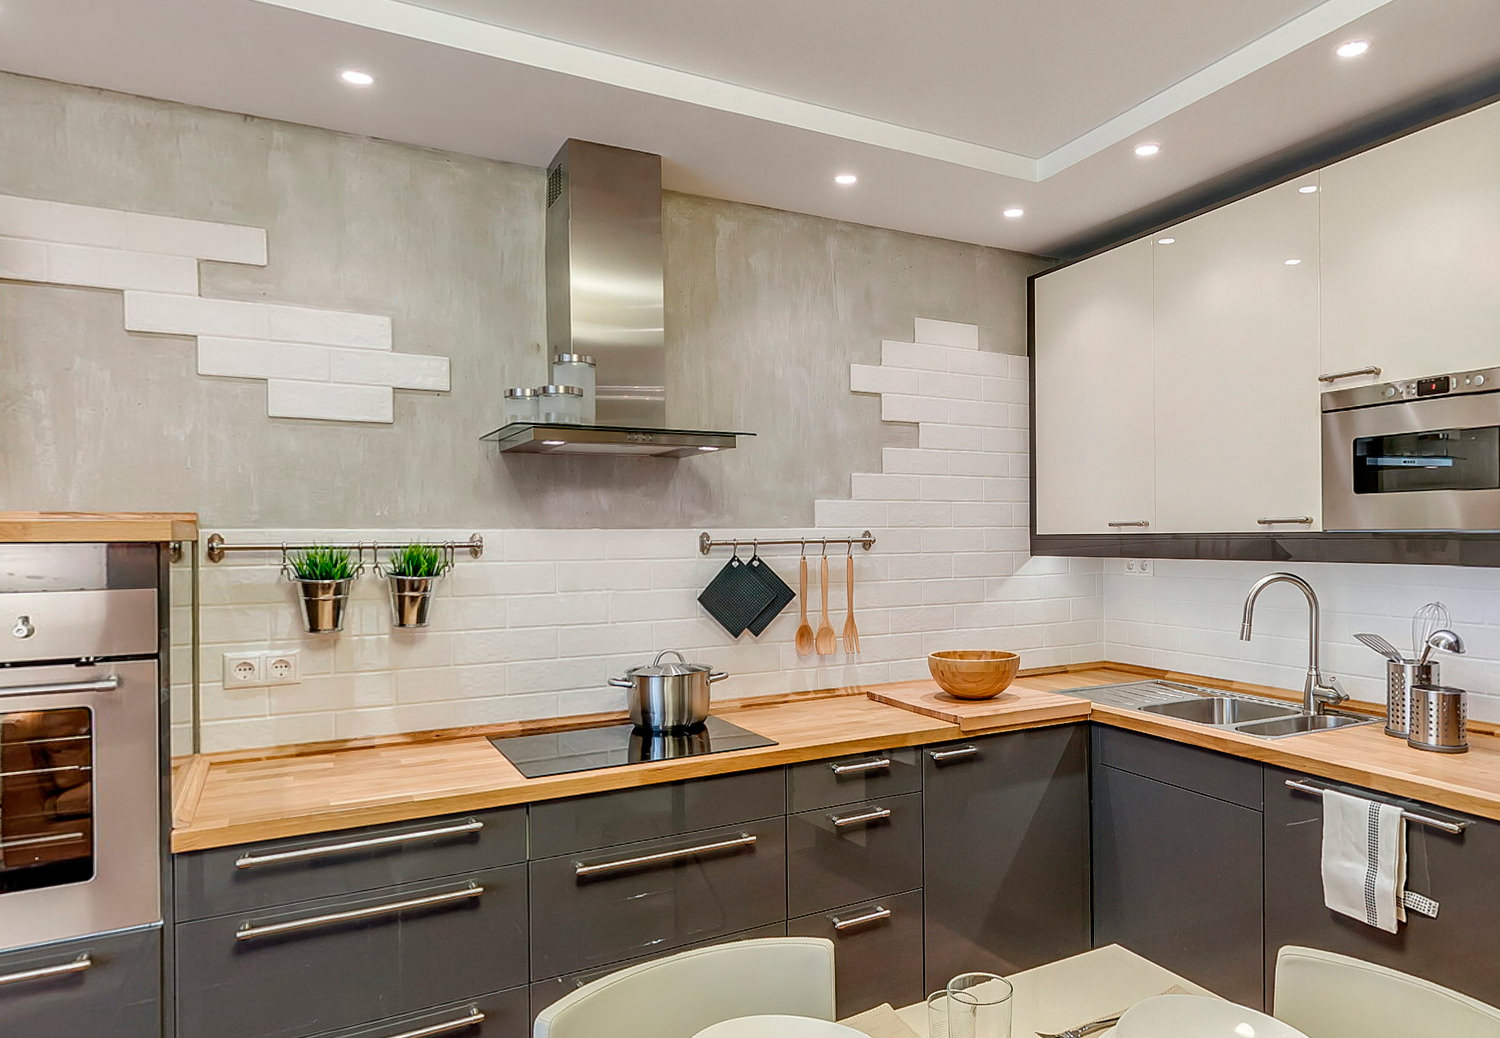
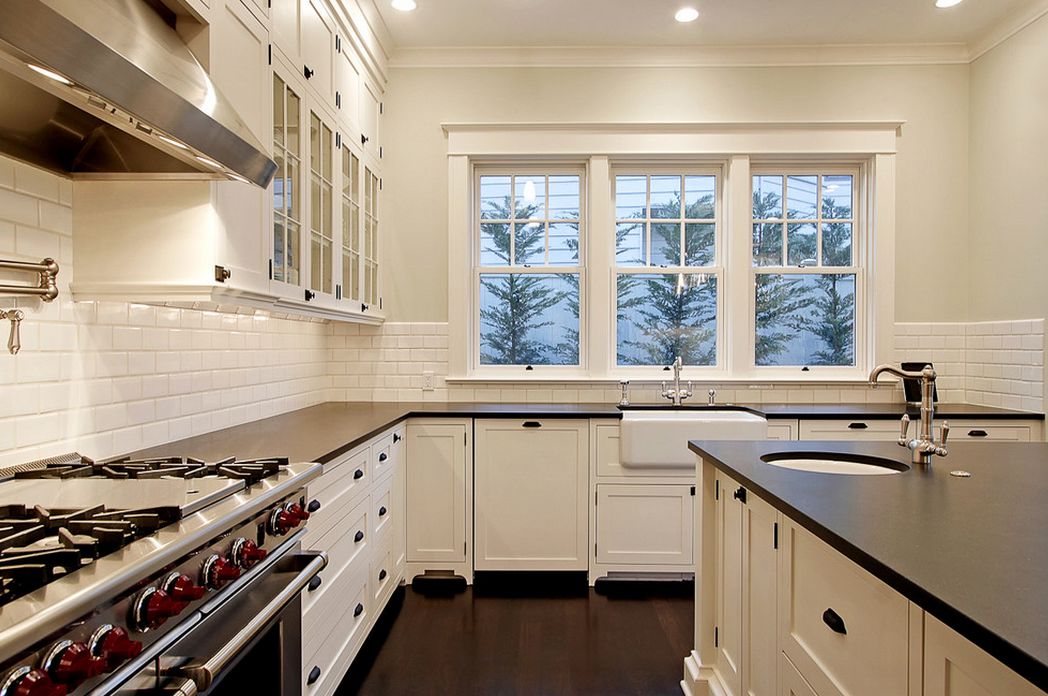
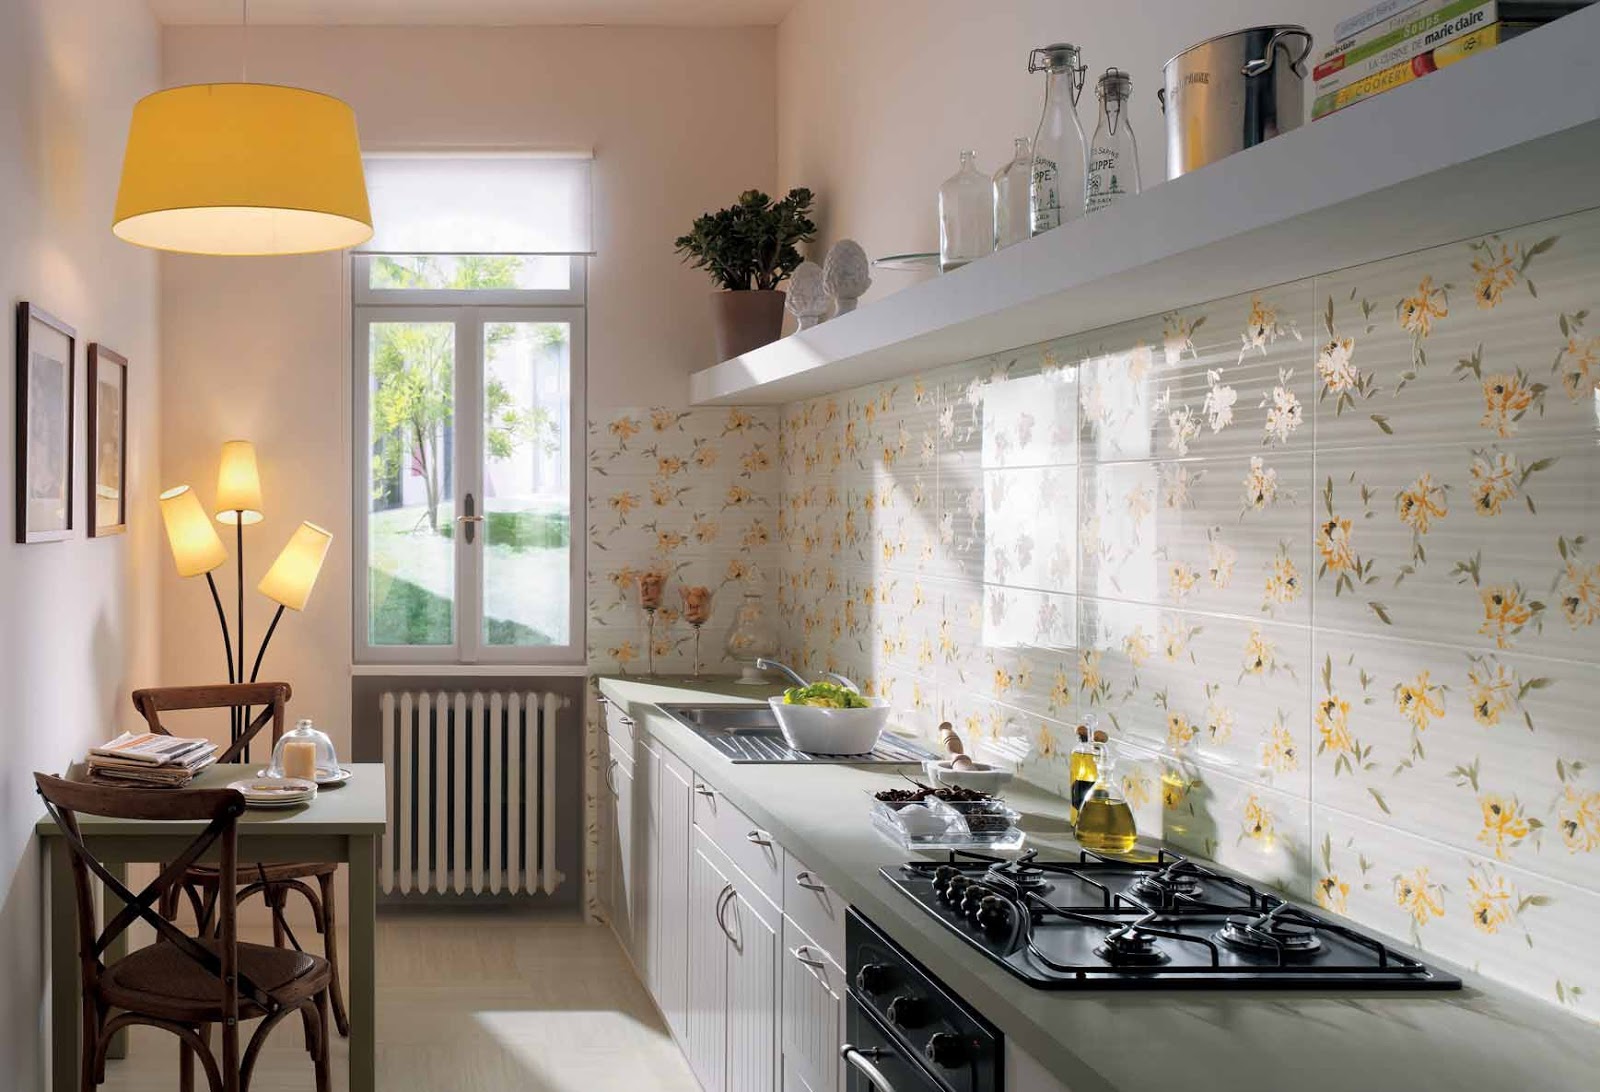
The height of the wall cabinets is extremely important for determining the size of the kitchen apron. Usually they are hanged so that the bottom of the cabinet was at a height of 135-150 cm from the floor (again, we are guided by the growth of the owners). Then between the working surface and the bottom of the canopy there is 45-60 cm, for tall people this border can be placed higher - 65 cm above the countertop level. These figures can be found in GOSTs with the proviso that these are recommended values, they can be changed.
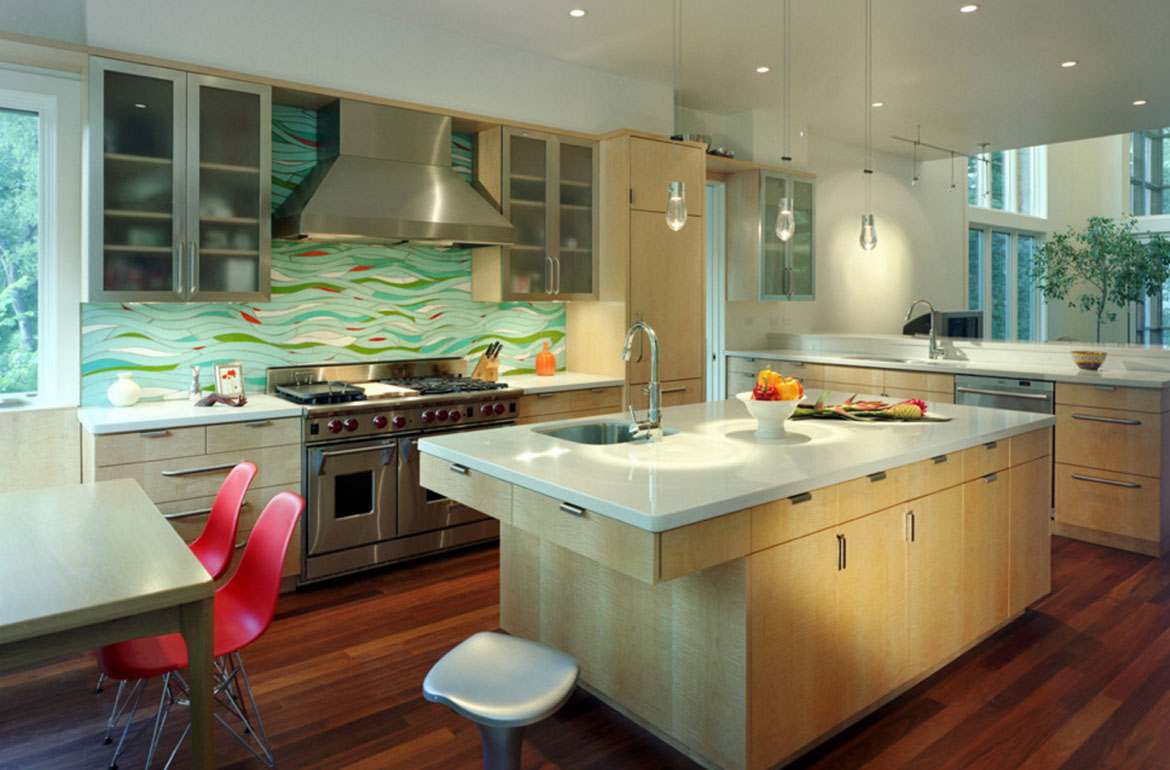
The height of the kitchen ceiling also affects the placement of wall cabinets. Here you can focus on the position of the pipe (if it is on the walls) and the vent. In the kitchen with a high ceiling and you can "roam" using the maximum parameters. Then the sensation of cramping will not be even on a kitchen that is small by the meter, and the working surfaces will be functional, they will not turn into just shelves for “everything else”. Please note that designers do not recommend placing cabinets and shelves above 2.1 m.
How to determine the width?
The width of the apron is the size of the canvas from the top to the bottom of its edge. It should cover the walls between the work surface and that part of the headset and the hood that is hung on the walls.Therefore, to protect the walls themselves masters usually take into account the possible gap and add to the width of 2 cm per seam. Therefore, the width of the apron can be from 47 cm (the minimum distance between the working surface and wall cabinets 45 cm + 2 cm allowances) to 117 cm.
What is the last digit? This is the distance from the working surface to the wall cabinet / height of the hood / the top wall of the wall cabinet + allowances. The upper border of the wall cabinet will be of interest in those cases where part of the apron will be “free” - there will be no lockers or hoods above it. Standards provide for such a space that the width of the canvas can be more - even to the ceiling.
What else can affect the size?
Sometimes independent measurements are wrong, because we forget to take into account the height of the floor. Typically, floor height has drops. To insure yourself, you will need to measure the height of the levels of the hinged part of the headset and the working surface every 0.5 m length.
When do we need allowances?
Many masters, making measurements, can easily say whether an allowance will be needed or not. If you measure yourself, then you need to focus on how the headset will stand (especially its lower part) - close to the wall or not.It depends on the plinth, the sheer wall, how smooth they are. If the plinth cannot be dismantled, there is no oblique cut down at the bottom of the furniture thumbs, or it is too small, the walls are uneven, then, most likely, there can be a gap between the wall covered with an apron and the table top. In general, two options are possible options:
- The furniture stands close to the kitchen wall - no allowances are made, the measurement is made so that then the canopy, the apron and the working surface are in close contact with each other, and there are no gaps. This option is chosen in those cases where the thickness of the apron is significant.
- The furniture stands next to the wall, between them there is a small distance. Here allowances are needed, they will “cover” the visual holes. If the cloth apron is relatively thin and does not affect the density of contact, then also leave 2 cm of stock.
- Another nuance is a side view. If the kitchen set is located at an angle and the joint of all spare parts is visible (canopy, apron, bottom of the headset, wall), then you need to consider aesthetics. So that the kitchen was made in a single design, but the side view was pleasant.

Calculation examples
The calculations of the size of the apron depend on the number of canvases (if the kitchen is located not on one wall, but on two or more), the material of the apron and its solution.The final version in 3d-models is similar to a layout, but you can sketch out a simplified version on paper - this is very clear and sketchy. If there is a need to “assemble” an apron from large components, then fitting is performed as closely as possible so that the joints are not noticeable.
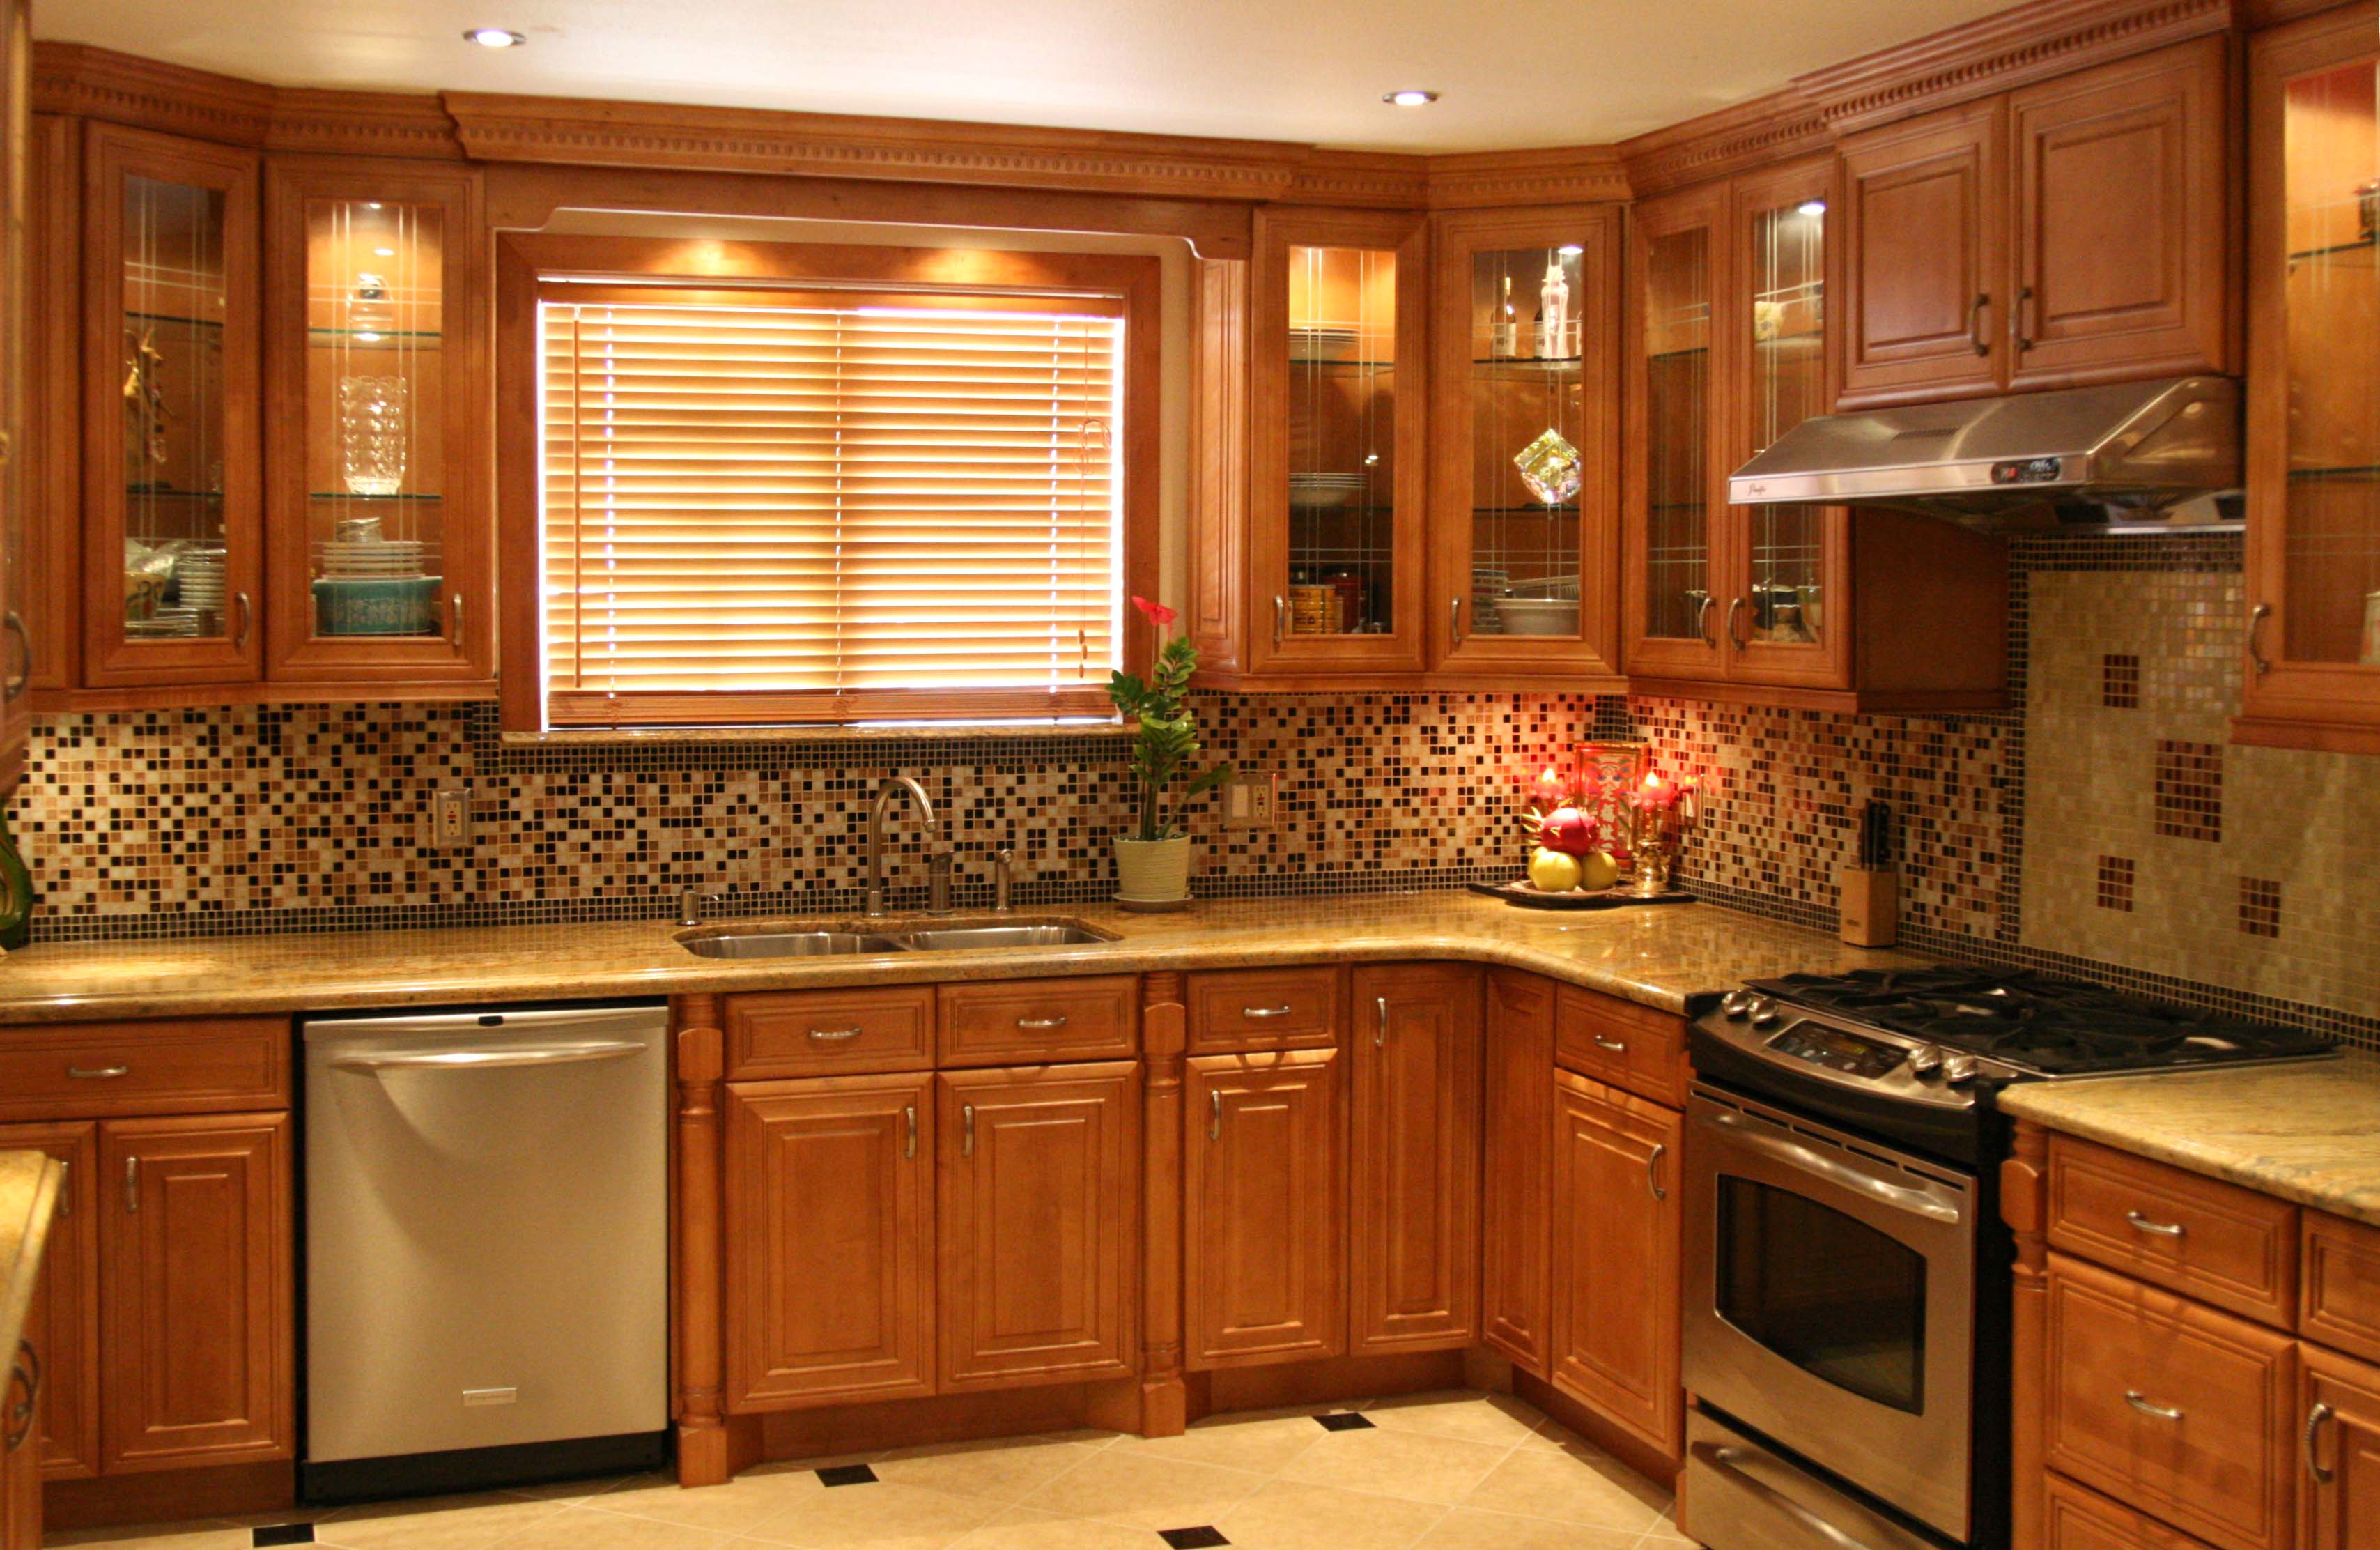
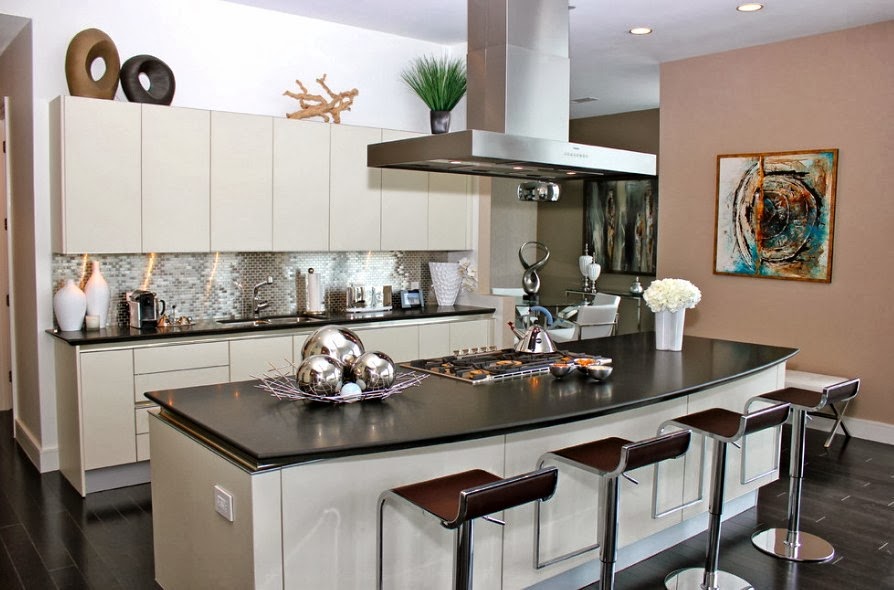
If everything is clear with the height of the apron, the main question arises because of the width - it depends on the height of the canopy, the presence of those elements that can stand out from the general scenario (separate, non-built-in appliances, hoods, cabinets or canisters of a different height, free spaces above the working surface ). That part of the wall, which will be behind full-size cabinets or appliances (high refrigerators, freezers, etc.) is usually not made out of cloth. This decor will be too expensive and non-functional.
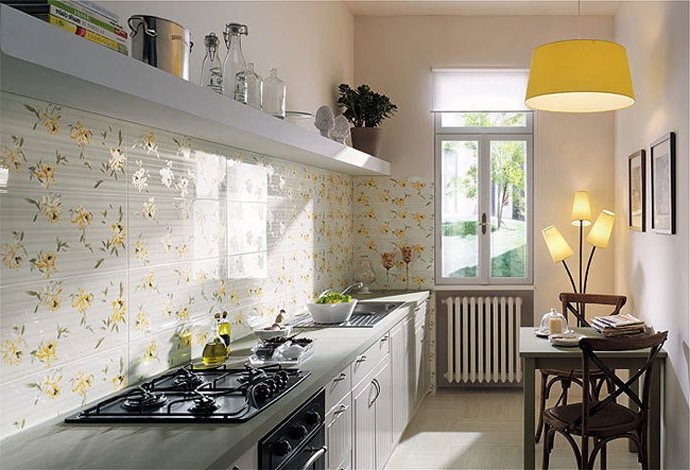
The length of the apron depends on the length of the kitchen set and the position of the stove and sink in the kitchen. If they are at the end of the group (in the same or different), then you need to protect additionally a part of the wall (50-70 cm or by the size of the working surface depth - from the wall to the outer edge). If the lateral fit (i.e., the length of the cabinets on the wall) at the top and bottom of the headset is the same, then the apron can be made straight (including this part of the wall is covered with other furniture or appliances) or with a small length allowance.If not, depending on the material and its thickness, the corner is rounded or left straight.
For example, the length of the kitchen wall and the selected headset is 3 m, the sink and stove are not on the edge. The height of the lower part is 90 cm, the height of the shed (from the floor) is 1.4 m, a thin canvas is used (we need allowances). The hood is located at a standard height. We get the main dimensions 300cm * 52cm, in the position of the exhaust (strictly above the stove) width - 75cm, apron height - 88 cm.
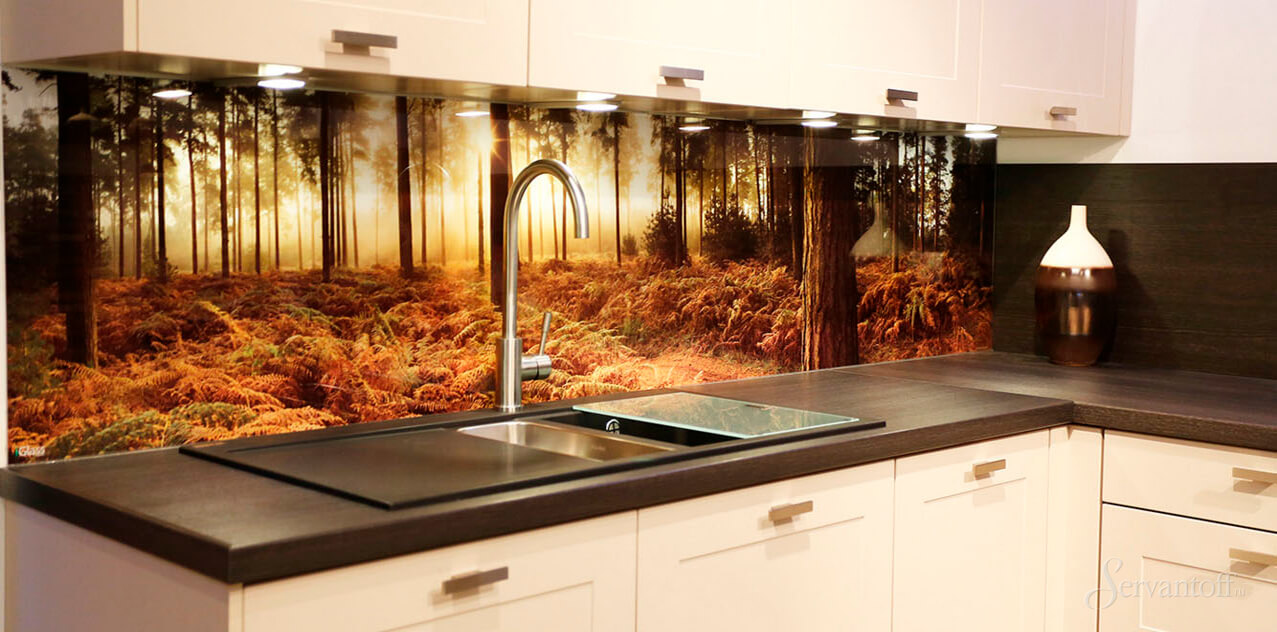
Materials
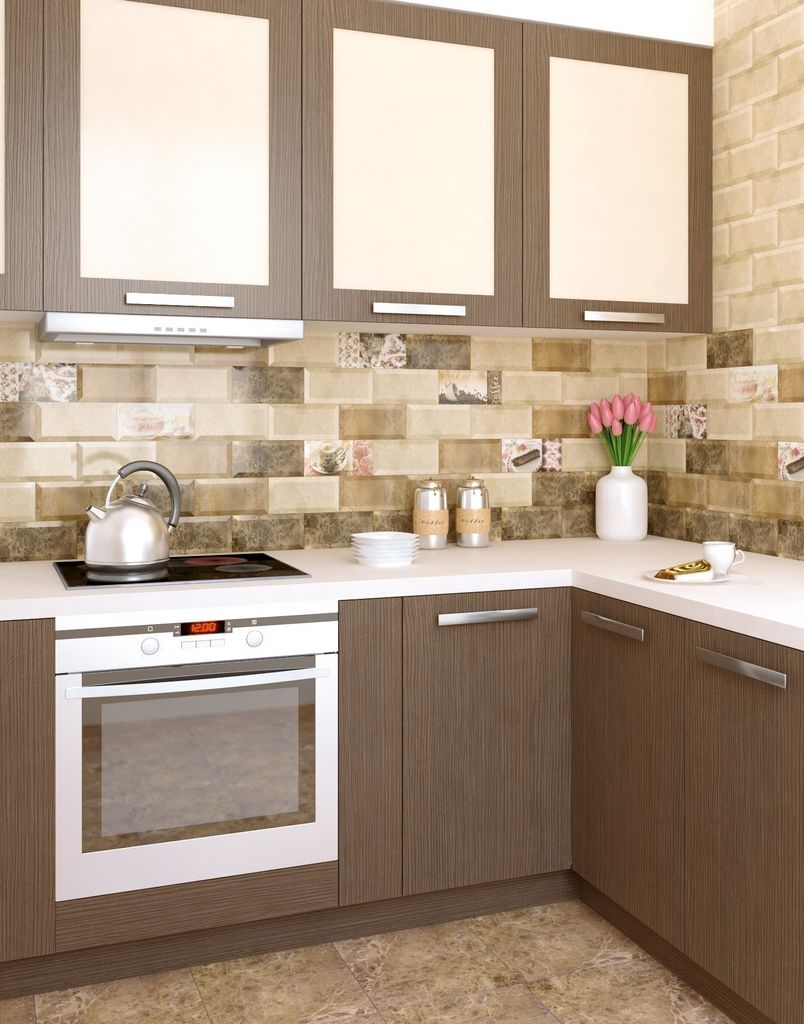
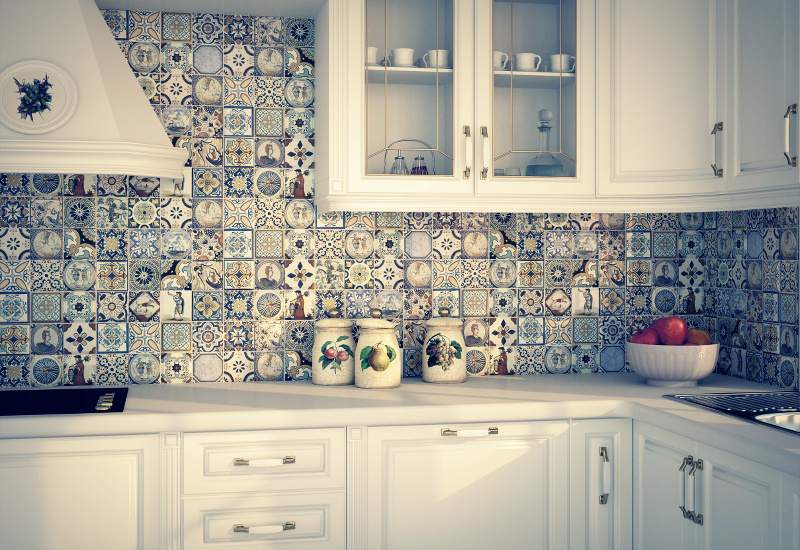
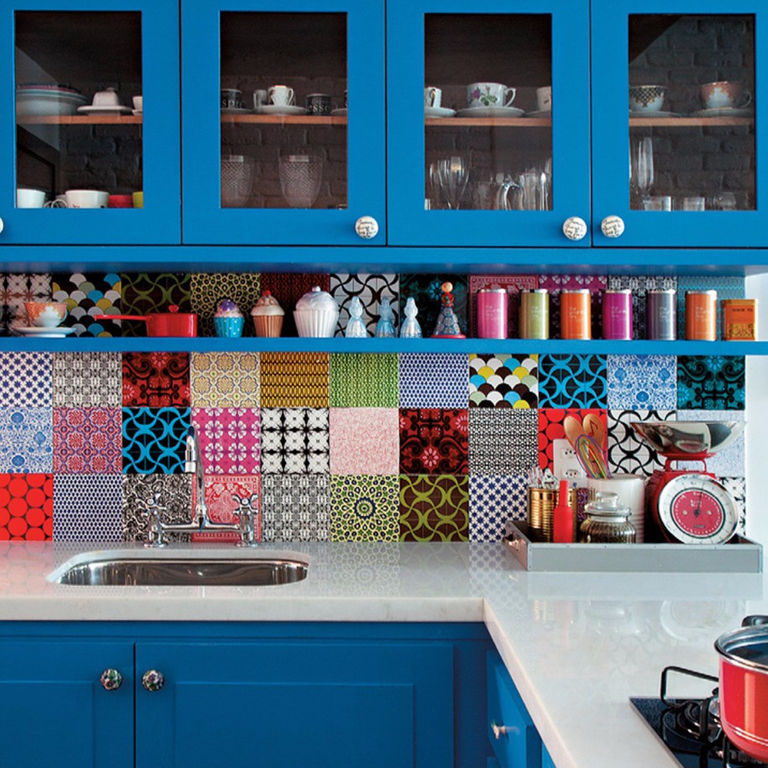
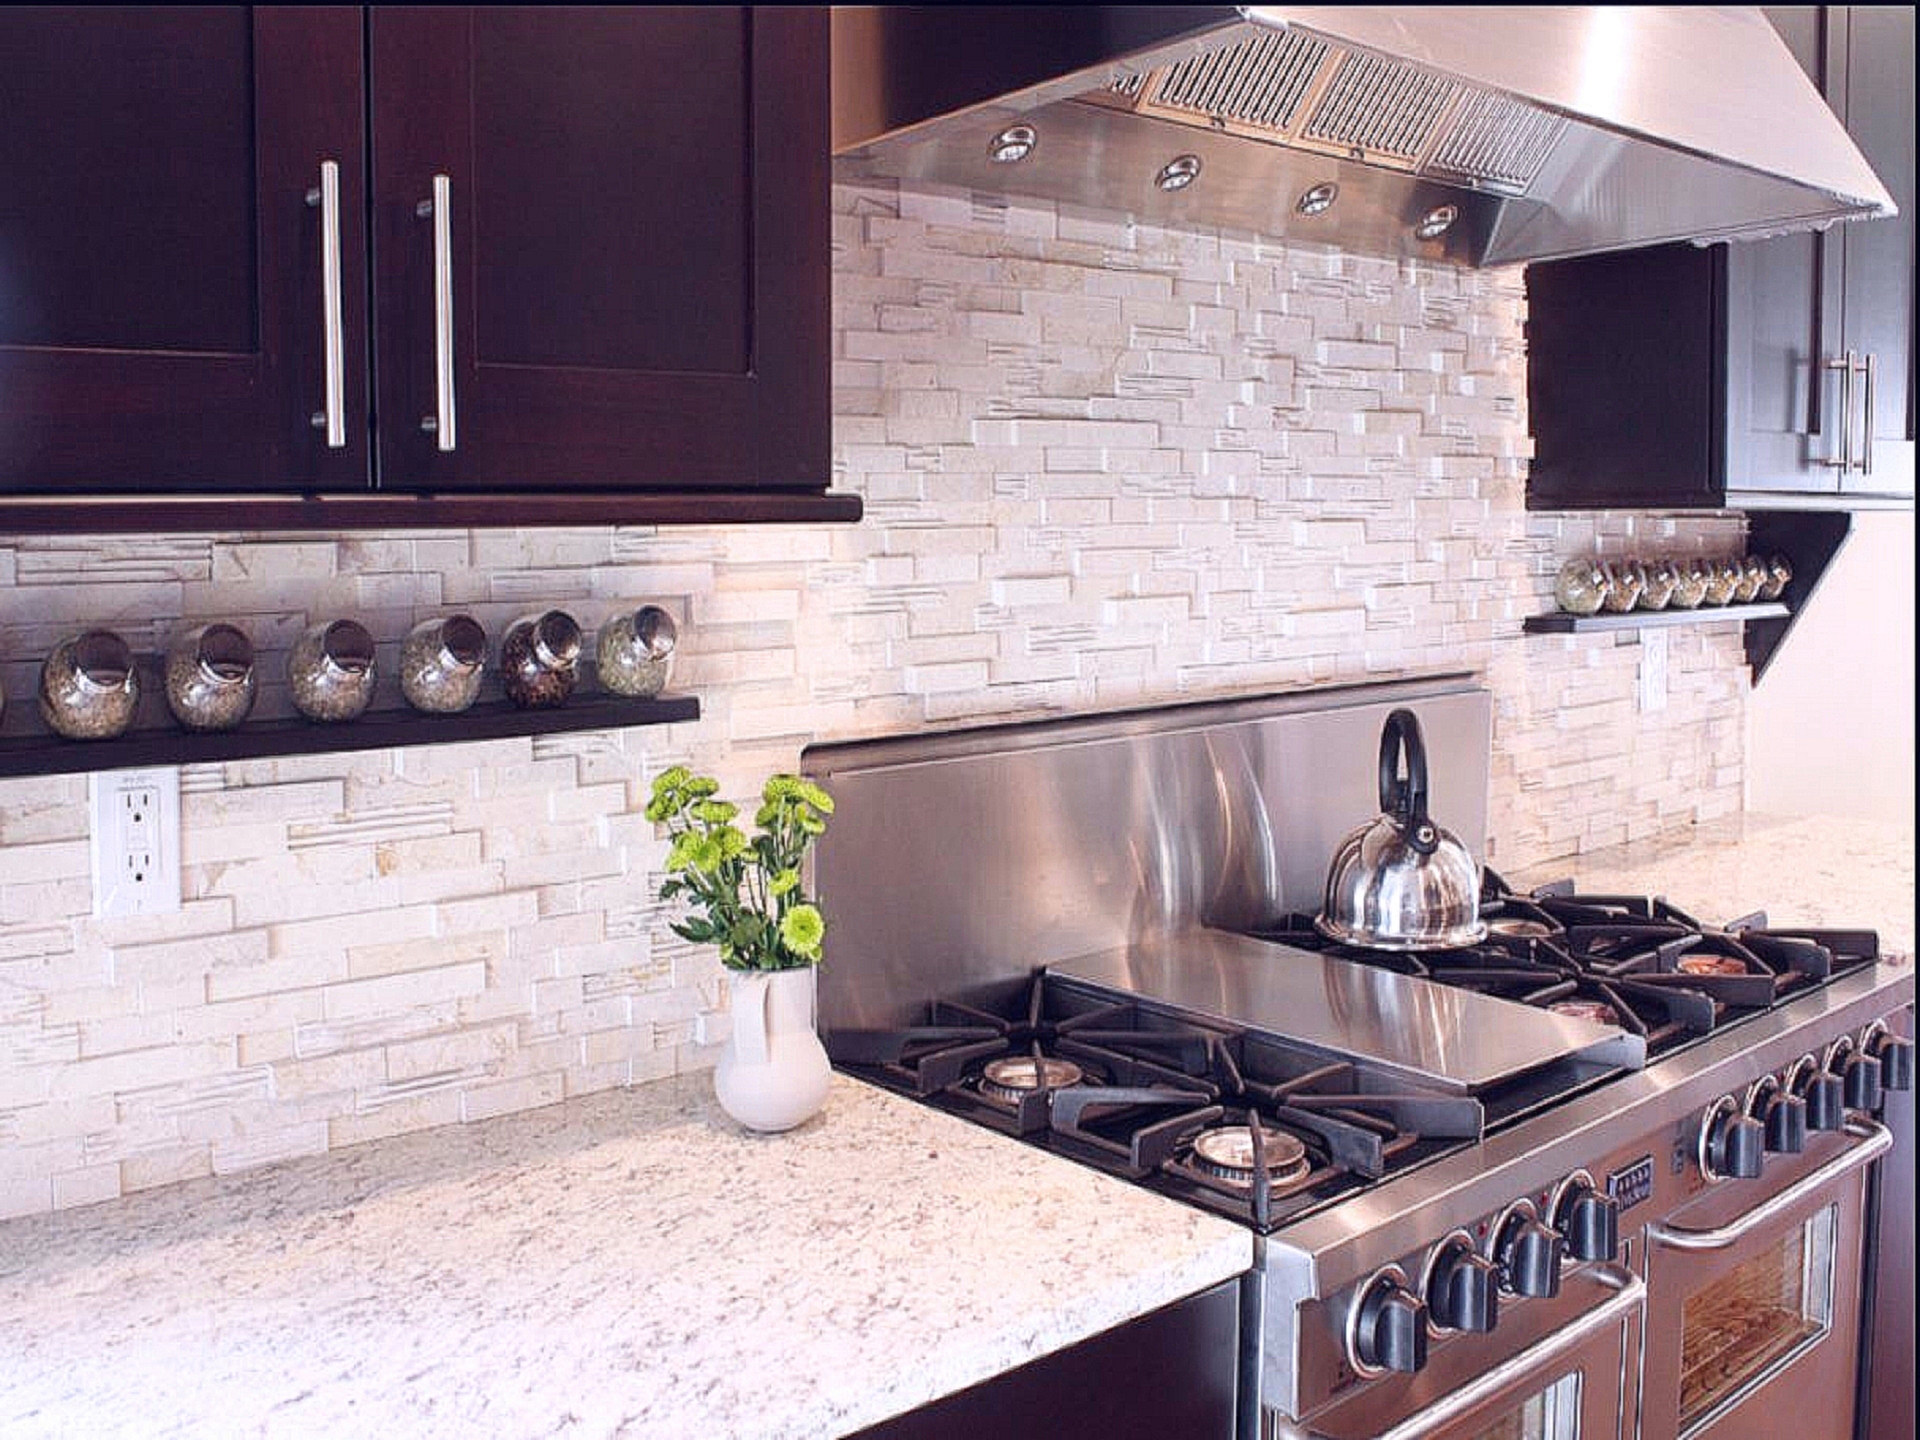
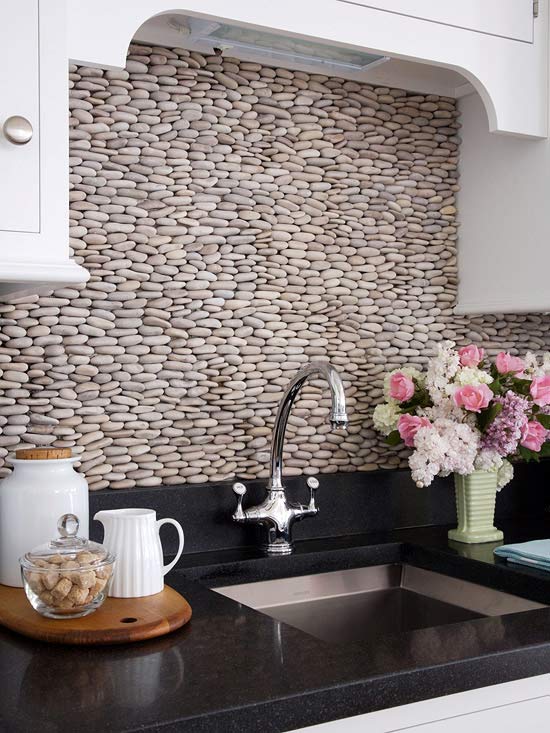
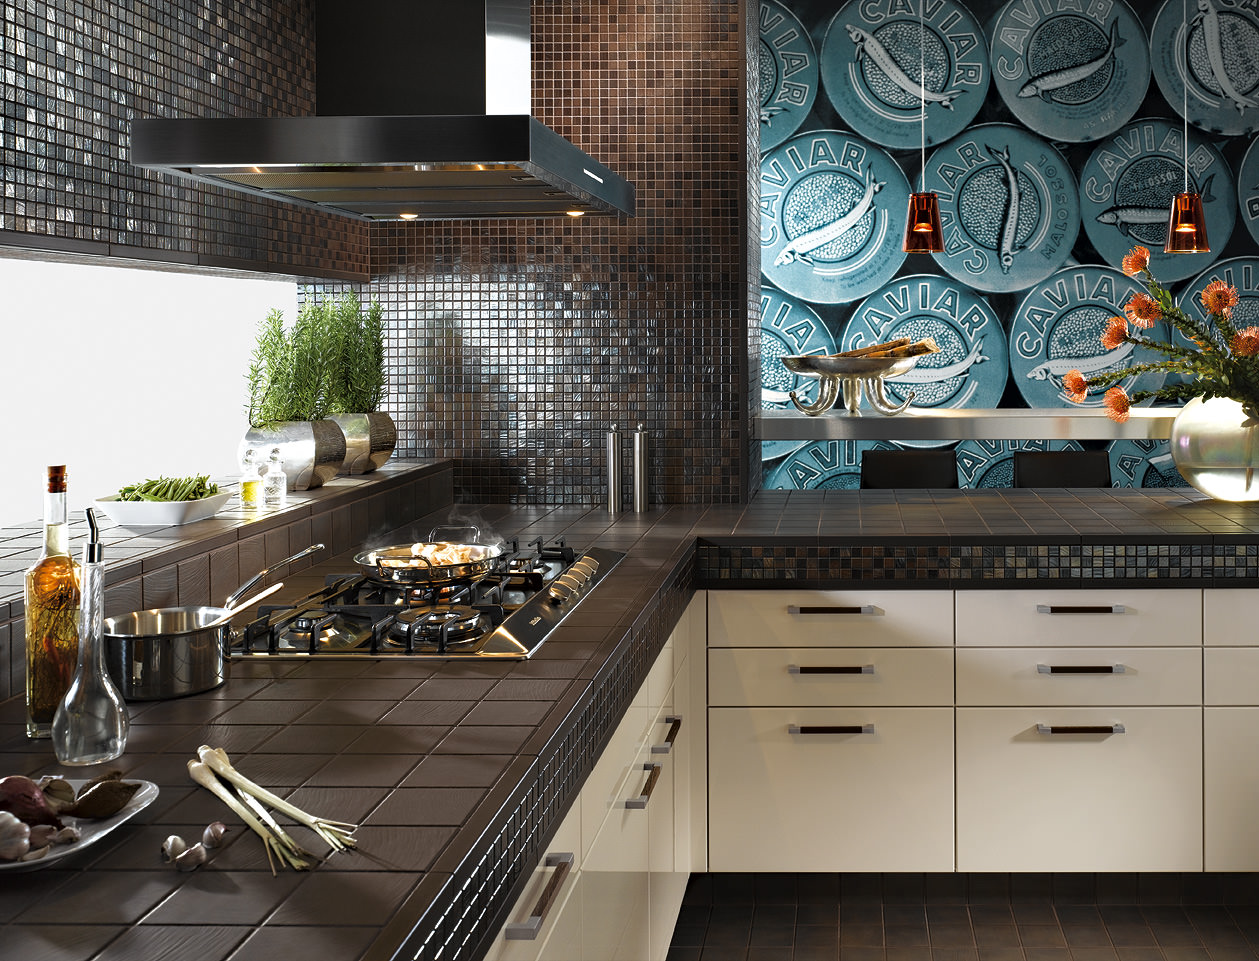
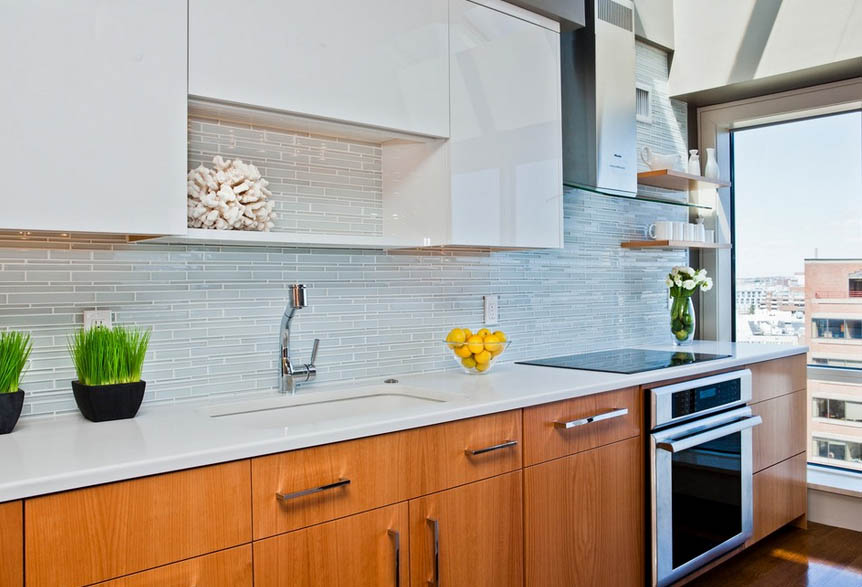
The main materials that are used to make a protective sheet are ceramics, glass, MDF panel, wood, plastic, less often stone (too expensive and hard), metal sheets. What you need to consider when choosing an apron?
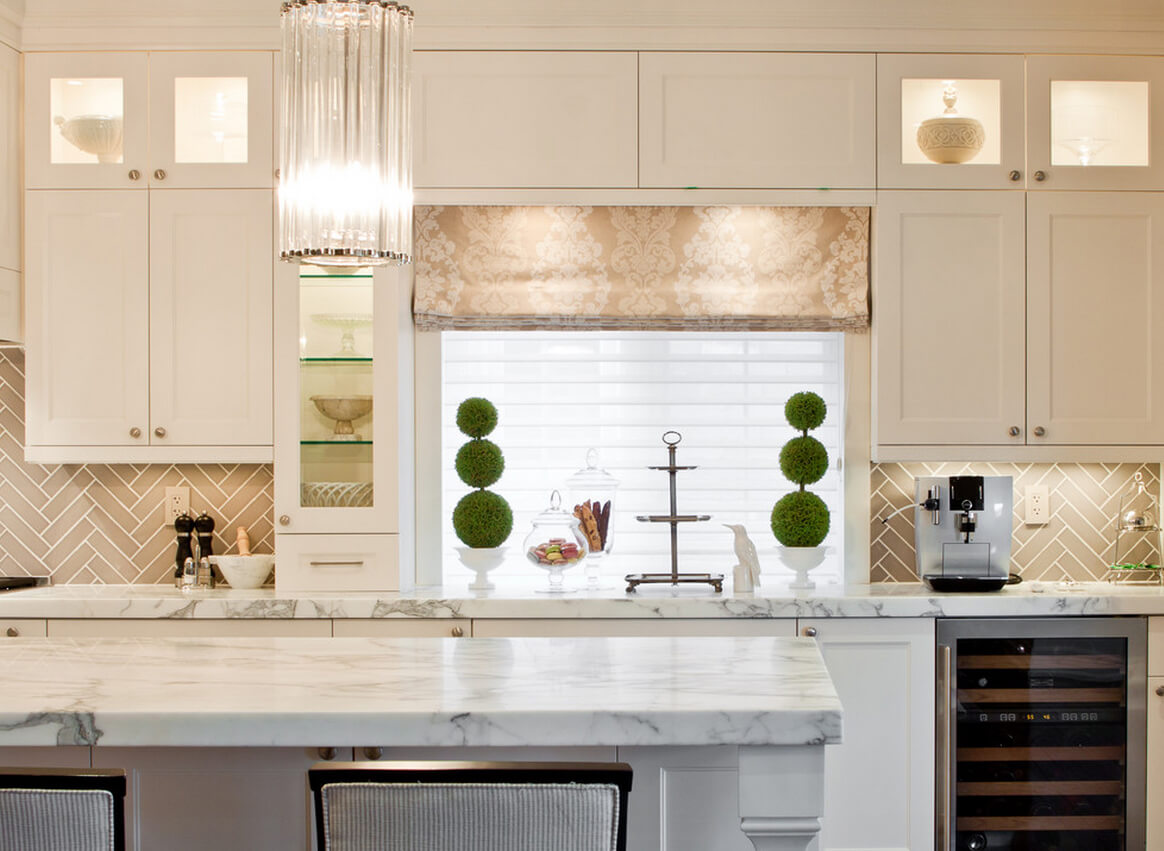
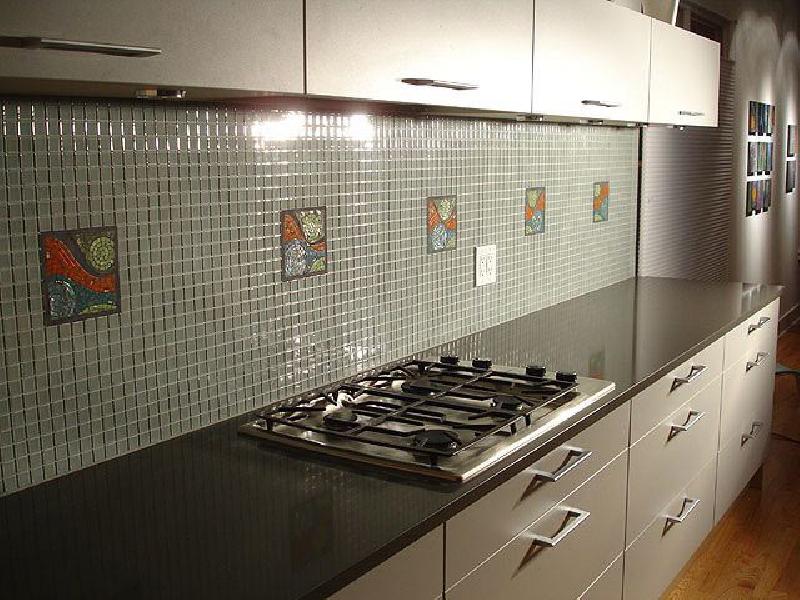
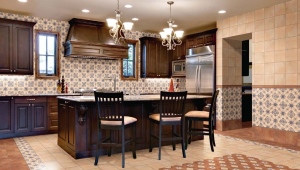
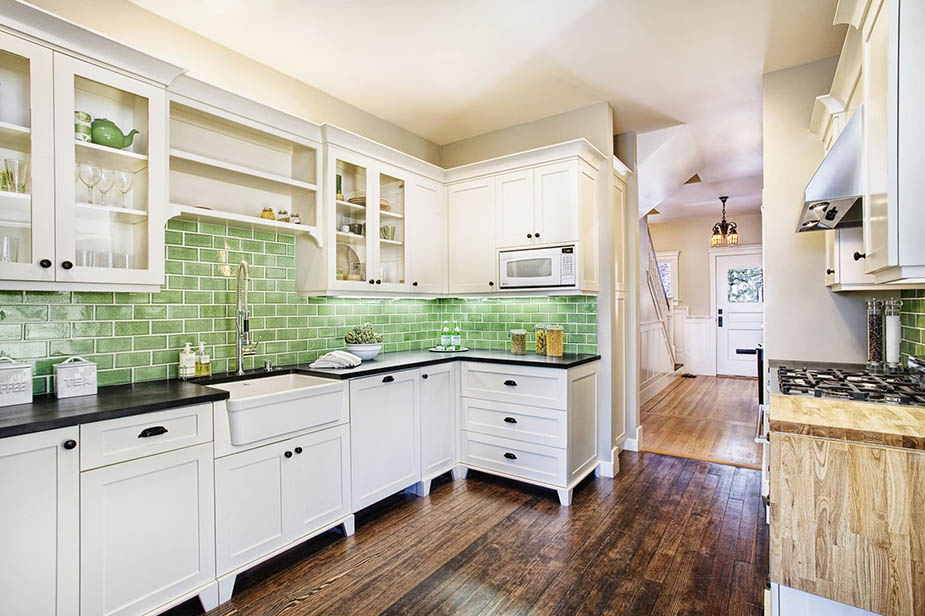
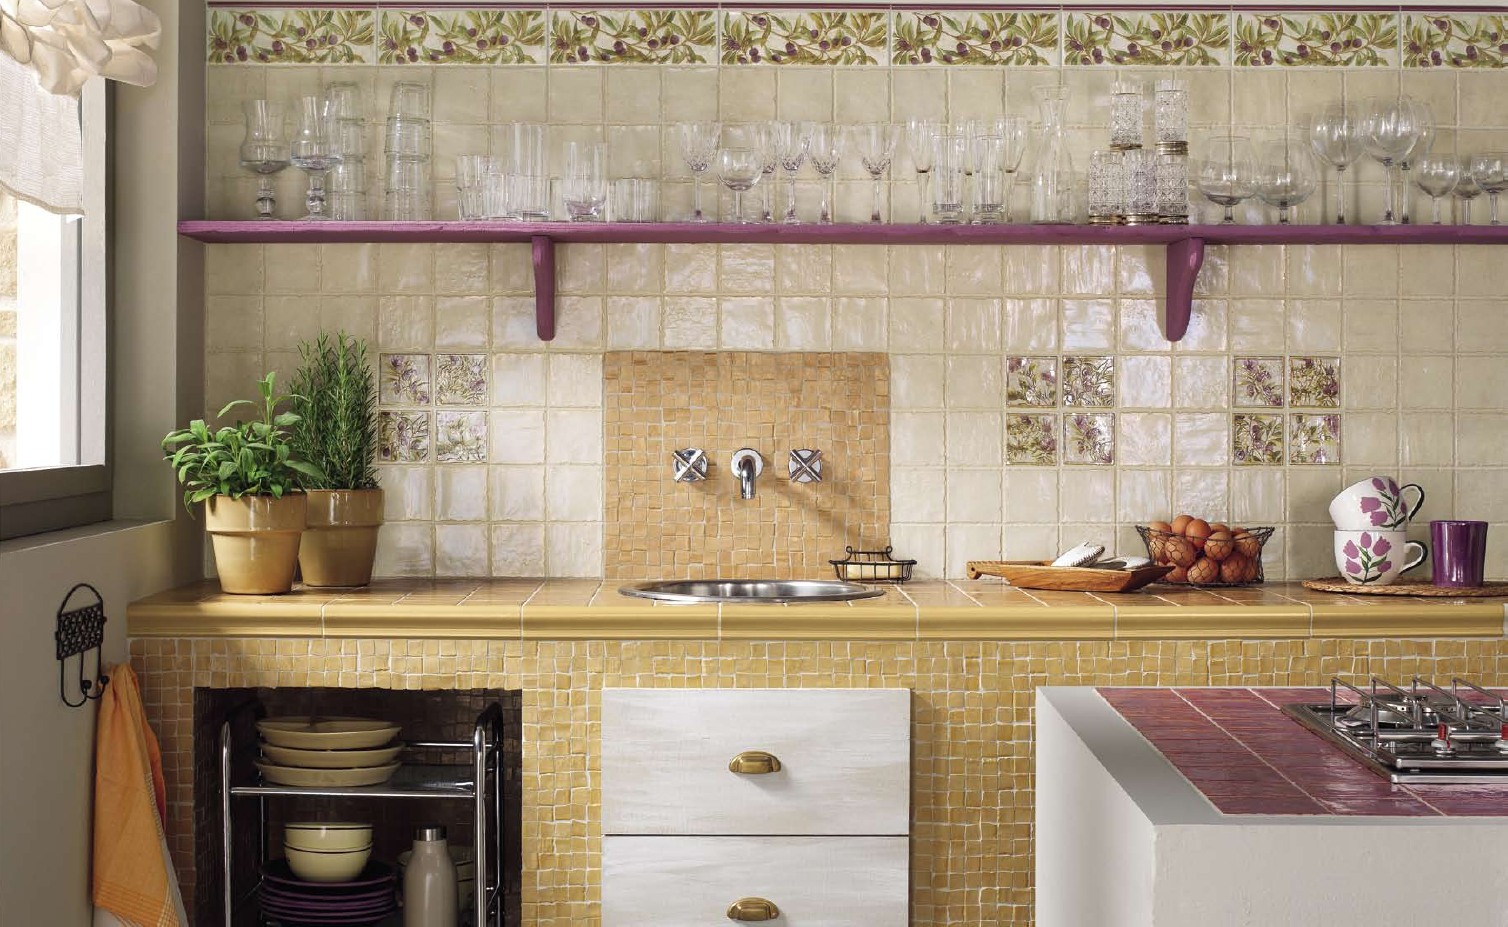
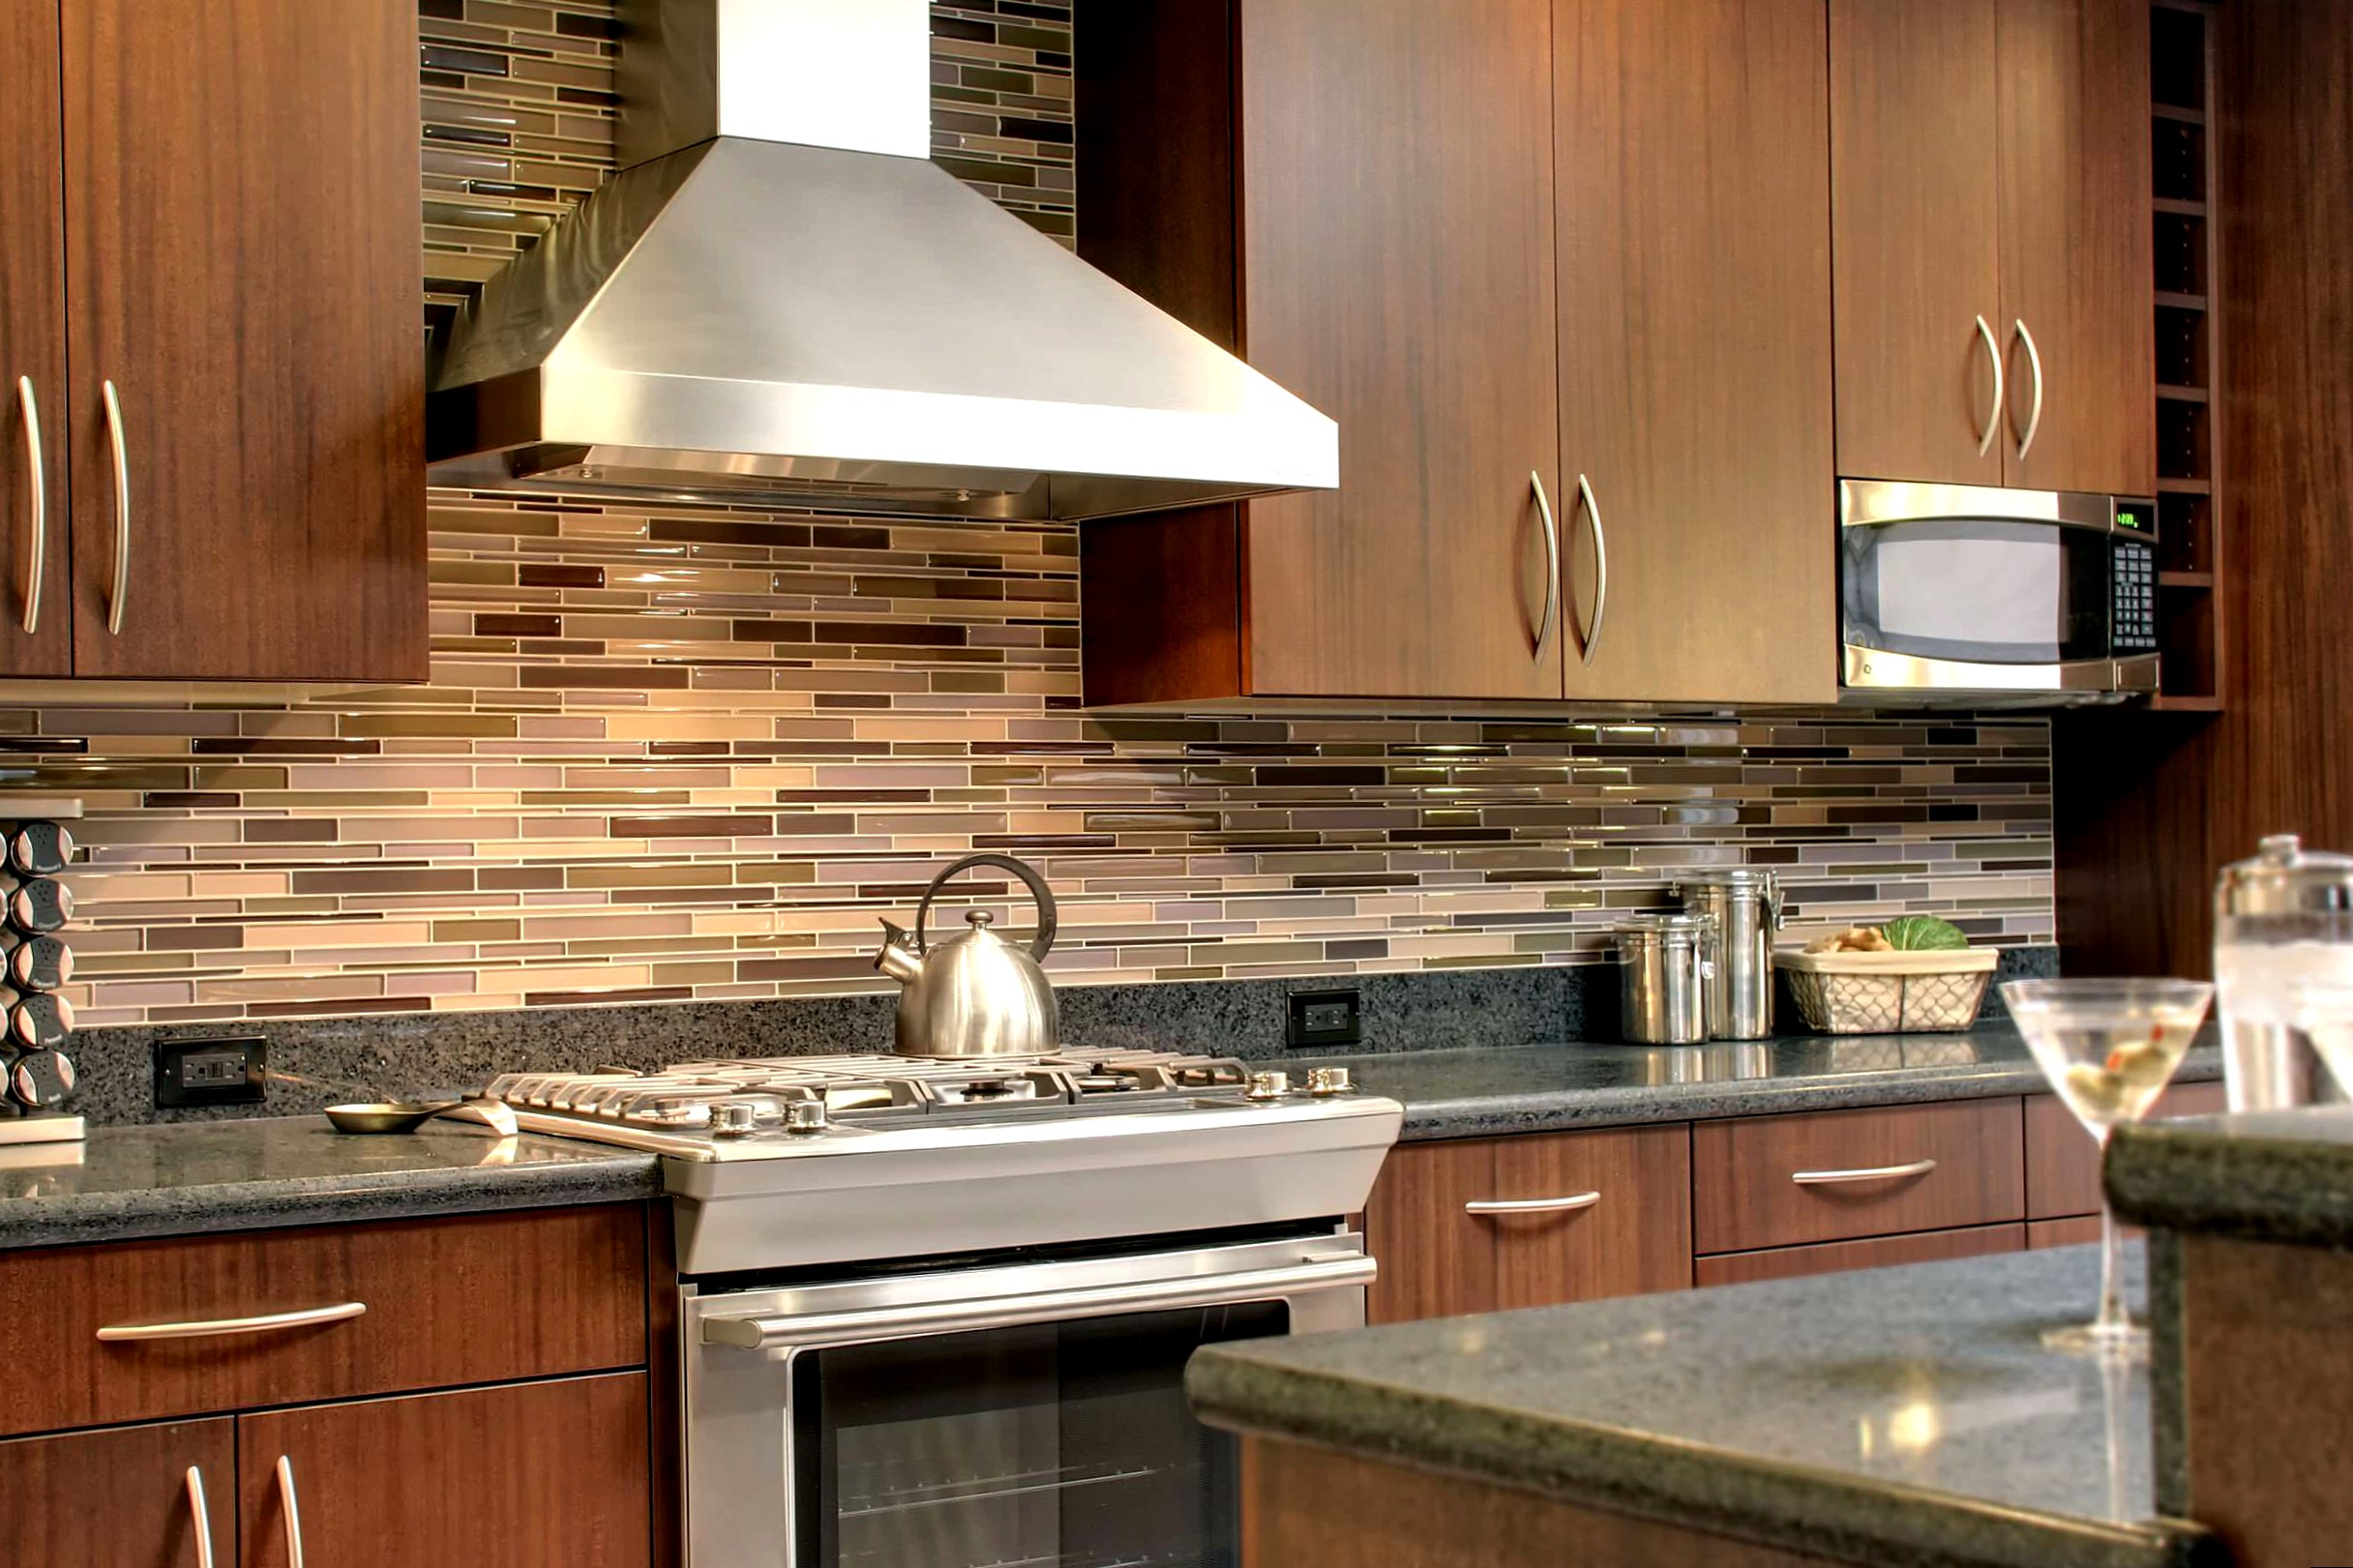
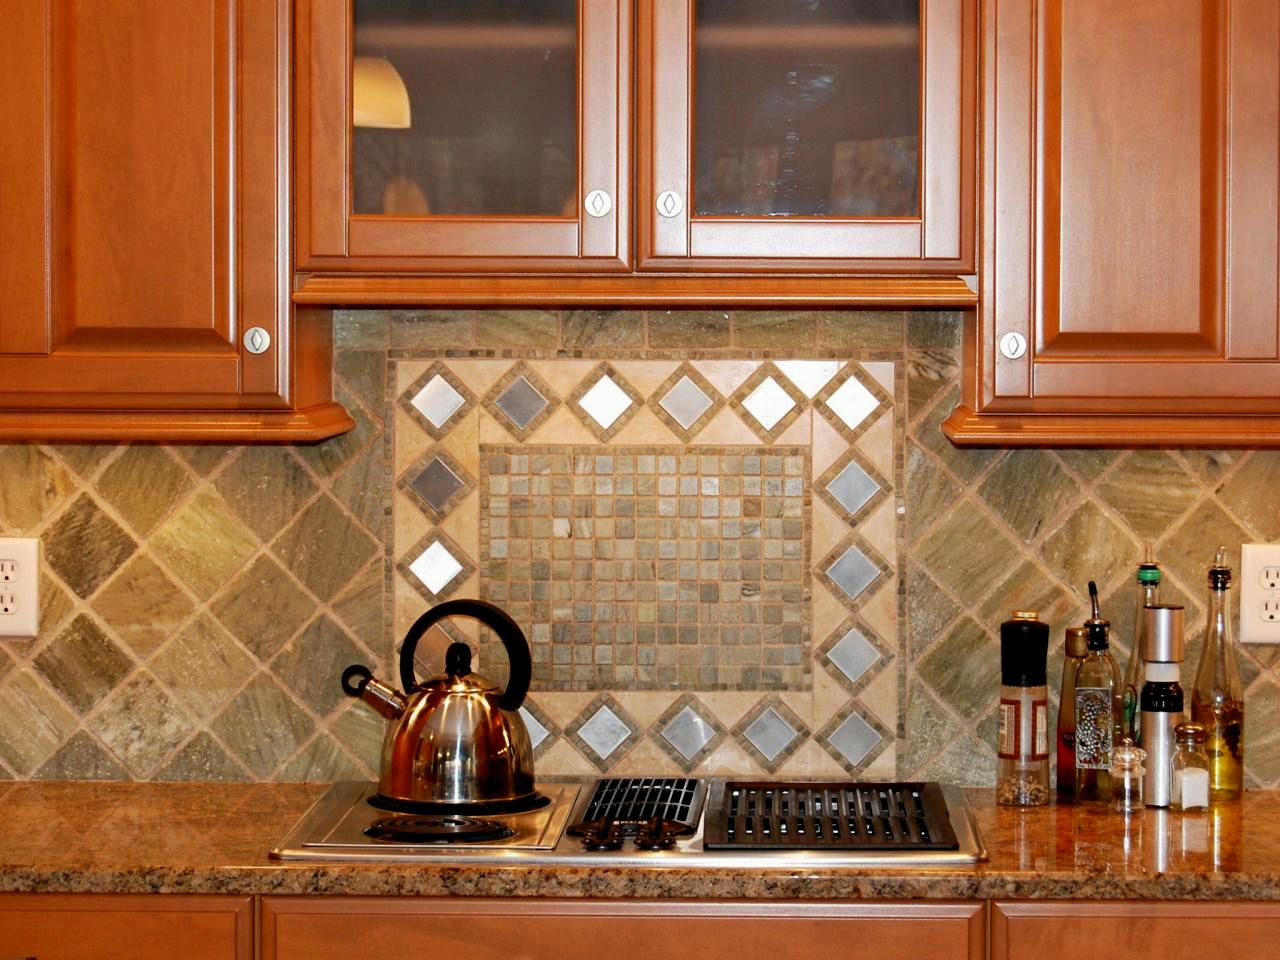
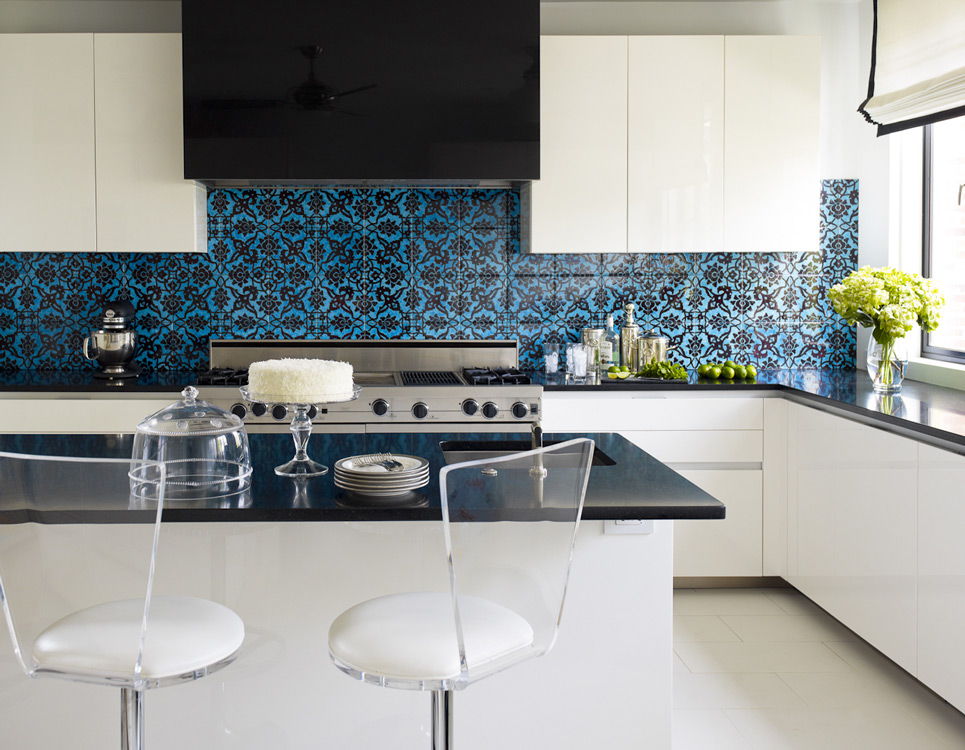
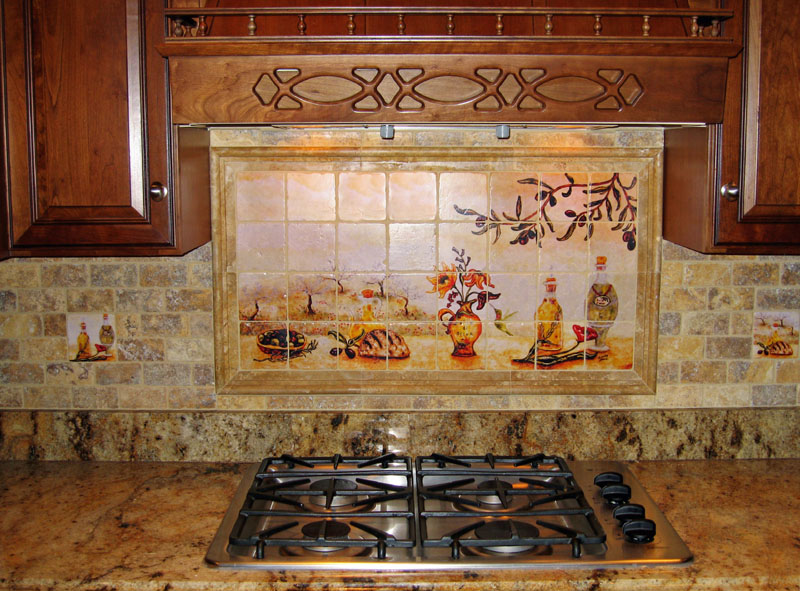
- Ceramic tile has its own dimensions. Usually the side of one tile is 10, 20 or 30 cm. Therefore, if you have not chosen a specific sample yet and do not know how to lay it out, then the width of the canvas is more convenient to count as 60 cm. Then there will be no problems with any size. Cons - the cost, the need for additional work on laying, plus - endurance and durability.
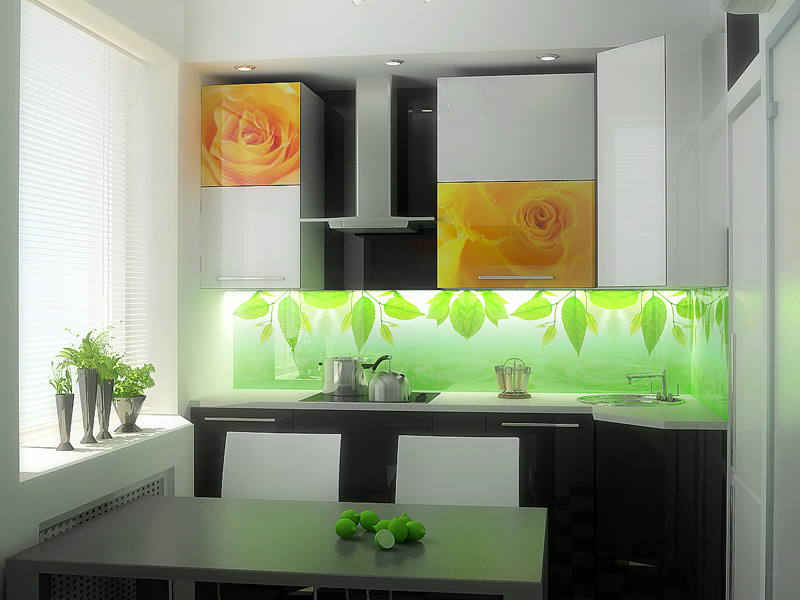
- MDF is a budget option, varied in pattern, easy to use, allows you to work with the most complex “sizes”. But it is the most "unstable" to moisture, it will have to be changed before the others.The same cons are typical for a wooden apron.
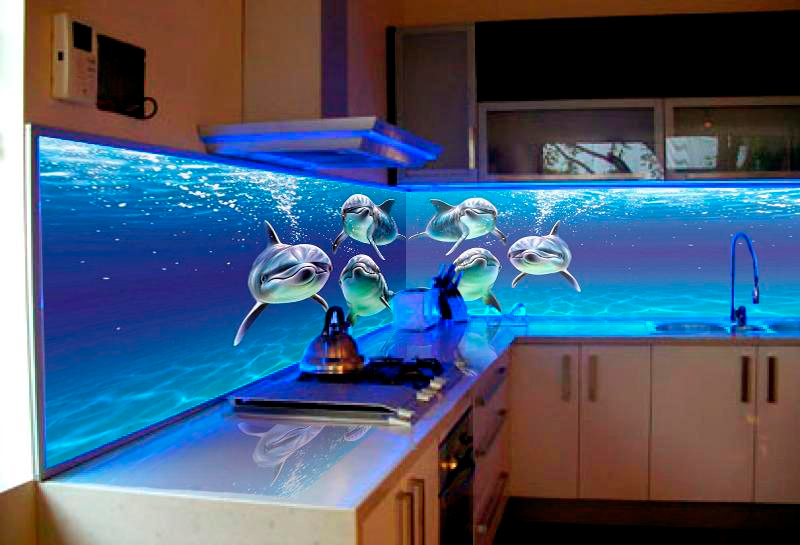
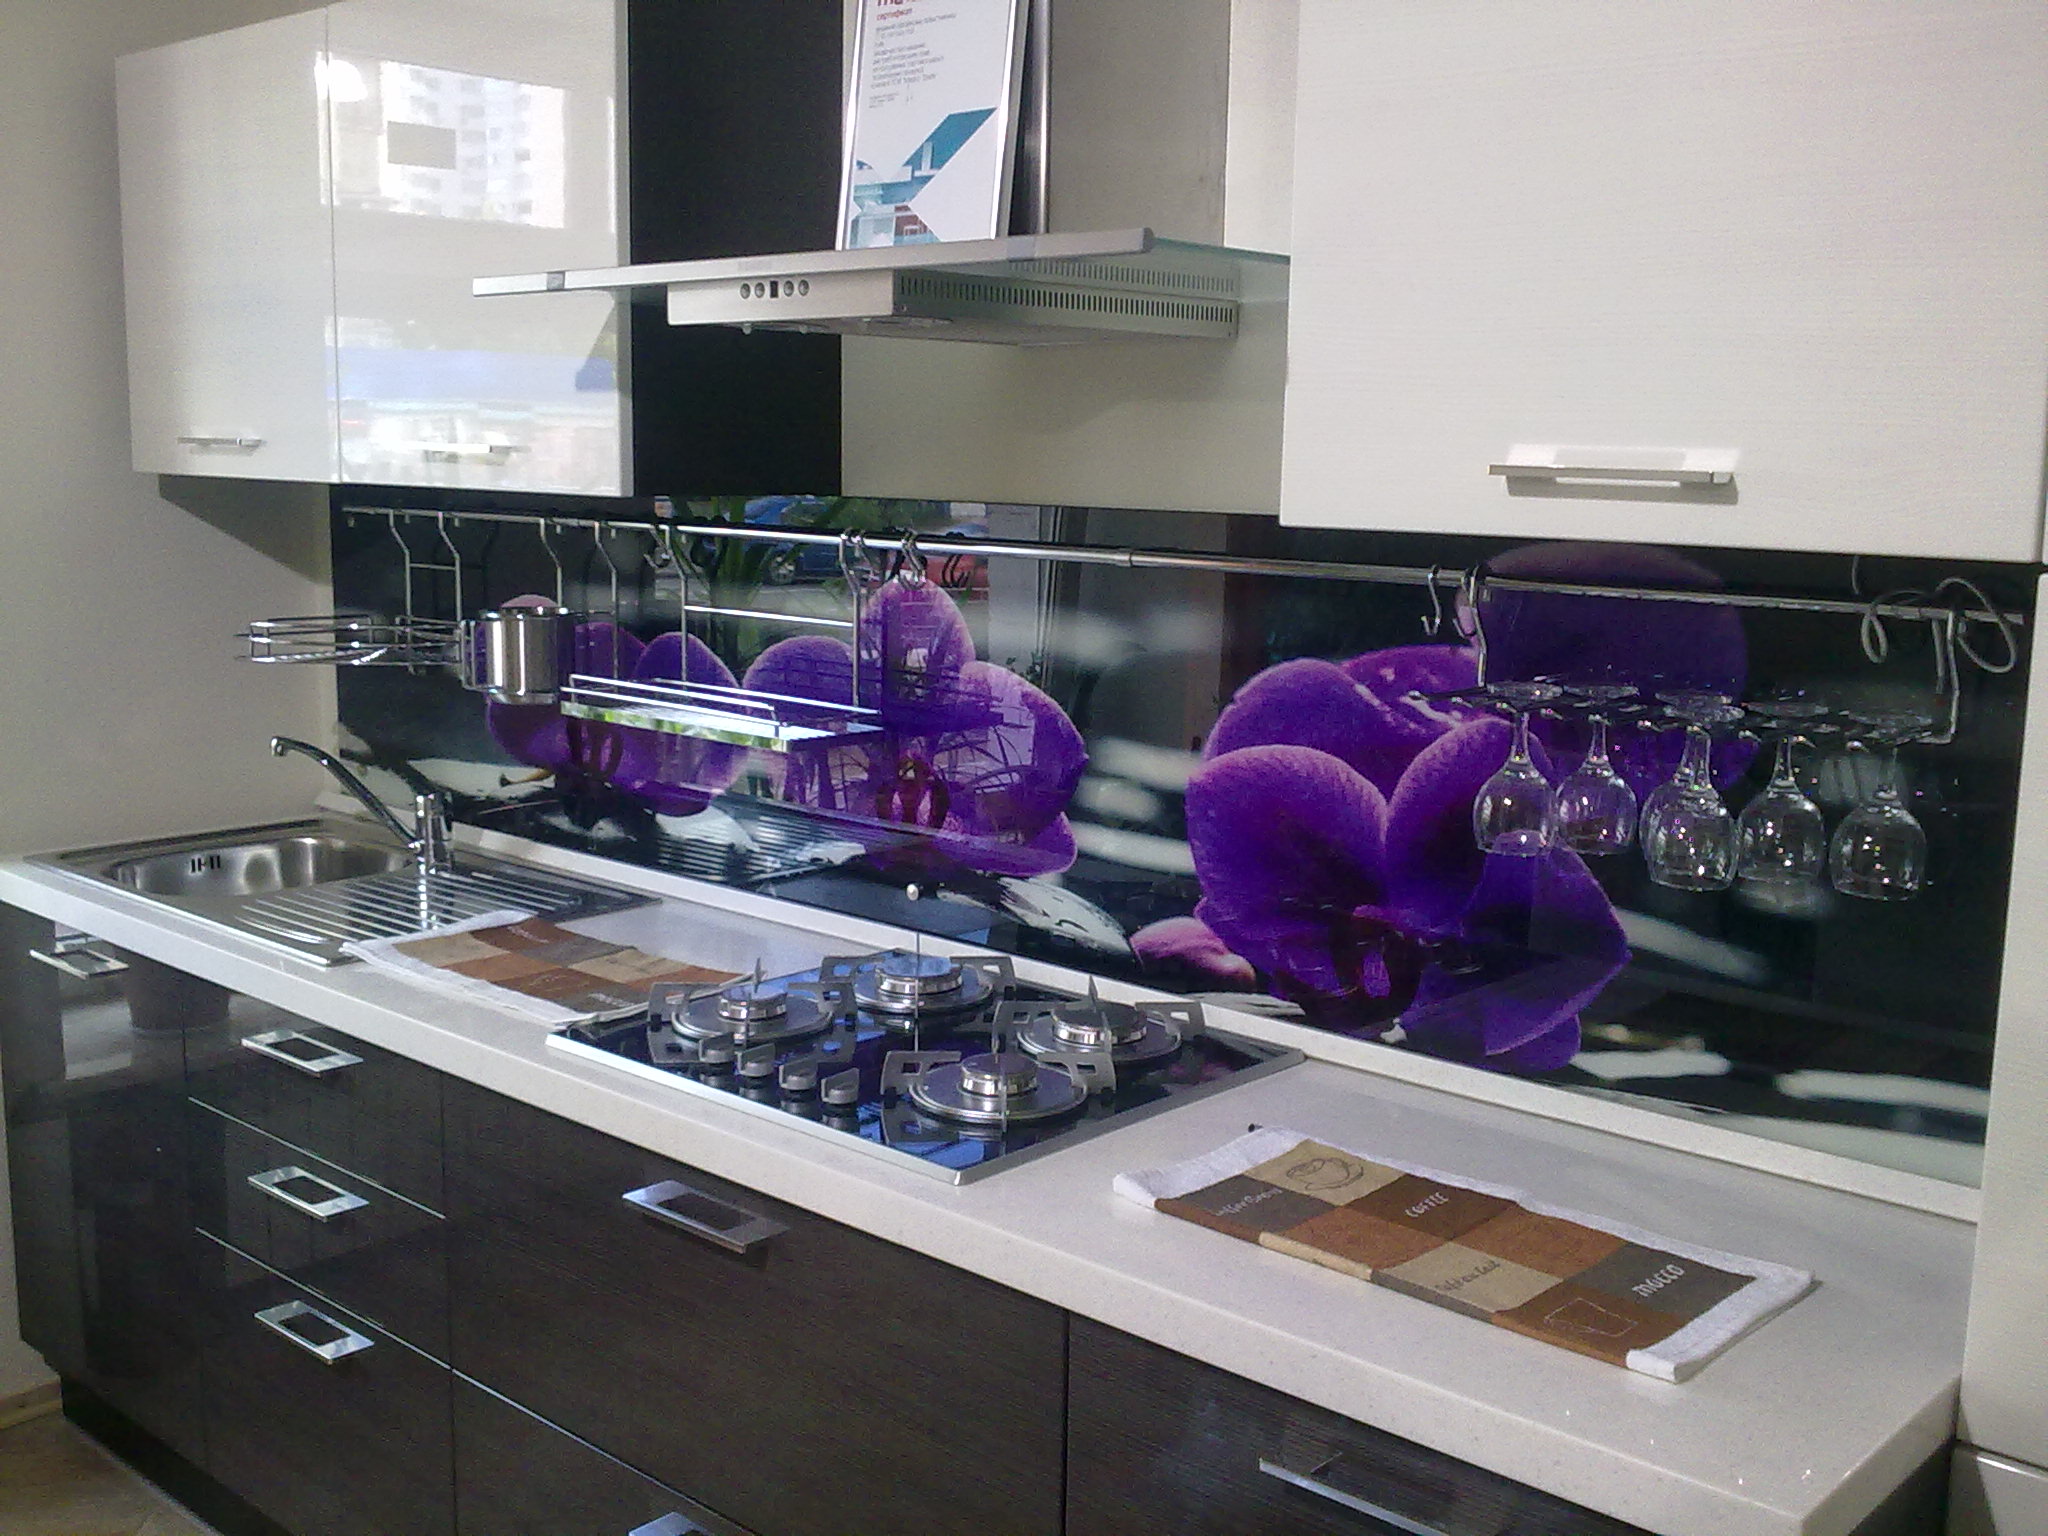
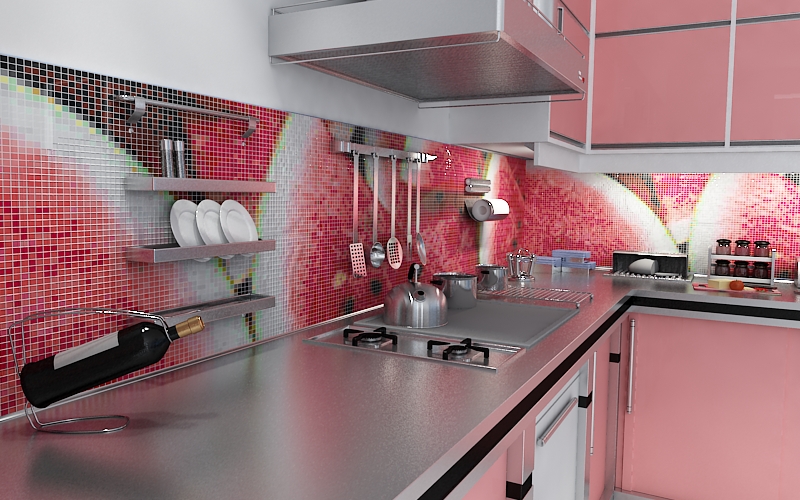
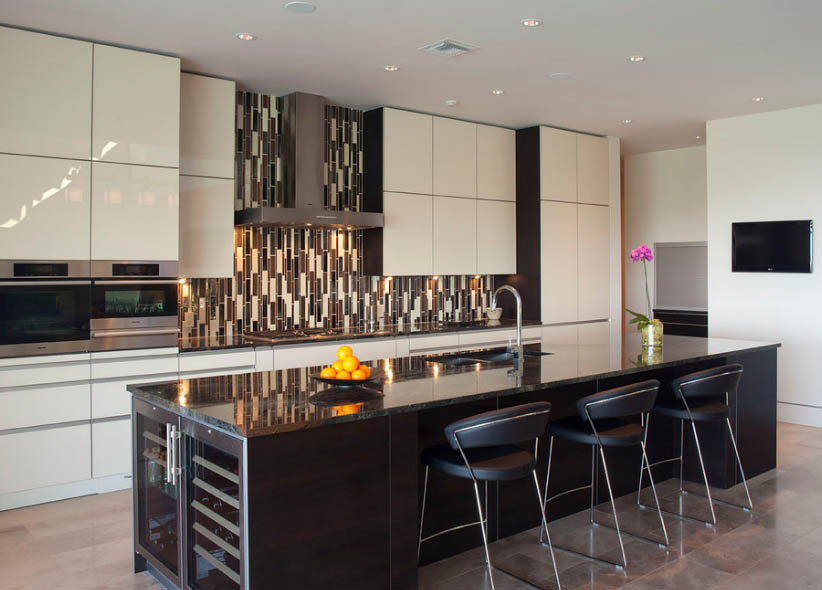
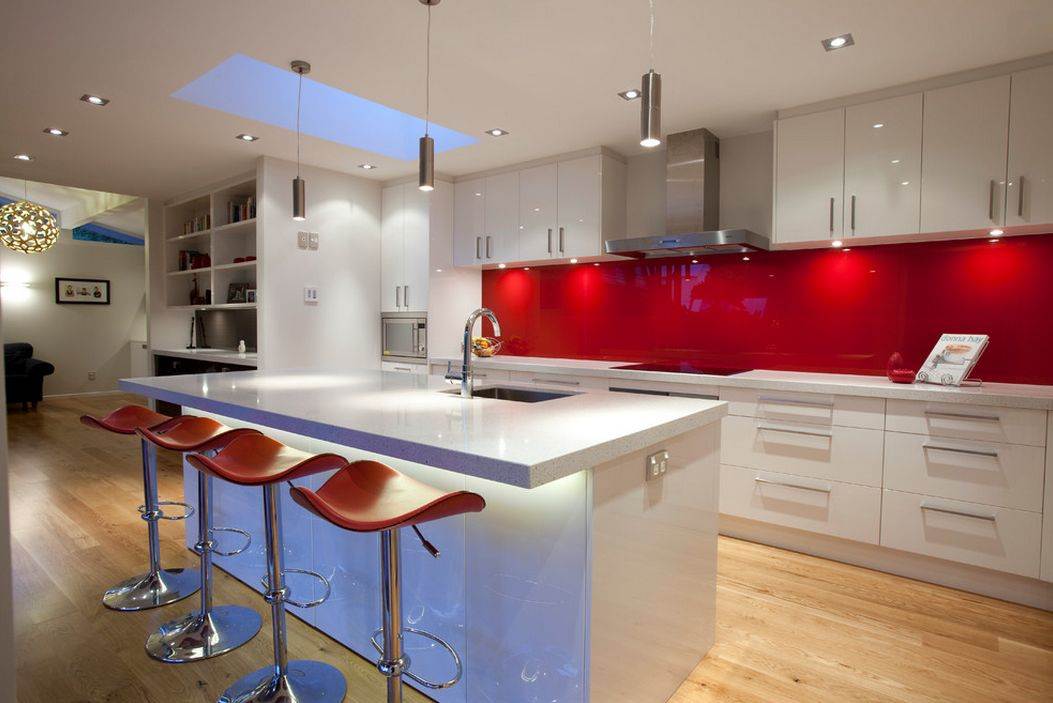
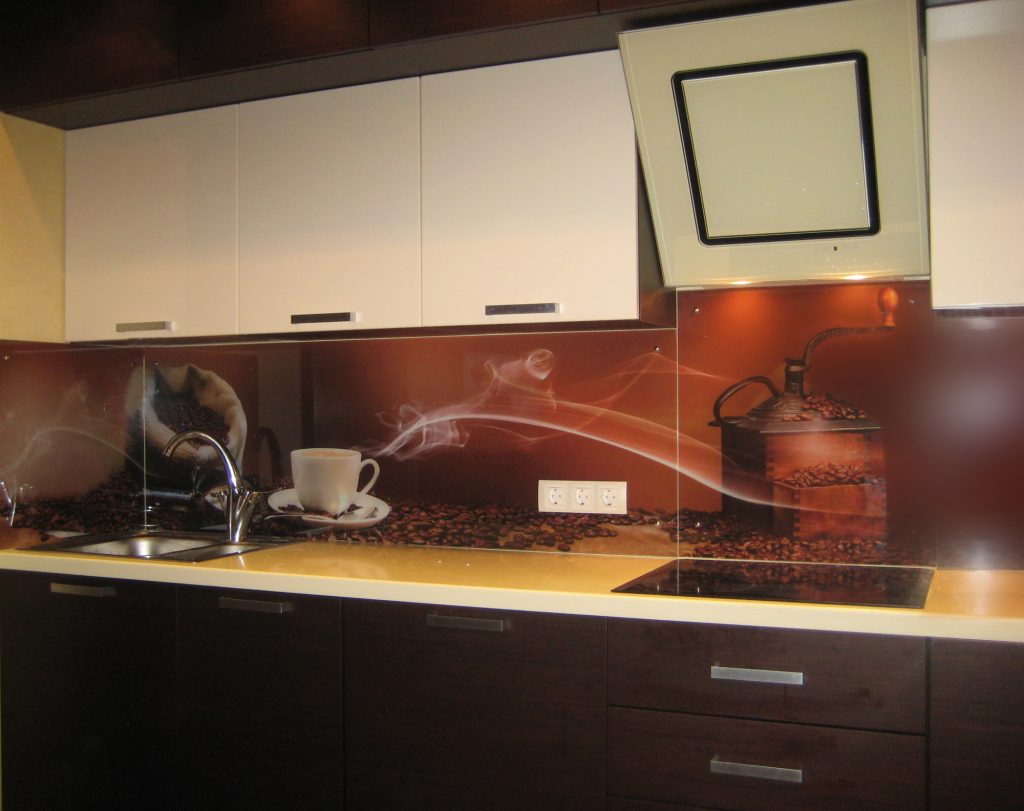
- Few glass tempered glass, stone and porcelain. These are relatively expensive materials, very interesting in the interior. Glass is hardy to moisture, steam and heat, but not always to mechanical shocks. Such materials are used only under the order and they require high precision measurements.
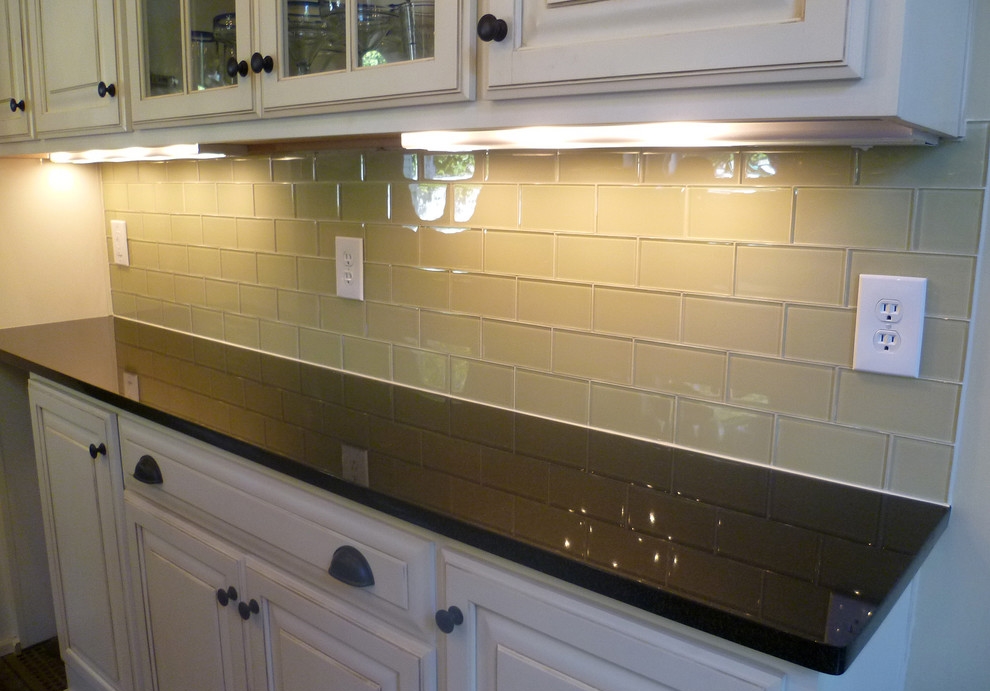
But what about the outlet?
First of all, you need to outline those sockets that are already in your kitchen and coincide with the position of the future apron. Secondly, think about what you want to add (from the equipment) to the kitchen project. Where will the device stand? What is the length of his cord? Is it possible to use existing sockets or their number should be increased, how will you do it?
After determining how many sockets you need, whether there will be splitters, they have to decide their position on the wall with an apron:
- The option “under the table top” is not always ergonomic and convenient, especially for small-sized equipment used “on the occasion” - coffee makers, coffee grinders, mixers, etc .;
- Sockets should be located away from water and stove (if possible);
- It is more convenient in the kitchen to use double-triple models (the location is traditionally made horizontal);
- In the kitchen, you can also use “protected” sockets - with patch covers to prevent dust and moisture from entering the contacts.
Why do you need it? If we forget about the electrical connectors, then we will have to either use extension cords (how many wires will you have in the kitchen?) Or make holes in the ready-made apron. And here there are obvious disadvantages and dangers:
- You need special equipment to make such holes and skills to "guess" on the finished canvas;
- Spend extra time on reworking and drilling (sometimes on shaving and laying wires in the wall, subsequent rough and finishing works) - and this is also dirt in the kitchen and new furniture, if they are already installed, and of course, financial spending beyond the budget;
- Not all materials will allow you to correct errors yourself. In order not to damage glass or porcelain tiles, special tools and skills are needed; Physical strength and the need for help - to remove, and then re-install the apron after the "edits." Alone this is extremely difficult to do.
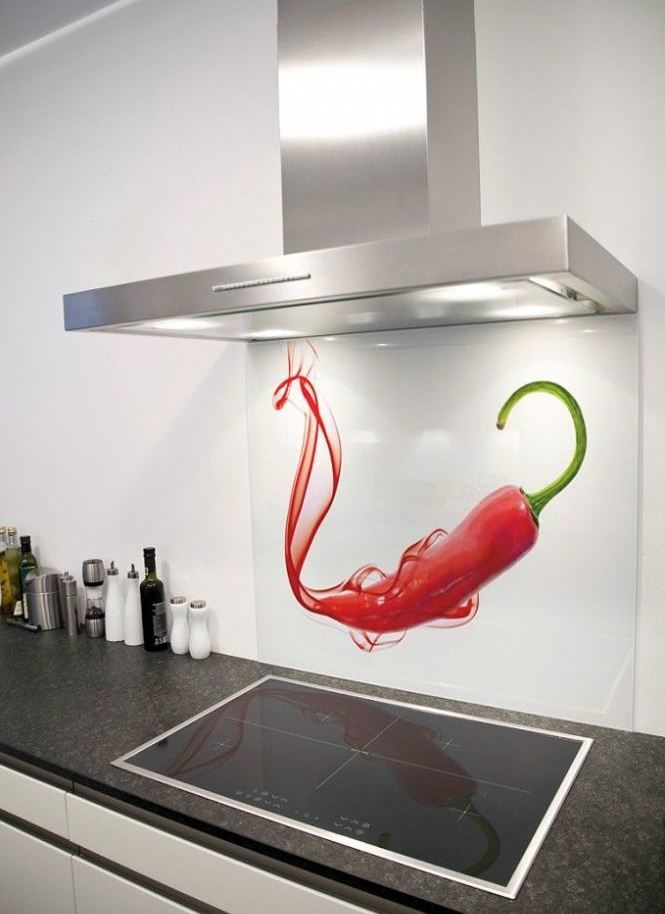
Installation and exhaust models
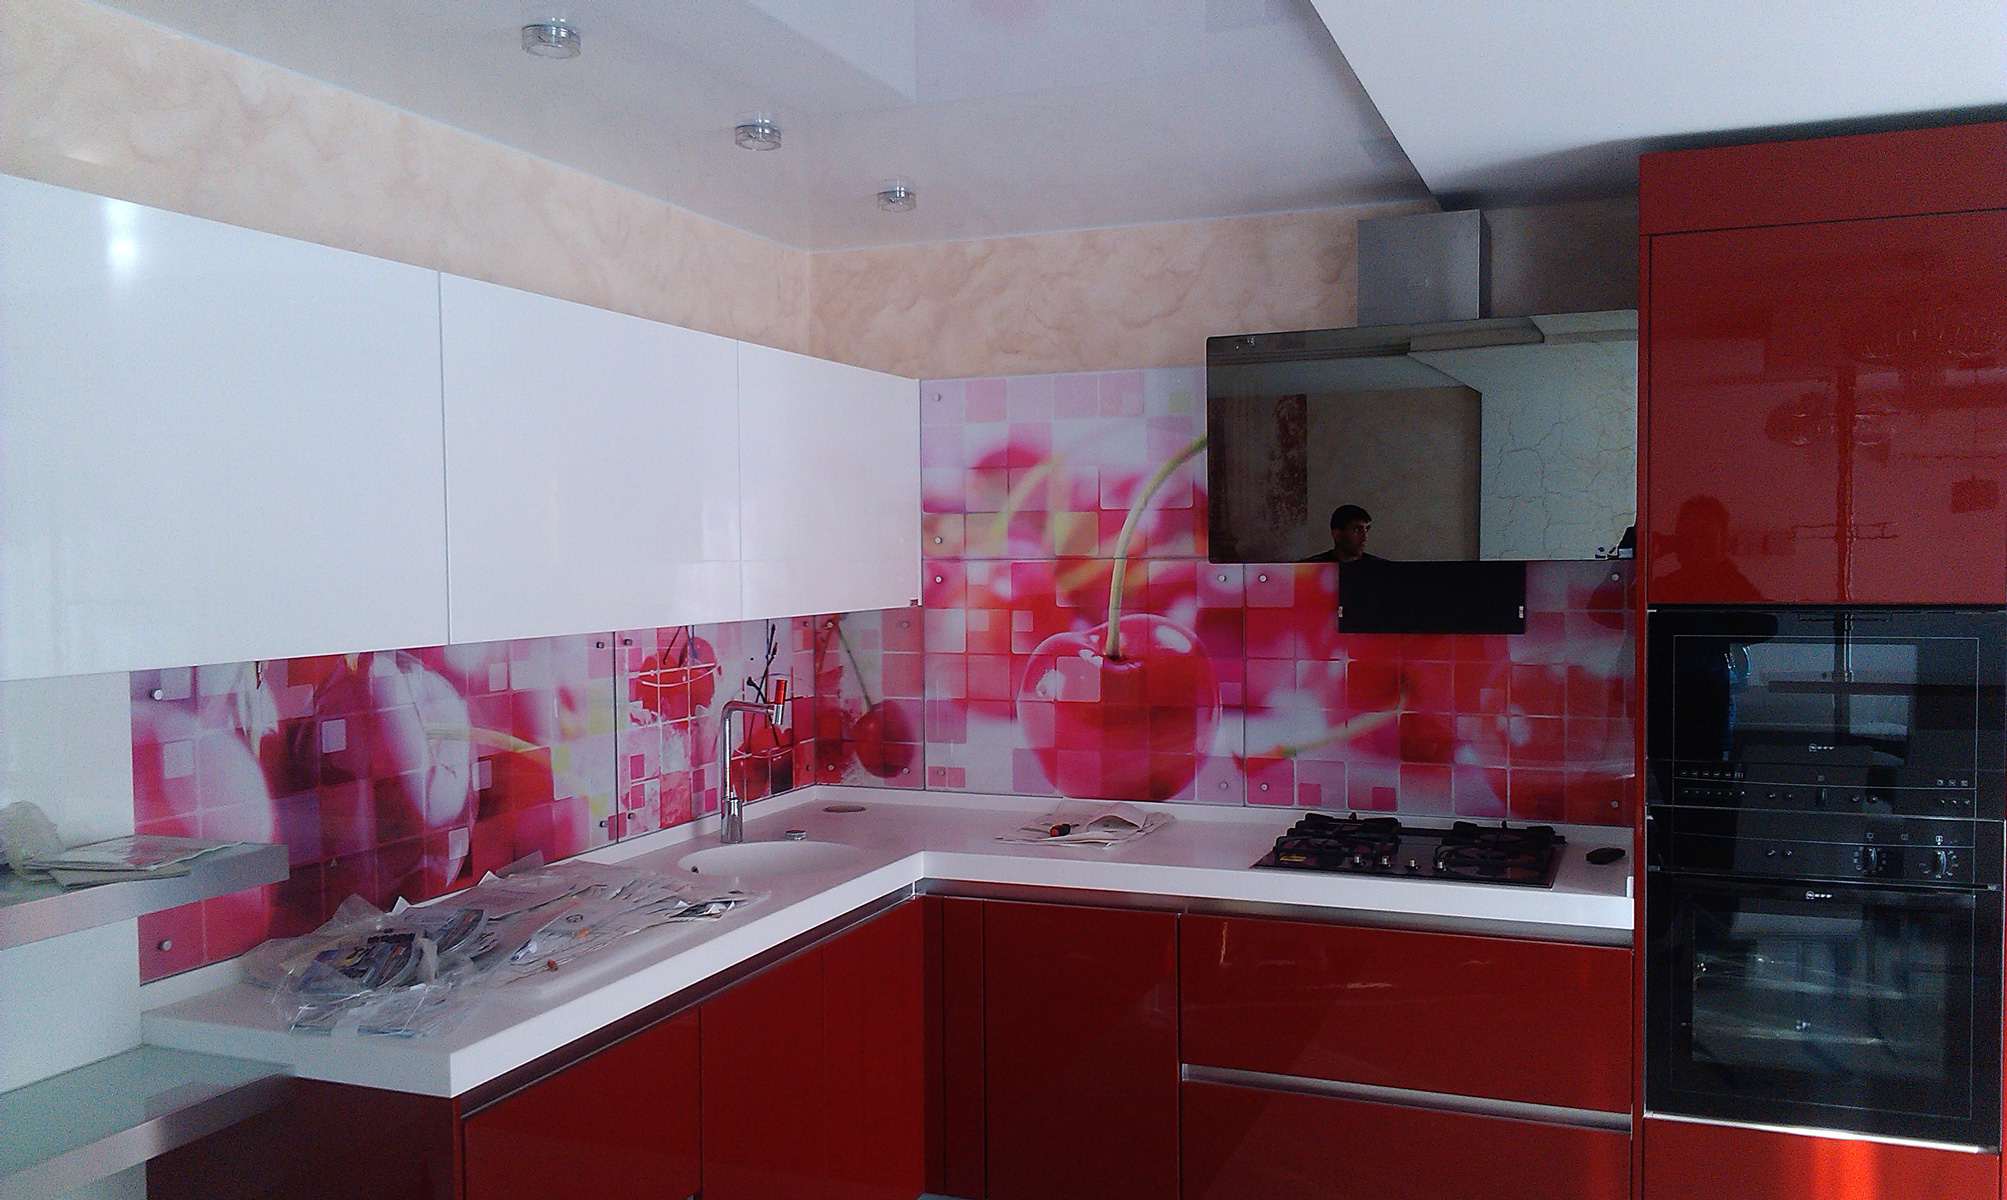
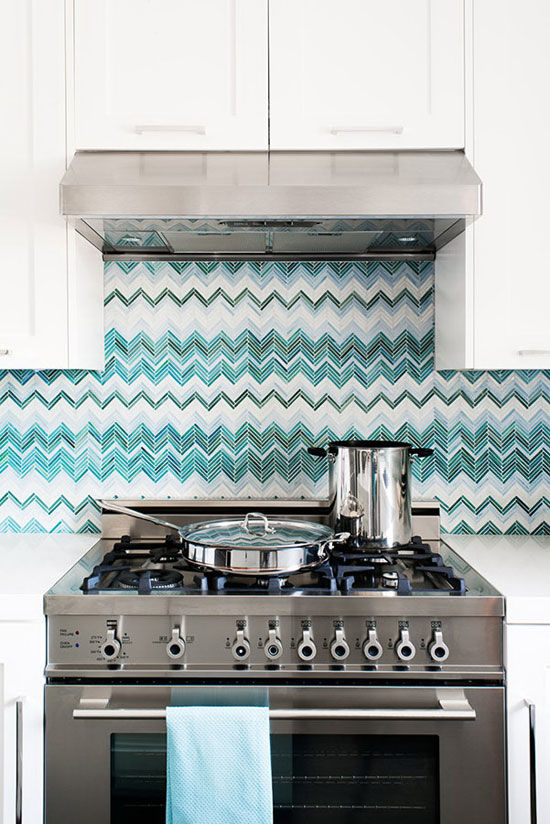
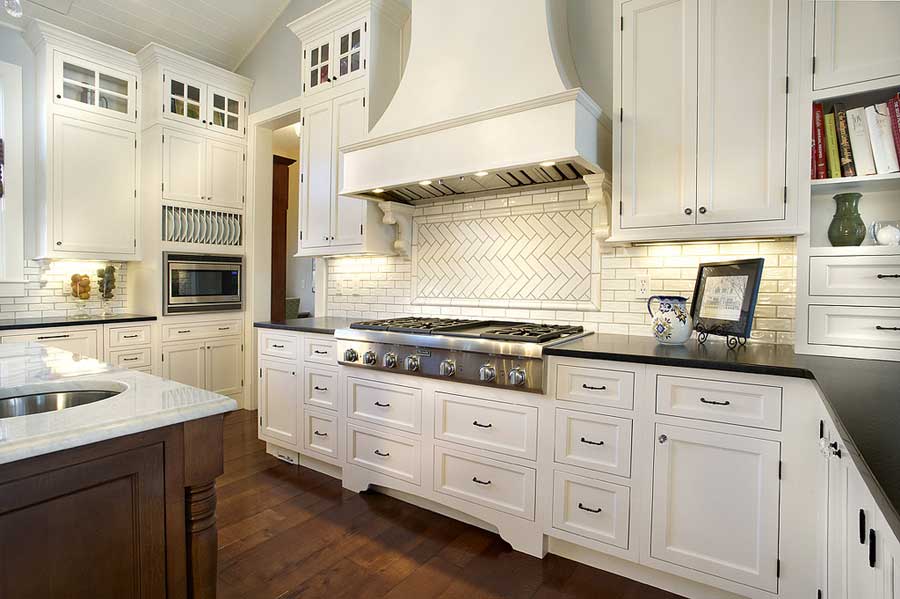
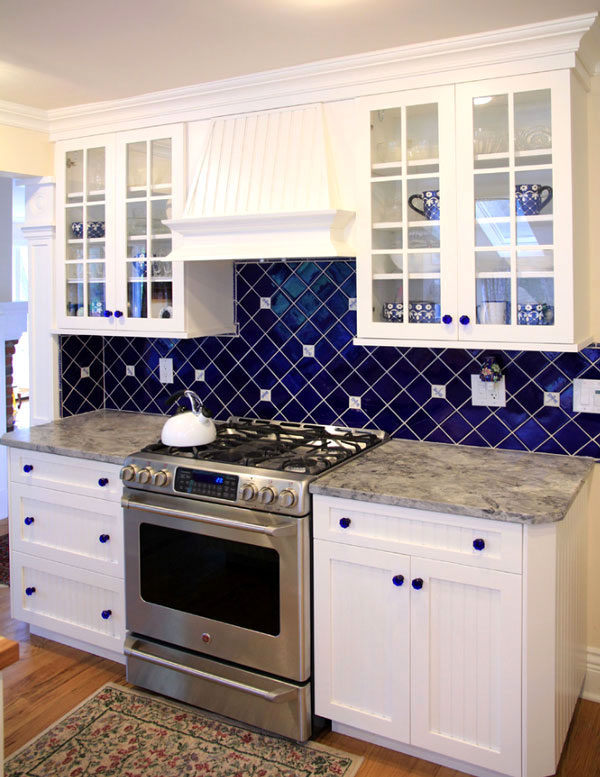
The standard of the distance between the hood and the working surface is 75 cm.this is exactly what leaves the apron width when installing the built-in hood. Such designs eliminate the "splashing" on the wall next to and above any stains. But such options are “inscribed” in the upper furniture line and are a single line.
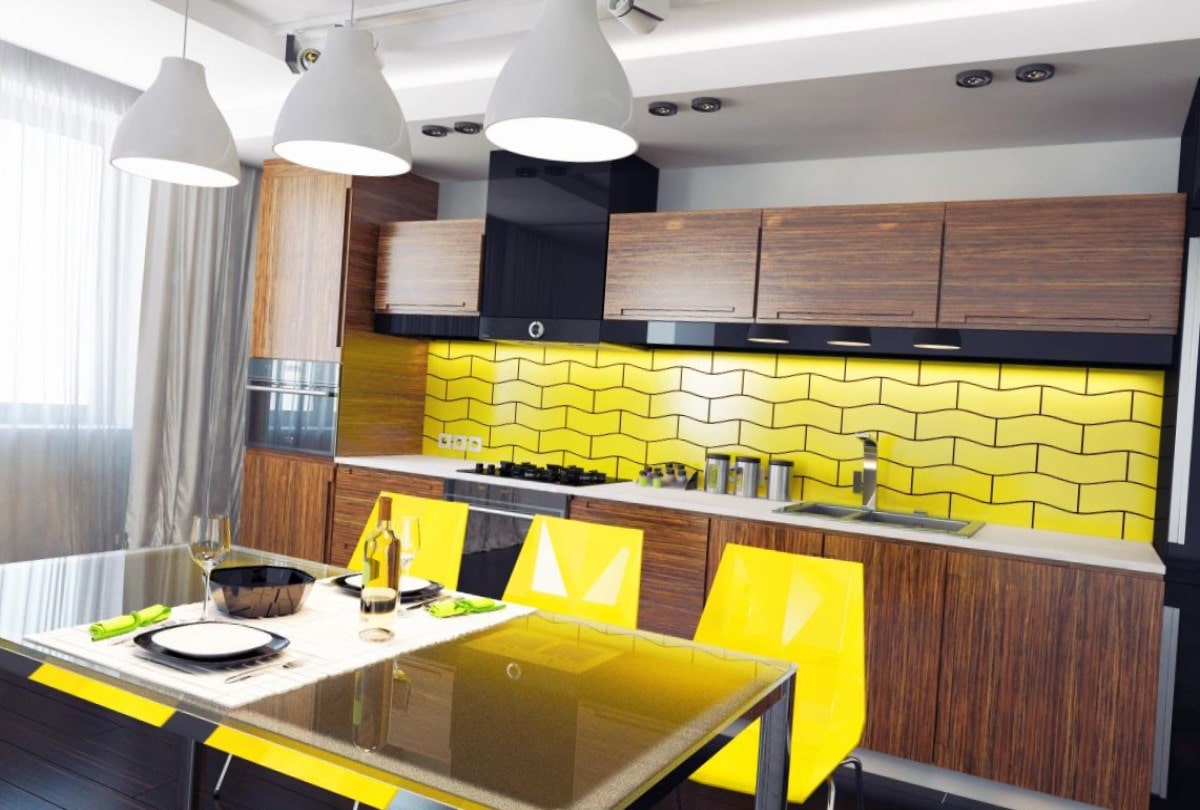
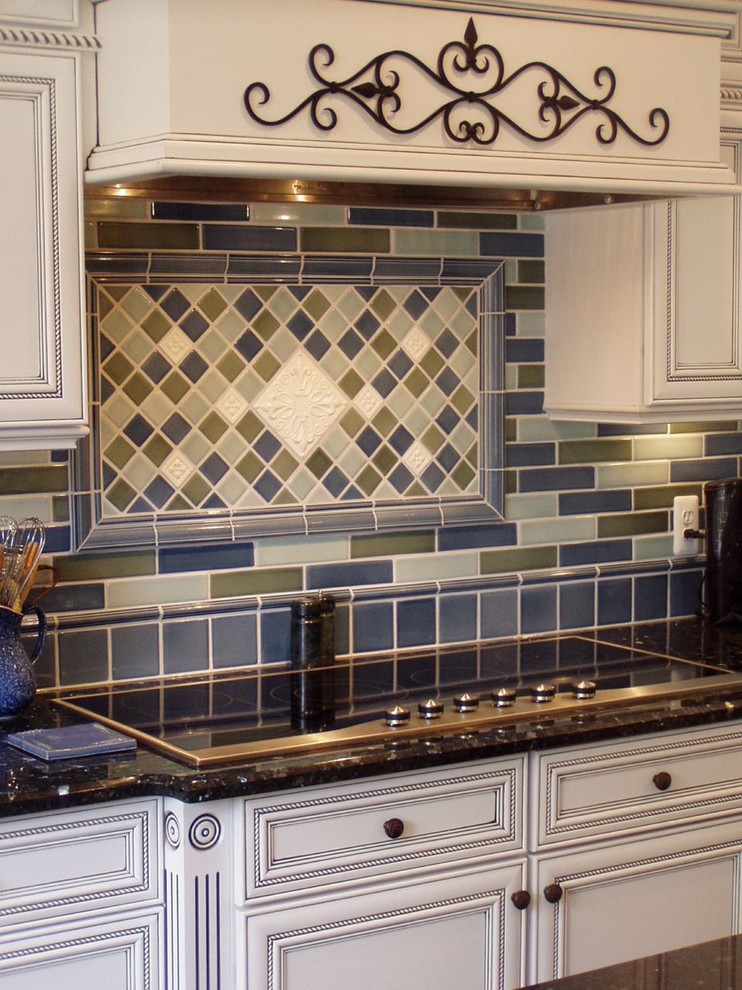
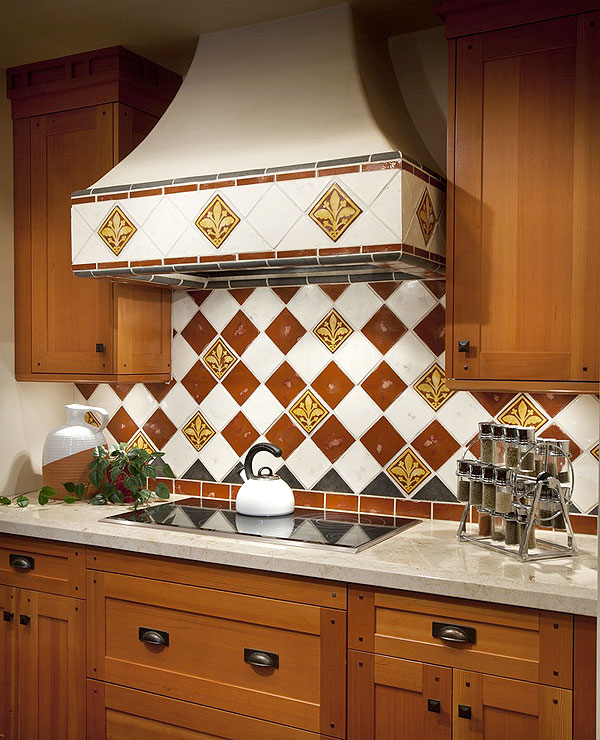
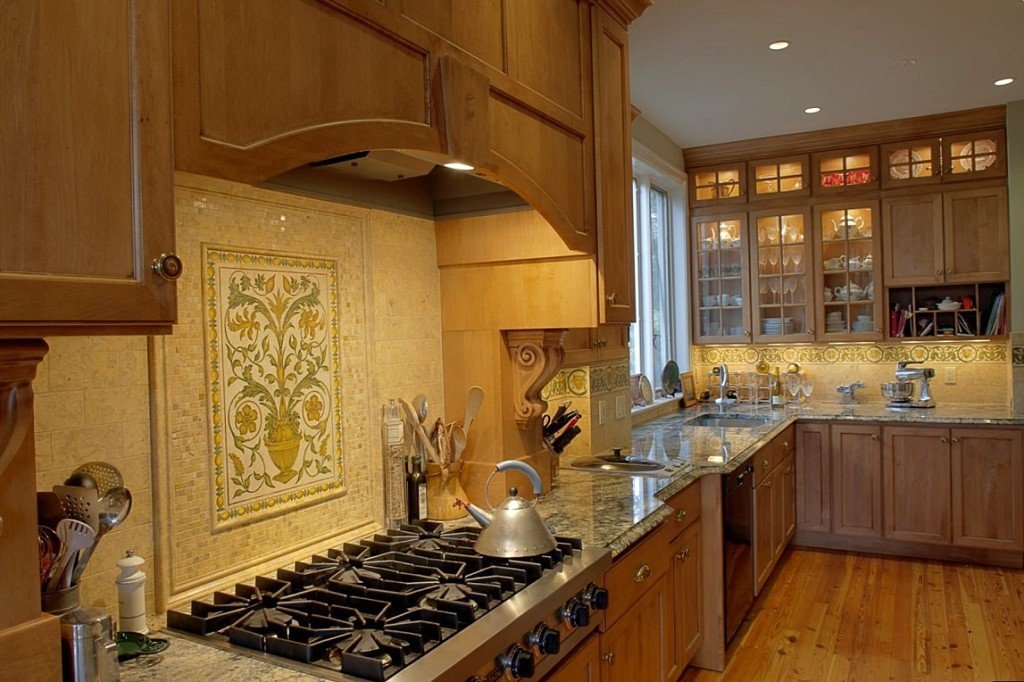
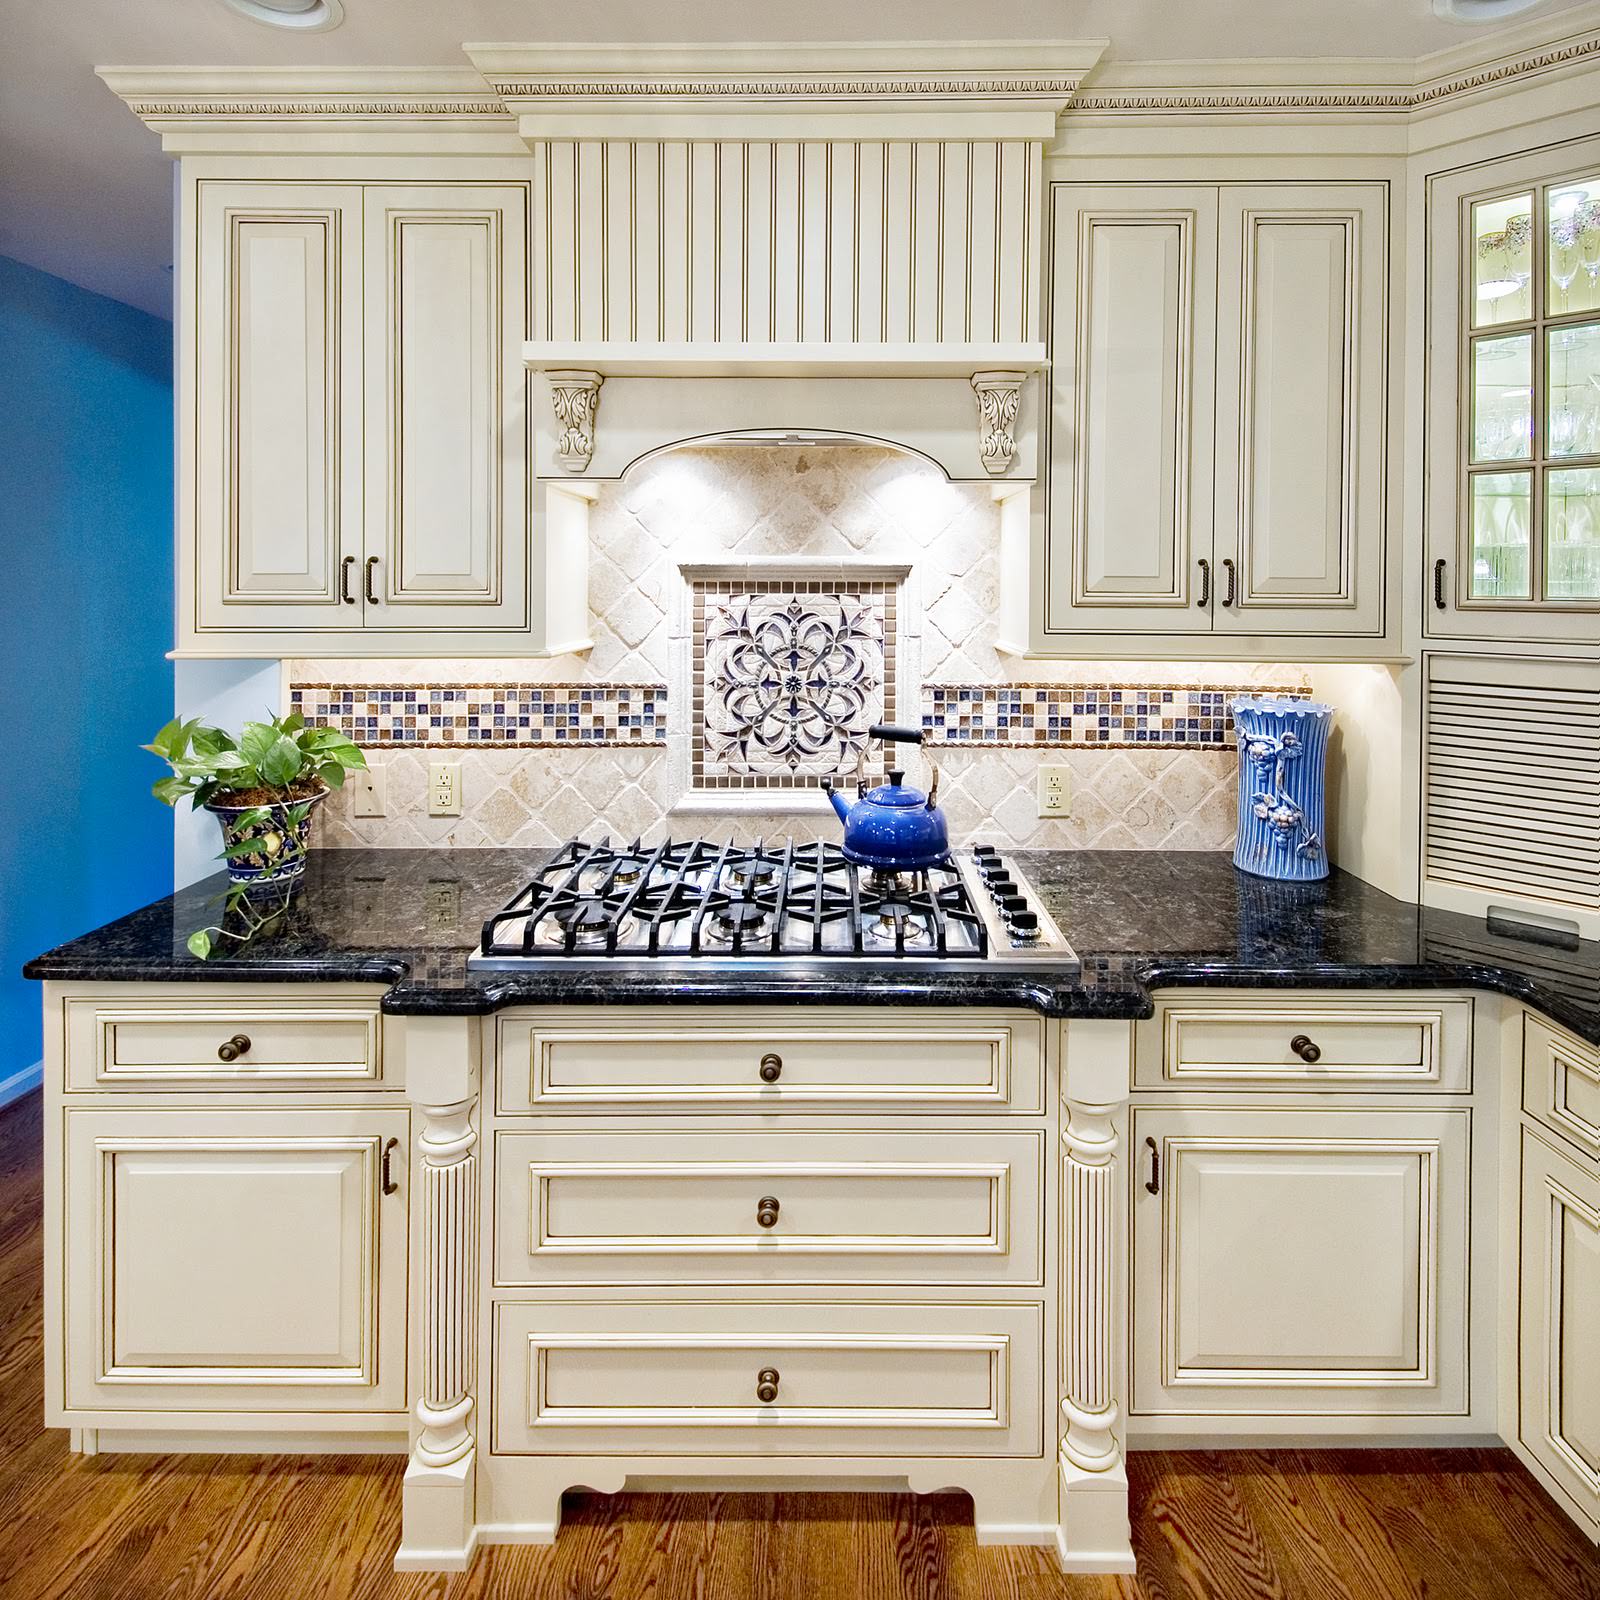
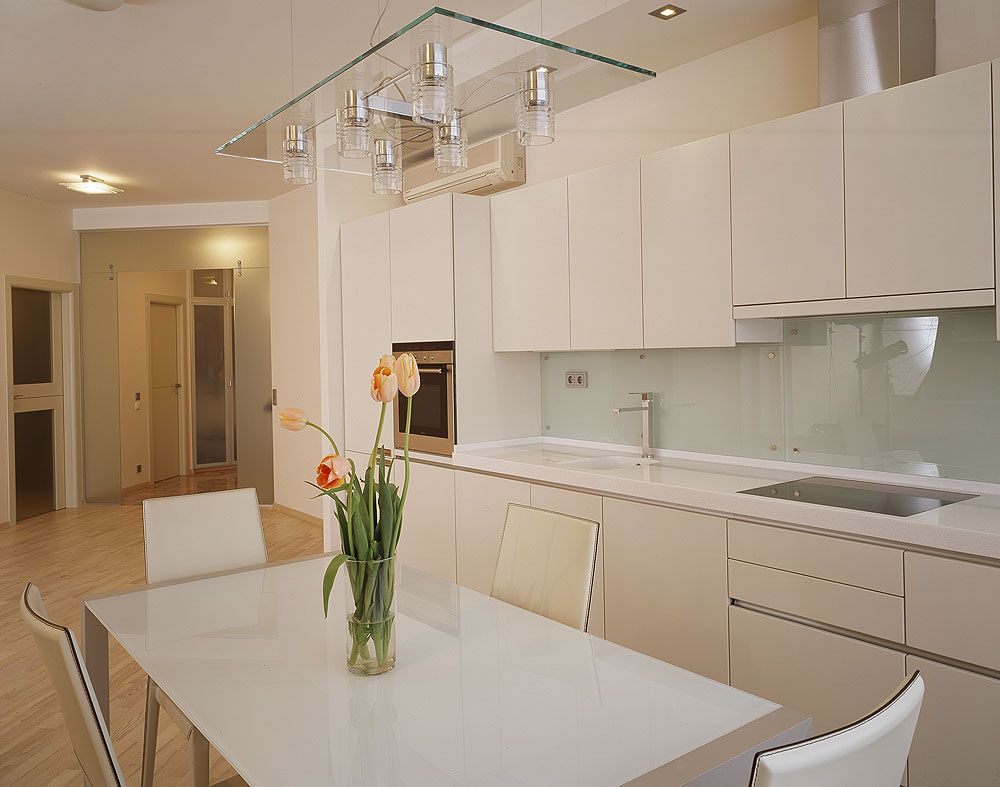
It happens that the cooking surface is located separately from the main furniture group, or the upper space between the wall cabinets is not completely filled (with special projects of induction plates or at the request of the owners). In addition to modular hoods, a fireplace system can be used in private homes. In these cases, it is recommended to lay a cloth apron around the hood and additionally protect the surrounding area with ceramic, plastic or glass tiles that will complement the main apron or make it a beautiful contrast within the overall design. Tile put on 5-10 cm (depending on its size). When using other materials under the hood, the apron goes 1 cm up and 3-4 sides.
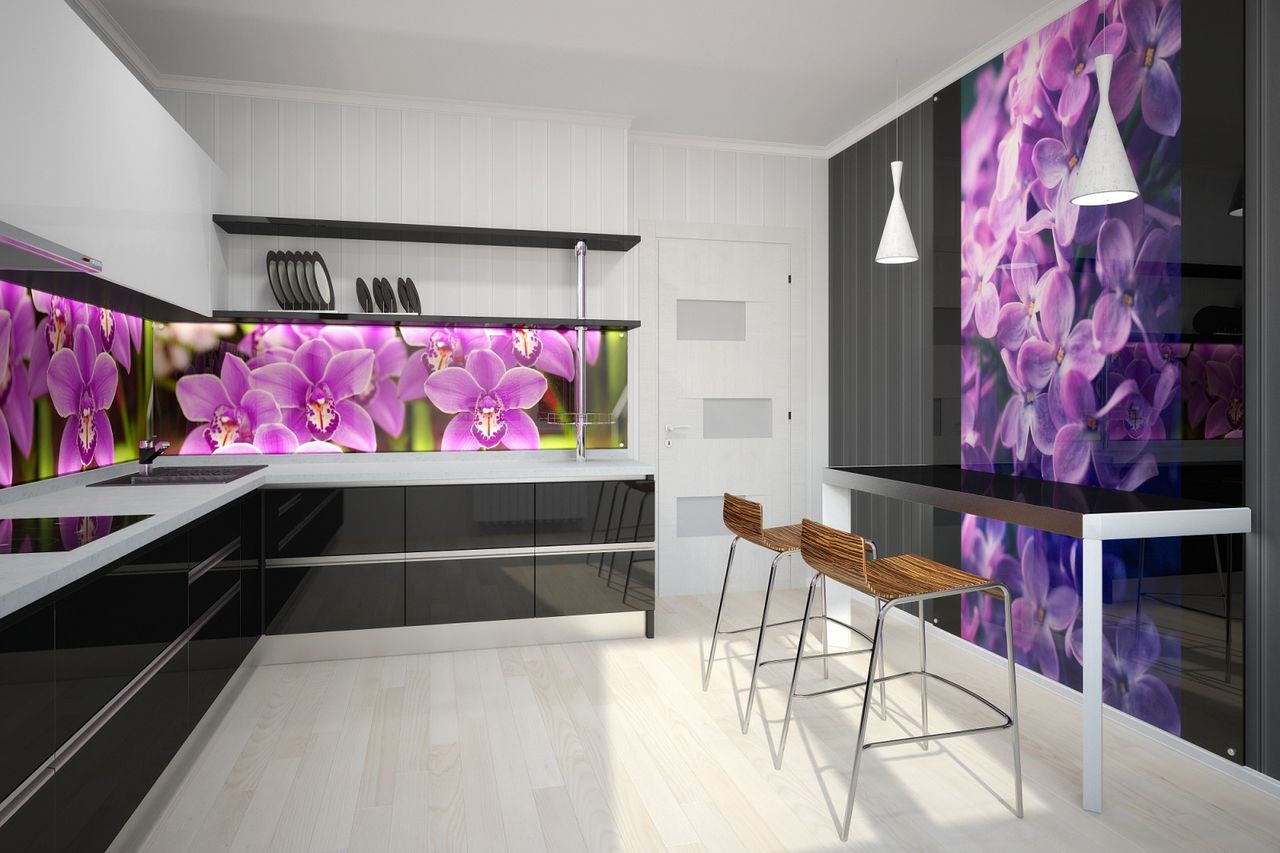
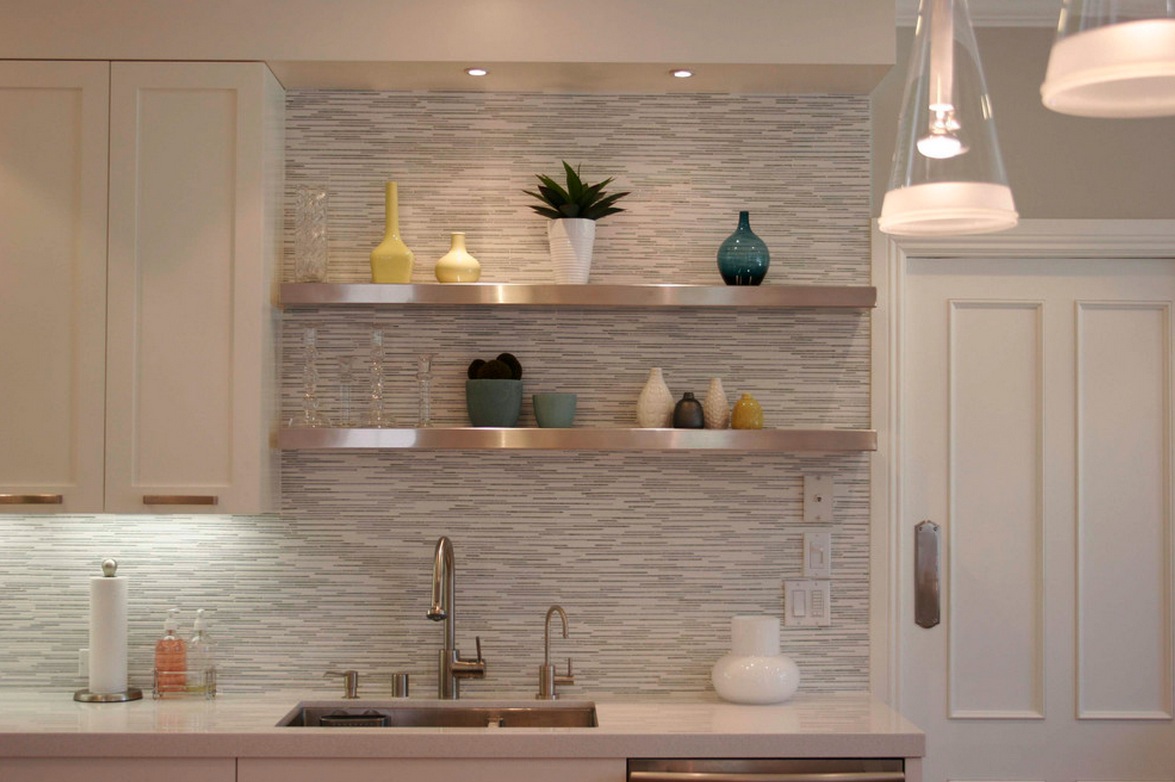
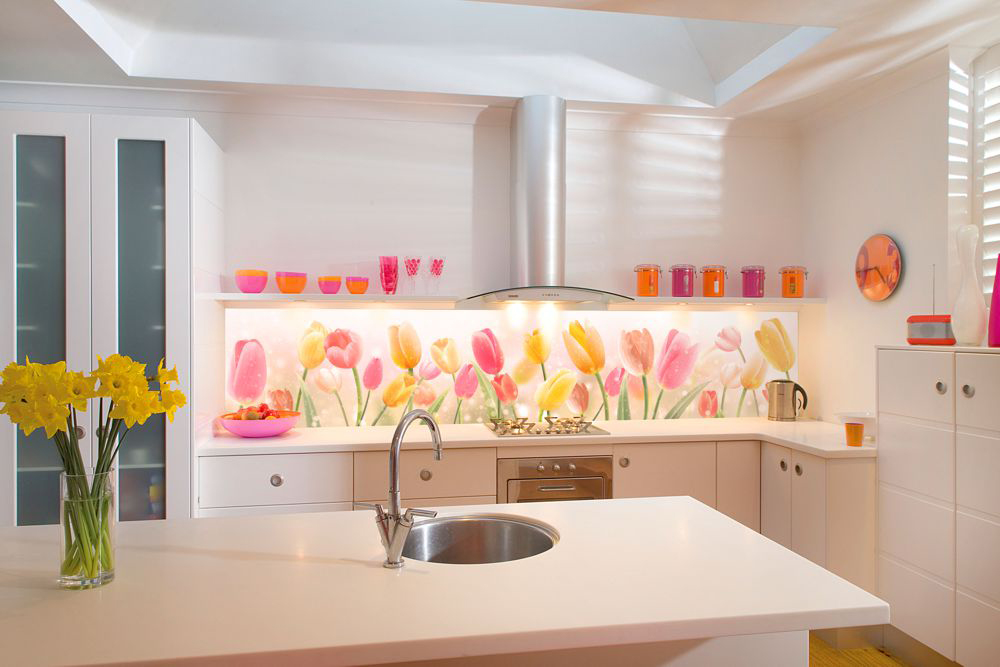
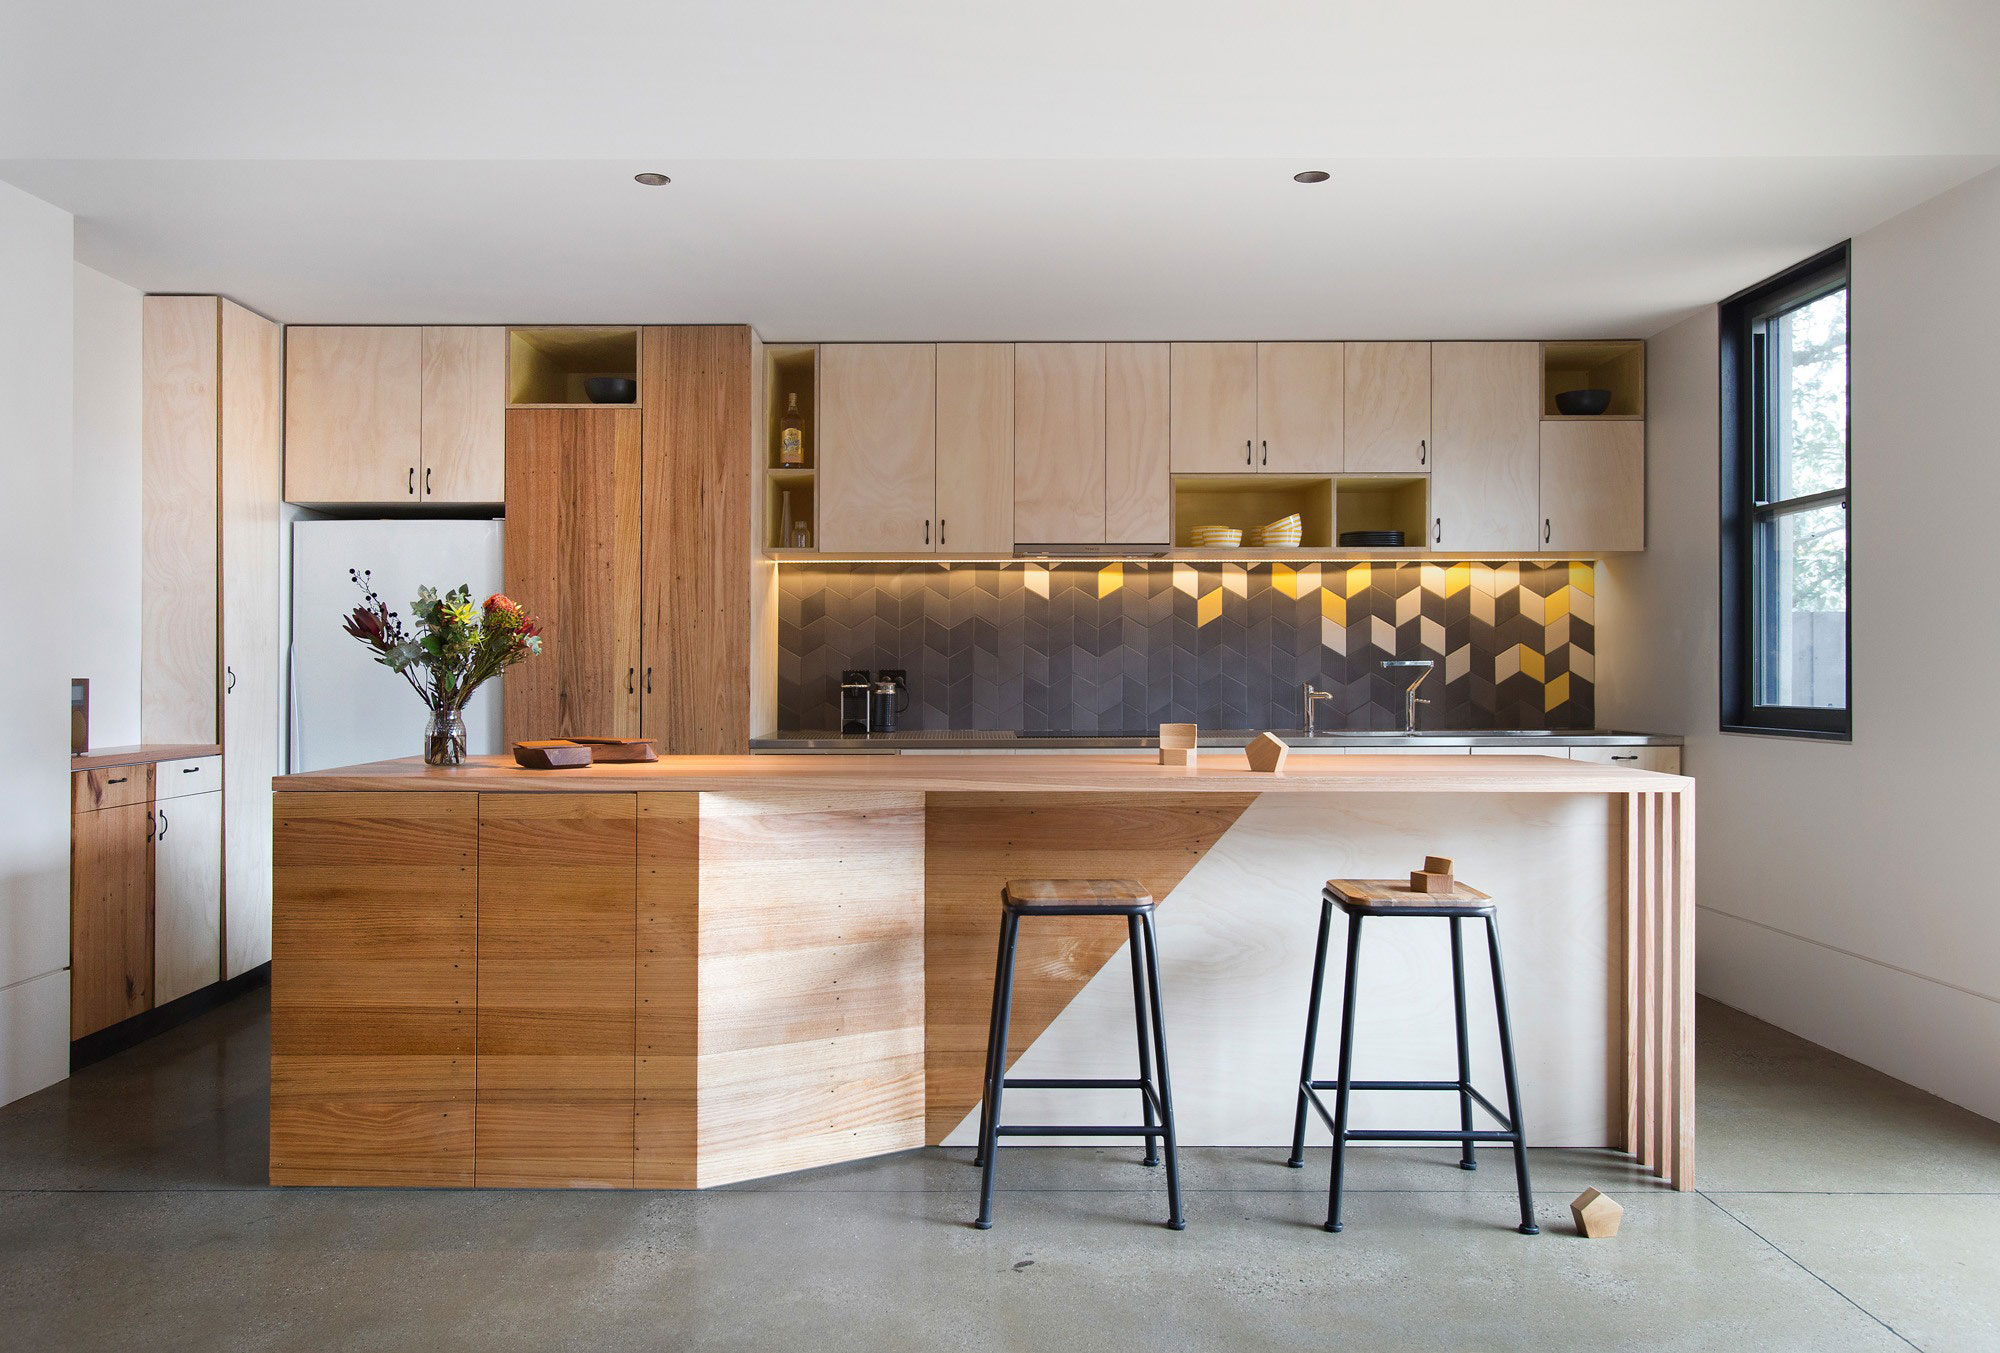
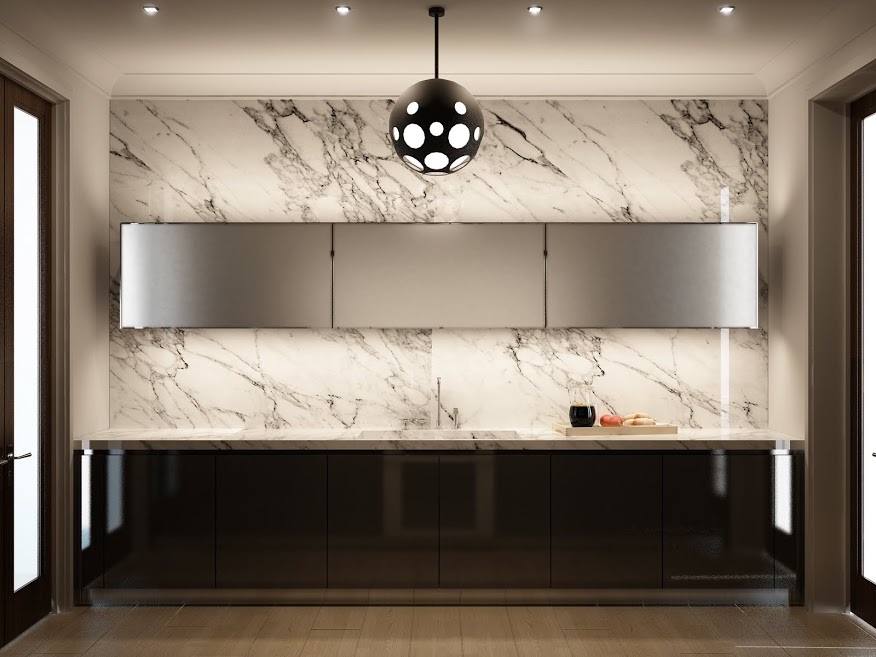
If there is an “empty” gap at the top of the headset, then the apron can be leveled with the top canopy line or reach the ceiling. When using ceramics, it can also be laid out to such a height.
You can talk a lot about the right kitchen, but only exceptional functionality that takes into account your habits and taste will make it so. And our advice and selection of photos will only help determine the design and choose the best options.