Installing a kitchen apron
Installing a kitchen apron - one of the important points in the equipment of the kitchen.
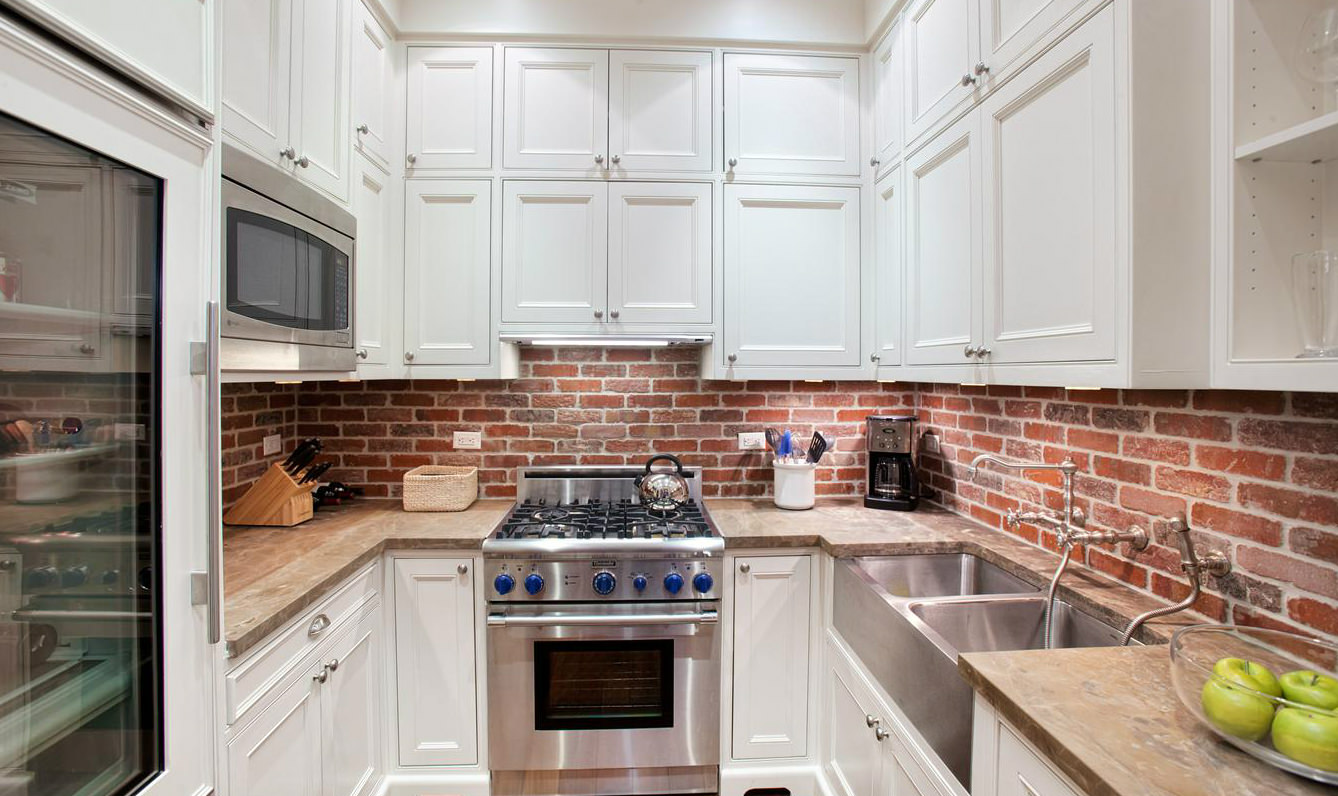
What is a kitchen apron? This is the distance between the floor and wall drawers. It must be decorated to the interior had a finished look.
The apron has to carry several functions at once:
- Protective. The apron protects the wall from various negative influences. It should be easy to wash, be resistant to various chemical means, withstand changes in temperature and humidity.
- Aesthetic. This is a peculiar decoration that can serve as an accent in the interior, or to soften the bright colors of the kitchen and maintain the interior, connecting it together.
Kinds
The choice of material for the apron is very wide. Here are the main ones.
-
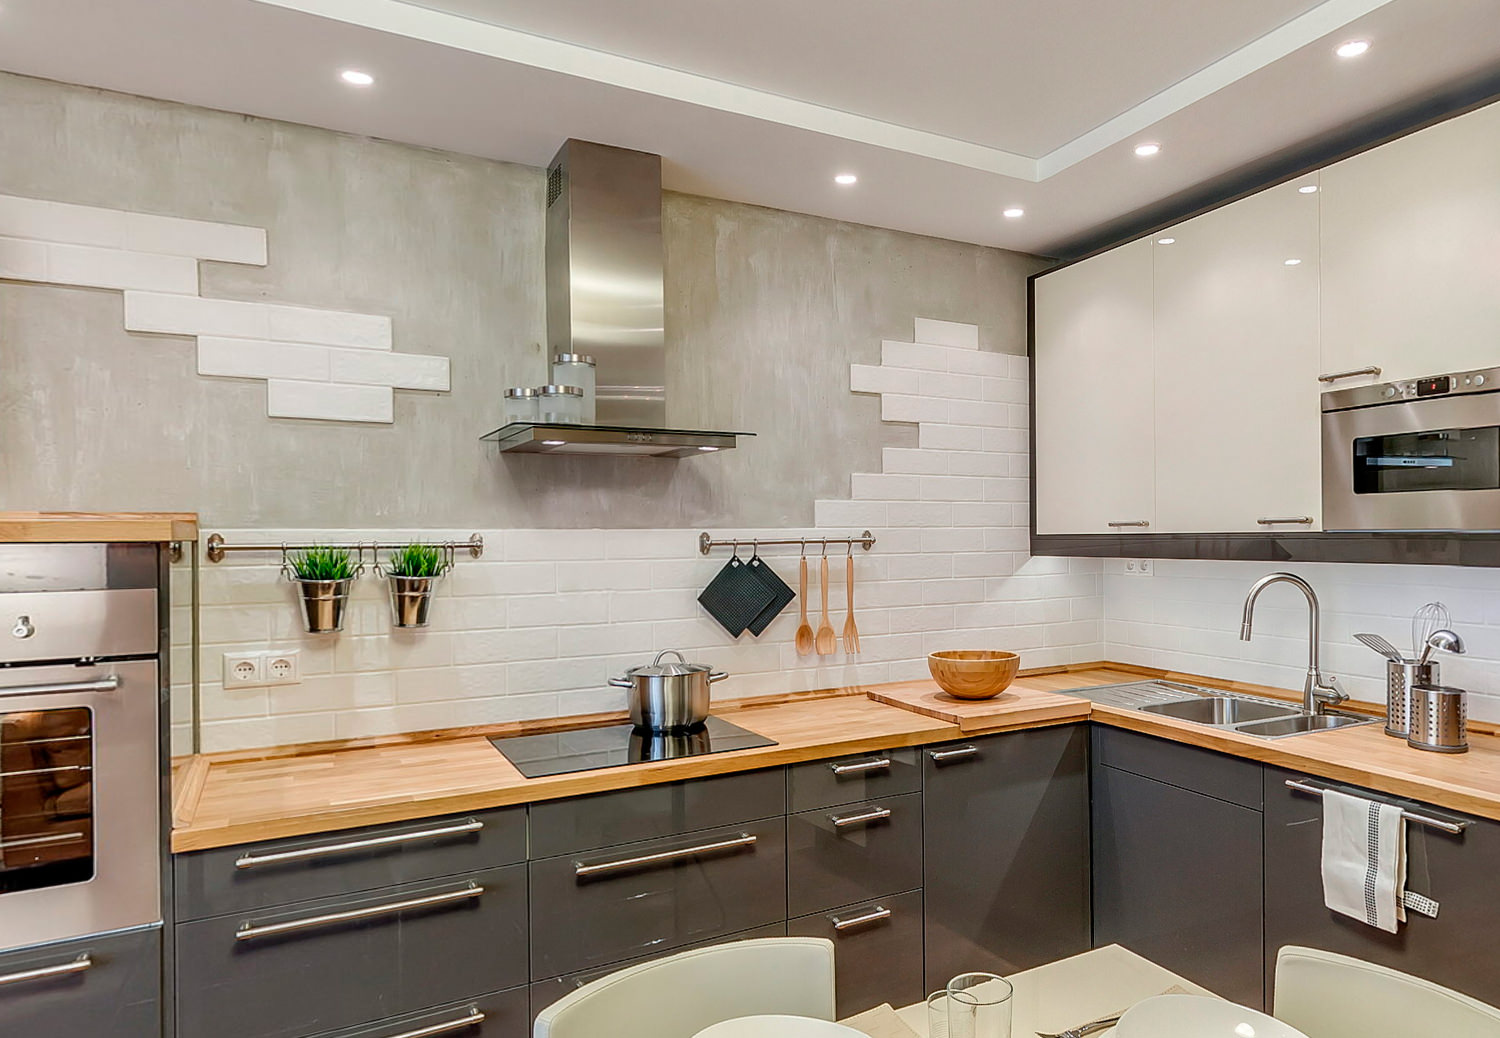
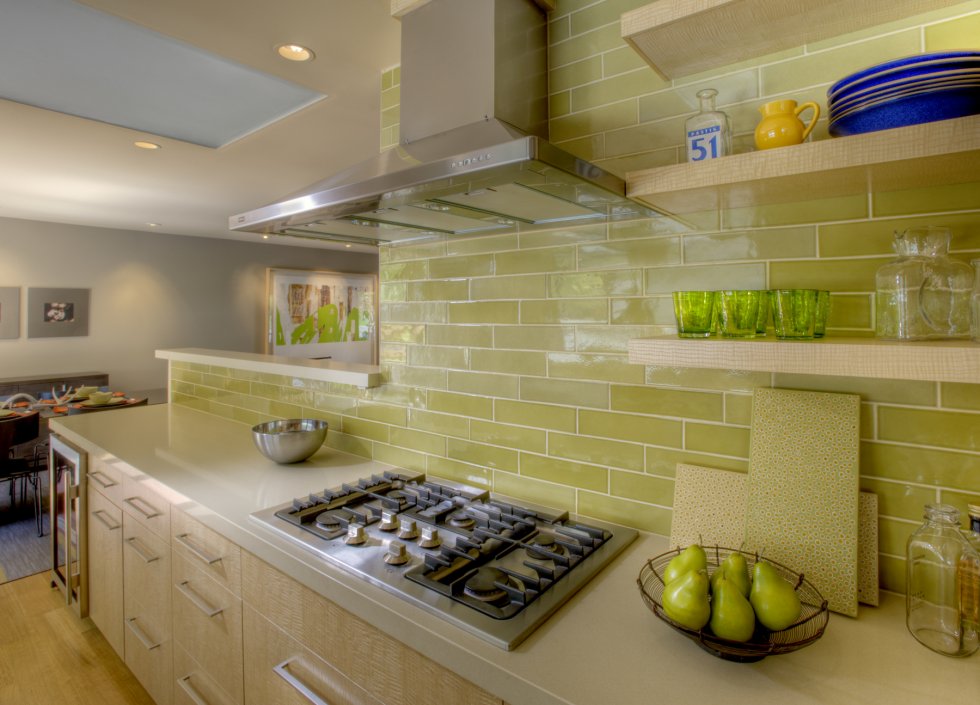
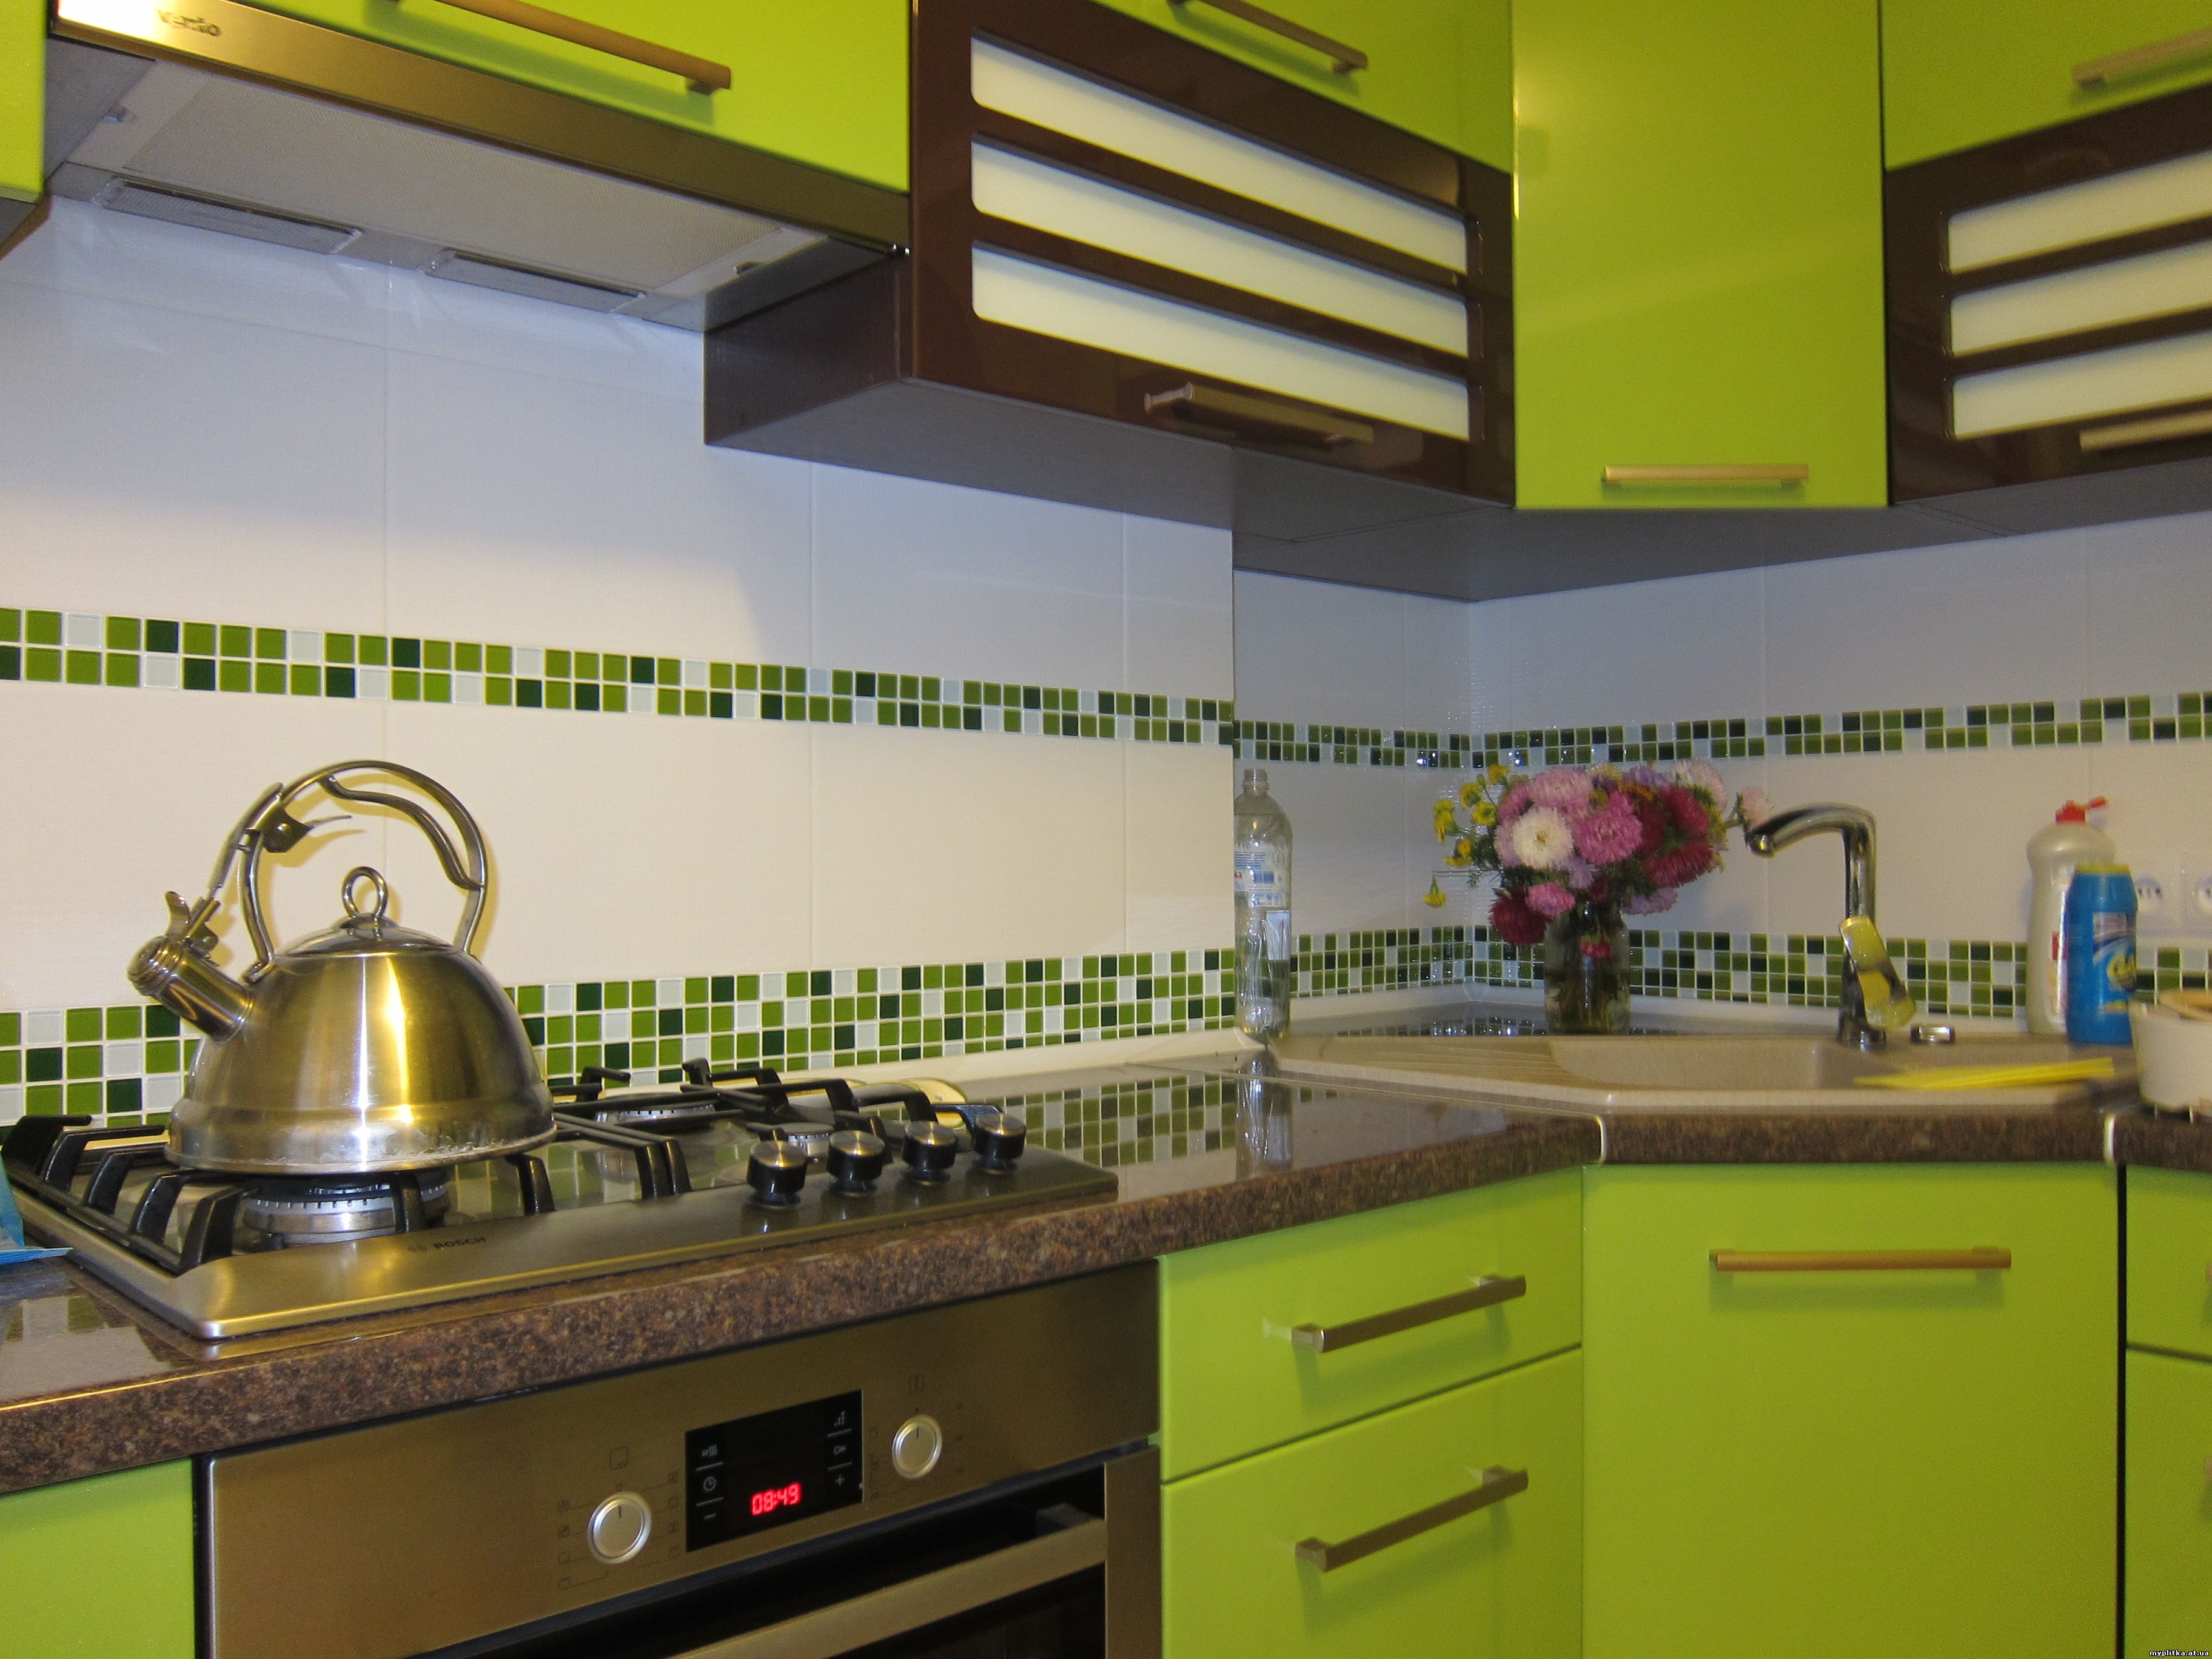
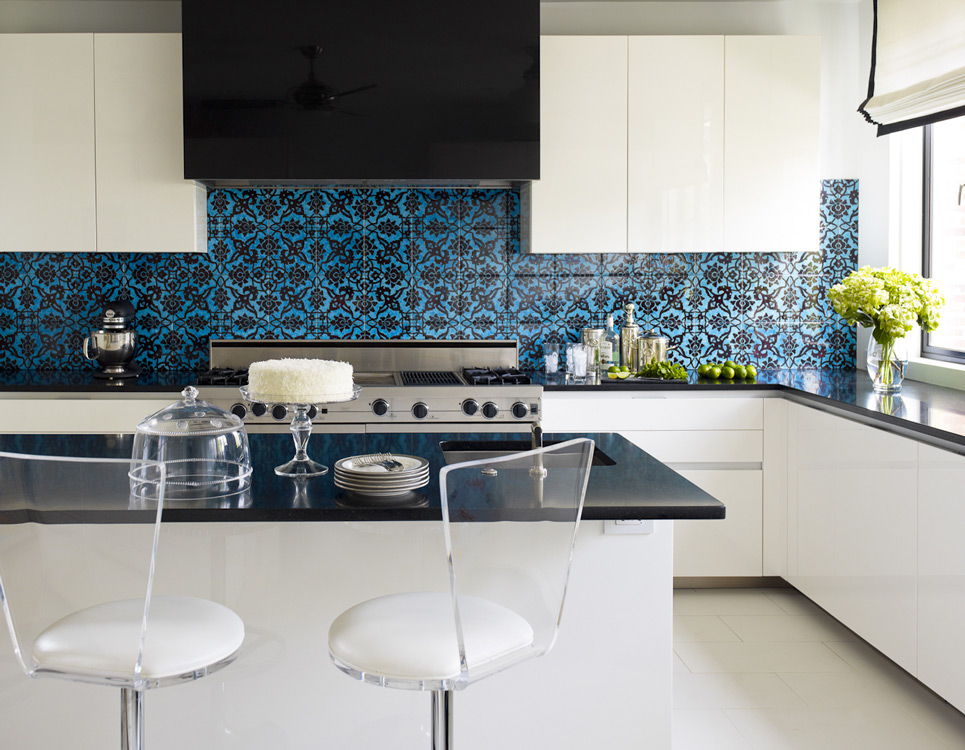
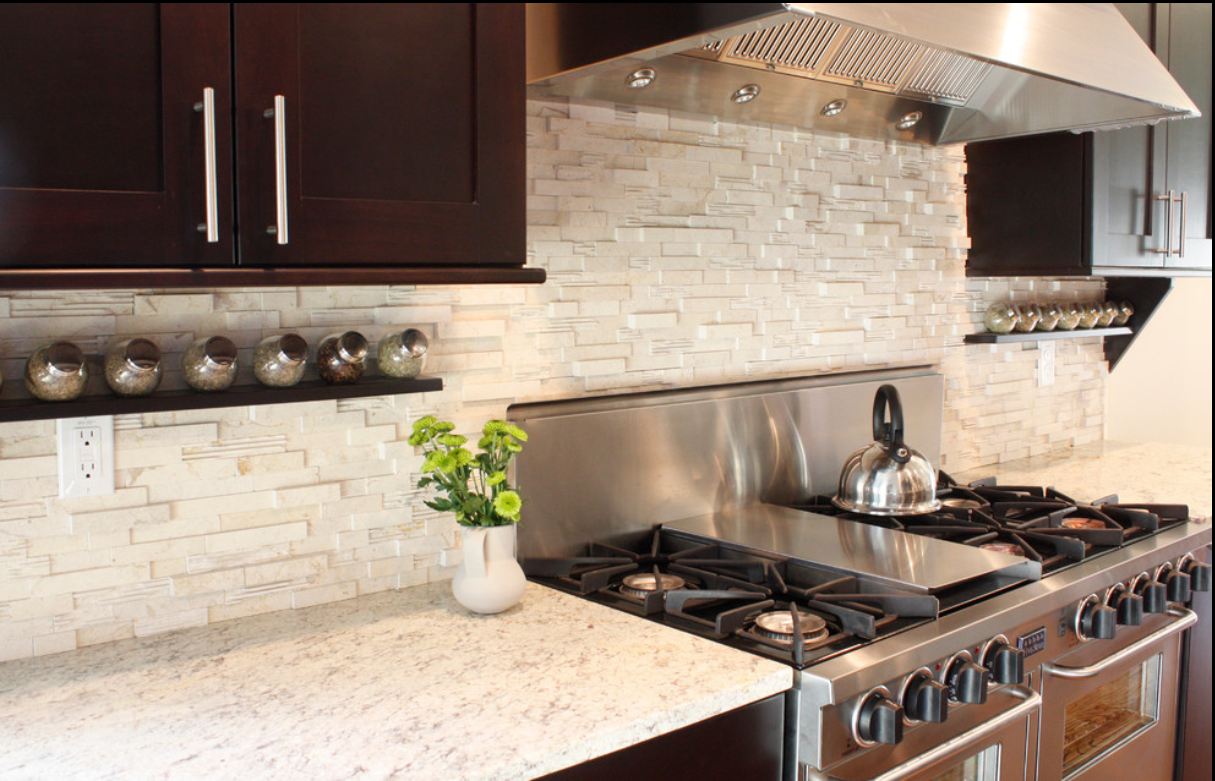
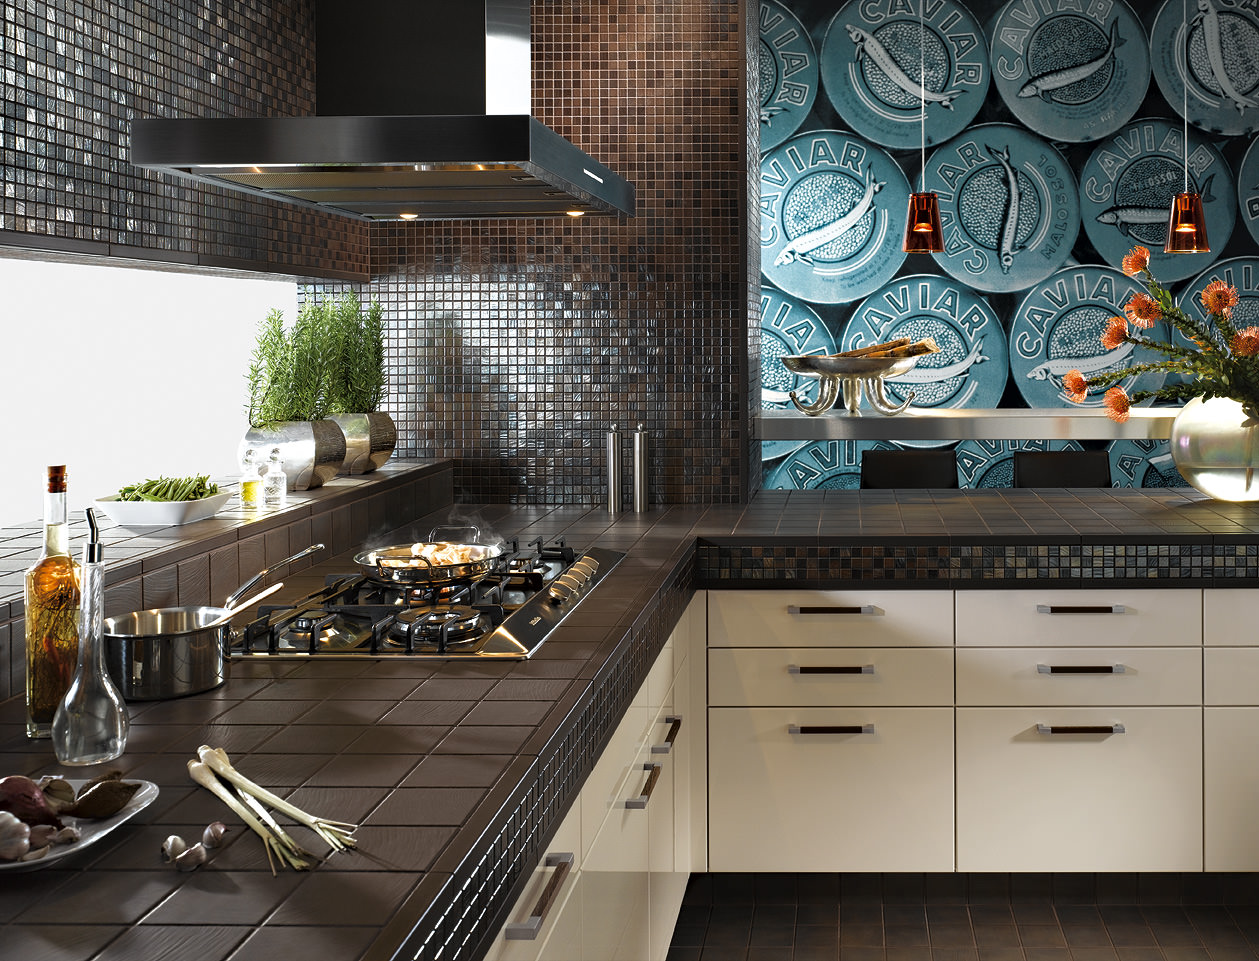
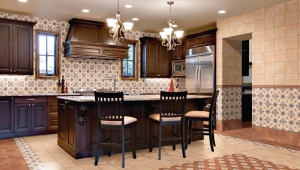
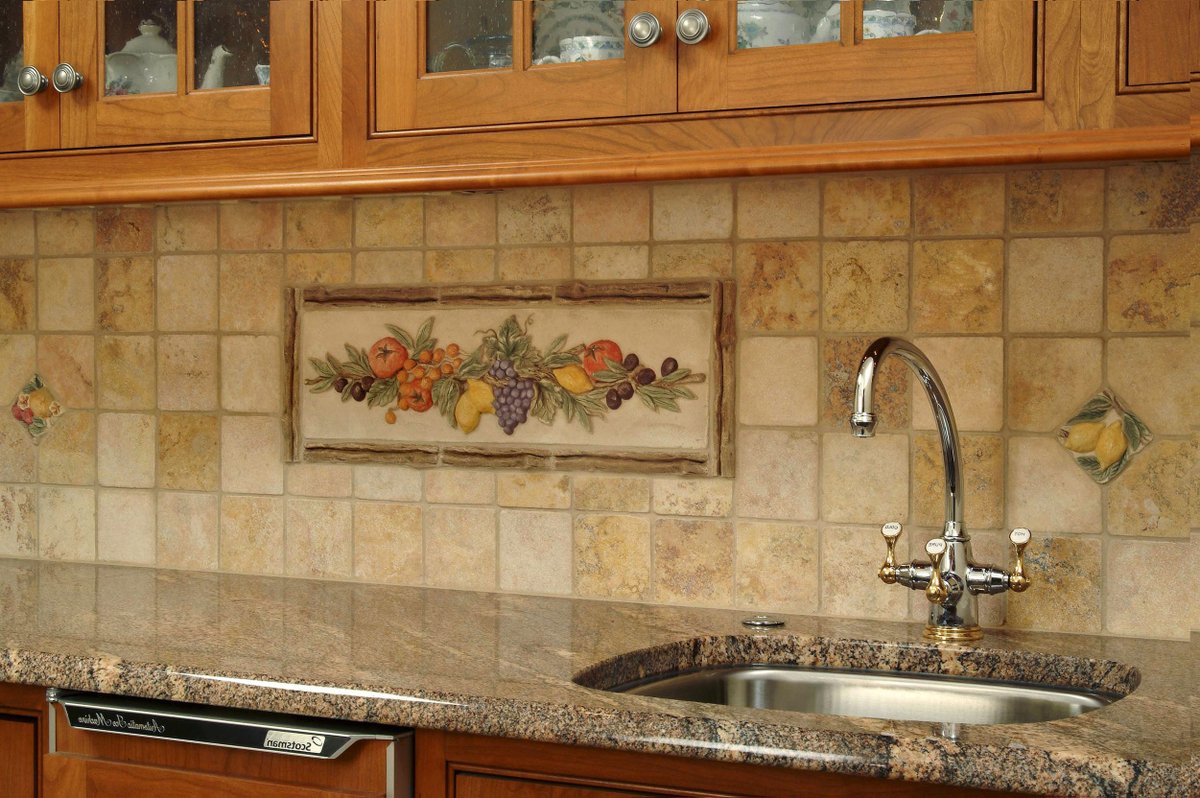
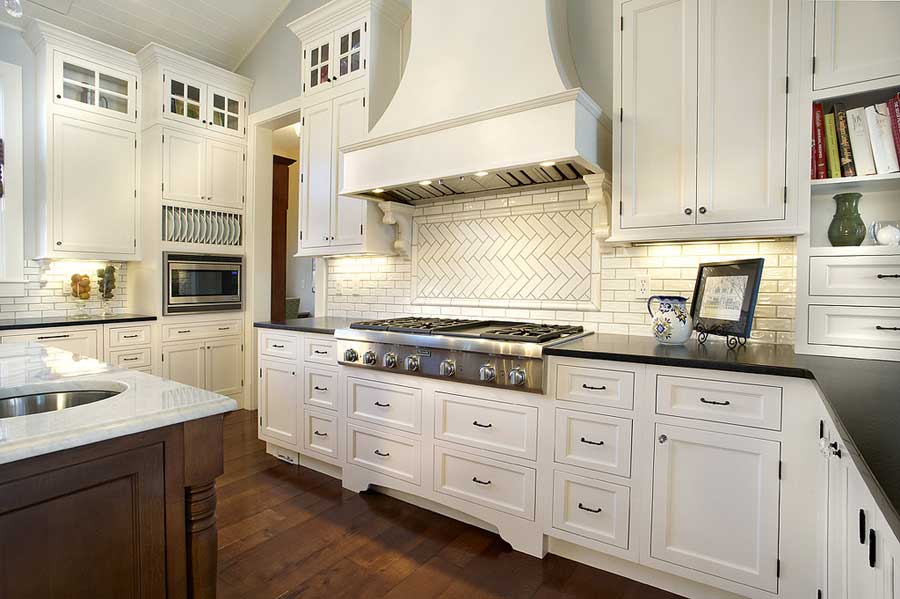
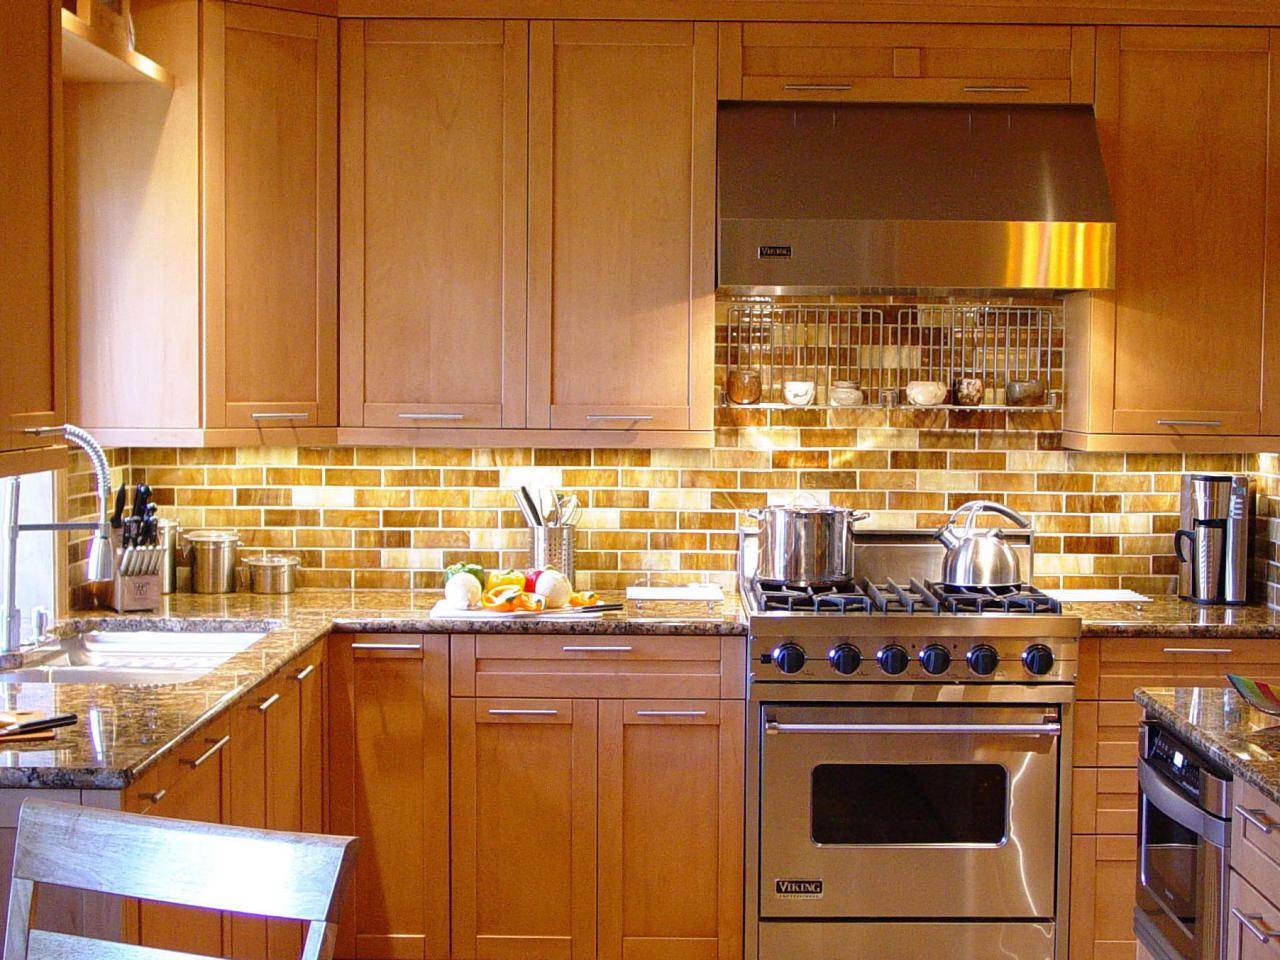
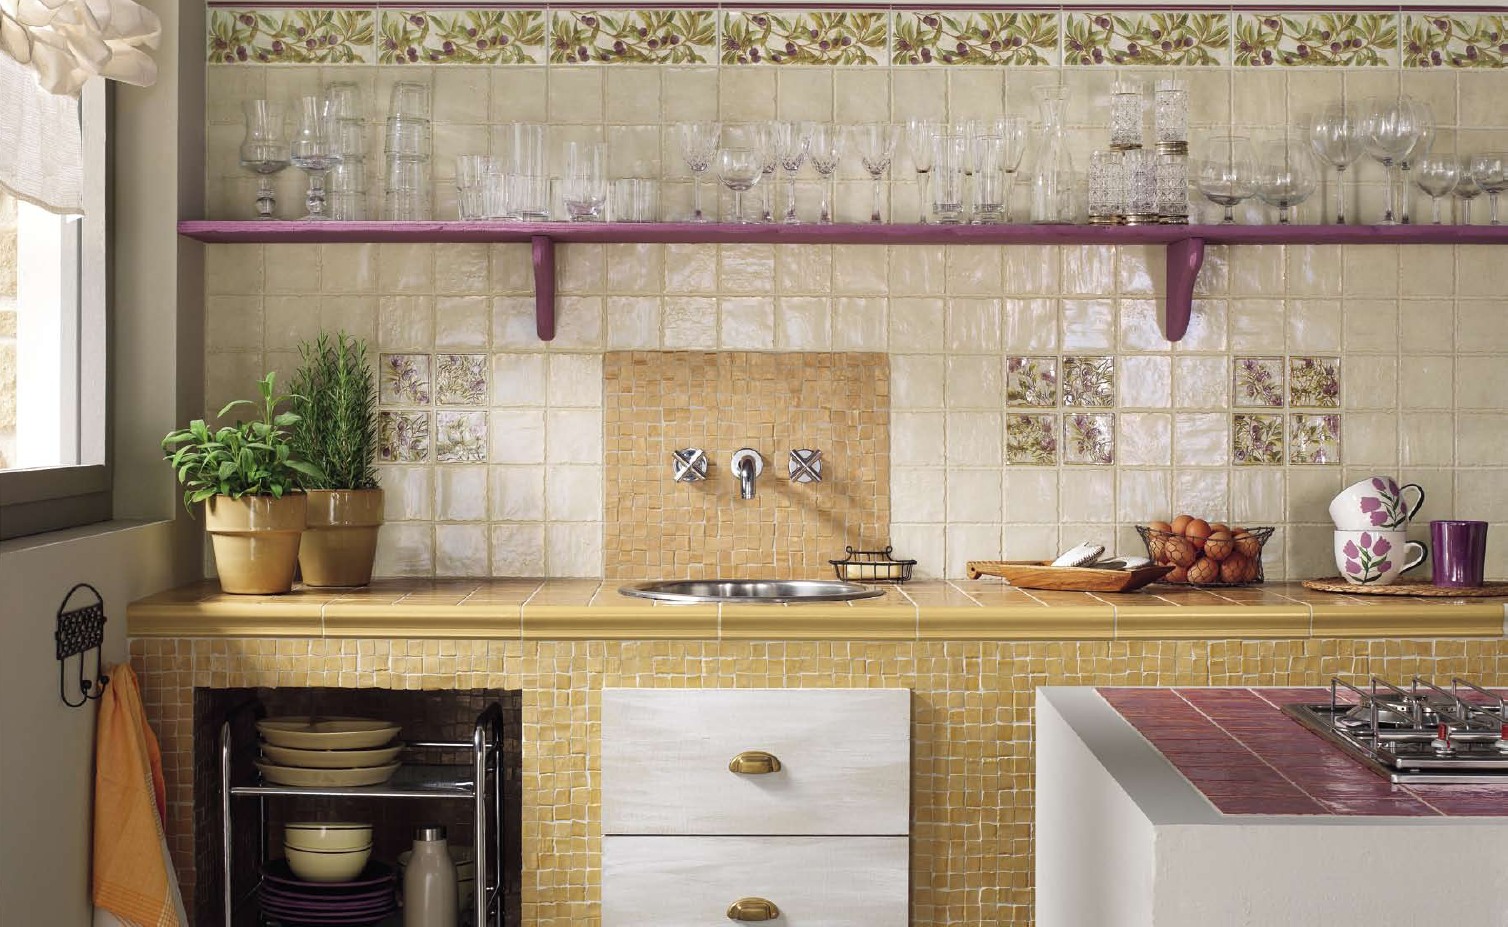
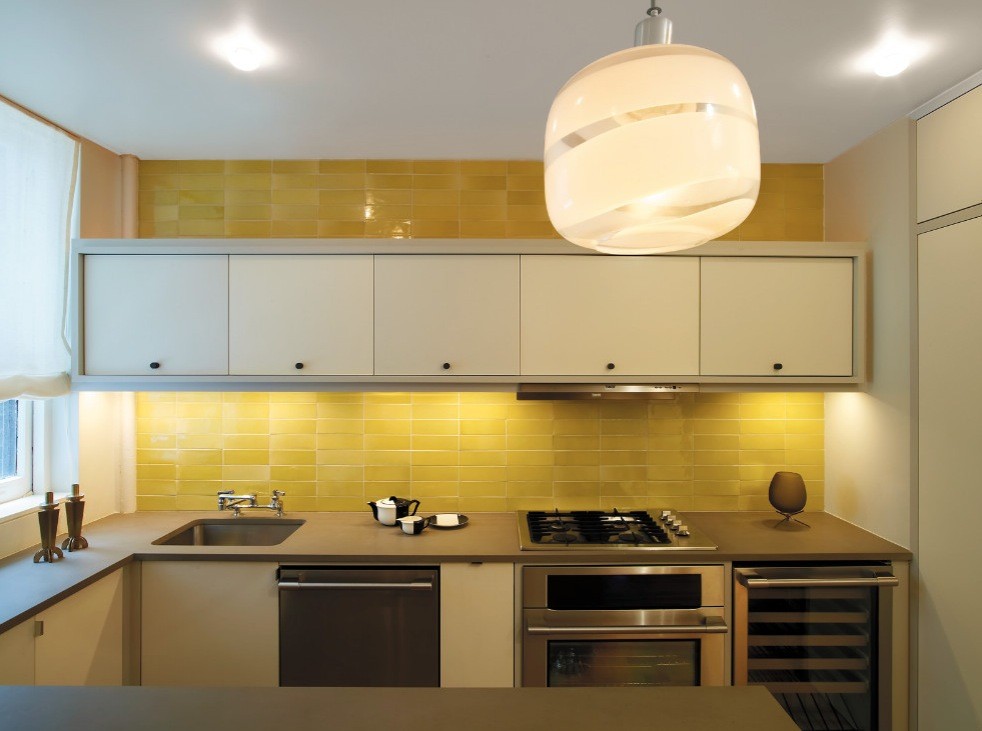
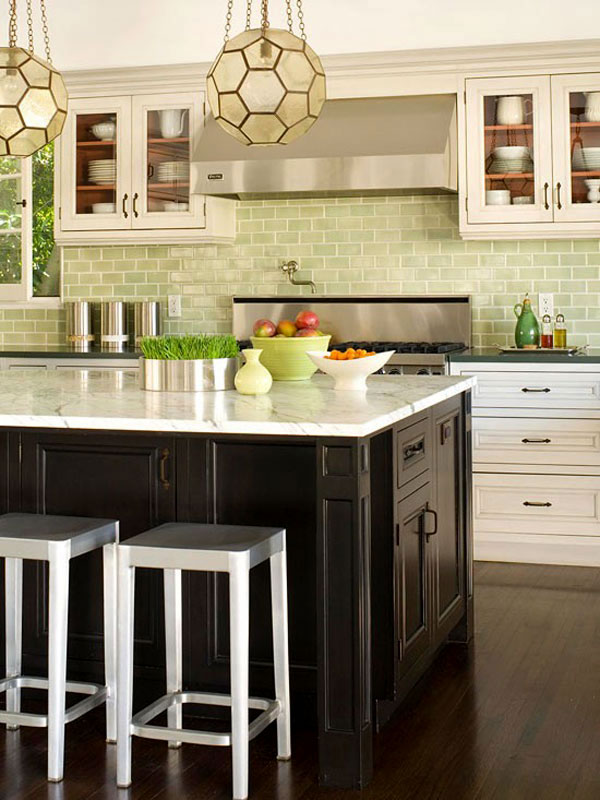
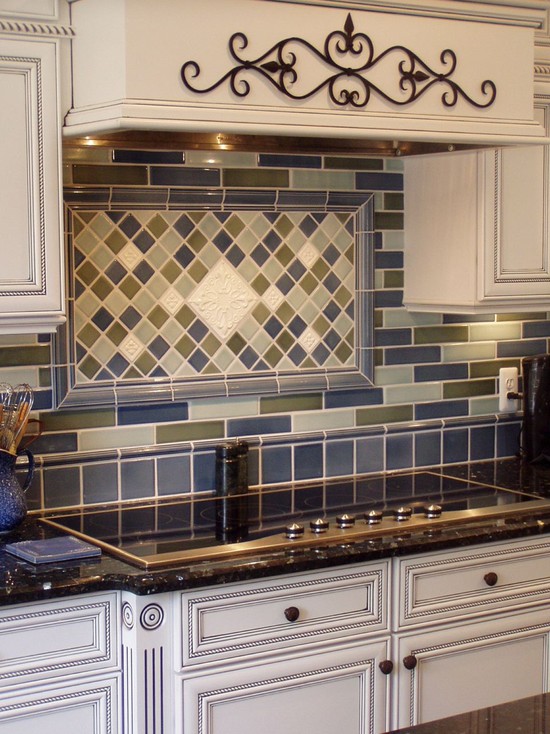
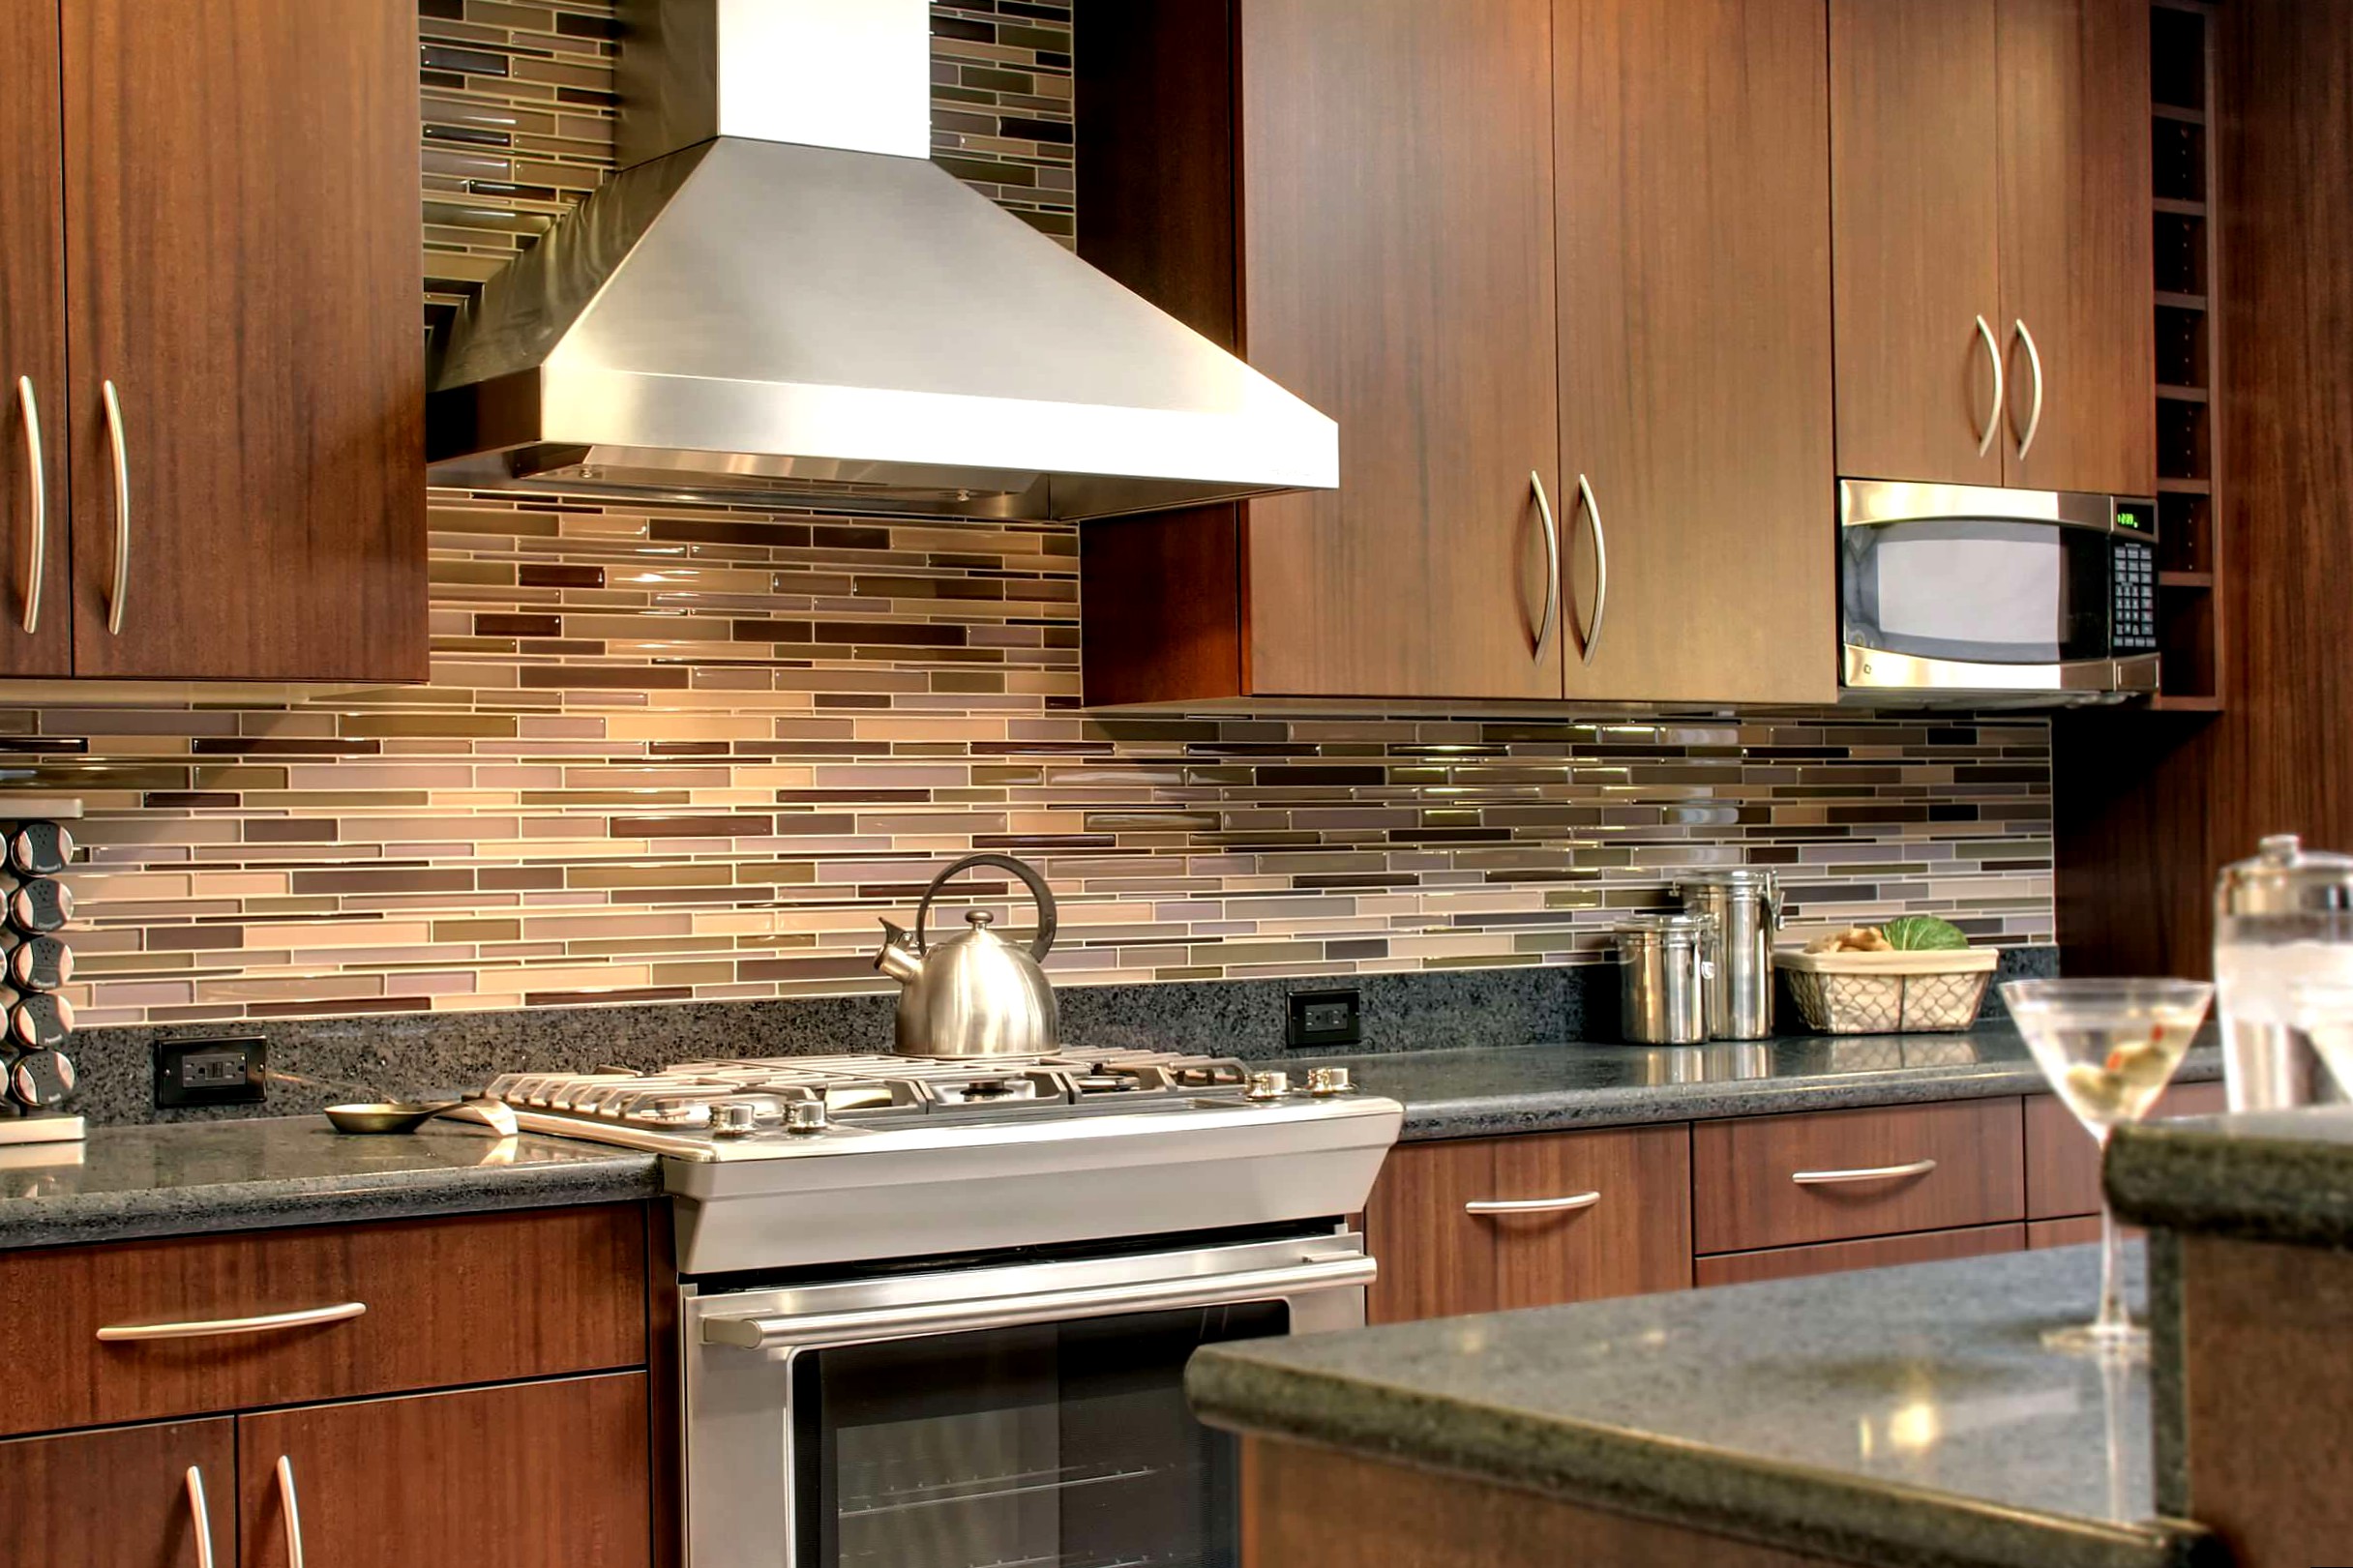
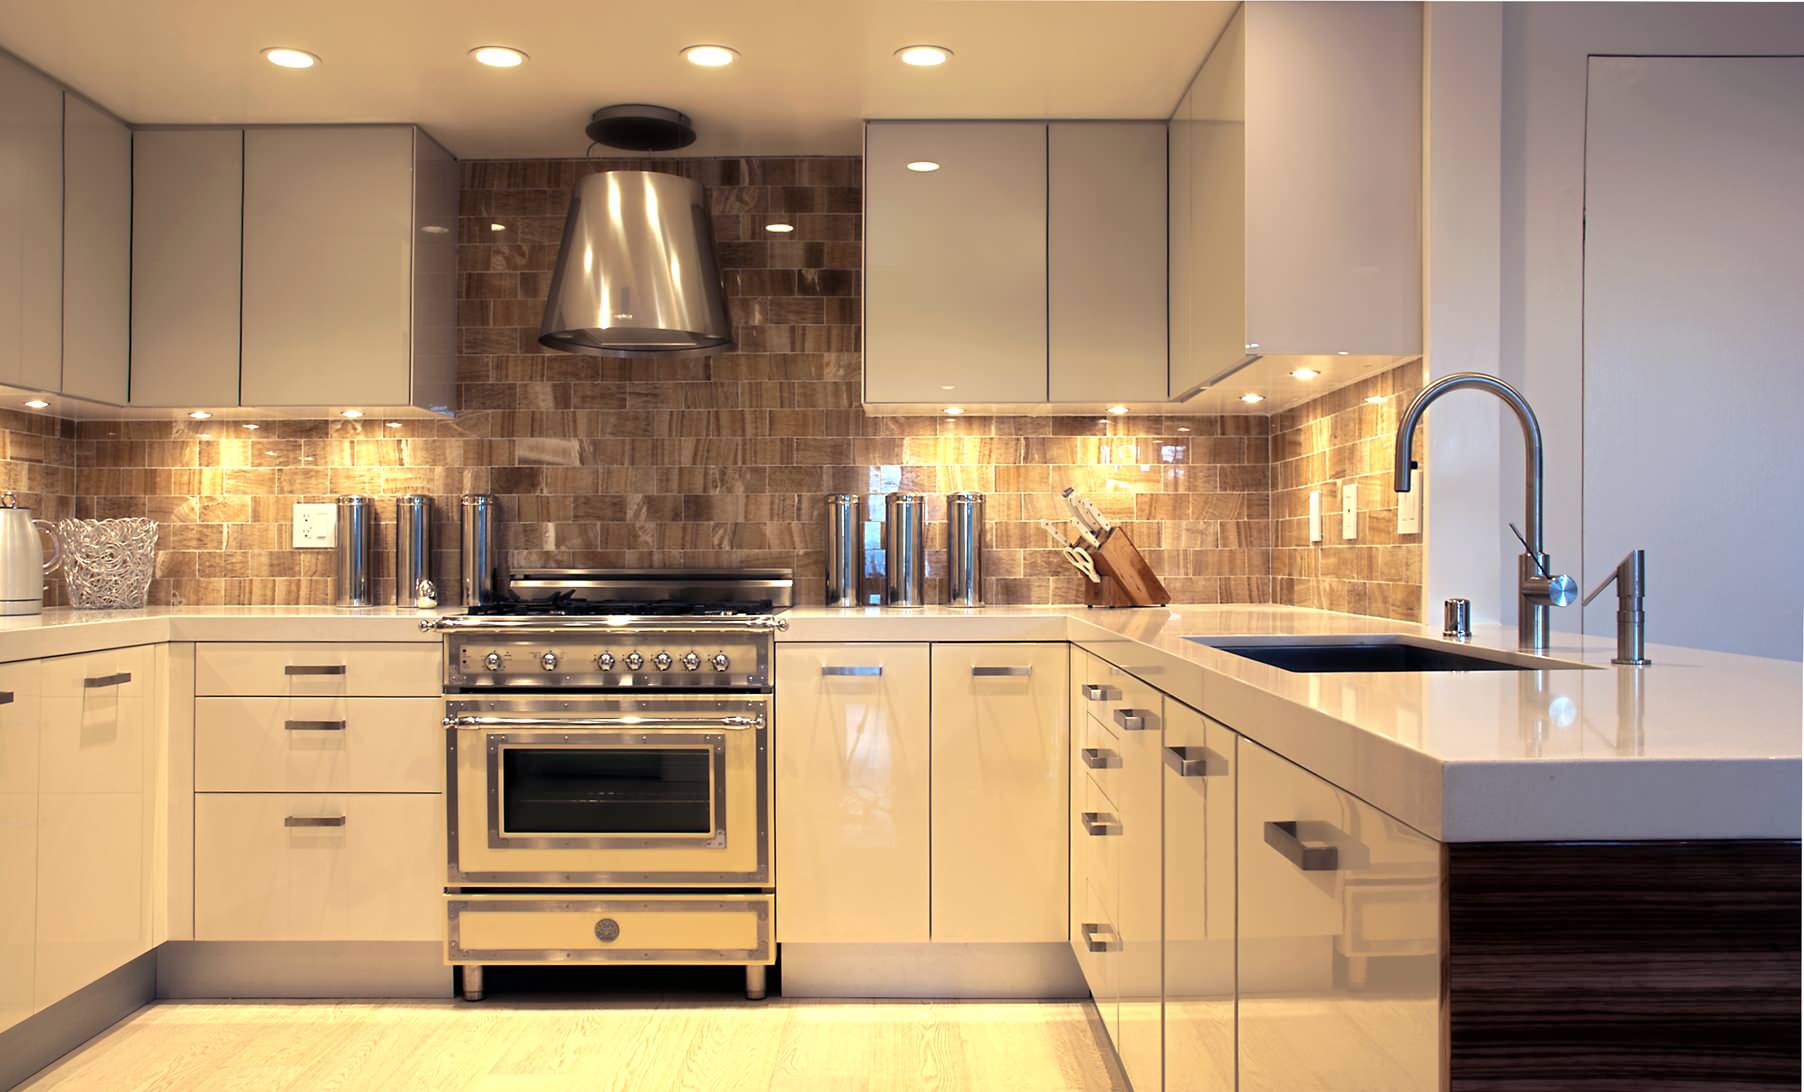
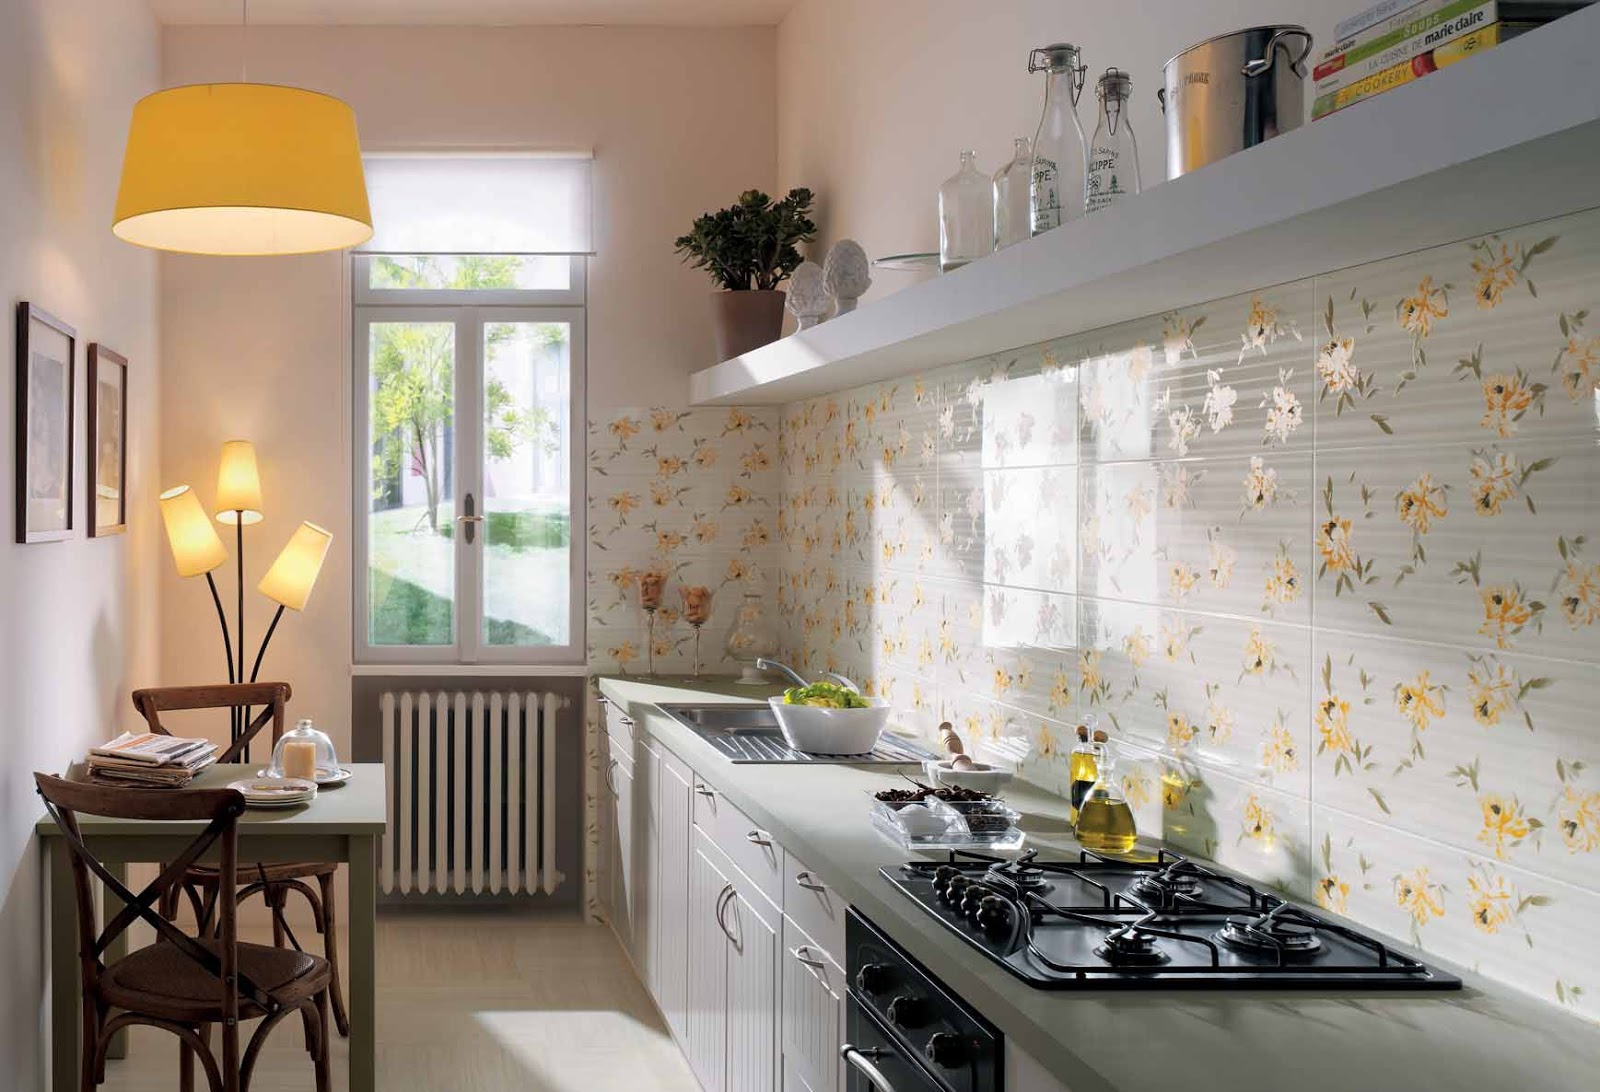
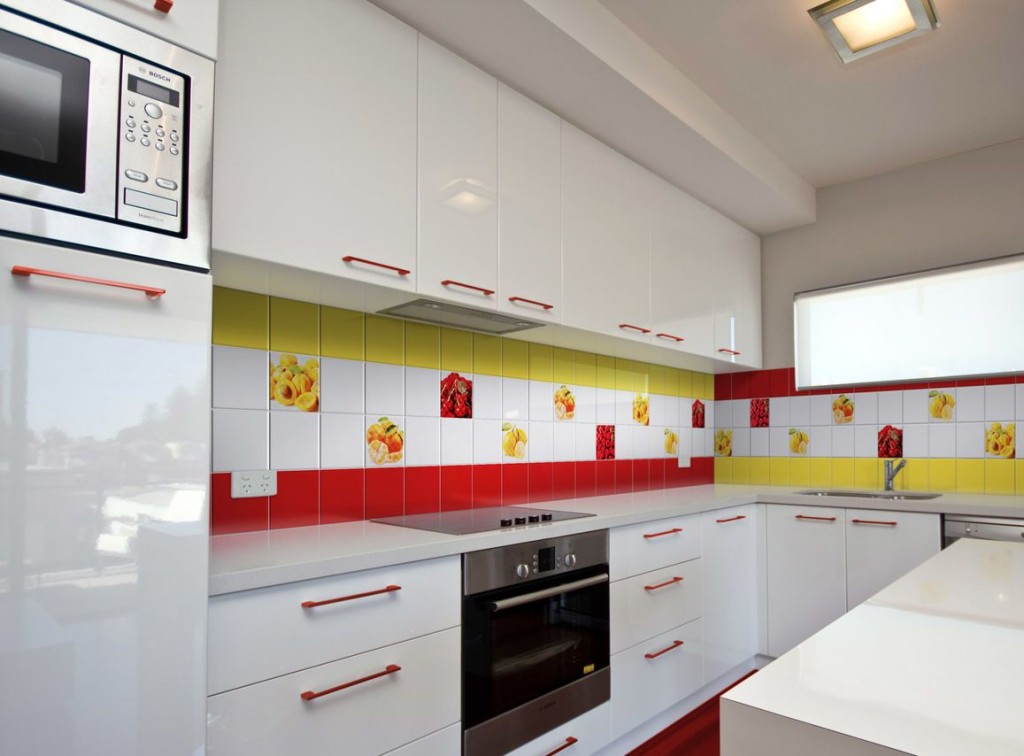
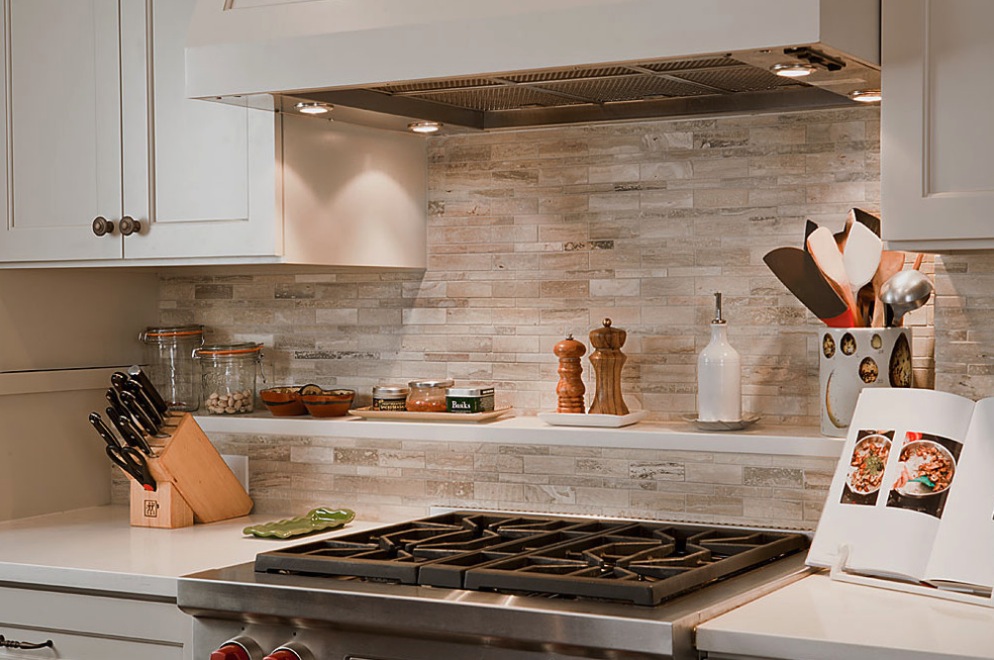
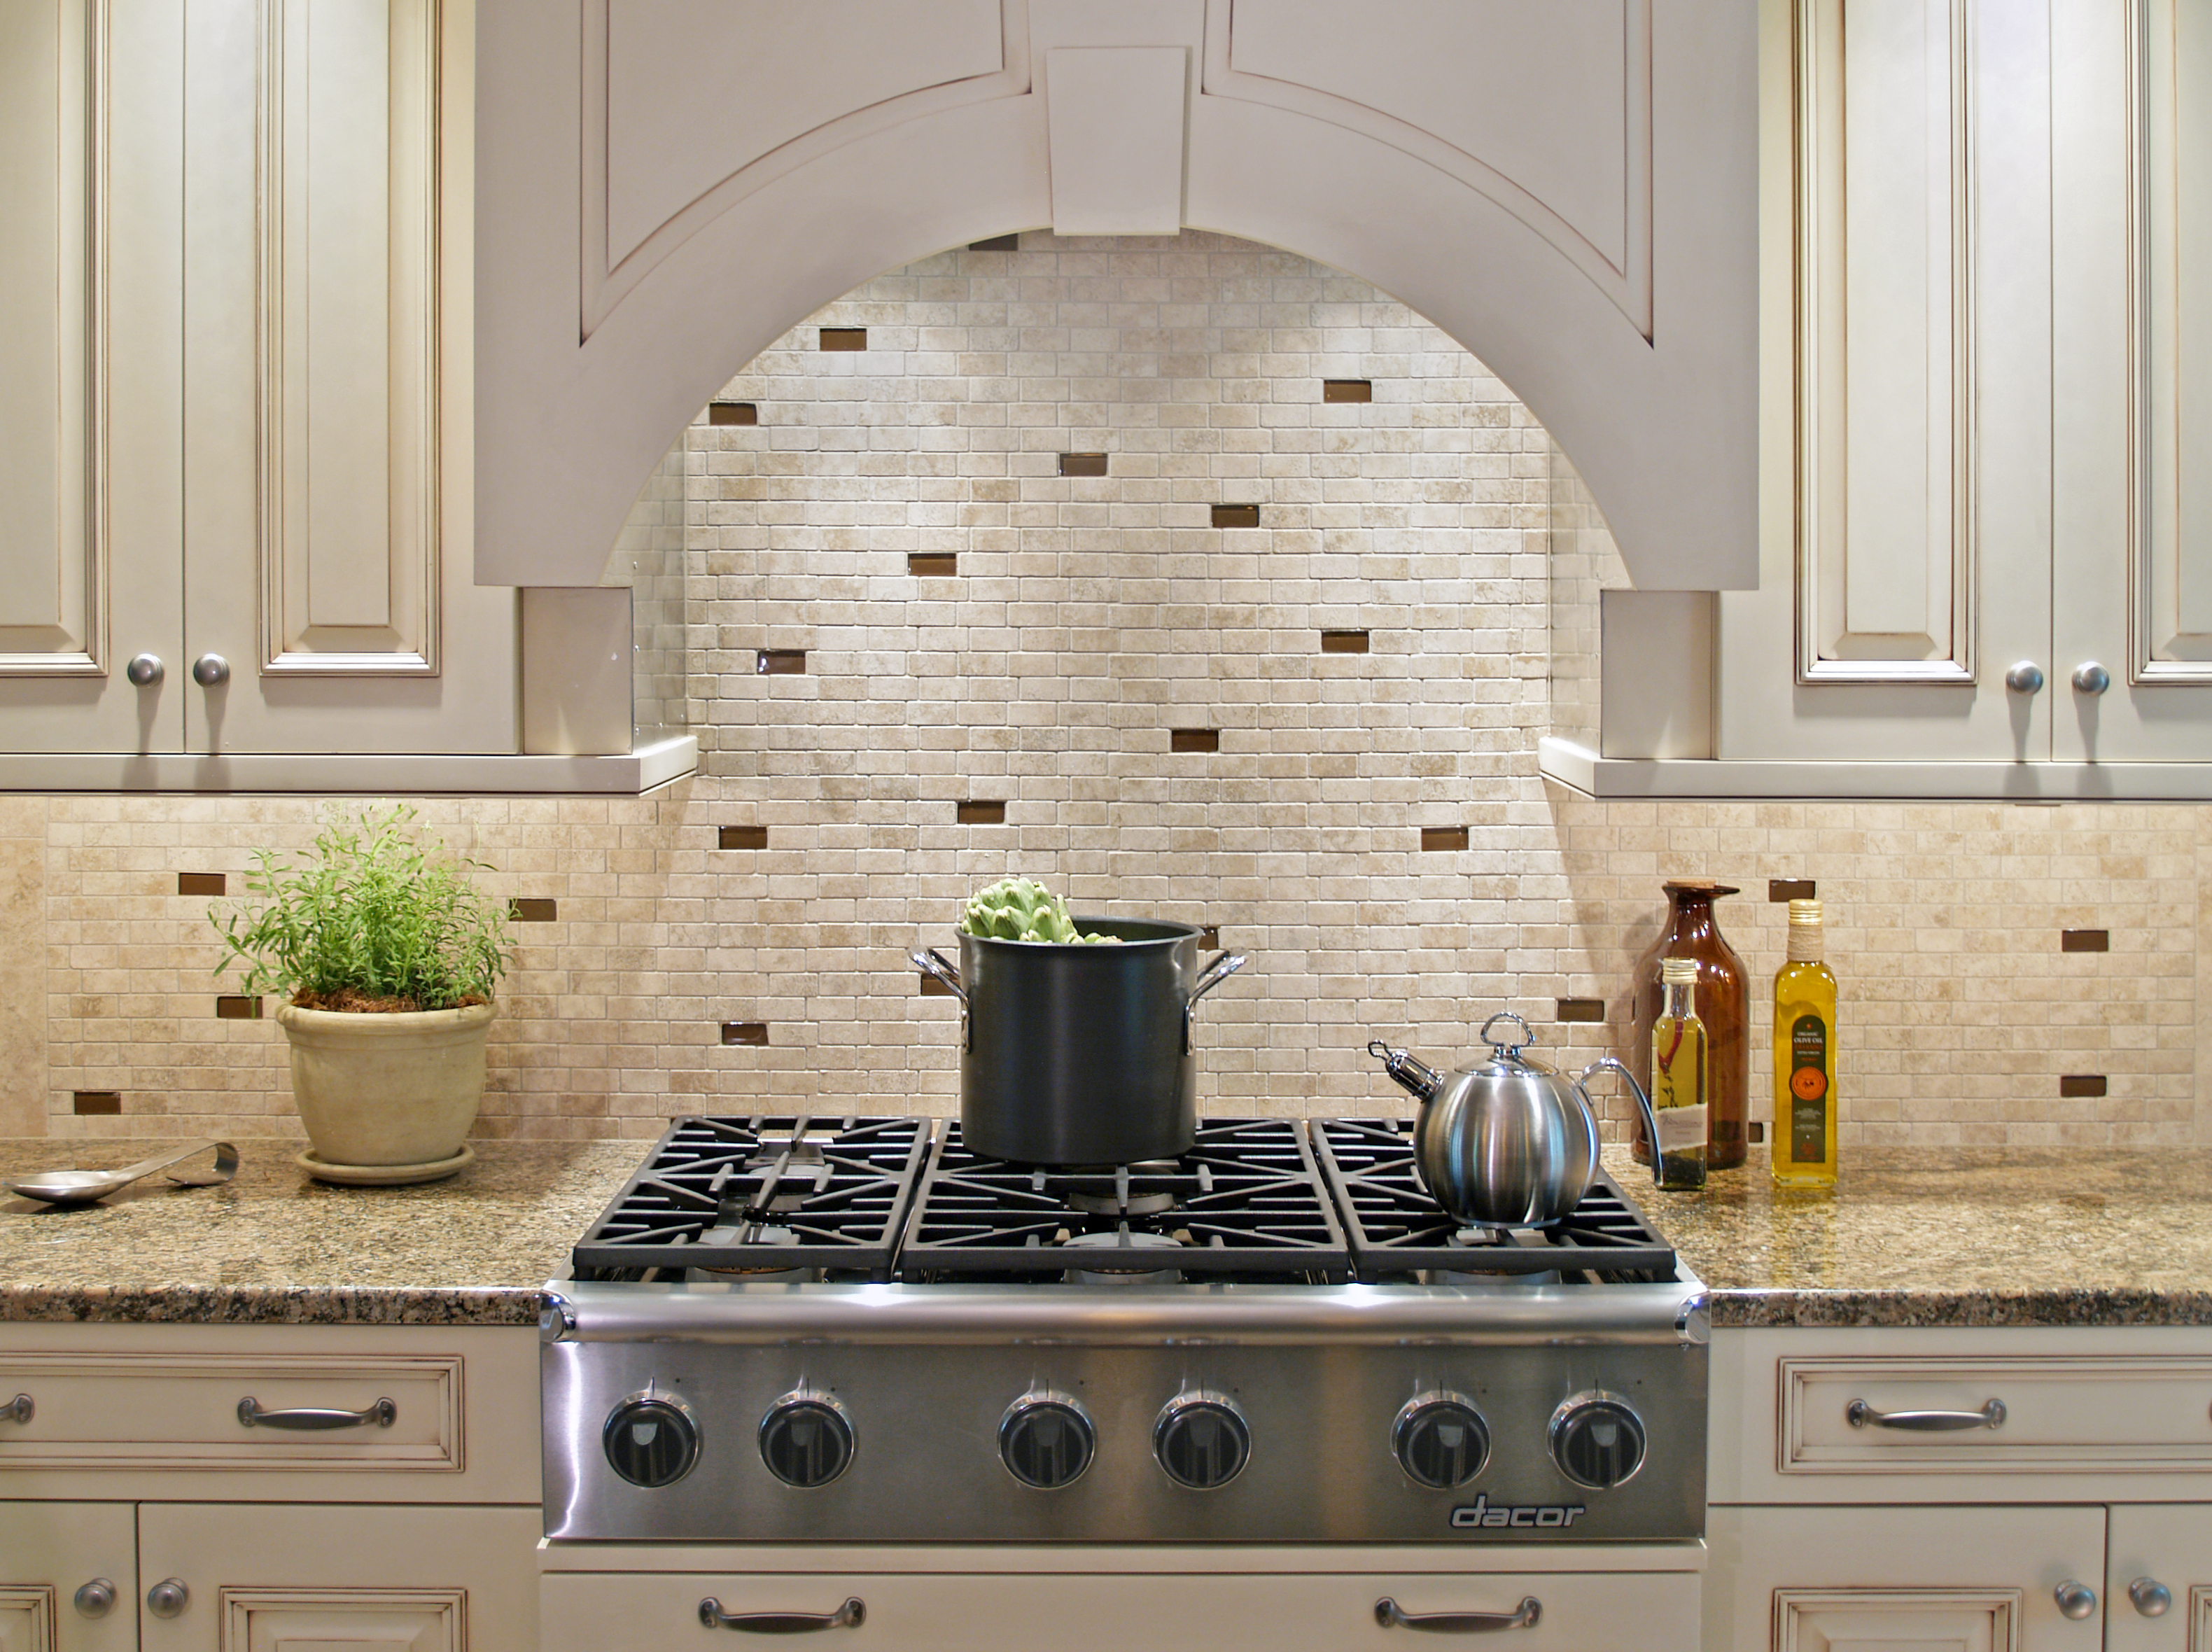
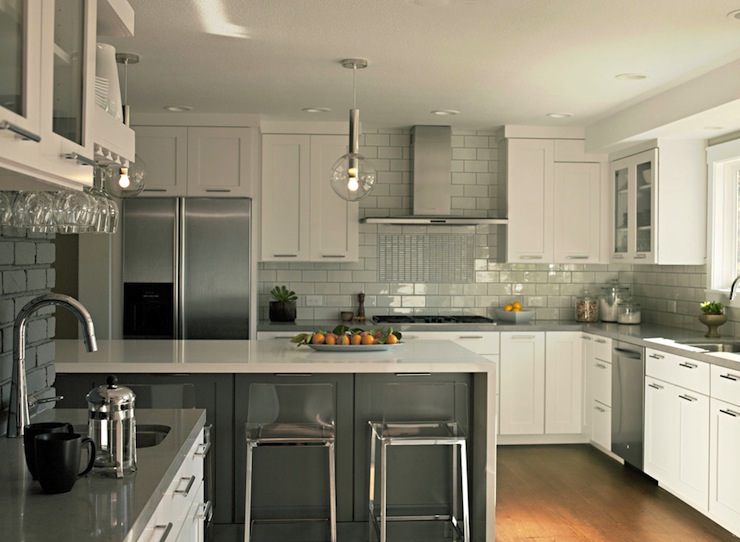
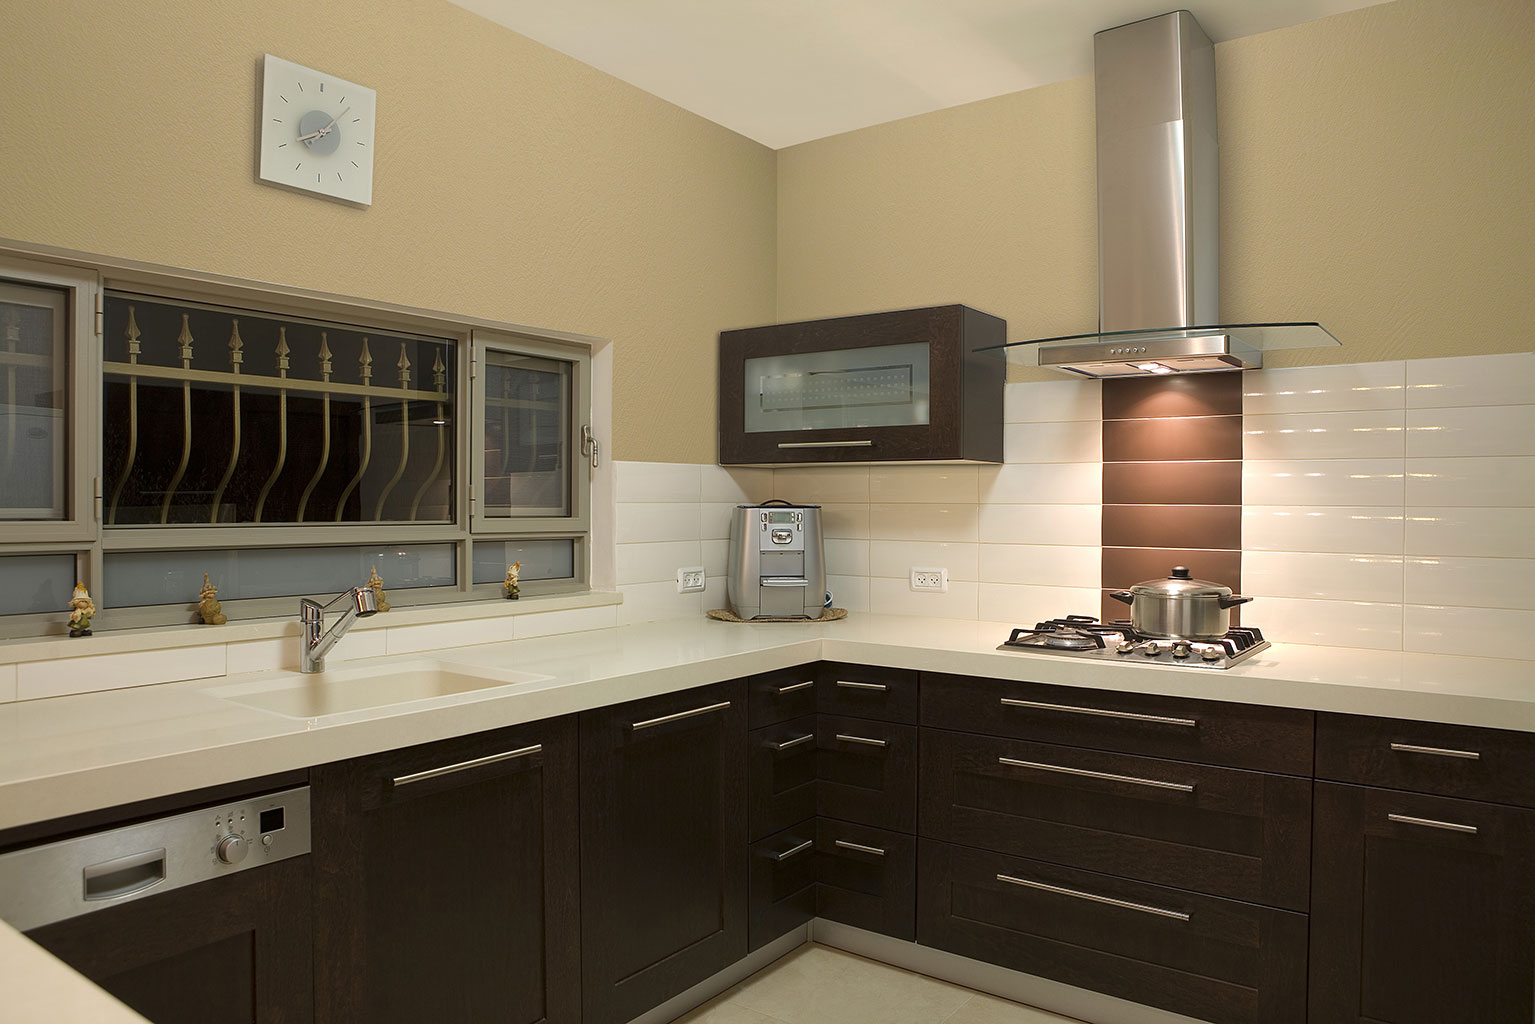
Ceramic tile. High-quality and durable material. It tolerates high temperatures and humidity, is easy to clean, you can use chemicals and some abrasives. The disadvantage is the complexity of the process of laying tiles.
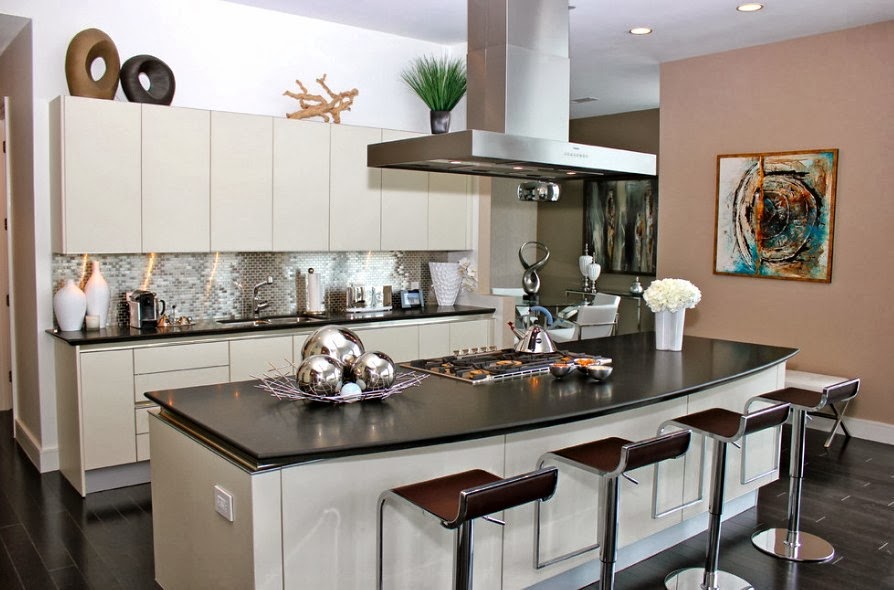
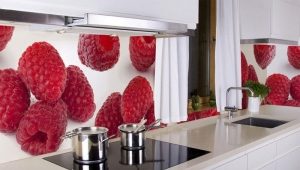
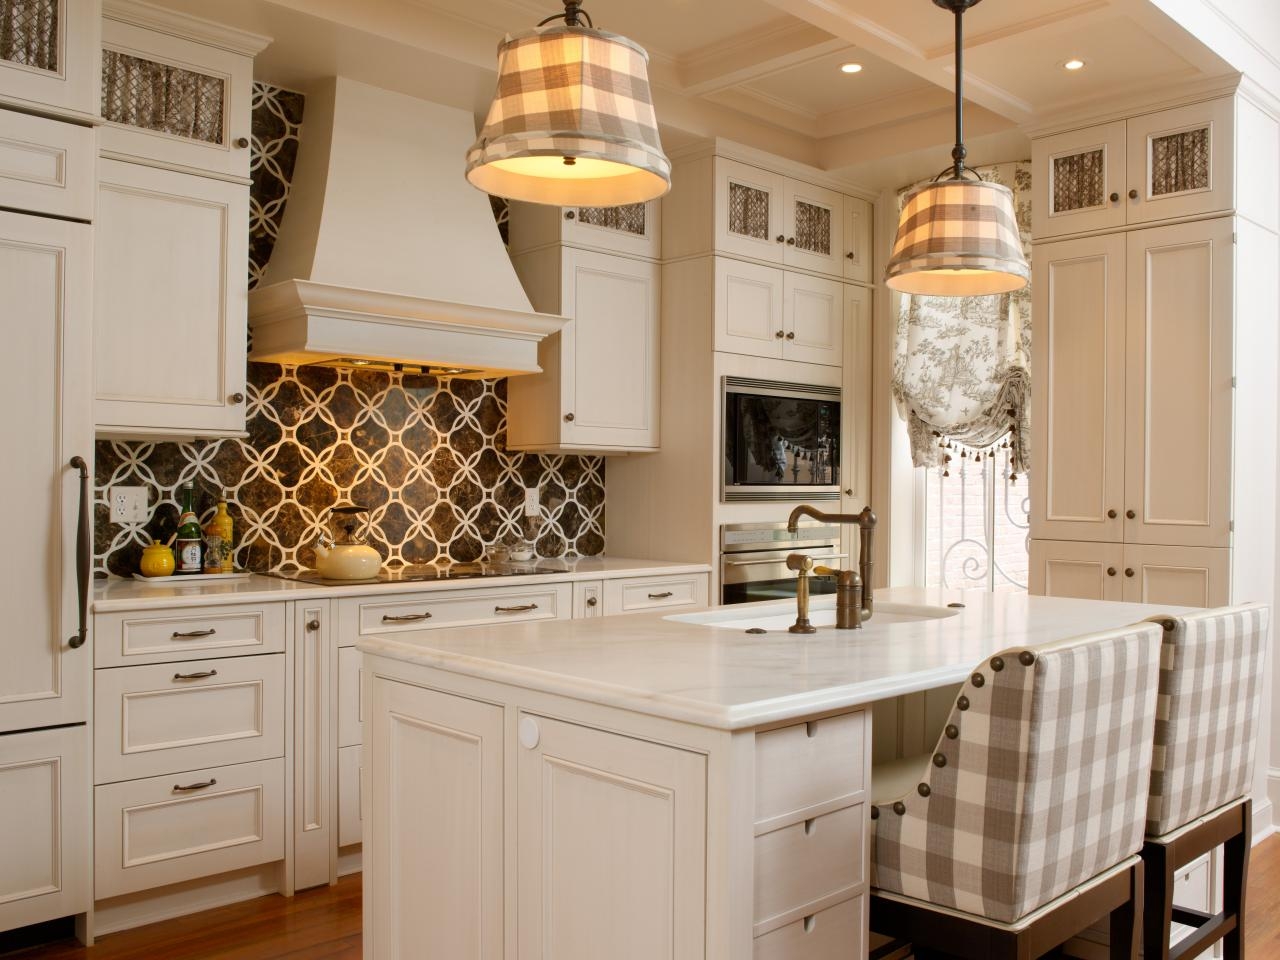
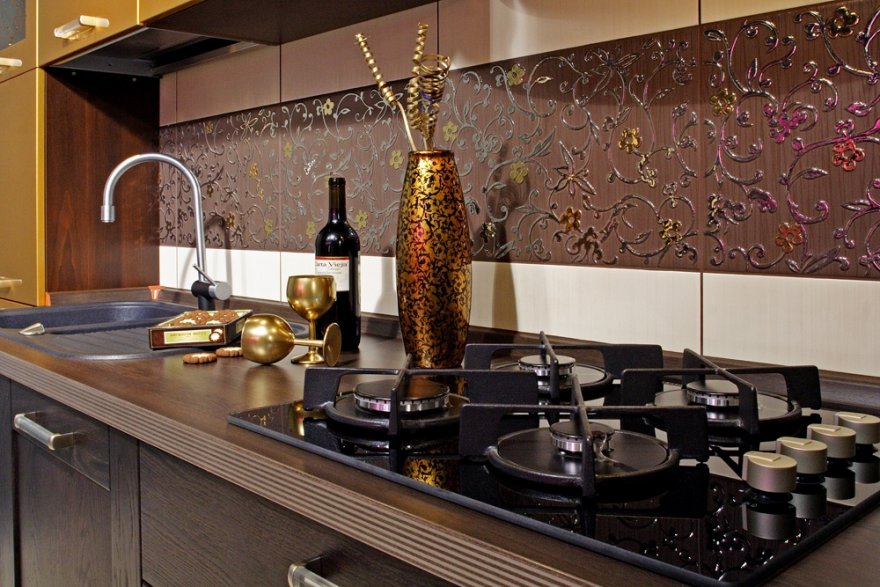
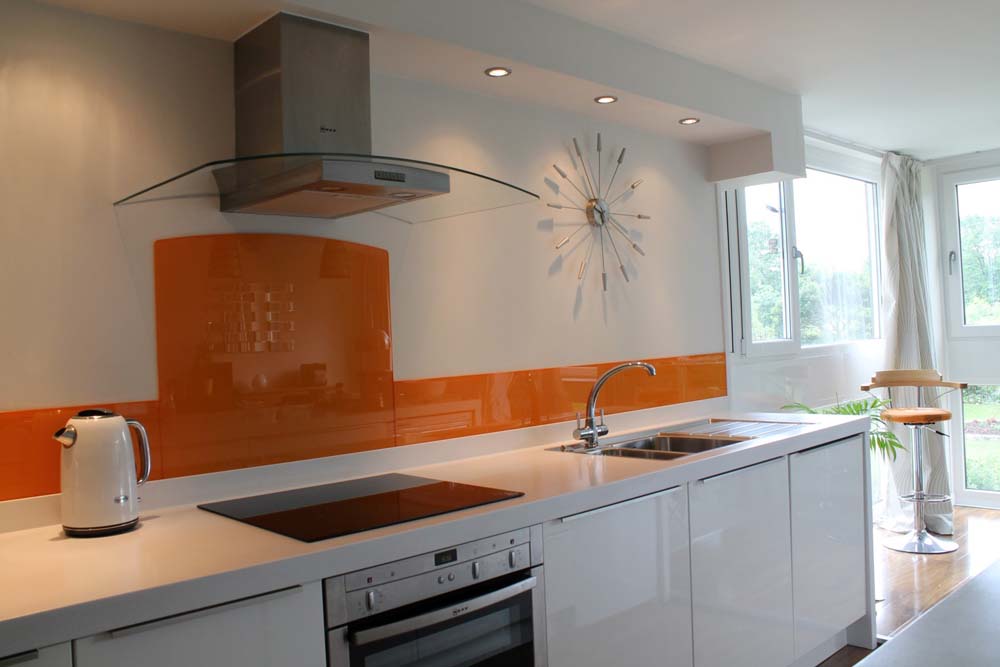
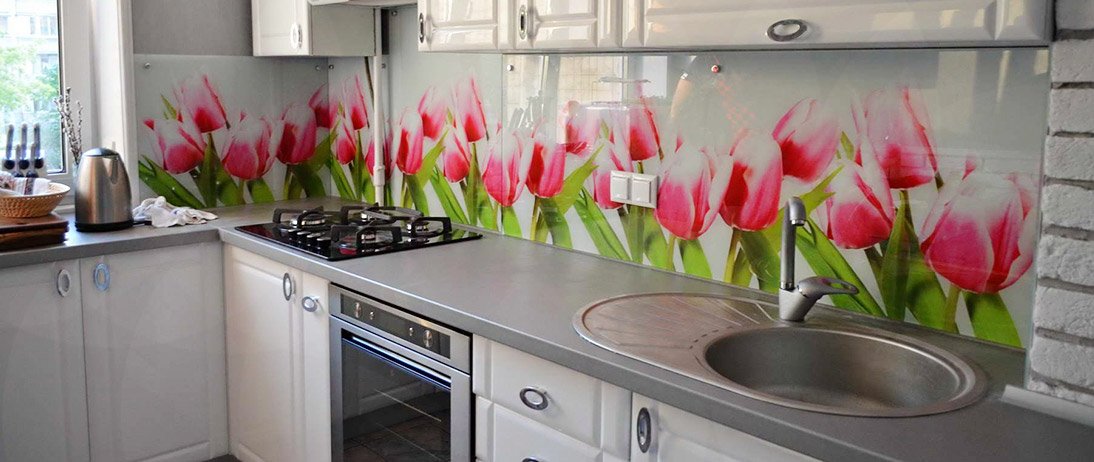
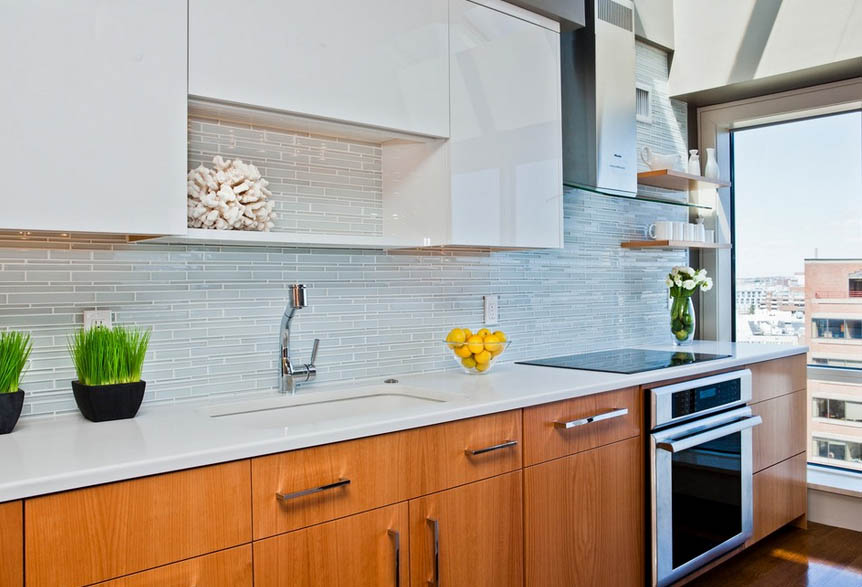
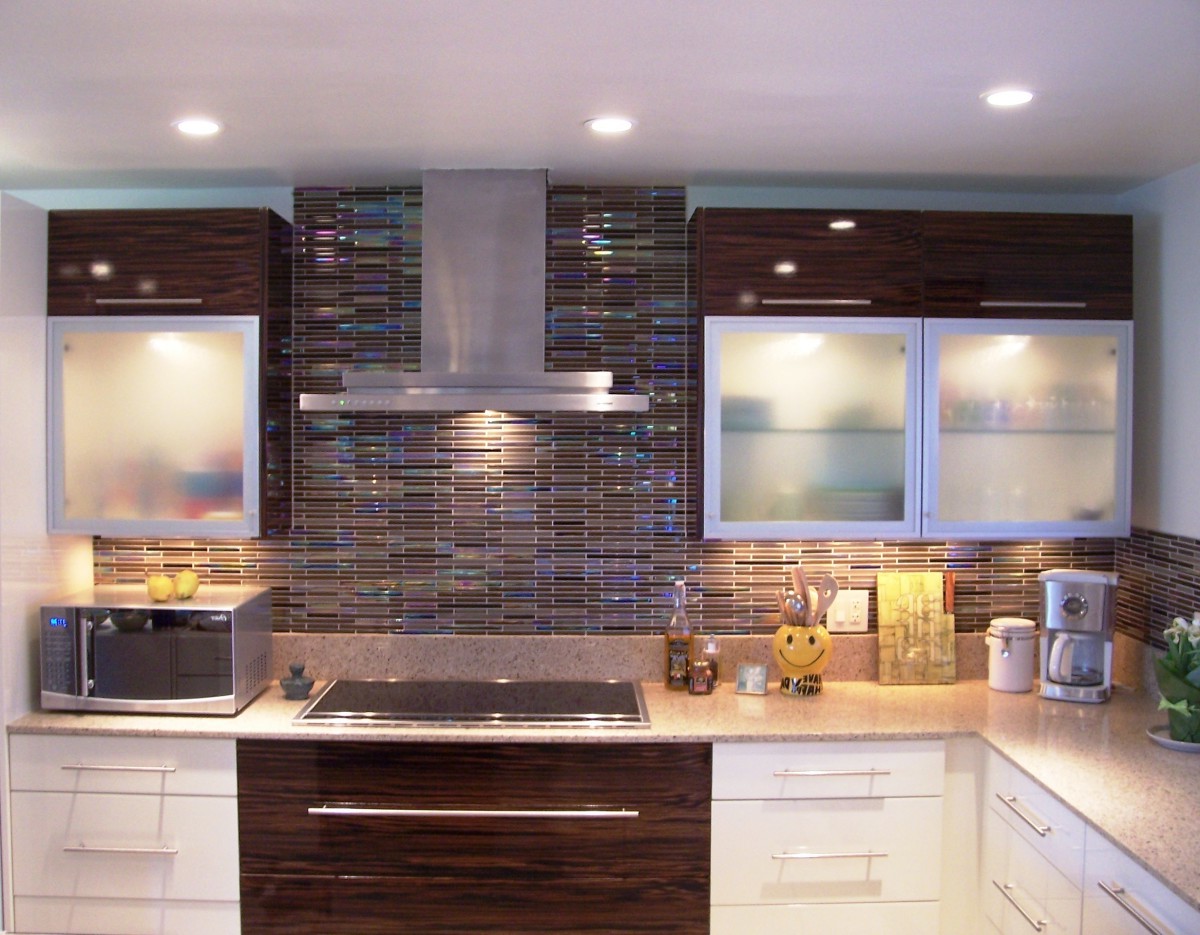
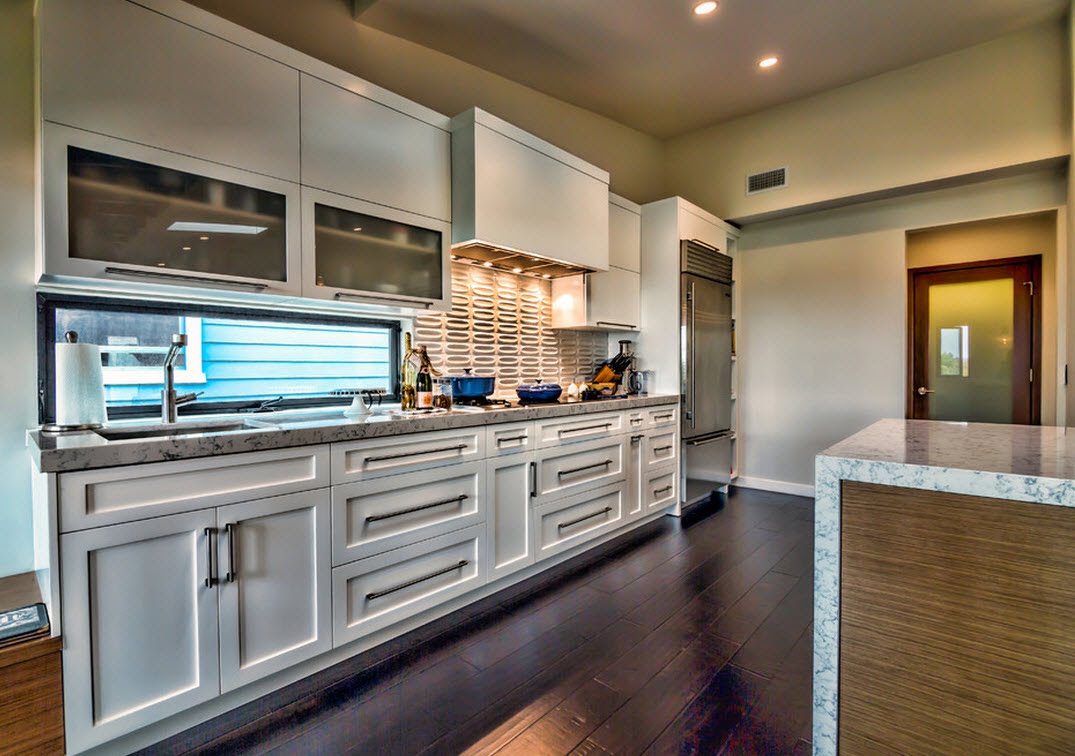
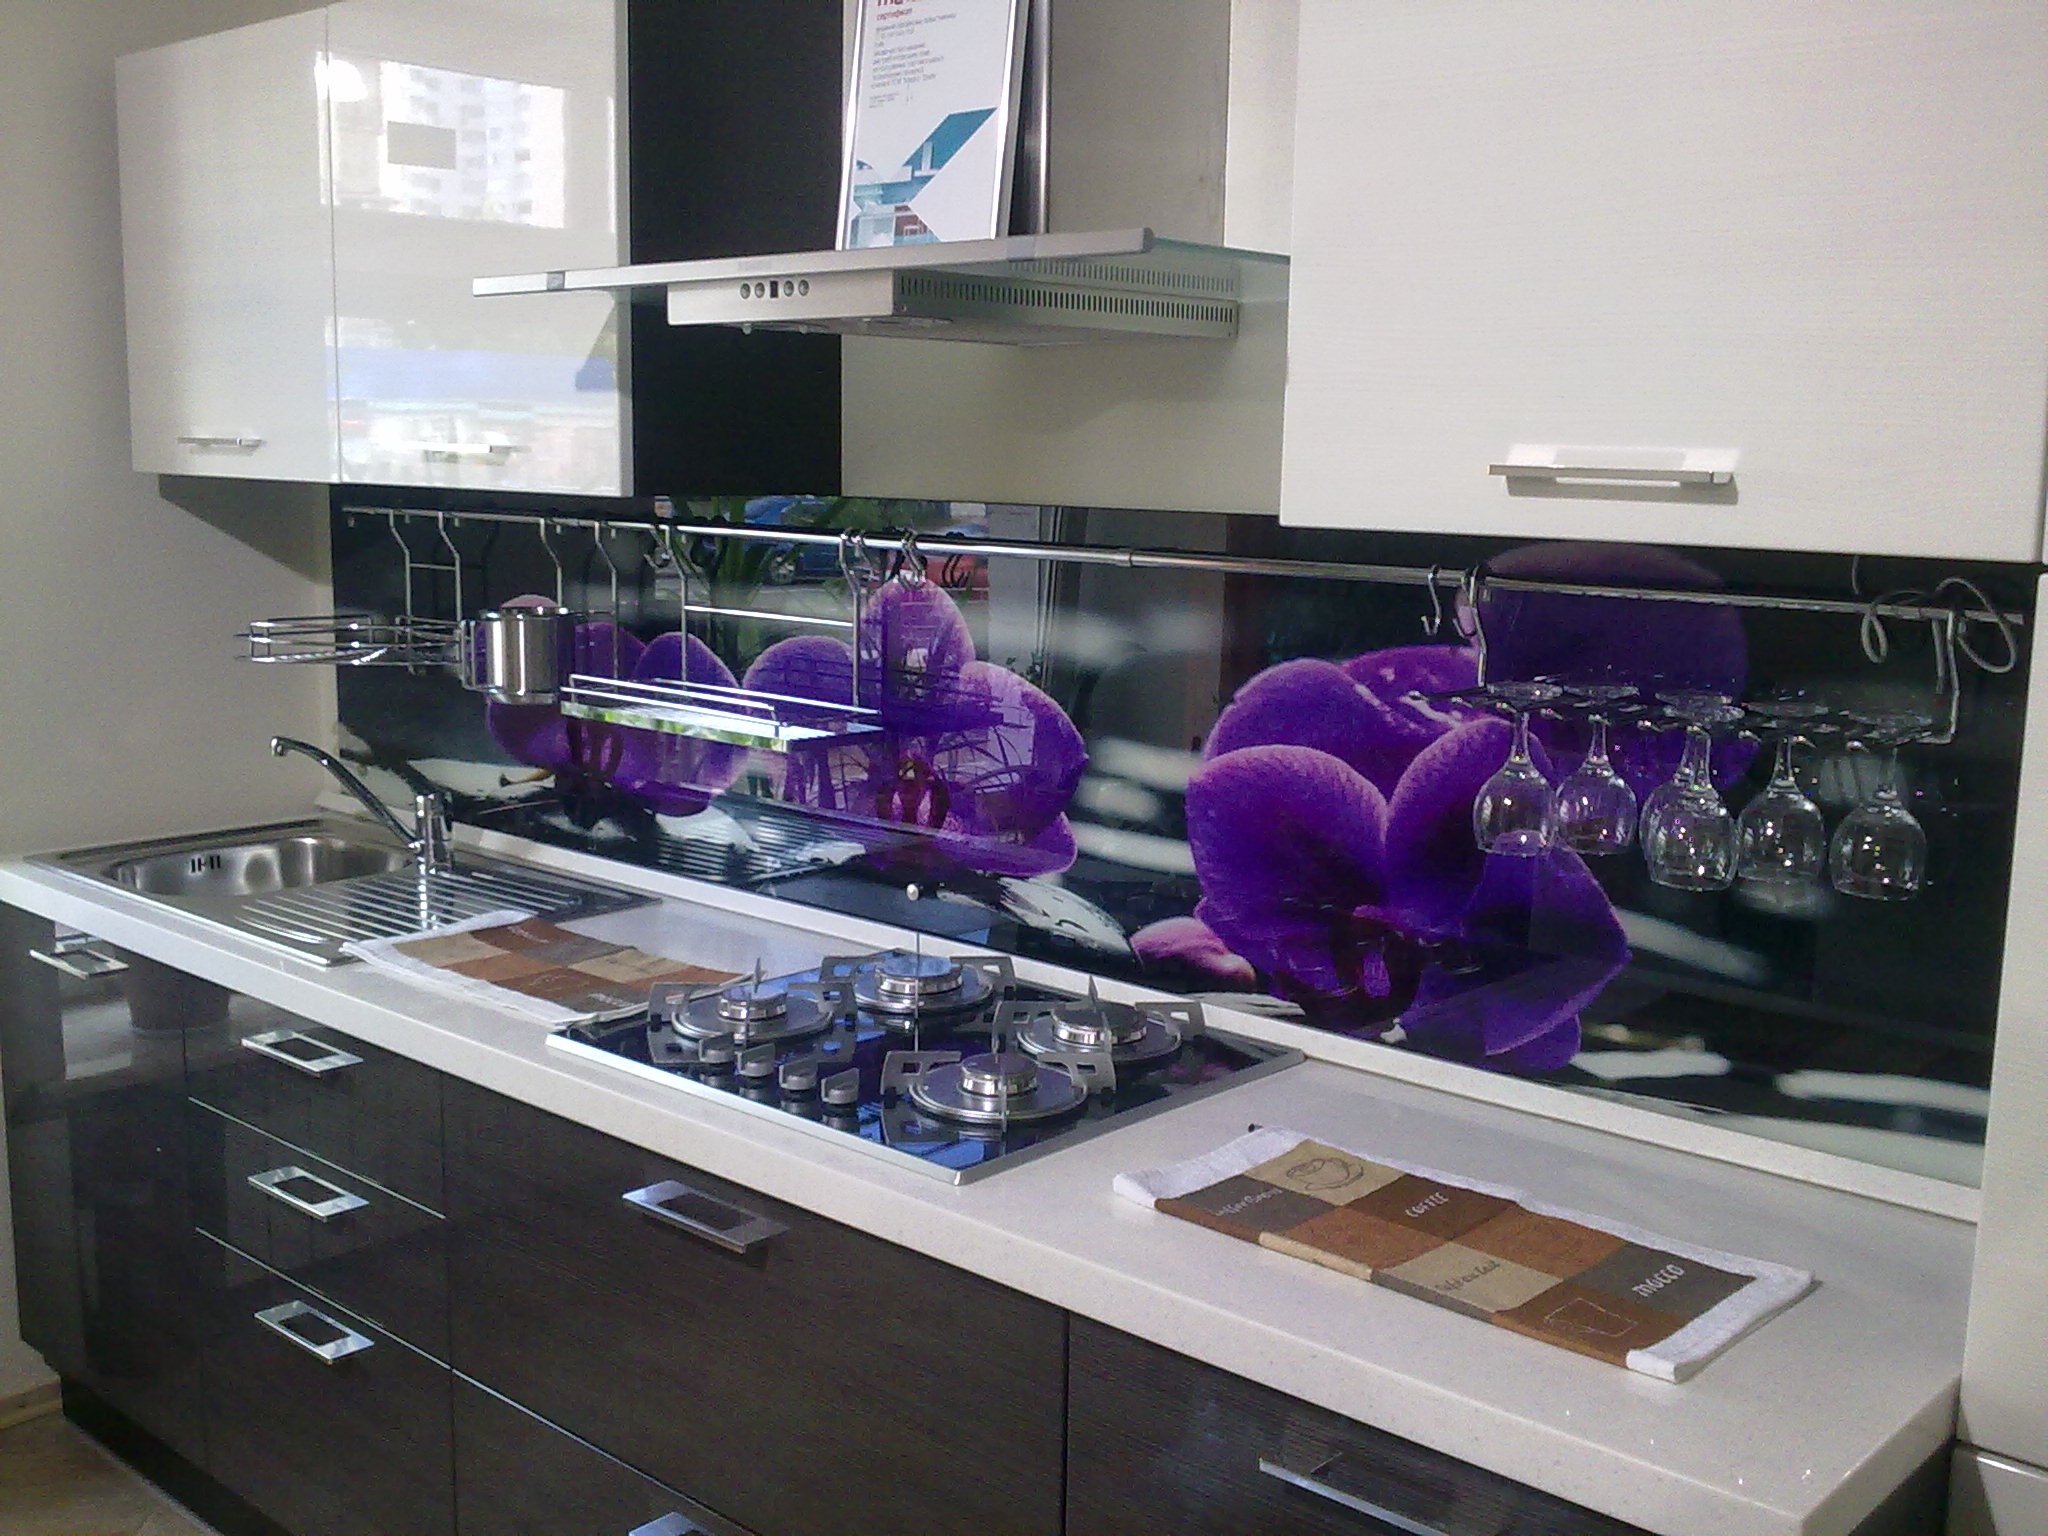
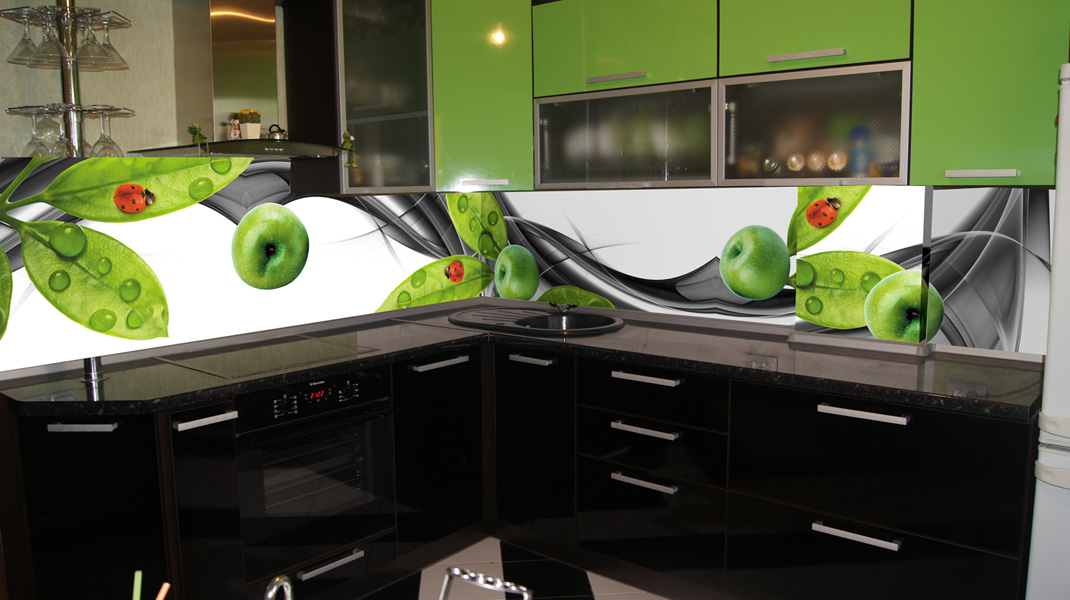
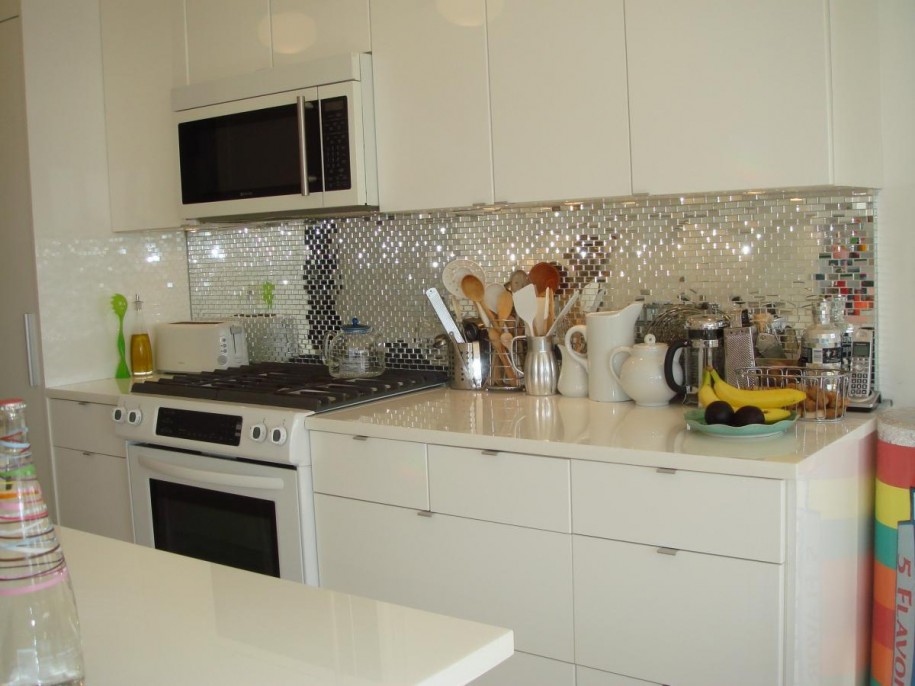
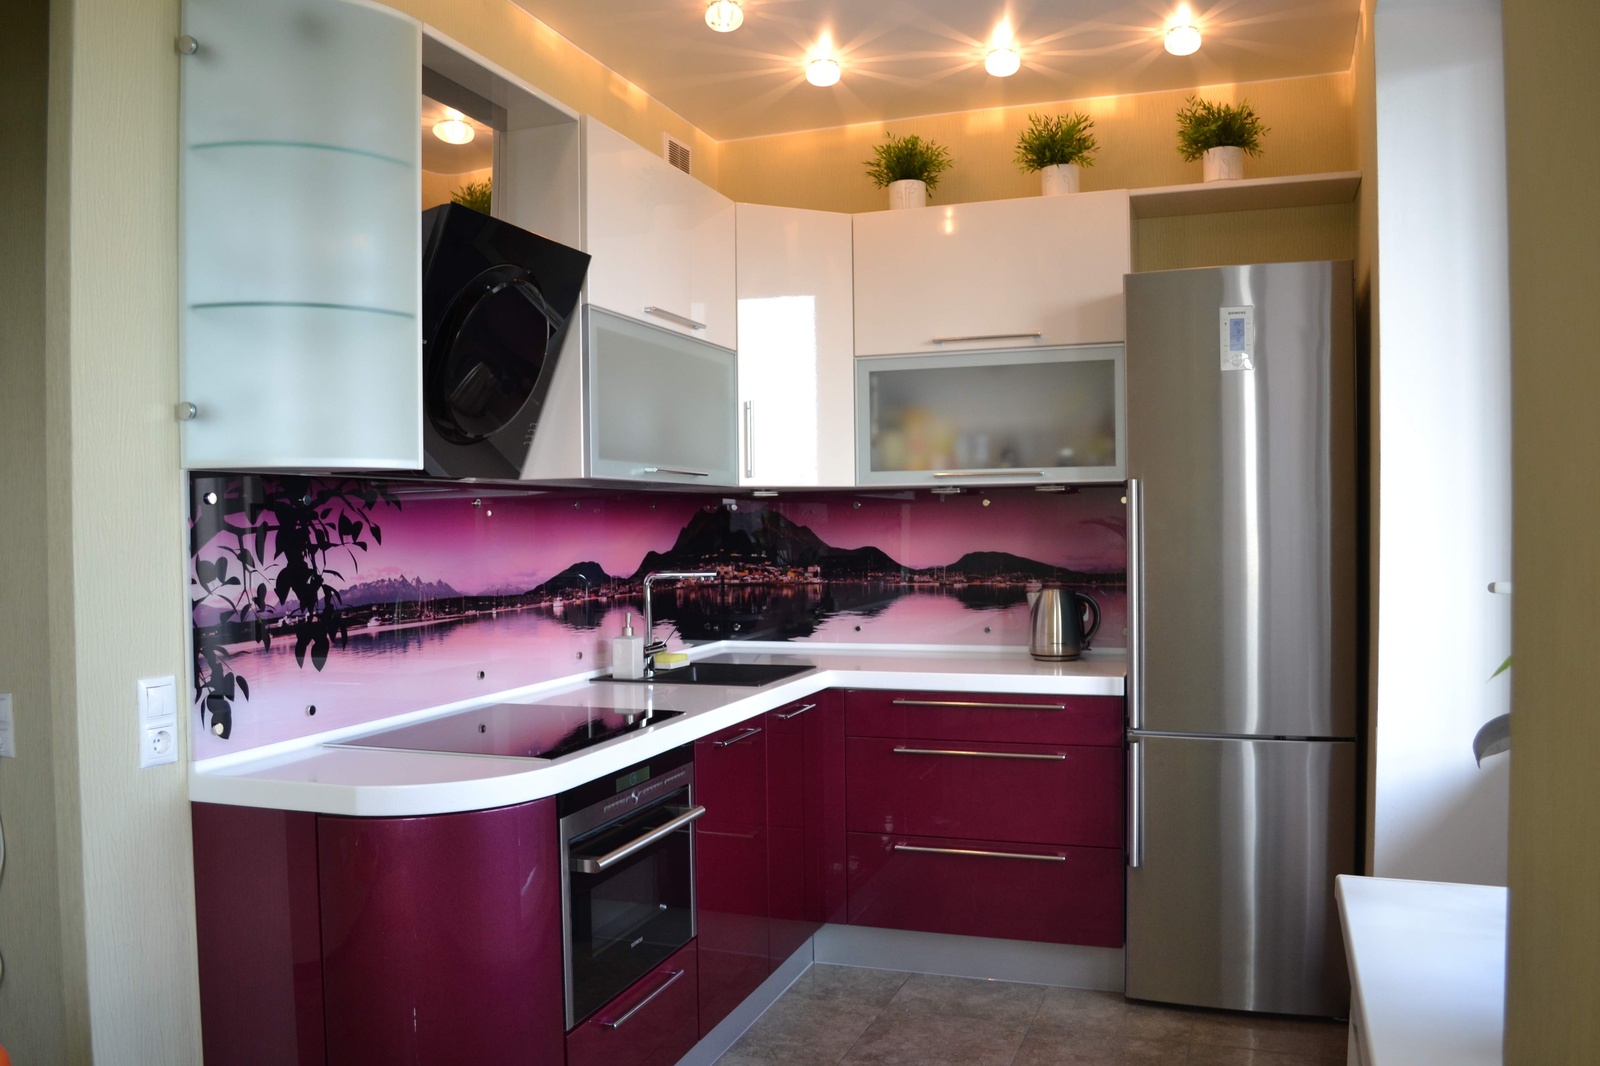
- Glass.This is a modern solution for arranging an apron. It uses frosted, clear or tinted glass. To create an unforgettable interior, you can place any photographic images under the glass and organize interesting lighting. Installation is easy, but there is one nuance. The wall must be perfectly flat, otherwise the glass may burst when installed. It is necessary to clean such an apron often, since all splashes, even from simple water, immediately become visible. Also, over time, scratches appear on it, and it will need to be replaced.
- Plastic. Such an apron is a budget option, but has a significant drawback. At temperatures above 80 it can deform. Therefore, when installing it in the area of the plate, it is recommended to close it with glass. Plastic aprons have several subspecies.
Plastic lining. Its width is from 10 cm to 12.5 cm, the length of the panels is 3 m. The clapboard can be finished as soon as the apron itself and the entire wall. Its colors are usually monochromatic, light-colored, beige, white, light green, blue, but you can choose with different patterns: colors or divorces. Easy to clean, but with frequent cleaning the paint can wash off.
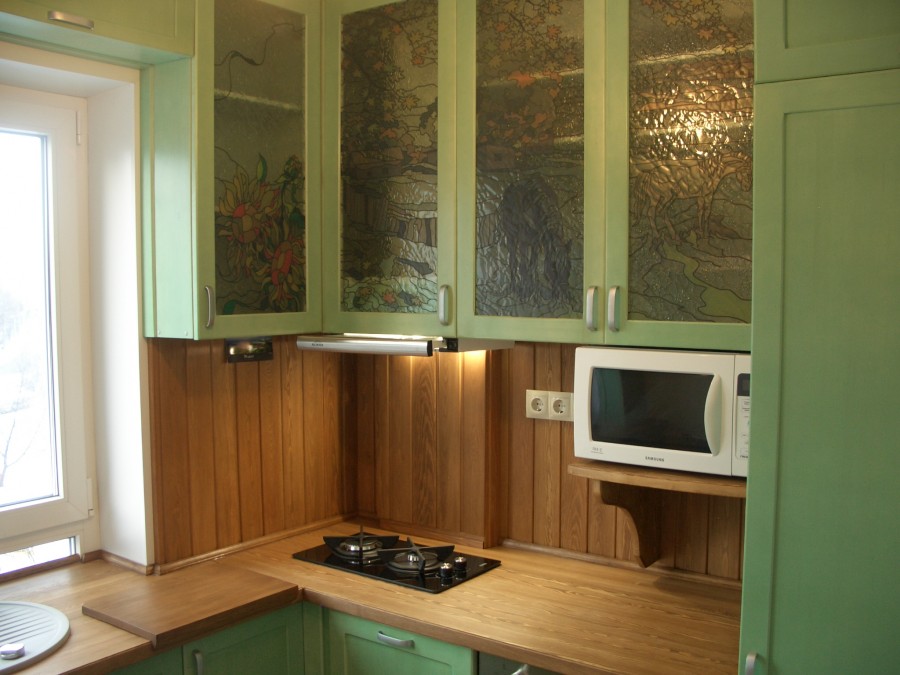
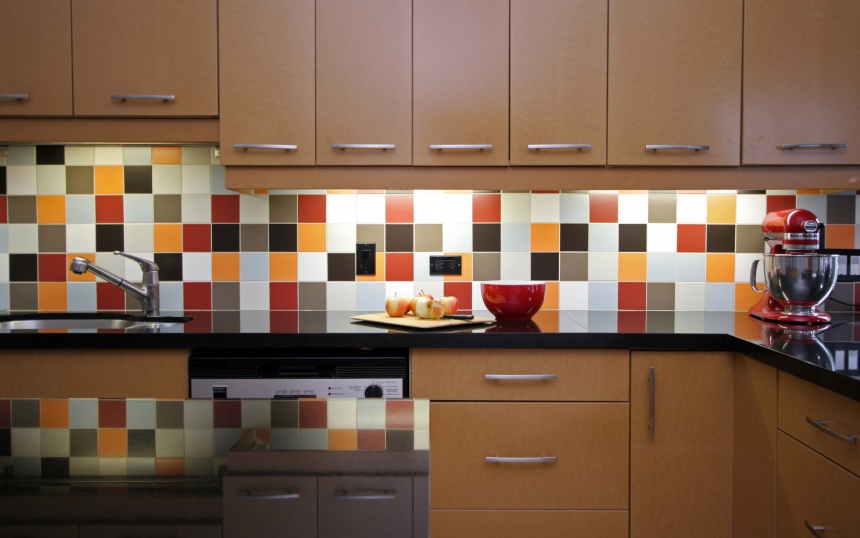
Plastic panels.Their length is up to 3 m, width 60 cm. Very often imitate the covering of mosaic or brickwork. But there are panels with a floral print.
Sheets are ABS plastic. Sizes 60x200 cm or 60x300 cm. Such foxes are decorated with photo printing, they look stylish and modern. The drawing on such panels can be chosen from catalogs or made according to an individual project.4. MDF panels. By their properties, they are very similar to the apron of ABS plastic.
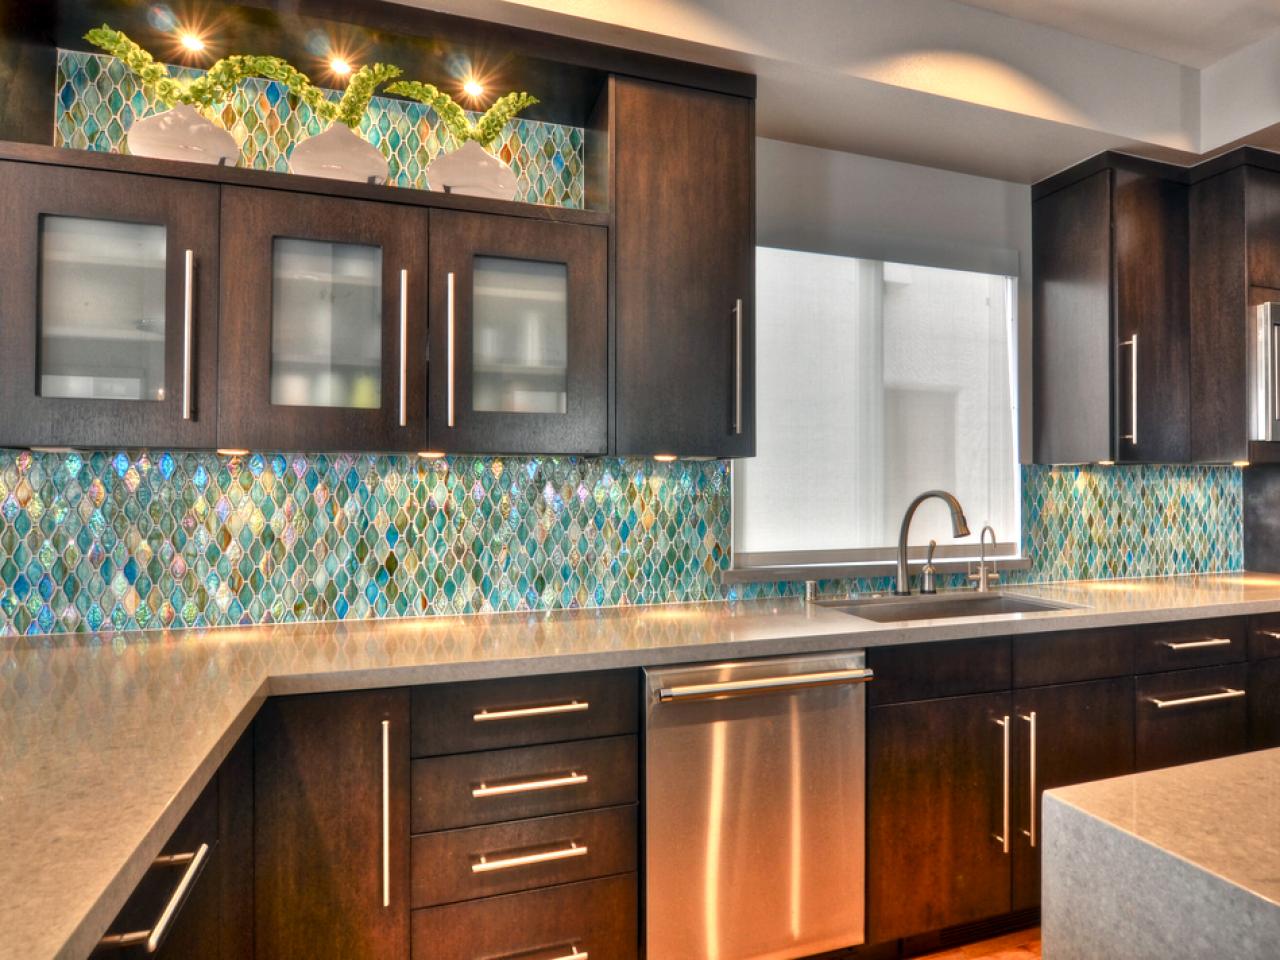
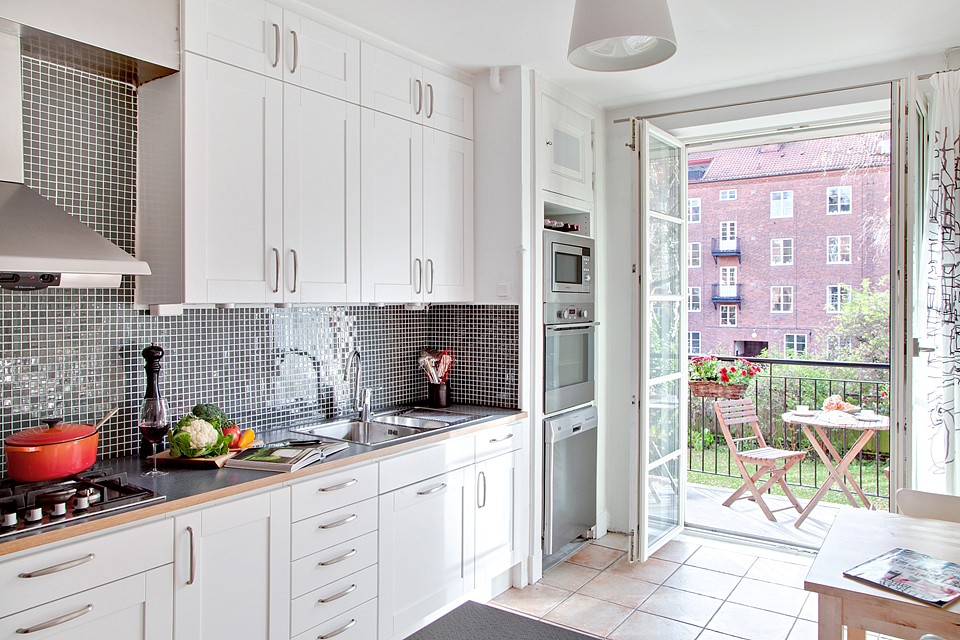
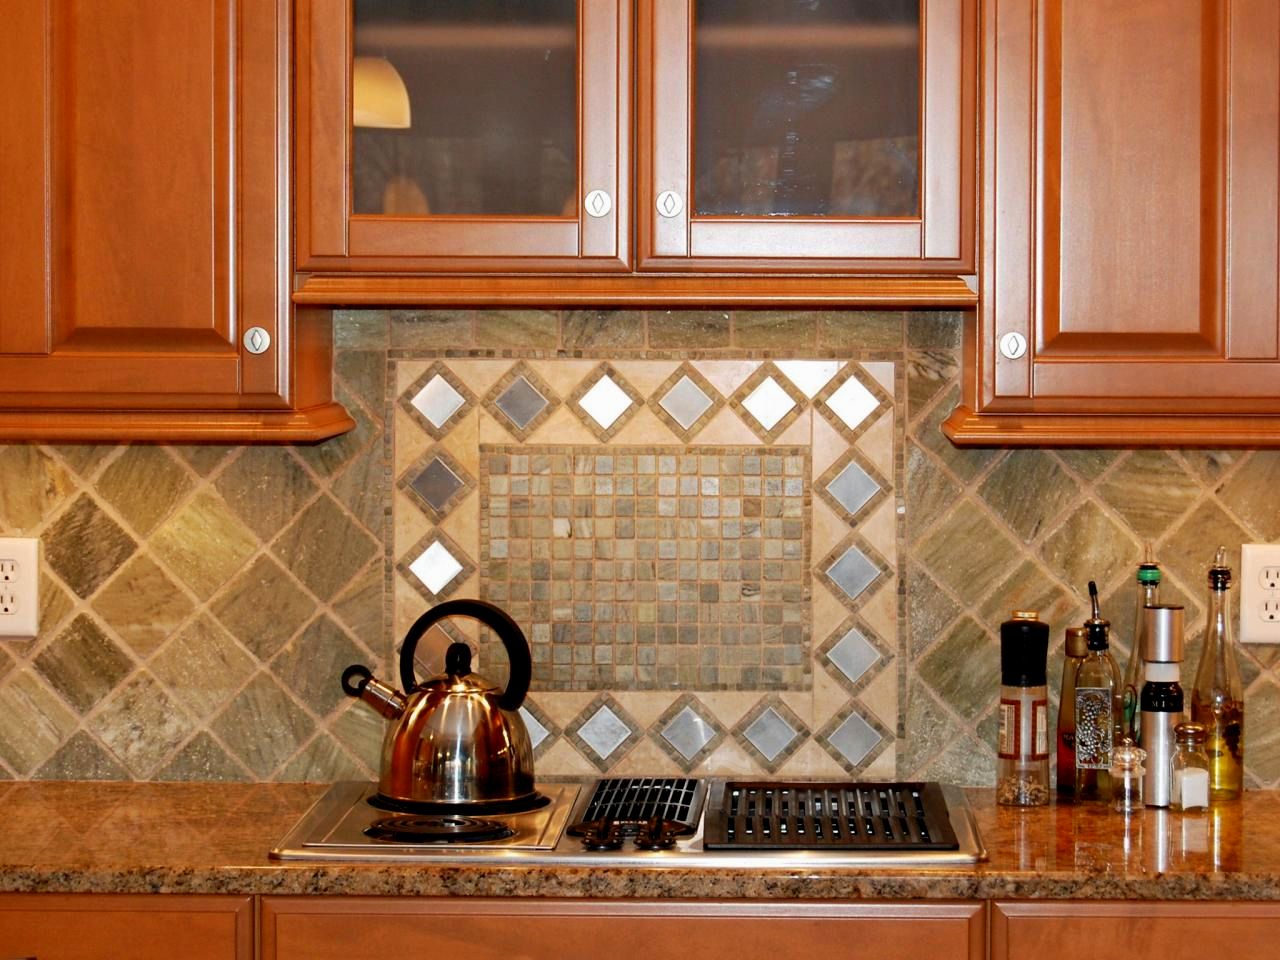
- Mosaic. It looks rich, durable, but to lay it yourself is unlikely to succeed. It is better to order work on installing an apron from a mosaic to specialists.
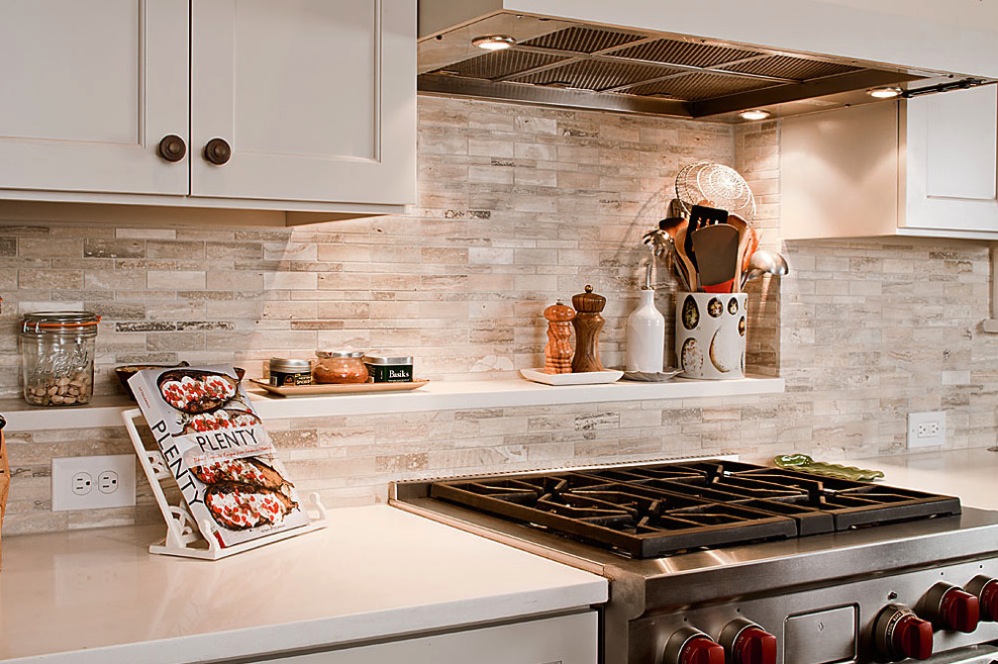
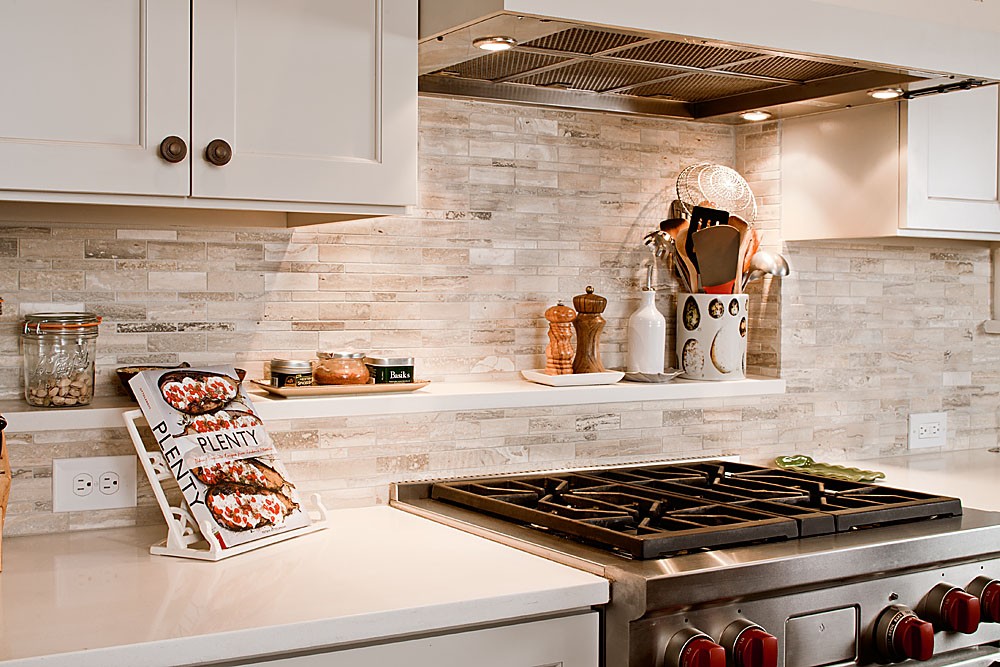
- Masonry or natural stone. Due to the uneven coating it is difficult to wash. If there is no experience in laying such material, it is better to entrust it to specialists.
You need to choose an apron based on your desires and kitchen interior. It should not only be combined in style with it, but also complemented, making the picture of the kitchen complete.
Installation
Of course, the installation of an apron can be entrusted to specialists, but you can handle it yourself, especially since it is not so difficult to install an apron made of tiles, plastic, glass and MDF.
Initially, you need to think about the placement of electrical sockets, so that all the wiring can be hidden in the wall along with an apron. How to install an apron of ceramic tiles, knows almost everyone.The wall, where the apron is to be installed, is prepared by making special notches for more reliable adhesion, it is treated with a primer and the wall is laid out using tile adhesive. The thickness of the adhesive should not exceed 6 mm, otherwise the tile will fall off. Also, do not apply to the entire surface immediately, as it dries quickly, and the tile will not stick.
In the end, when the glue finally grasps, we rub over the inter-tile space with a special compound. It can be either in tile color or in contrast. If you choose the last option, it will give an interesting and unusual look to your apron.
Now it is very popular to install an apron made of ABS plastic and MDF. Consider how to do it yourself.
The installation process is completely simple. It is performed as follows.
- Marks on the wall the location of the apron.
- The required dimensions are laid out on sheets of plastic or MDF and the necessary panels are cut out.
- Sheets are mounted on the wall. They can either be glued or screwed to the wall with screws.
- The joints are closed with special skirting boards so that the look of such an apron is more accurate.
With the installation of a glass apron a little more complicated.
Initially, you need to perfectly align the wall, since with the slightest unevenness during the attachment the glass may break. The corners, if the apron will cover them, must be strictly 90. You must install a panel of tempered glass near the cooking surface, this must be taken into account when ordering glass in the workshop. Be sure to have glass with a polished edge. Its width should be equal to the distance from the table top to the lower edge of wall cabinets with an allowance of 5 mm. The length can be up to 3 m with a glass thickness of 10 mm. Under it you can stick wallpaper or apply photo printing on the glass itself, but in a mirror image. Keep in mind that if you install a tempered glass apron, all the holes for the screws and sockets will need to be made on it in advance, as it will not be possible to drill it after quenching.

Installation of the apron on the wall occurs after the installation of the kitchen unit. First, the finished panels are applied to the wall. Mark all holes for mounting. Holes are drilled corresponding to those on the glass. Dowels are hammered.Screws the panel with screws and closes the decorative cap. The apron is ready.

Such installation will allow you to easily remove the apron when moving, or if you want to change it.
Another method of installation is to put it on the glue "liquid nails". But this method is not entirely reliable, since the glass has considerable weight. In addition, such an apron is difficult to remove without spoiling. It does not suit aprons of clear glass.
Whichever apron you choose, improper installation can ruin everything. Here the proverb is well suited: Measure seven times, cut one. Perform everything carefully, check all measurements several times. Then at the exit you will have a wonderful apron - the decoration of the entire kitchen.