How to assemble a sink siphon in the kitchen

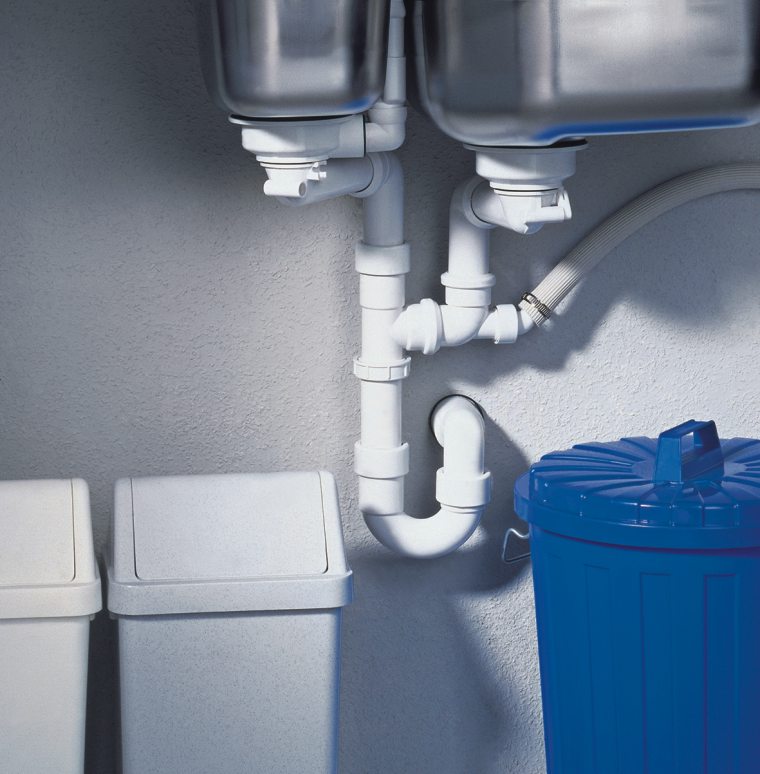
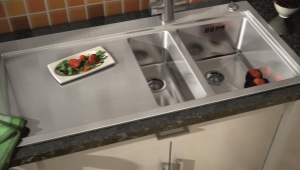
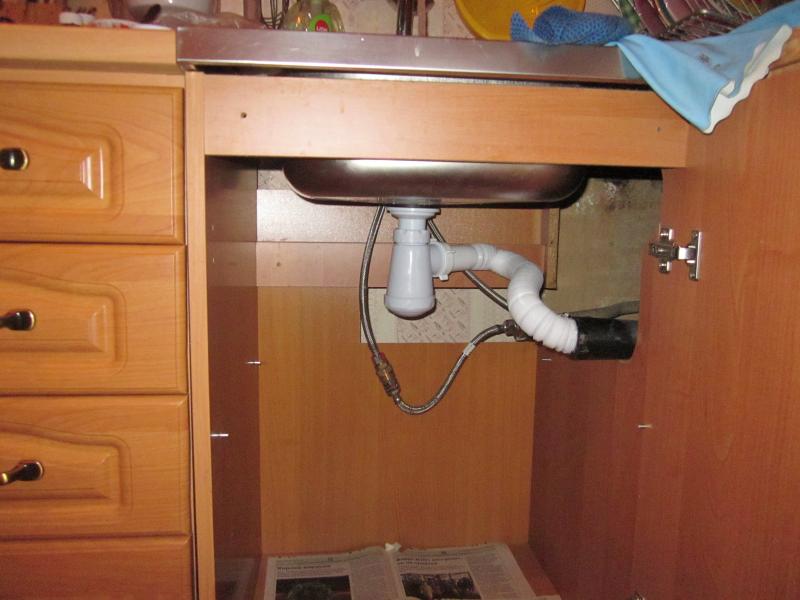
Full use of the kitchen is impossible without a sink. This is a sanitary device consisting of two elements: a bowl and a siphon, which is directly connected to the sewer system. Correctly performed installation of the structure allows you to reliably protect the apartment from unpleasant odors from the pipe, harmful bacteria and microbes that are in large quantities in the wastewater.
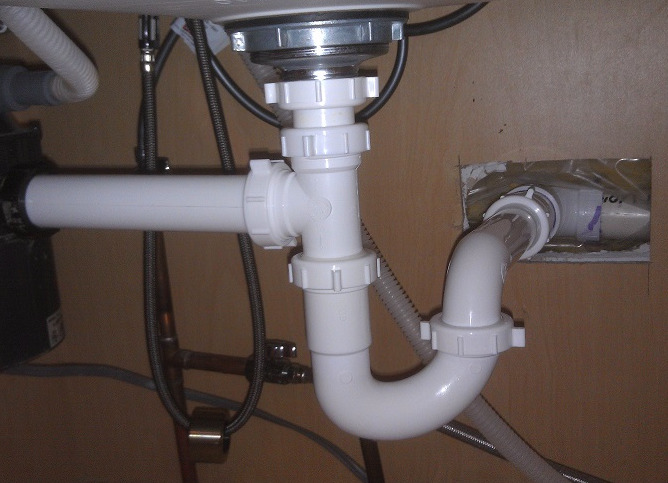
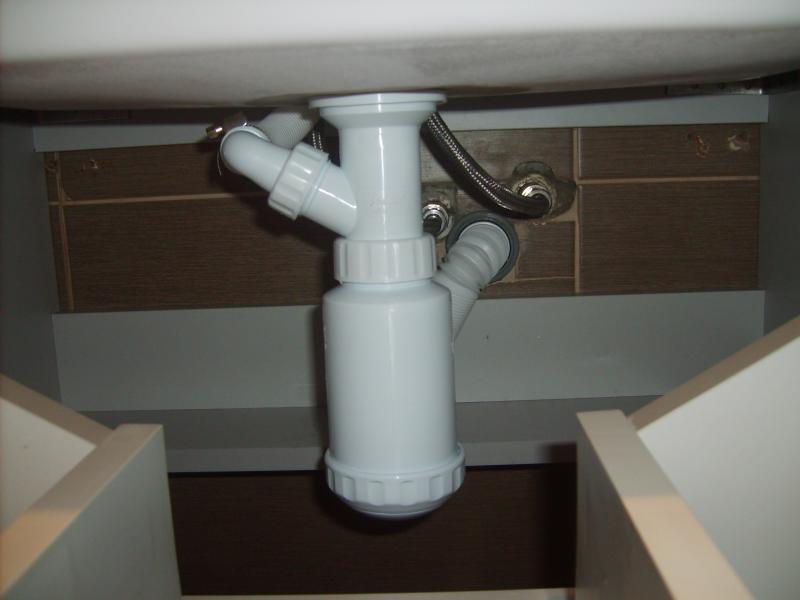
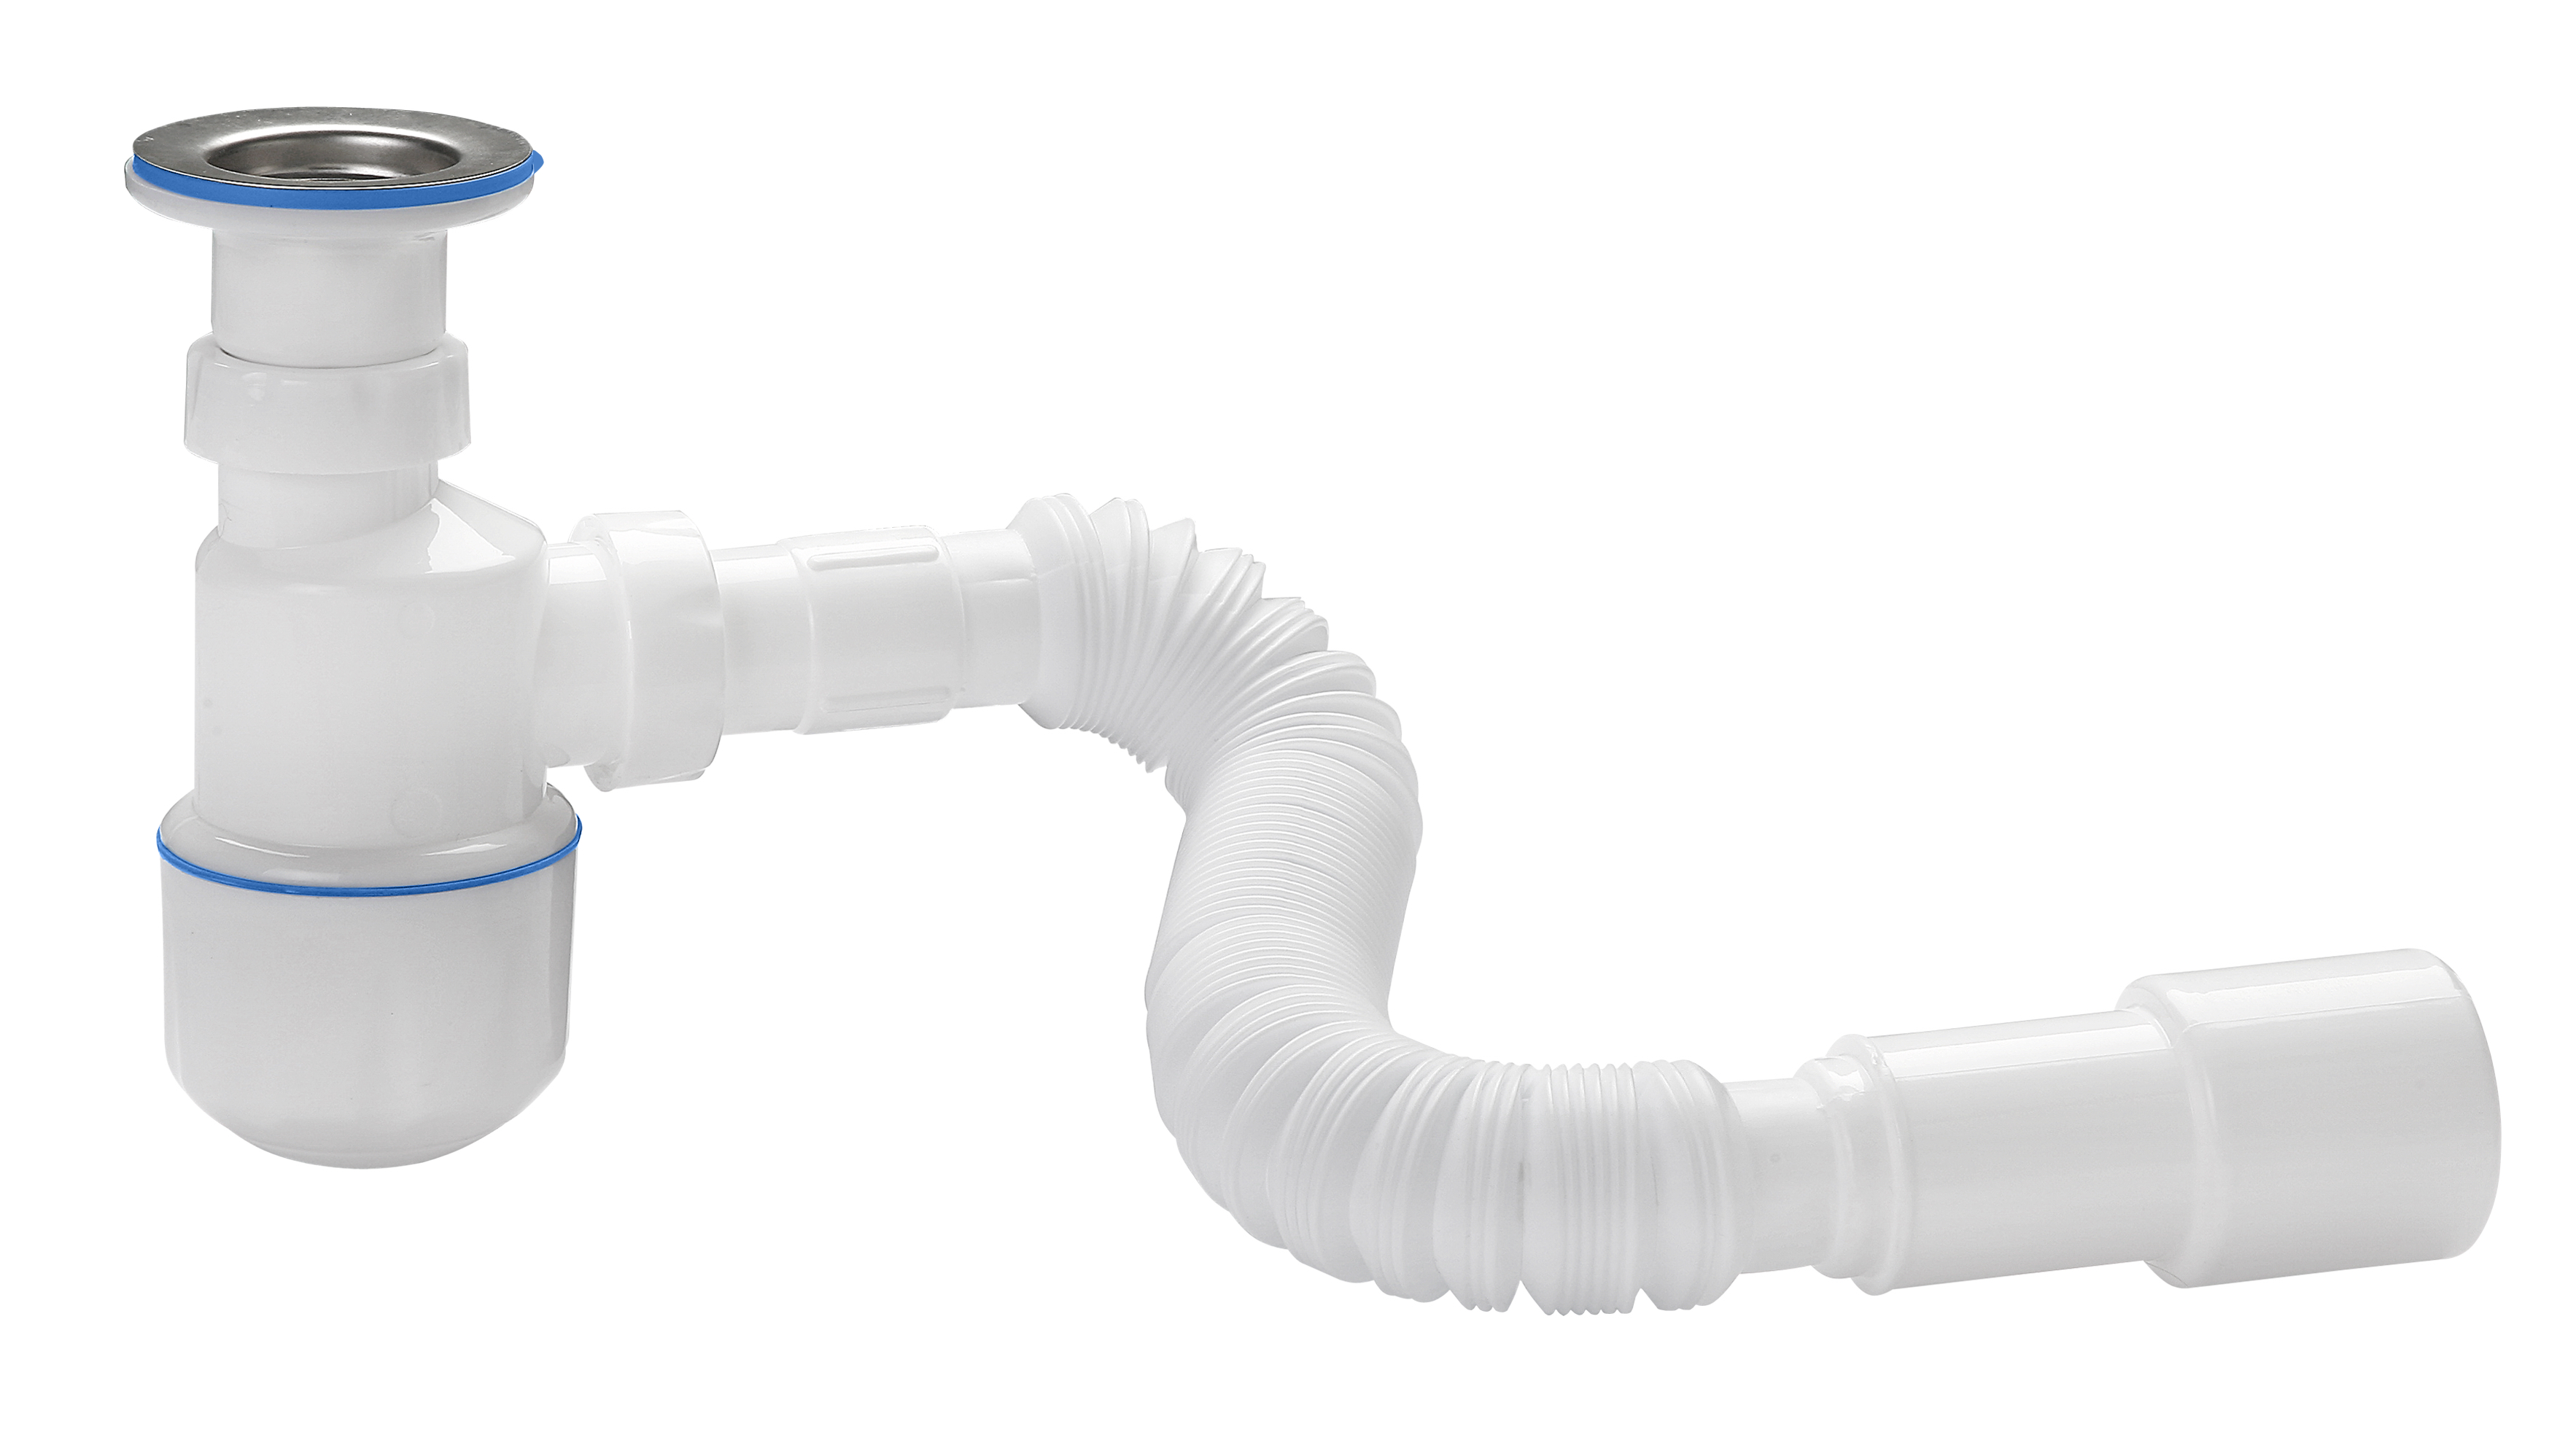
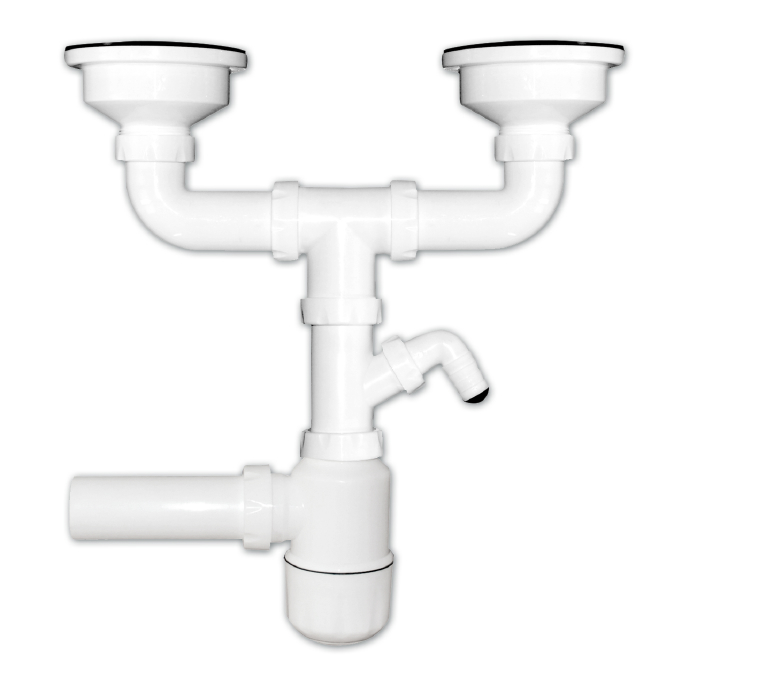
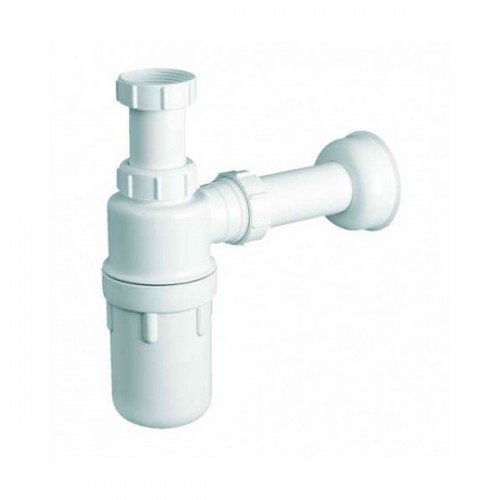
A siphon is a pipe with a bend in which water and other small particles that are drained into the sewer system are retained.


Varieties of models
There are several design options:
- Kolboobraznye
- Articulated
- Corrugated
- Hidden
- Flat
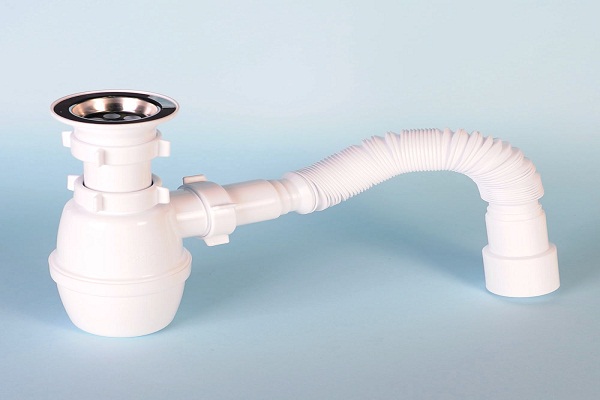

Kolboobrazny models represent the combined design which can be attached quickly, without use of the special tool.
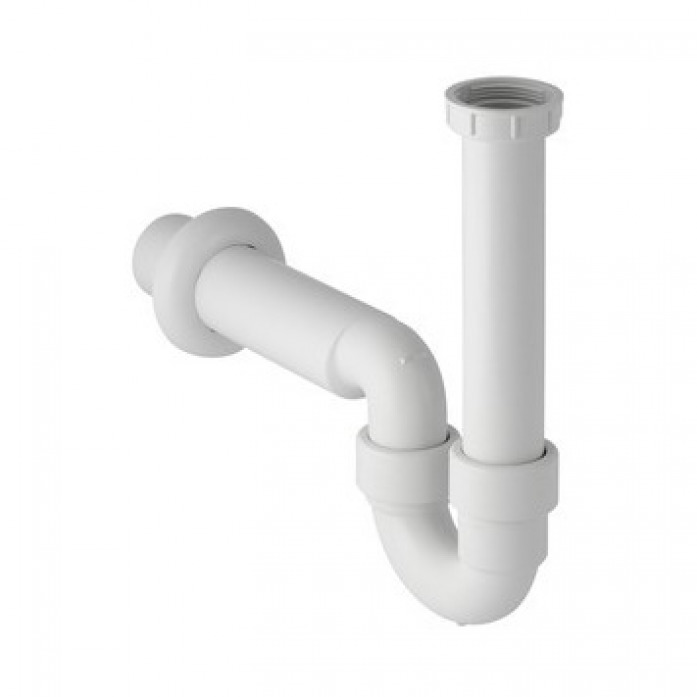
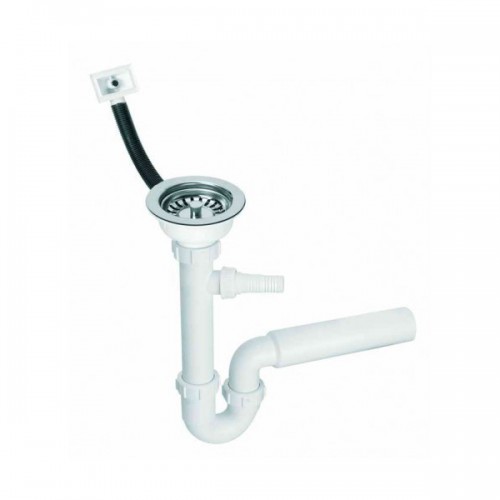
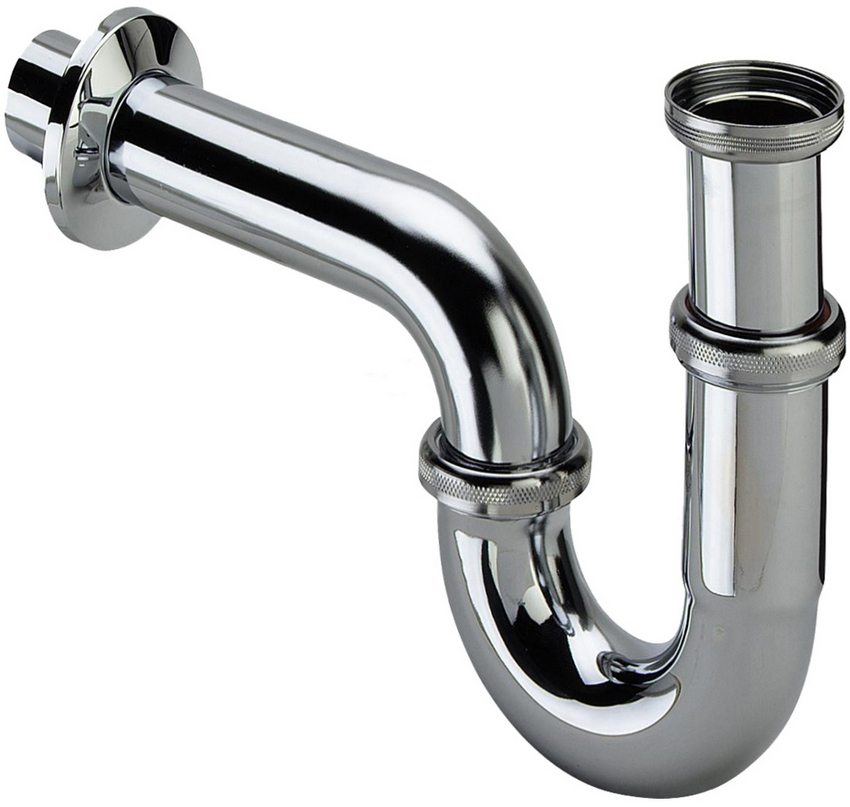
The knee design is one of the simplest among all the models, which allows you to clean the blockage or change any elements in a matter of minutes.The pipe can be bent in the shape of the letters U or S, so you can use the space with maximum efficiency.
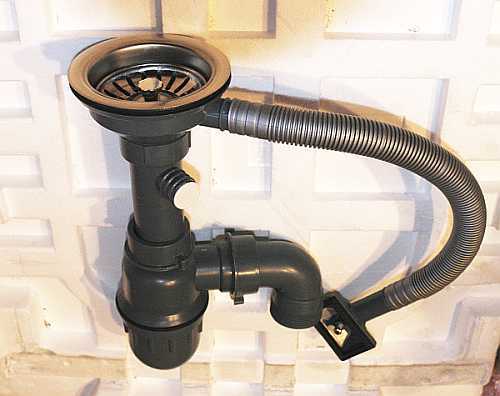
The corrugated version has a construction similar to the pipe counterpart. The difference in the use of a corrugated hose, which gives him the opportunity to bend in any direction. But there is one significant drawback, the corrugated tube quickly becomes clogged, as a result of which it is necessary to disassemble and clean more often. Even a person can connect and remove such a siphon without the use of a special tool and sanitary knowledge.

Flat option is recommended for use in areas with an acute shortage of free space.
Model hidden siphon, mounted in a wall or design in the kitchen. It will not be visible from the outside, which allows us not to spoil the overall picture. It is advisable to use this option in small kitchens.
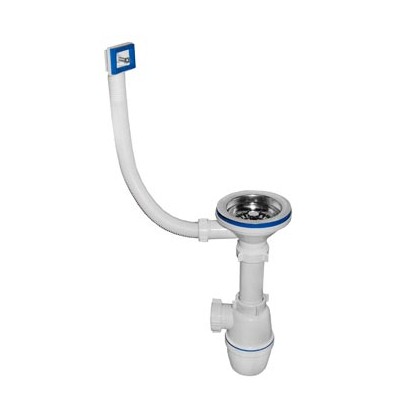
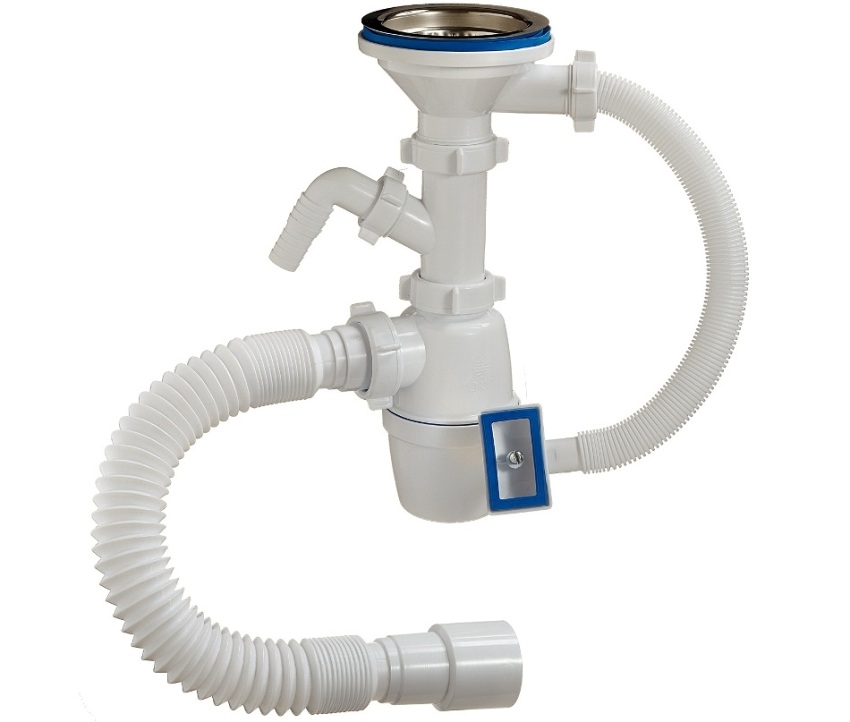
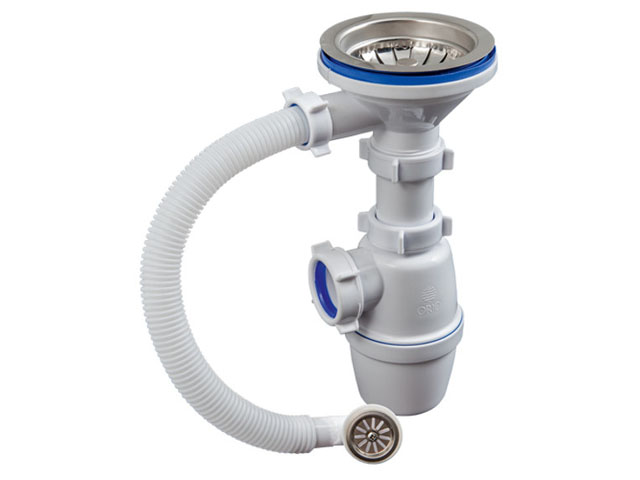
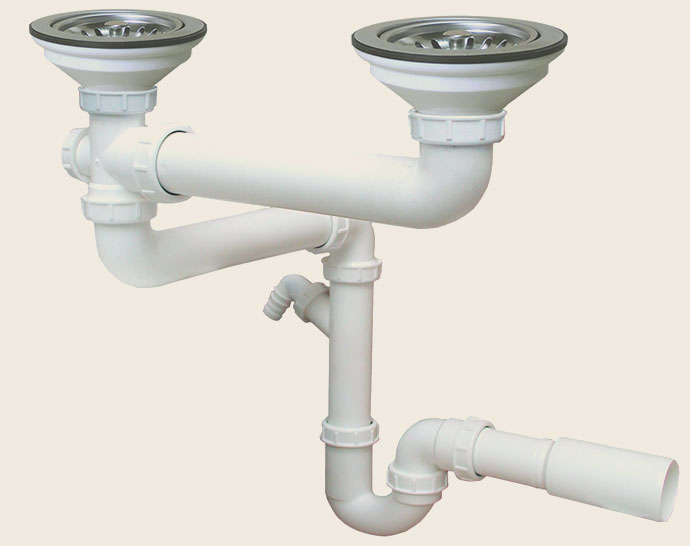
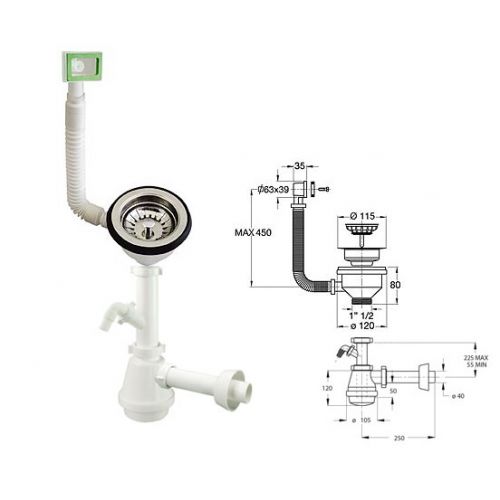
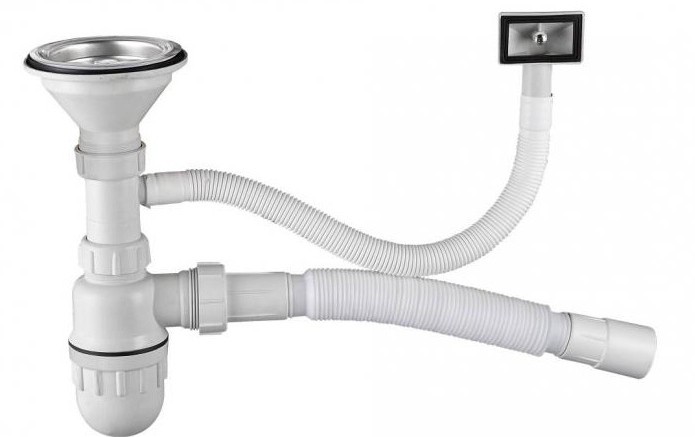
Installation of the flask model
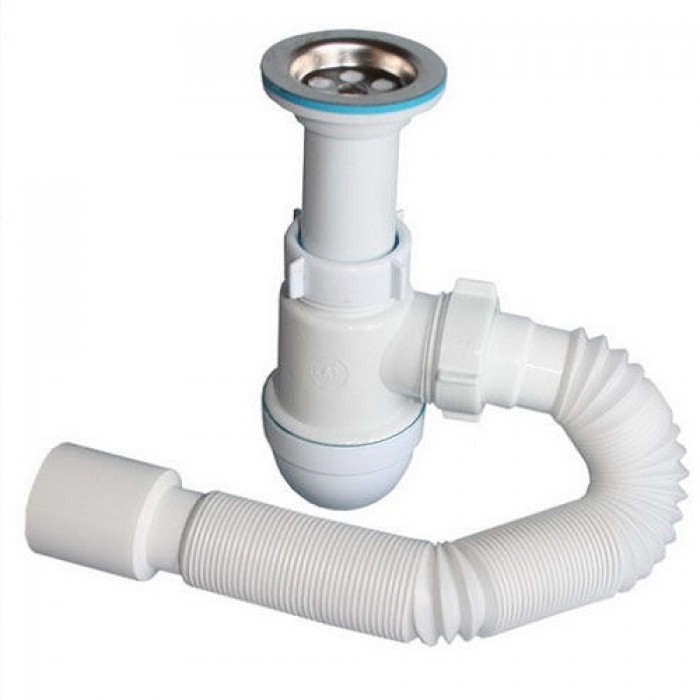
In order to make the correct connection a circuit is attached to each kit, the main thing is to follow some rules
- For tight connection of the bottom cover and the upper part of the body, a rubber gasket is installed
- Tightly screwed cap bottom
- A siphon nut is put on the pipe fitting the siphon to the sink.
- To adjust the height of the product on the bottom of the nozzle is set conical washer
- Connector is connected to the cone and secured with a nut.
- The outlet pipe is connected to the drain: a nut is placed on the nozzle, after which the conical gasket moves up to the stop.
- The final stage of assembly is the connection of the hose nozzle and the housing with a nut.
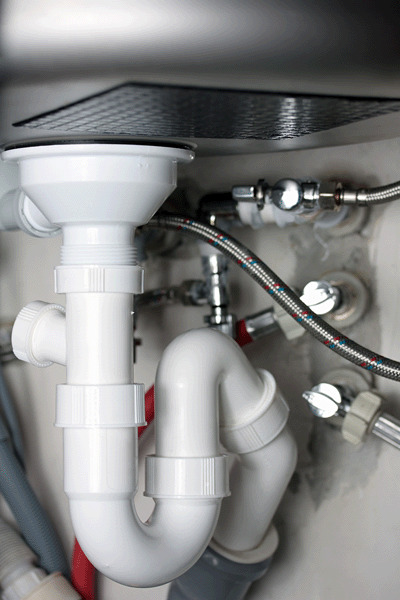
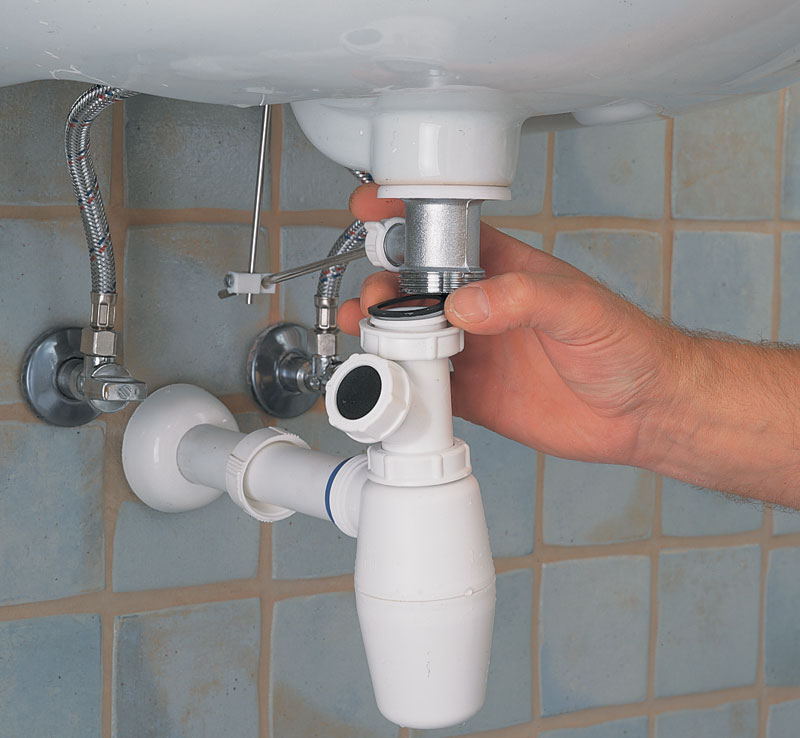
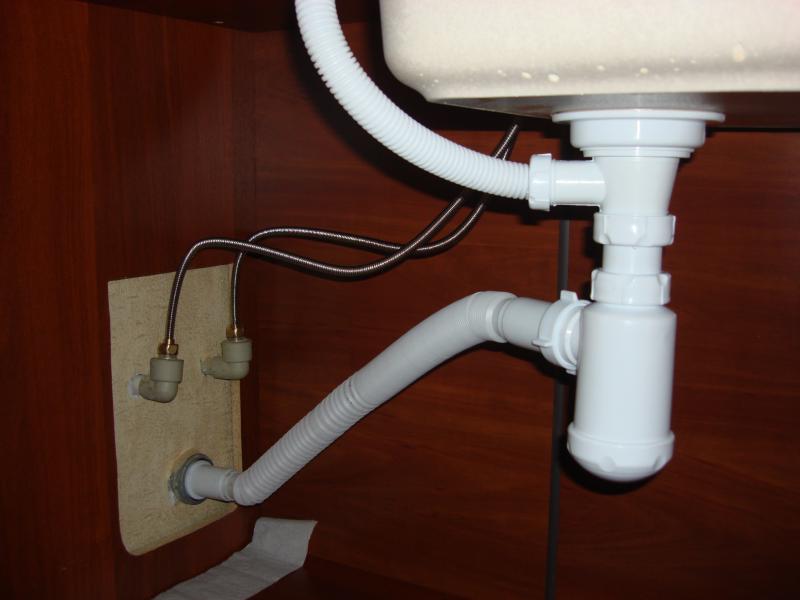
The next step is to connect with the sink, which is also quite simple.
- You must make sure that the siphon dimensions fit the sewer pipe. To create a sealed connection, it is necessary to install a rubber gasket.
- The protective grid is installed on the drain hole in the sink
- A siphon is attached to the sink using a screw with the mandatory installation of a rubber seal.
- The last step is to install the discharge hose
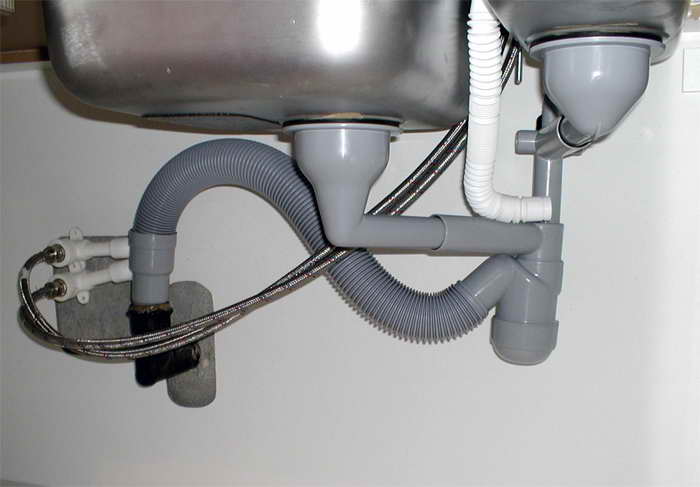
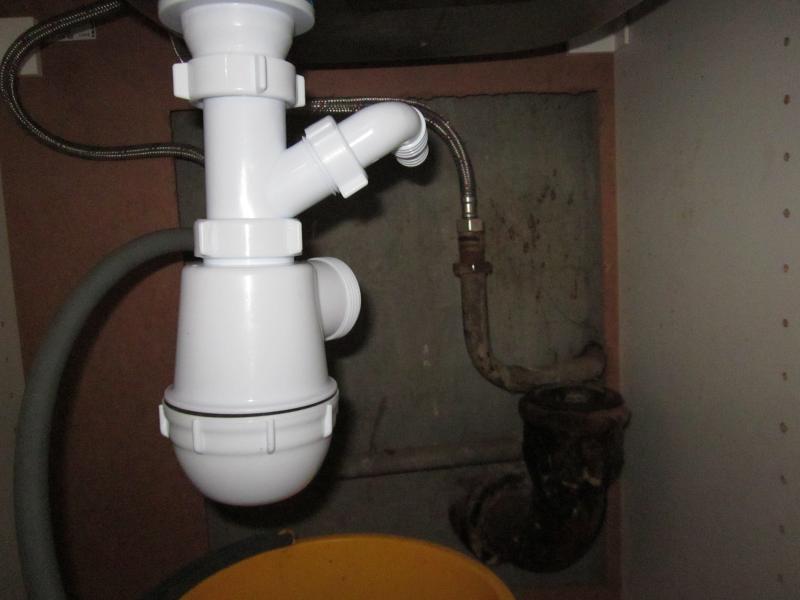
After completion of the work, it is necessary to carry out tests to ensure that the structure is working and that no leaks exist. To do this, simply turn on the water and make sure that all elements are connected tightly.Due to the tightening of the elements of the installed structure, the leak is eliminated. Sometimes water runs in connection with the sink, in order to correct the seal, which is installed with a deviation.

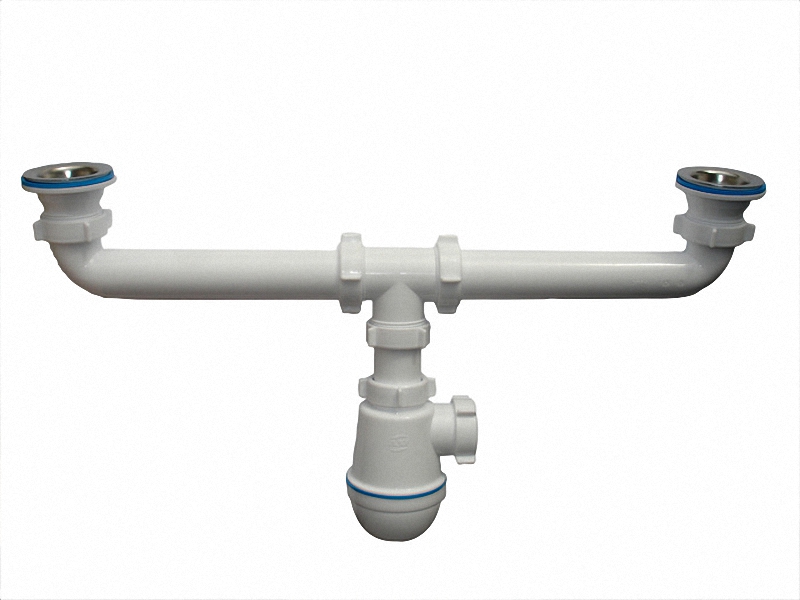
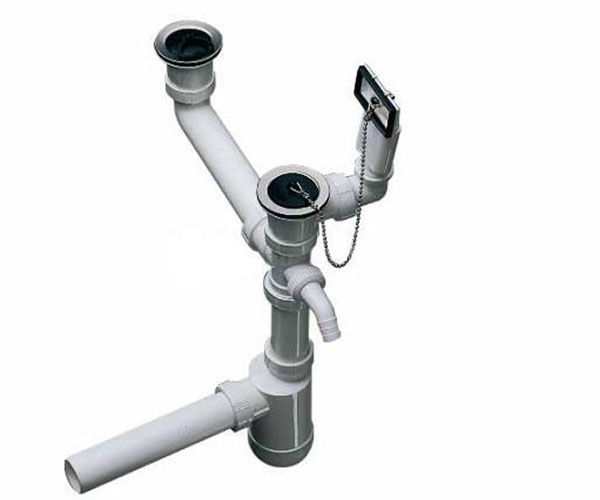
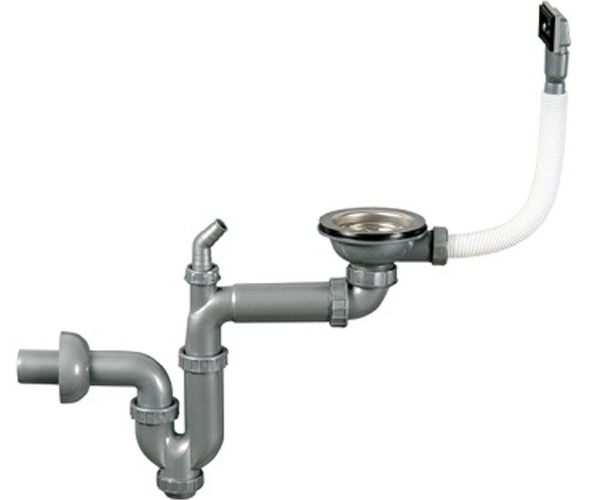
Installation of construction with overflow
In addition to the operations of installing a conventional model, you need to take some additional steps. The branch pipe joins the lower part of the overflow pipe. This should be done only during the connection of the sink with a siphon. After that, the upper part of the tube is attached to the overflow hole of the sink. The work is simple and not laborious, but in case of proper installation, the sink filled with water will fall into the sewer through the drain.
Recommendations for selection
So that after the completion of the work there are no unnecessary problems, it is necessary to make the right choice, observing simple rules how to assemble a sink siphon in the kitchen
- Smooth wall models are the easiest to clean.
- To prevent unpleasant odors during installation, it is better to plug the sewer pipe with a rag or put a cap.
- Before installing the rubber seal and screwing the siphon to the sink, degrease the area around the drain.
- For reliable protection against leakage, rubber seals are additionally sealed. Other joints are subjected to the same procedure. Only the bottom siphon cover does not require this, because it will have to be unscrewed for cleaning.
- To eliminate leakages in the lower part of the cover, tow can be used as a sealant.
- Ideal if the hole siphon will exactly match the diameter of the hole of the sewer pipe.
- It is not necessary to purchase a siphon at the same time as the sink. This can be done as needed, the main thing is their combination in size and design.
It is not enough just to buy a siphon for the kitchen sink. It is important to install it correctly and for this it is necessary to carefully study the instructions and strictly follow its recommendations. Often inexpensive siphons are installed faster and easier than their expensive counterparts of more complex designs.