Installing a sink in the kitchen
Sink is an essential attribute of every kitchen, which simplifies the process of preparing food and washing dishes. Today on the market there are many design designs of this type, which allows you to choose the sink for any type of interior.

Classification
Depending on the method of installation of the sink can be divided into several main types:
- Overhead sinks are designs that are superimposed on the kitchen sideboard. This element is a kind of worktop, as it covers the entire surface. Such structures are made of steel, so it is not possible to give them an attractive and aesthetic look.
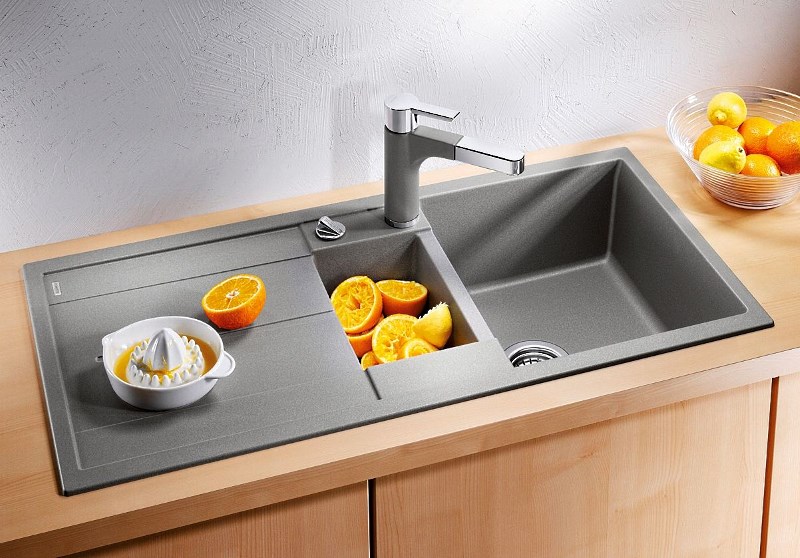
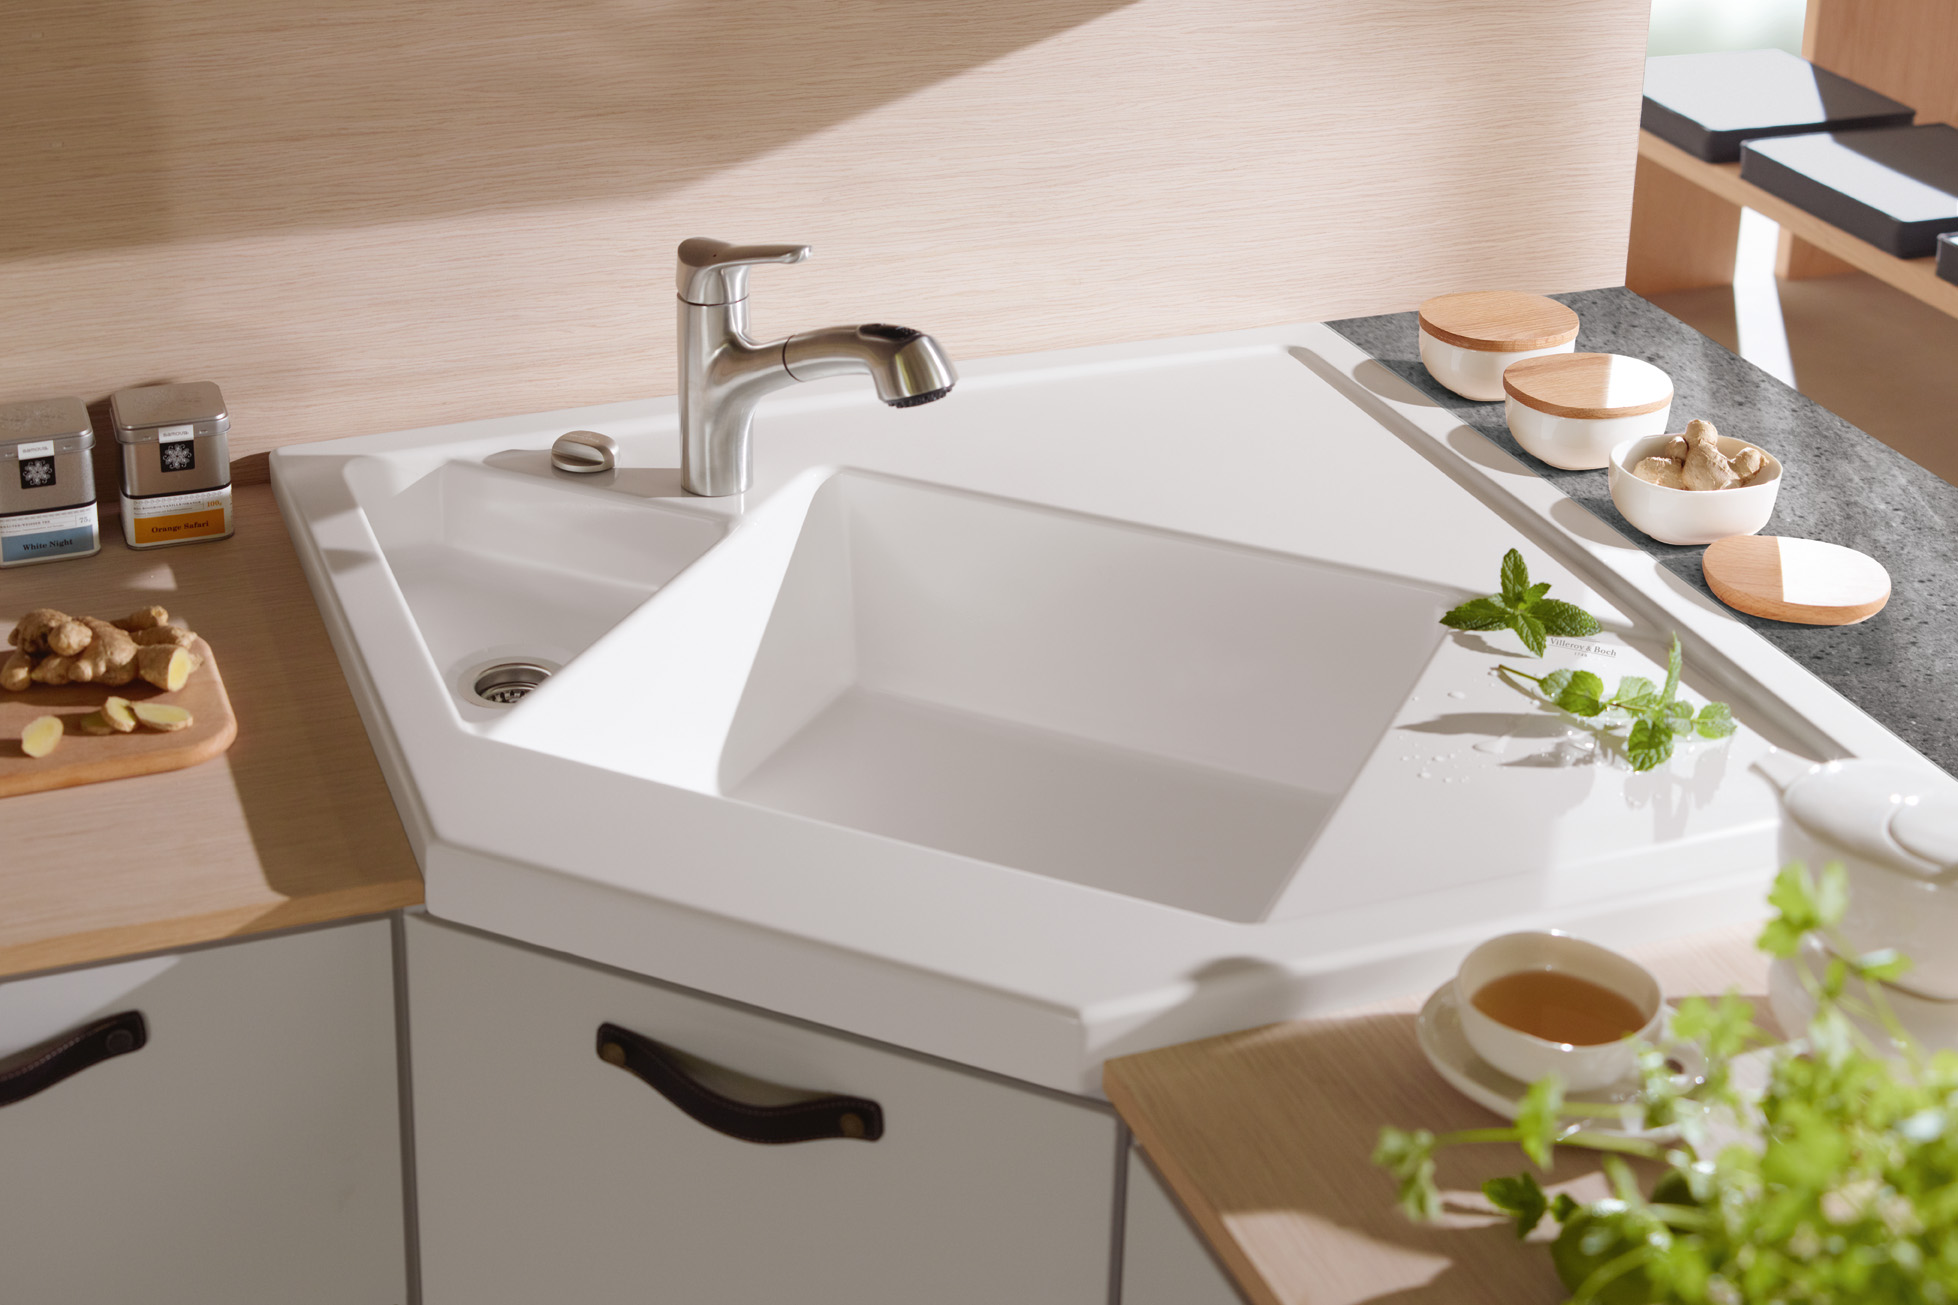
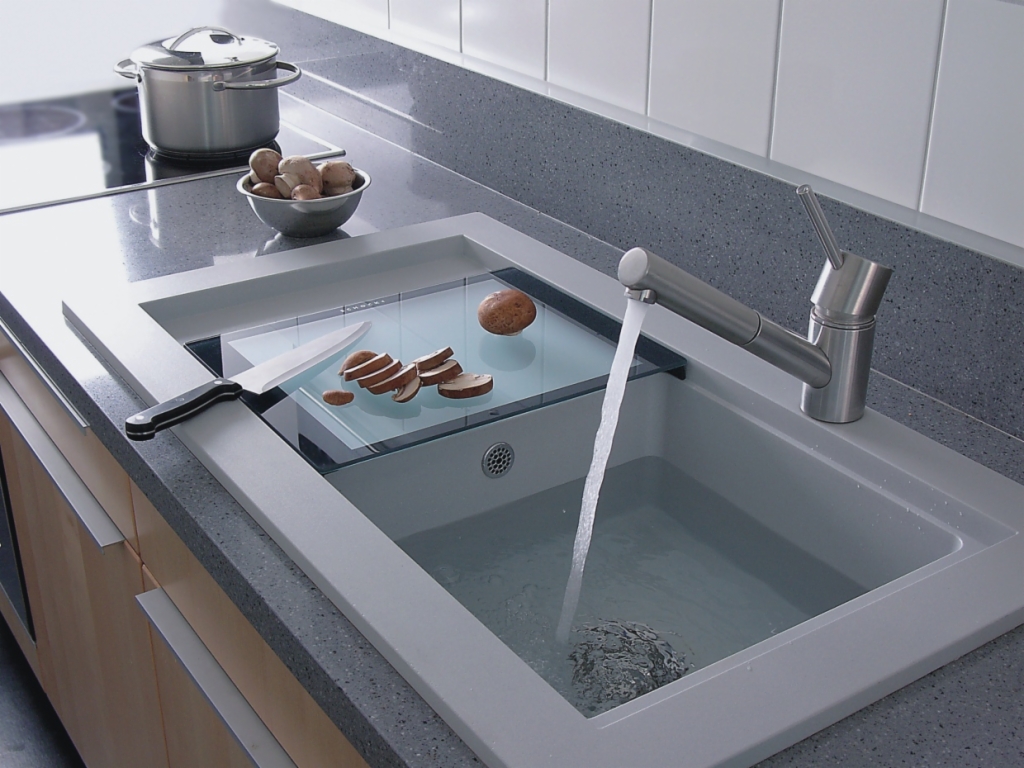
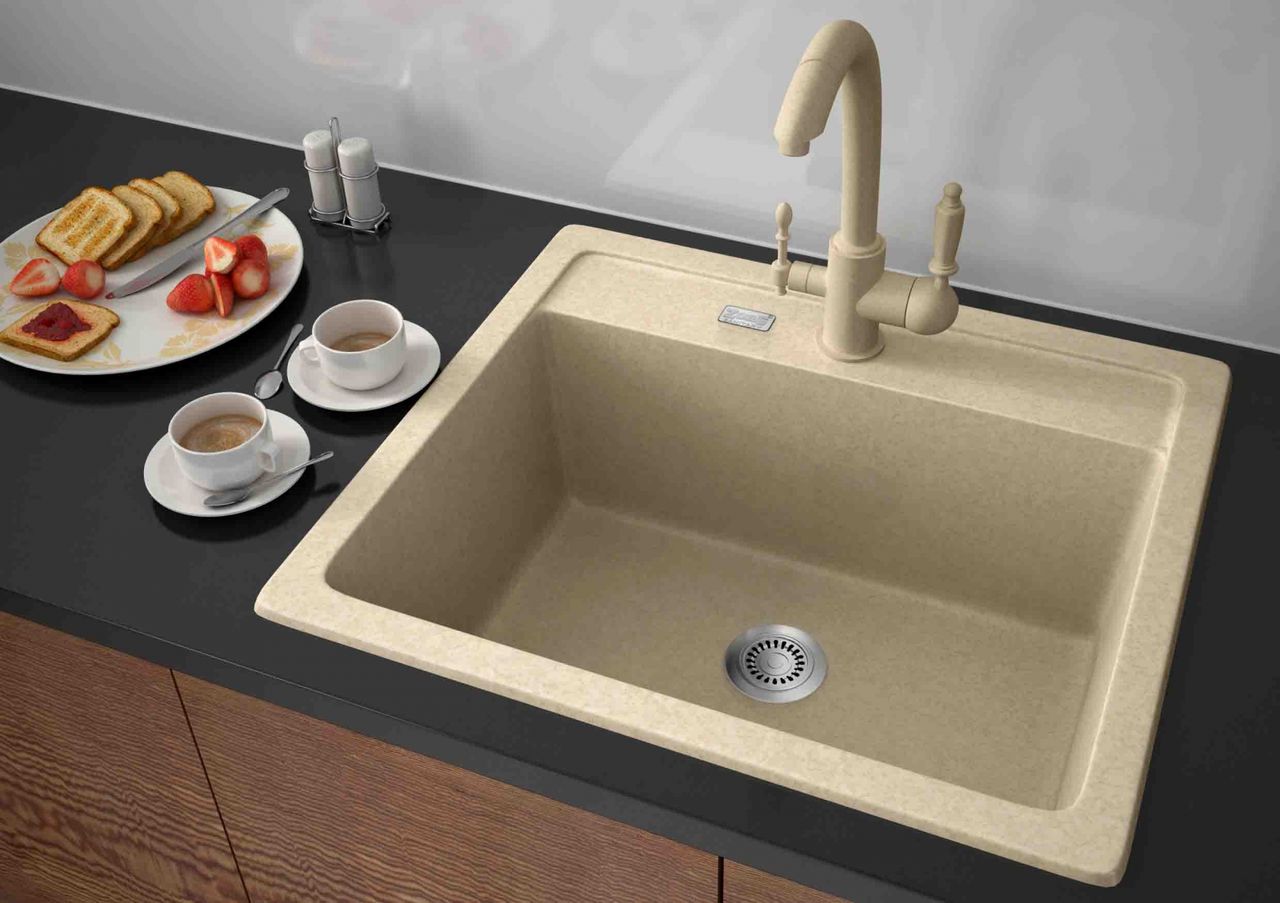
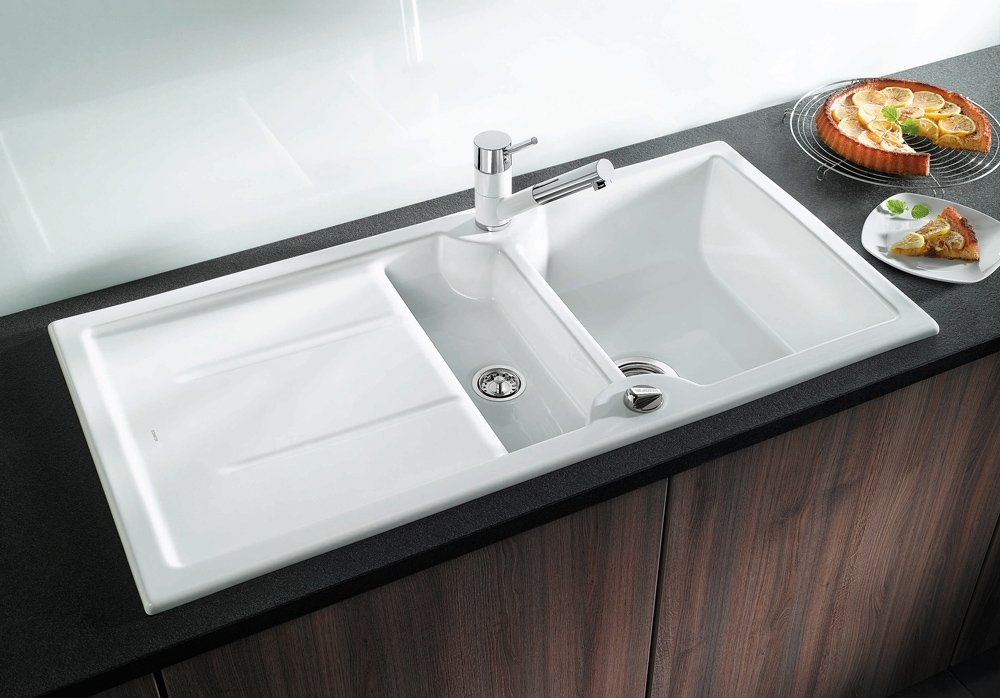
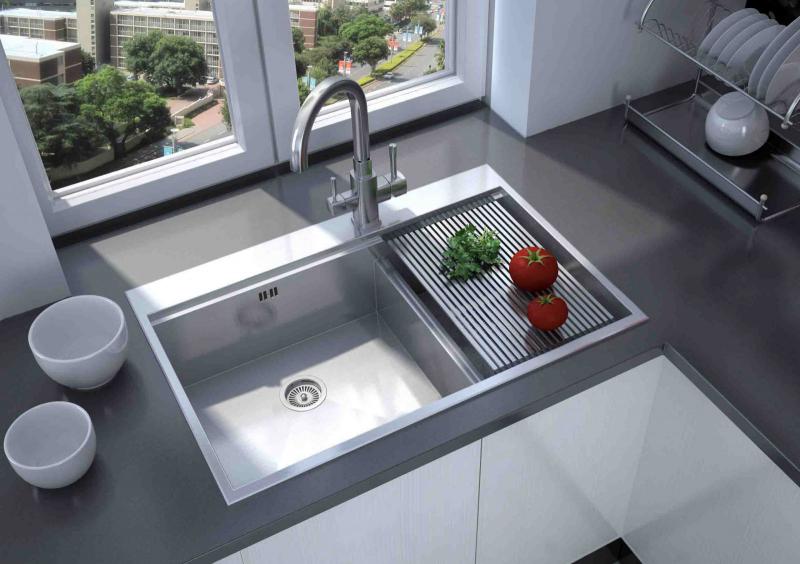
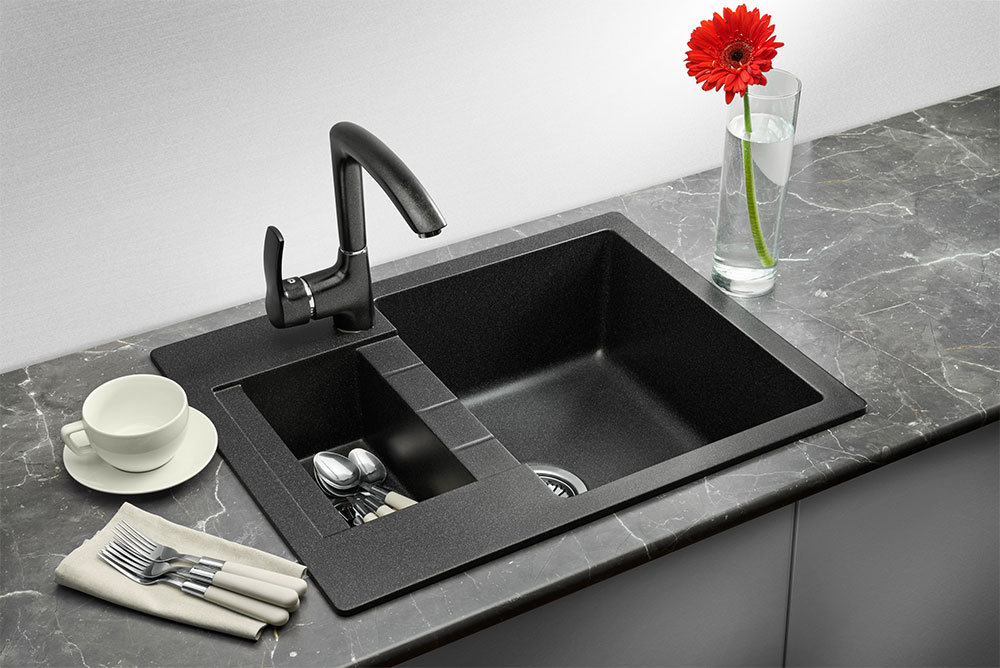
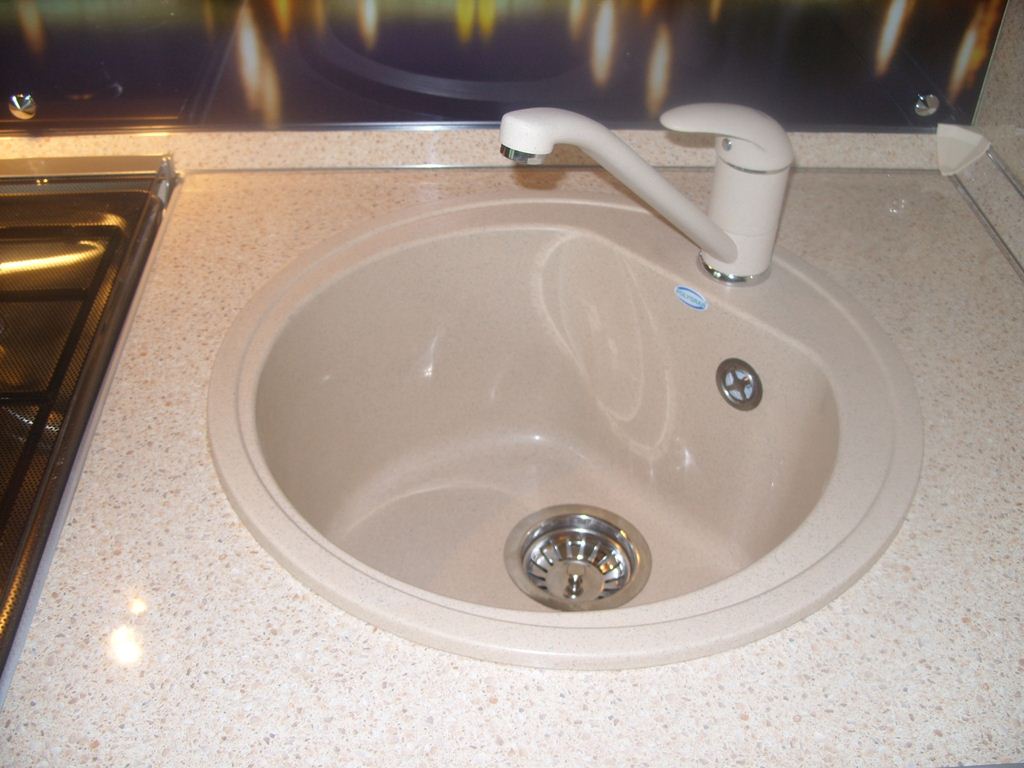
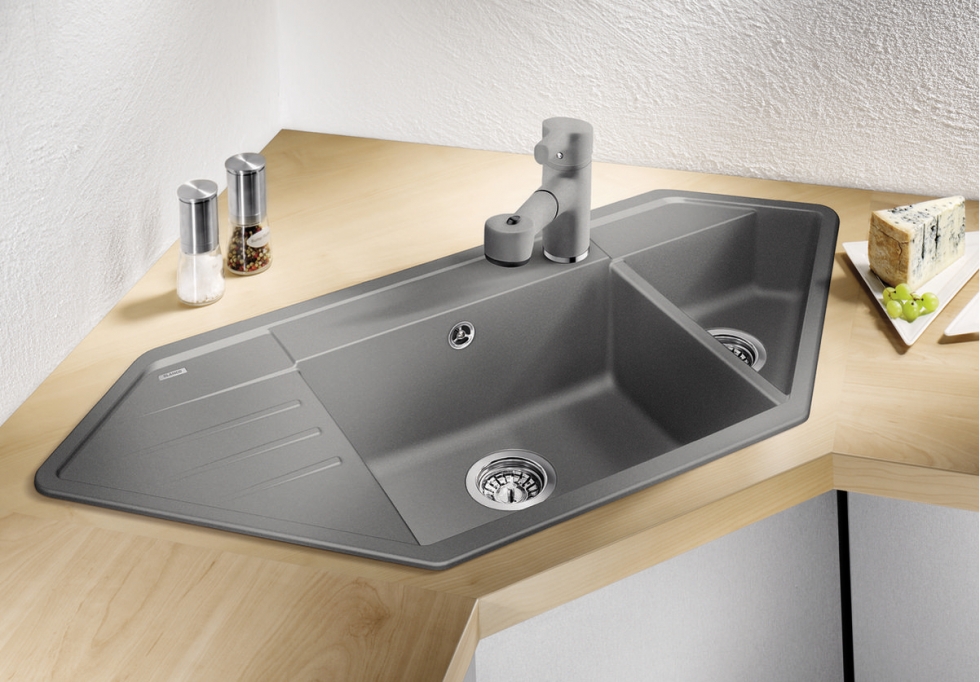
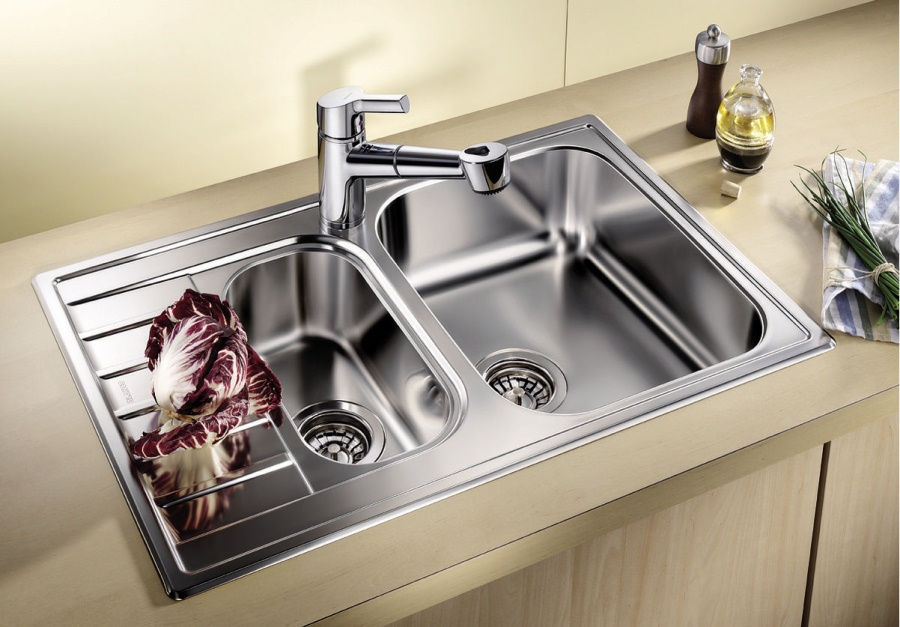
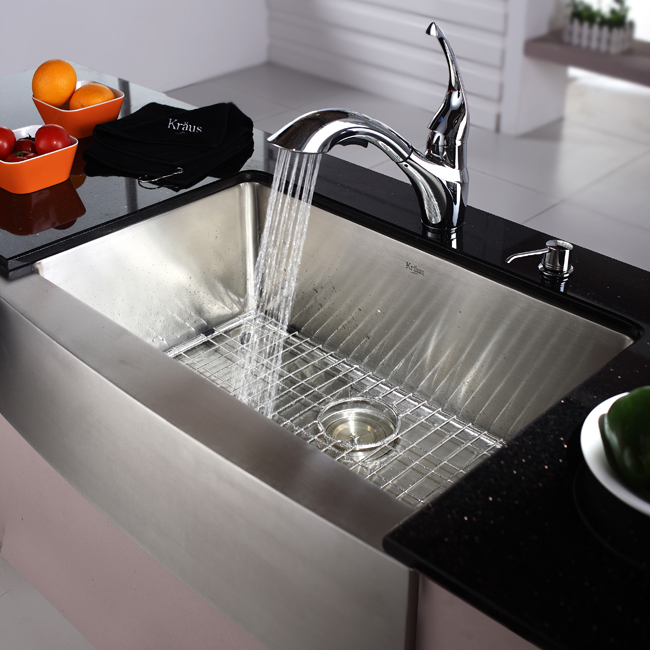
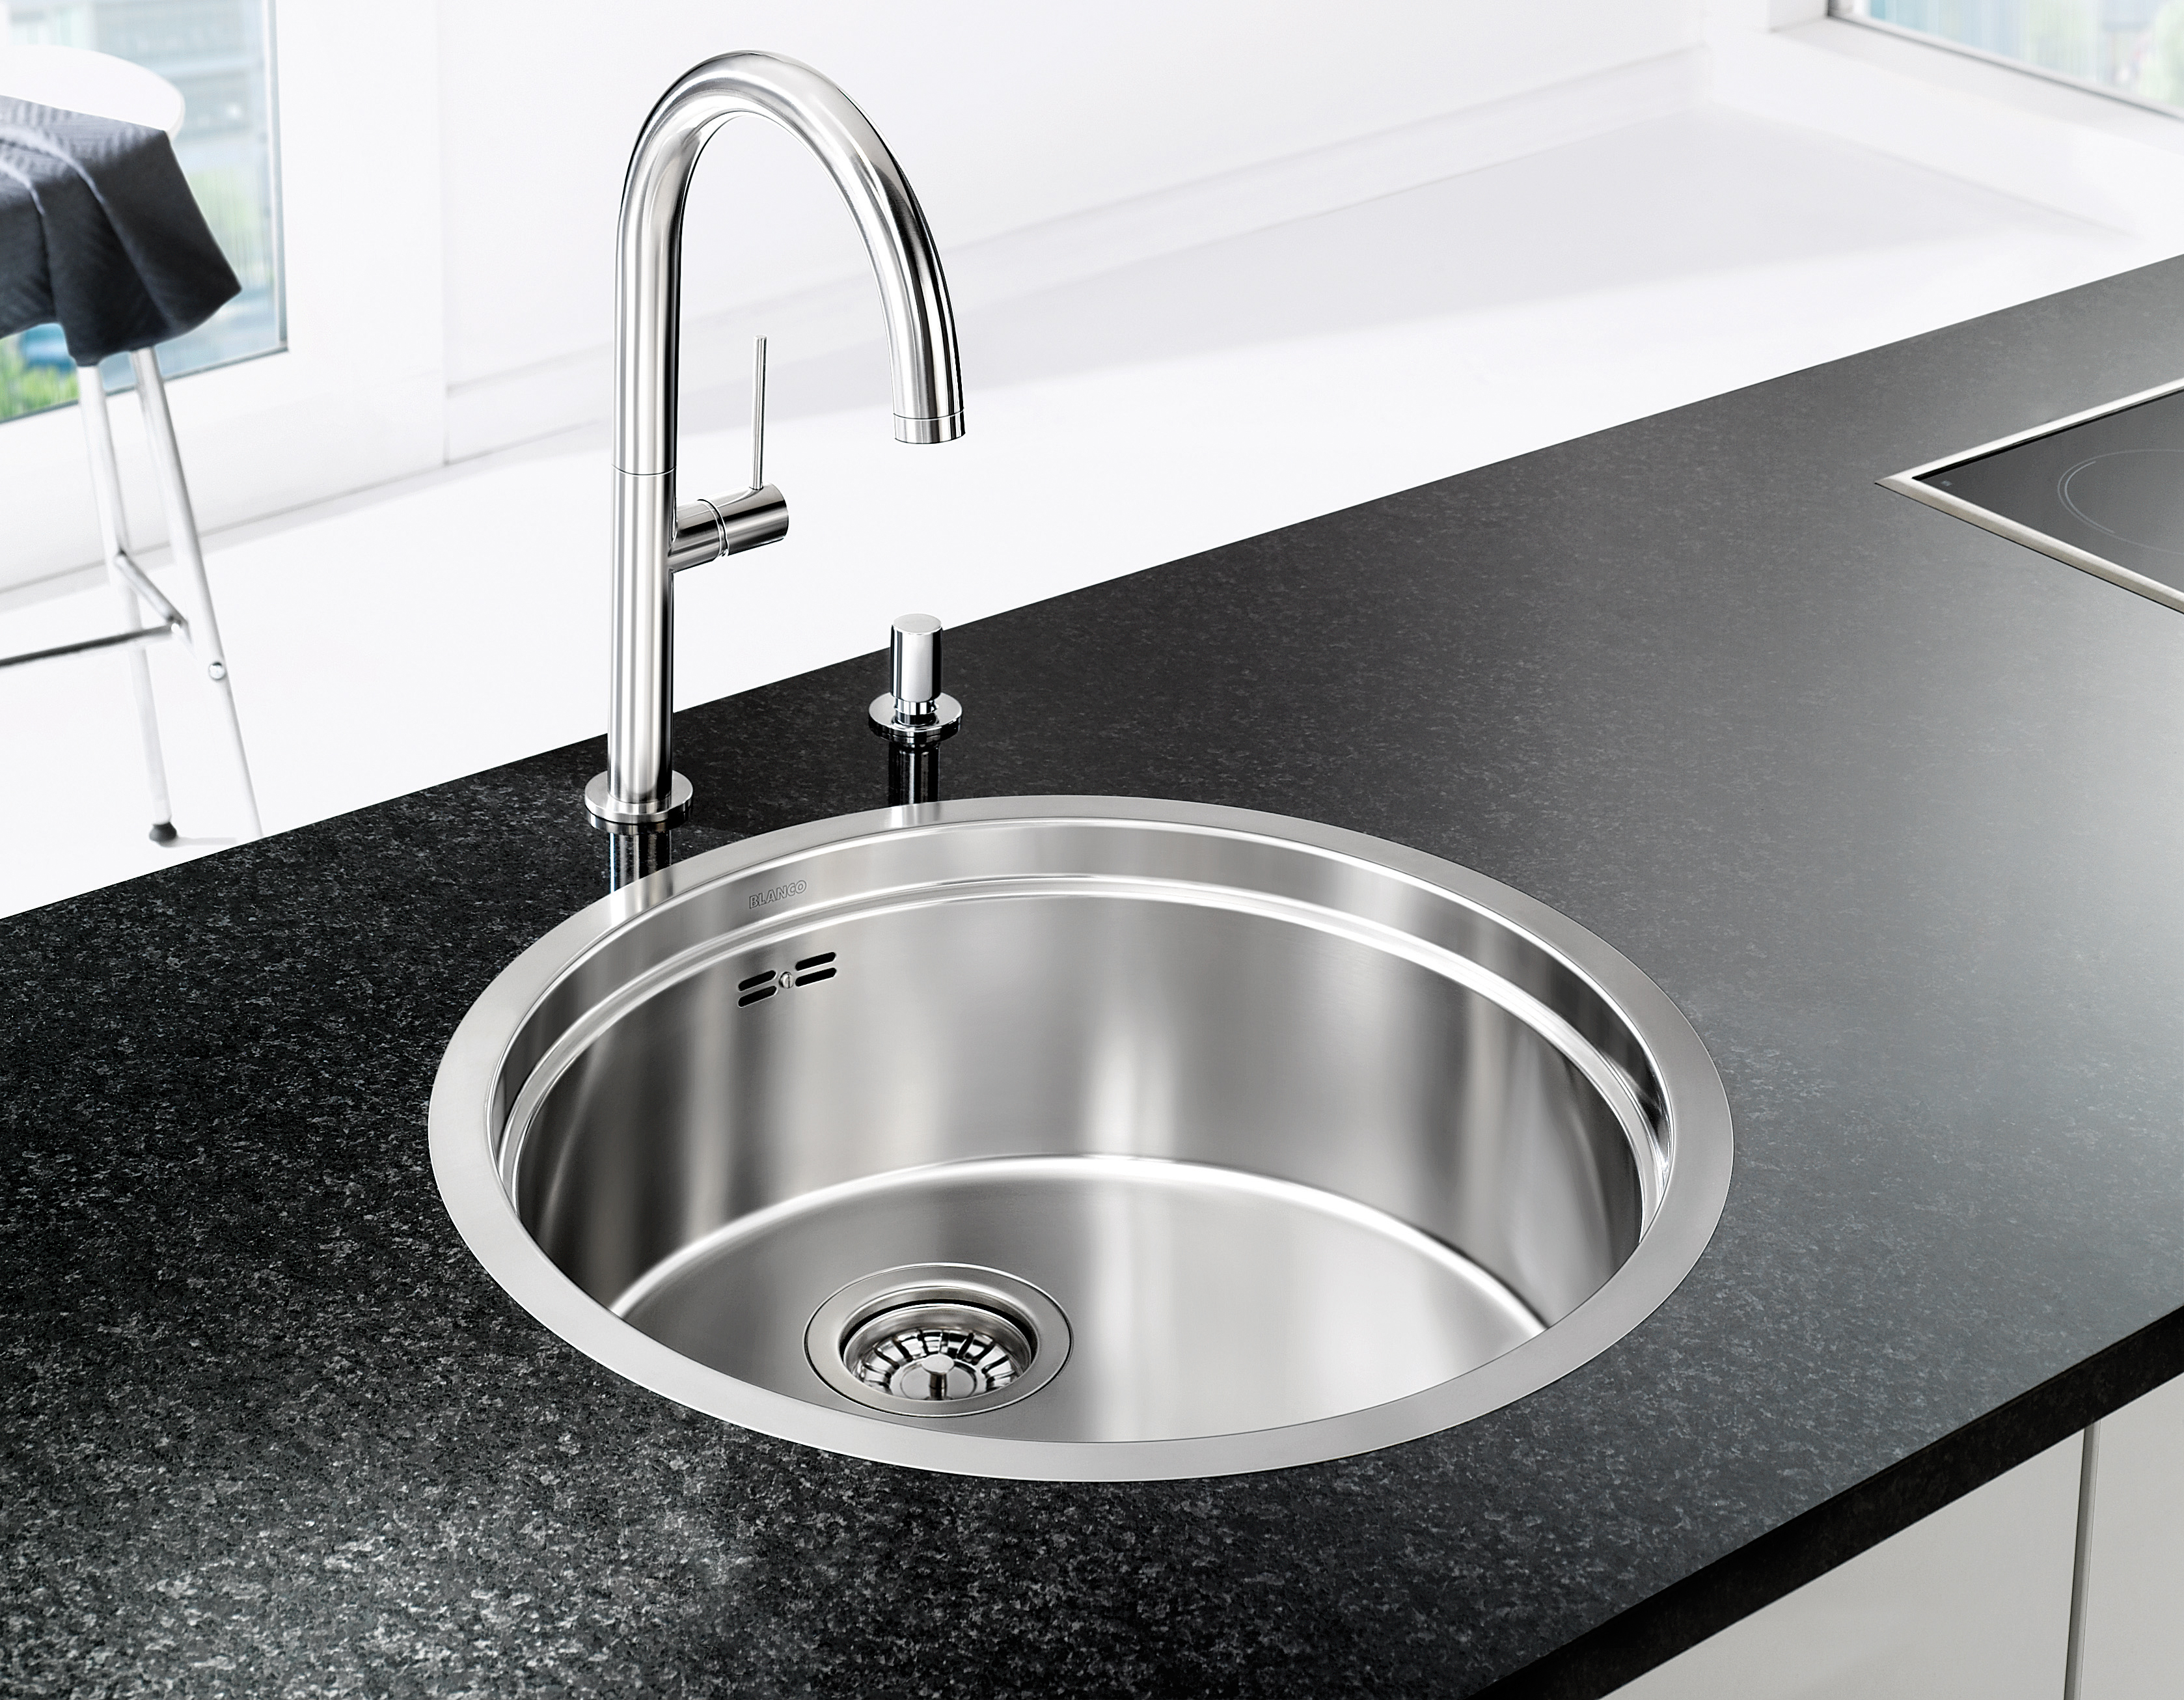
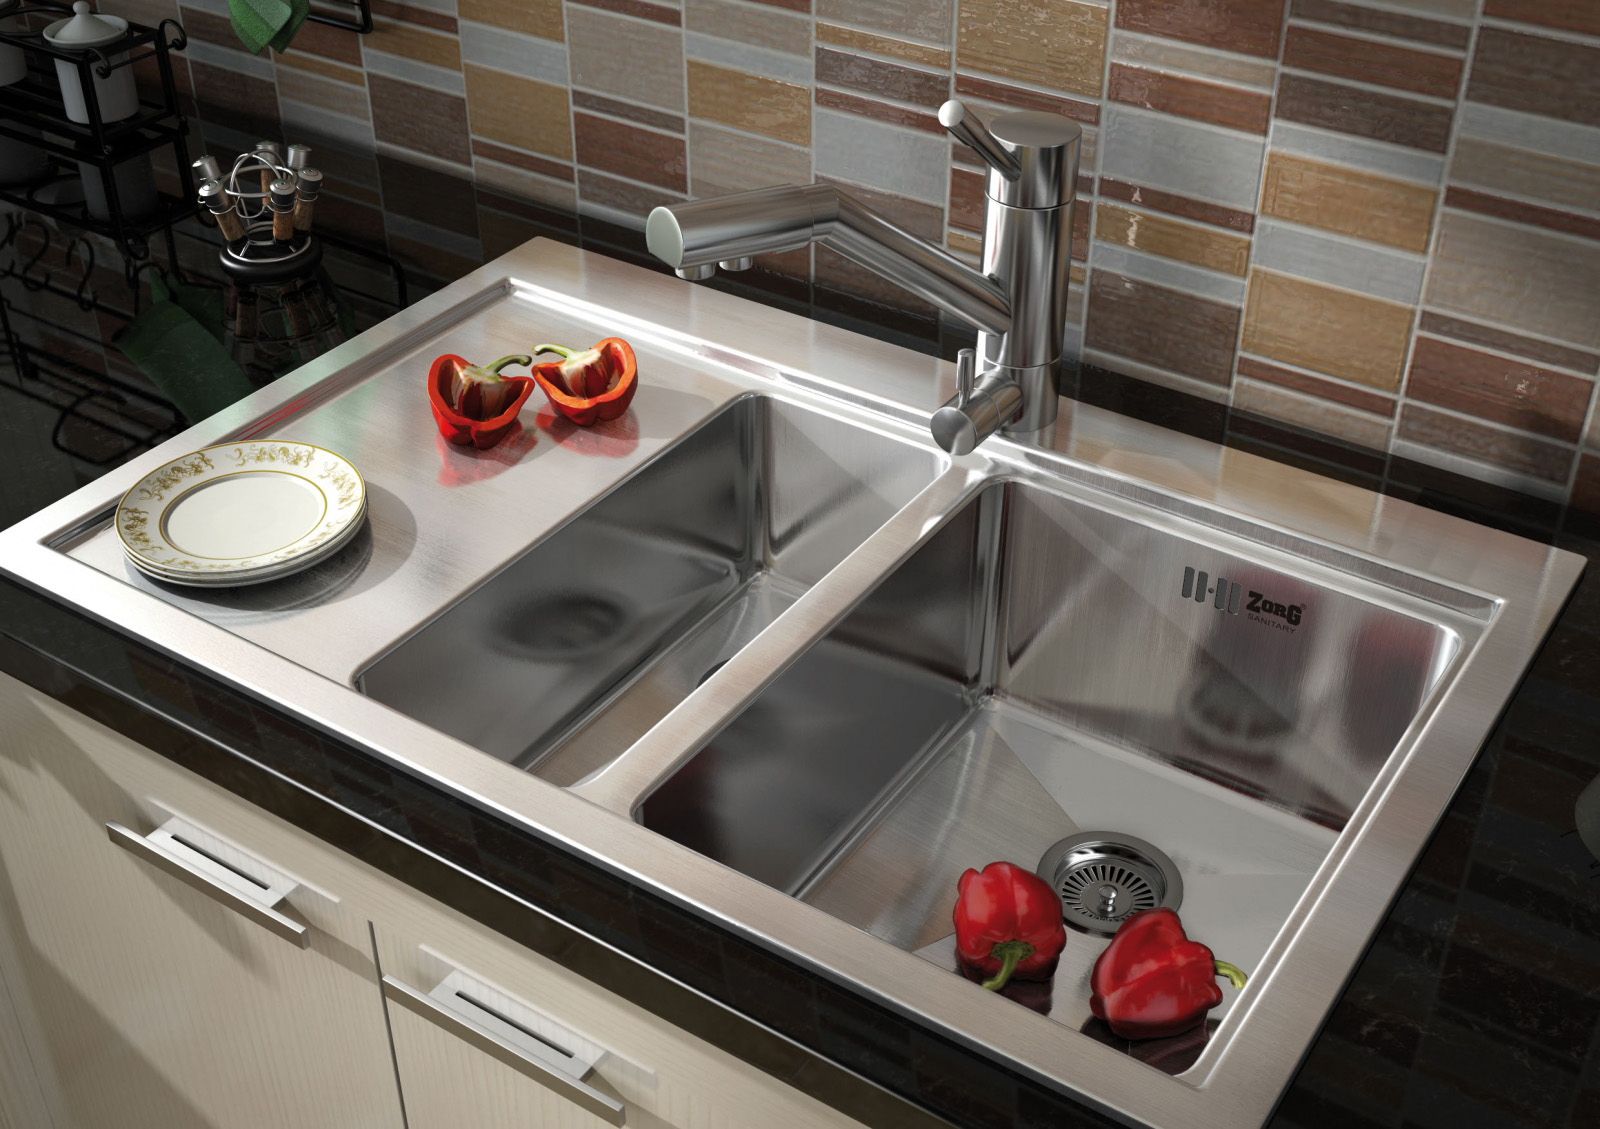
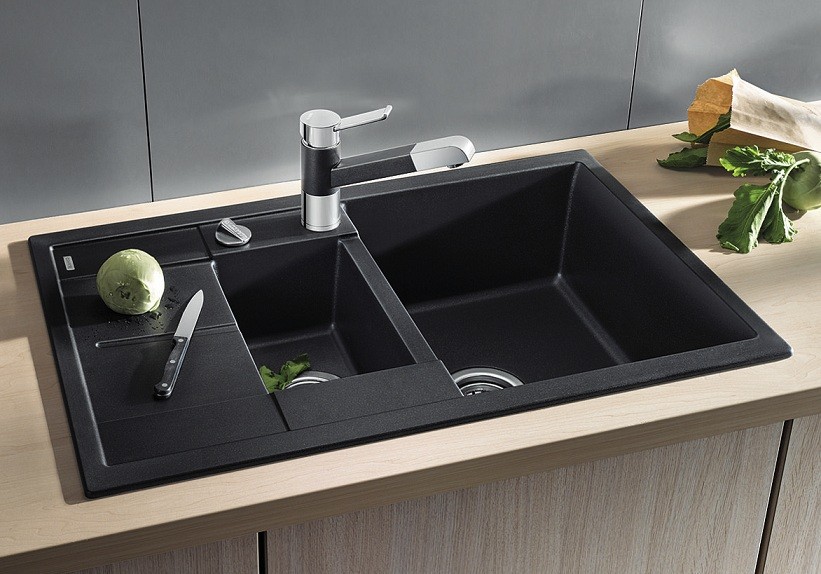
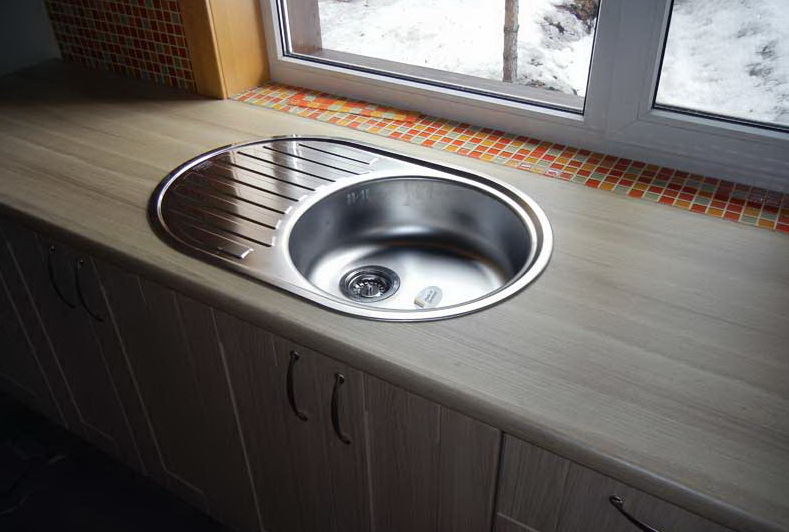
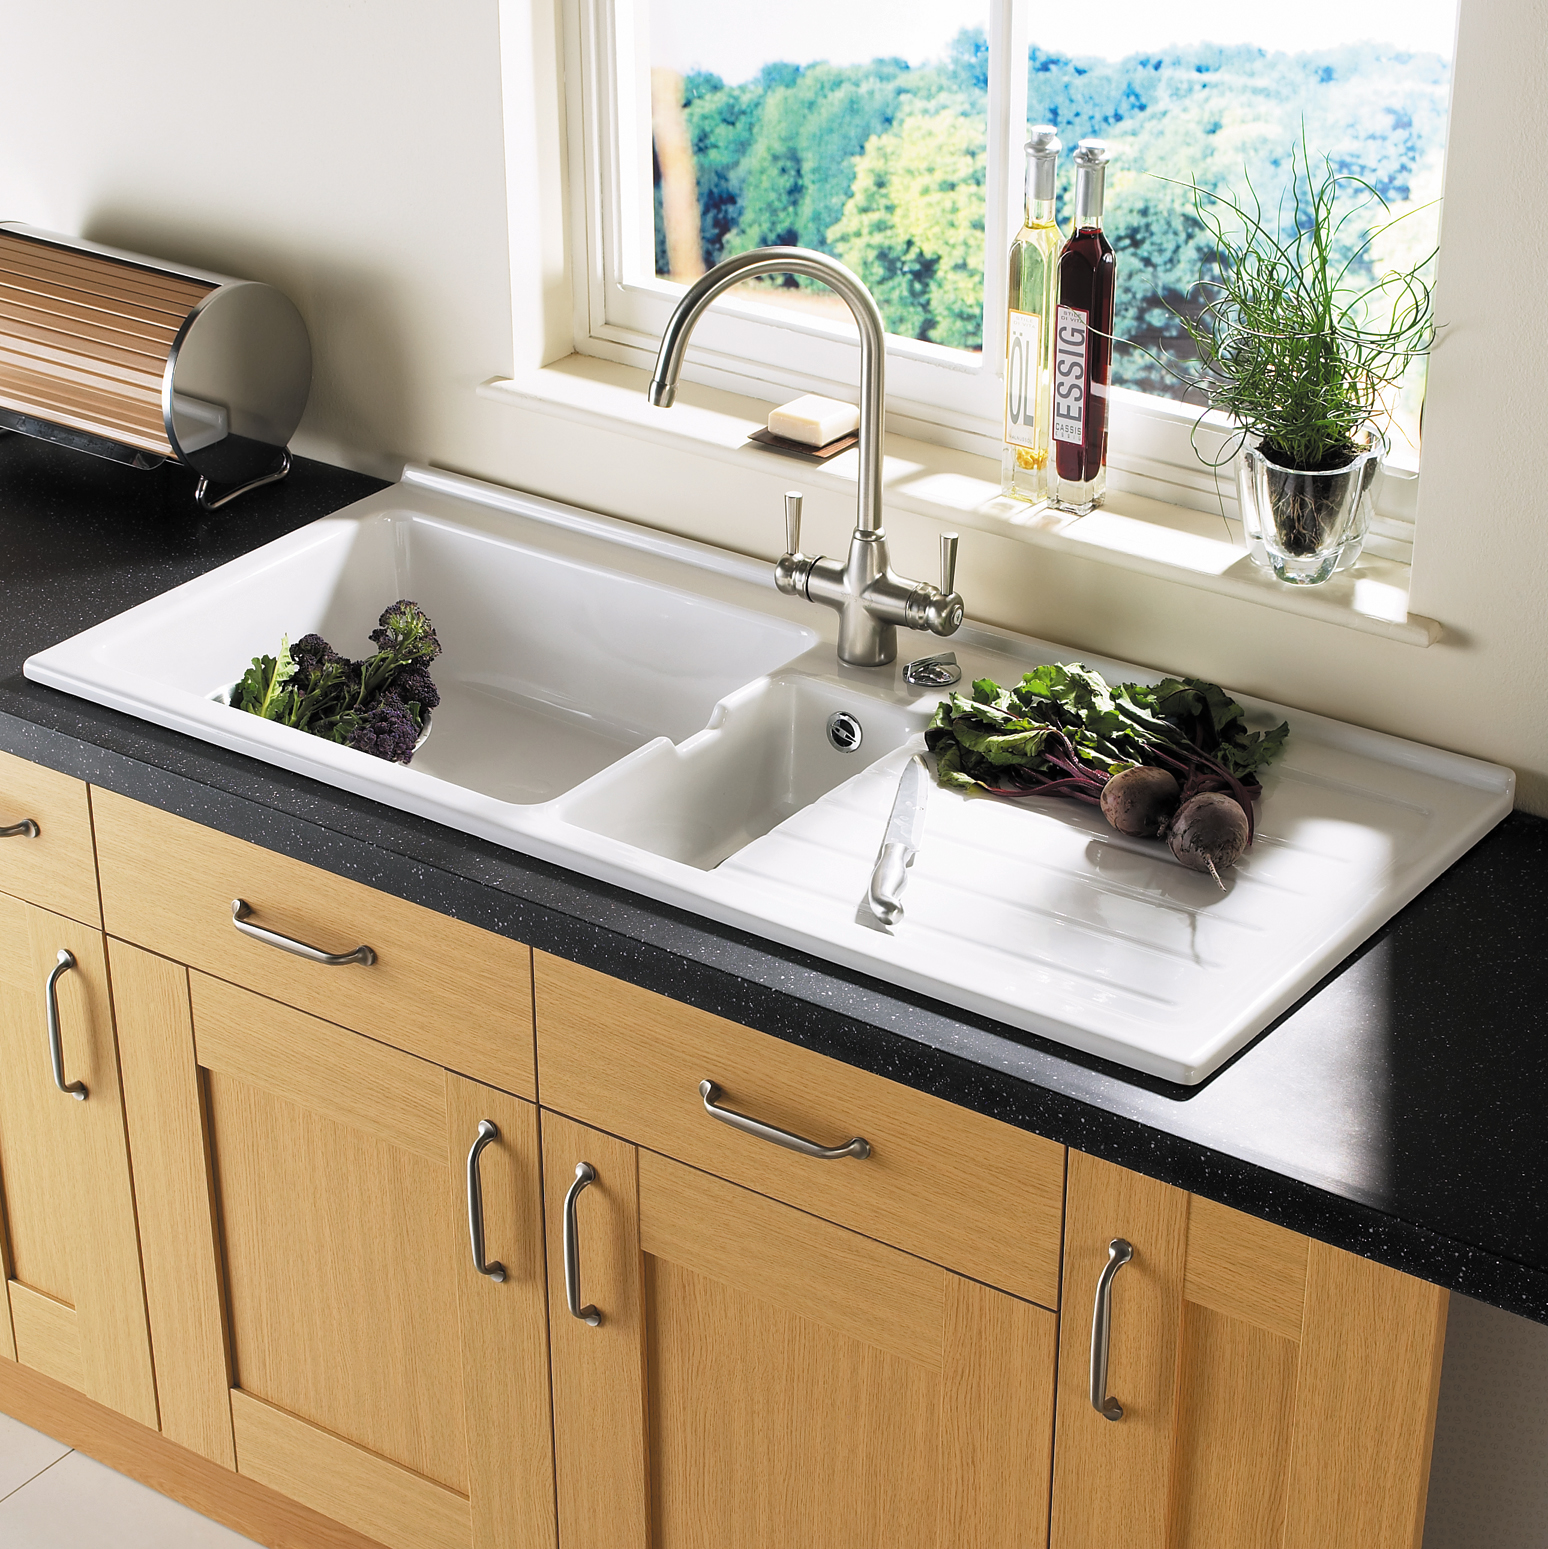
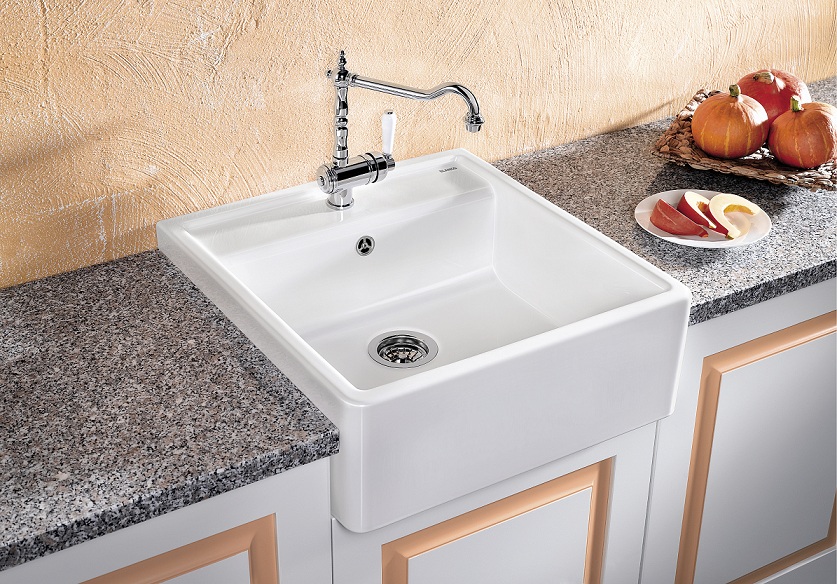
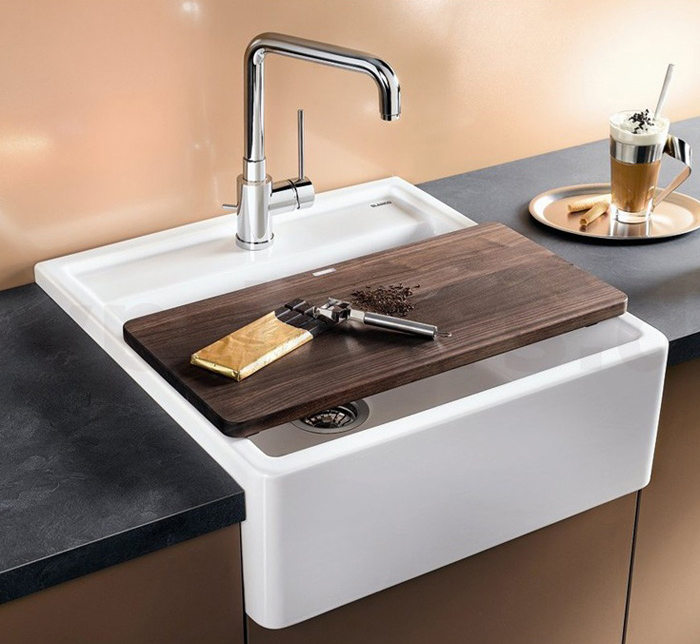
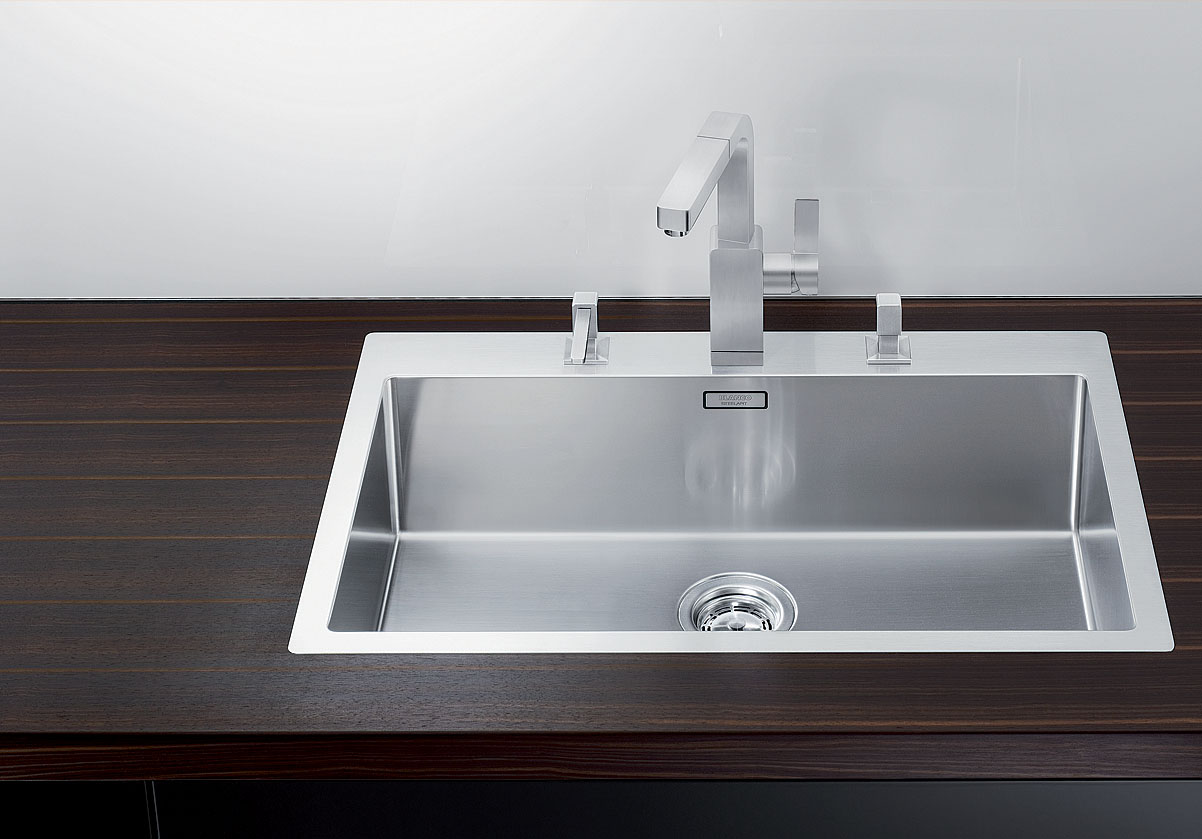
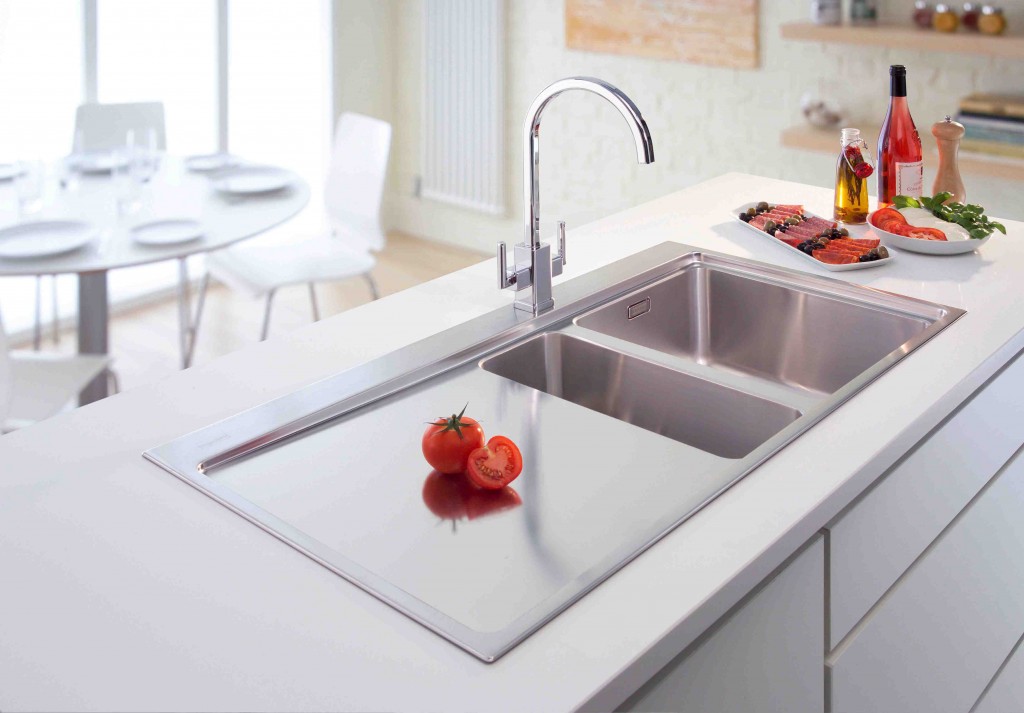
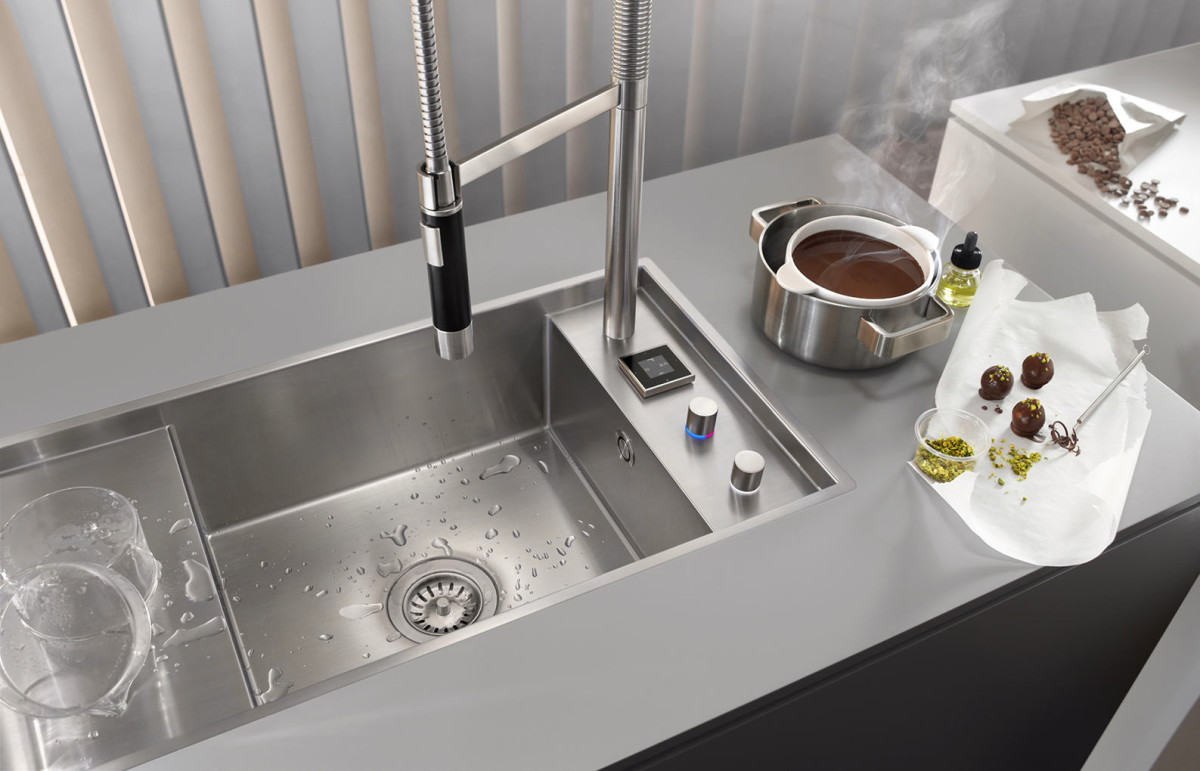
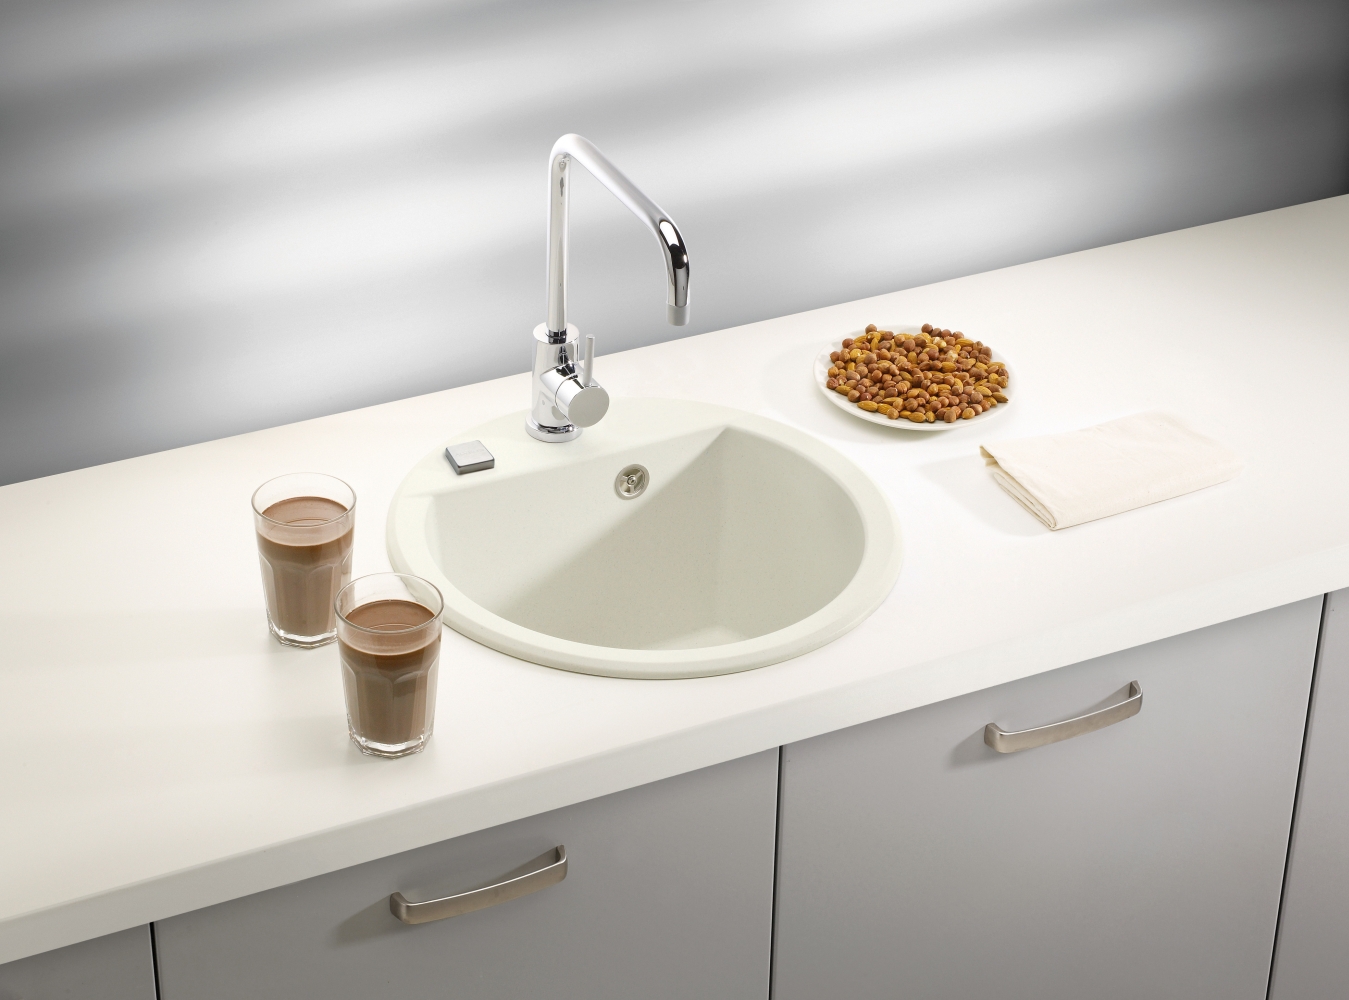
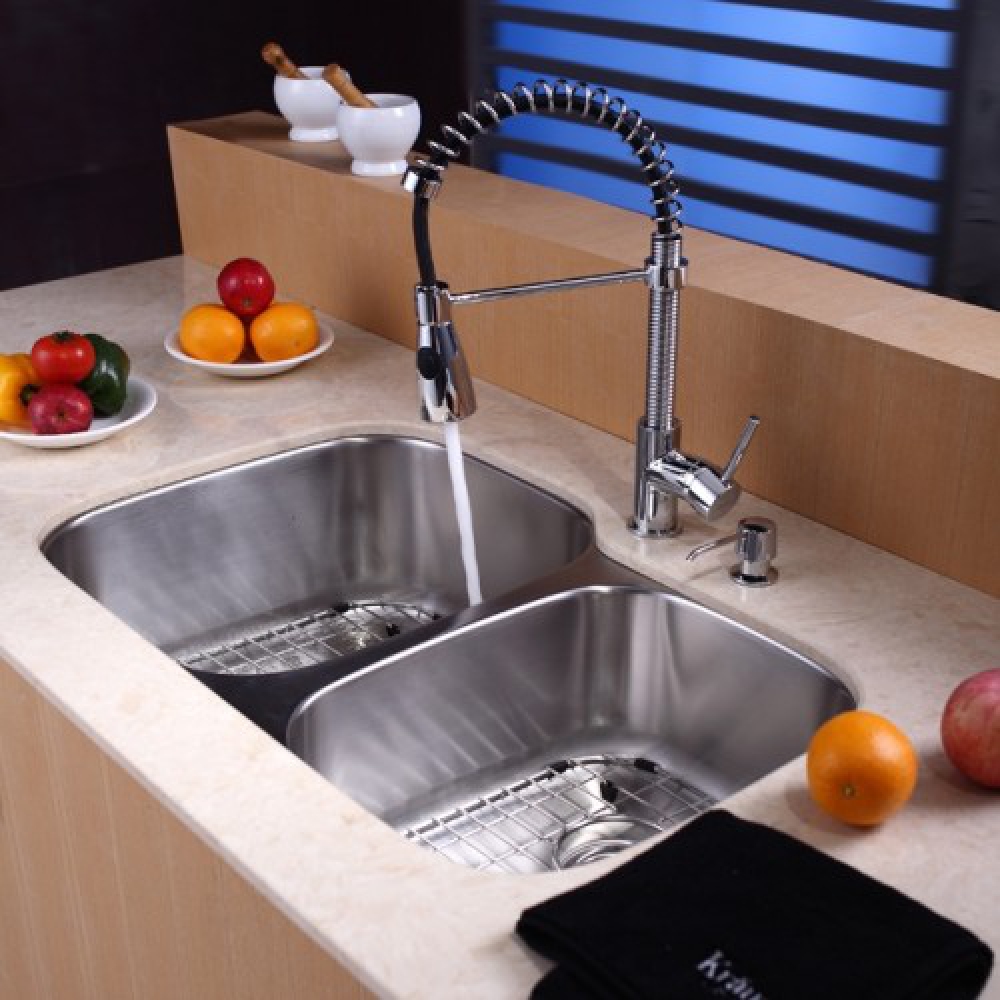
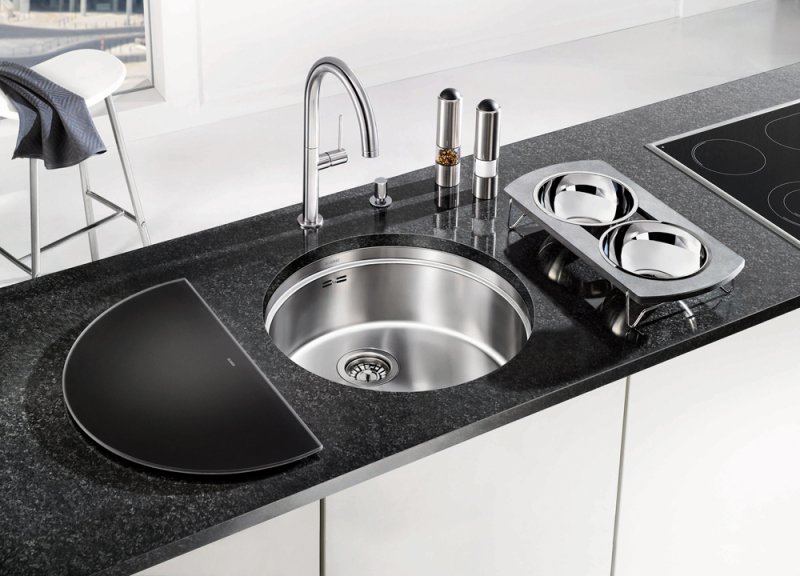
- Flush sink. Such attributes are located inside the specially cut holes in the tabletop. This allows you to create a seamless design that has an embedded system. Mortise washers are versatile, practical and have a lot of design solutions.

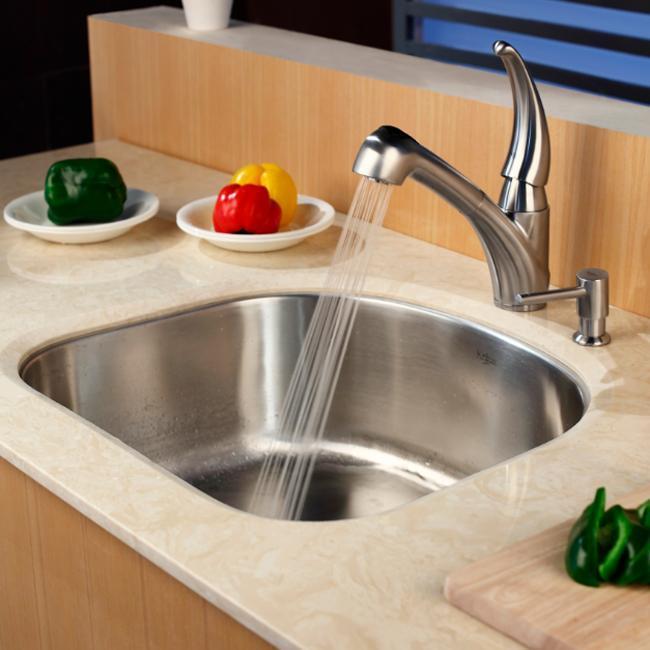
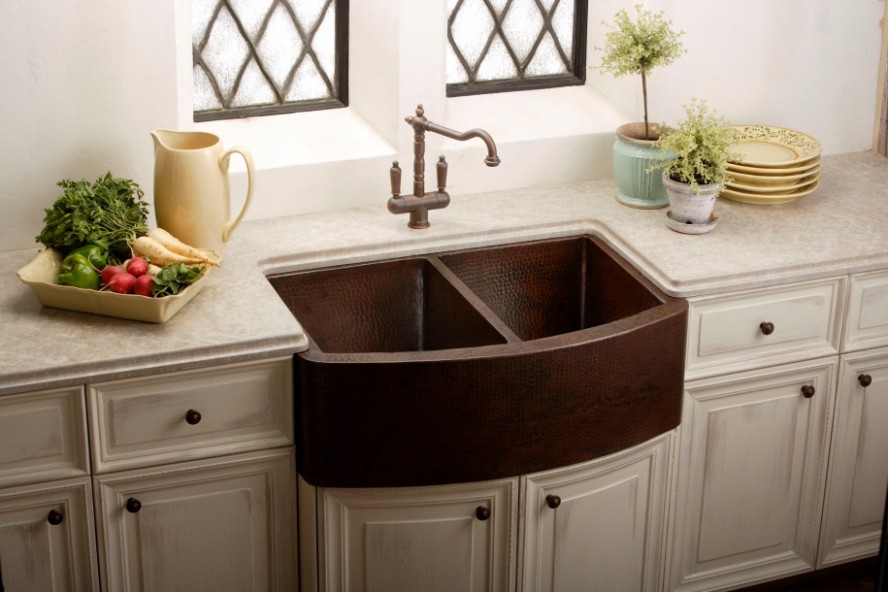
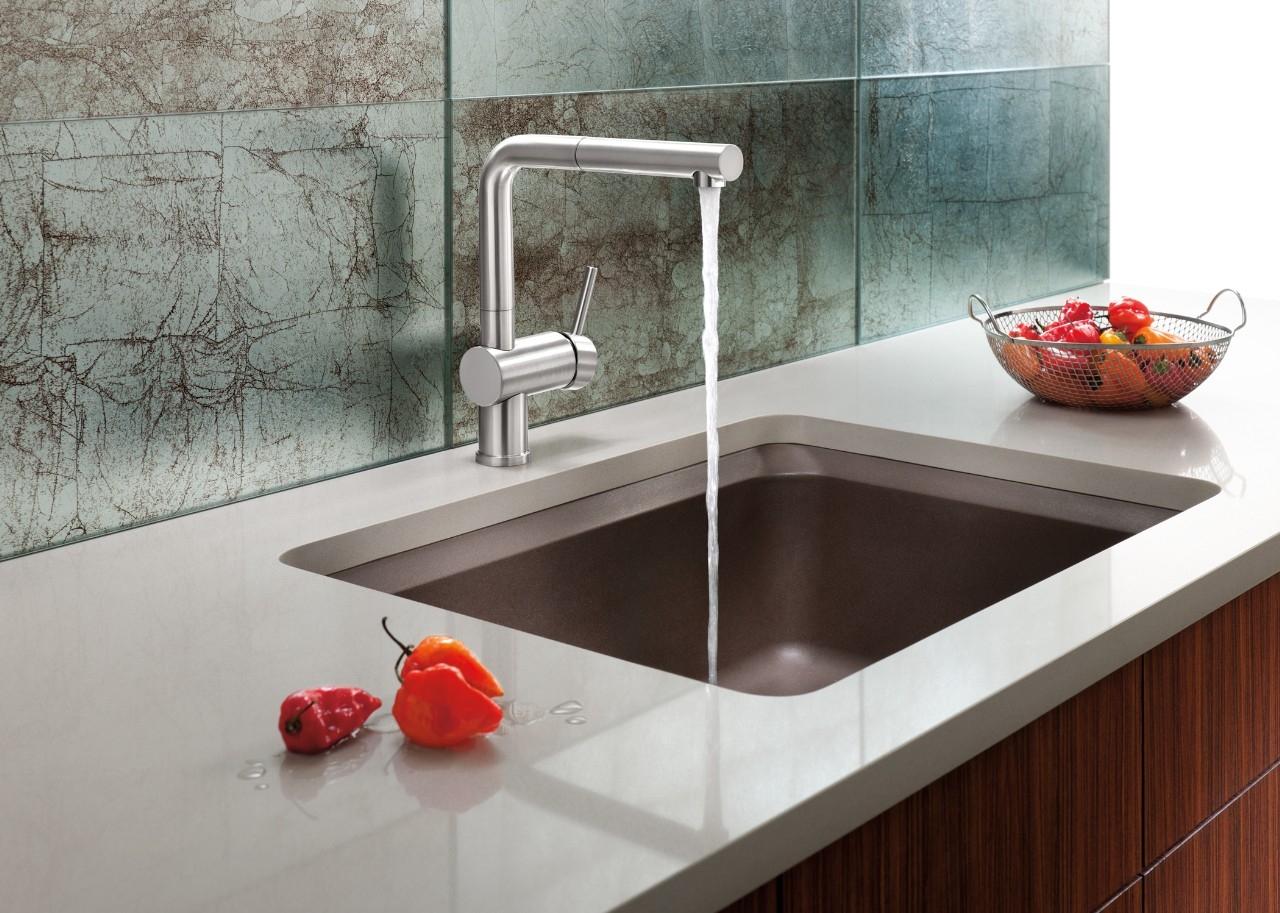
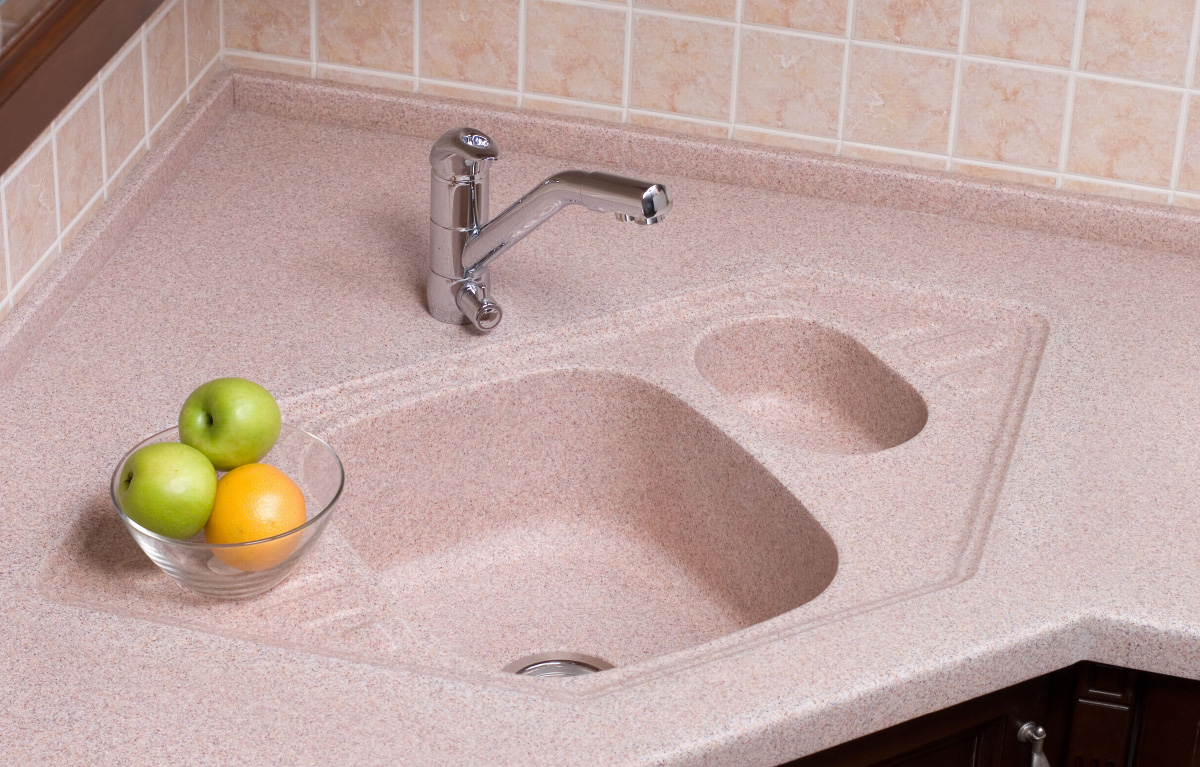
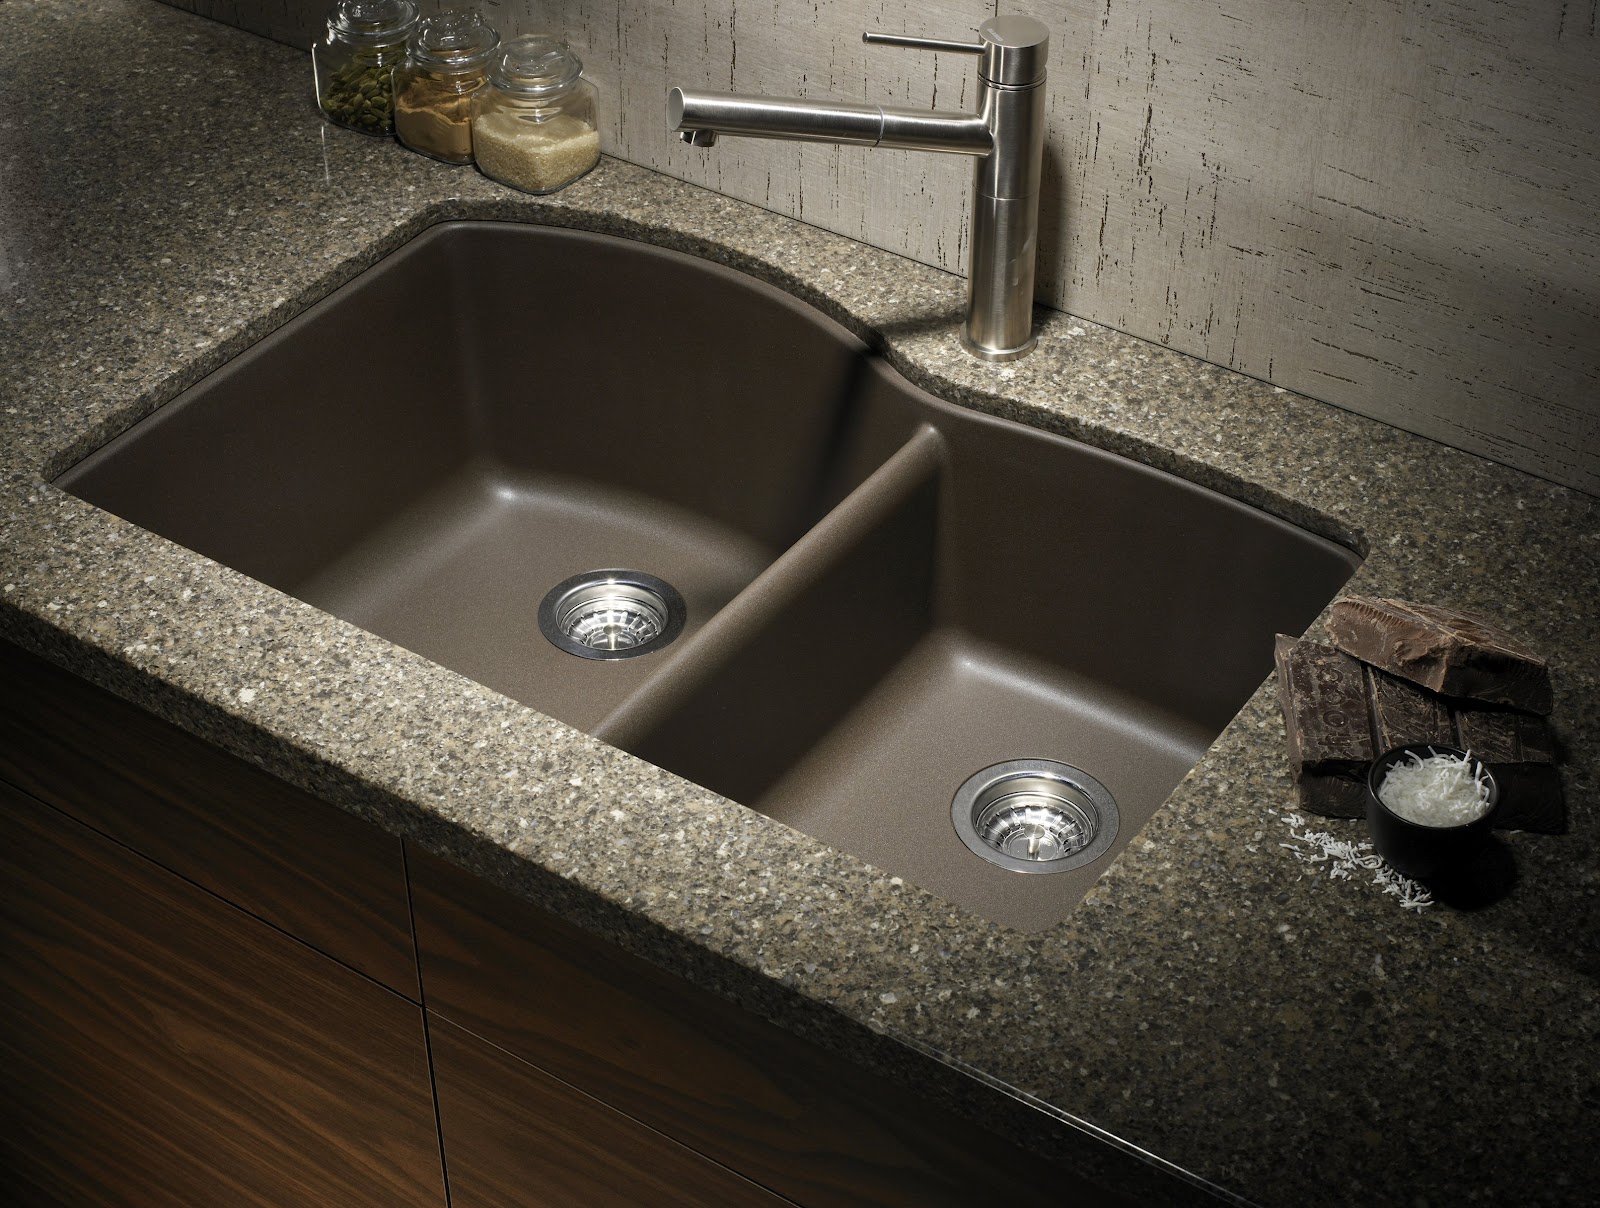
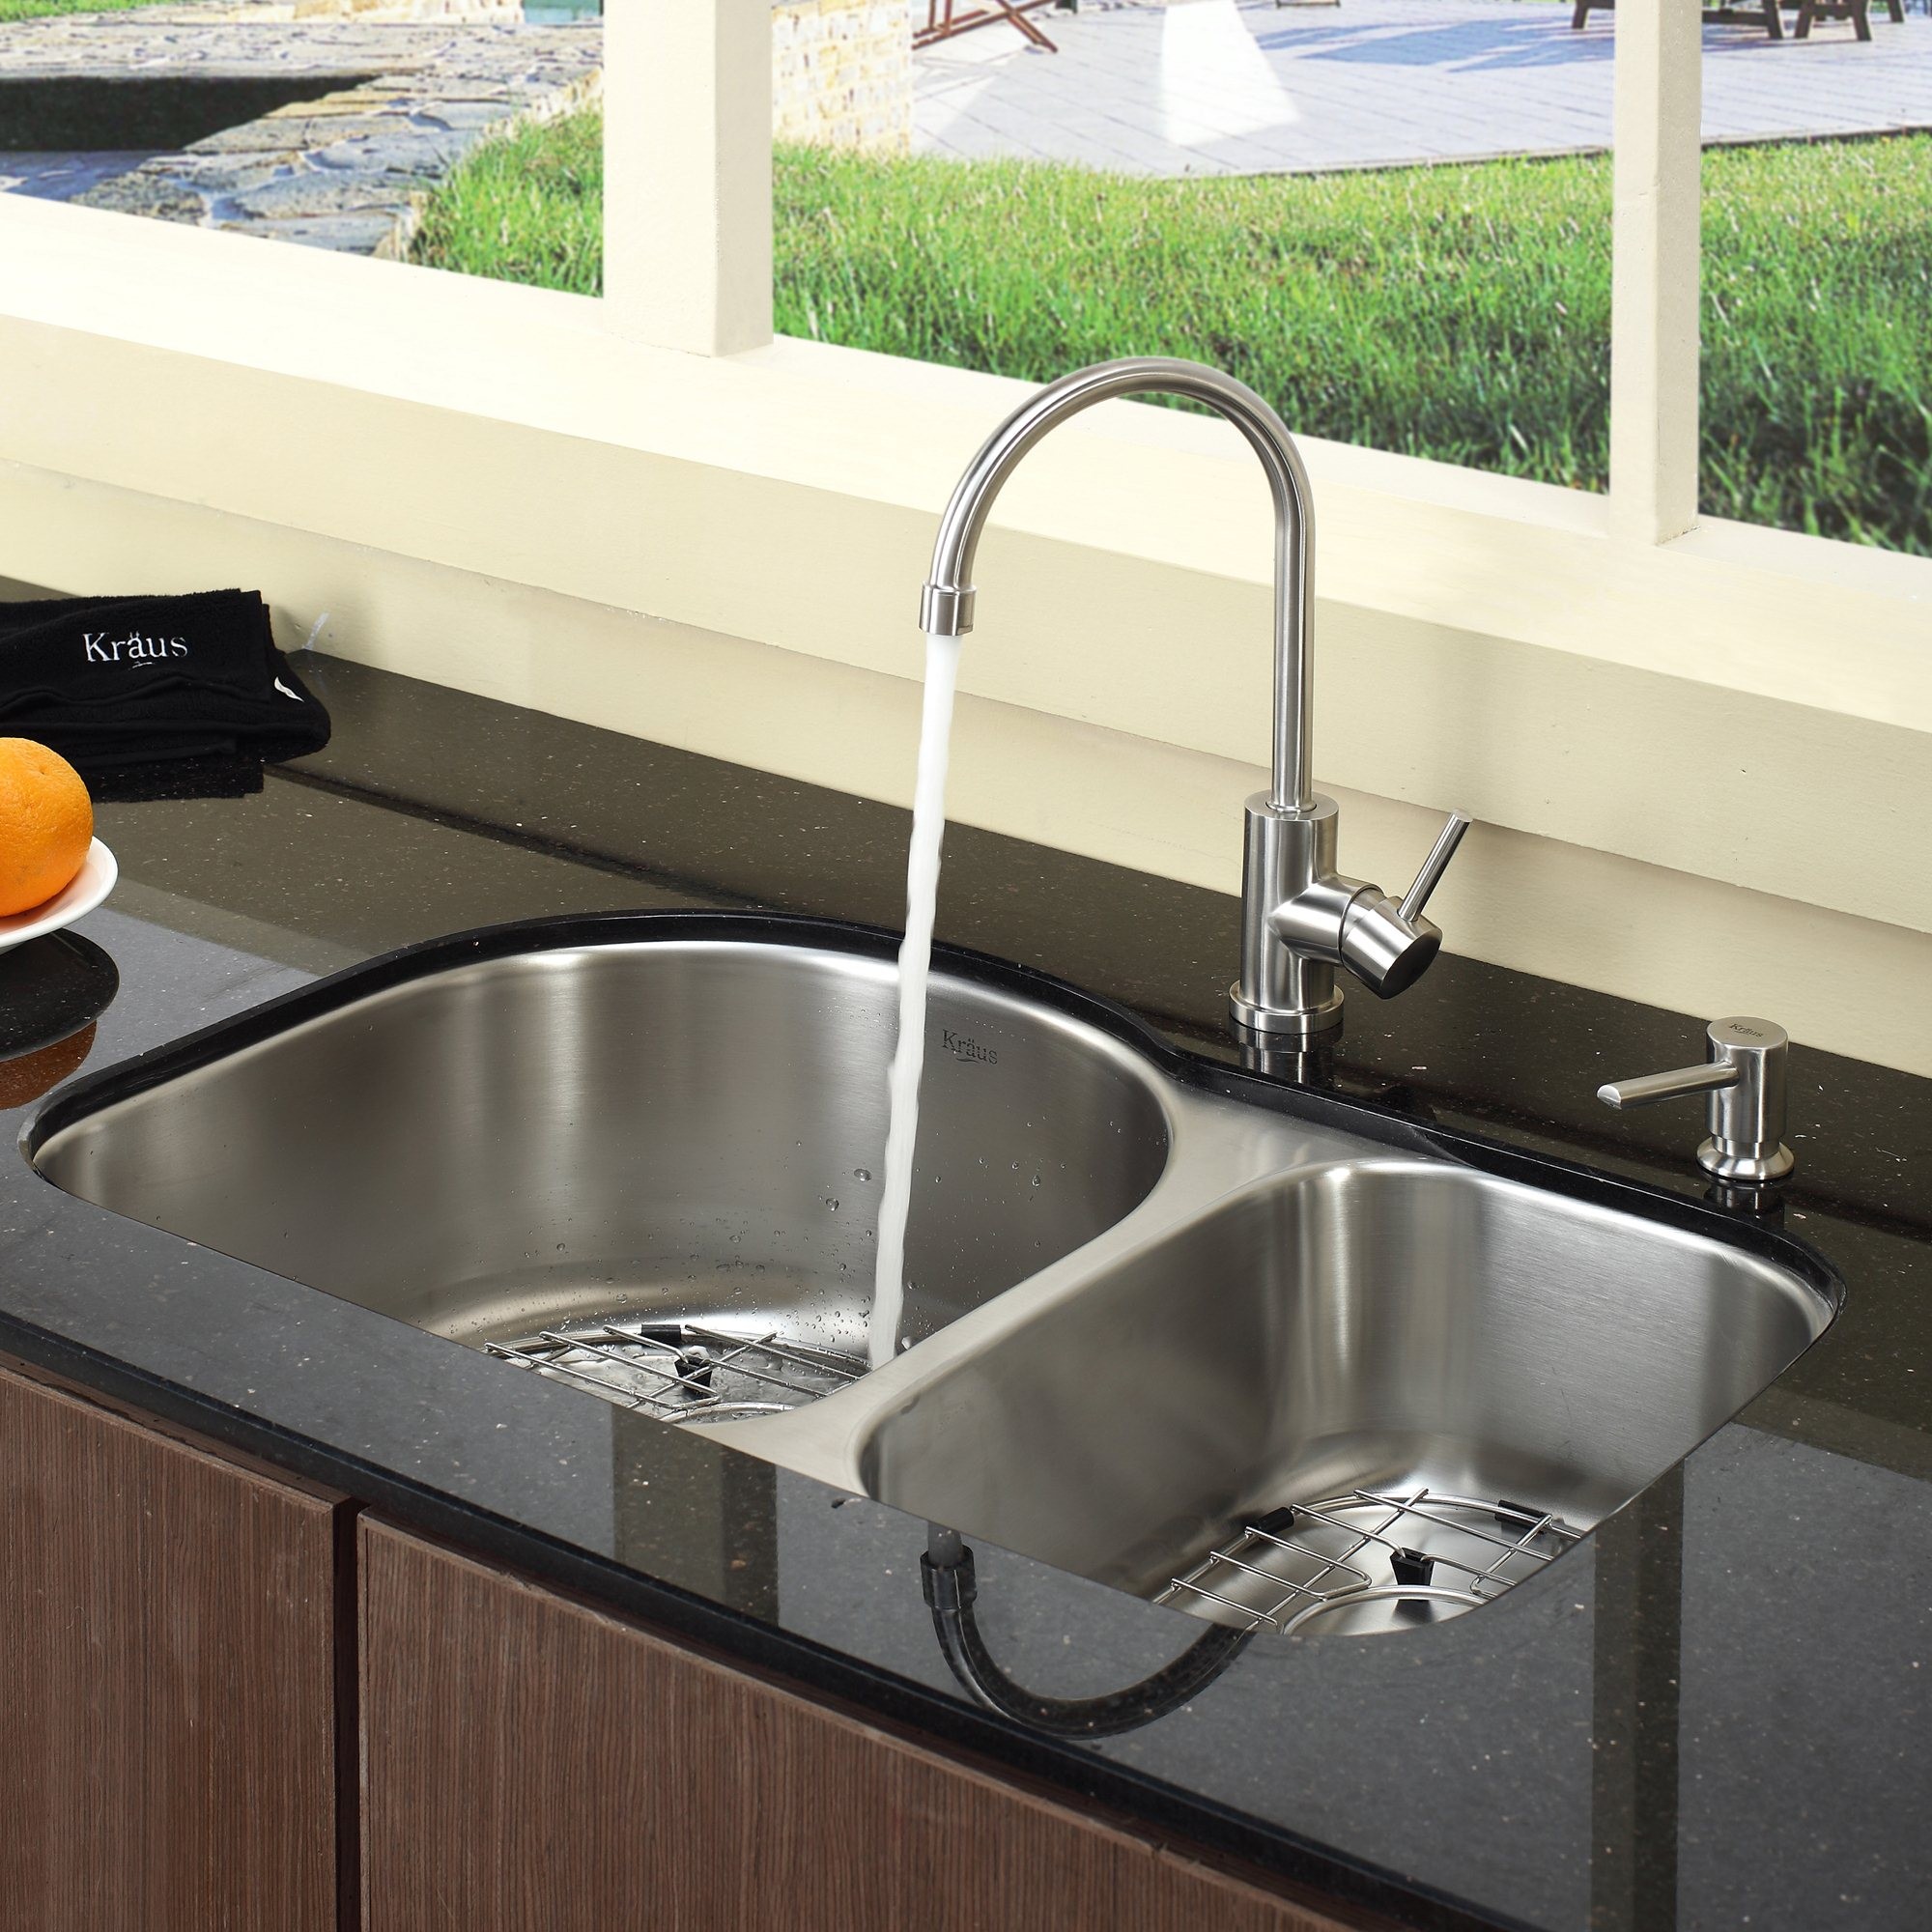
Under-table sinks are mounted under the main working surface. Such products are used in combination with countertop materials such as glass, granite, etc. Sinks of this type have unique properties, but at the same time their cost is much higher than the previously reviewed counterparts.
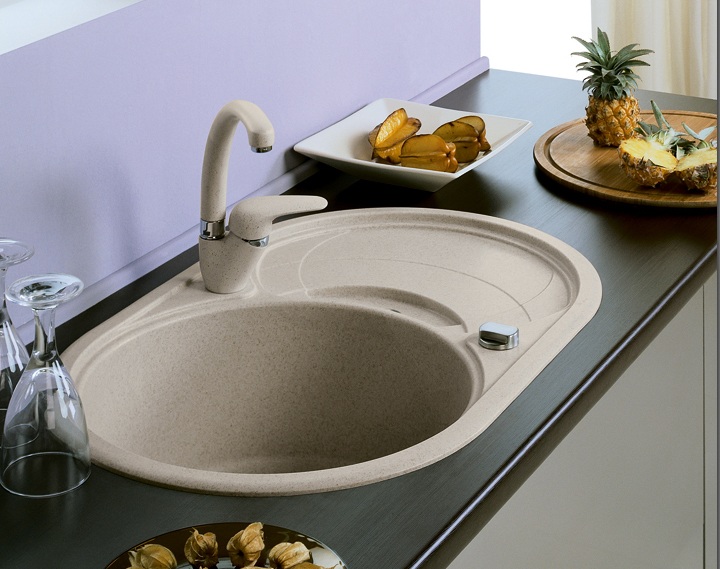
Materials and form
The modern market produces several modifications of kitchen sinks. Among the most popular materials used for production, can be identified:
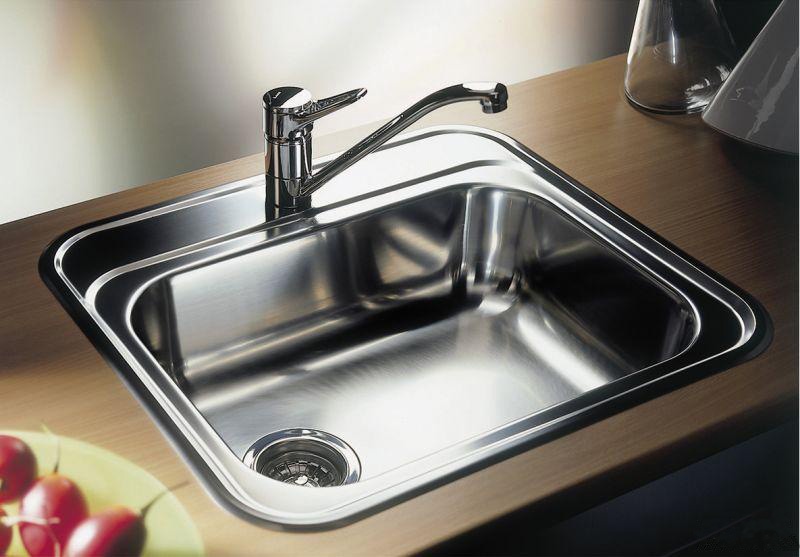
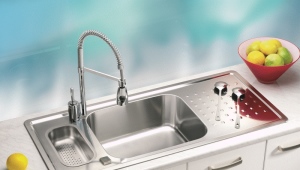
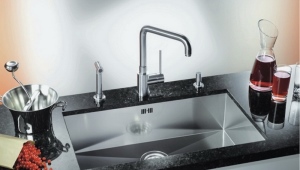
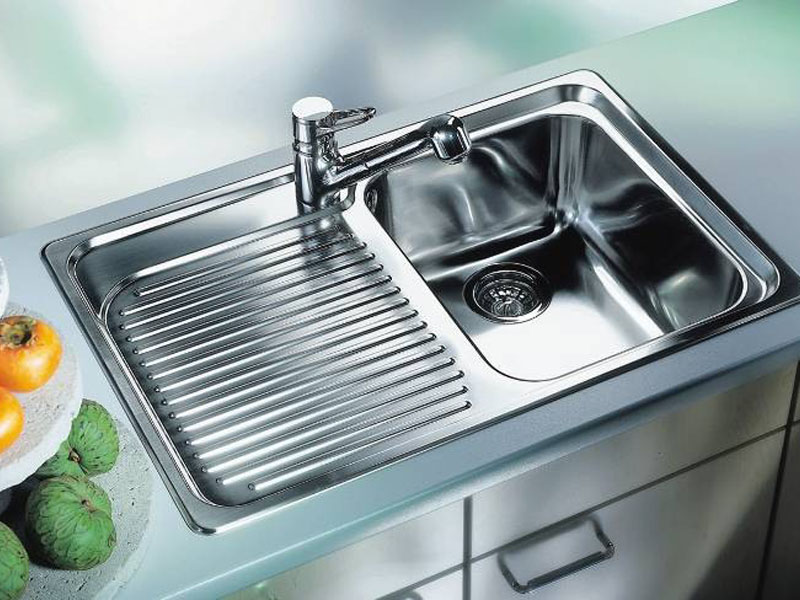
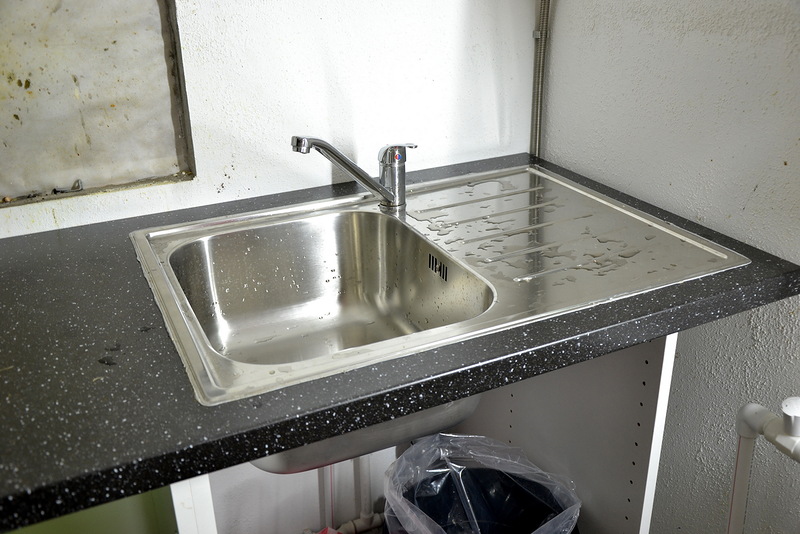
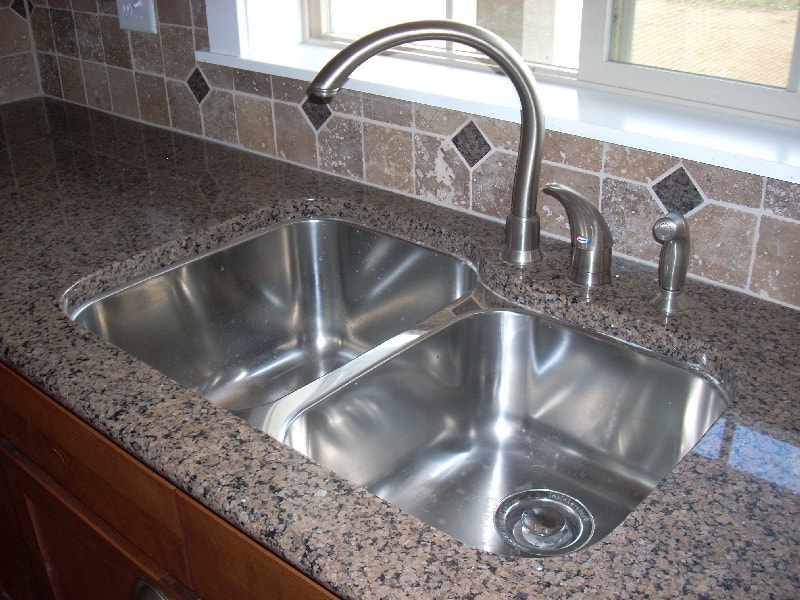
- Stainless steel. Metal products are characterized by high mechanical strength, resistance to aggressive substances and high temperatures.
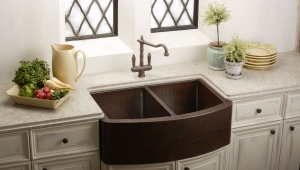
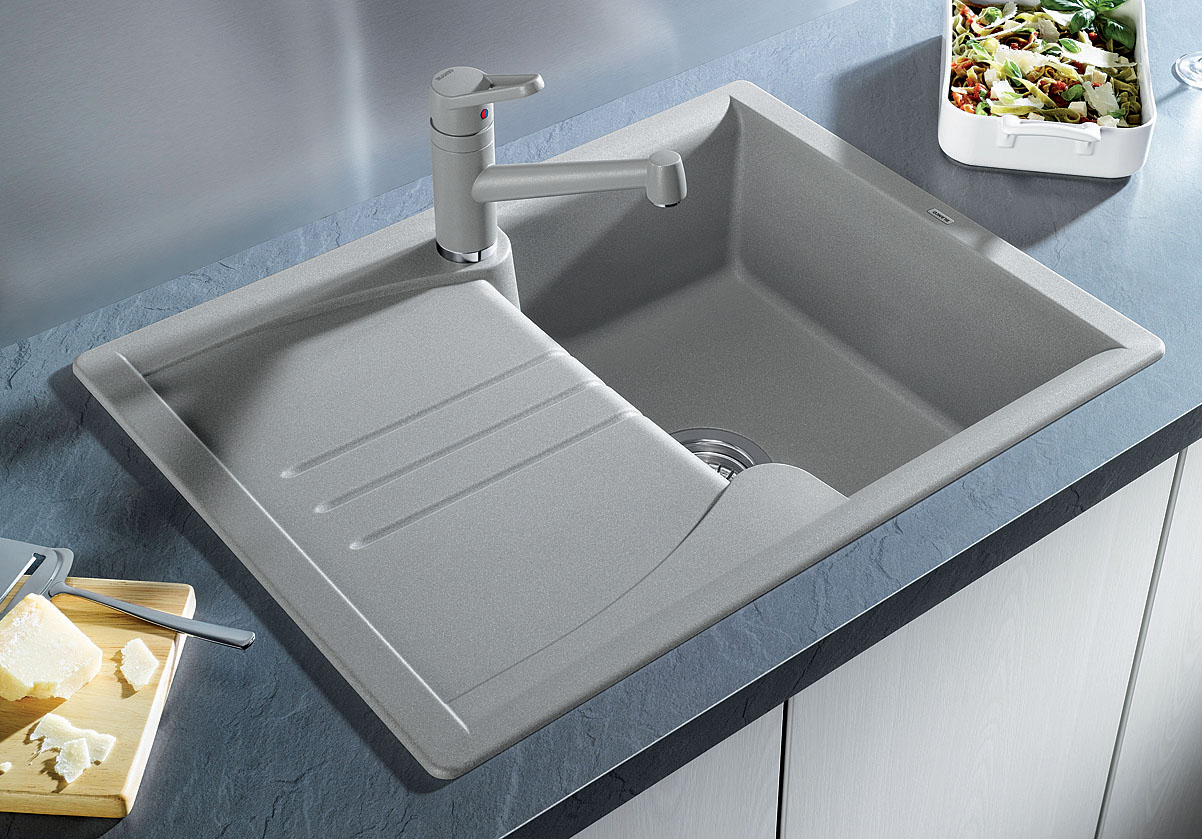
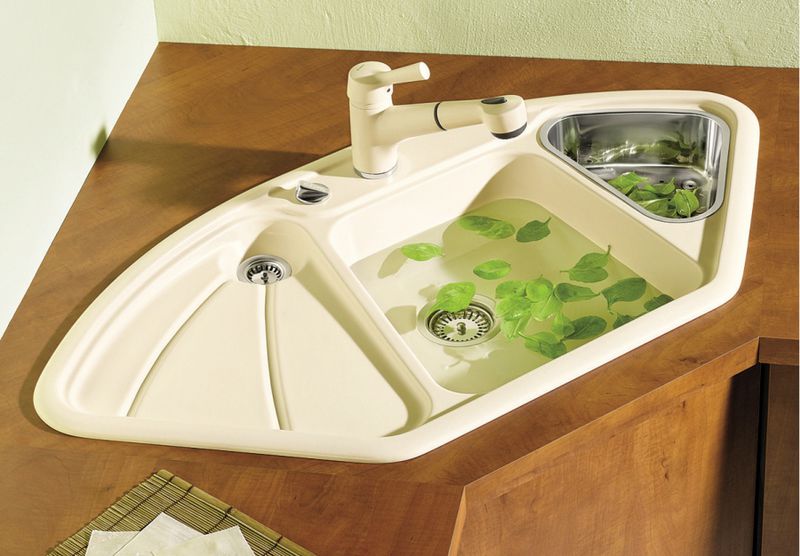
- Sinks from a stone. Such designs fit perfectly into modern interiors, as they have an original design. The material is characterized by high strength, high weight, resistance to temperature and aggressive environment. The cost of this type of sink is the largest compared to other analogues.
- Plastic. This material is one of the cheapest and unreliable. Shells of such a substance are unable to tolerate prolonged exposure to high temperatures, and also do not have high strength.
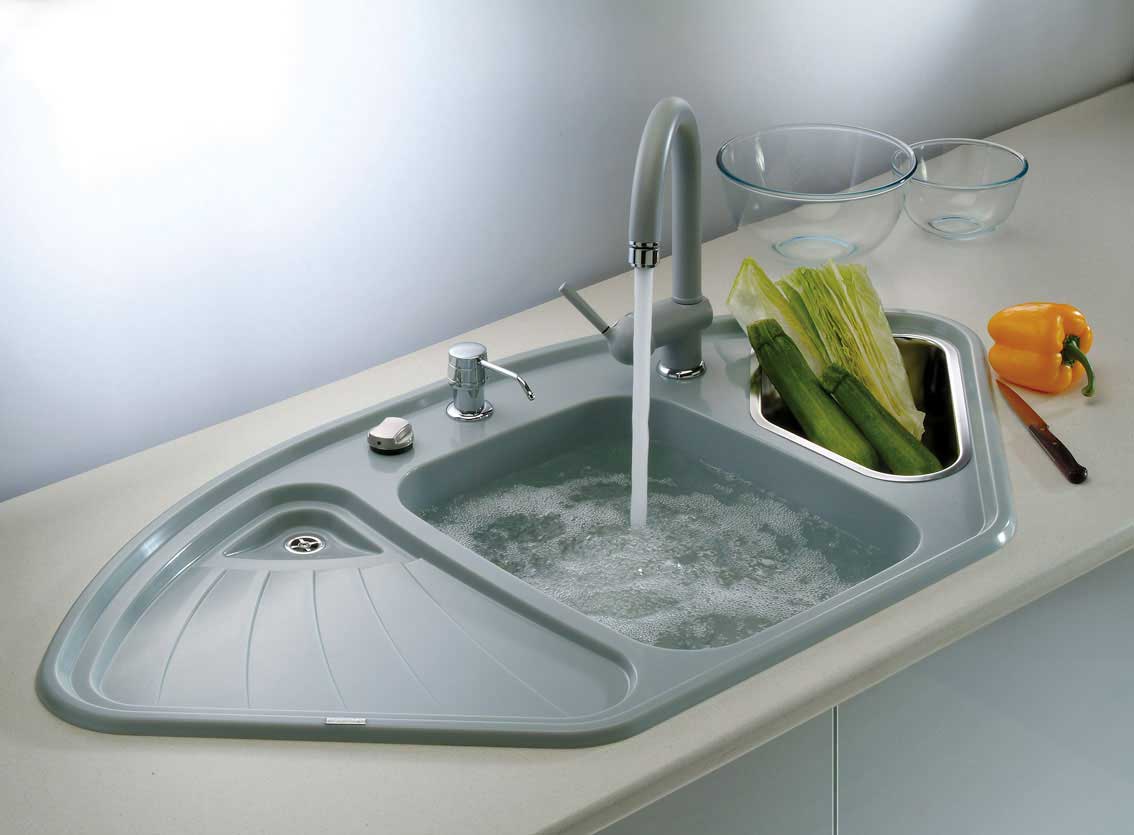
- The shape of kitchen sinks can be either square or round, or have a shaped perimeter of the surface. It all depends on the specific manufacturer and purpose of this product.

Location Guidelines
- Features of the operation of washing imply its frequent use during cooking or cleaning. In order to optimize all these processes, the sink should be correctly positioned. You can do this by following some simple guidelines:
- It is not advisable to place the sink directly near the gas or electric stove, as water can damage their surface or put out the fire.
- The sink should be installed close to the main work area where food is cleaned and cut.
- The location of the sink should be such that this attribute conventionally divided the work area into two parts. This will enable one of them to do the dirty work, and on the other to carry out operations with clean products.
What you need for installation
Installing a sink in the kitchen is not a very complicated process, which makes it possible to do all the work with your own hands. But there is one small nuance.If you plan to install a mortise sink on a granite countertop, then such work is advisable to trust professionals who have all the necessary equipment.
To install the mortise shell inside the wooden worktops, you will need to stock up on a certain set of tools:
- jigsaw and drill;
- several standard sizes of drills on a tree;
- screwdrivers, pencils and other accessories.
You will also need a special sealant and masking tape that will be used to seal the joints.

Insertion process
The algorithm for fixing sinks of this type can be divided into several successive steps:
- Initially, using a template, a template for a sink is drawn on the surface of the tabletop. In most cases, such materials are already present in the kit to the product. But if there is still no template, then you can make it yourself from cardboard or other similar material. When the layout is ready, it must be attached to the selected place on the surface and glued with masking tape. After that, a pencil contour is drawn on the tabletop.
- At this stage, a hole is formed at the base of the bollard.In order for us to work as a jigsaw, you need to first make a small starting hole under the tool blade. This can be done with the help of a drill and a drill with a size of 10-12 mm. It is necessary to cut very slowly in order to bring the cutout shape to the contour as precisely as possible.
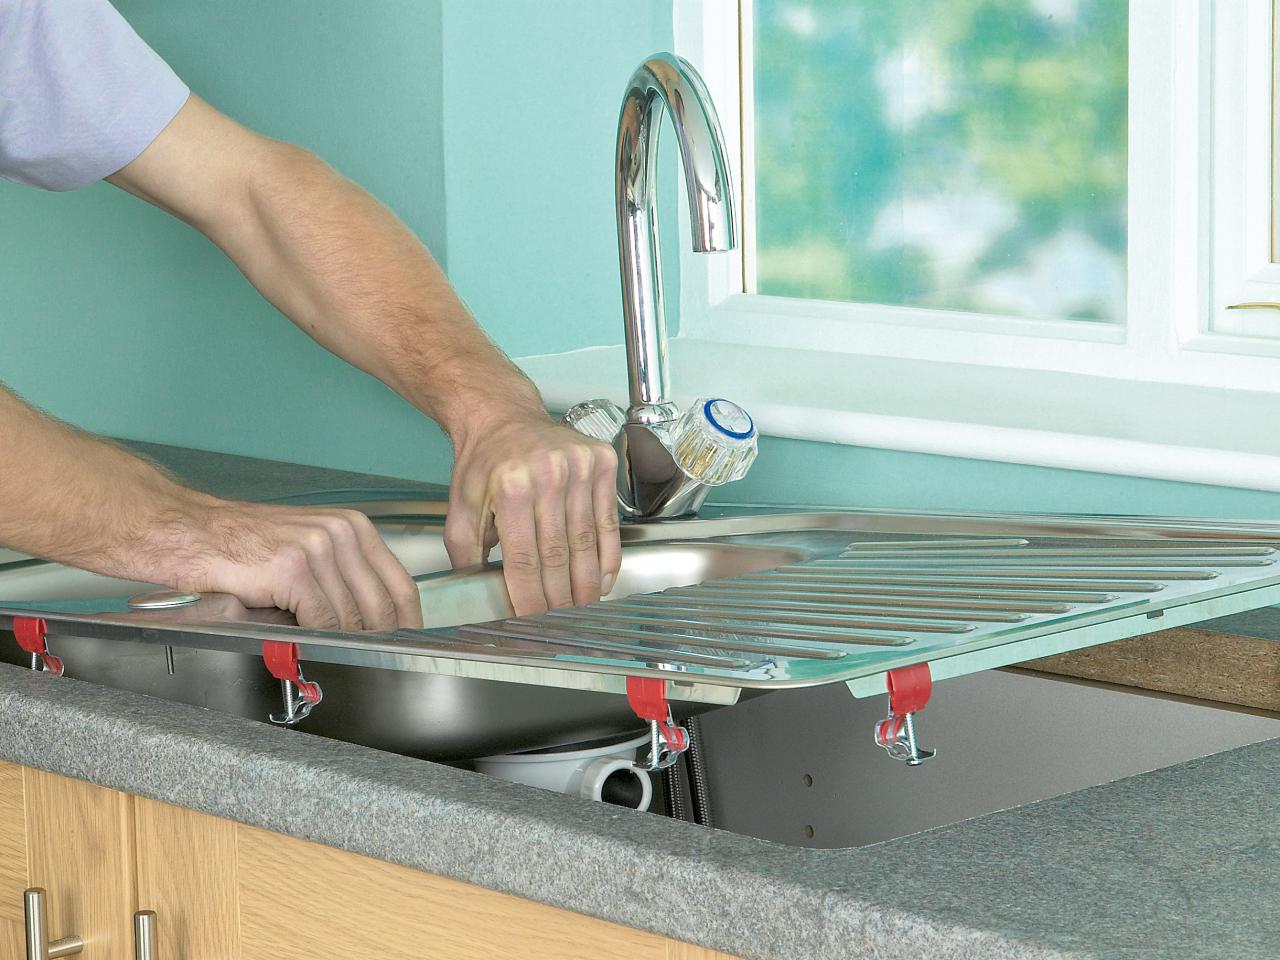
- When the hole is ready, you can install the sink inside it. Before this, it is imperative to treat all the edges of the tabletop with a sealant to protect the wood from moisture. Proceed to the subsequent work is possible only after the solidification of the protective substance.
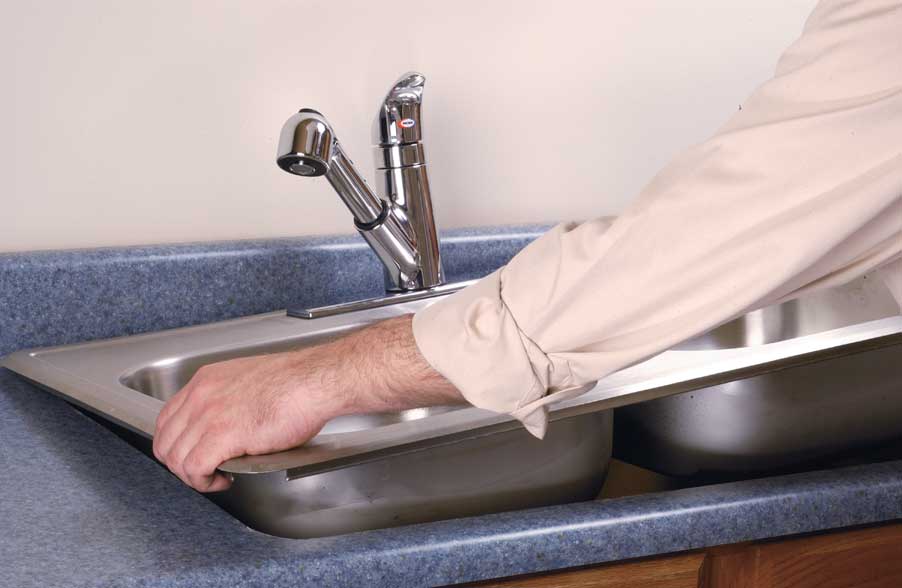
- After preparing the frame, the sink is inserted into the hole and its location is tried on. Please note that the sides of the structure should fit snugly to the tabletop. Also at this stage it is advisable to connect all possible pipes, since after installation this will be a little more difficult.
- Fastening of the sink is performed with the help of special fasteners, adjustable in height. They fix it to the sides of the base using the clamping method. Please note that before placing the sink edge of the table top you need to once again smear with sealant or apply double-sided tape on them.The construction is initially pulled along diagonal corners, and only then the middle locks are clamped.

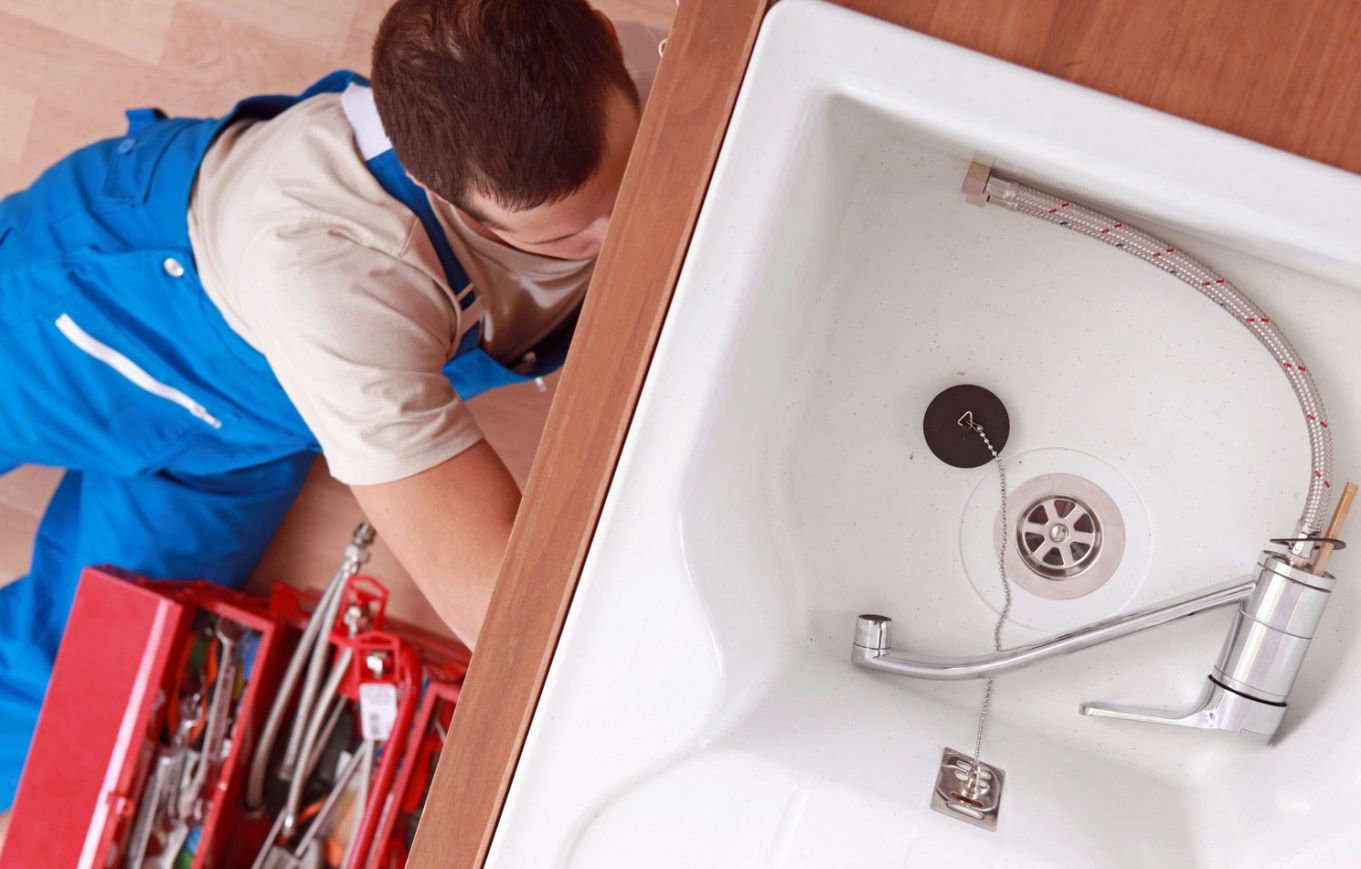
We connect the system correctly
The process of connecting the washing takes place in several successive stages:
- Hoses that supply hot and cold water are initially connected. They are often attached to the tap with needles, which are screwed into special holes. Before connecting the same hoses to the main pipeline, it is imperative to check the condition of the rubber gaskets. If they are bad, then in this case it is necessary to change them.
- After that, a siphon outlet is attached to the sink. In most cases, it is fixed by bolting, but there may be other options. Please note that such elements must have an S-like shape, as it provides a long and reliable period of operation.
- When the base of the drain is ready, a corrugated pipe is screwed to it, which is then connected to the main sewer. When performing all such operations, all connections should be checked for integrity and the presence of the necessary seals.
- Upon completion of all installation processes, it is imperative to check the tightness of all connections to prevent leakage in the future.
- Fixing the overhead structural elements
- Sinks of this type are simple and unpretentious, so they are very common. Their installation can be done in several very simple ways:
- Fastening with the help of a sealant involves applying this compound to the ends of the bedside tables and gluing the shell to it with substances. In order to securely fix the sink, it must be firmly pressed to the furniture and kept in this state for a certain time.
- An alternative way is to mount the structure on special brackets. They are screwed directly into the frame of the bollard and press down the sink in a certain way.
Installing a kitchen sink requires compliance with the manufacturers' recommendations in order to avoid its deformation or damage due to water (wooden products) in the material structure. If you want to get not only beautiful, but also durable system, entrust its installation to experienced professionals.