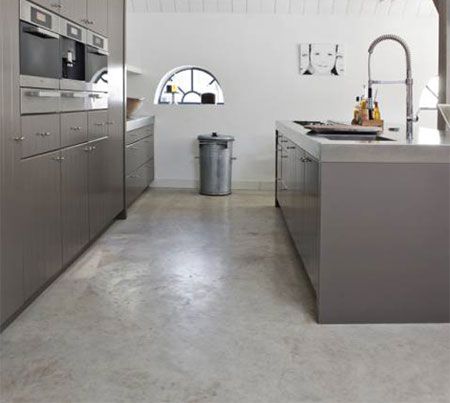
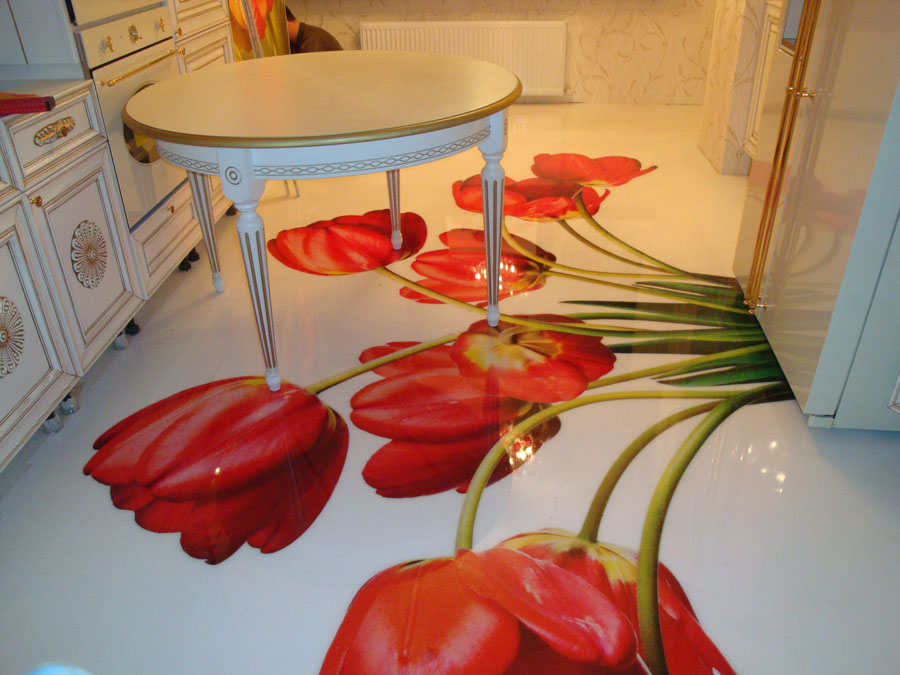
Self-leveling kitchen floor
Modern interiors of houses and apartments are striking in their originality, diversity and presence of new, non-standard solutions. This applies not only to the walls, in the design of which high-quality and very unusual materials are used, but also to the floors. Professionals use original methods to create a flat and smooth surface. One of the most popular and sought-after ideas is the creation of a self-leveling floor.
Main advantages
It should be said that the technology for the creation of self-leveling floors came to the modern repair industry relatively recently. The idea itself quickly gained popularity and became popular among professional designers.
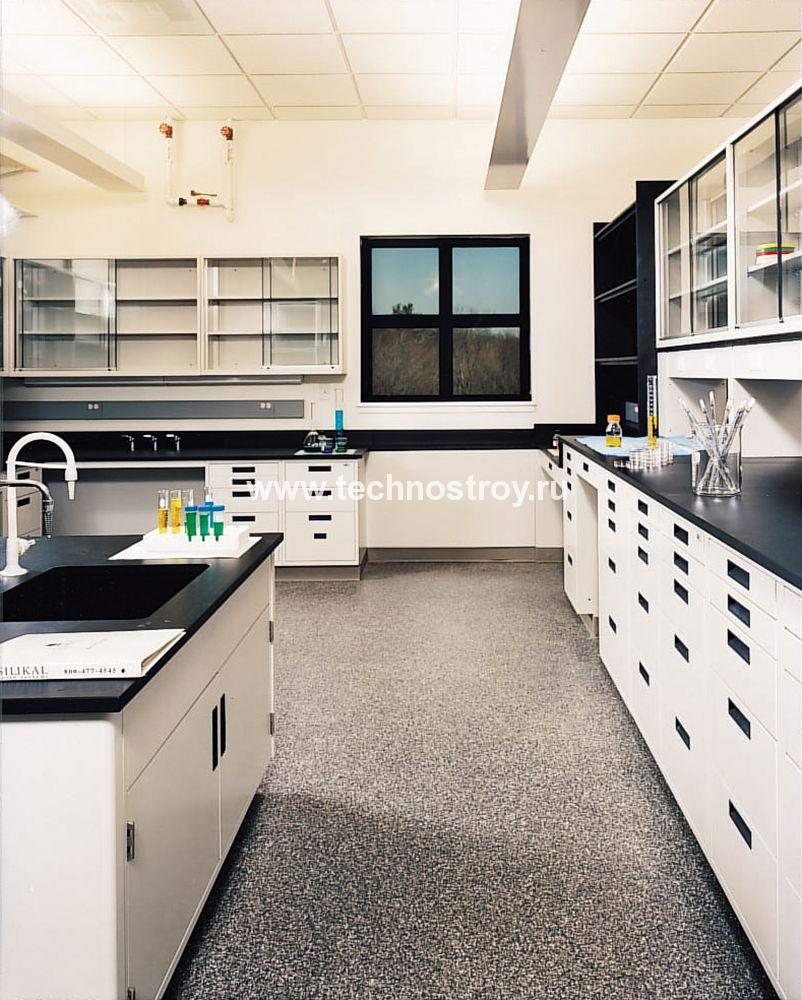
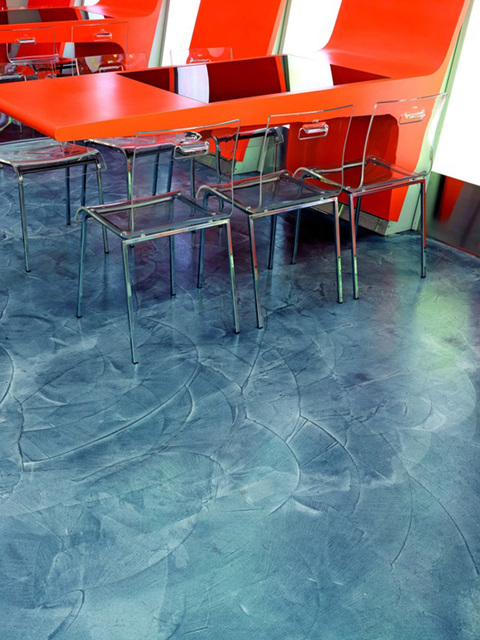
Bulk floors can be found not only in apartments or houses. Often this technology is used in the design of restaurants and galleries. Such floors always look expensive and spectacular. As for the arrangement of residential premises, they most often decorate such a functional room as a kitchen. This is due to the presence of the following advantages:
- resistance of surfaces to increased moisture;
- long service life;
- the surface easily maintains the load created by massive furniture;
- floors are unpretentious in care.
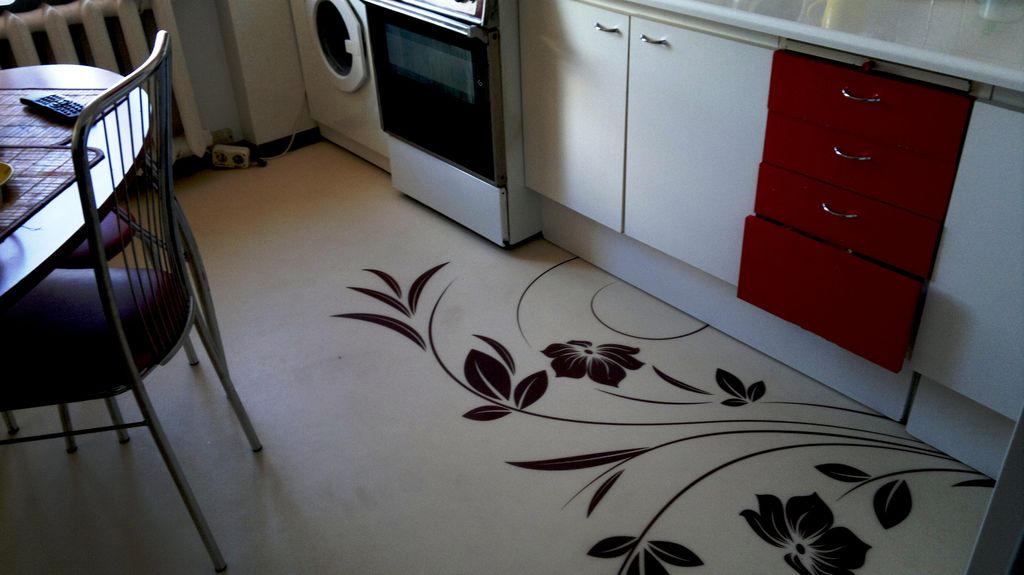
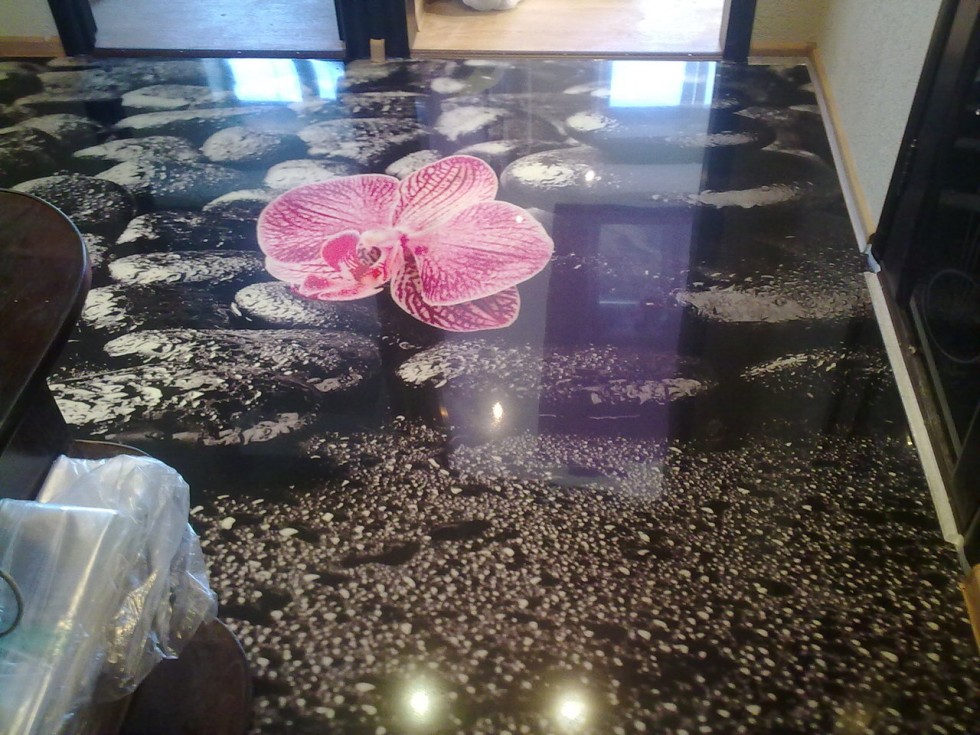
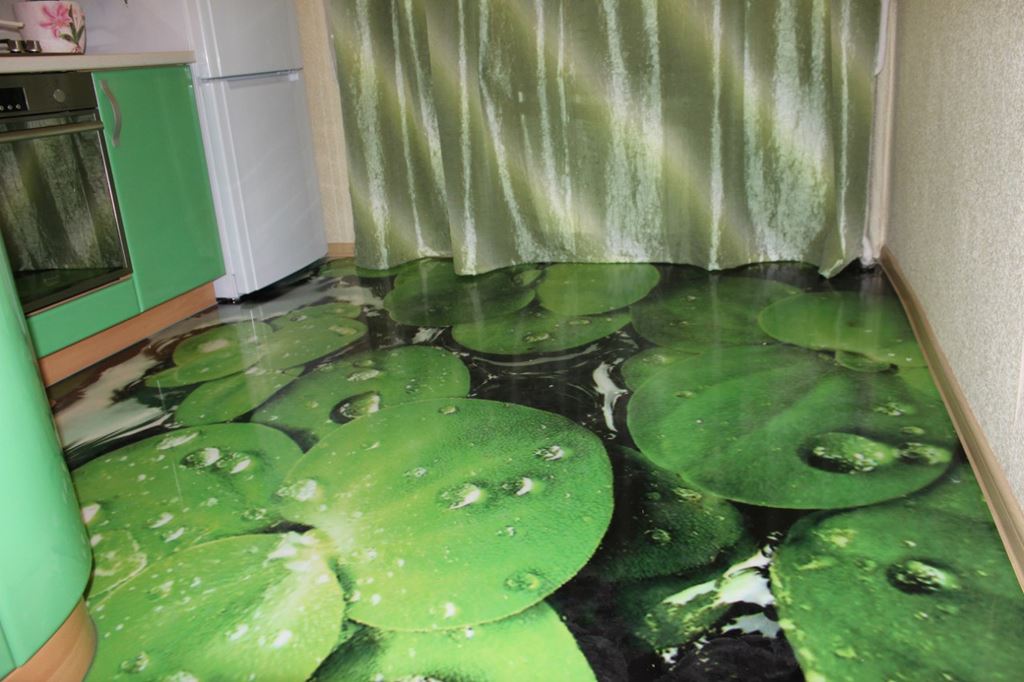
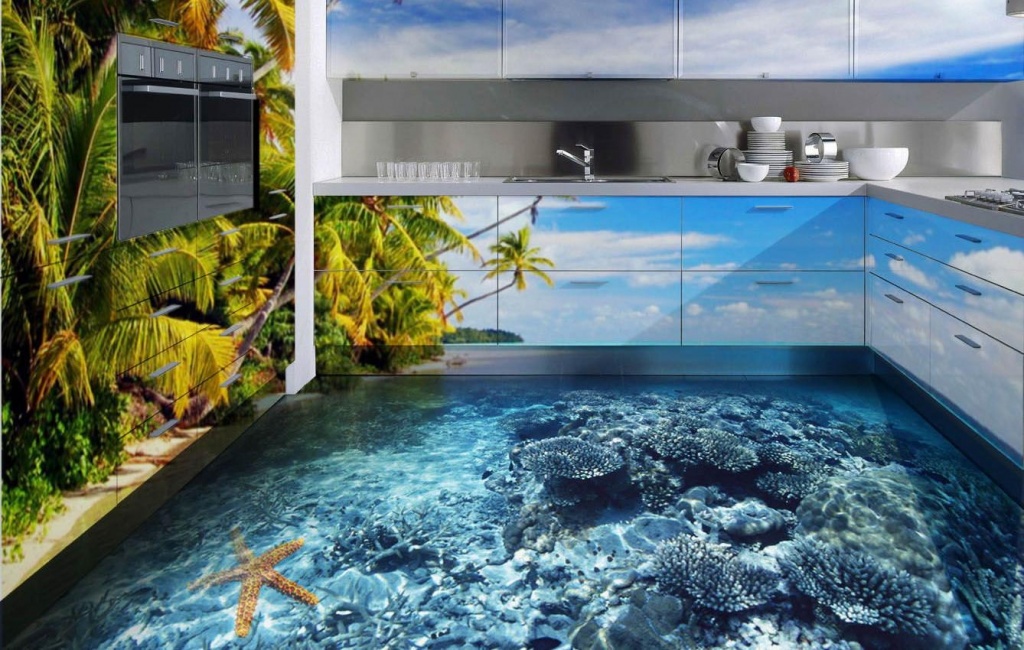
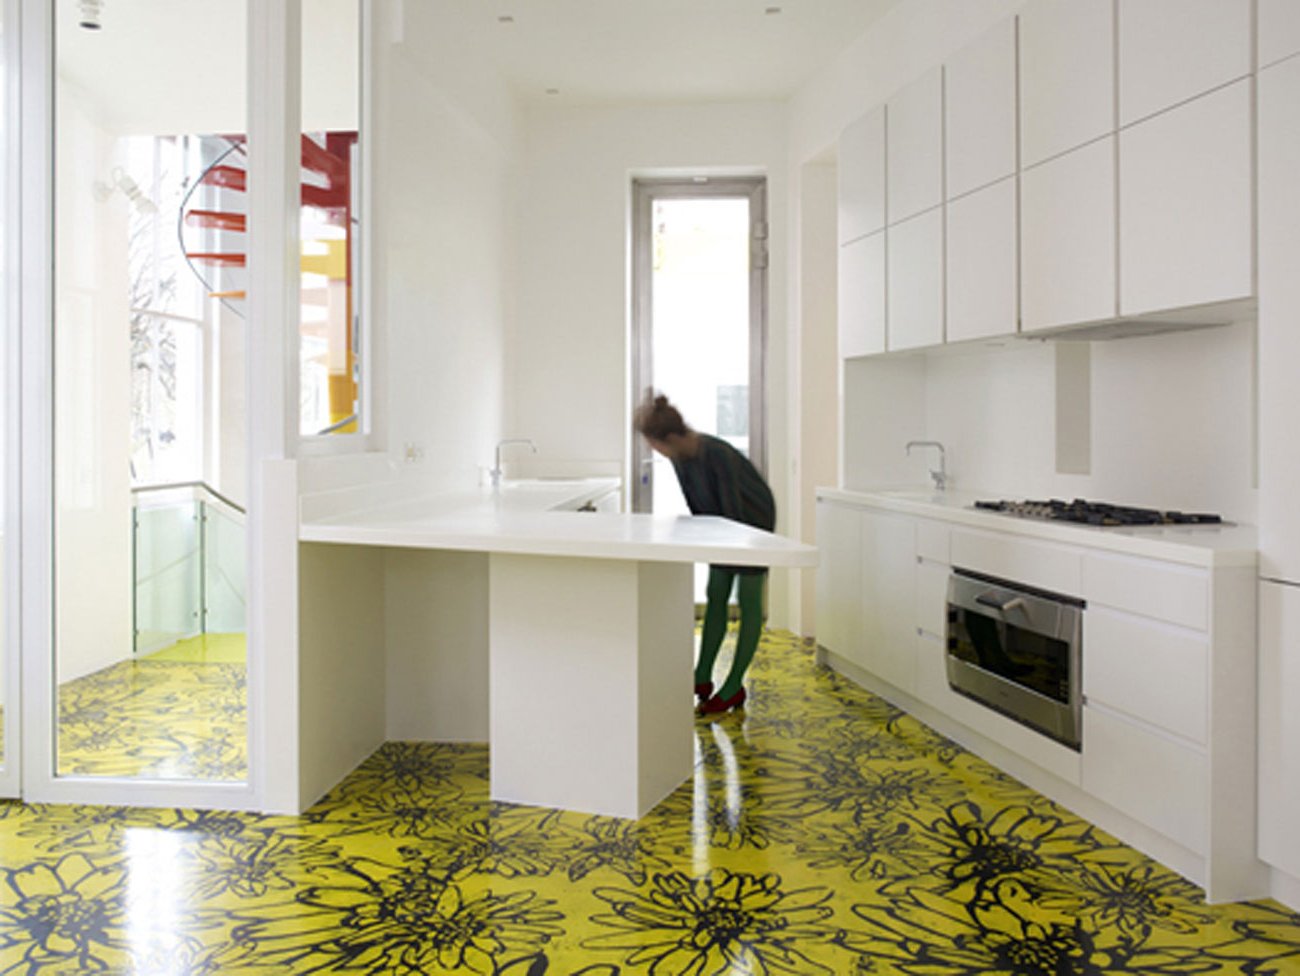
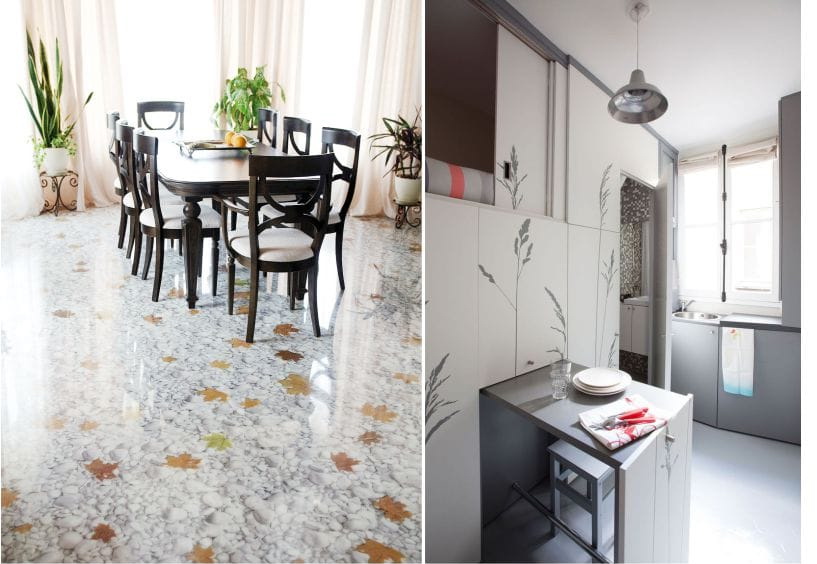
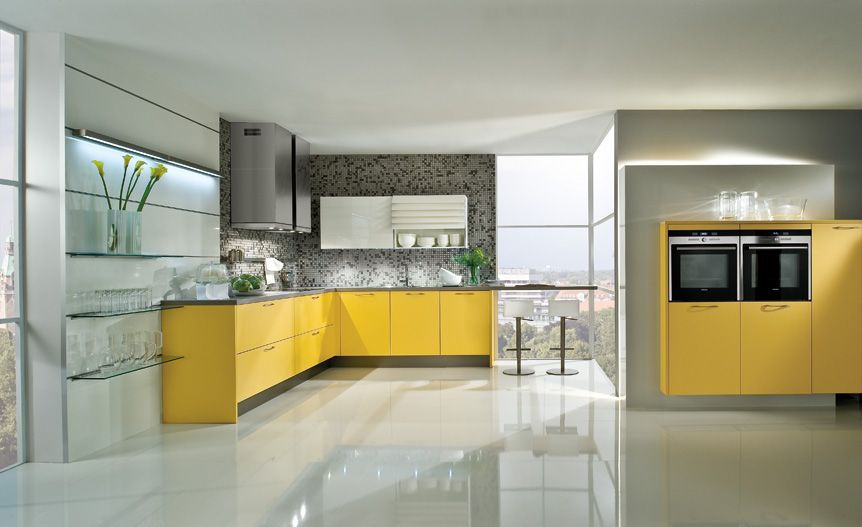
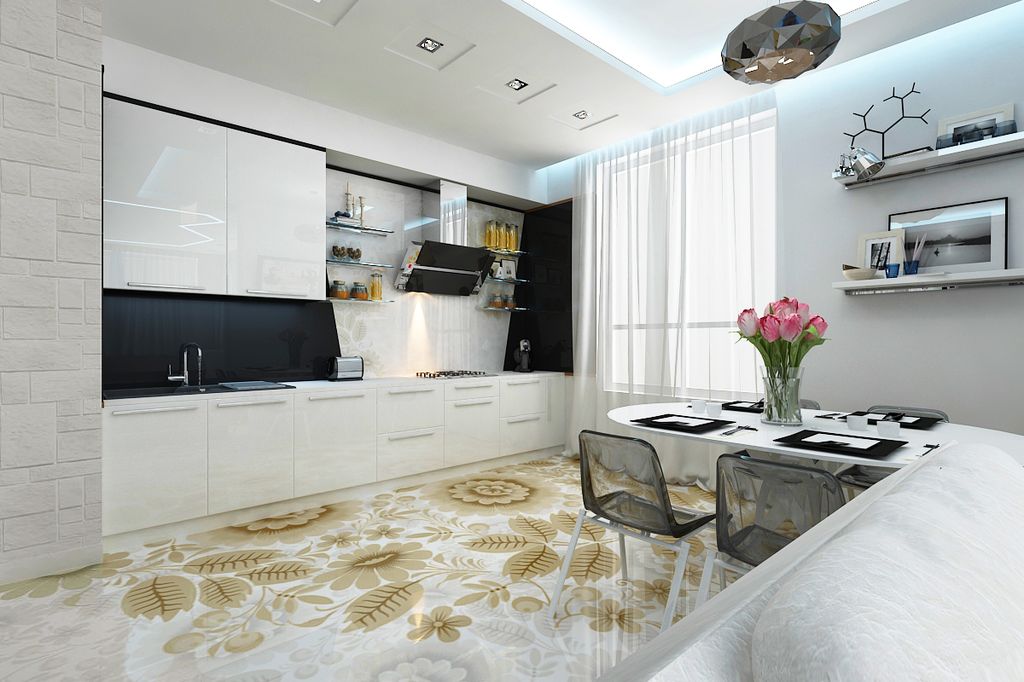
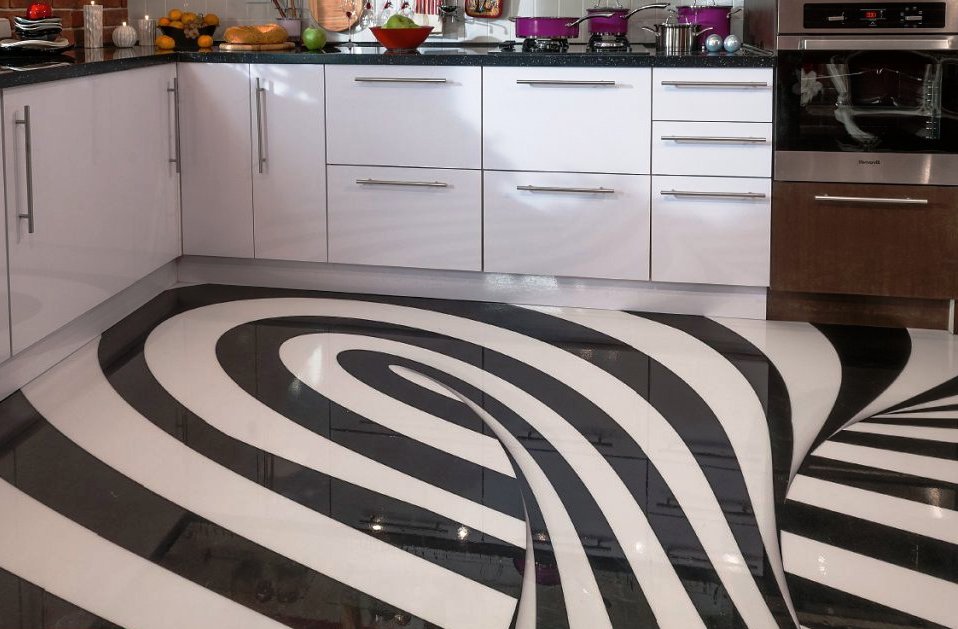
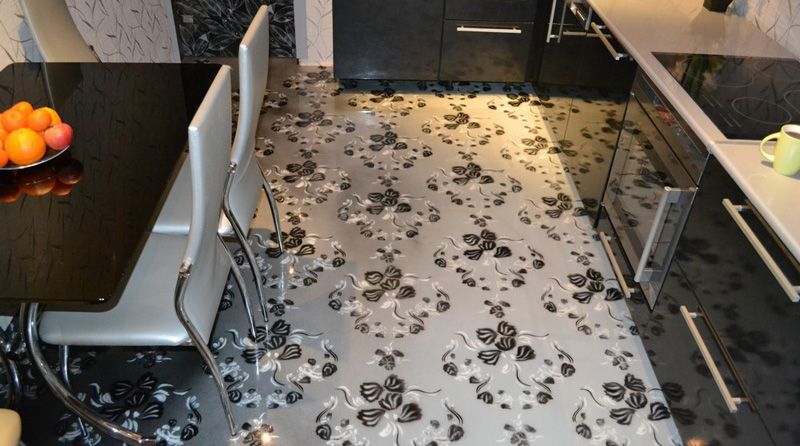
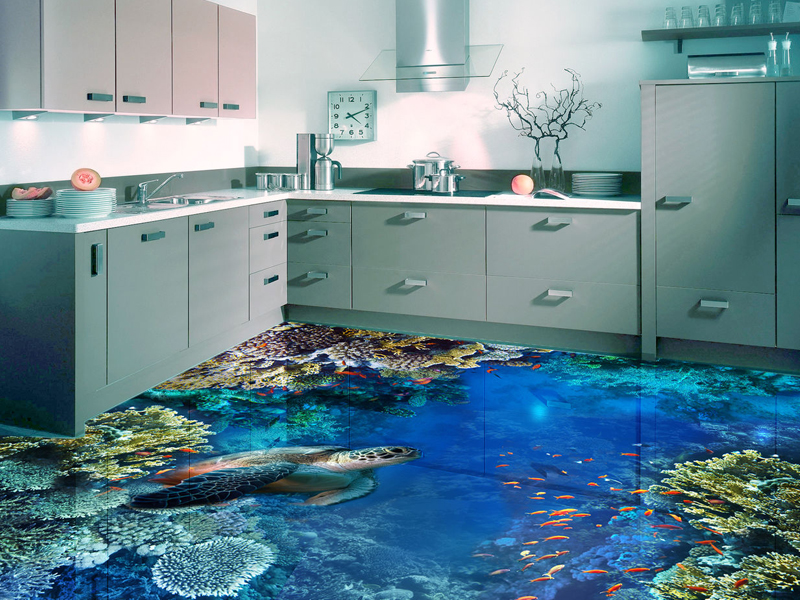
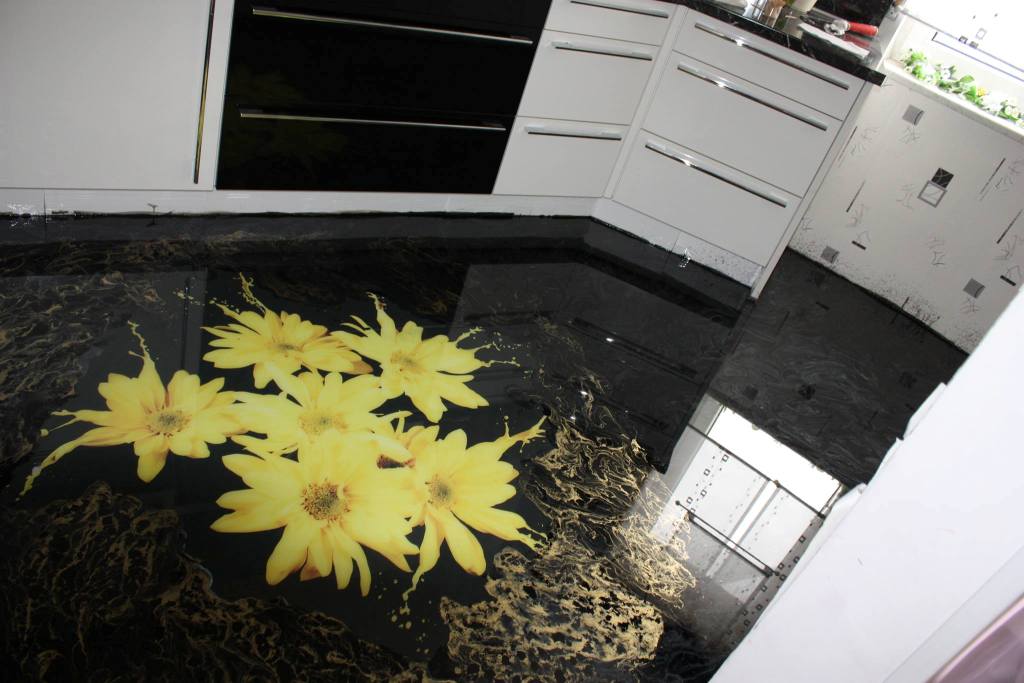
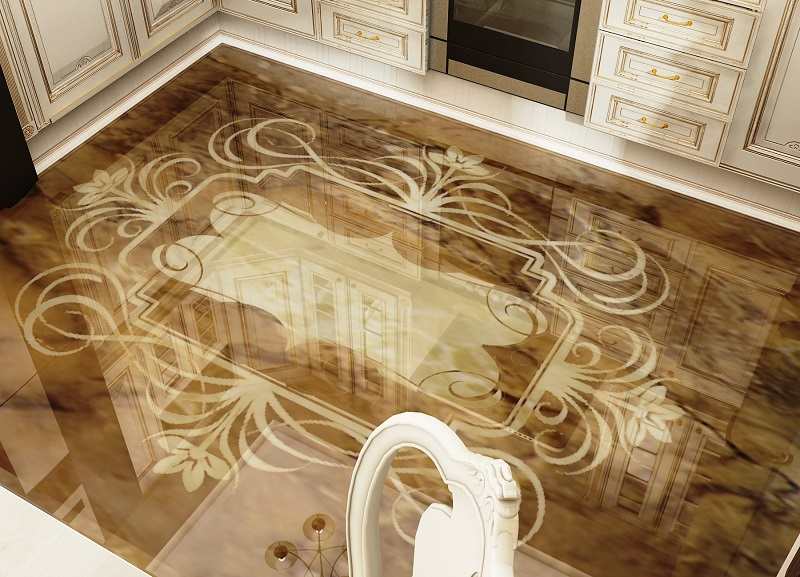
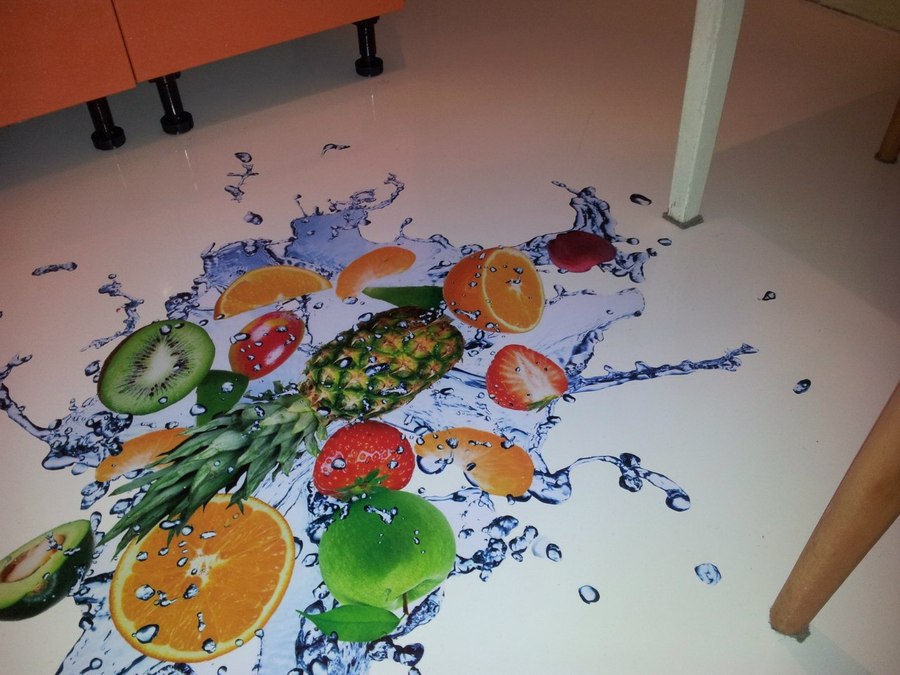
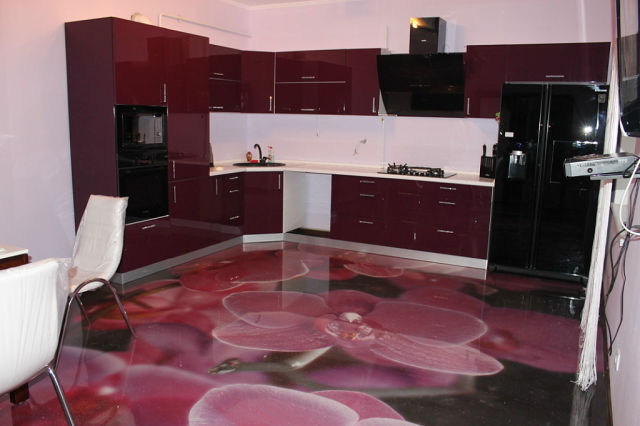
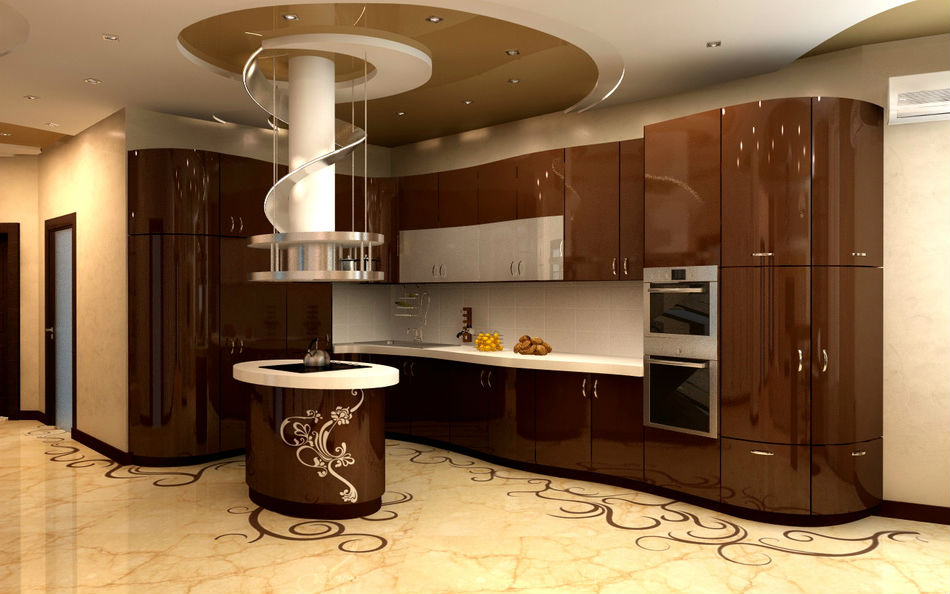
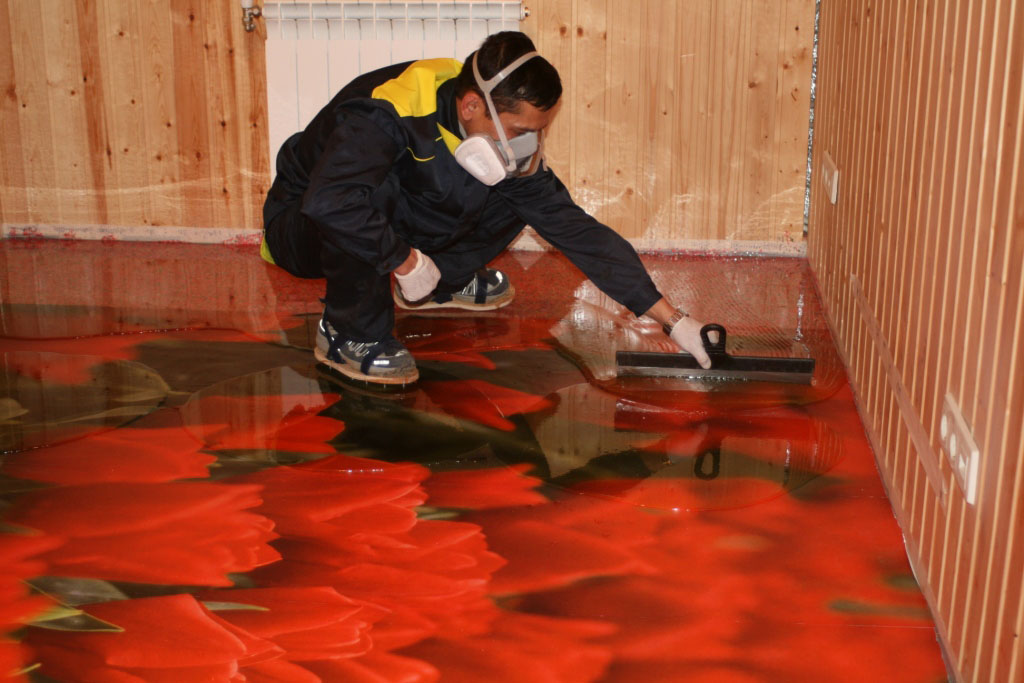
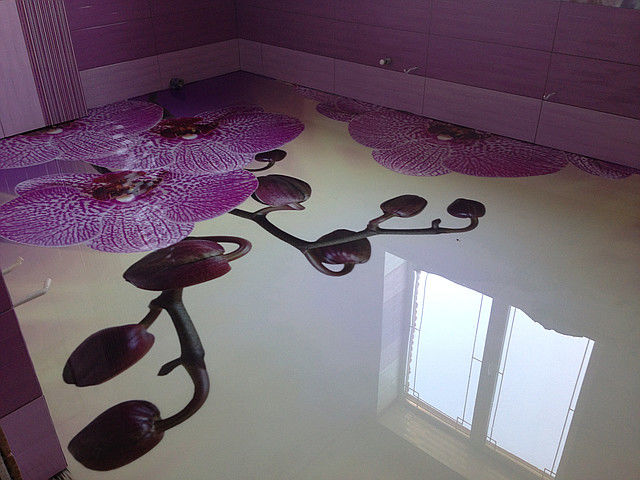
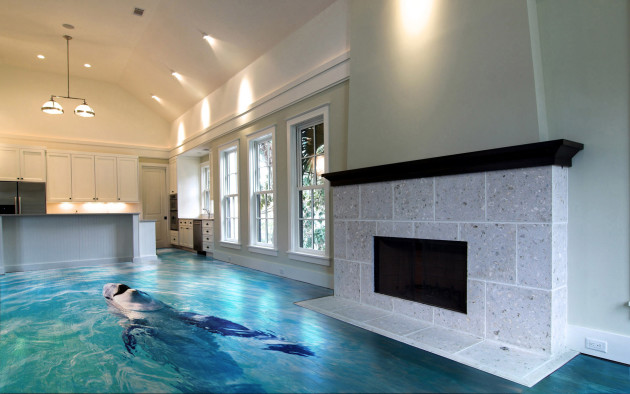
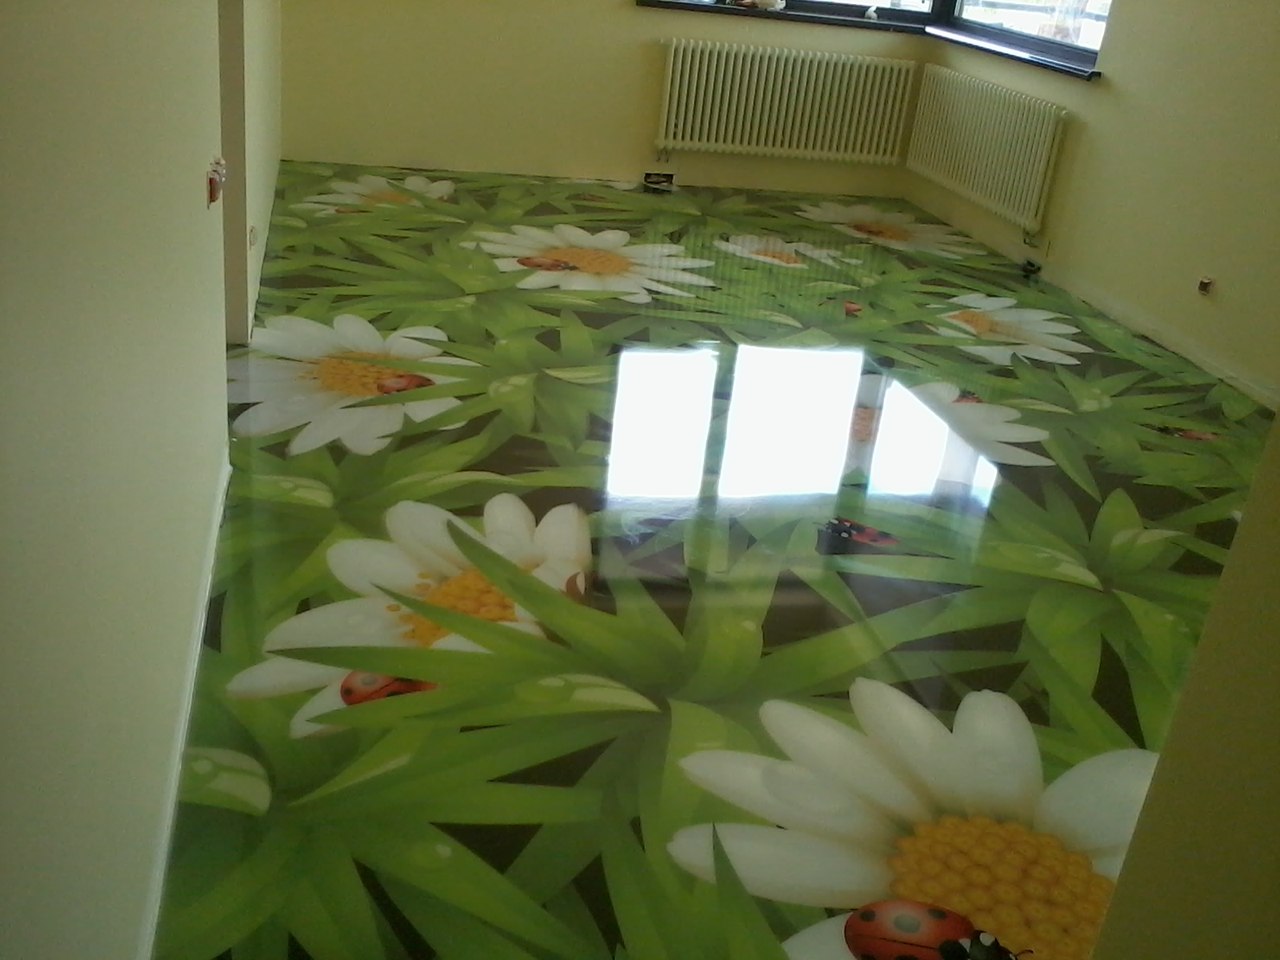
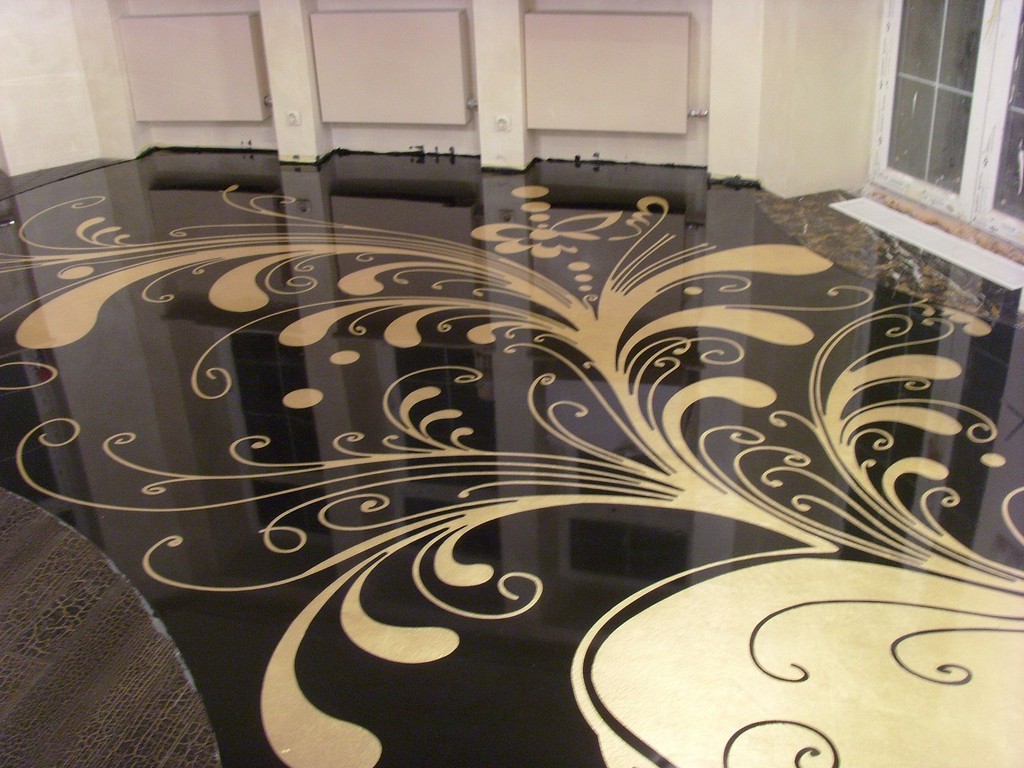
Another advantage of self-leveling options is diversity. Such floors can be easily used in both classic and modern designs. Often in the design of surfaces used various patterns and patterns. One of the modern and original solutions is the use of images in 3D.

A significant advantage of self-leveling floors is UV resistance and the effects of aggressive components. Often, modern housewives for cleaning use various substances with strong compounds. Exposure to aggressive components may result in loss of external surface qualities. But if in the kitchen there are self-leveling floors, such problems will not bother you.

Making the floor by yourself: the preparatory stages
If you want to create a kitchen design in accordance with modern solutions and directions, the self-leveling floor will be the ideal choice.The surface manufacturing technology is not particularly complex, so if you have the skills and tools, you can do the work yourself.
First you need to prepare the main component - a dry mix. Mandatory components are the final coating and solvent. All these components are needed to create a solid and even self-leveling floor.
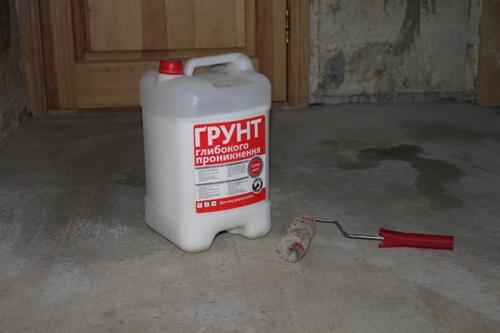
The next, no less important material - universal primer. It should be borne in mind that the base coating is produced in two or three layers.
For work you will need a large number of accessories:
- containers for mixing the solution;
- drills;
- rollers;
- brushes.
Be sure to take care of the availability of special clothes and face masks, which will protect the respiratory tract from the ingress of harmful substances.
When all of the above is collected, you can start preparing the base for further installation.
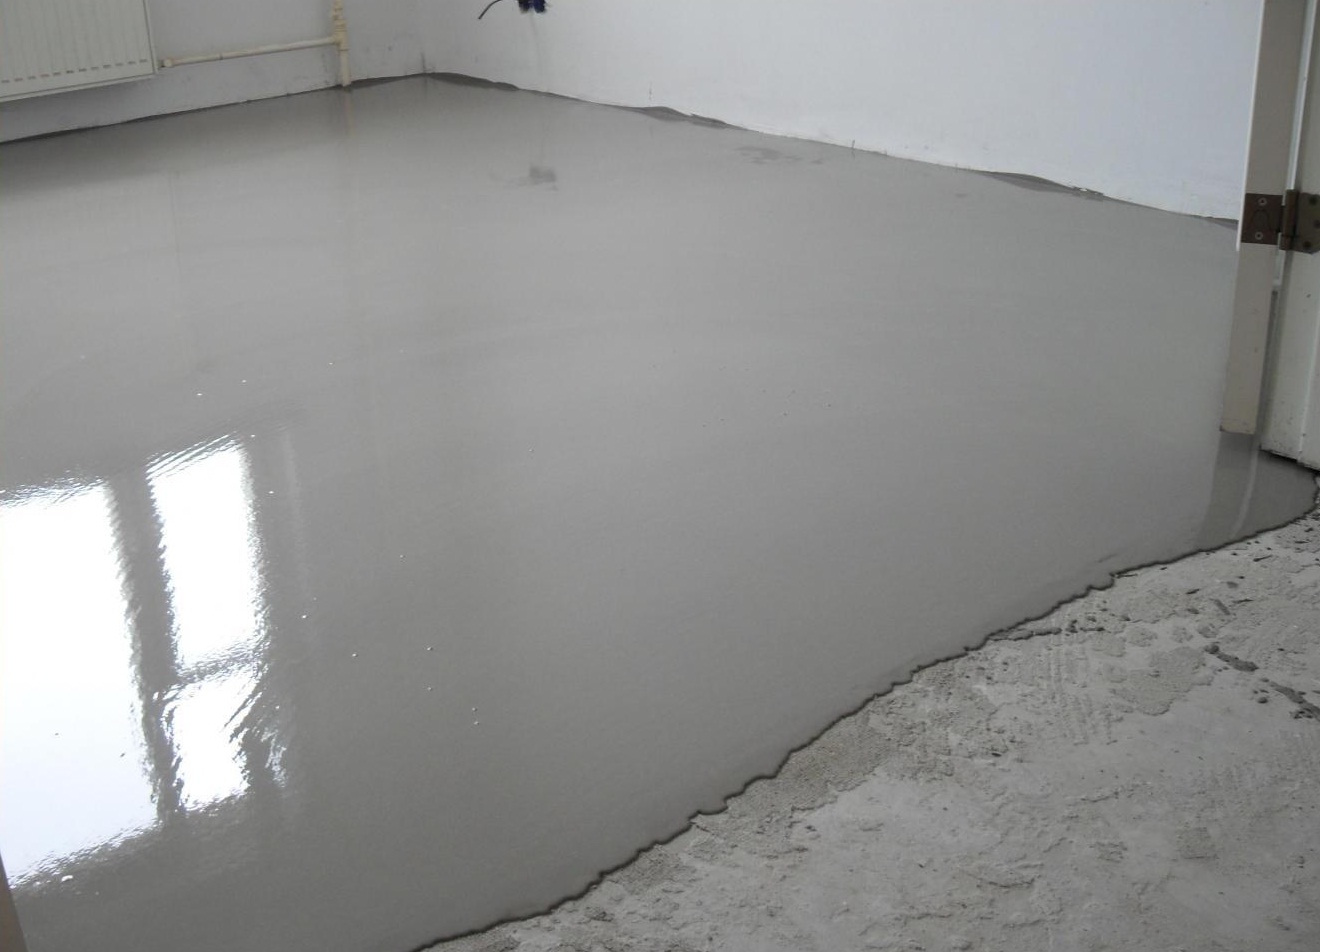
Foundation preparation
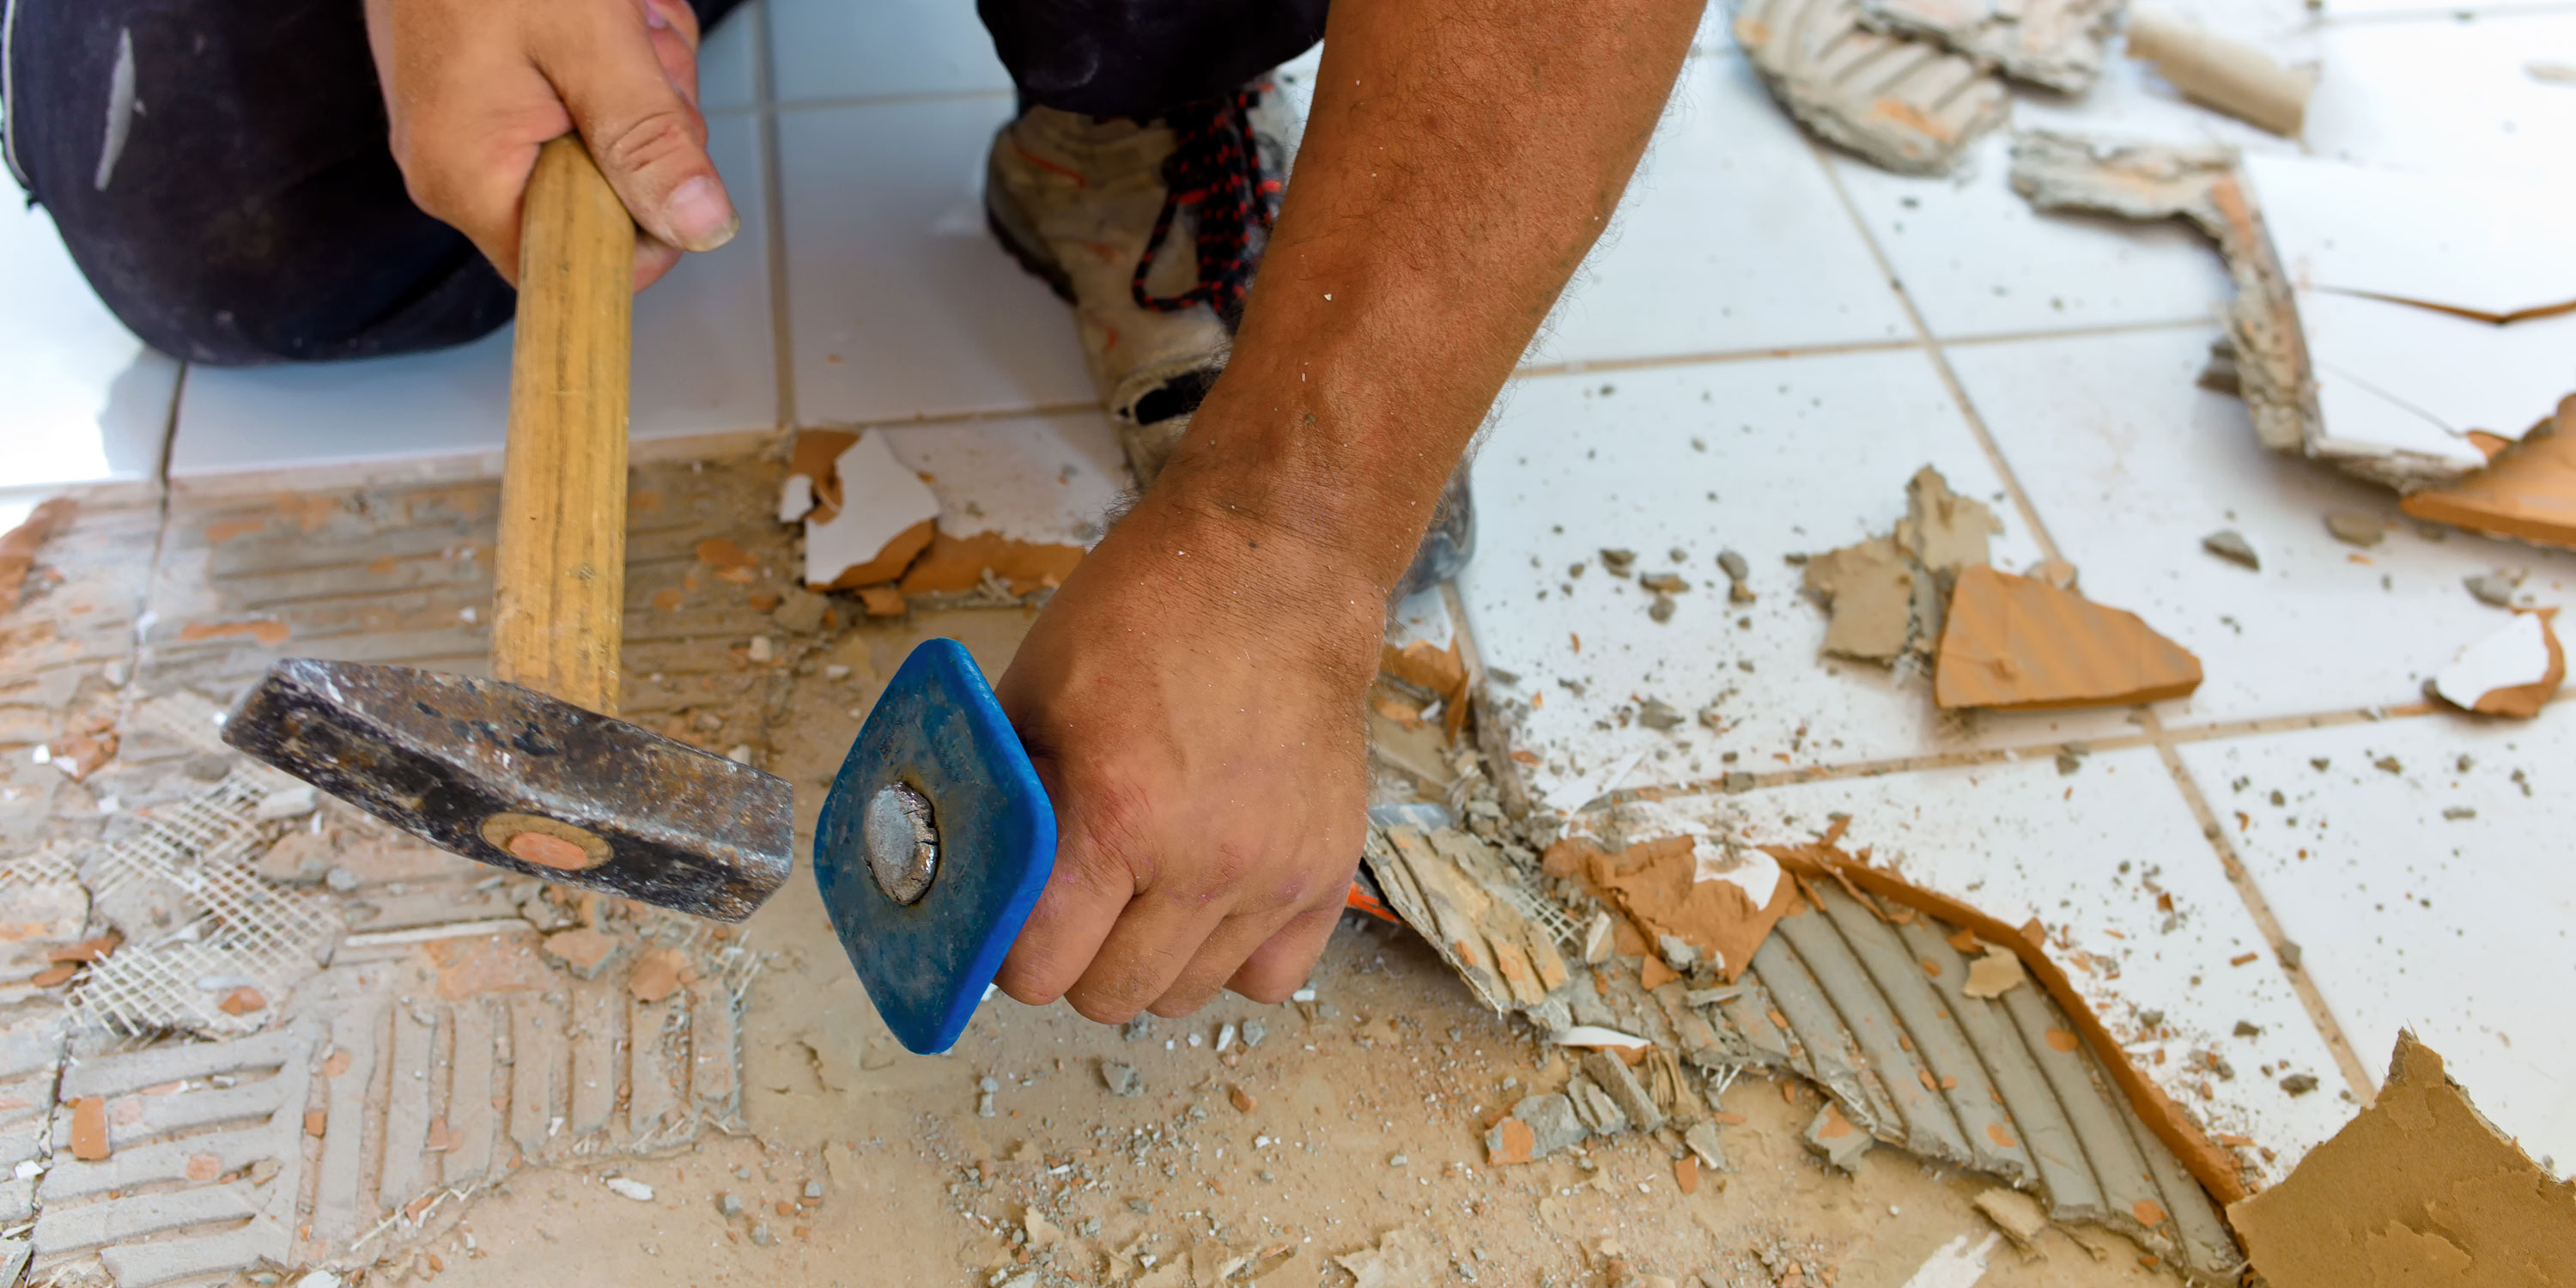
If you first encounter such a process, then you need to know that the floors are never poured on an unprepared foundation. First you need to dismantle the old cover, remove the tie, which was used to install them.The base must be cleared of all excess.
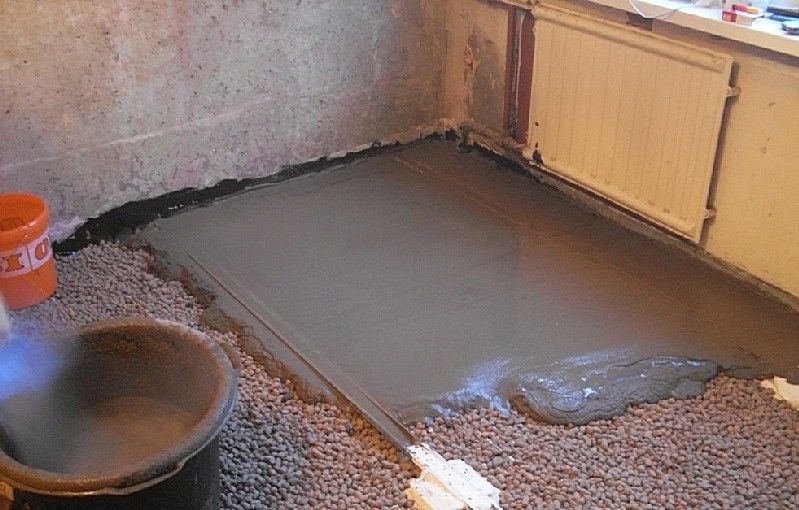
After removing the old kitchen flooring, only bare concrete remains. Most often, this surface has cracks and small defects, from which it is necessary to get rid of. For this process, it is best to use a small amount of cement. The solution must be applied to the deformed parts, and then wait for it to dry. Be sure to pay attention to the defects and cracks in the area of the baseboards.
After cleaning and leveling the concrete base, apply a primer to the surface. Layers must be evenly distributed using a roller for the process. The substrate must be primed twice. The second layer is applied only after the first has dried, so you have to wait a little.
In the next step, you need to install beacons that will help you properly and smoothly fill the floor. There are marks on the walls that will help to monitor the level during the process.
Installation
After completing all the preparatory stages, you can begin the basic process - creating a self-leveling floor in the kitchen. As noted above, the work is not complex,the main thing is to comply with the technology and consistency.
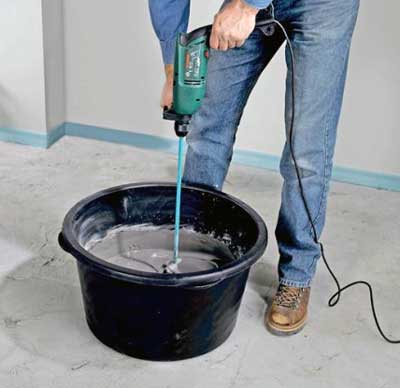
First you need to do a dry mix, which forms the basis of the coating. It is necessary to pour it into a suitable container, add water (the quantity is indicated on the package), mix the components so that a homogeneous mass is obtained. For this process it is best to use a drill with a special nozzle. The solution is used to work immediately after preparation. This is due to the fact that the composition quickly freezes.
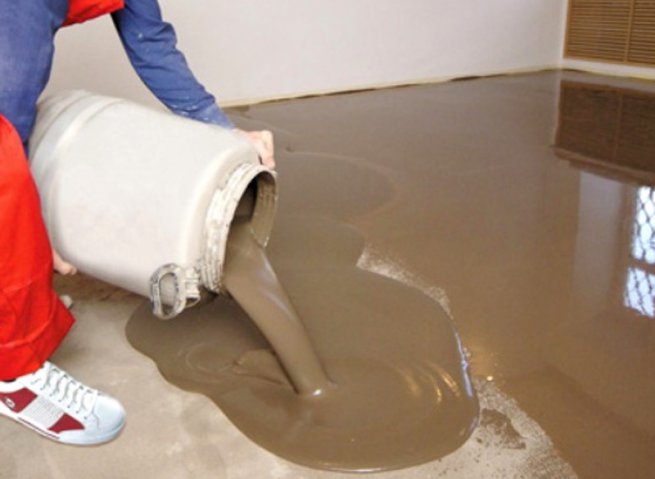
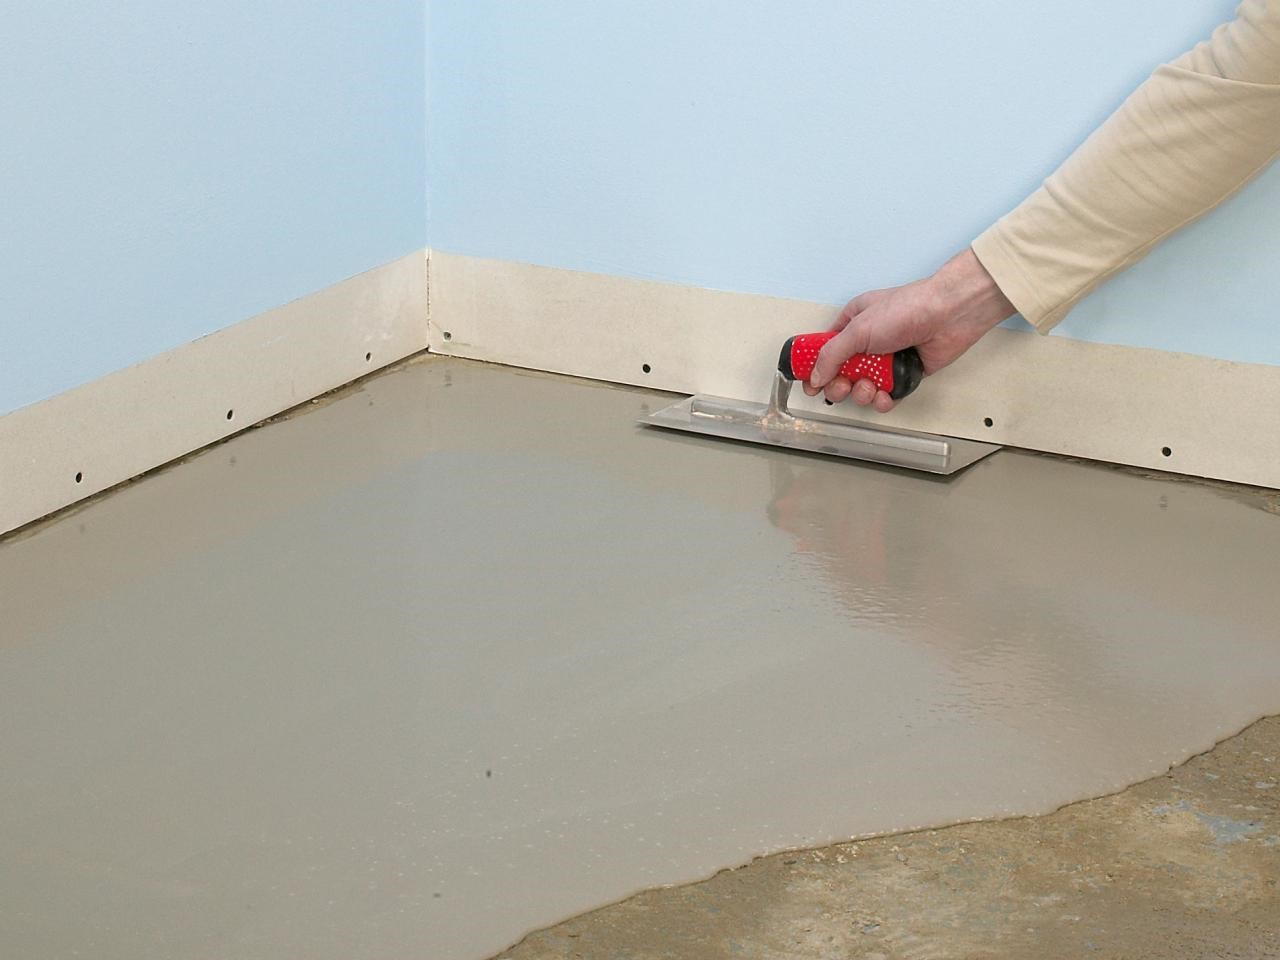
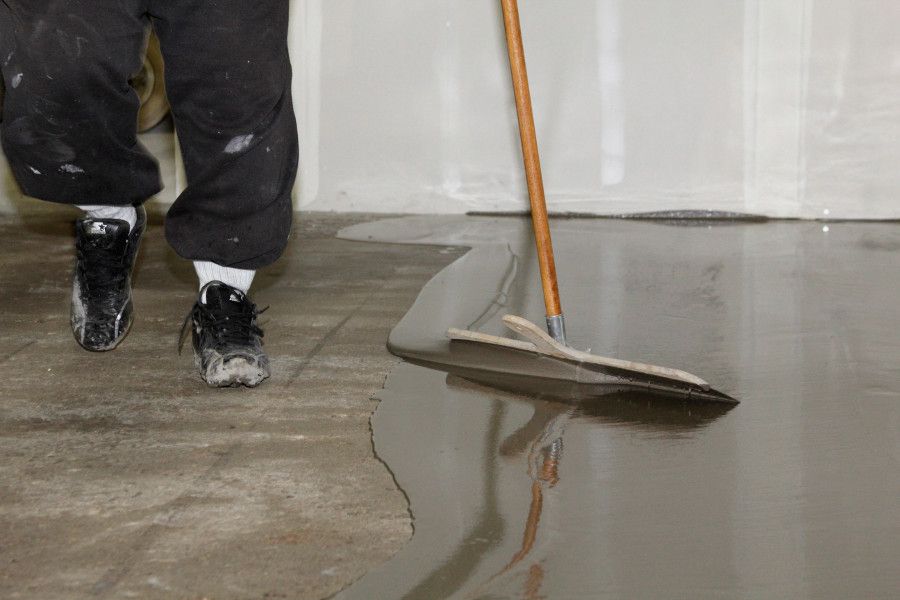
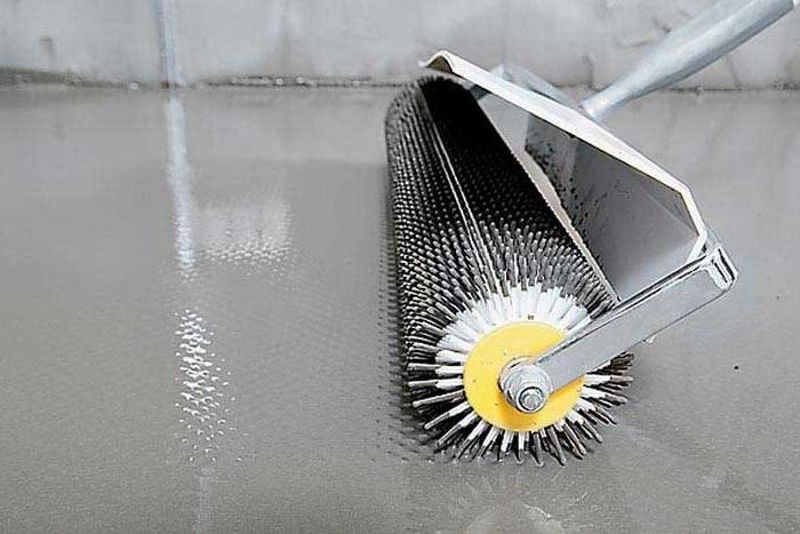
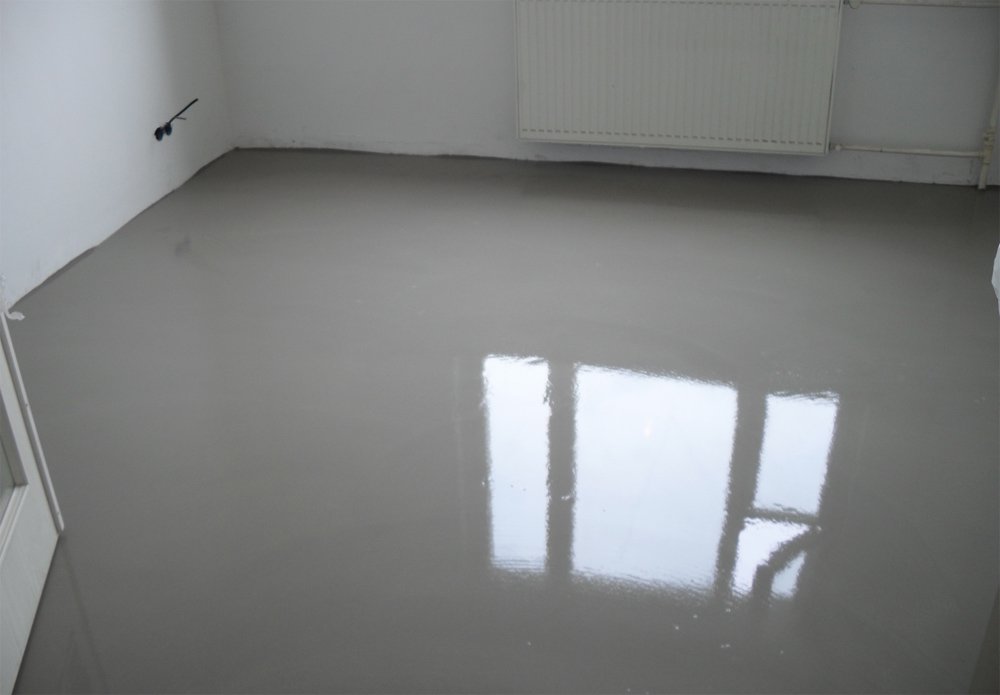
Pour the mixture onto a prepared substrate. The first layer is carefully leveled using a long spatula. At the same stage, create the required thickness of the surface. A prerequisite is the elimination of air bubbles, as this will ultimately affect the quality of the floor in the kitchen. In this issue will help a special needle roller.
It is necessary to wait until the solution is completely dry. Basically, it takes several hours. The next layer of the mixture is applied in the same way. Pay attention to that there are no bubbles at this stage. After drying, apply a new, finishing layer of the mixture.
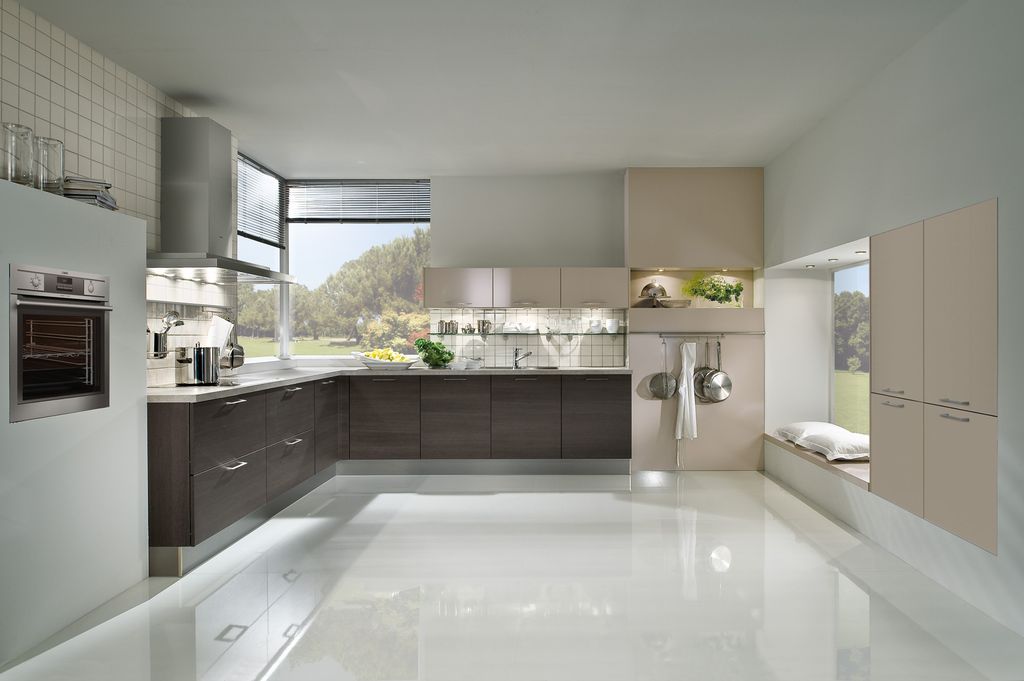
At this stage, the installation of the self-leveling floor ends.It is necessary to wait several hours until the surface is completely dry, after which it will be possible to walk on it fully. The hardening time of the mixture depends on the material that was used at the base of the floor. The best options for the kitchen are polymeric or polyurethane floors.
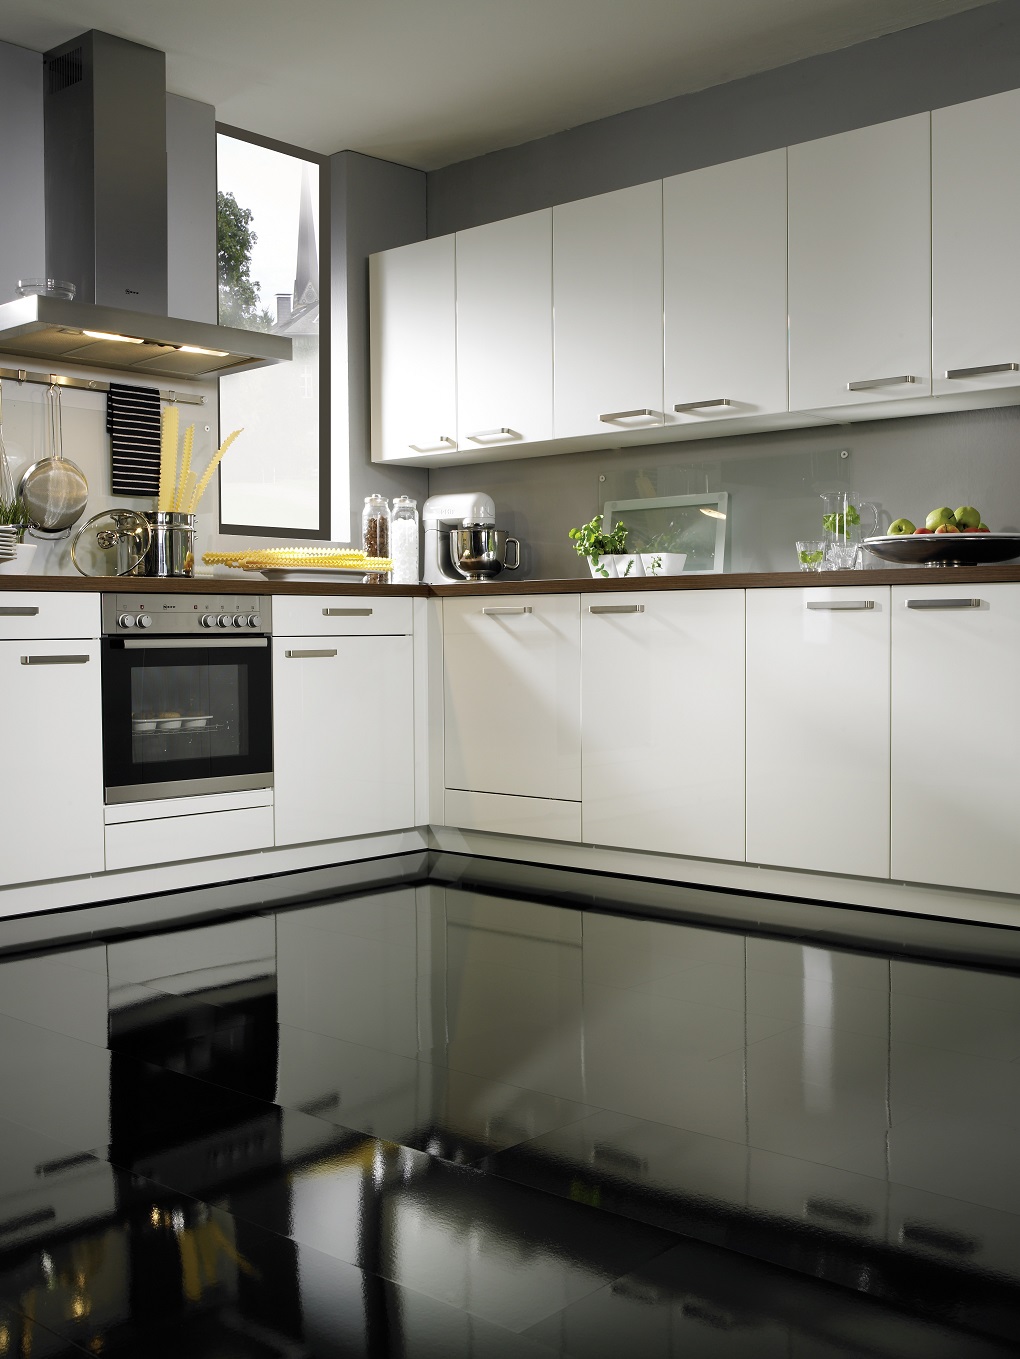
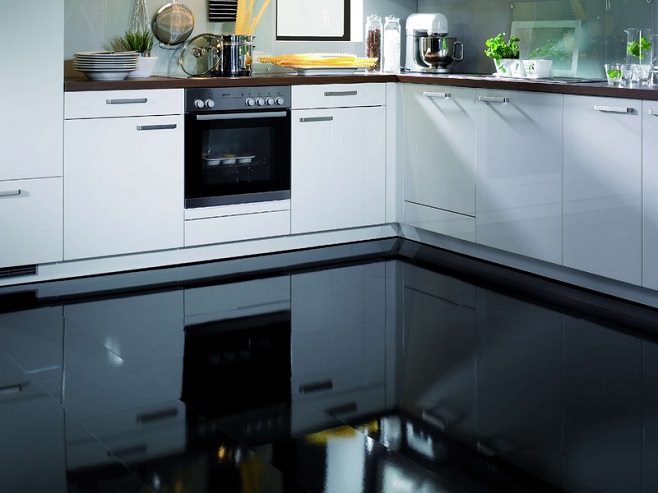
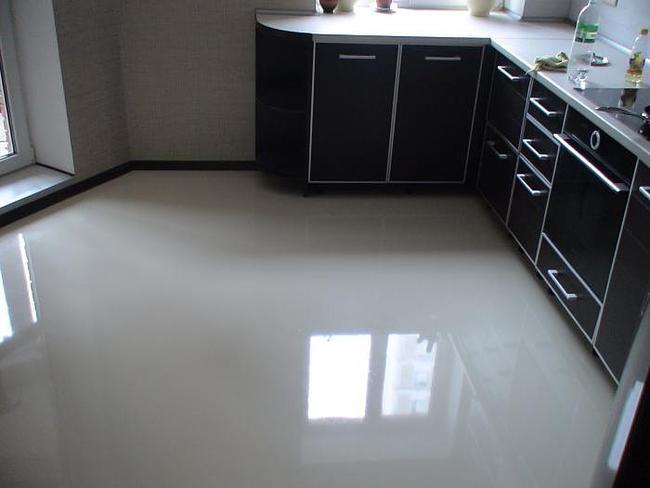
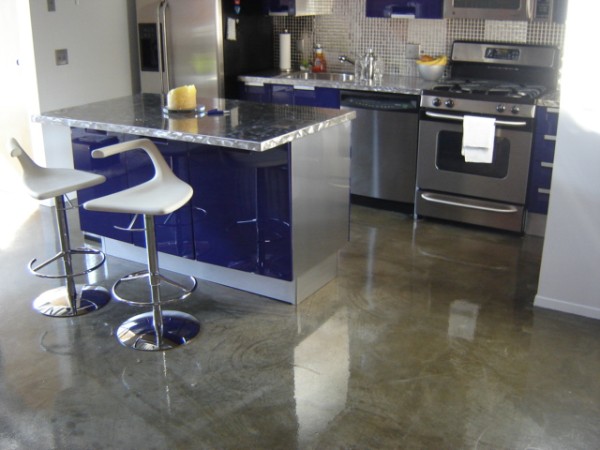
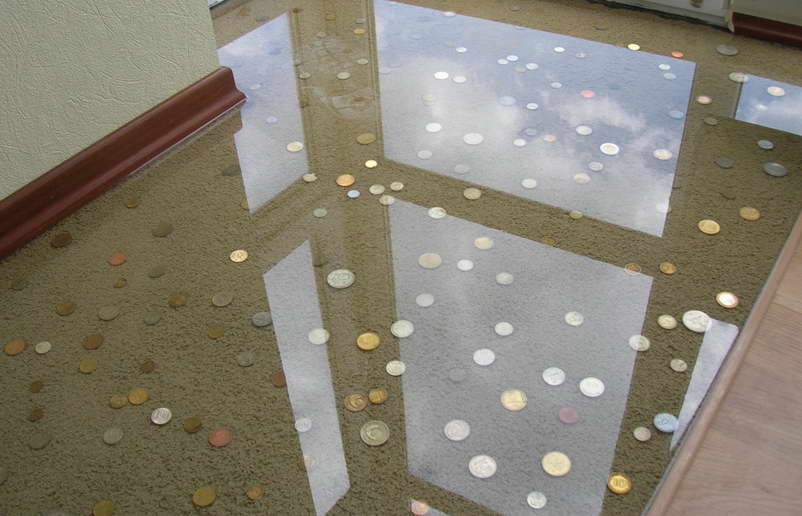
It should be noted that different types of protective varnishes are used for self-leveling surfaces. Such tools are applied in a thin layer, and have a polymer base. Through the use of varnish, you can achieve both glossy and matte effects of the floor.
Reviews of self-leveling floors
If you are planning to repair the house and thought about whether the self-leveling floor for the kitchen, you can read reviews of people who turned to the installation of such coatings. Basically, the majority of users of various forums noted that such a view is ideal for creating a modern and stylish interior. The advantages of the self-leveling floor are in evenness, quality and stability. Even if the permeability in the house is quite large, you can not worry about damage or deformation of the surface.

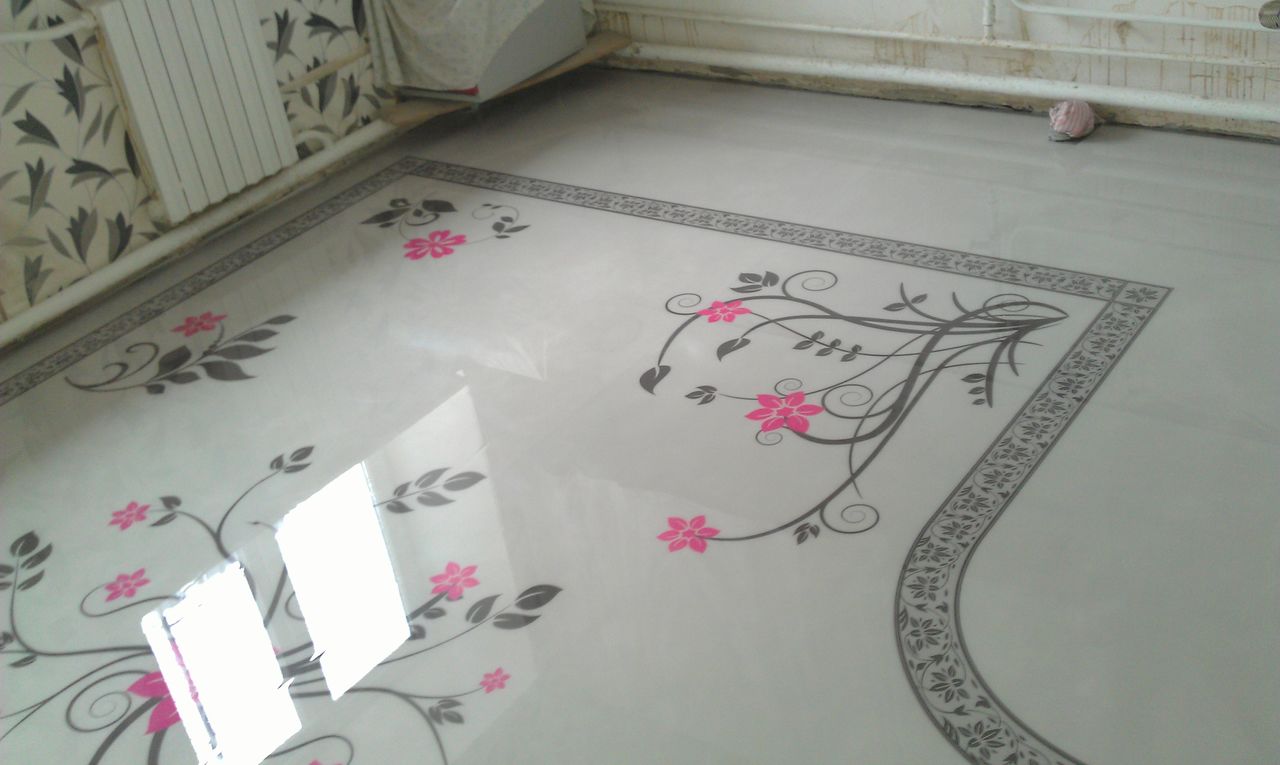
Many people have noted another plus of the self-leveling floor - diversity.You can choose any version of the surface in accordance with the design of the kitchen. Basically, a large number of companies are working on the creation of individual orders. This option is suitable if you are not going to create your own.
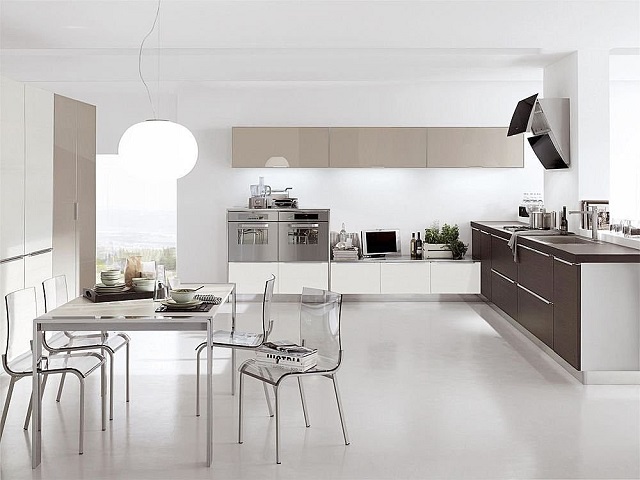
To prevent the surface from being cold, many people combine it with the “warm floor” technology. It is relatively new, but already widely used in repair work. In this case, the surface of a glossy or matte kitchen floor will never be cold, and the optimum temperature will be established in the room.
As for the cost of such options, the average figures range from 1500-2500 rubles per square meter. Basically, the price depends on the material, the presence of the effect or patterns and the area of the rooms. Each company sets the cost in accordance with the features of the process. Choosing a firm for the installation of a self-leveling floor, you need to inquire in advance about the price and deadlines.