Plasterboard ceiling for hall and kitchen
Ceiling decoration is one of the most difficult processes during the implementation of repair work. This operation can be simplified by using special suspension or tension structures for such purposes. Today, more and more, for the formation of ceilings, sheets of drywall are used, consisting of outer sheets of paper and inner plaster mix. This material is perfectly amenable to cutting, which allows you to build with it rather complex structures.
Features of plasterboard surfaces
Technical characteristics of drywall can minimize the work on alignment when performing finishing. There are several main advantages of gypsum suspended ceilings:
- The practicality of the material. These products are perfectly processed, which allows you to easily form various forms, embed lights and carry out many other operations.
- Durability. A suspended ceiling, if properly installed, can stand for about 15 years without the need to restore its technical properties.
- Strength. Drywall can withstand significant loads, which makes it possible to use it as a frame for various multi-level systems.

Still, this product is not perfect and has several negative properties:
- Sheets of drywall are very fragile, which does not allow for their installation on their own.
- During the installation process, a lot of dust may be generated, which must be removed.
- If the ceiling system is installed or operated improperly, it will cause cracks and loss of the decorative properties of the ceiling.
Kinds
Such ceiling systems are performed on several basic principles, which allows you to create not only a smooth, but also a beautiful surface. Experts identify several types of suspended ceilings that can be used, both in the hall and in the kitchen:
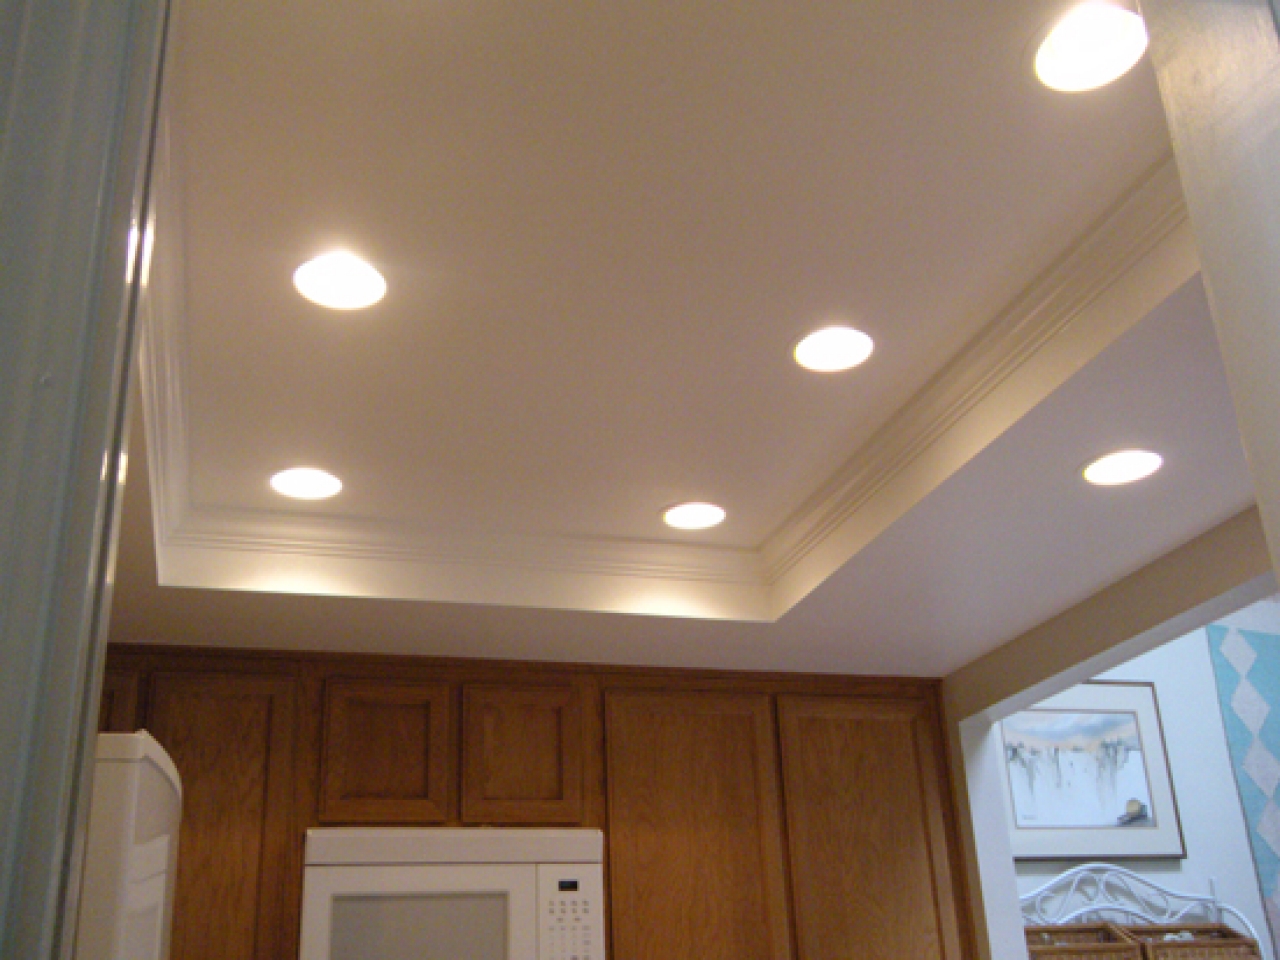
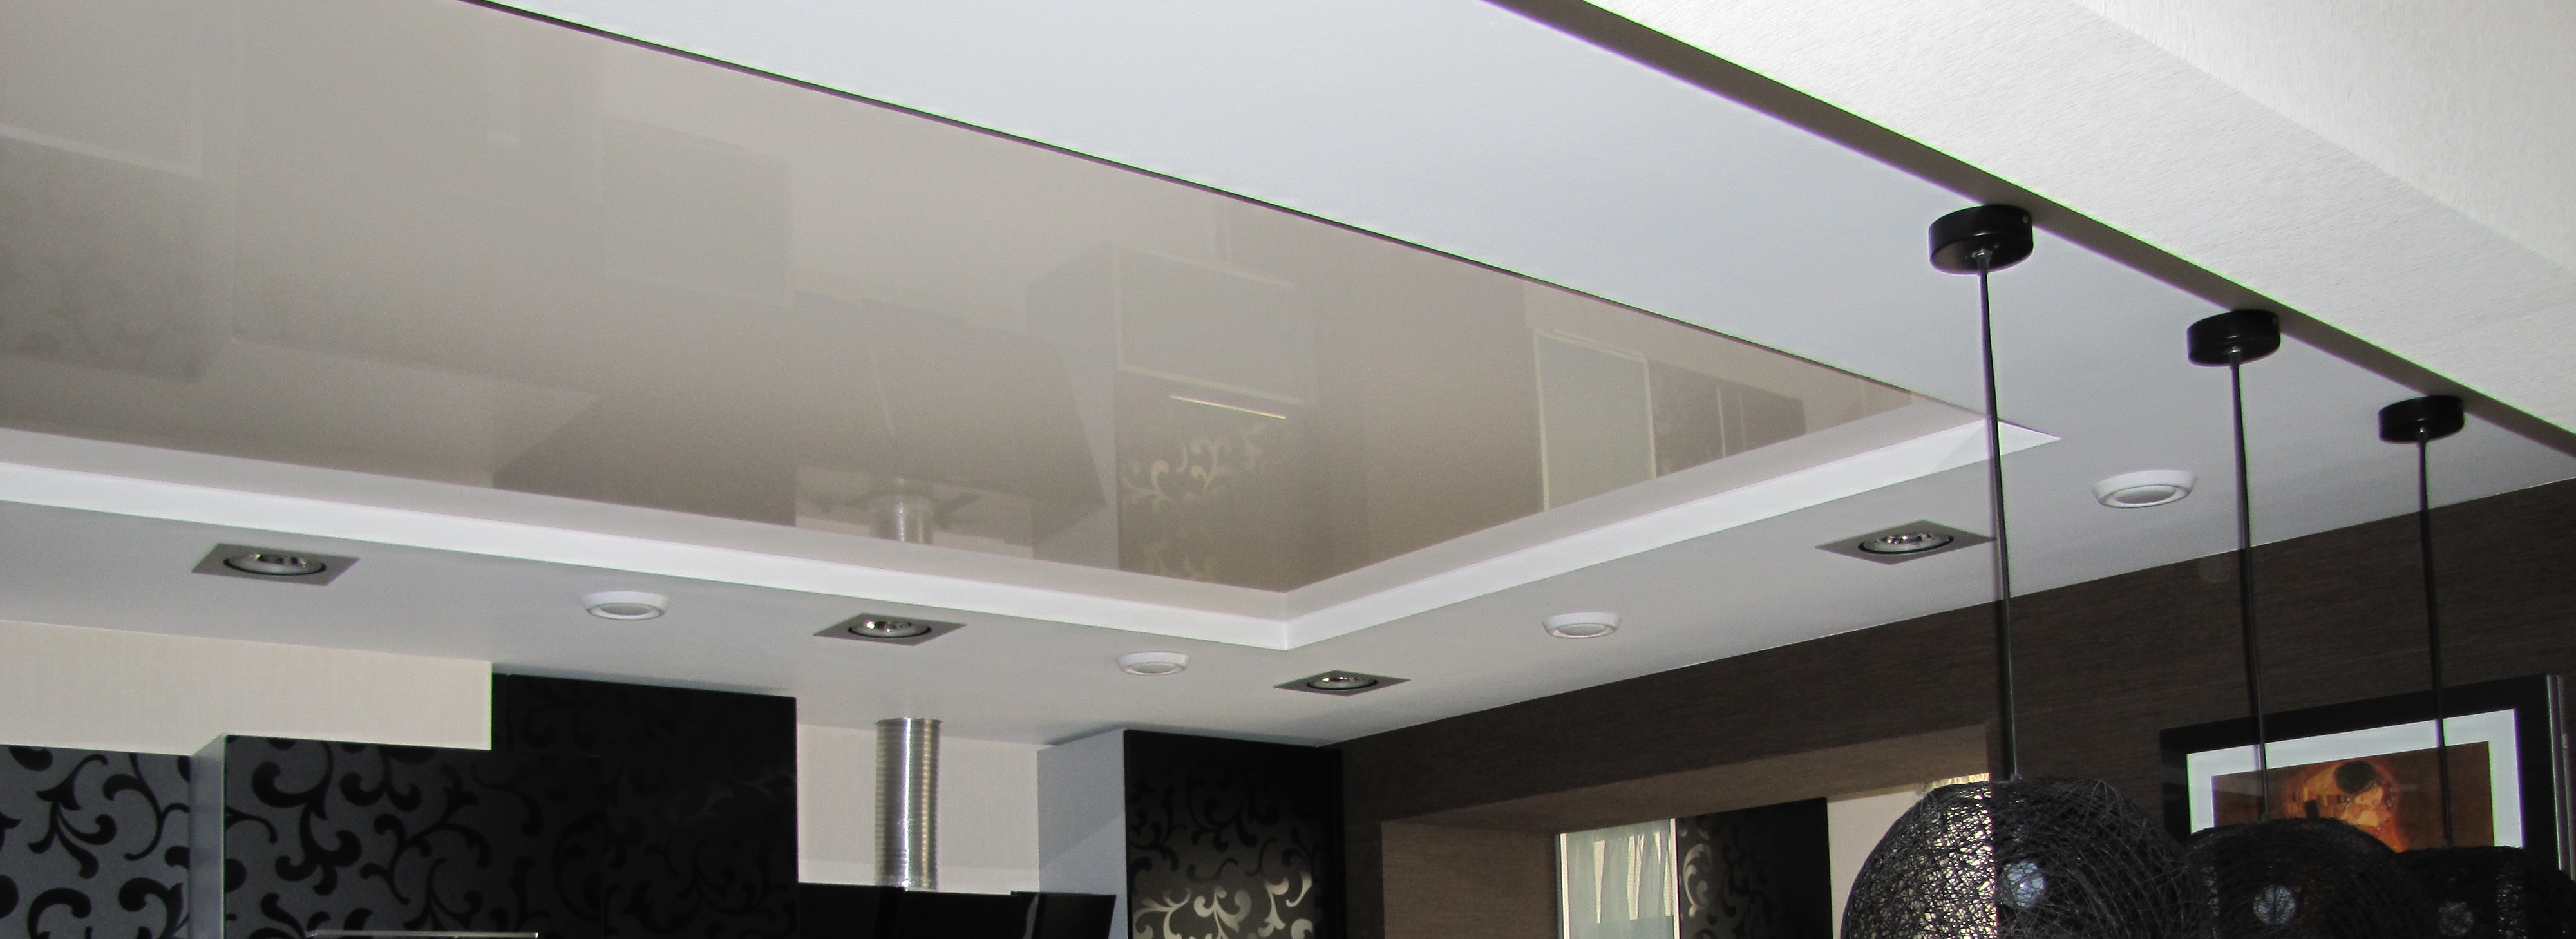
- Single level systems. The main purpose of such structures is the alignment of the ceiling. When installing such products use only a special frame made of metal or ordinary wooden crate. After fixing, all sheets are arranged in the same plane.
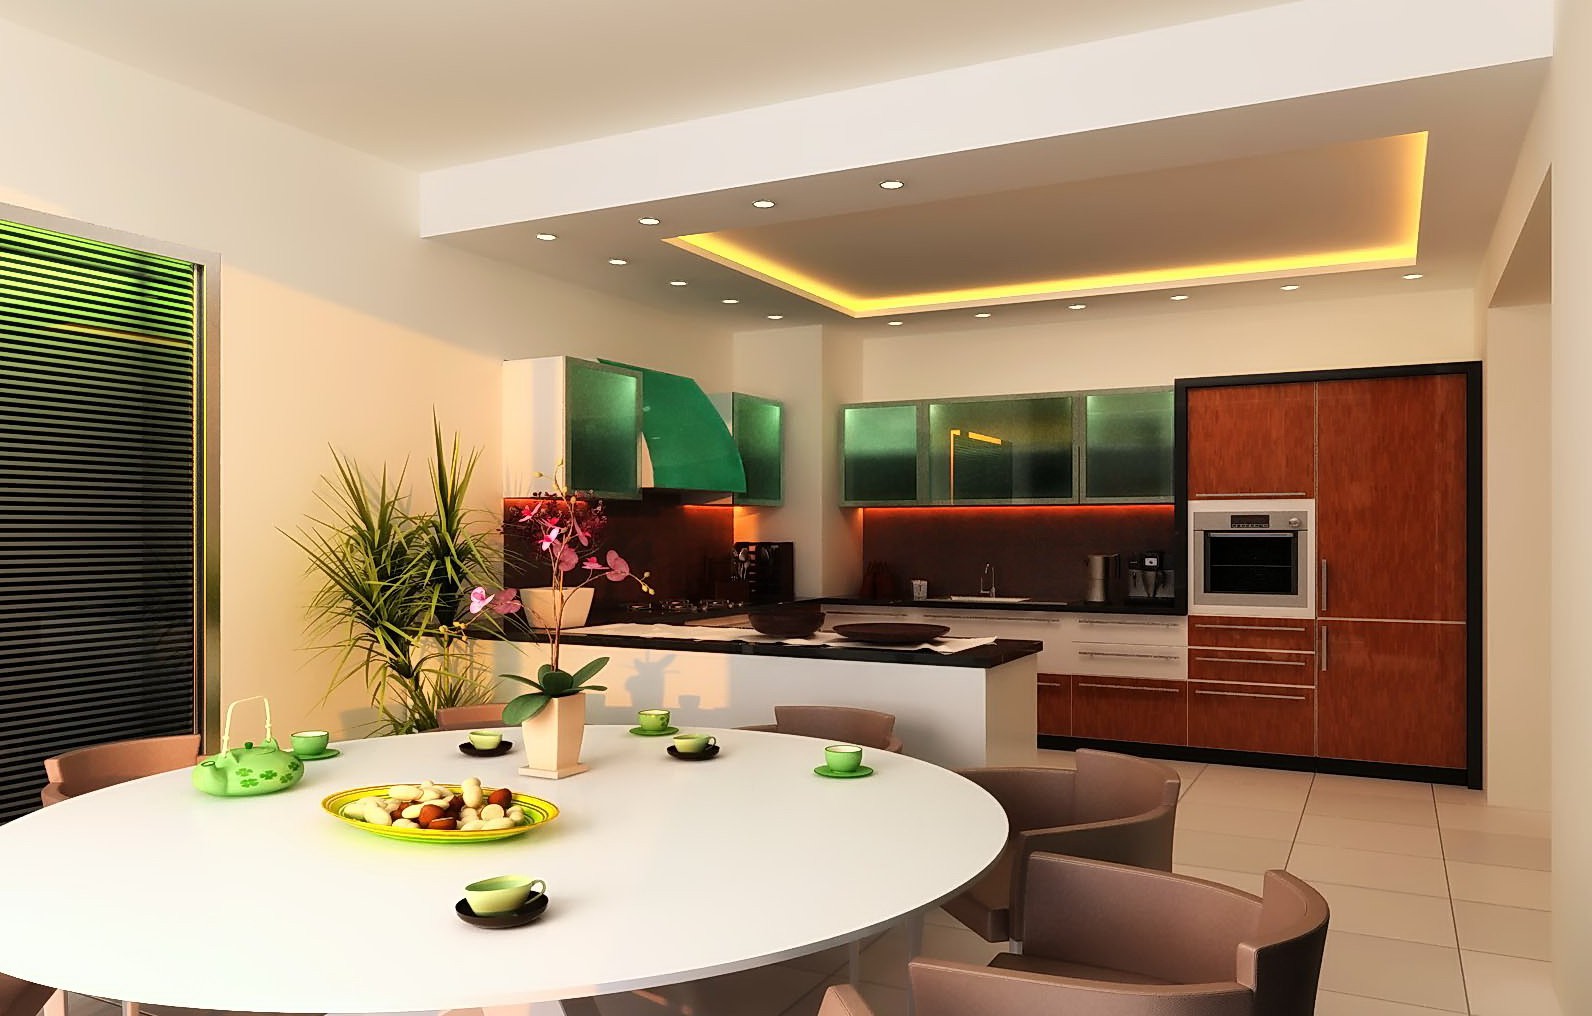
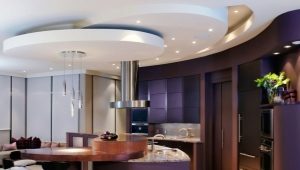
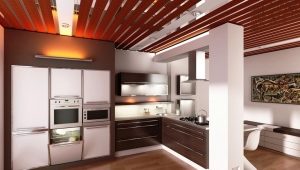
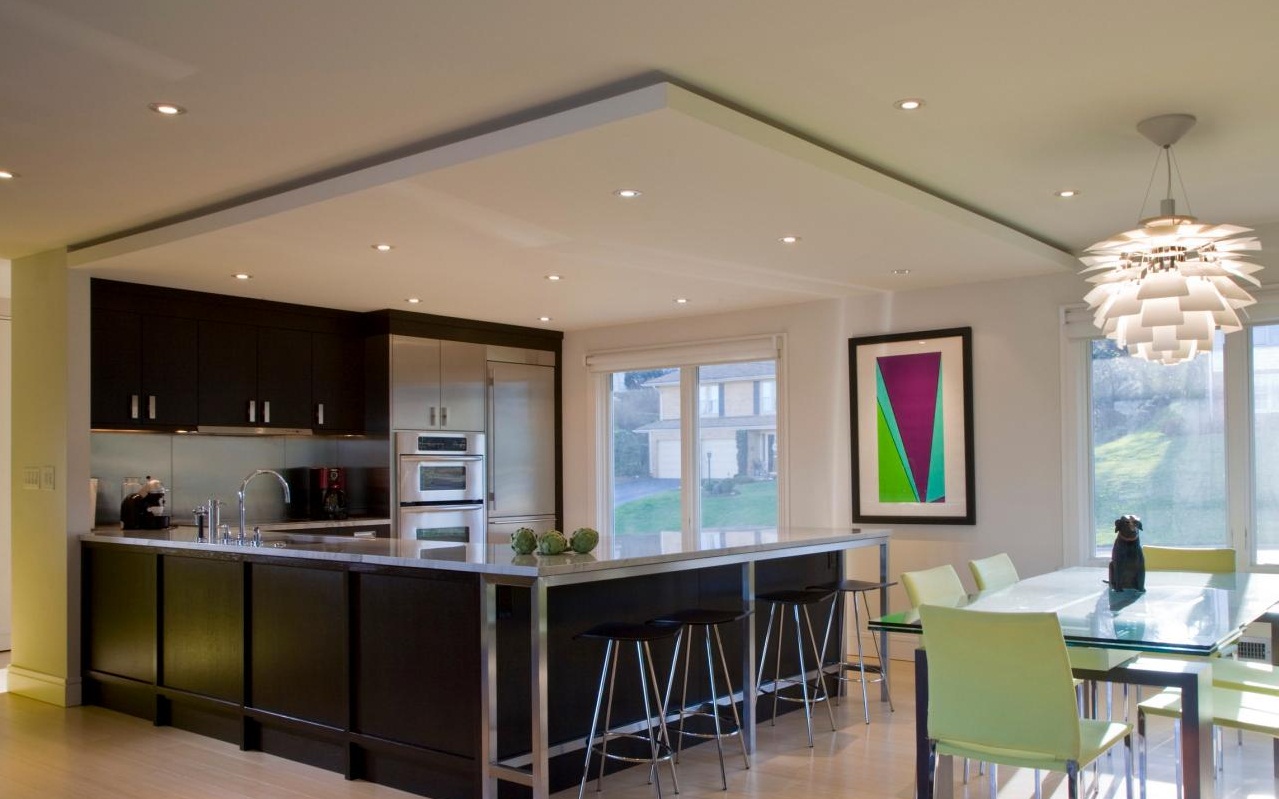
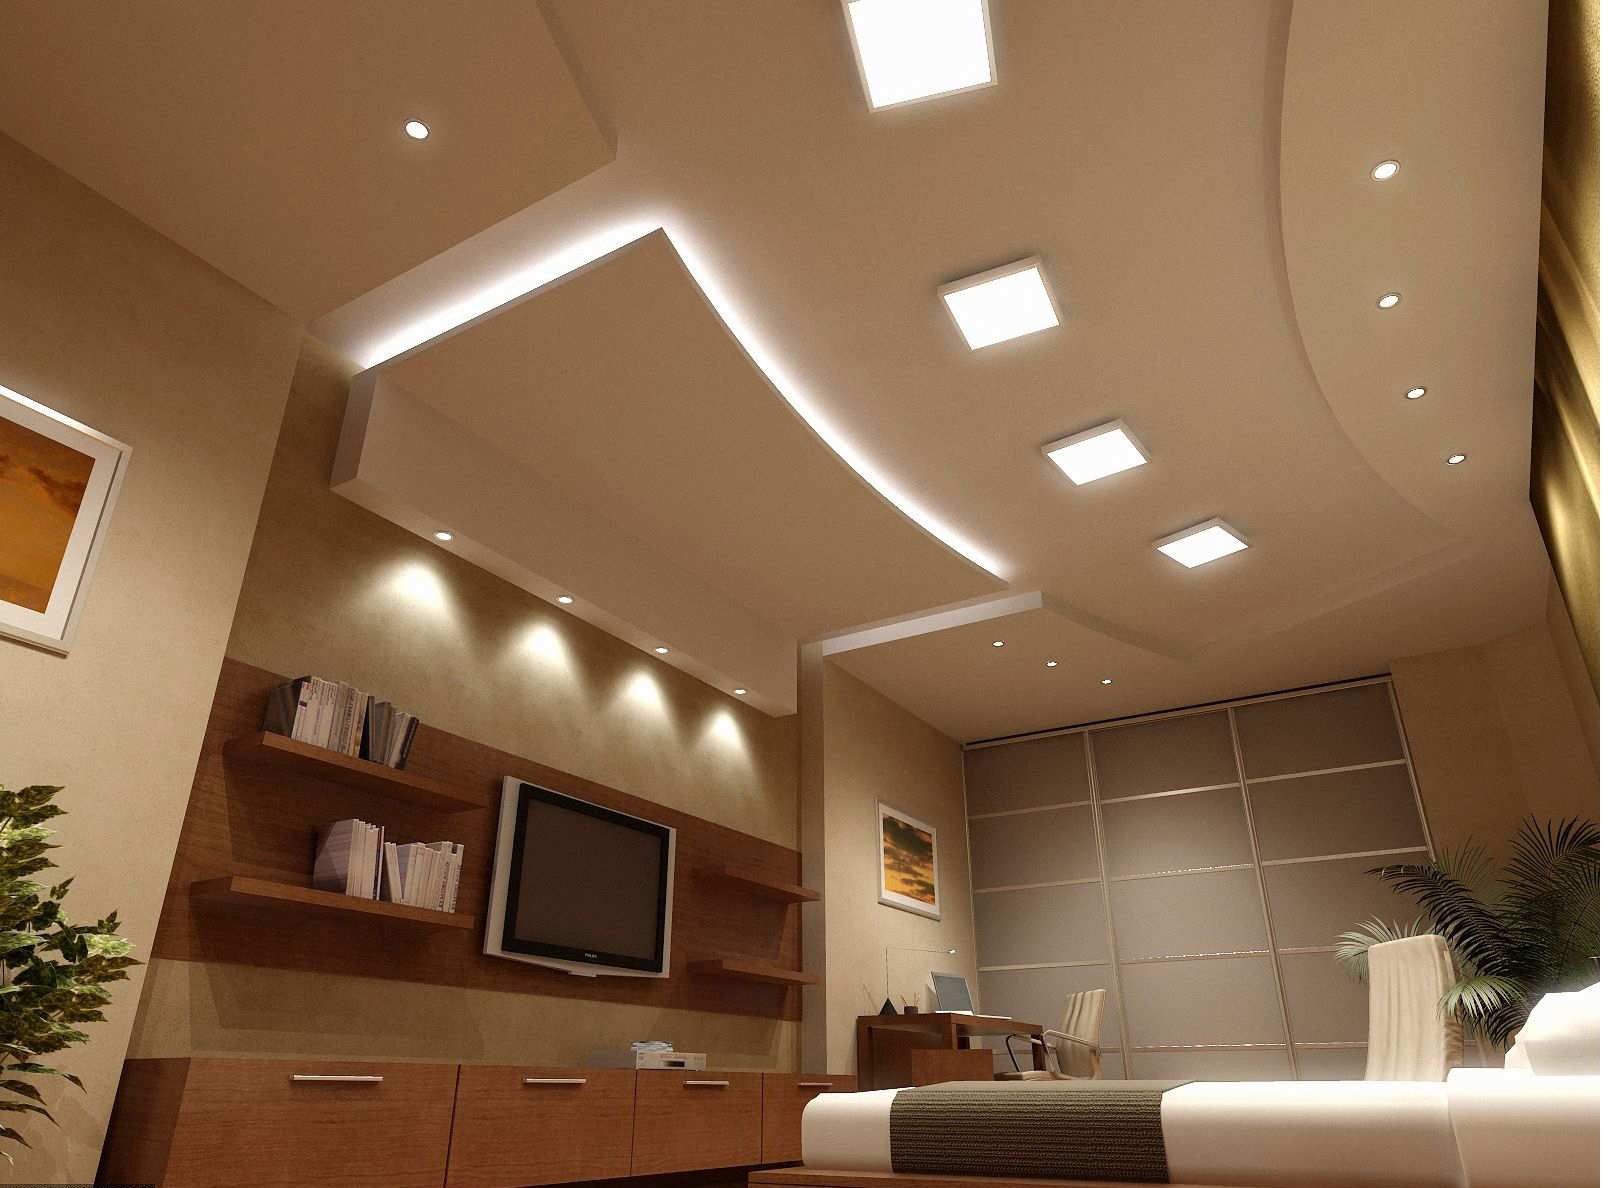
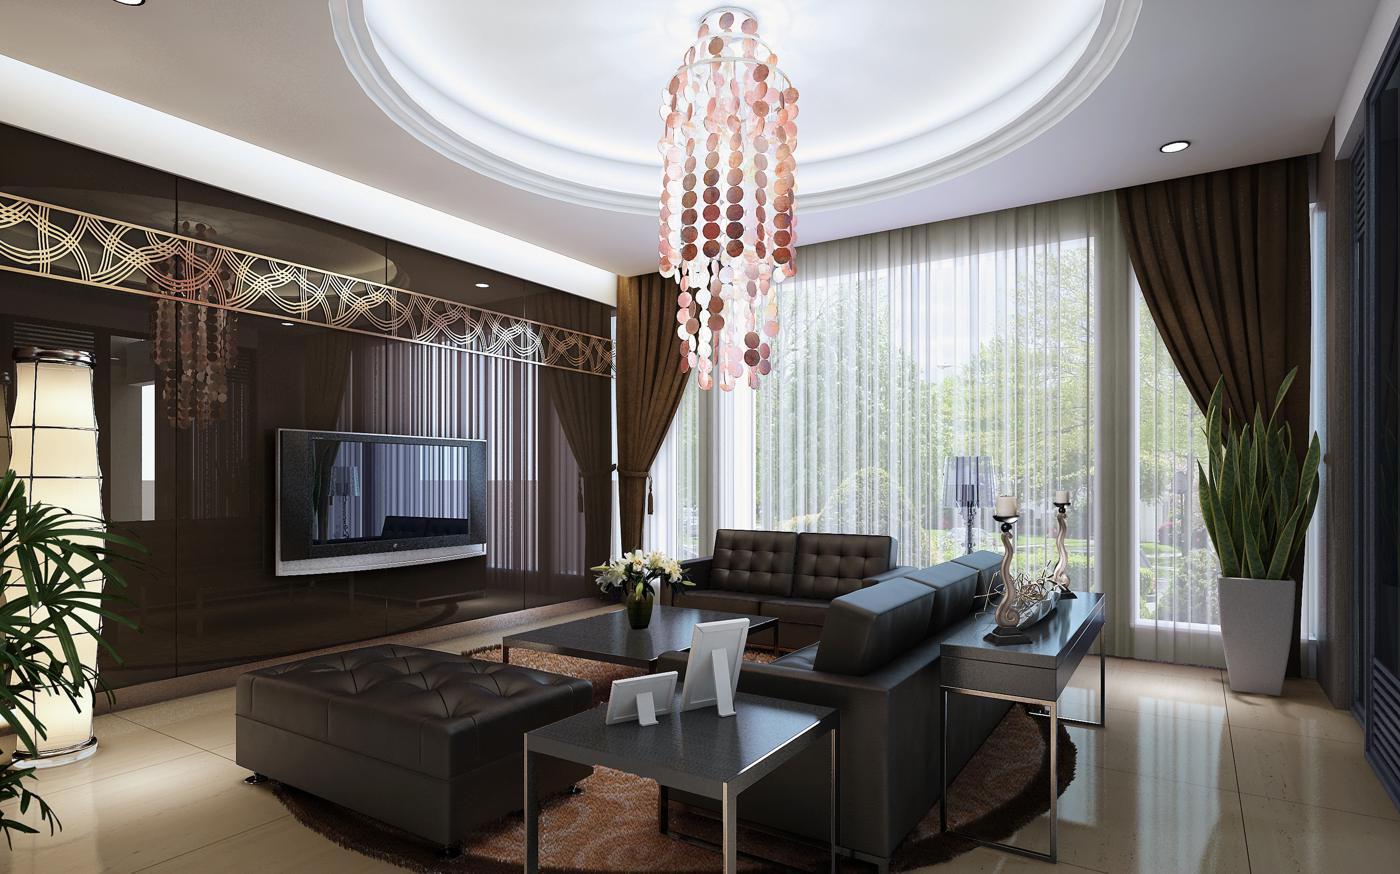
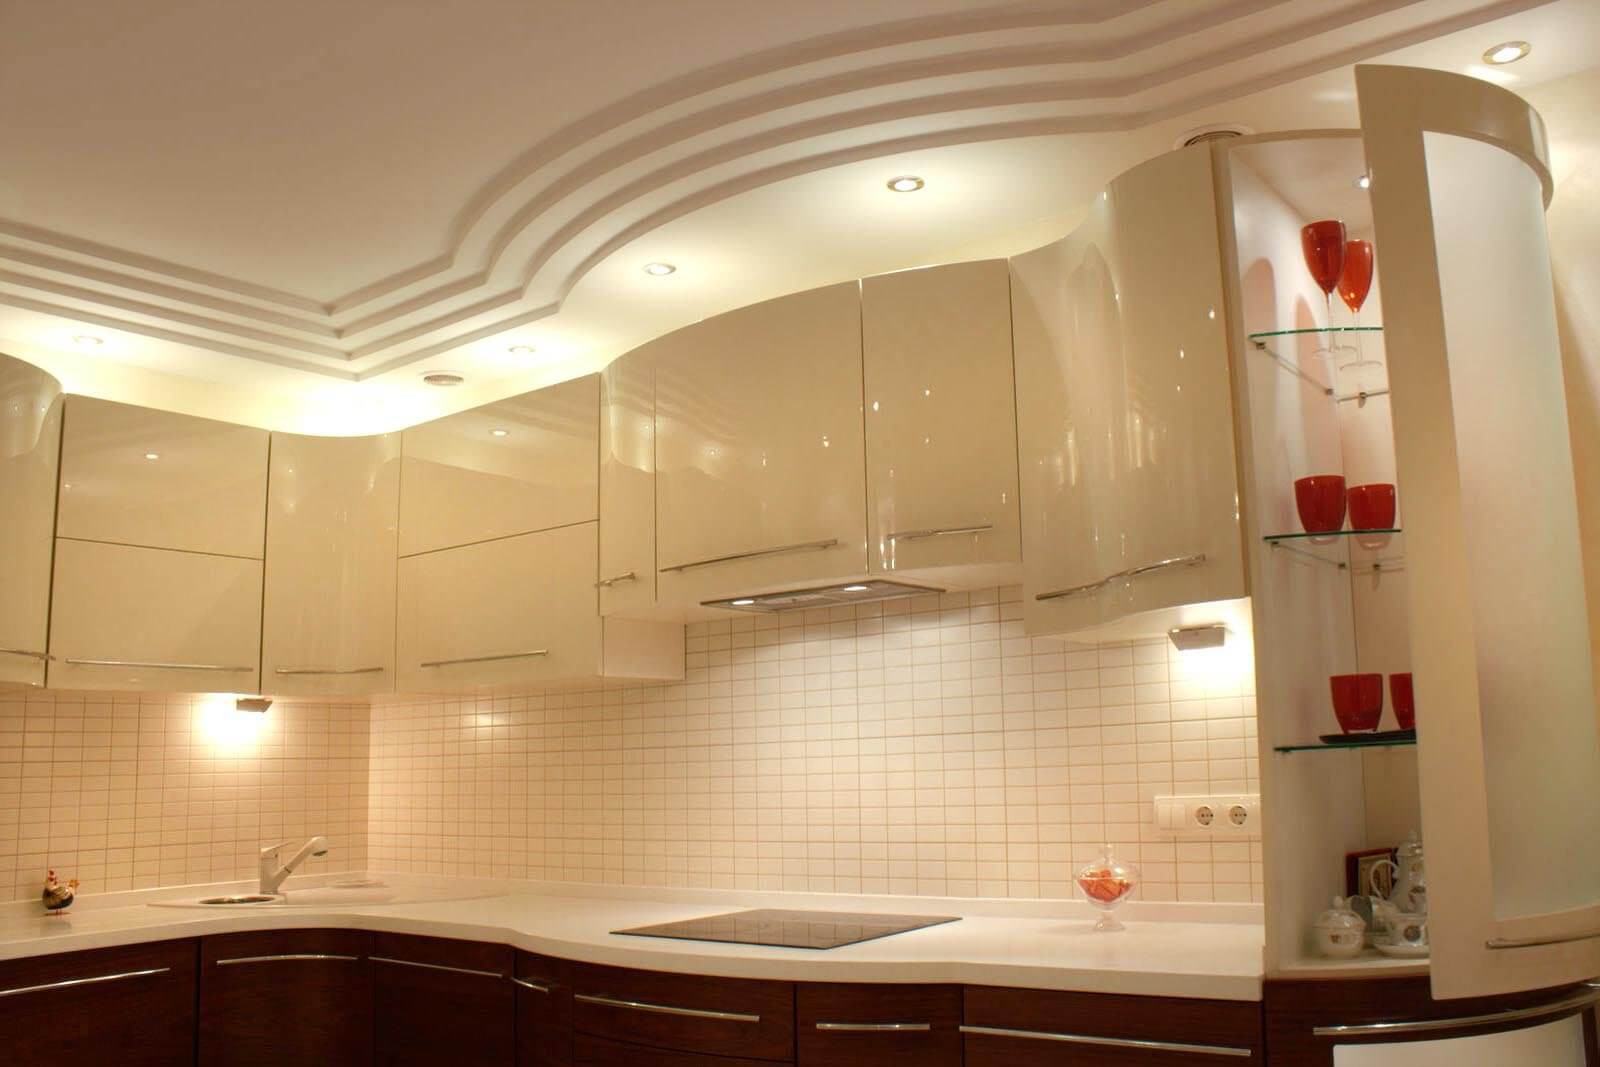
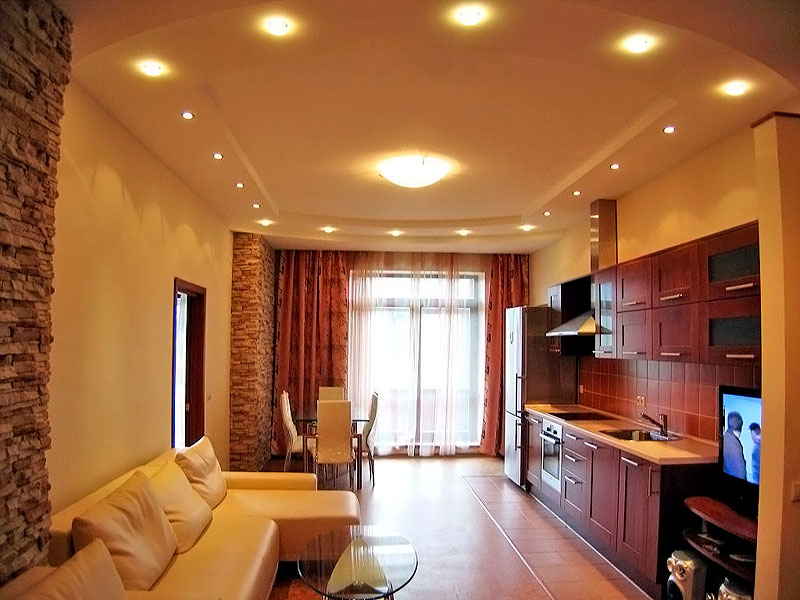
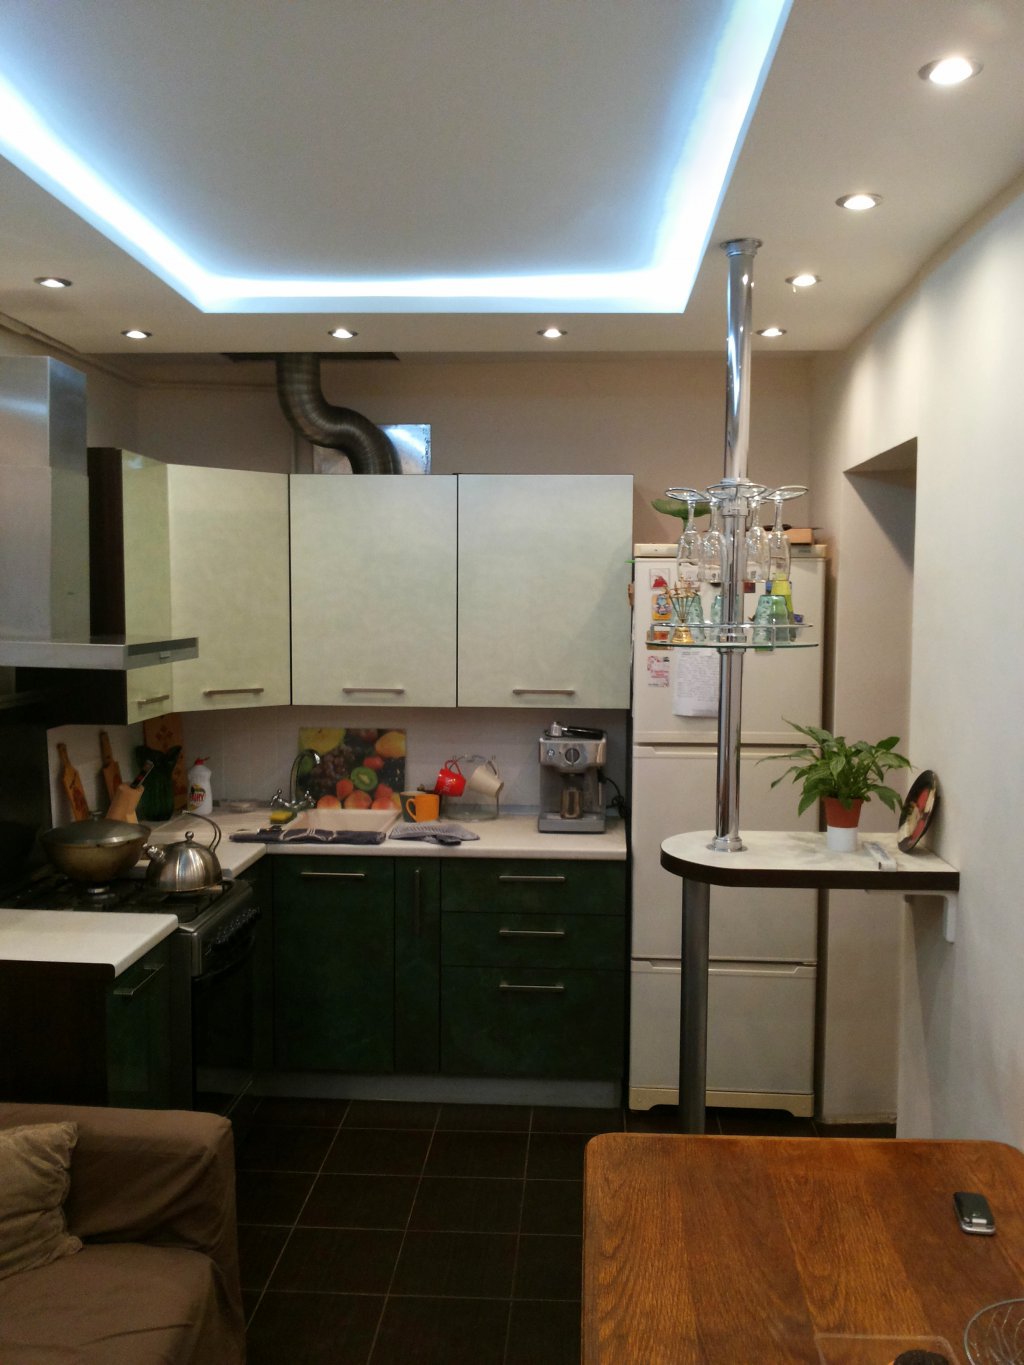
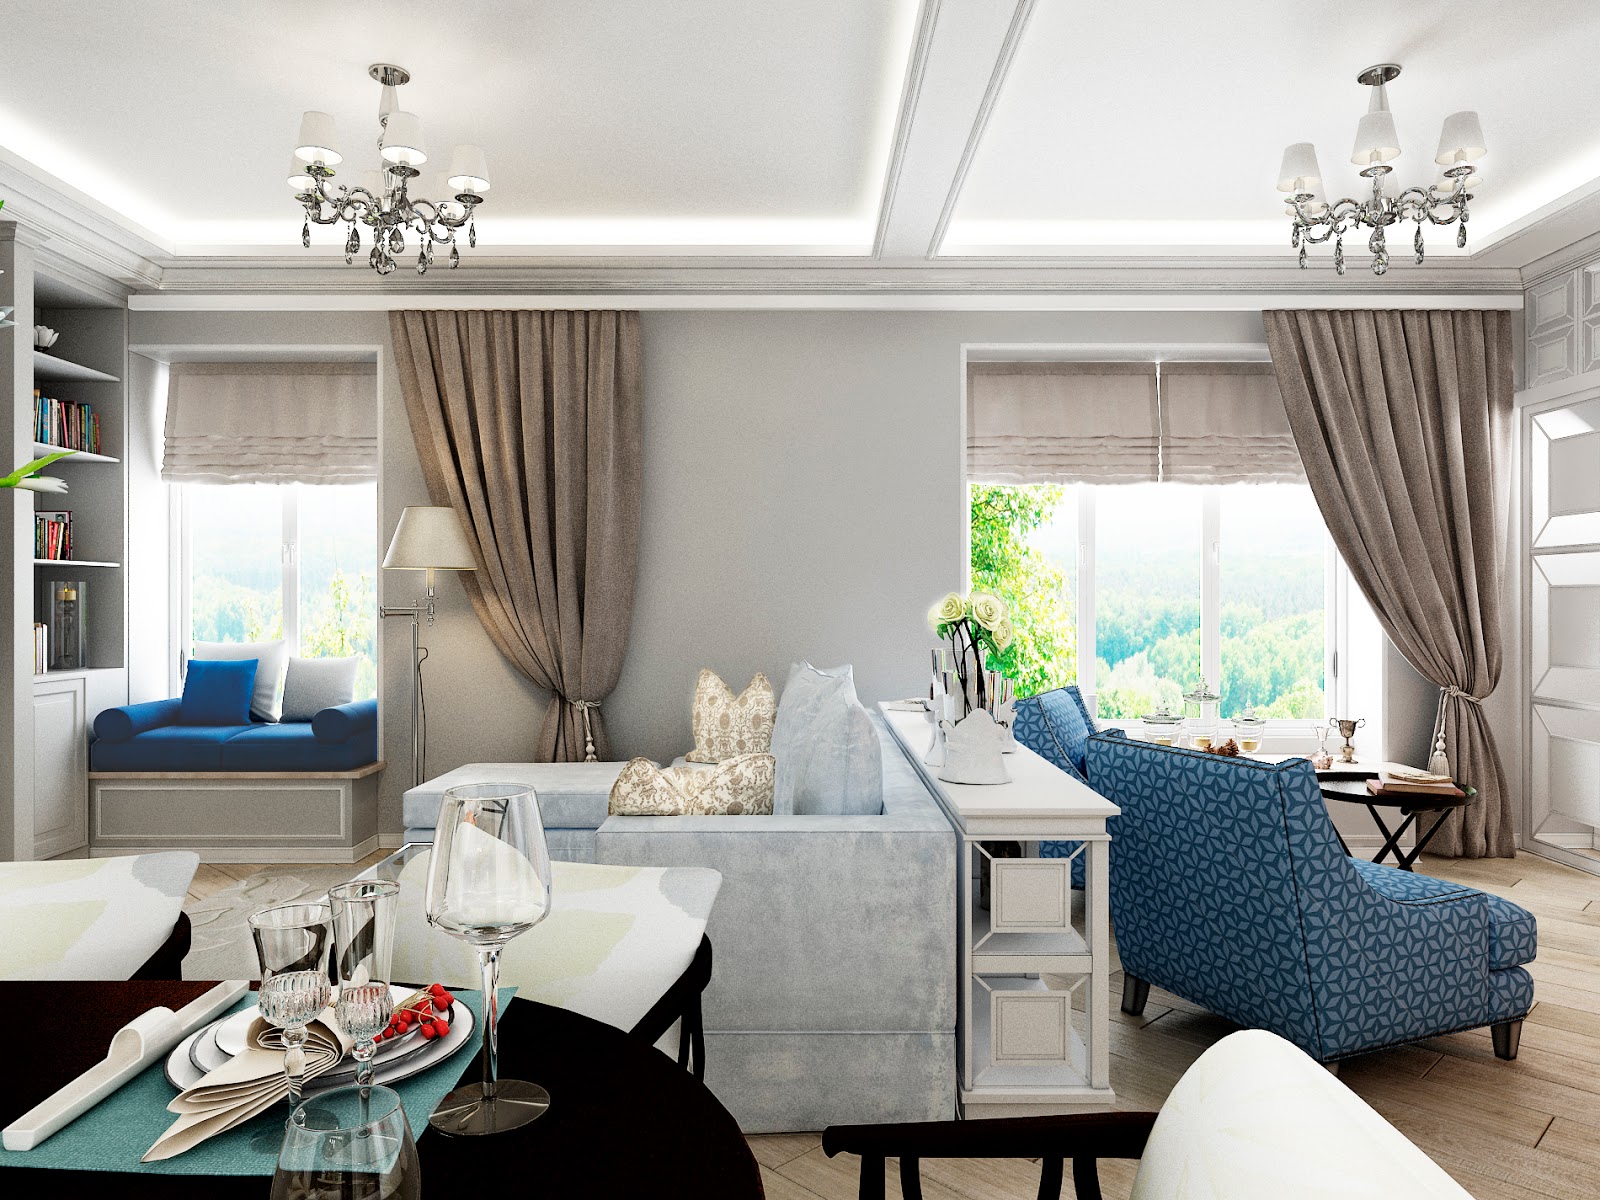
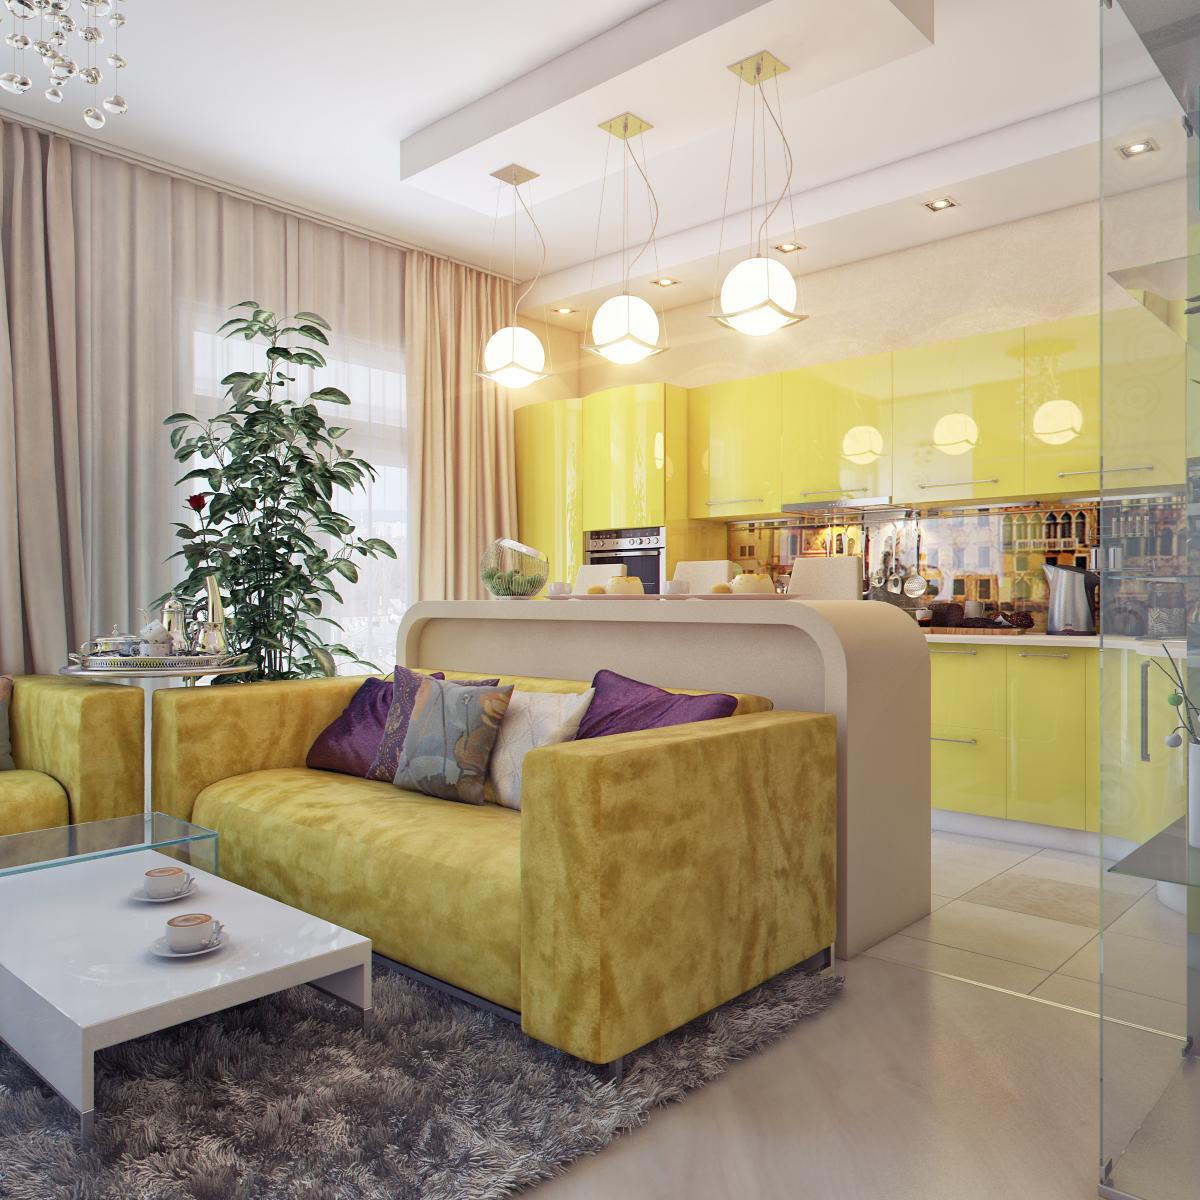
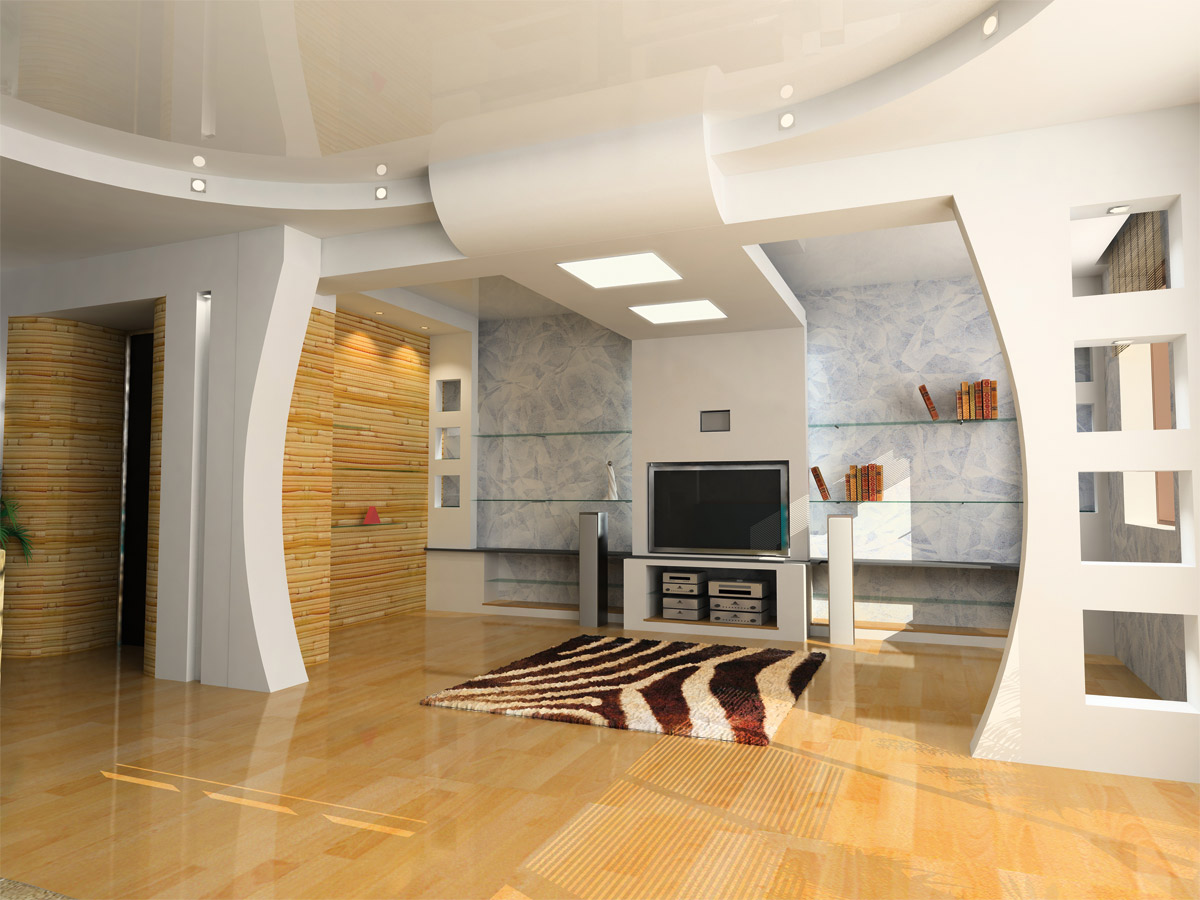
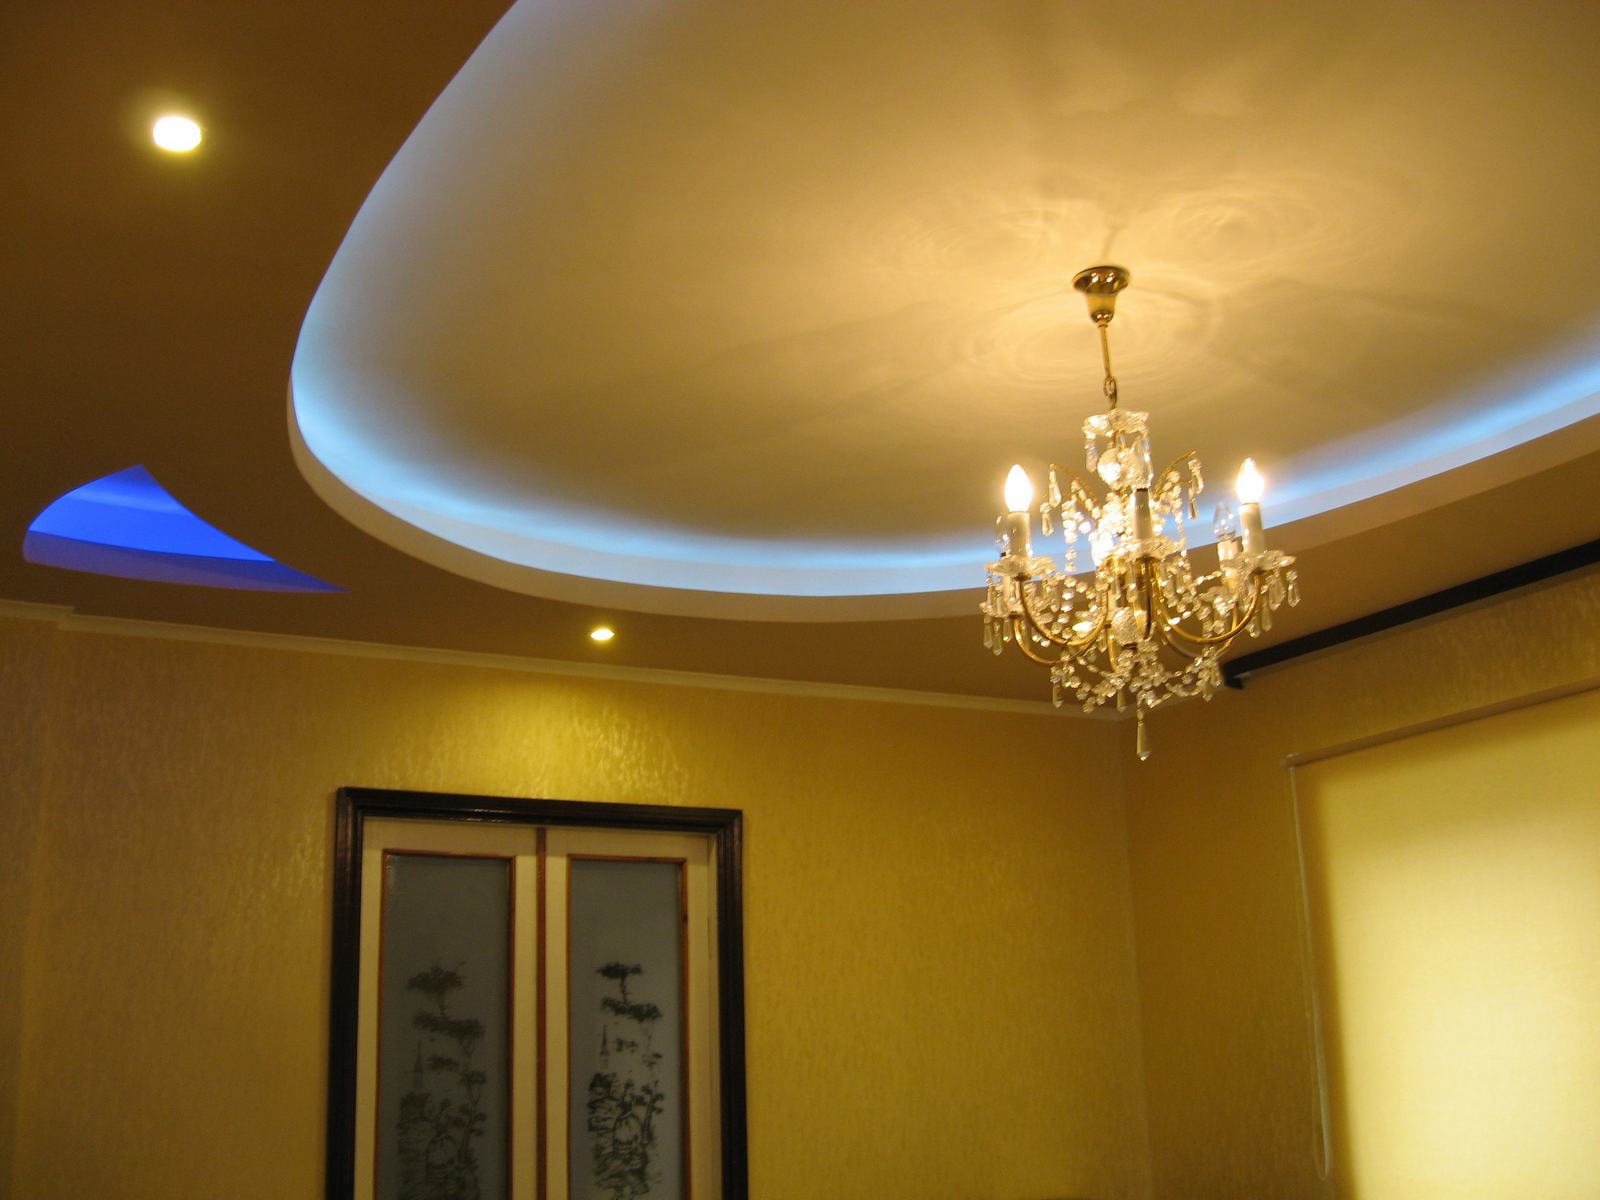
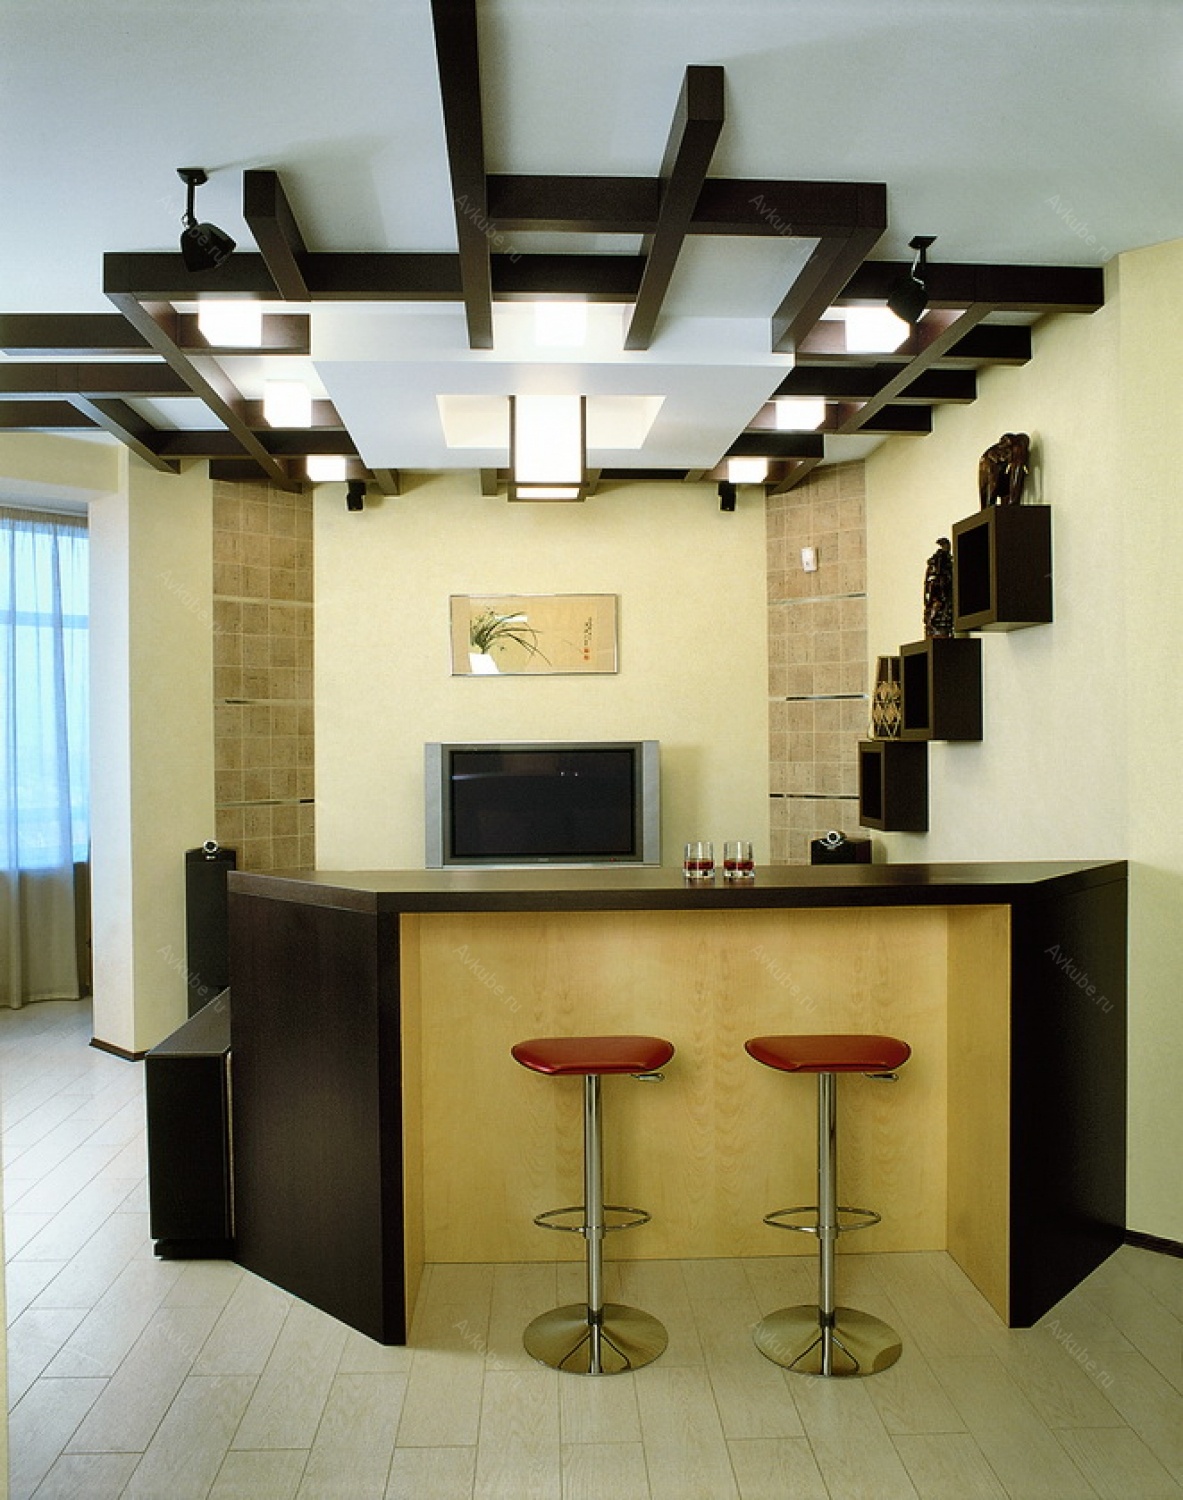
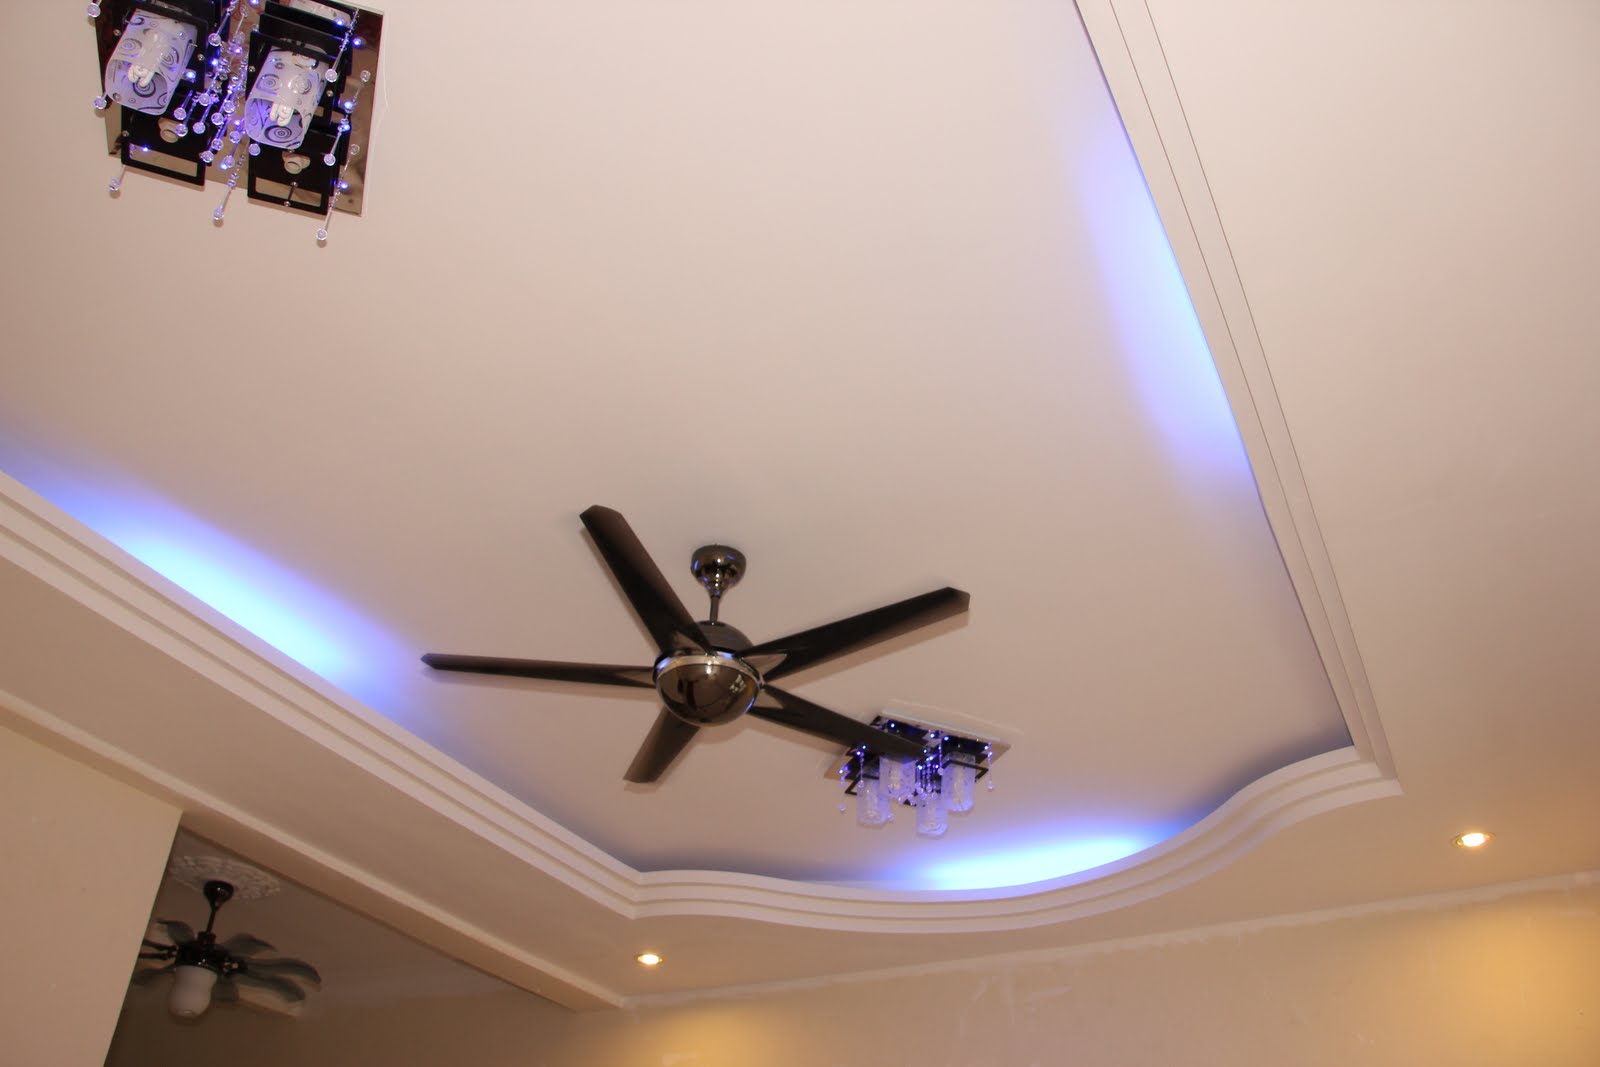
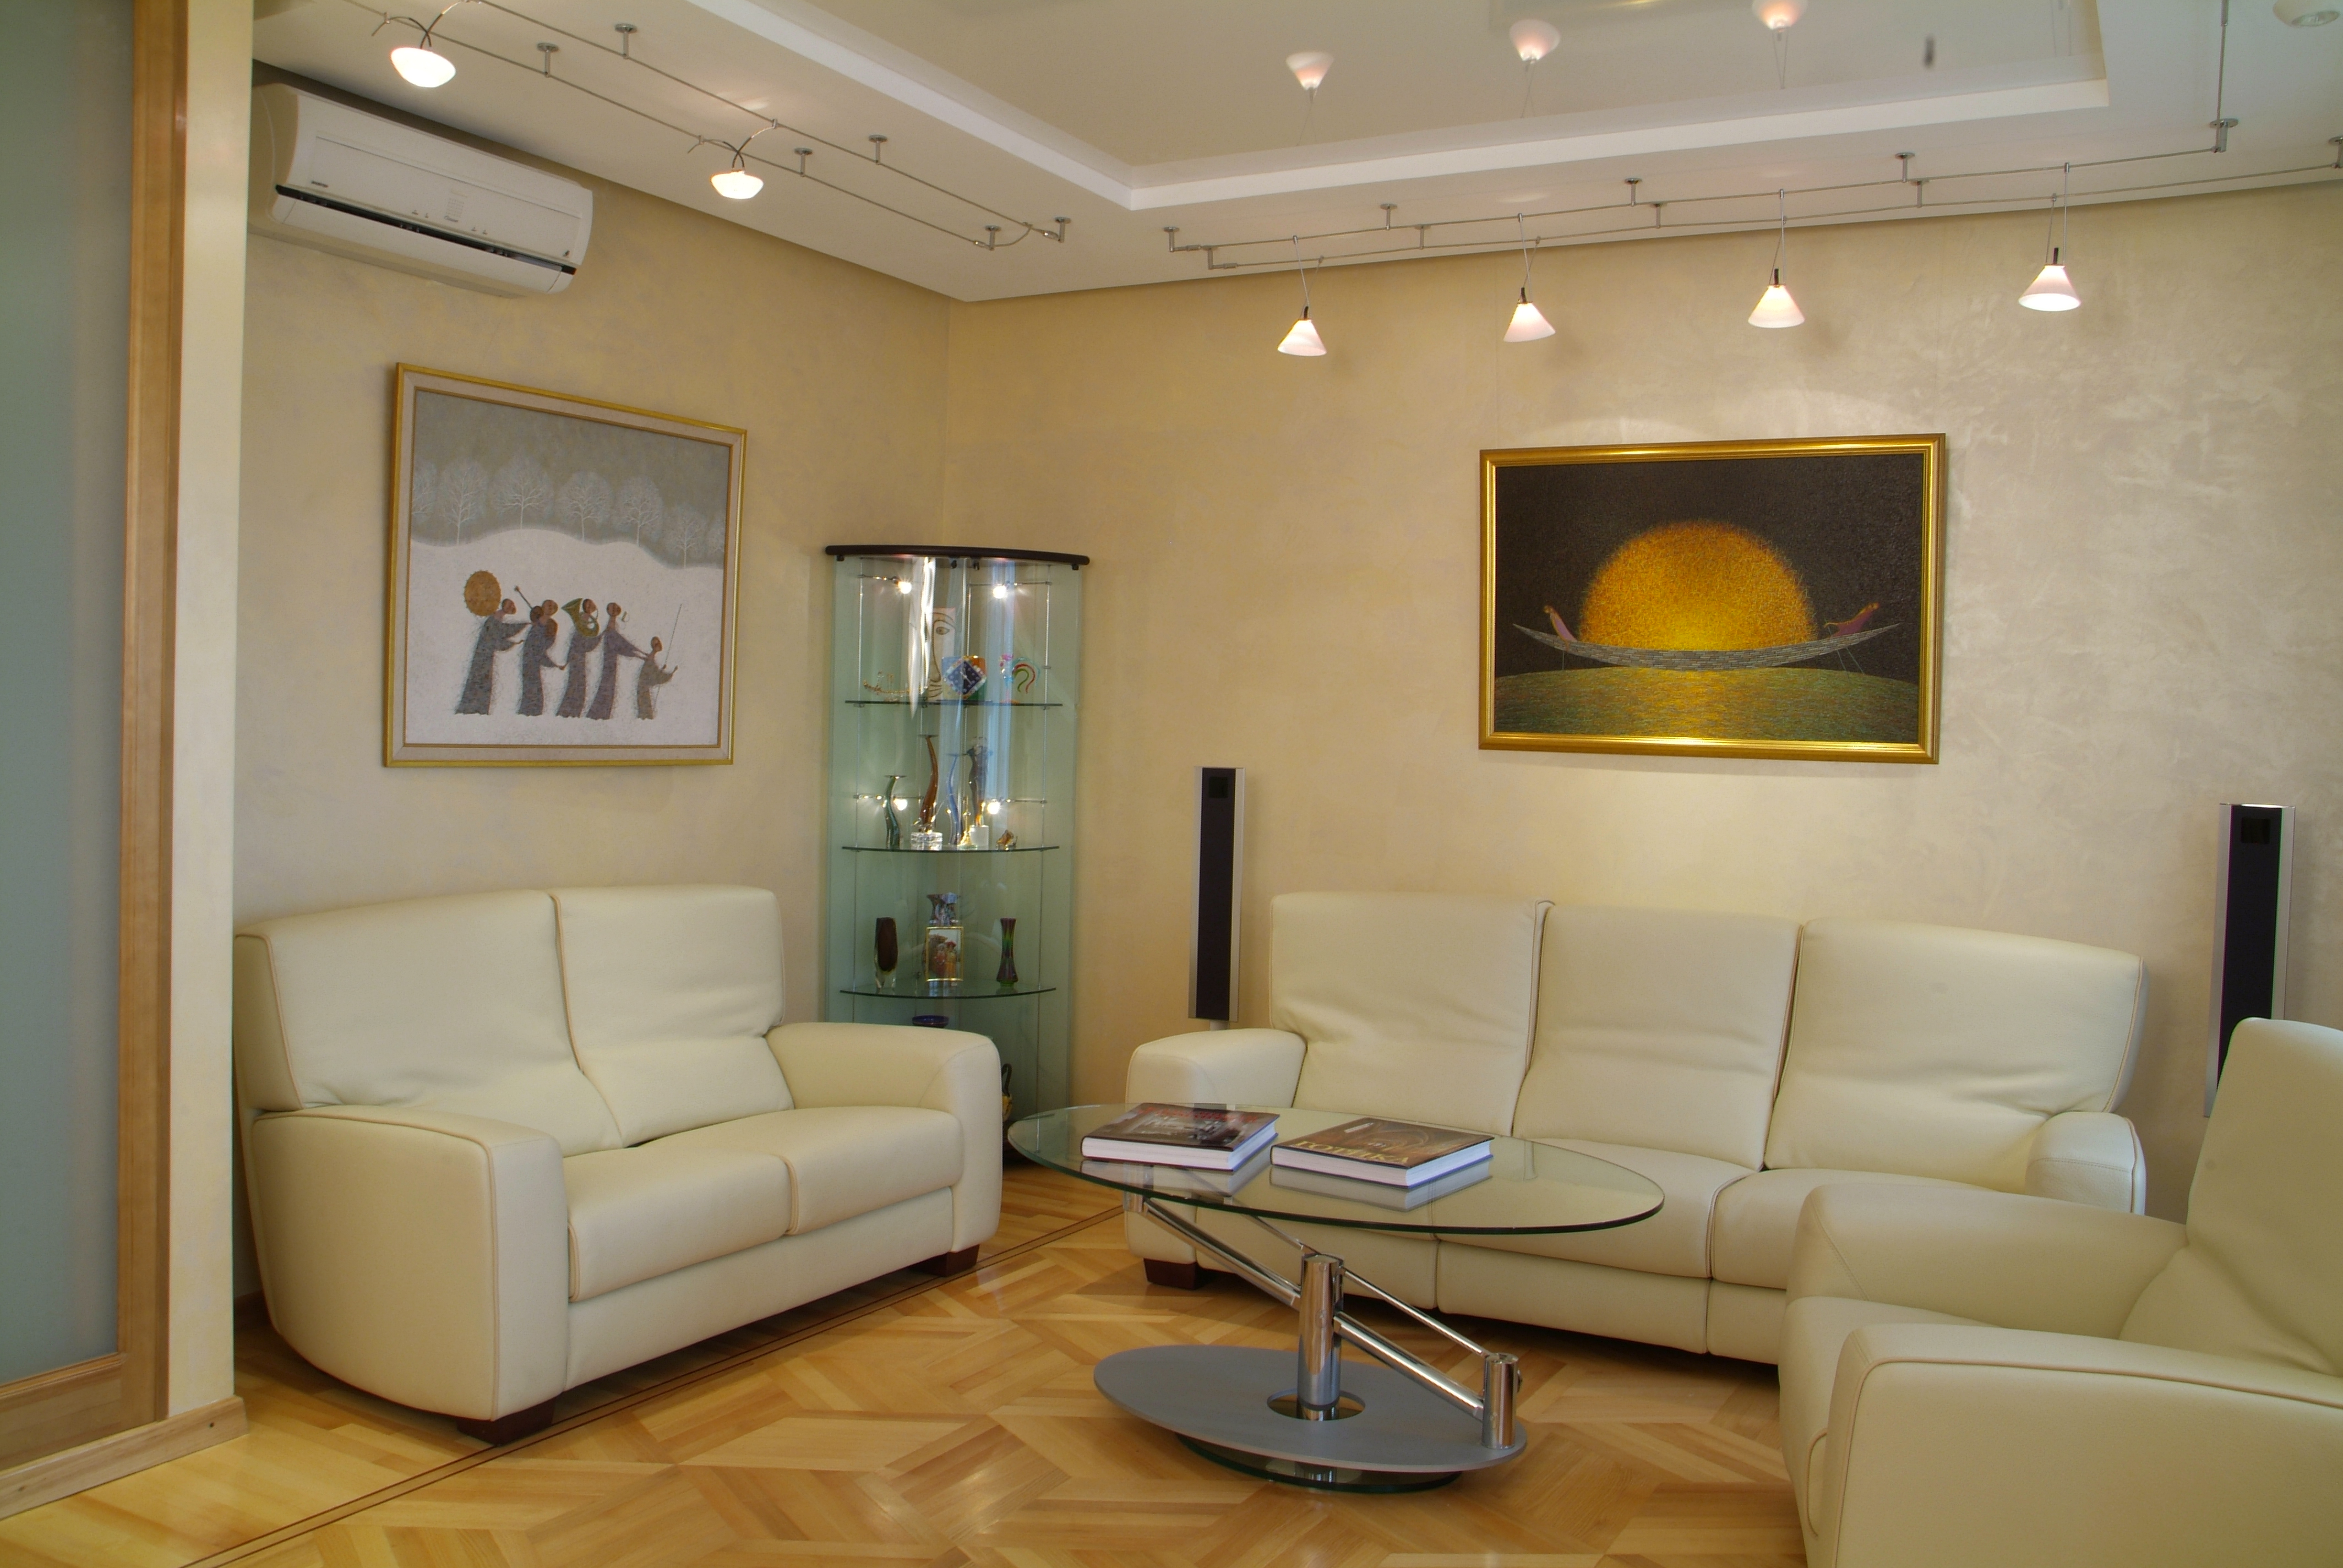
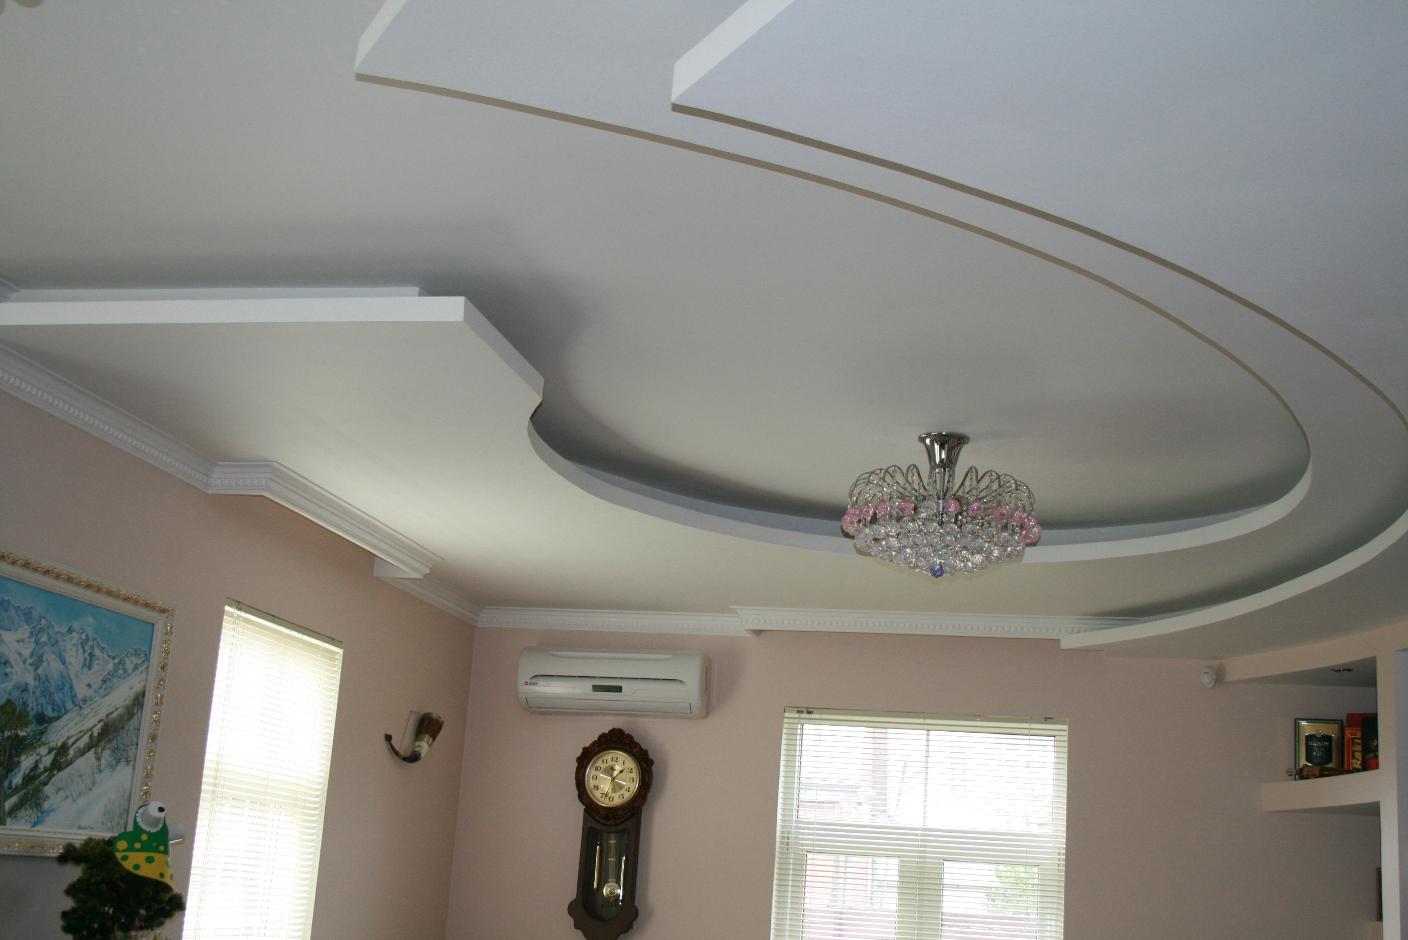
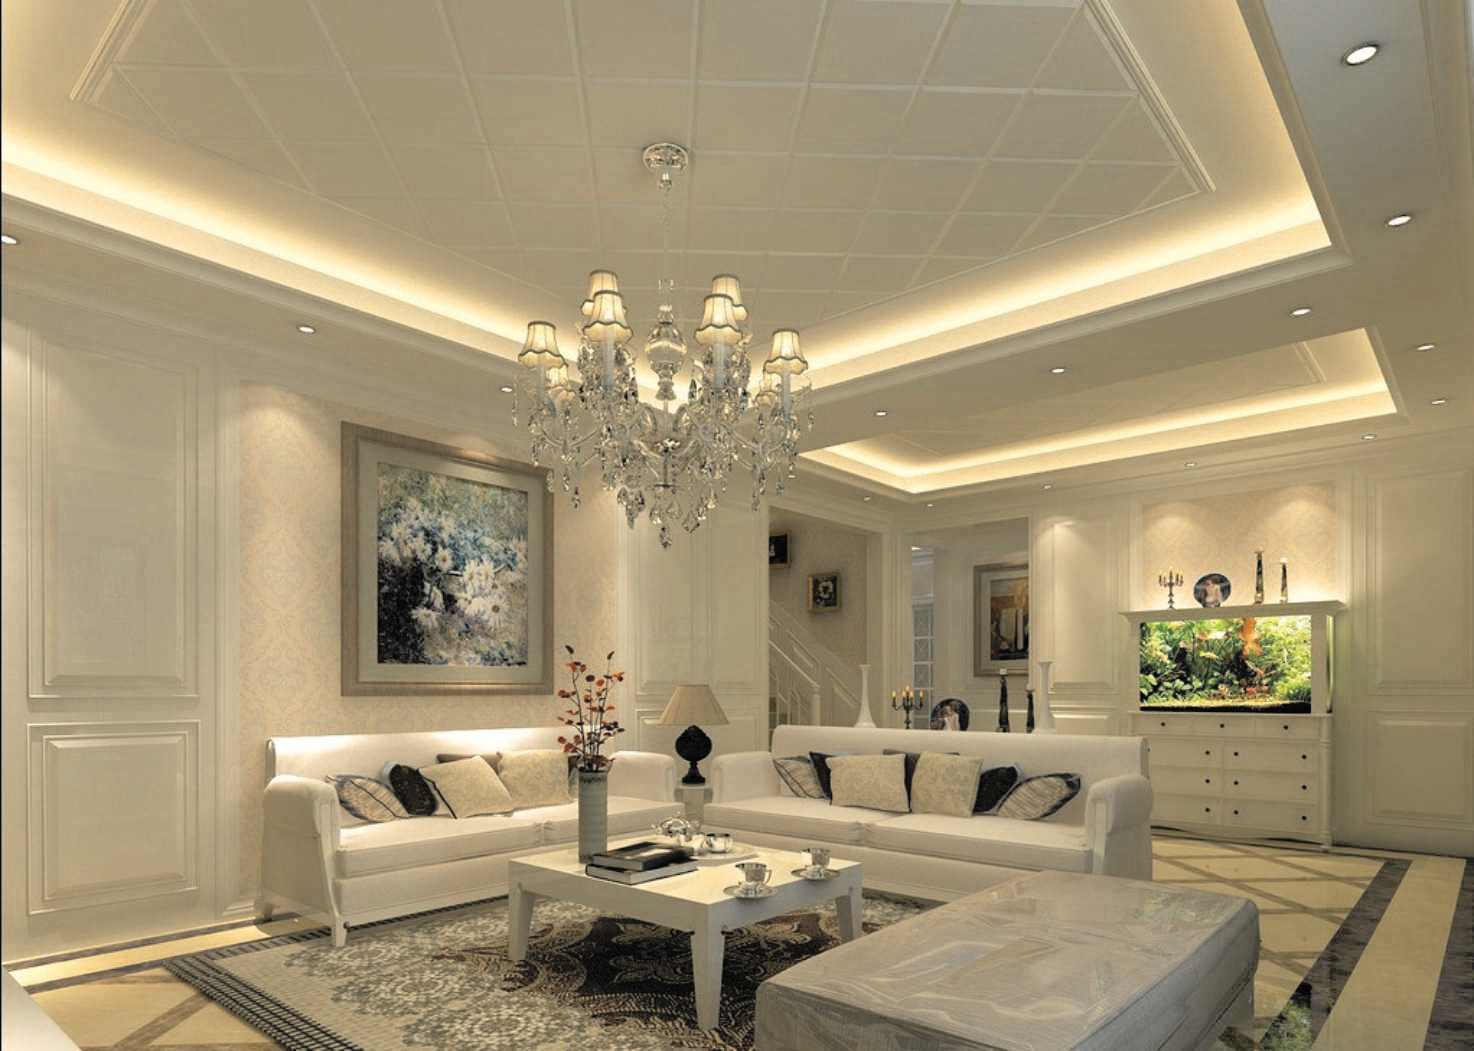
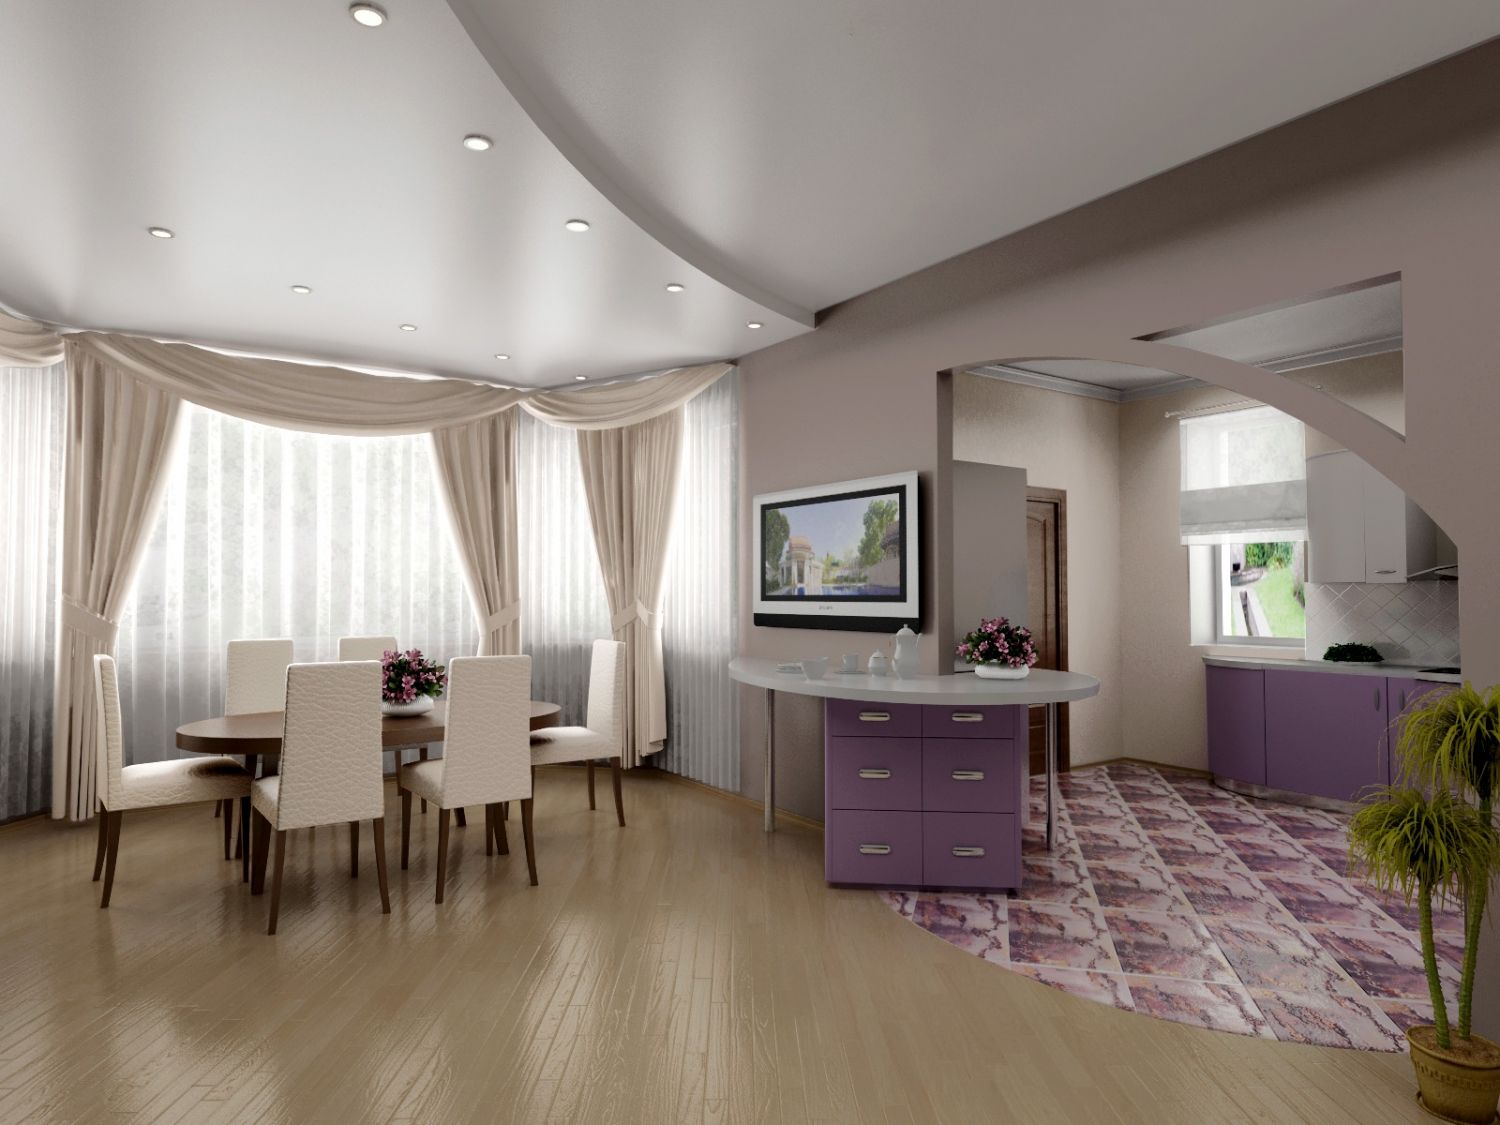
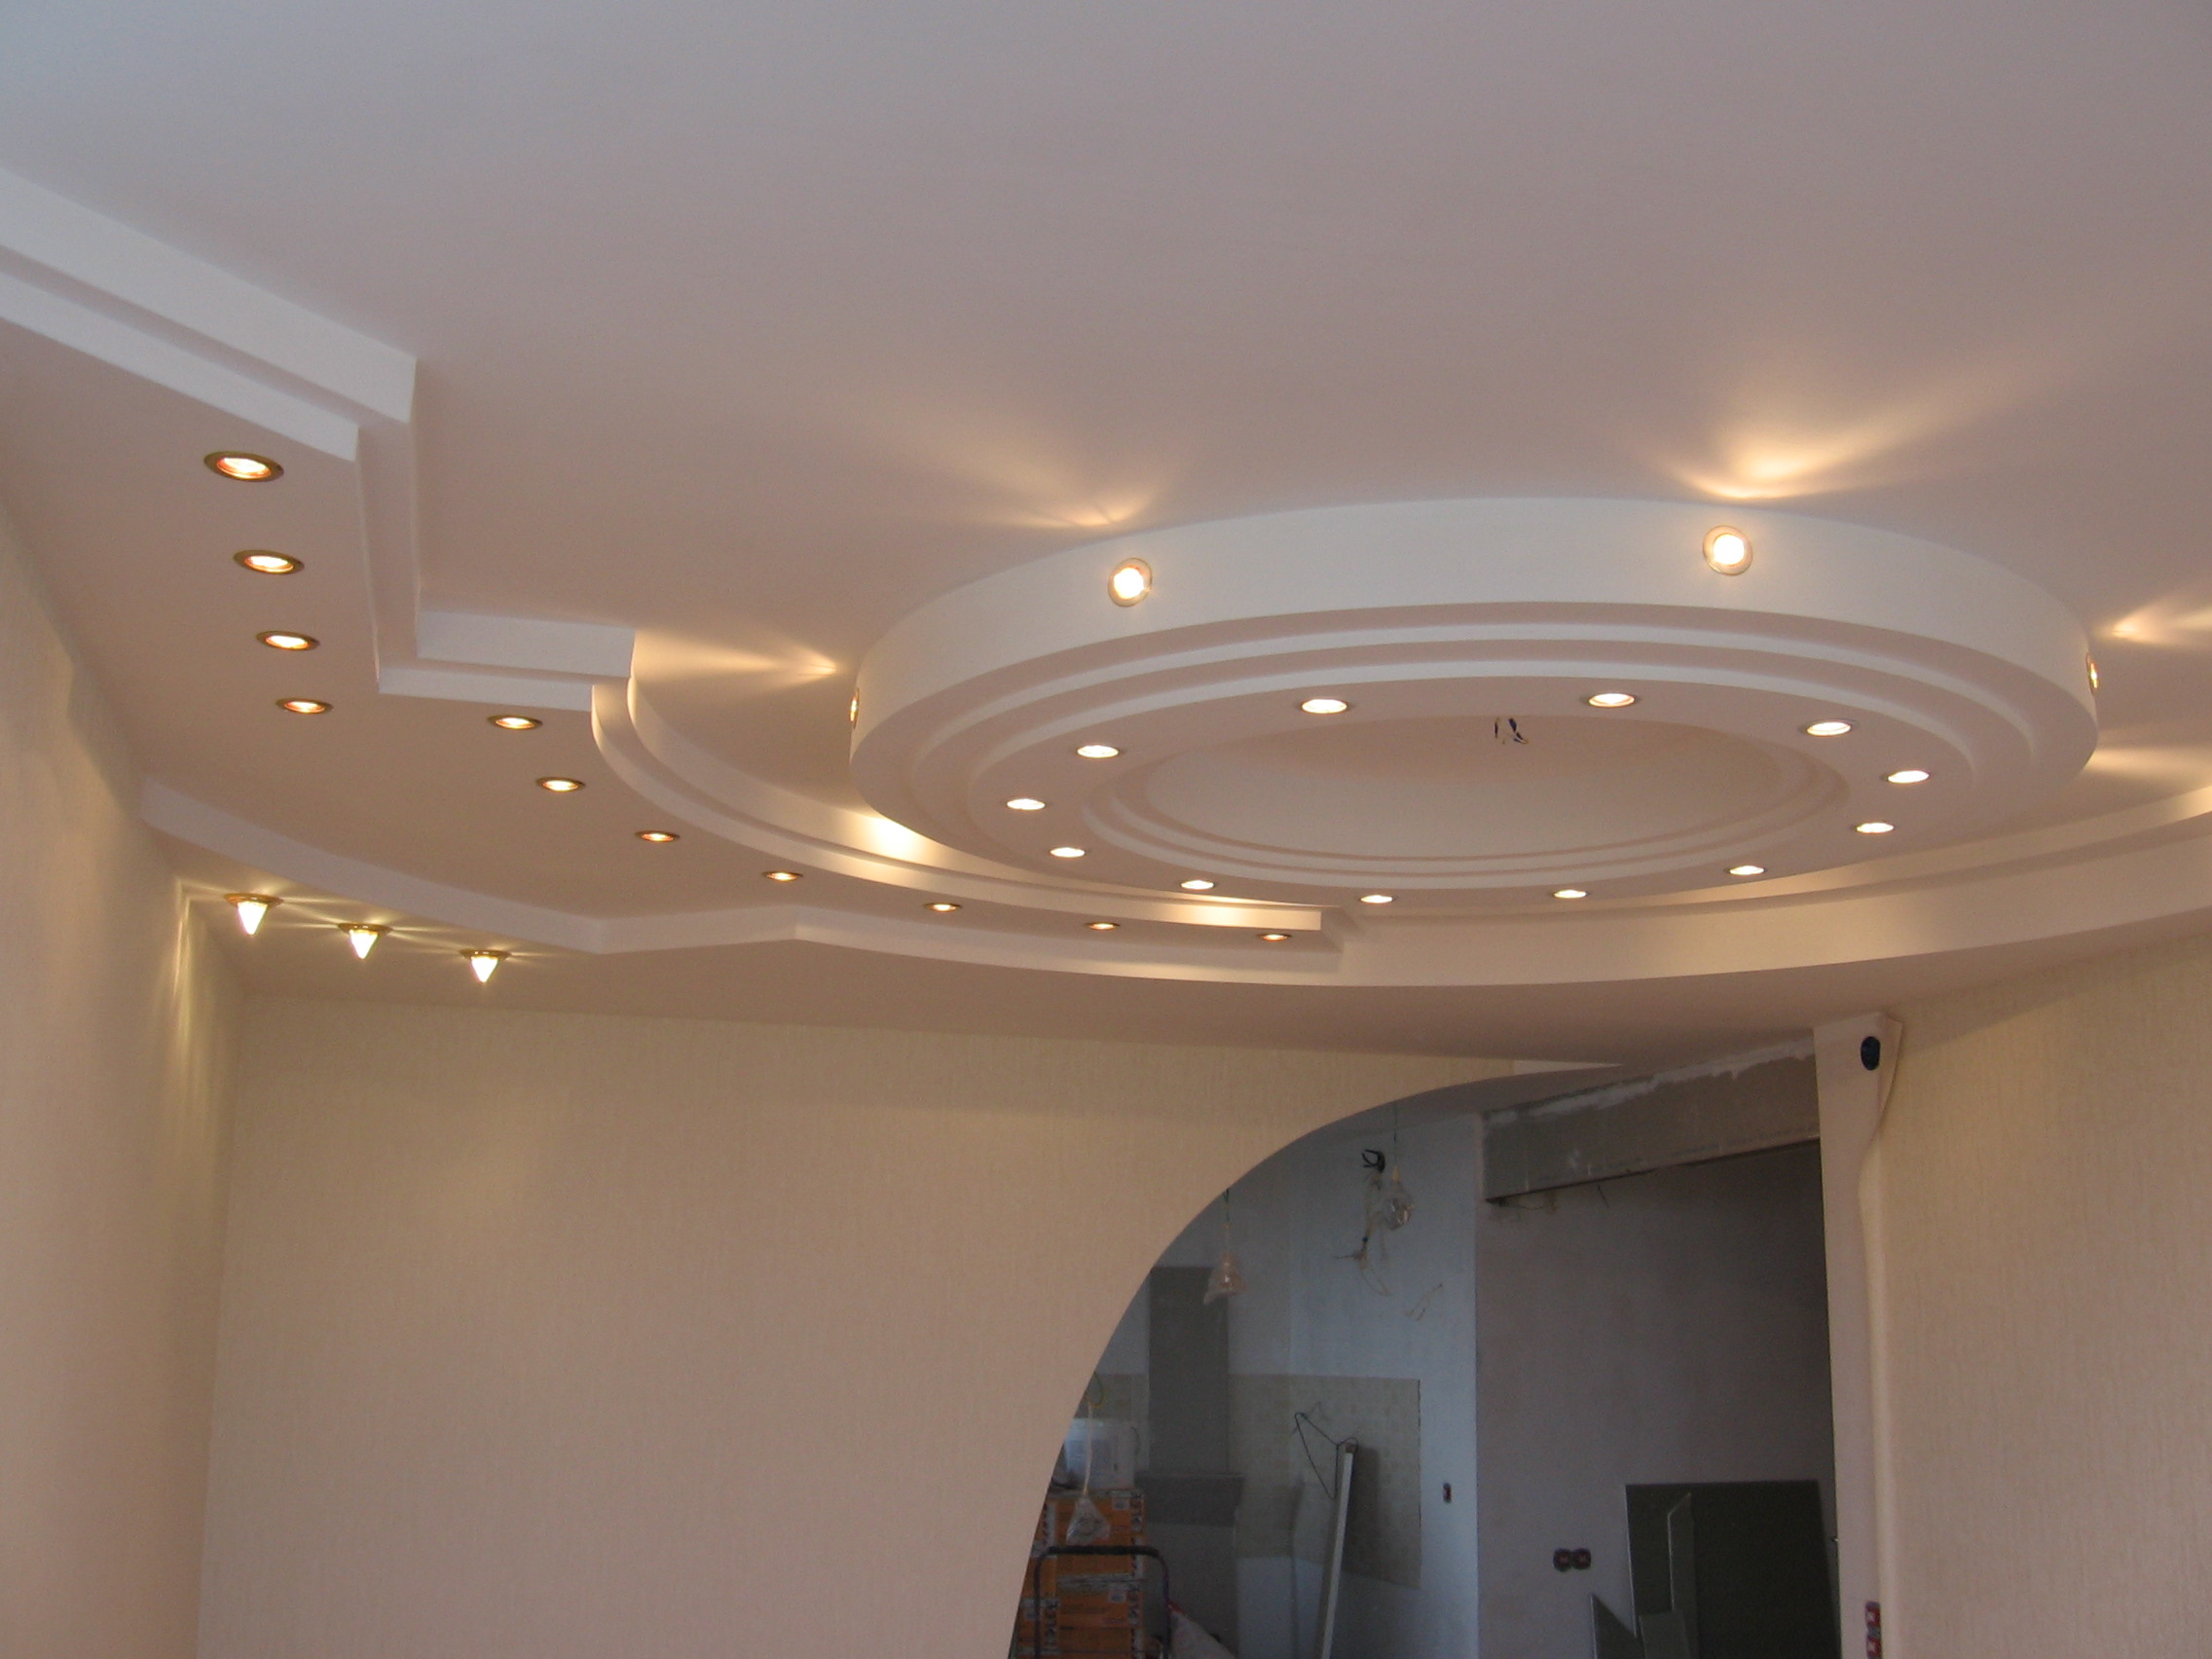
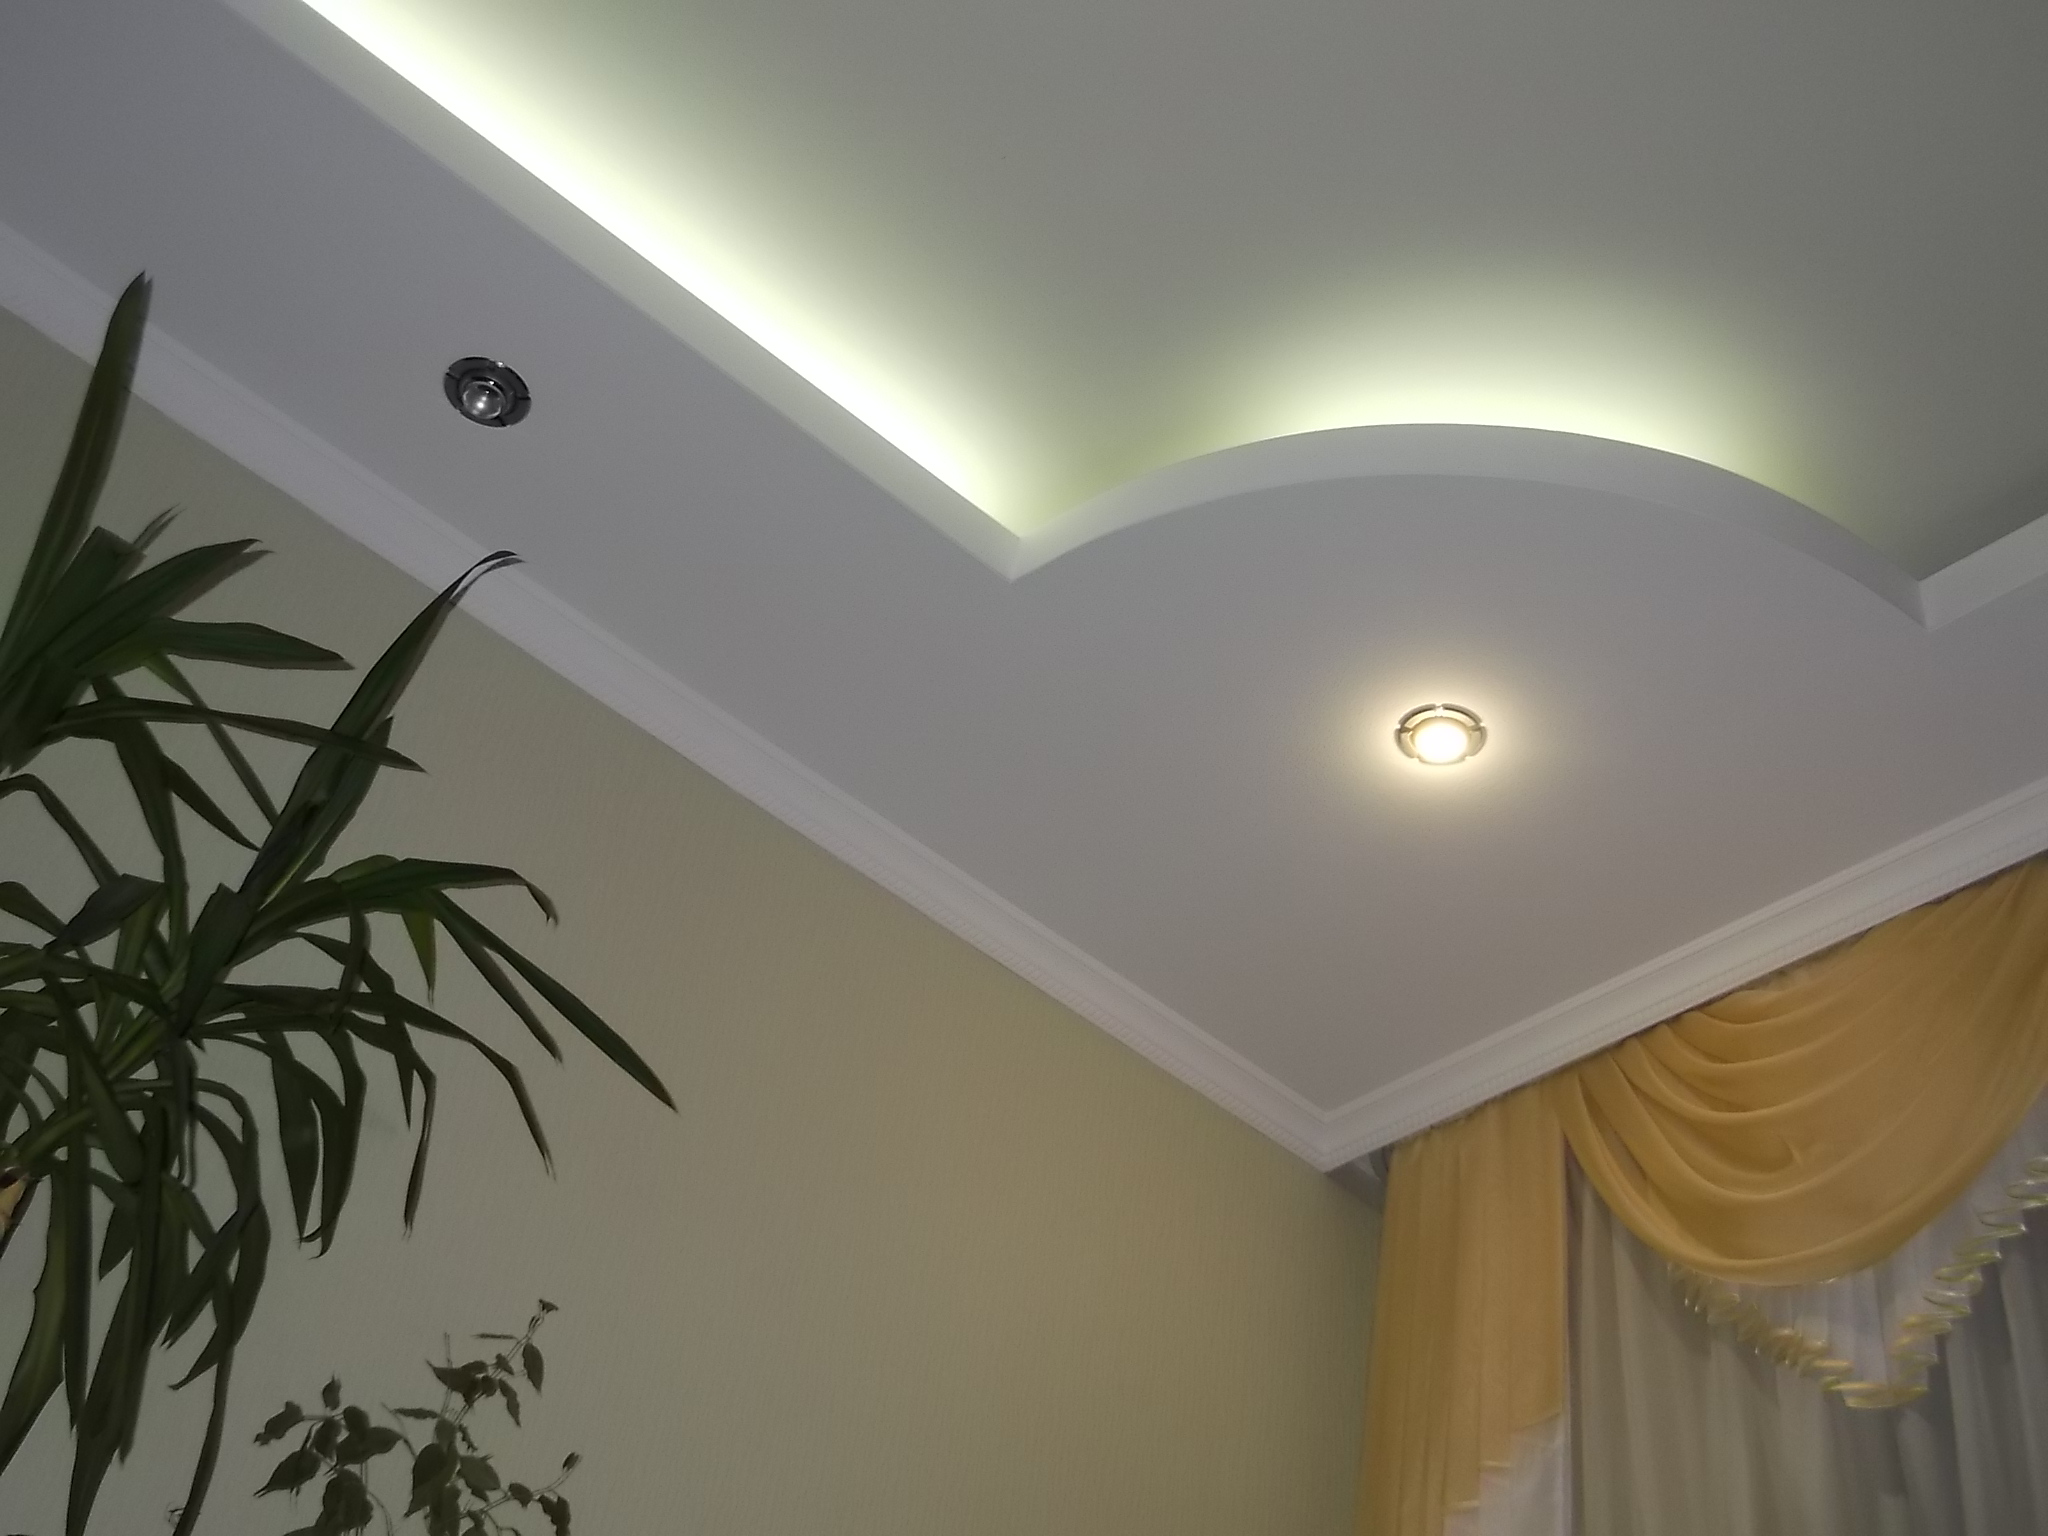
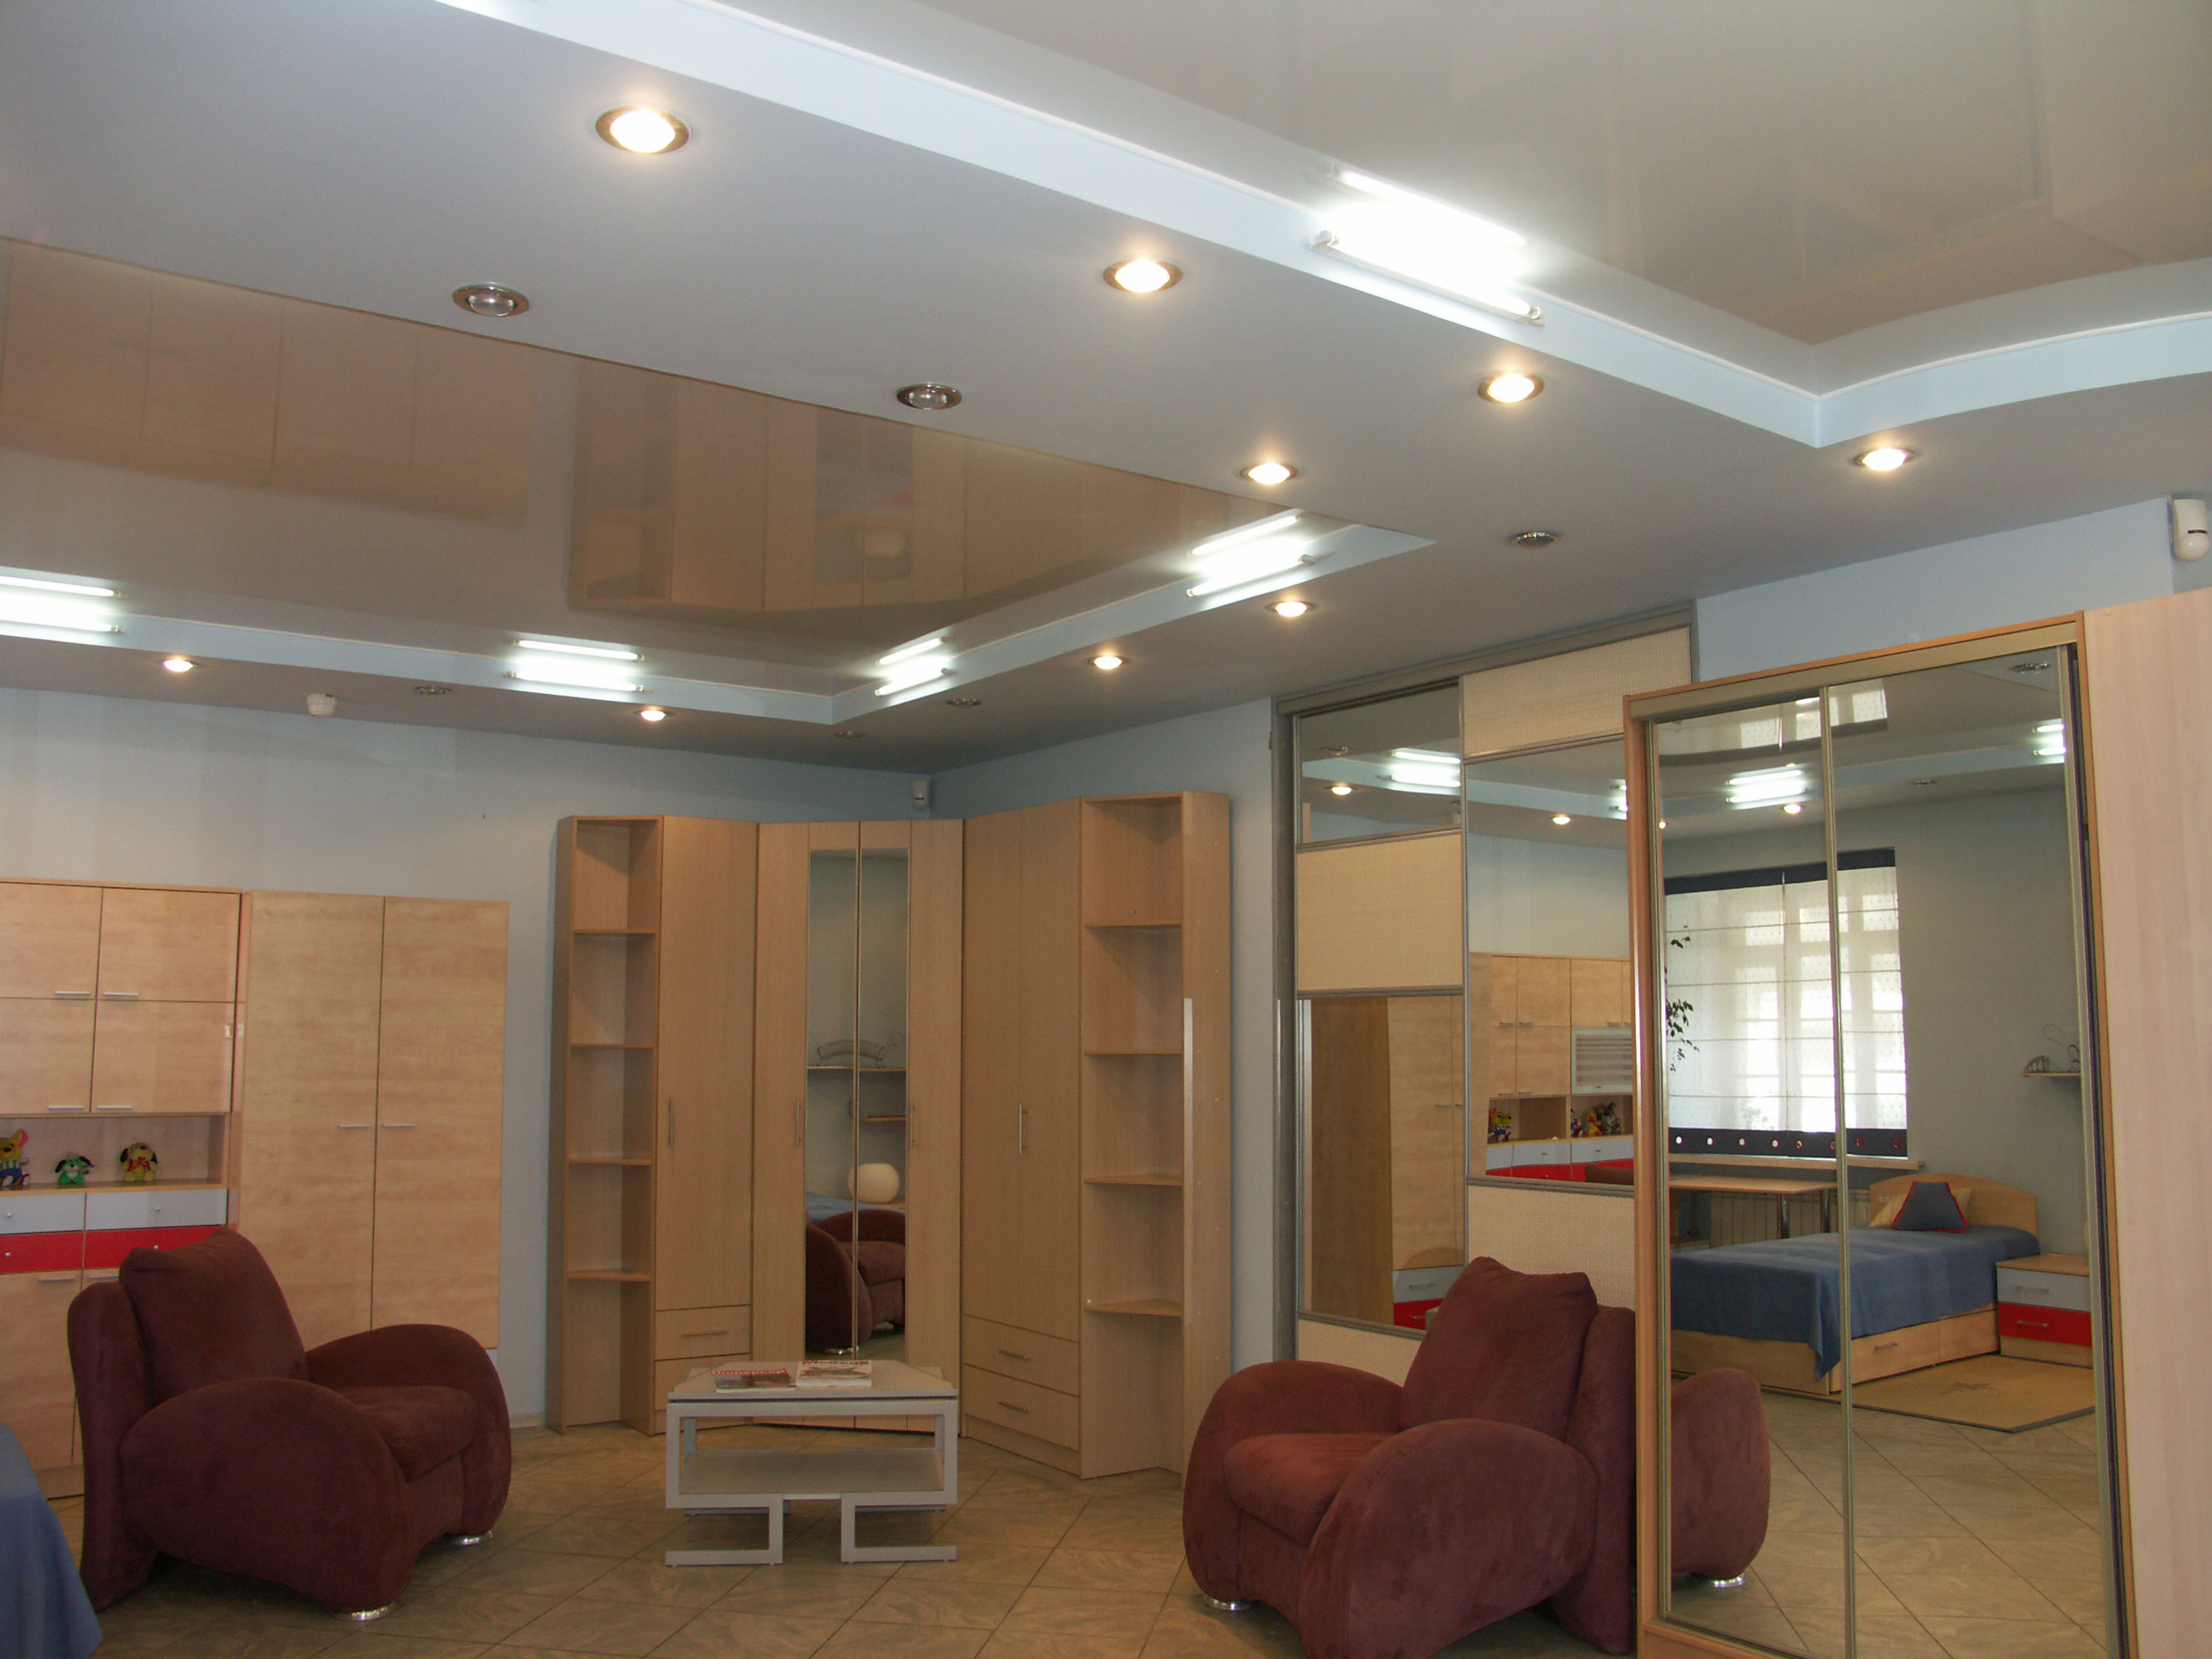
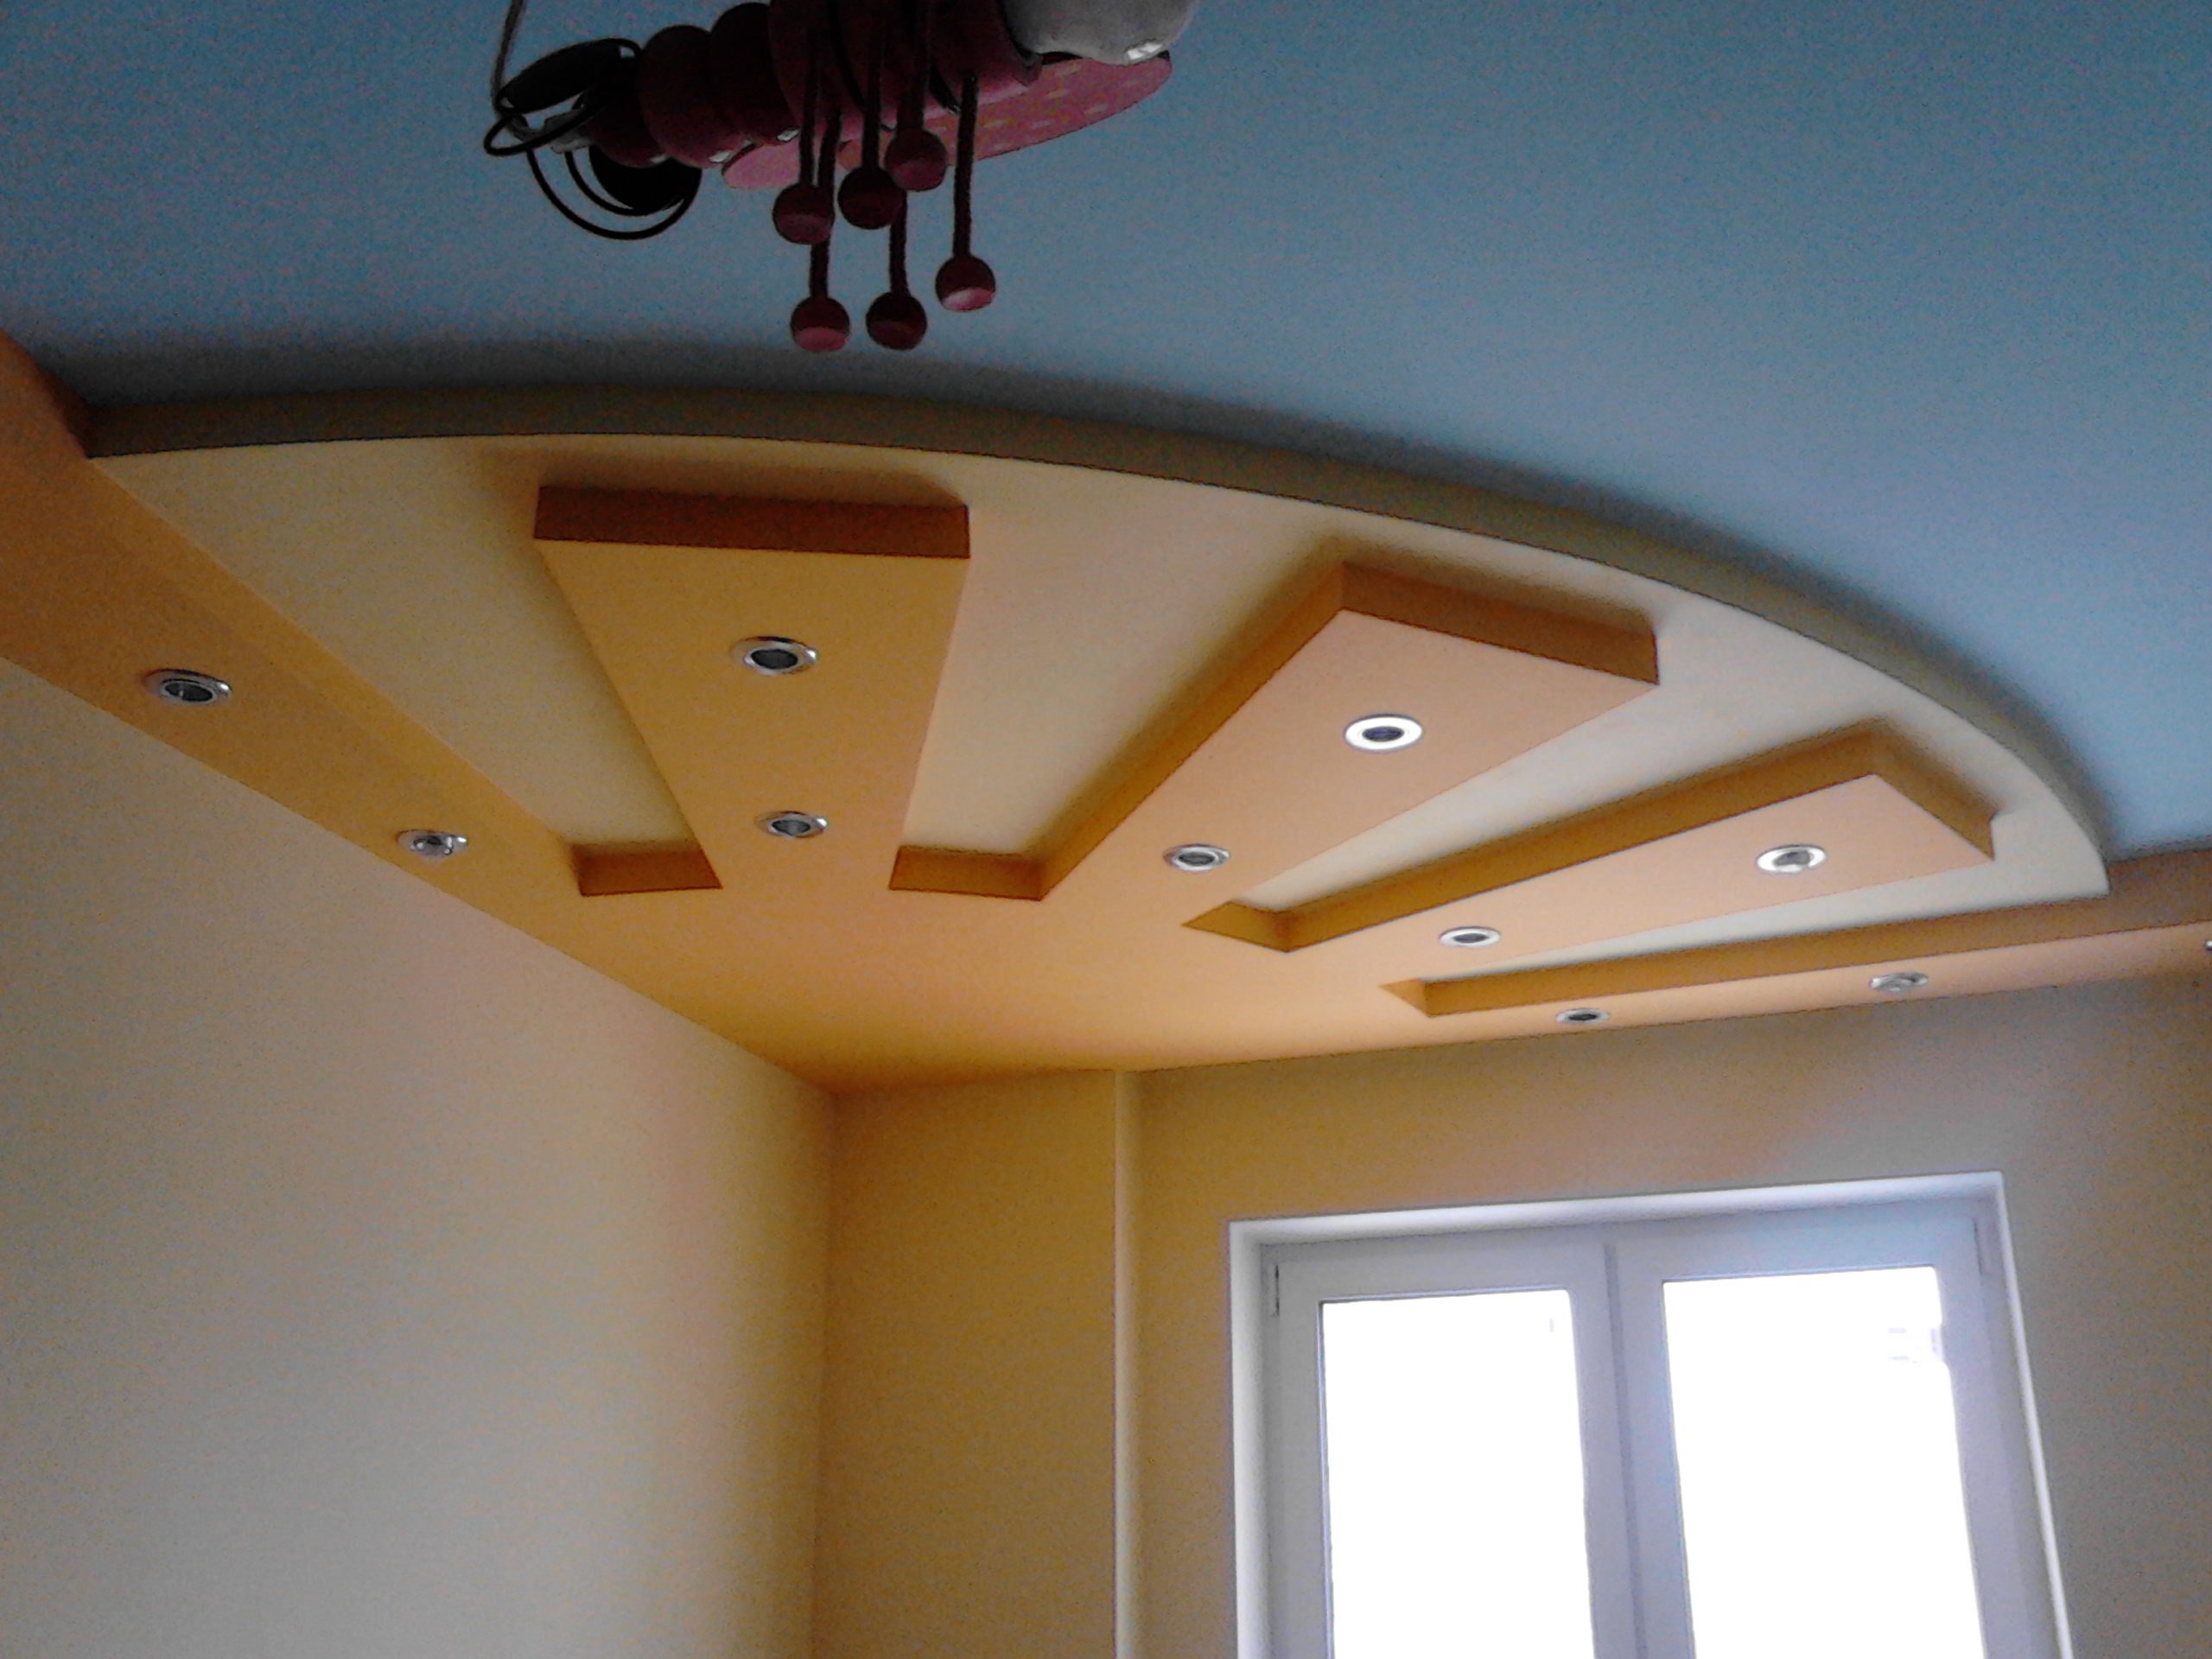
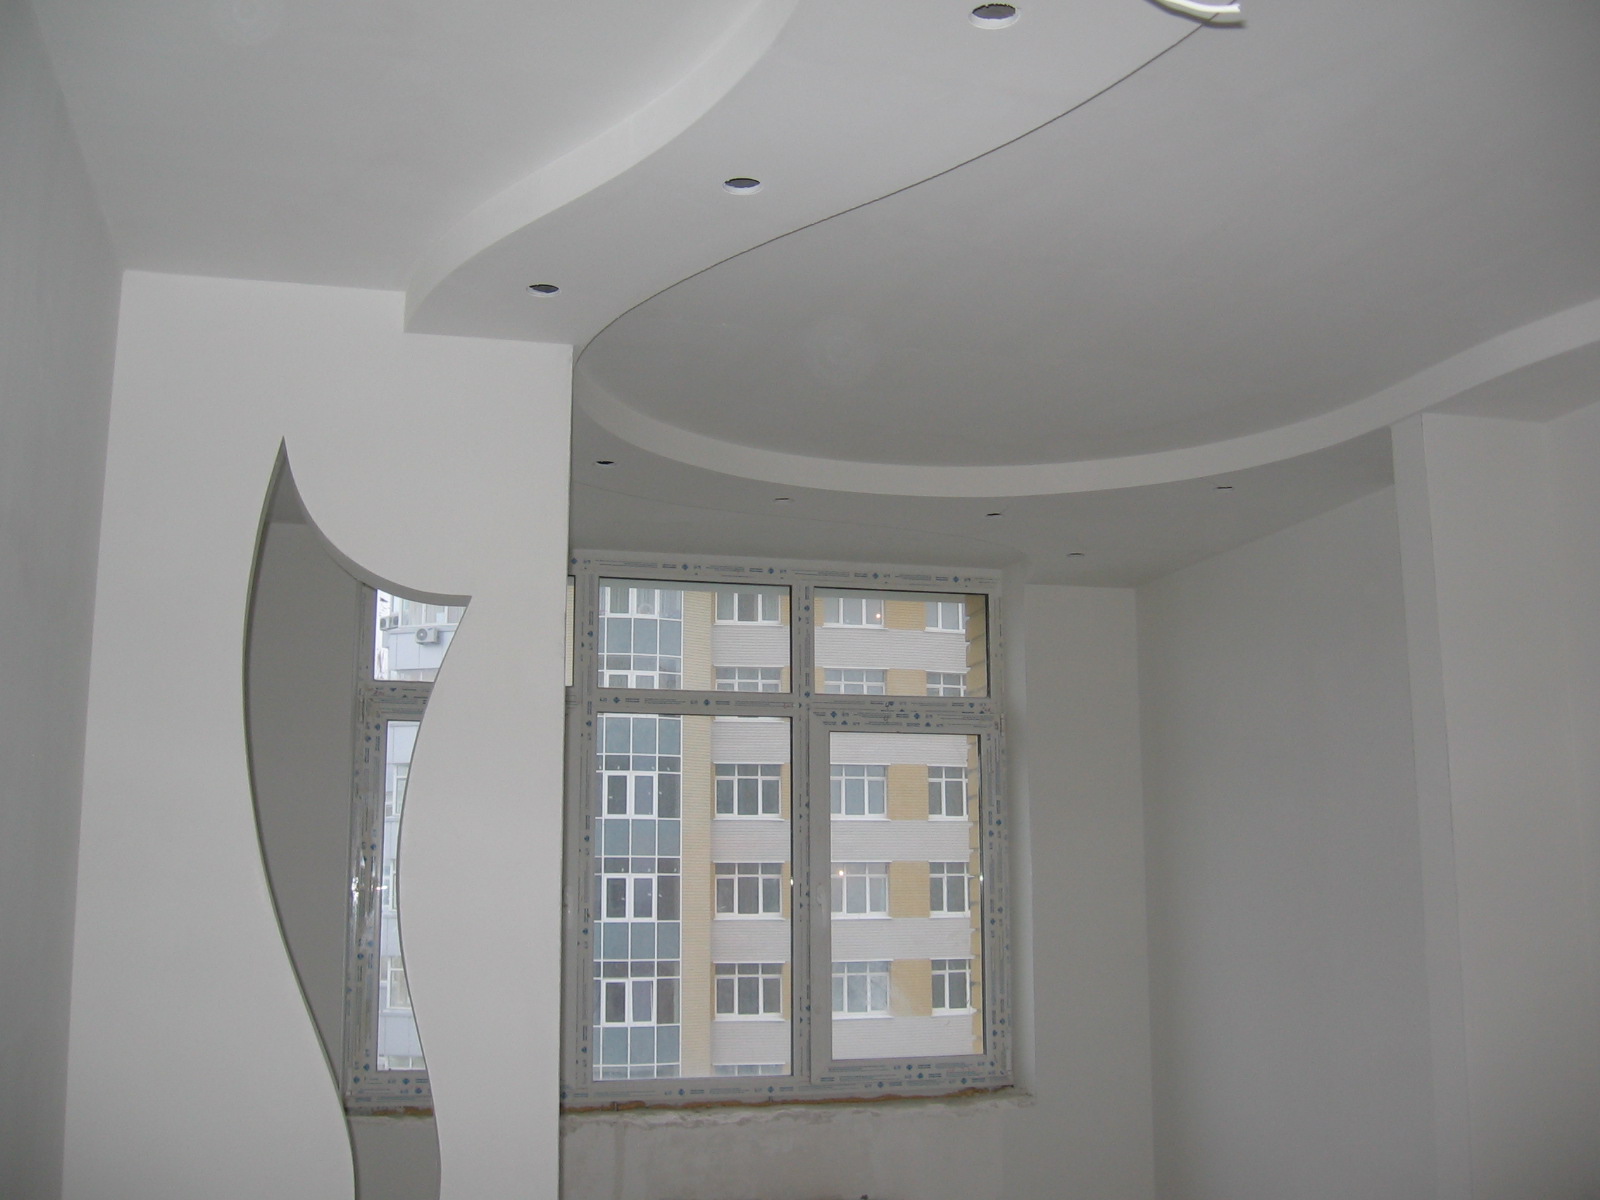
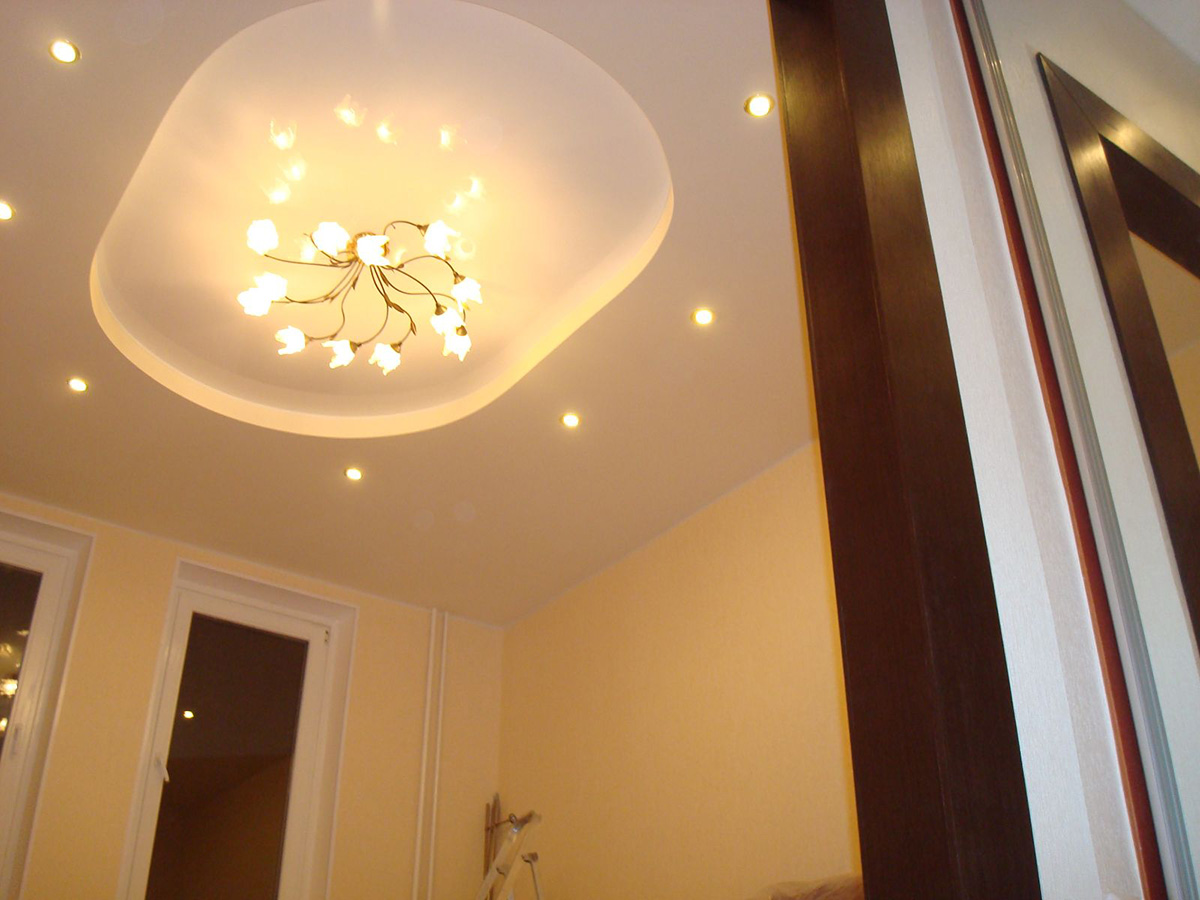
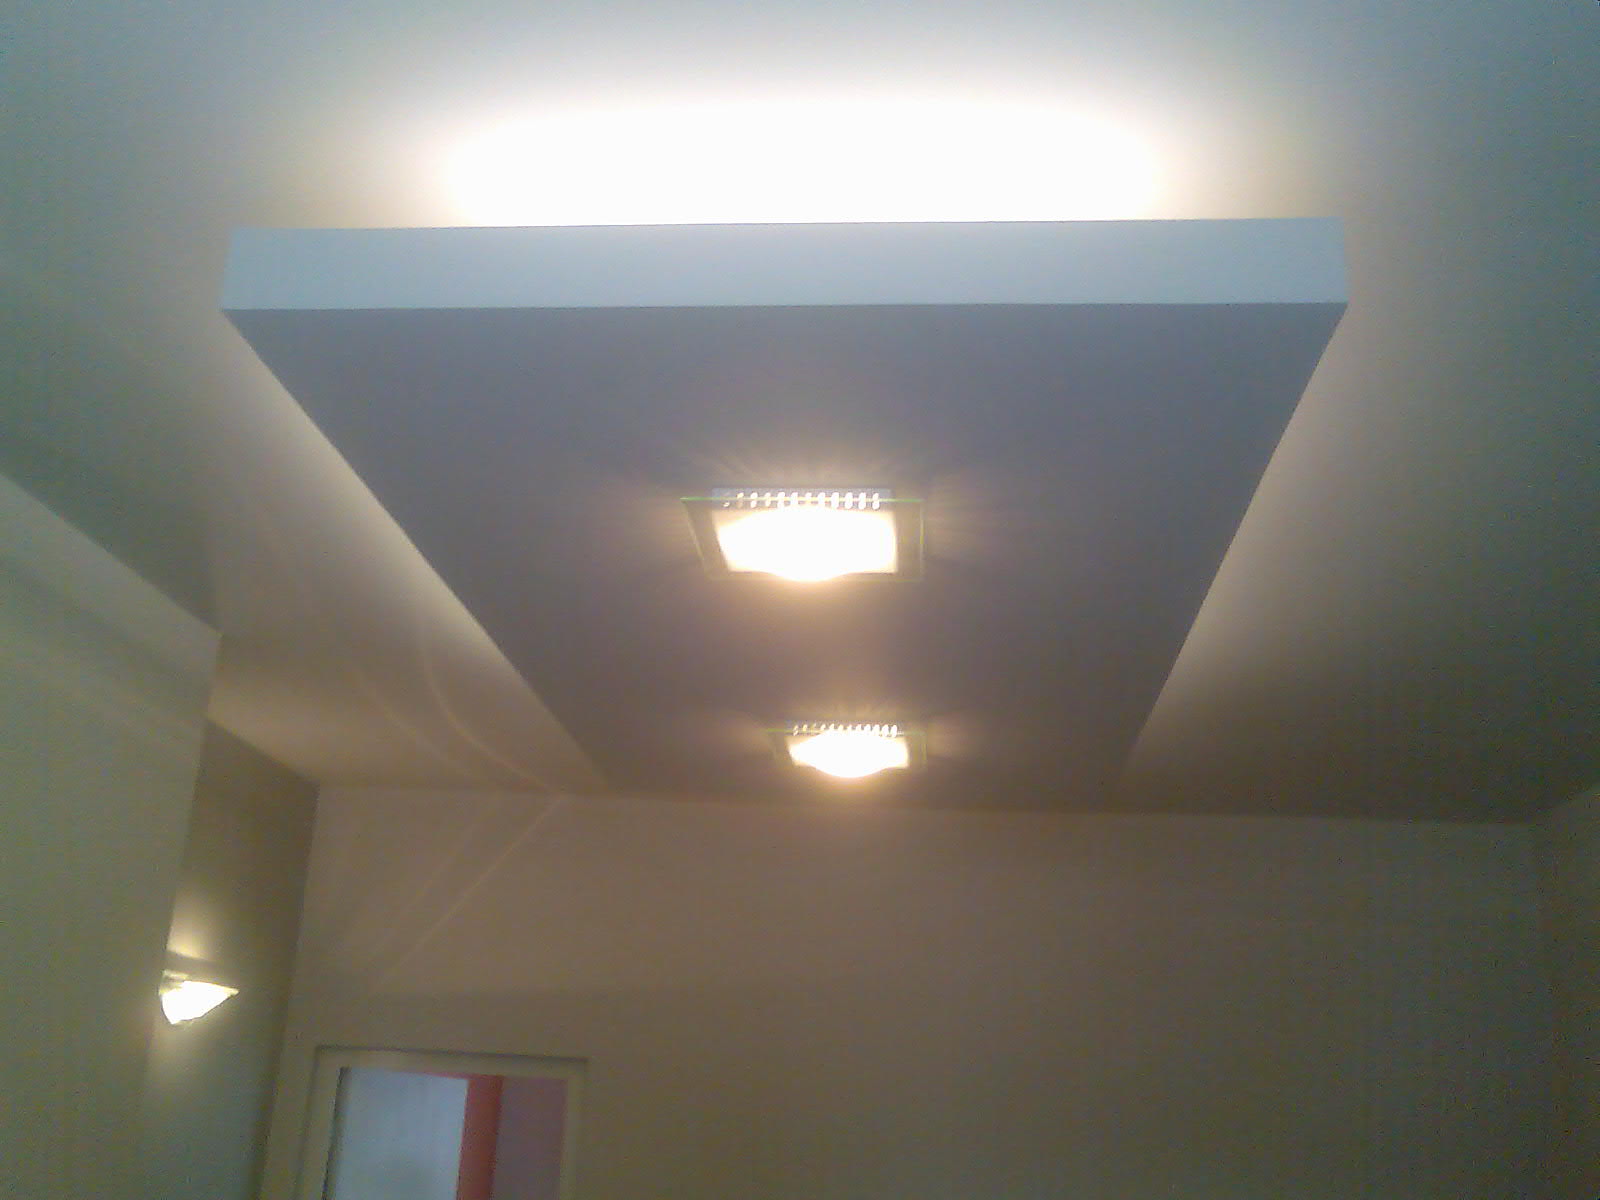
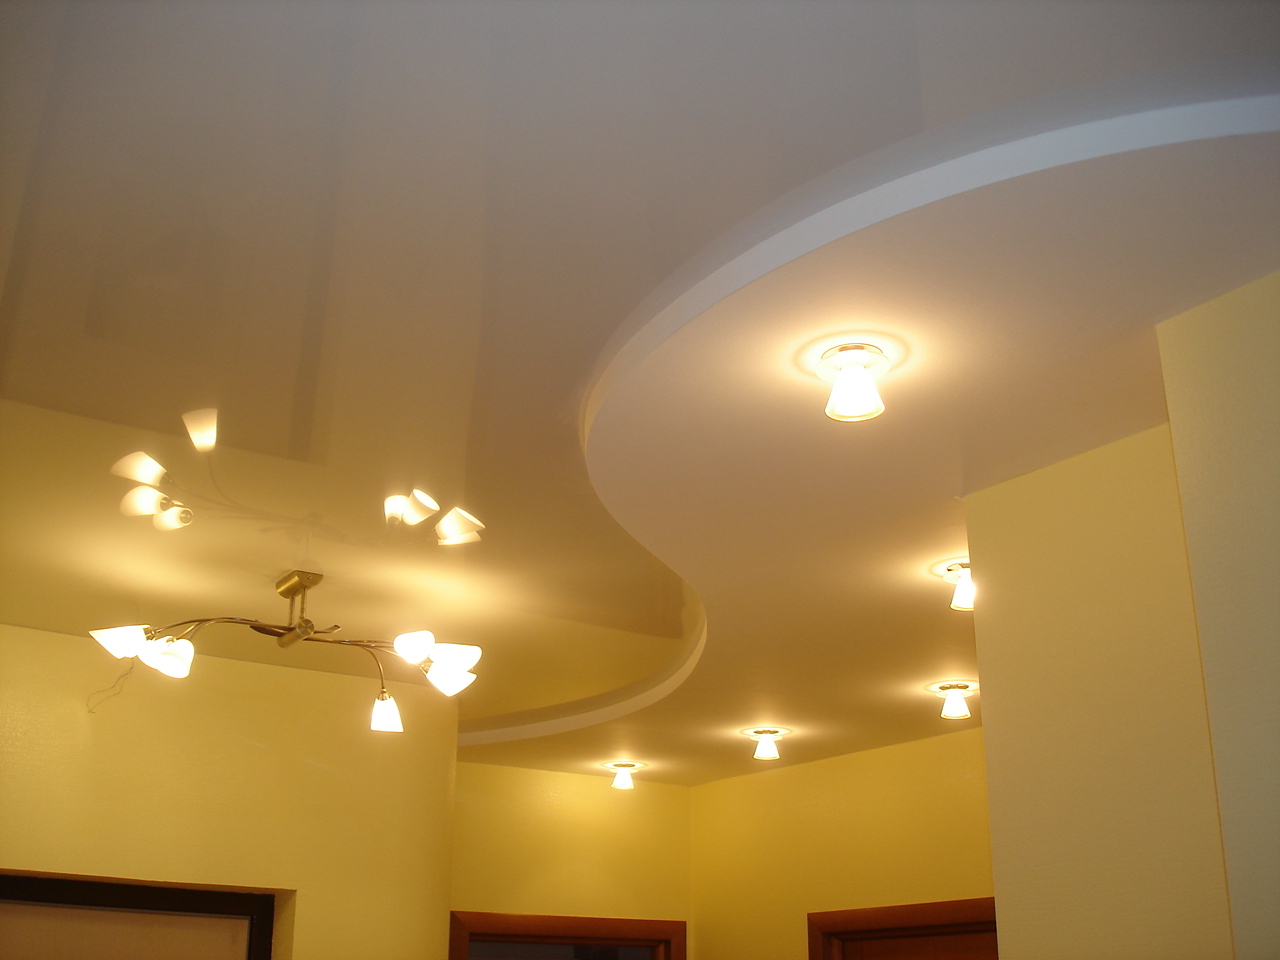
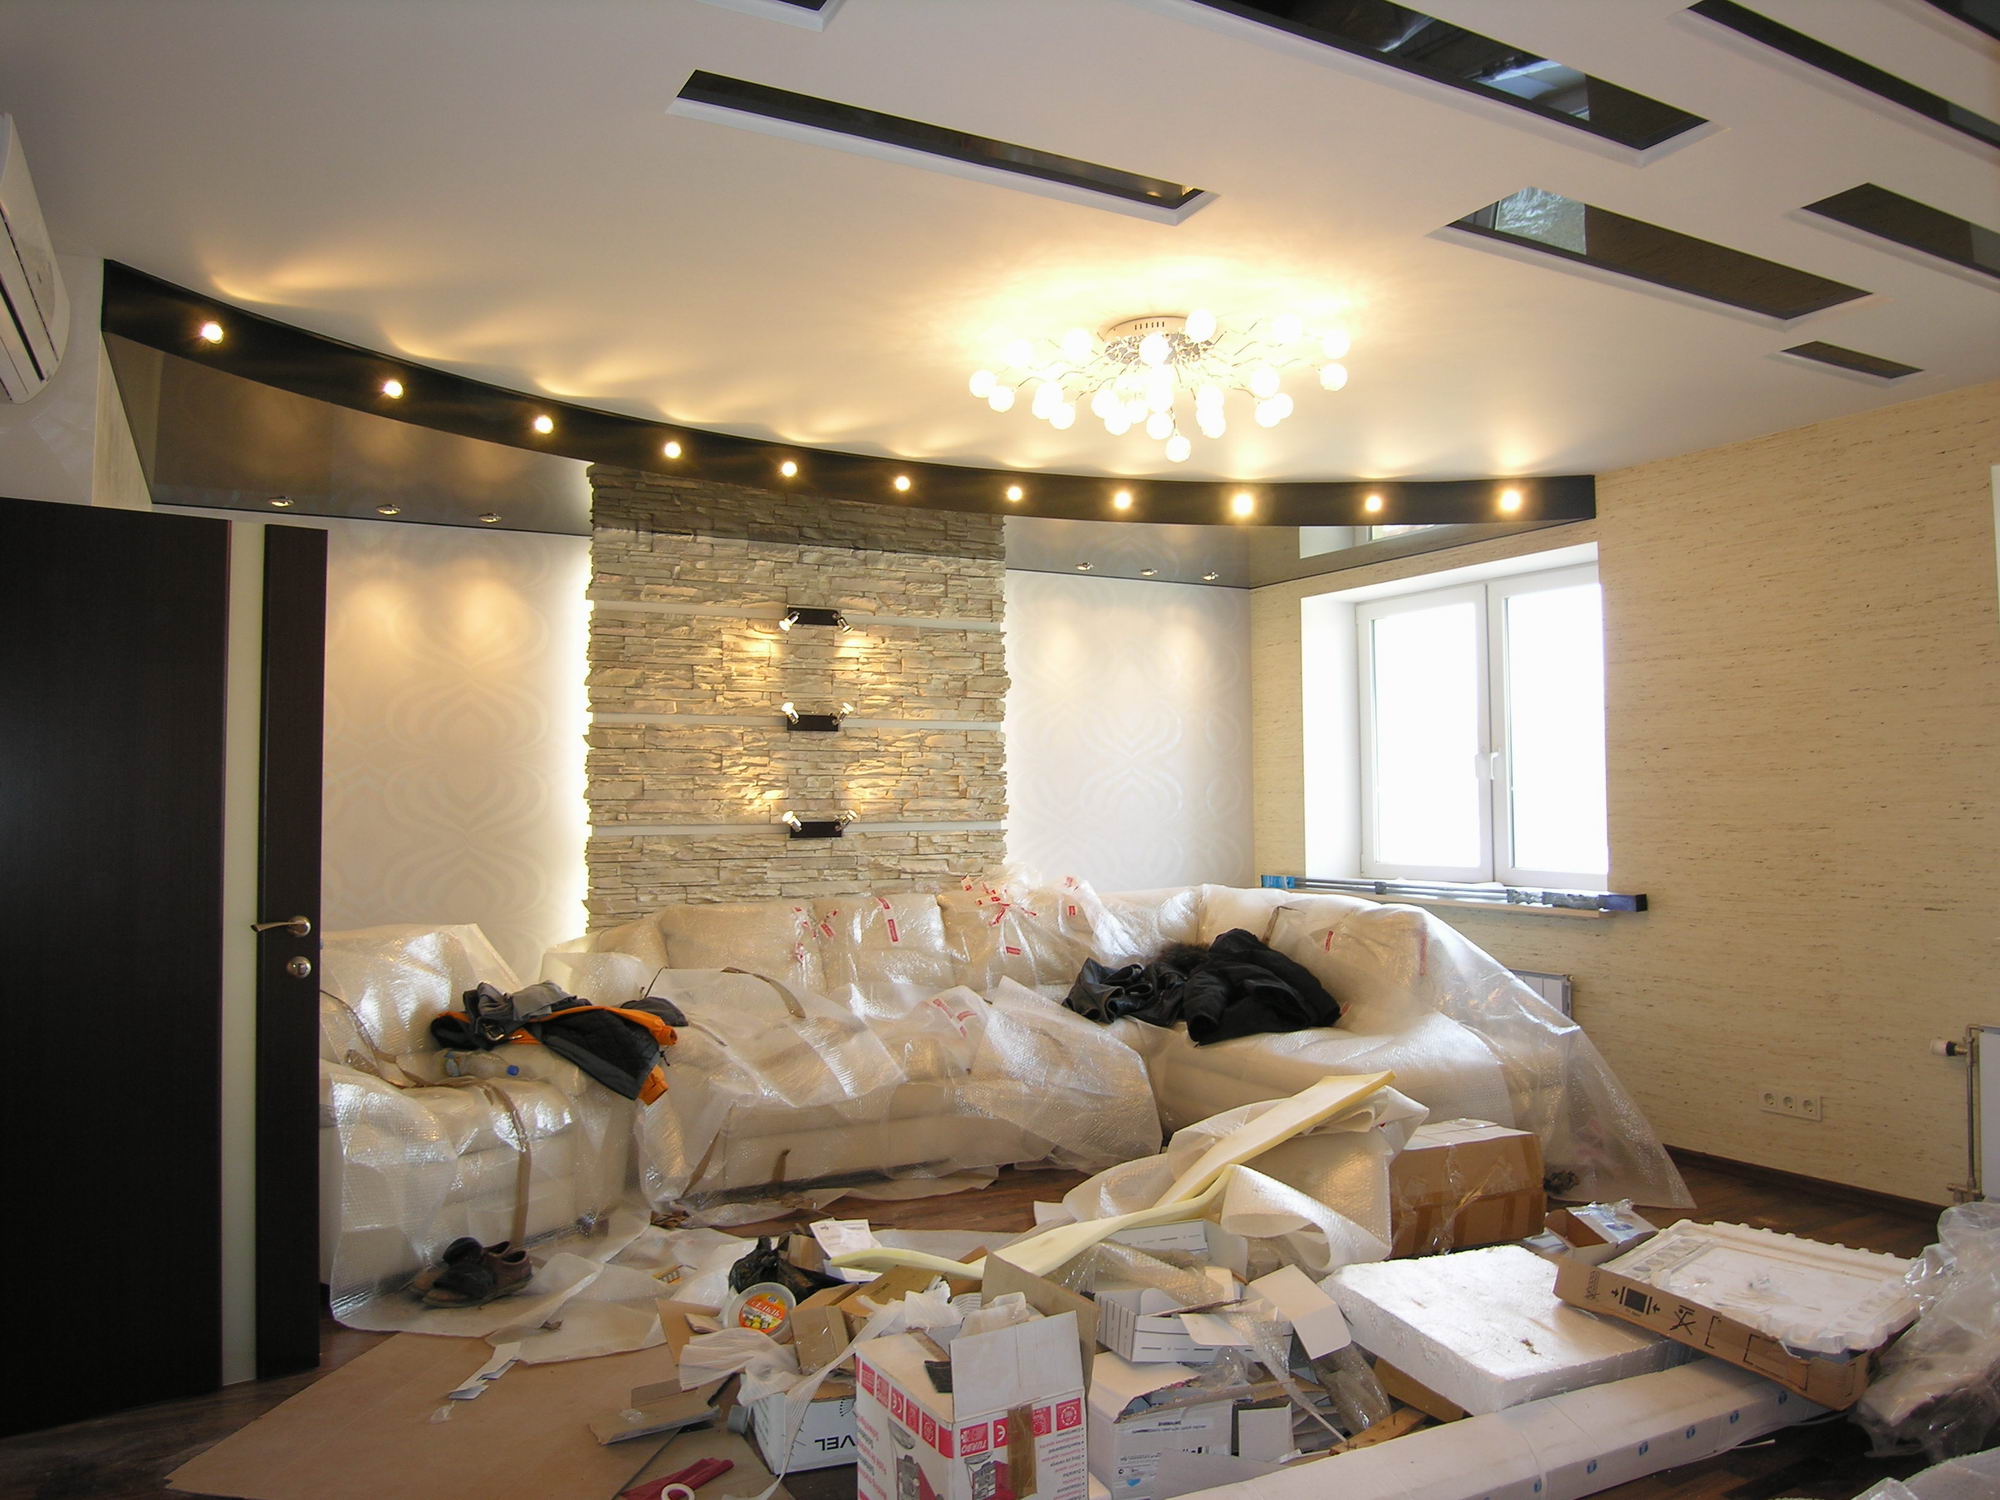
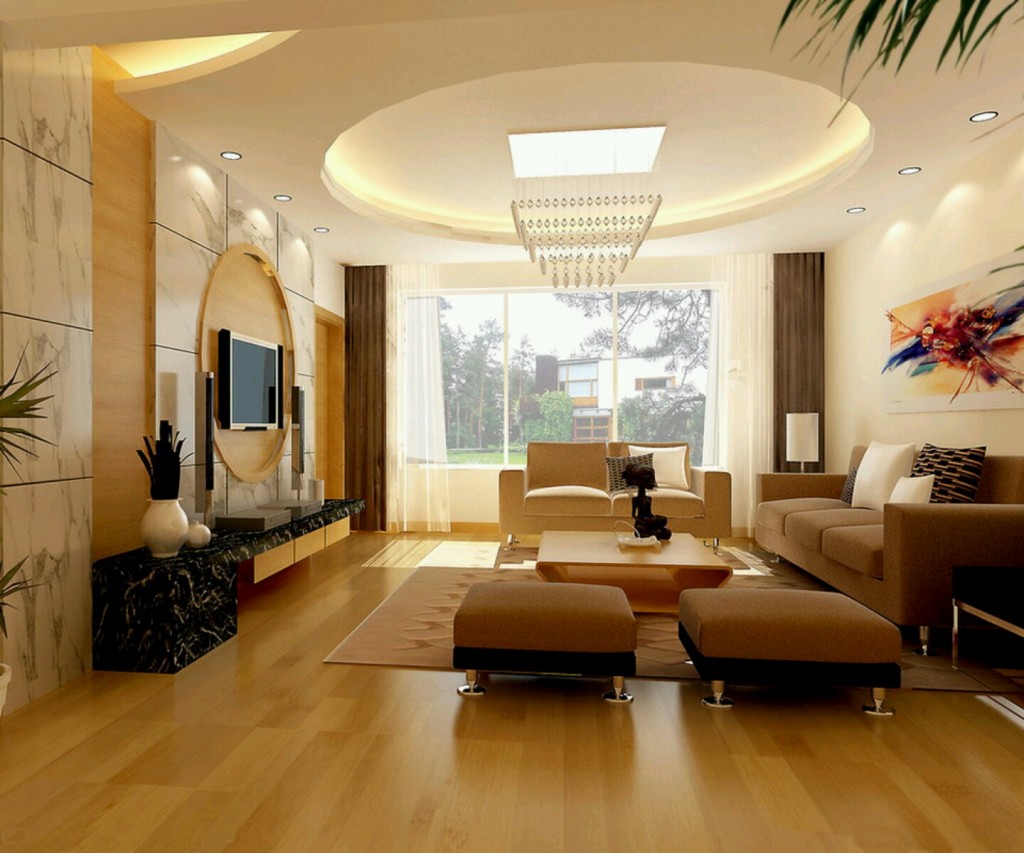
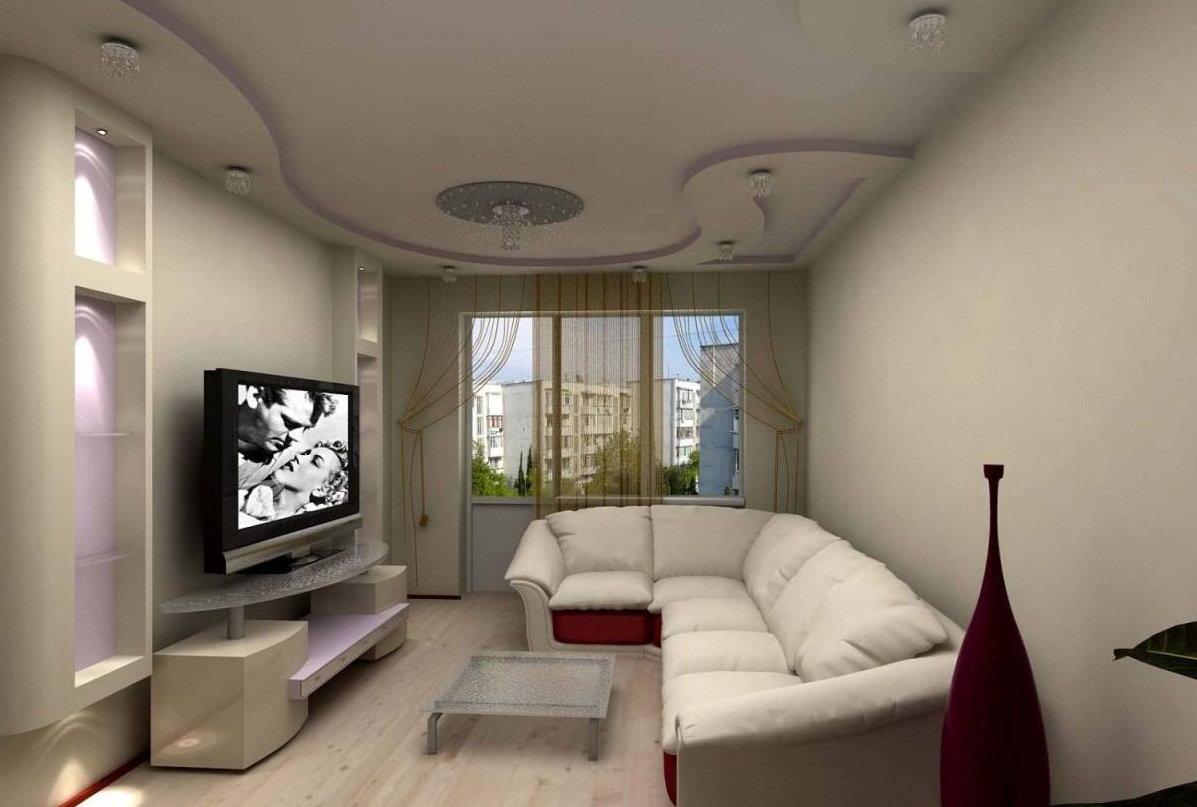
- Multi-level ceilings consist of several layers of plasterboard, which are placed on different levels. Similar designs are used to divide the room into several zones, as well as give it an original design. Often combined with various lighting devices. Very often they can be found in the interiors, where the hall and kitchen are together.

We select the design for the kitchen
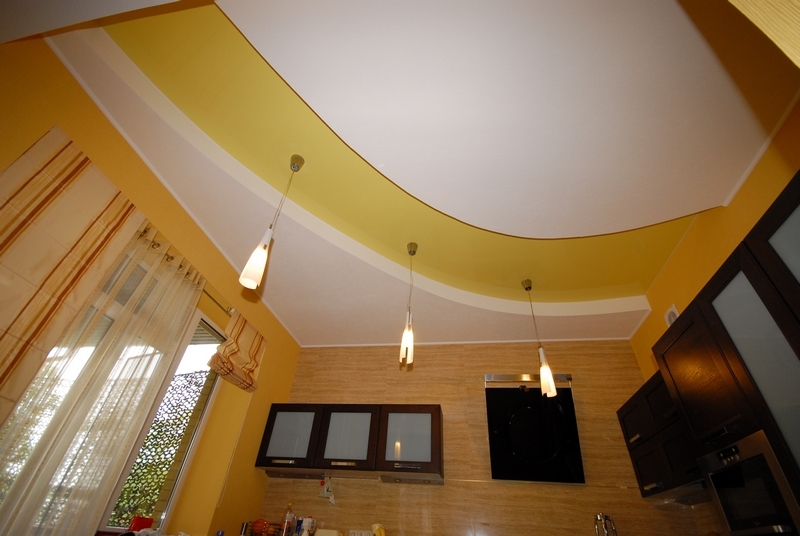
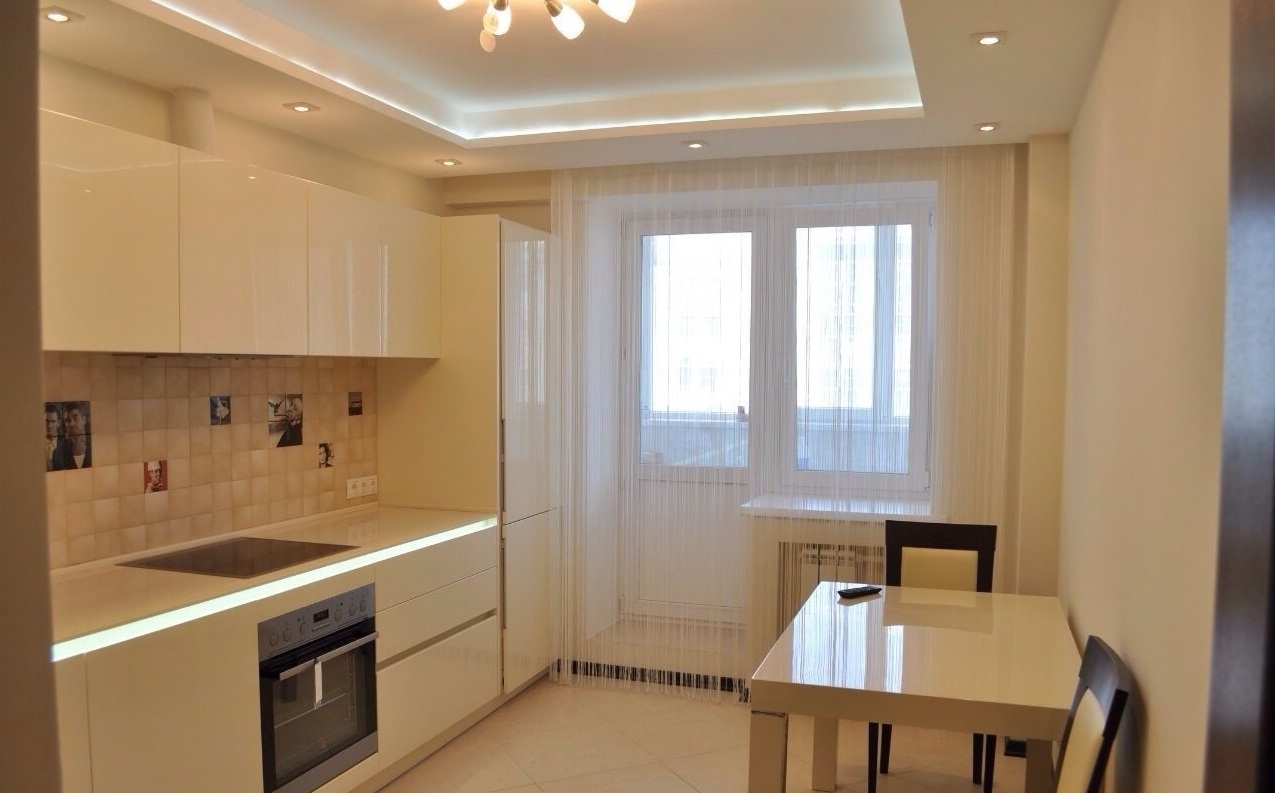
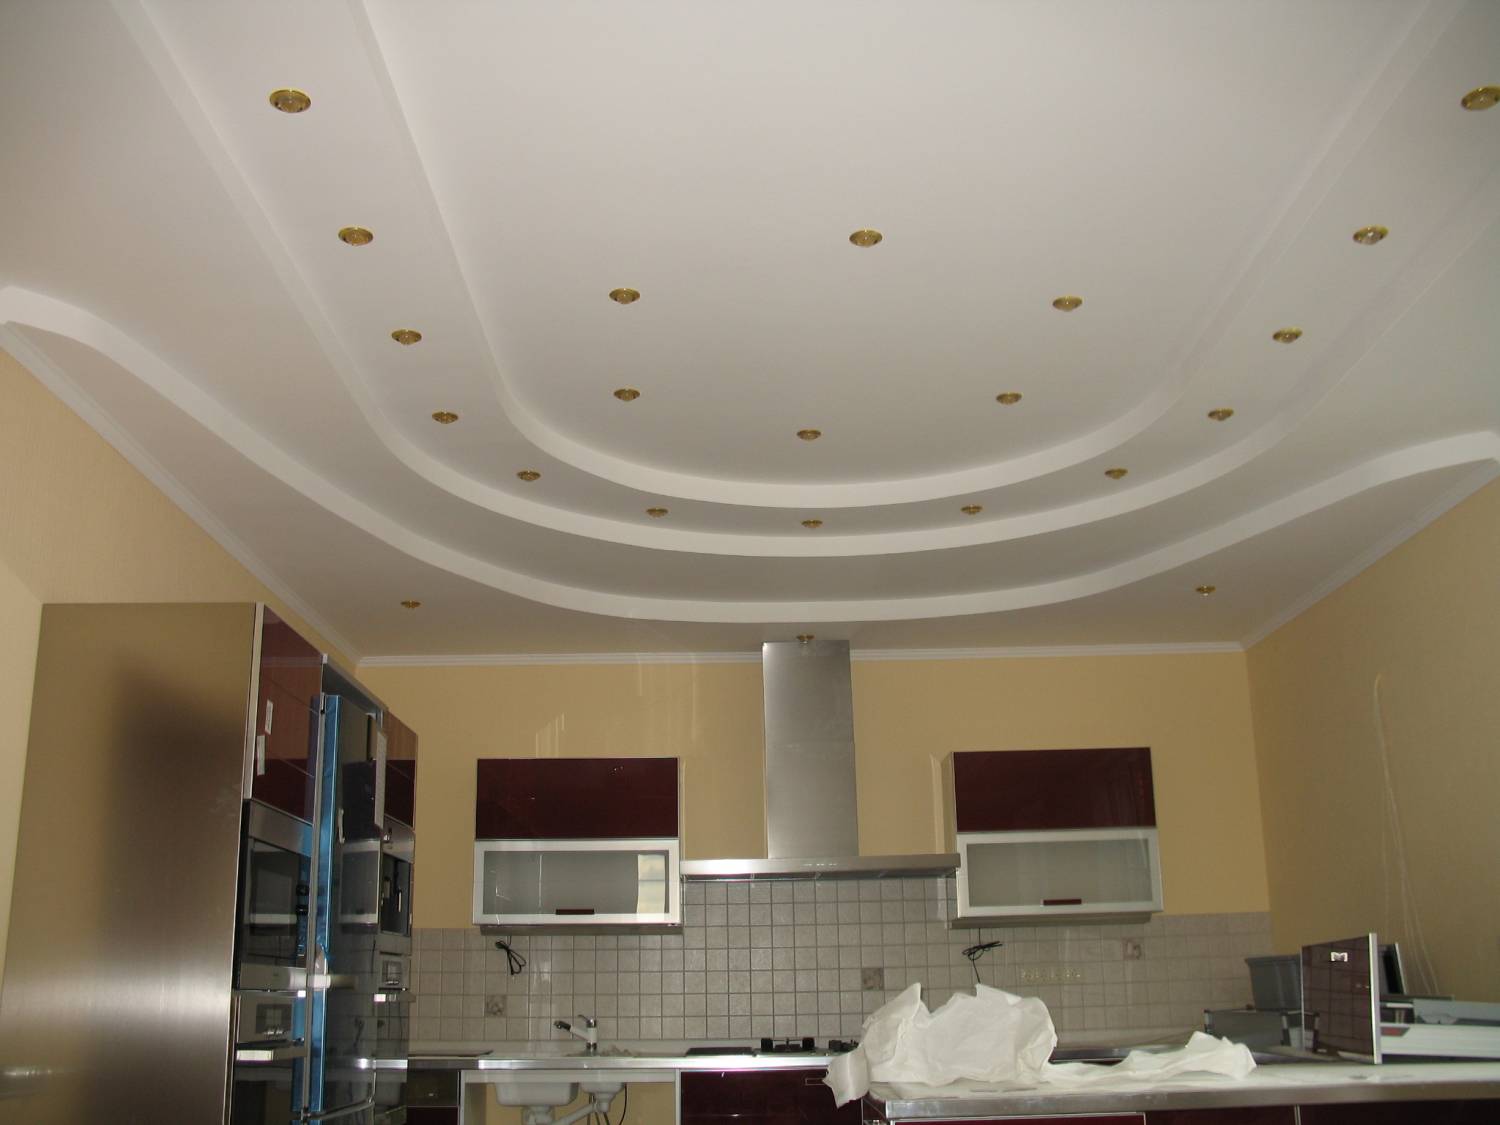
Suspended ceilings in such premises are often constructed from a moisture-resistant material that is able to withstand moisture. There are several areas that allow not only to level the surface in the kitchen, but also to create a unique interior. PIt is very important to pay attention to the form of this design:
- Rectangular ceilings are used to correct the shape of a room. With their help, you can visually even the most hopeless surfaces.
- Square-shaped surfaces are used by designers to highlight a specific area in the kitchen.
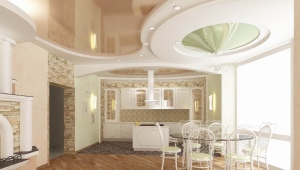
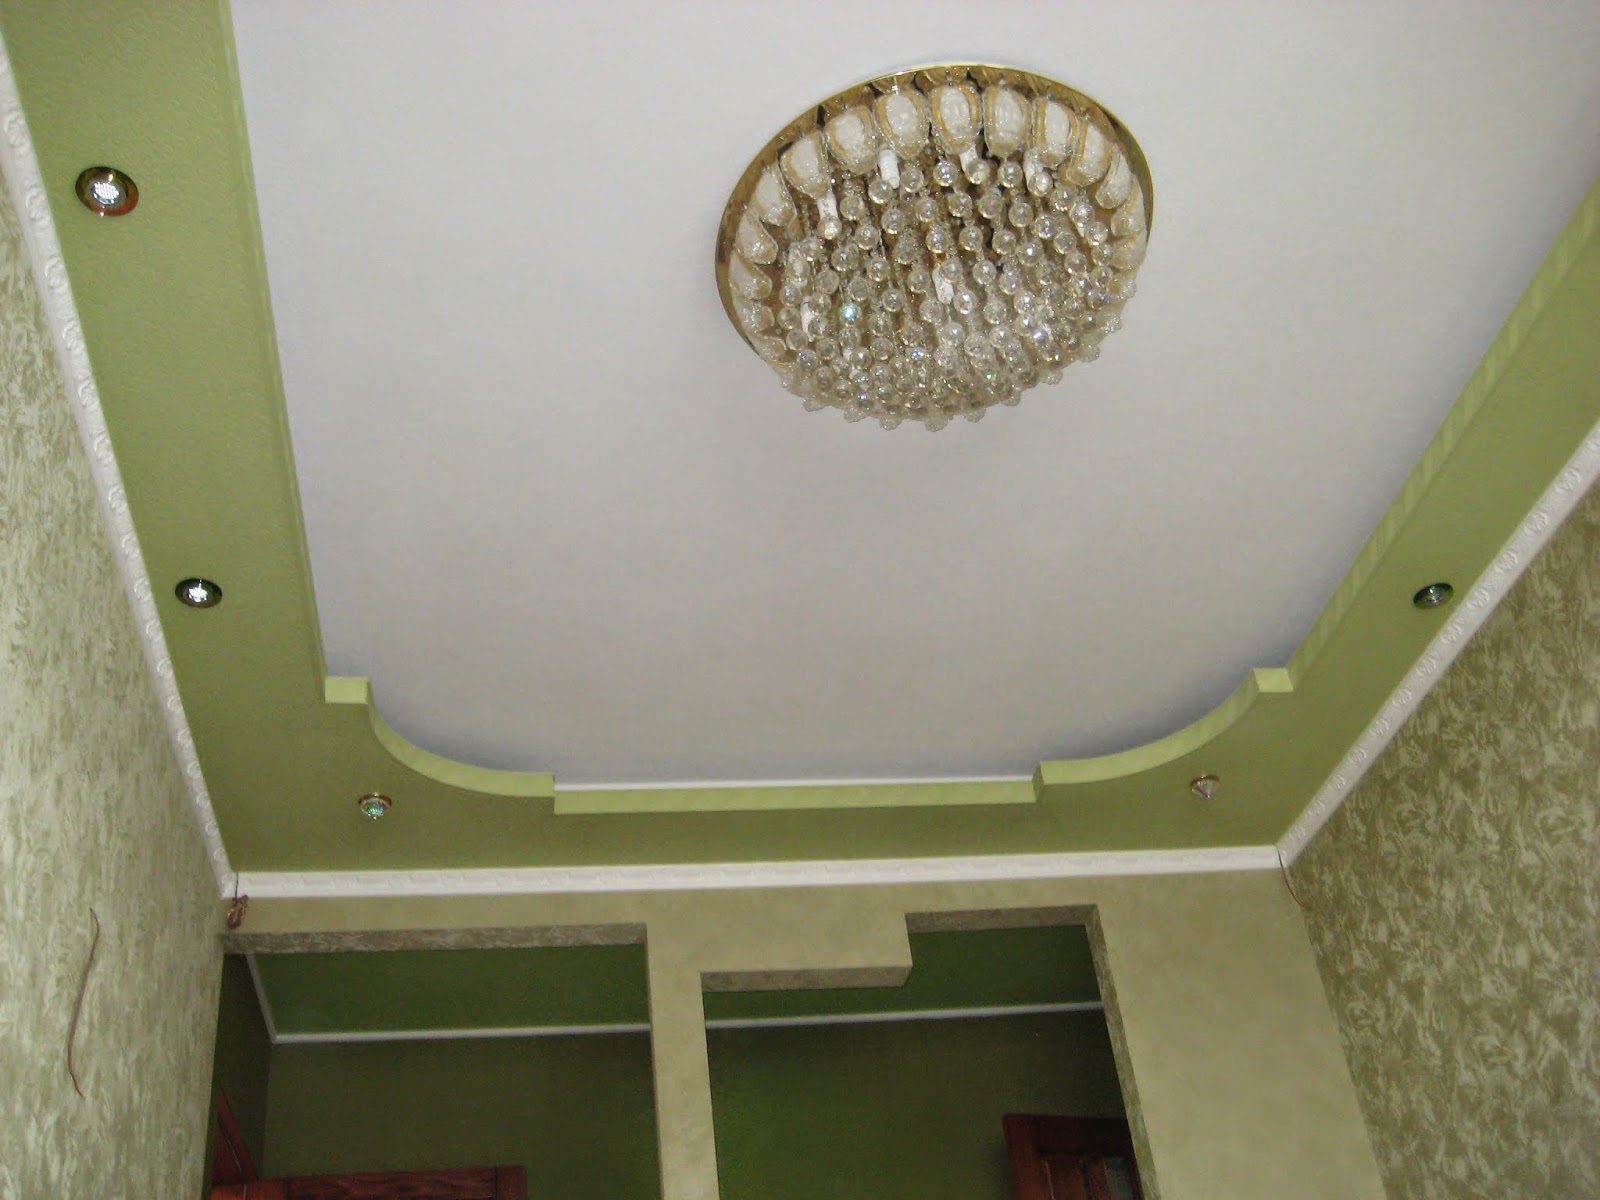
- Round ceilings are installed to highlight the center of the room.
- Oval systems are used when necessary to obtain a unique visual effect and give originality to the interior.
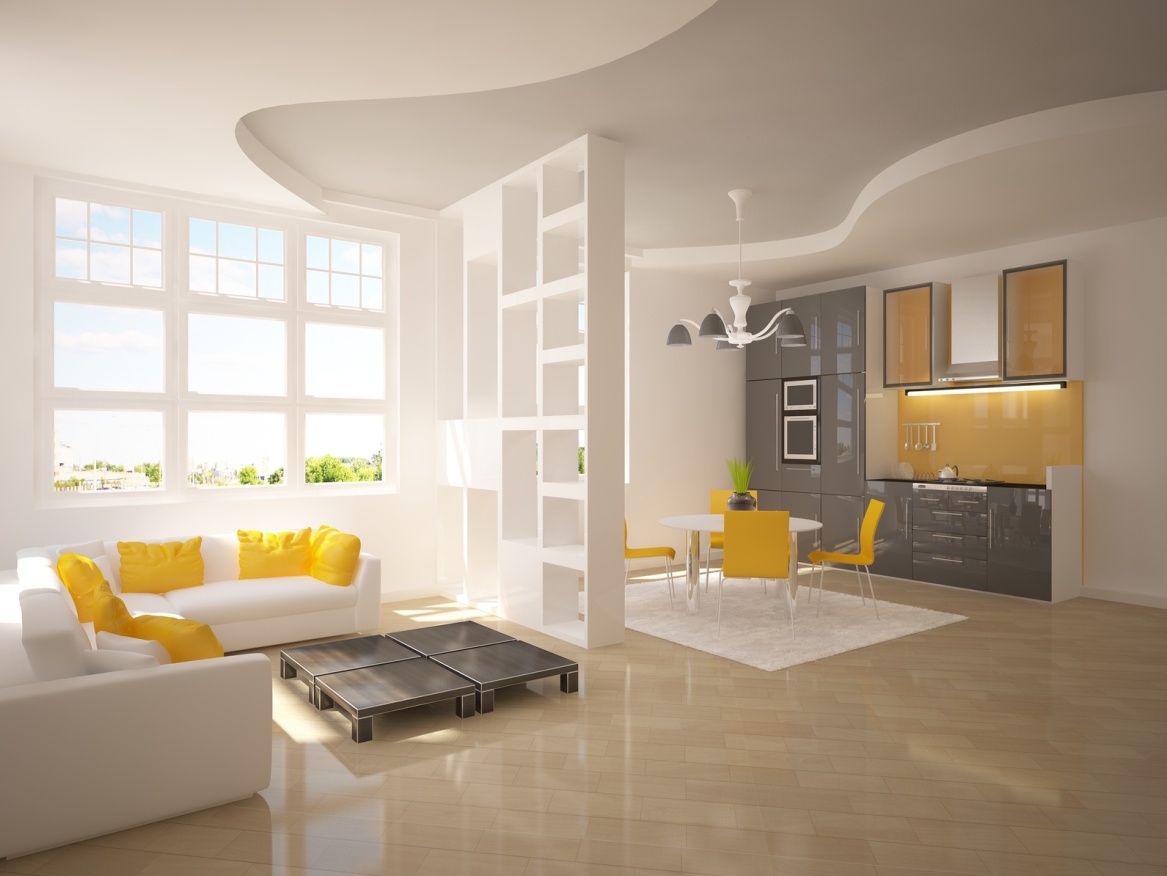

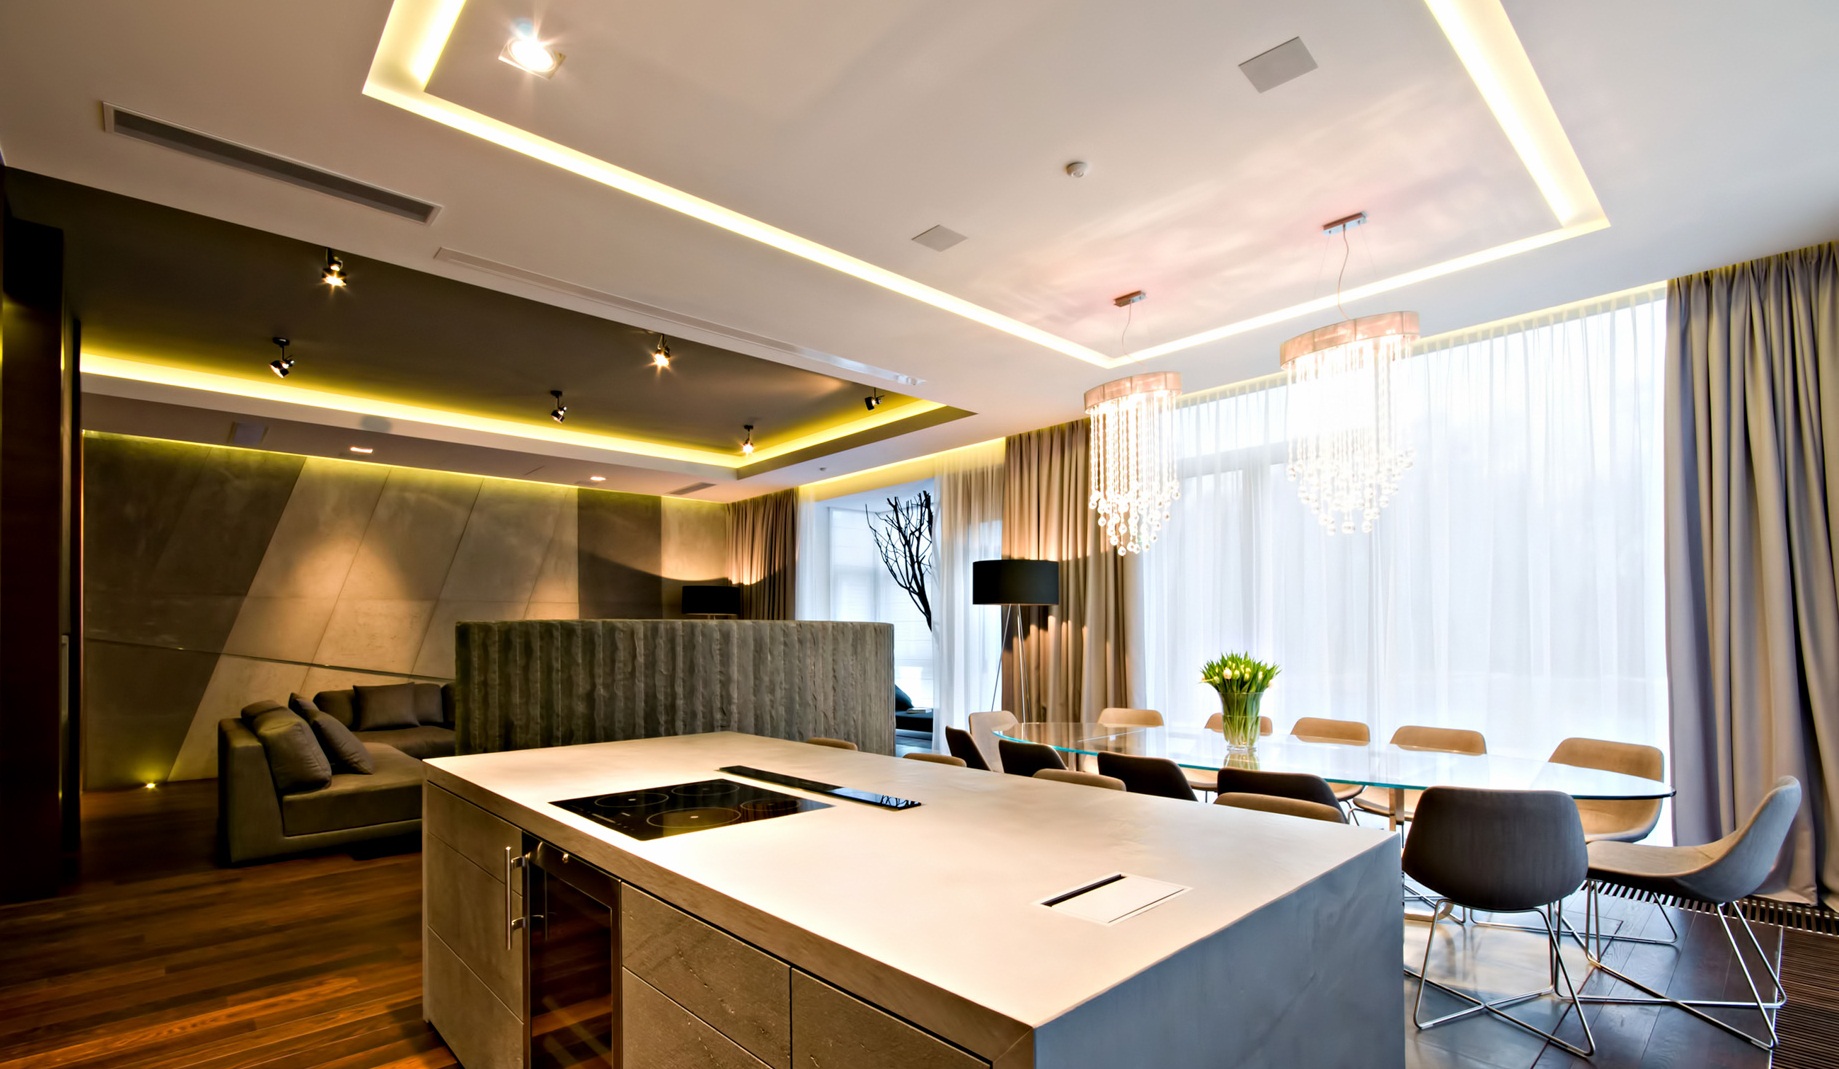
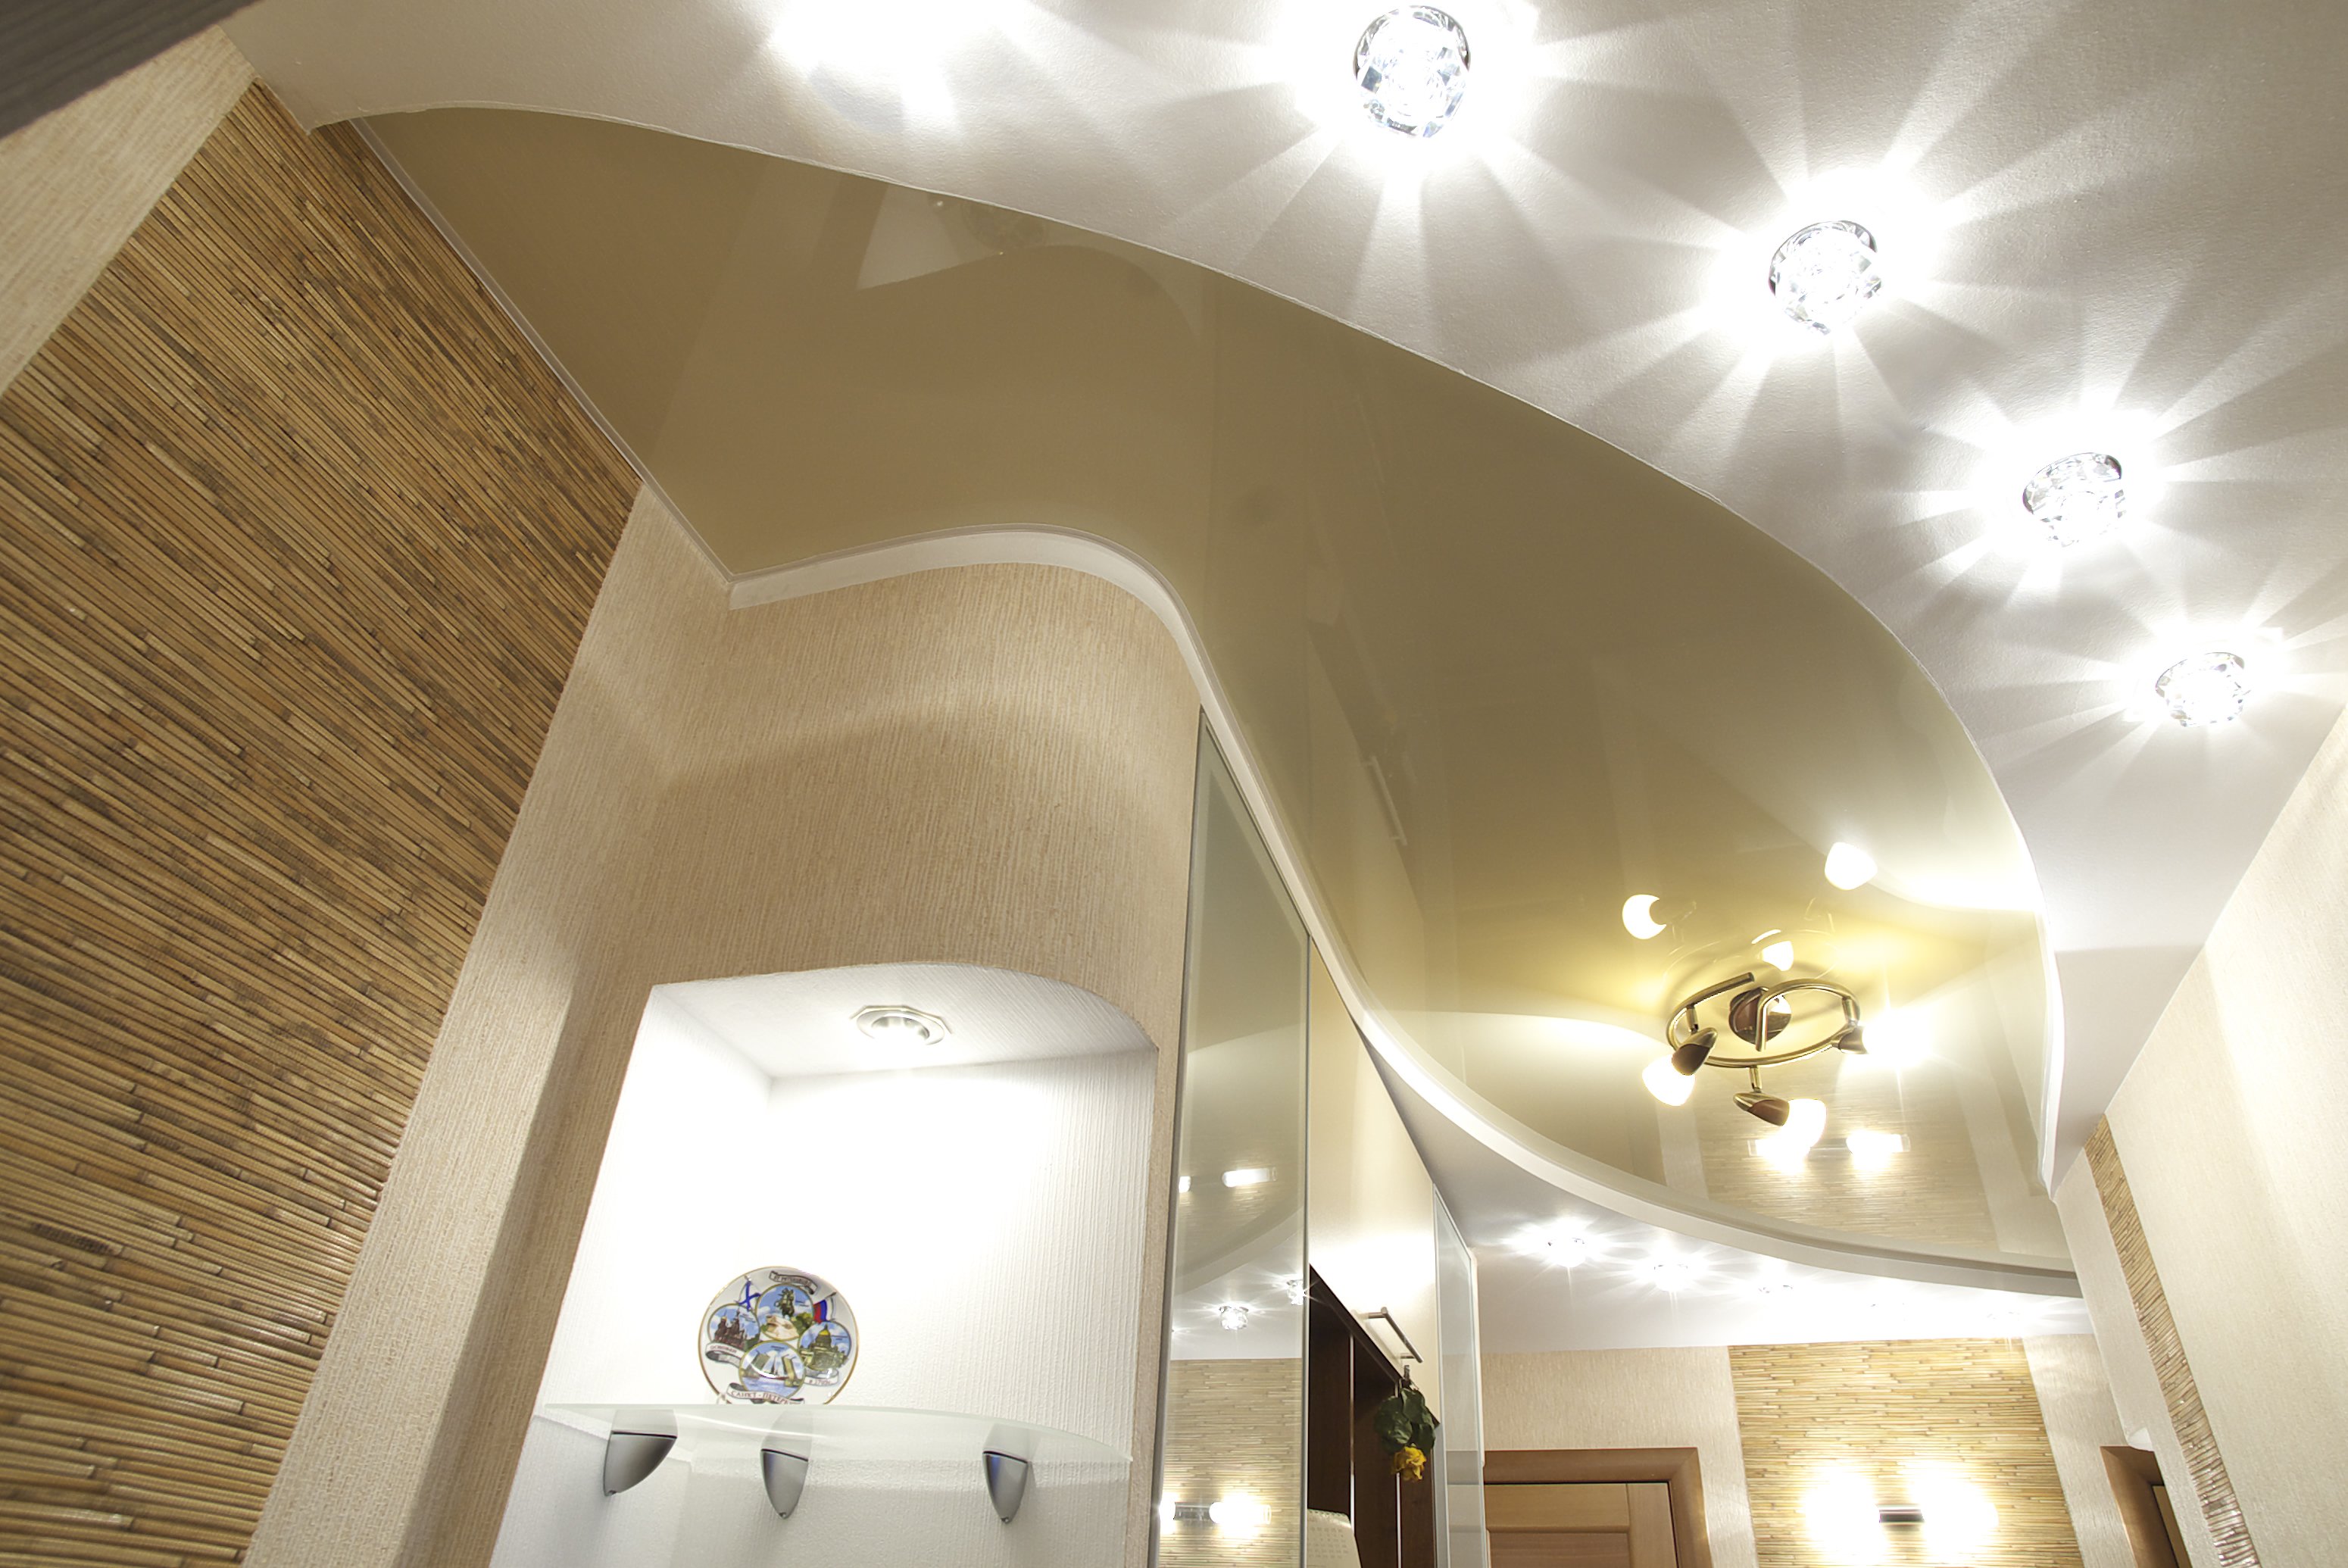
Creative approach to creating ceilings in the hall
This room, which is also called the living room, is one of the most frequently visited in your home, so it should have not only a practical design, but also a beautiful design. To help in this can plasterboard ceilings, with which you can create a lot of different patterns. Many experts recommend to make the surface, combining several shapes and geometric patterns:
- Ovals. In this case, the ceilings may consist of several similar elements in size, which will be in harmony with the basic design of the room.
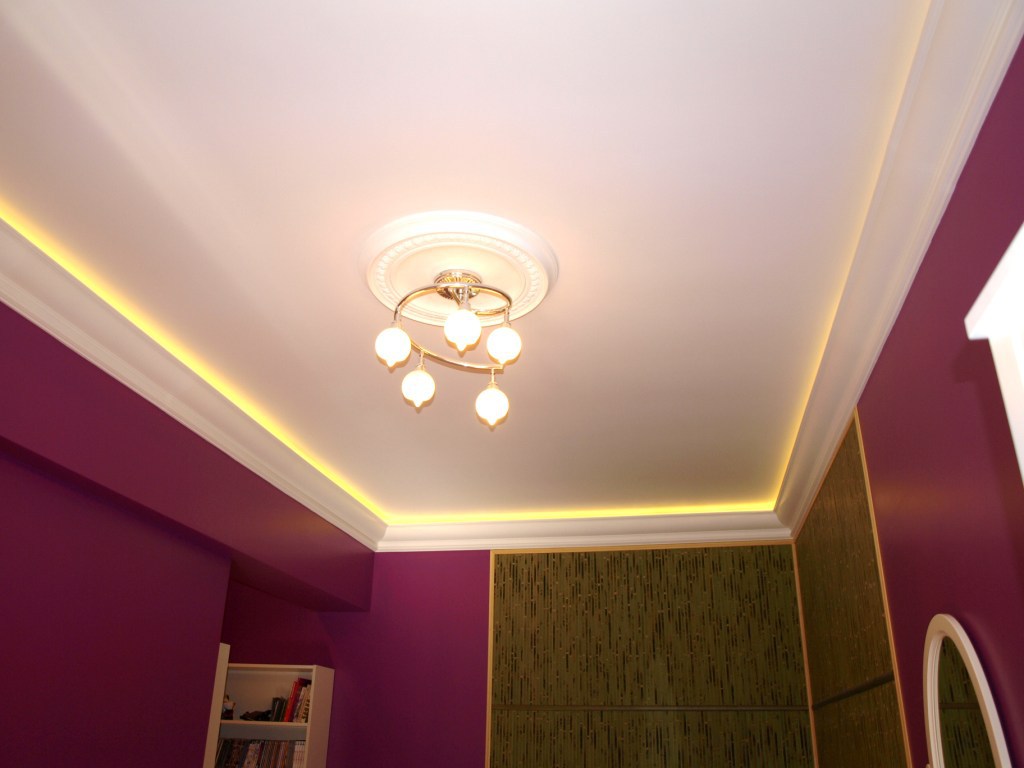
- The two-level ceiling with the flower placed in the center of the room looks beautiful. At the same time, such a design can be supplemented with various lighting devices, which creates a unique appearance and a warm aura.
- Circles, droplets and other figures are perfect for both small halls and huge rooms. Experts recommend to create in the same style and doorways that will harmoniously fit into the interior.

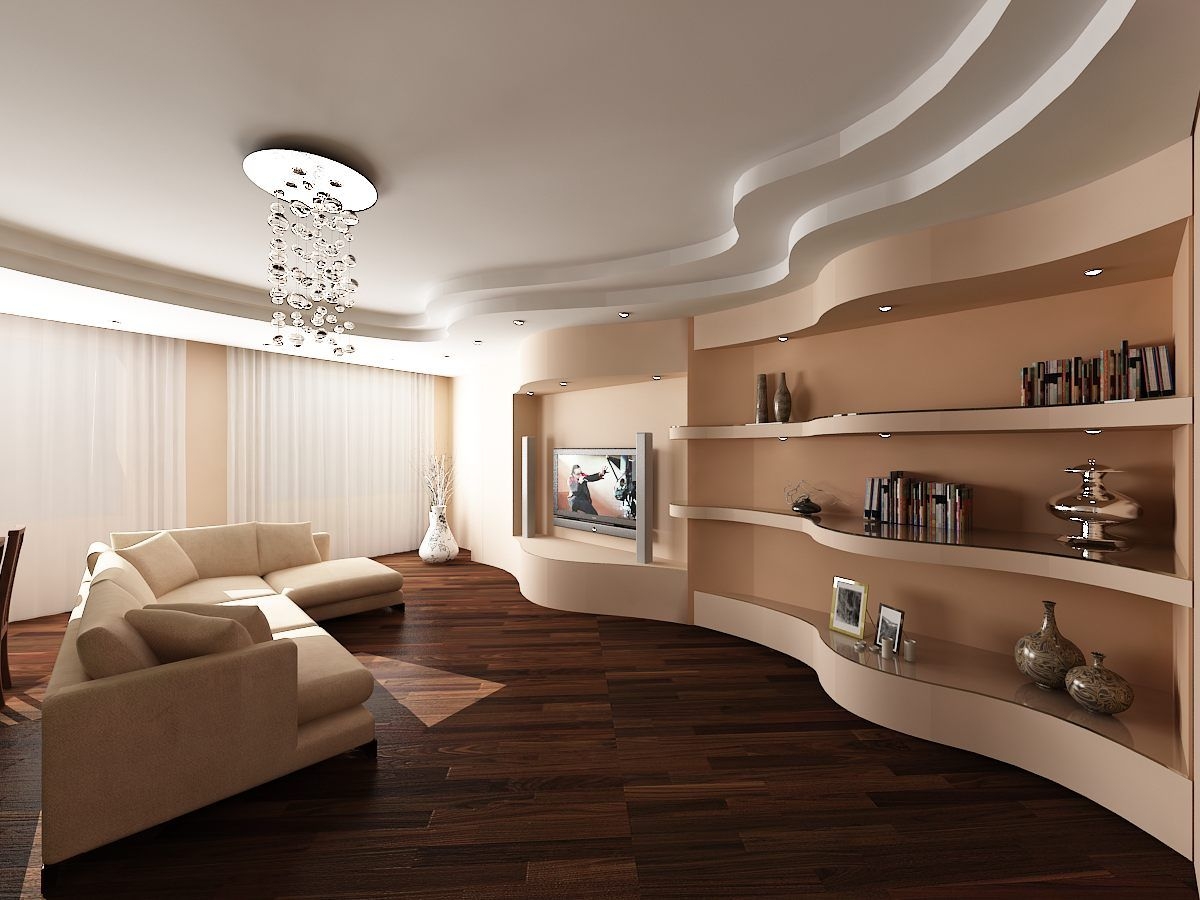
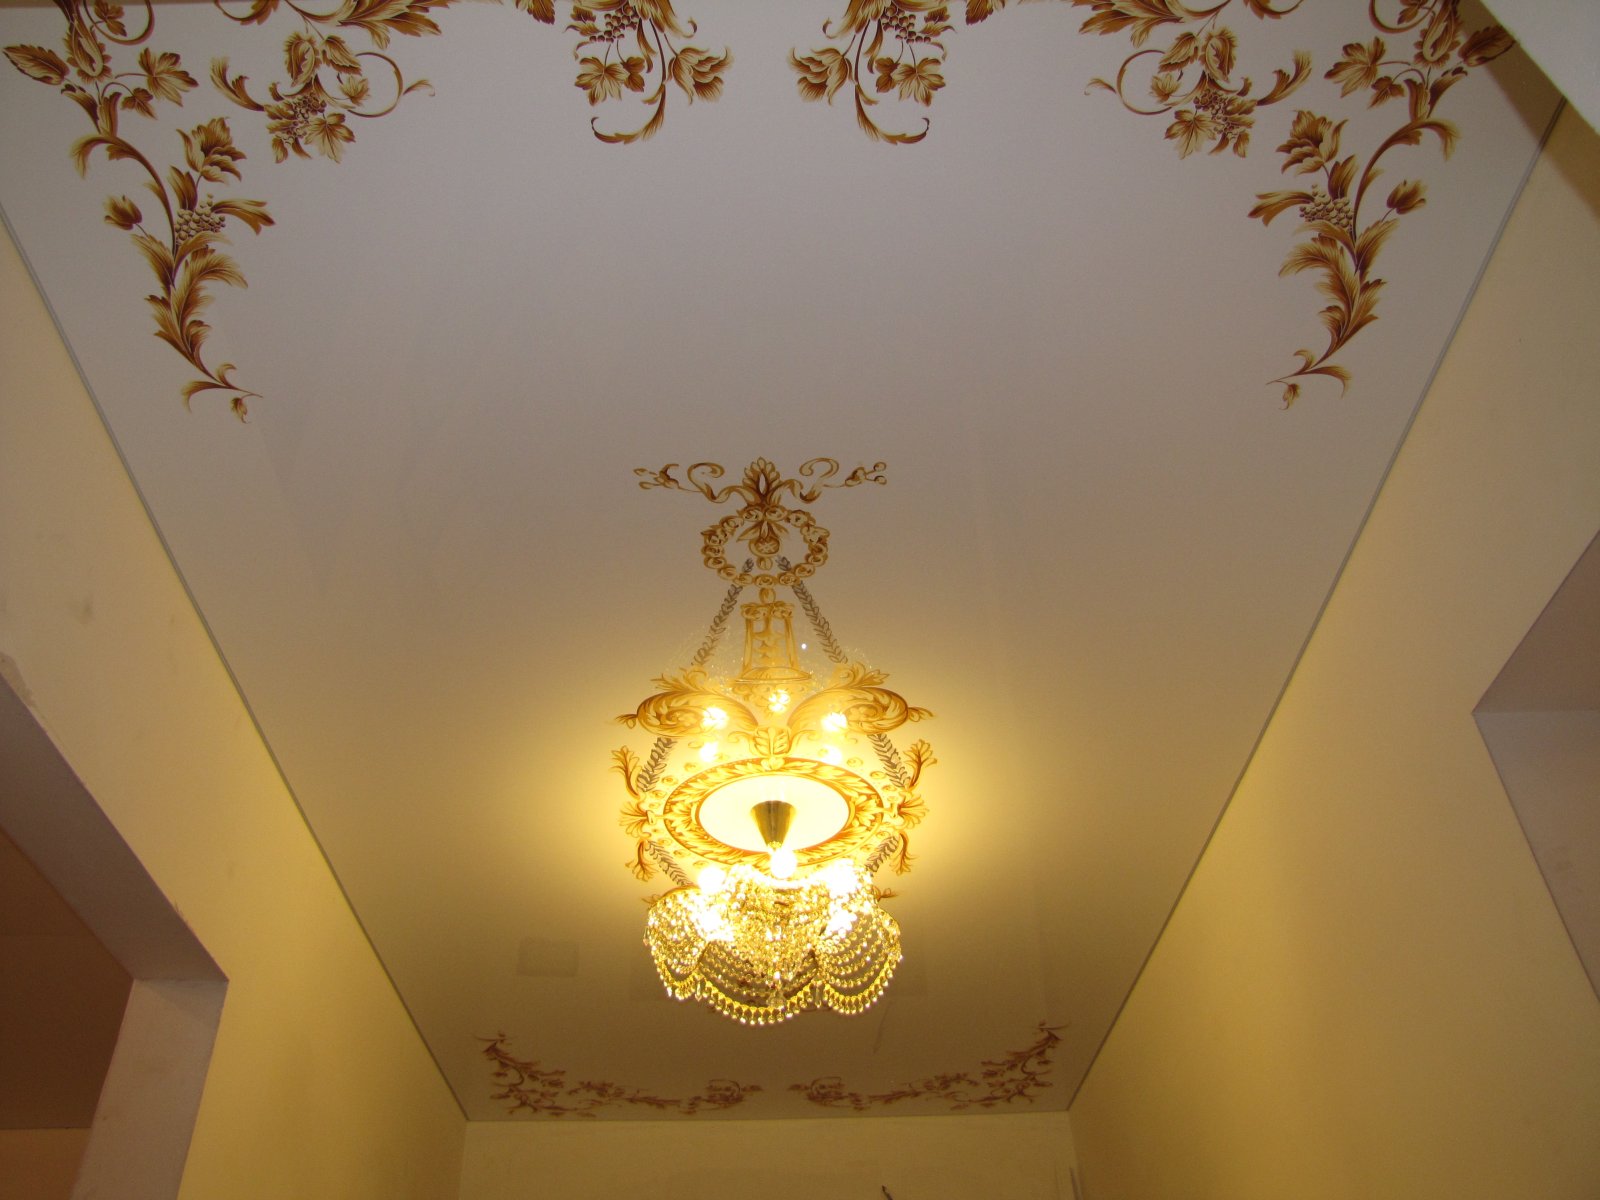
Today, a special technique of painting suspended ceilings is gaining popularity, which allows to obtain three-dimensional drawings.Similar works are performed only by experienced artists who correctly select colors and make your room unique.


Some useful tips from experts
Installation of sheets of drywall with their own hands involves the implementation of many operations. To simplify such operations, you should first study a few simple recommendations:
- Purchased sheets are stored only in a horizontal position, as they are quite fragile and can break or deform.
- For the kitchen, experts recommend the use of moisture-resistant drywall, while in the hall you can use ordinary substances.
- Installation of sheets is made at a short distance from each other (approximately 3-5 mm). Before this, it is necessary to chamfer the outer surface of the sheet.
- When installing drywall in the kitchen, all the joints of the elements are glued with a reinforcing tape-serpyanka.
- The height of the suspension system must ensure optimum ventilation of the opening. This is especially important when an electrical cable is placed under the ceiling. Such operations will prevent its heating and the occurrence of unforeseen situations.

Installation
Ceilings made of drywall is quite simple, but you need to comply with a certain technology. Please note that the algorithm for installing such constructions does not depend on the type of room, since the same frame products and fasteners are used for this.

The process of arranging a suspended ceiling consists of several successive stages:
- Initially, the main surface is broken down. To do this, from the main ceiling retreat by about 10-15 cm, while taking into account one of the lowest angles. After that, using a laser level and a special chop cord, apply smooth lines to the walls.
- Next, the UD profiles are fixed in a previously drawn straight line. They are fastened with dowels.
- After that, the main direction of the sheets is determined; the marking of the lines perpendicular to them is made. Such marks are located at a distance of about half a meter. Then, according to the lines, fix brackets are fixed.
- When the system is ready, guide profiles are inserted into the previously mounted frame around the perimeter of the wall. It is worth paying attention: with a significant size of the rooms, they will need to be increased with the help of the so-called crabs.
- Now align each profile to position them in the same plane. It is much easier to make it if you stretch a few threads along which you can navigate.
- After alignment is completed, all profiles are attached to the suspensions and the guide profile with special fasteners. At this stage, you also need to lay wiring to the locations of future fixtures.
- Upon completion of the attachment of the frame proceed to attach sheets to it. To do this, use special screws, whose length varies in the range of 25 mm. The number of such fasteners per sheet reaches 60 pieces. After that, you need to make holes for the lamps (if they are supposed to be), and pull the cable outwards for their future connection.
- The final stage is the sealing of joints using special grouting and direct painting of the surface. For such works you can use both acrylic and latex paints.
Installing the same multi-level ceilings requires some experience to create a solid structure. If you want to get not only a flat, but also a decorative surface,you should entrust the development of design and installation of such products to entrust only experienced professionals.