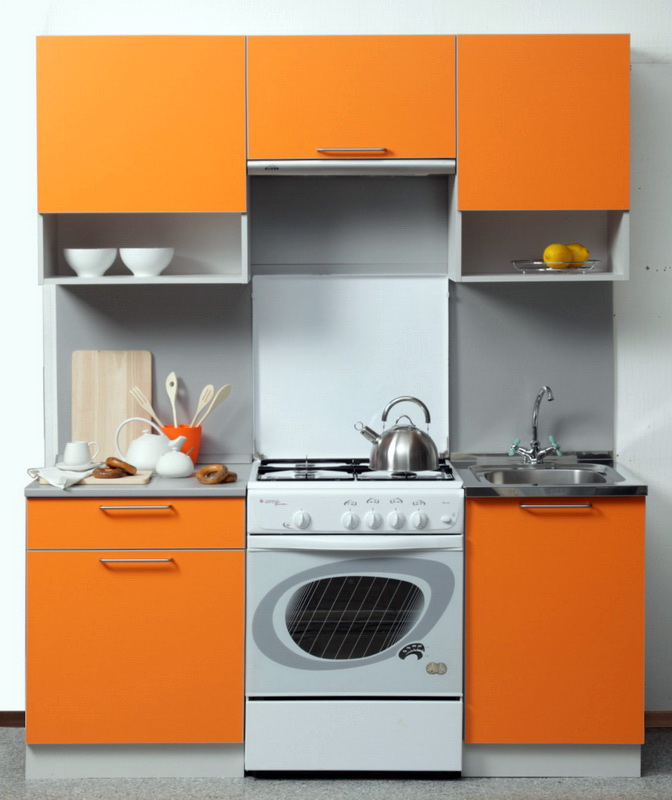
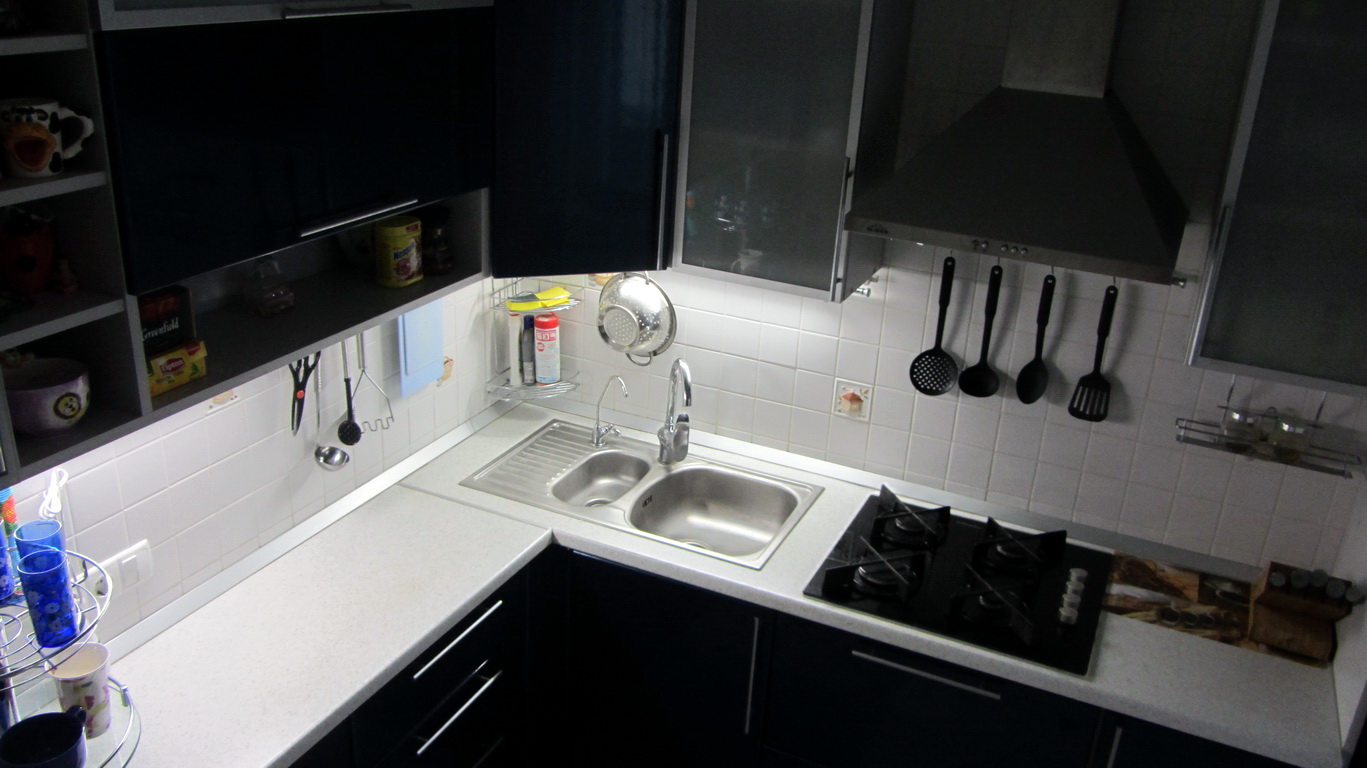
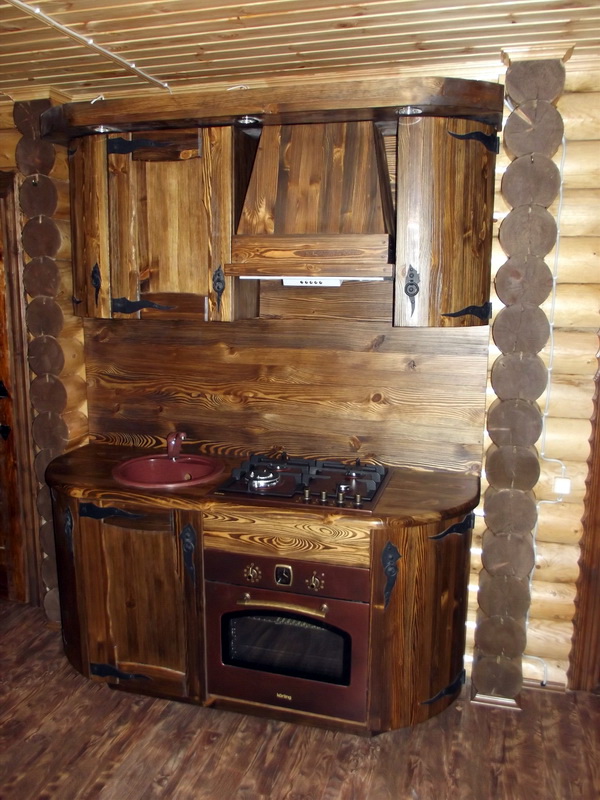
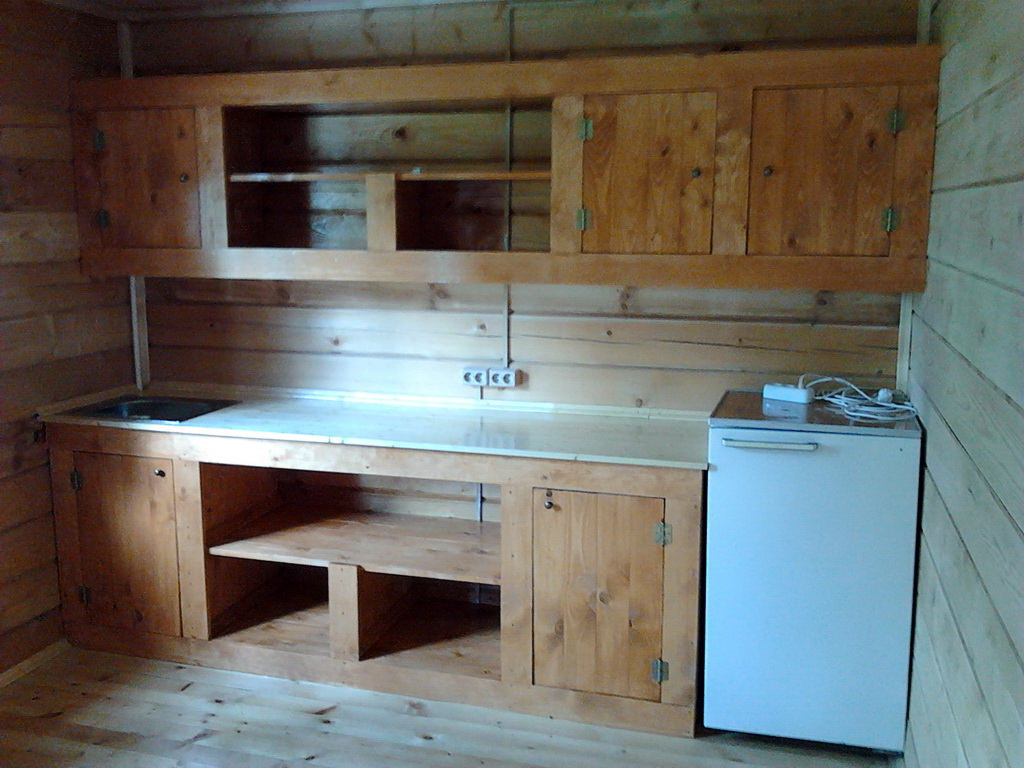
Sink cabinet in the kitchen
After cooking, a lot of dirty dishes remain. Therefore, washing - an essential attribute of any kitchen. Choosing a cabinet for washing is a responsible and difficult task. It is necessary to think over all the decorative and functional aspects of the acquisition. A wide range allows you to choose exactly what suits you.
Kinds
Choosing a kitchen is a crucial thing. Before proceeding to action, you should explore all the varieties. Choose the desired type of configuration based on the size of your kitchen. Manufacturers offer a fairly wide range of sinks with different pedestals. There are two main types of thumbs configuration:
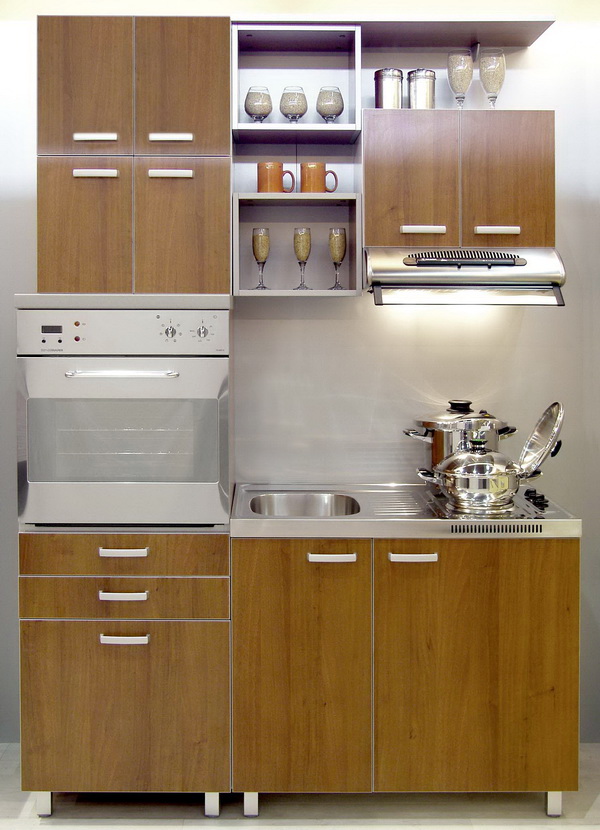
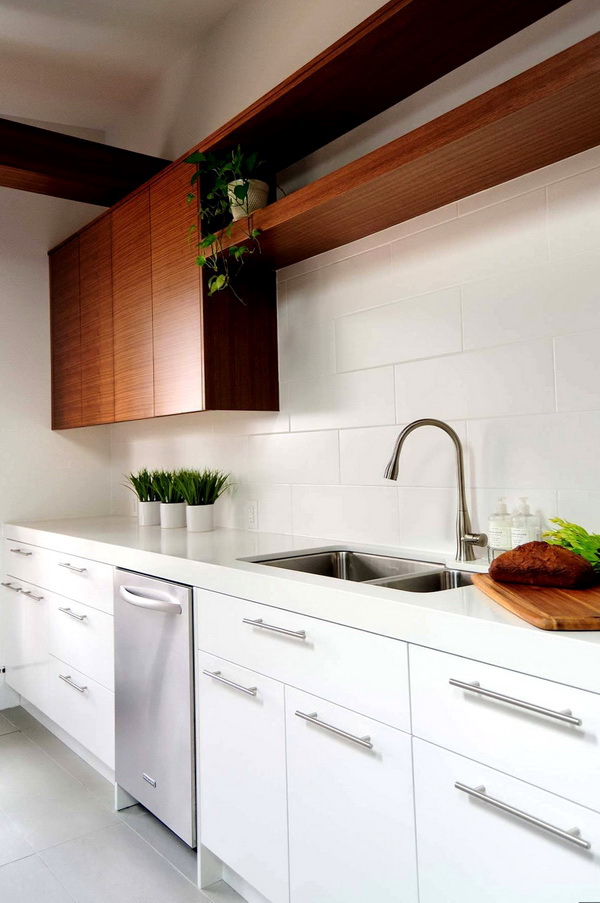
Straight
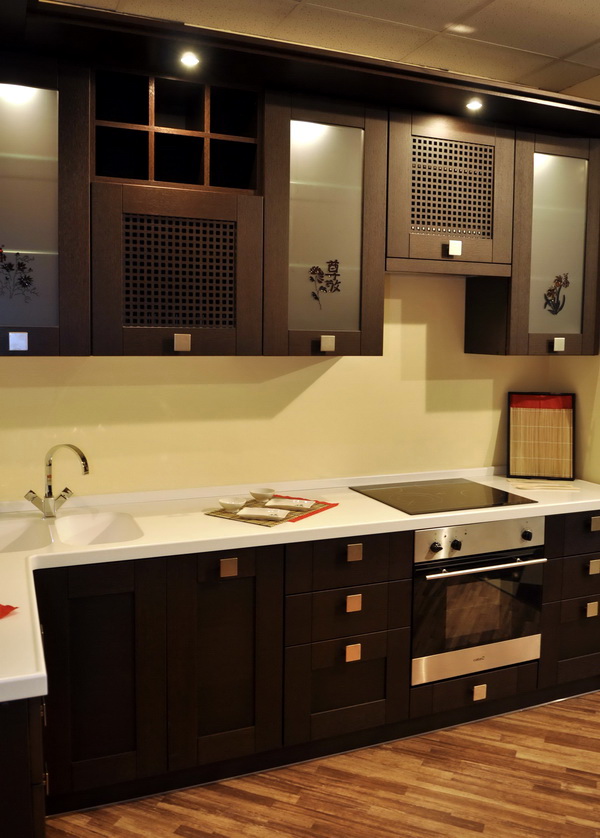
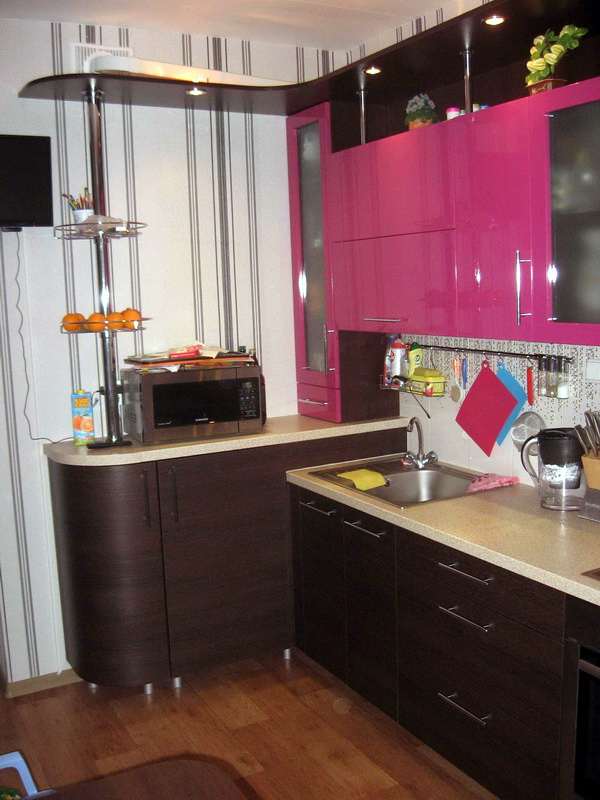
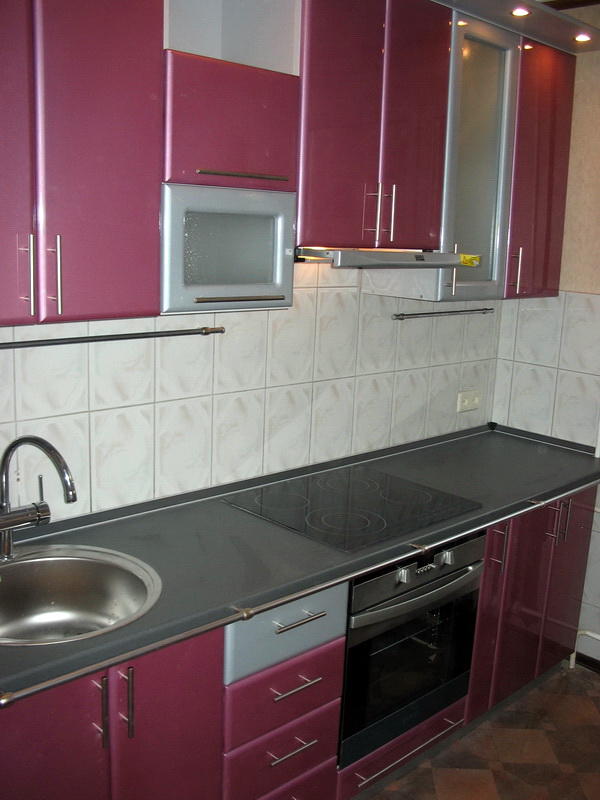
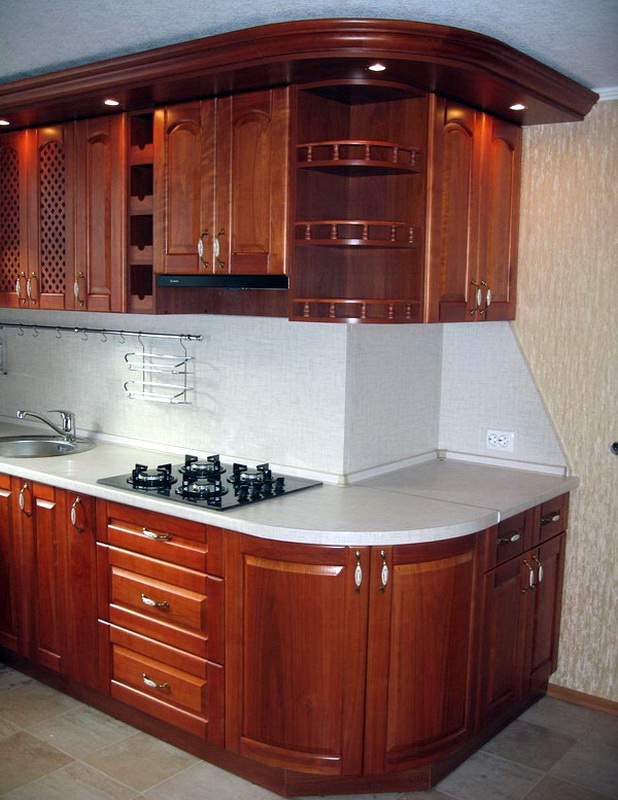
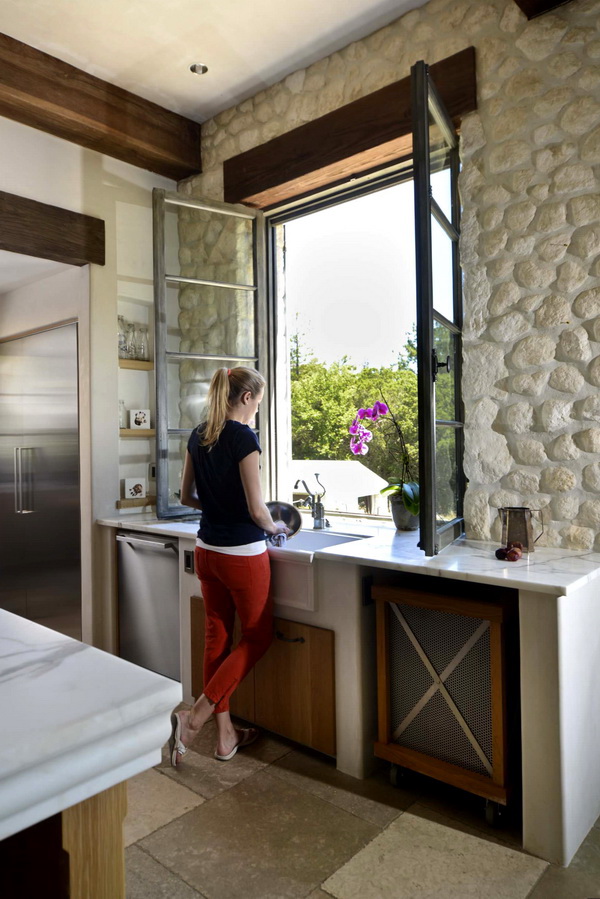
Straight pedestals are relevant if the sink is located somewhere along the wall, between other items of furniture. The deaf area of such a cabinet is quite difficult, it reduces the popularity of this configuration.

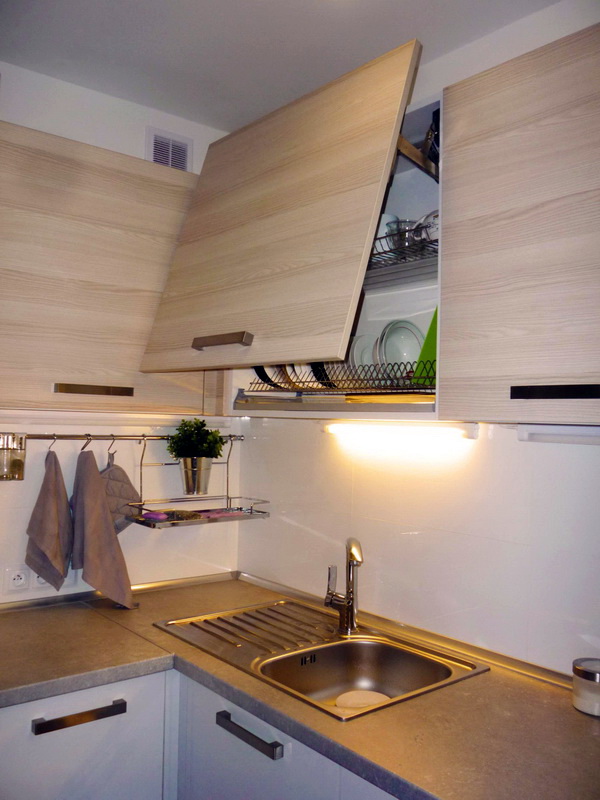
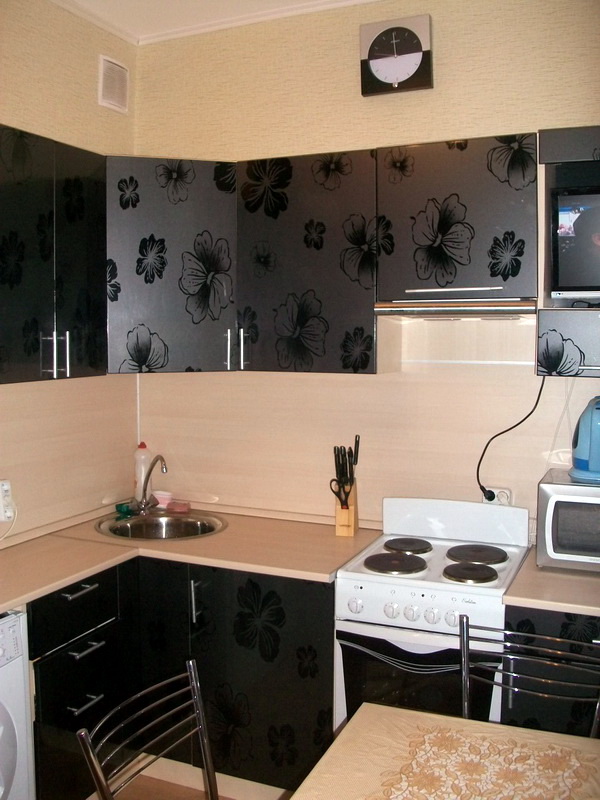
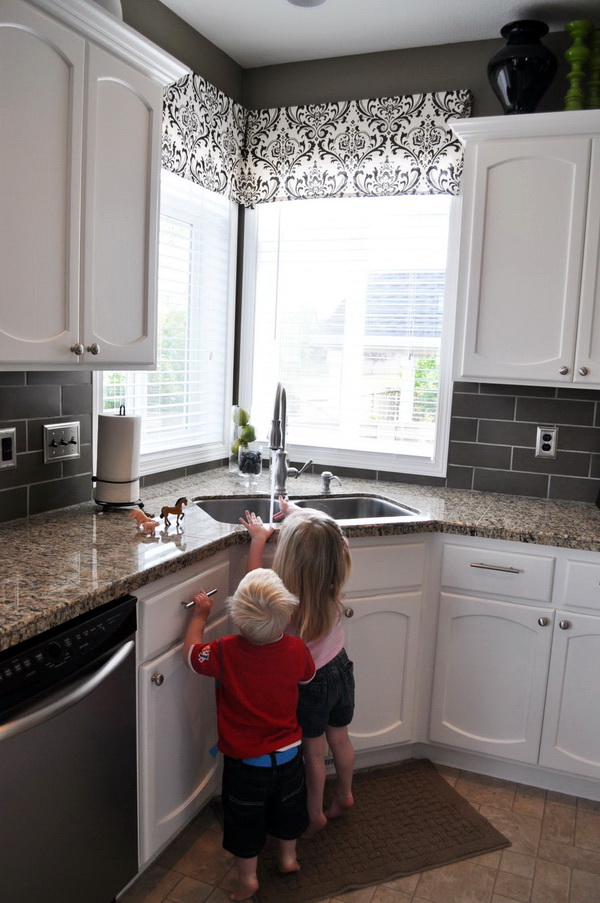
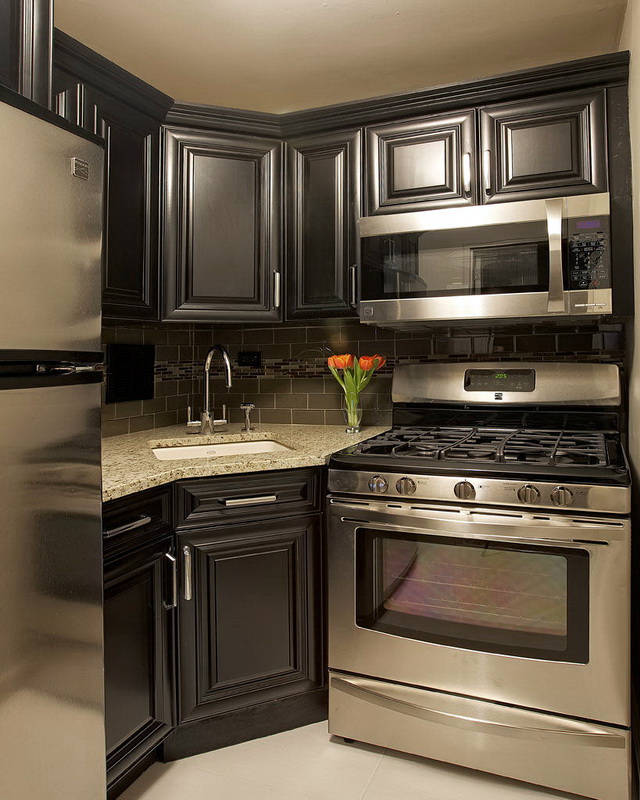
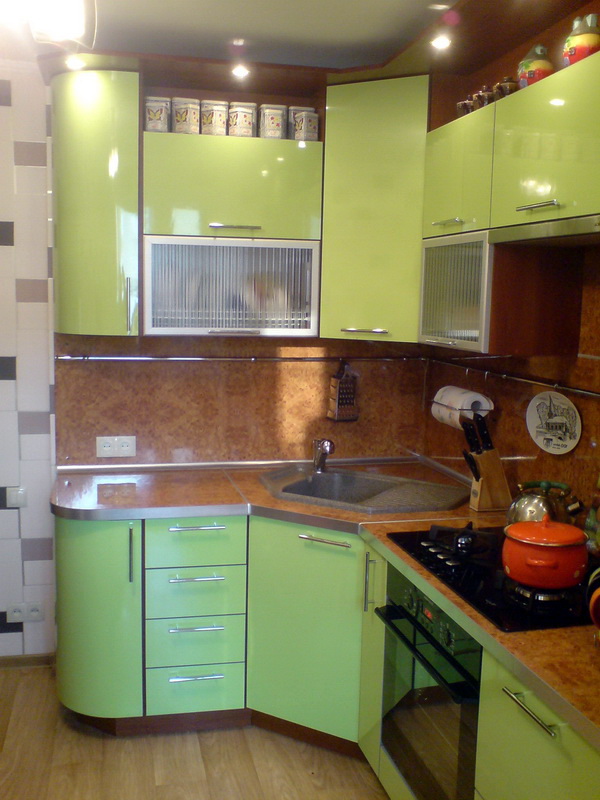
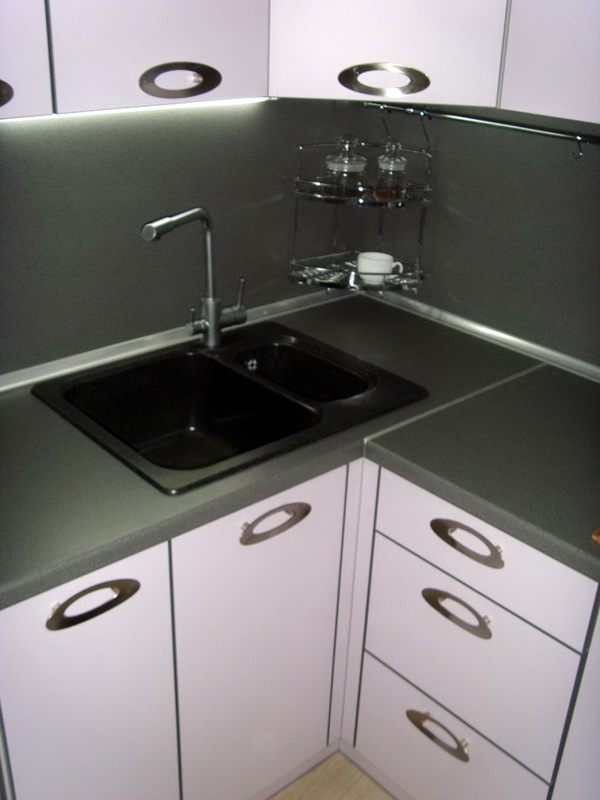
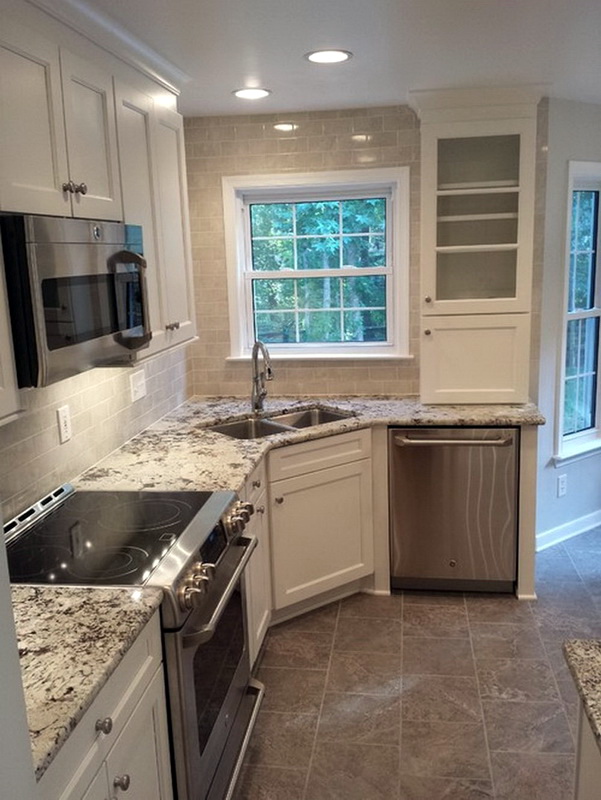
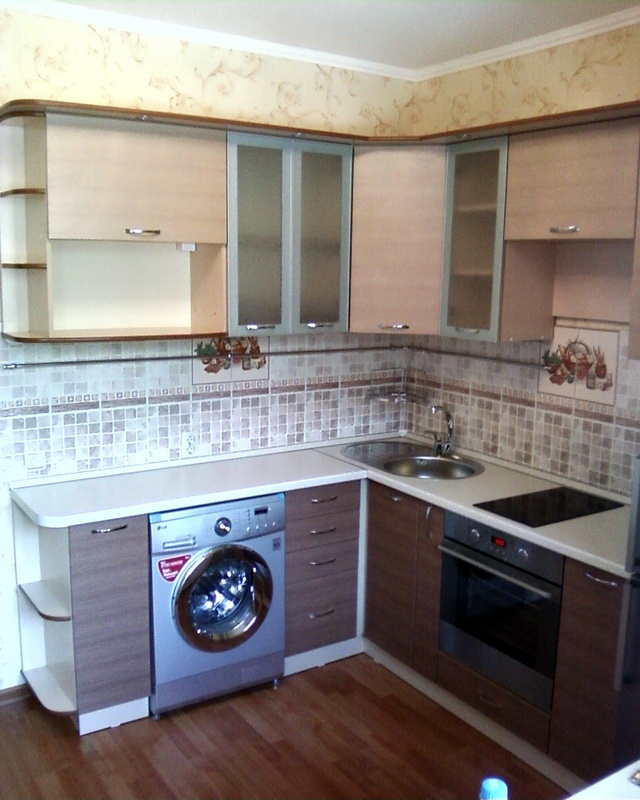
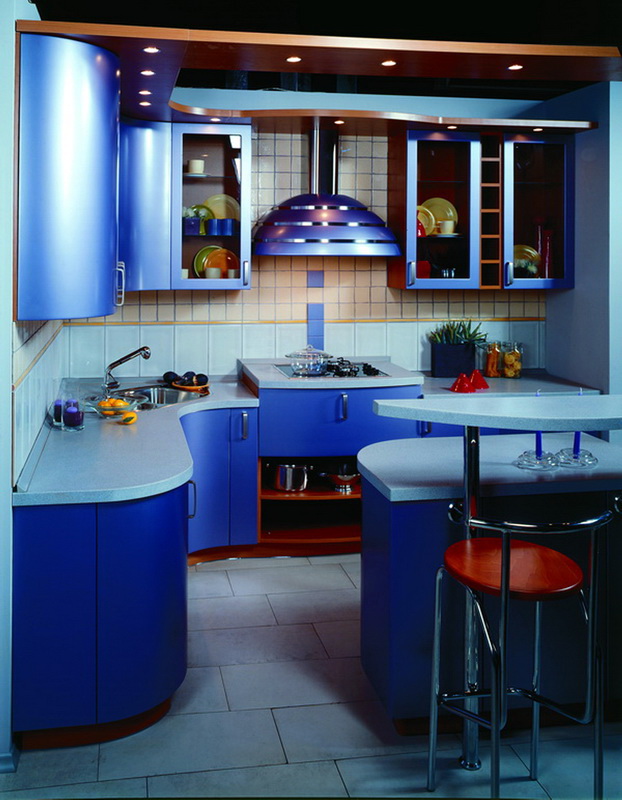
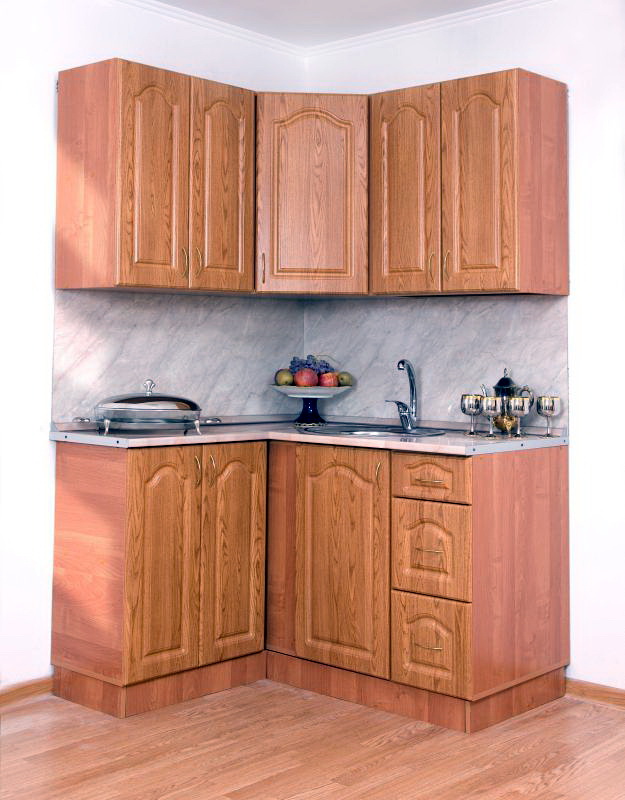
Corner
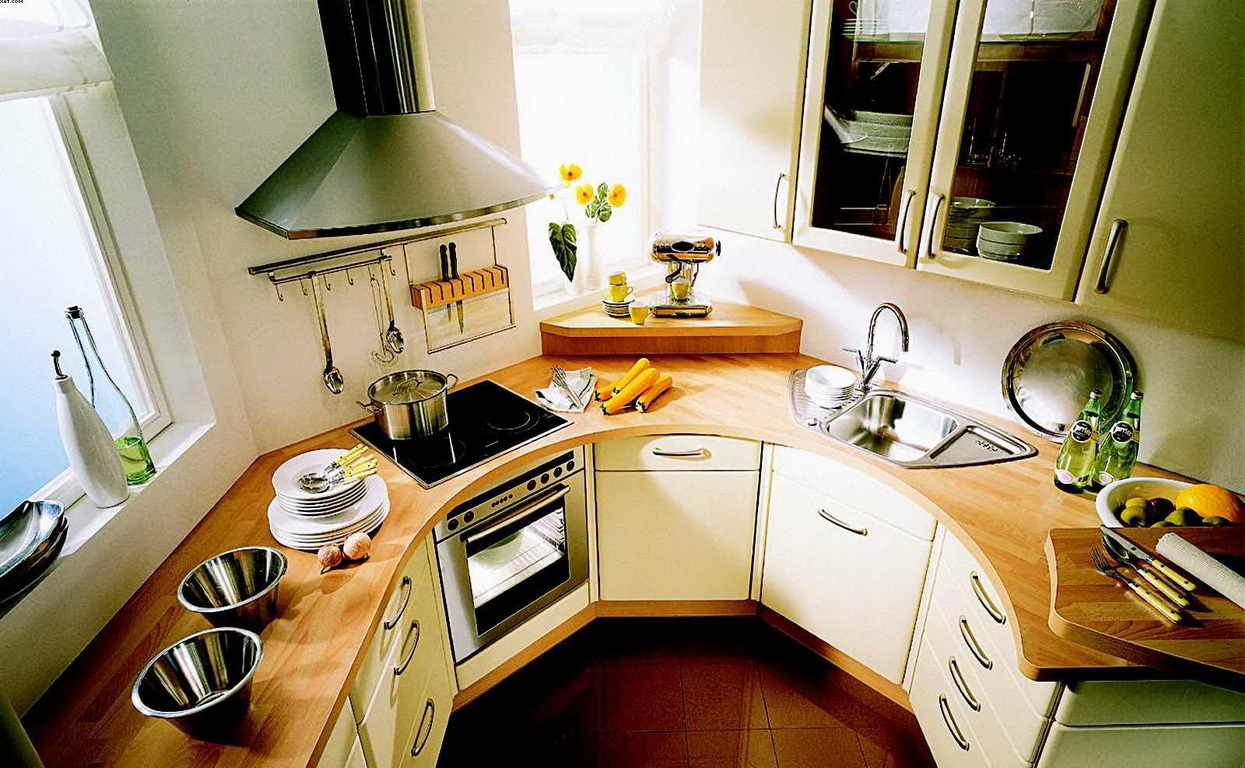
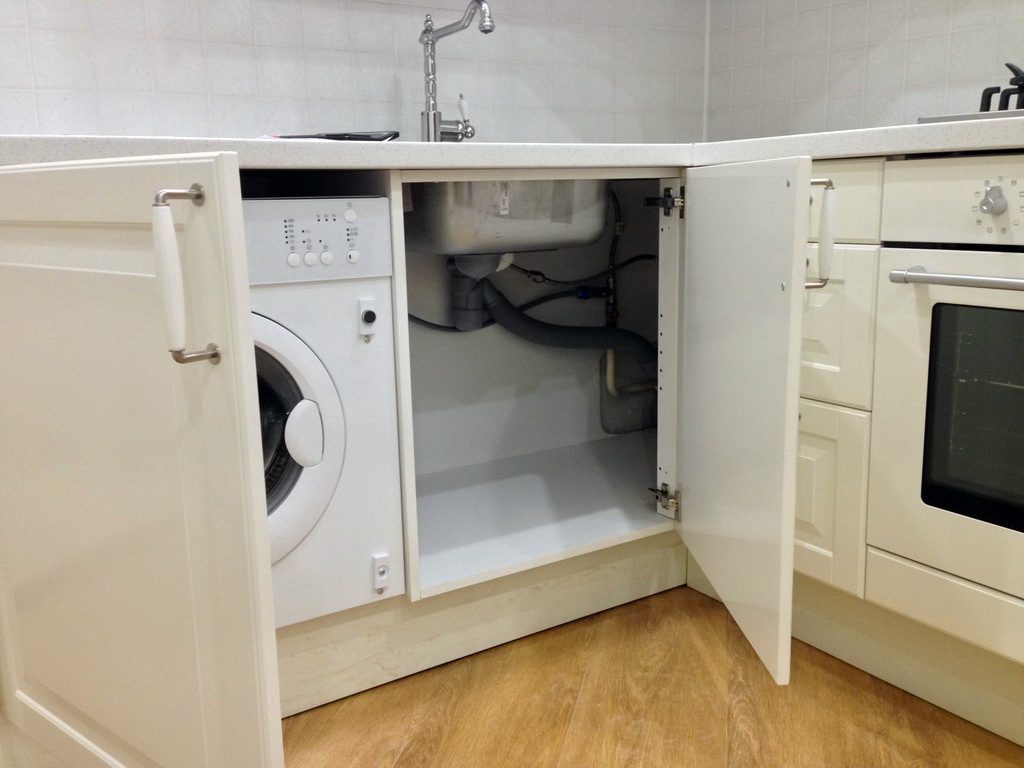
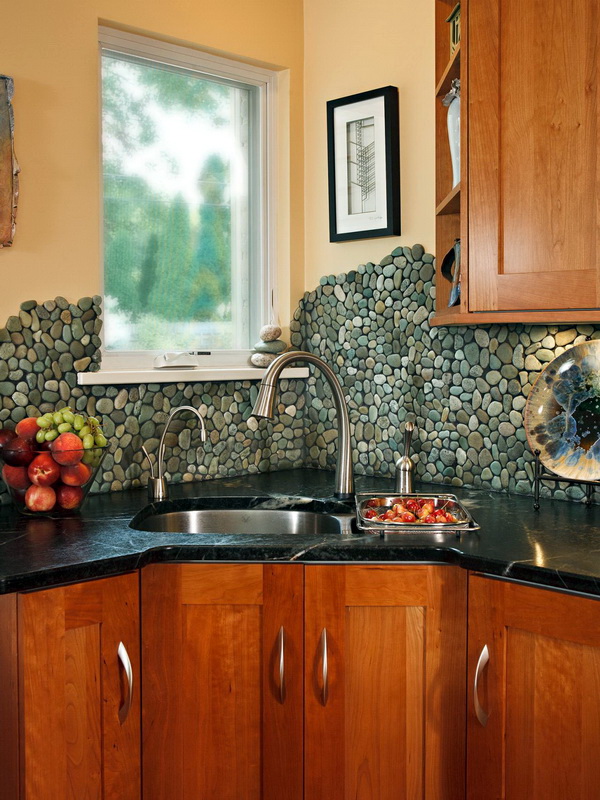
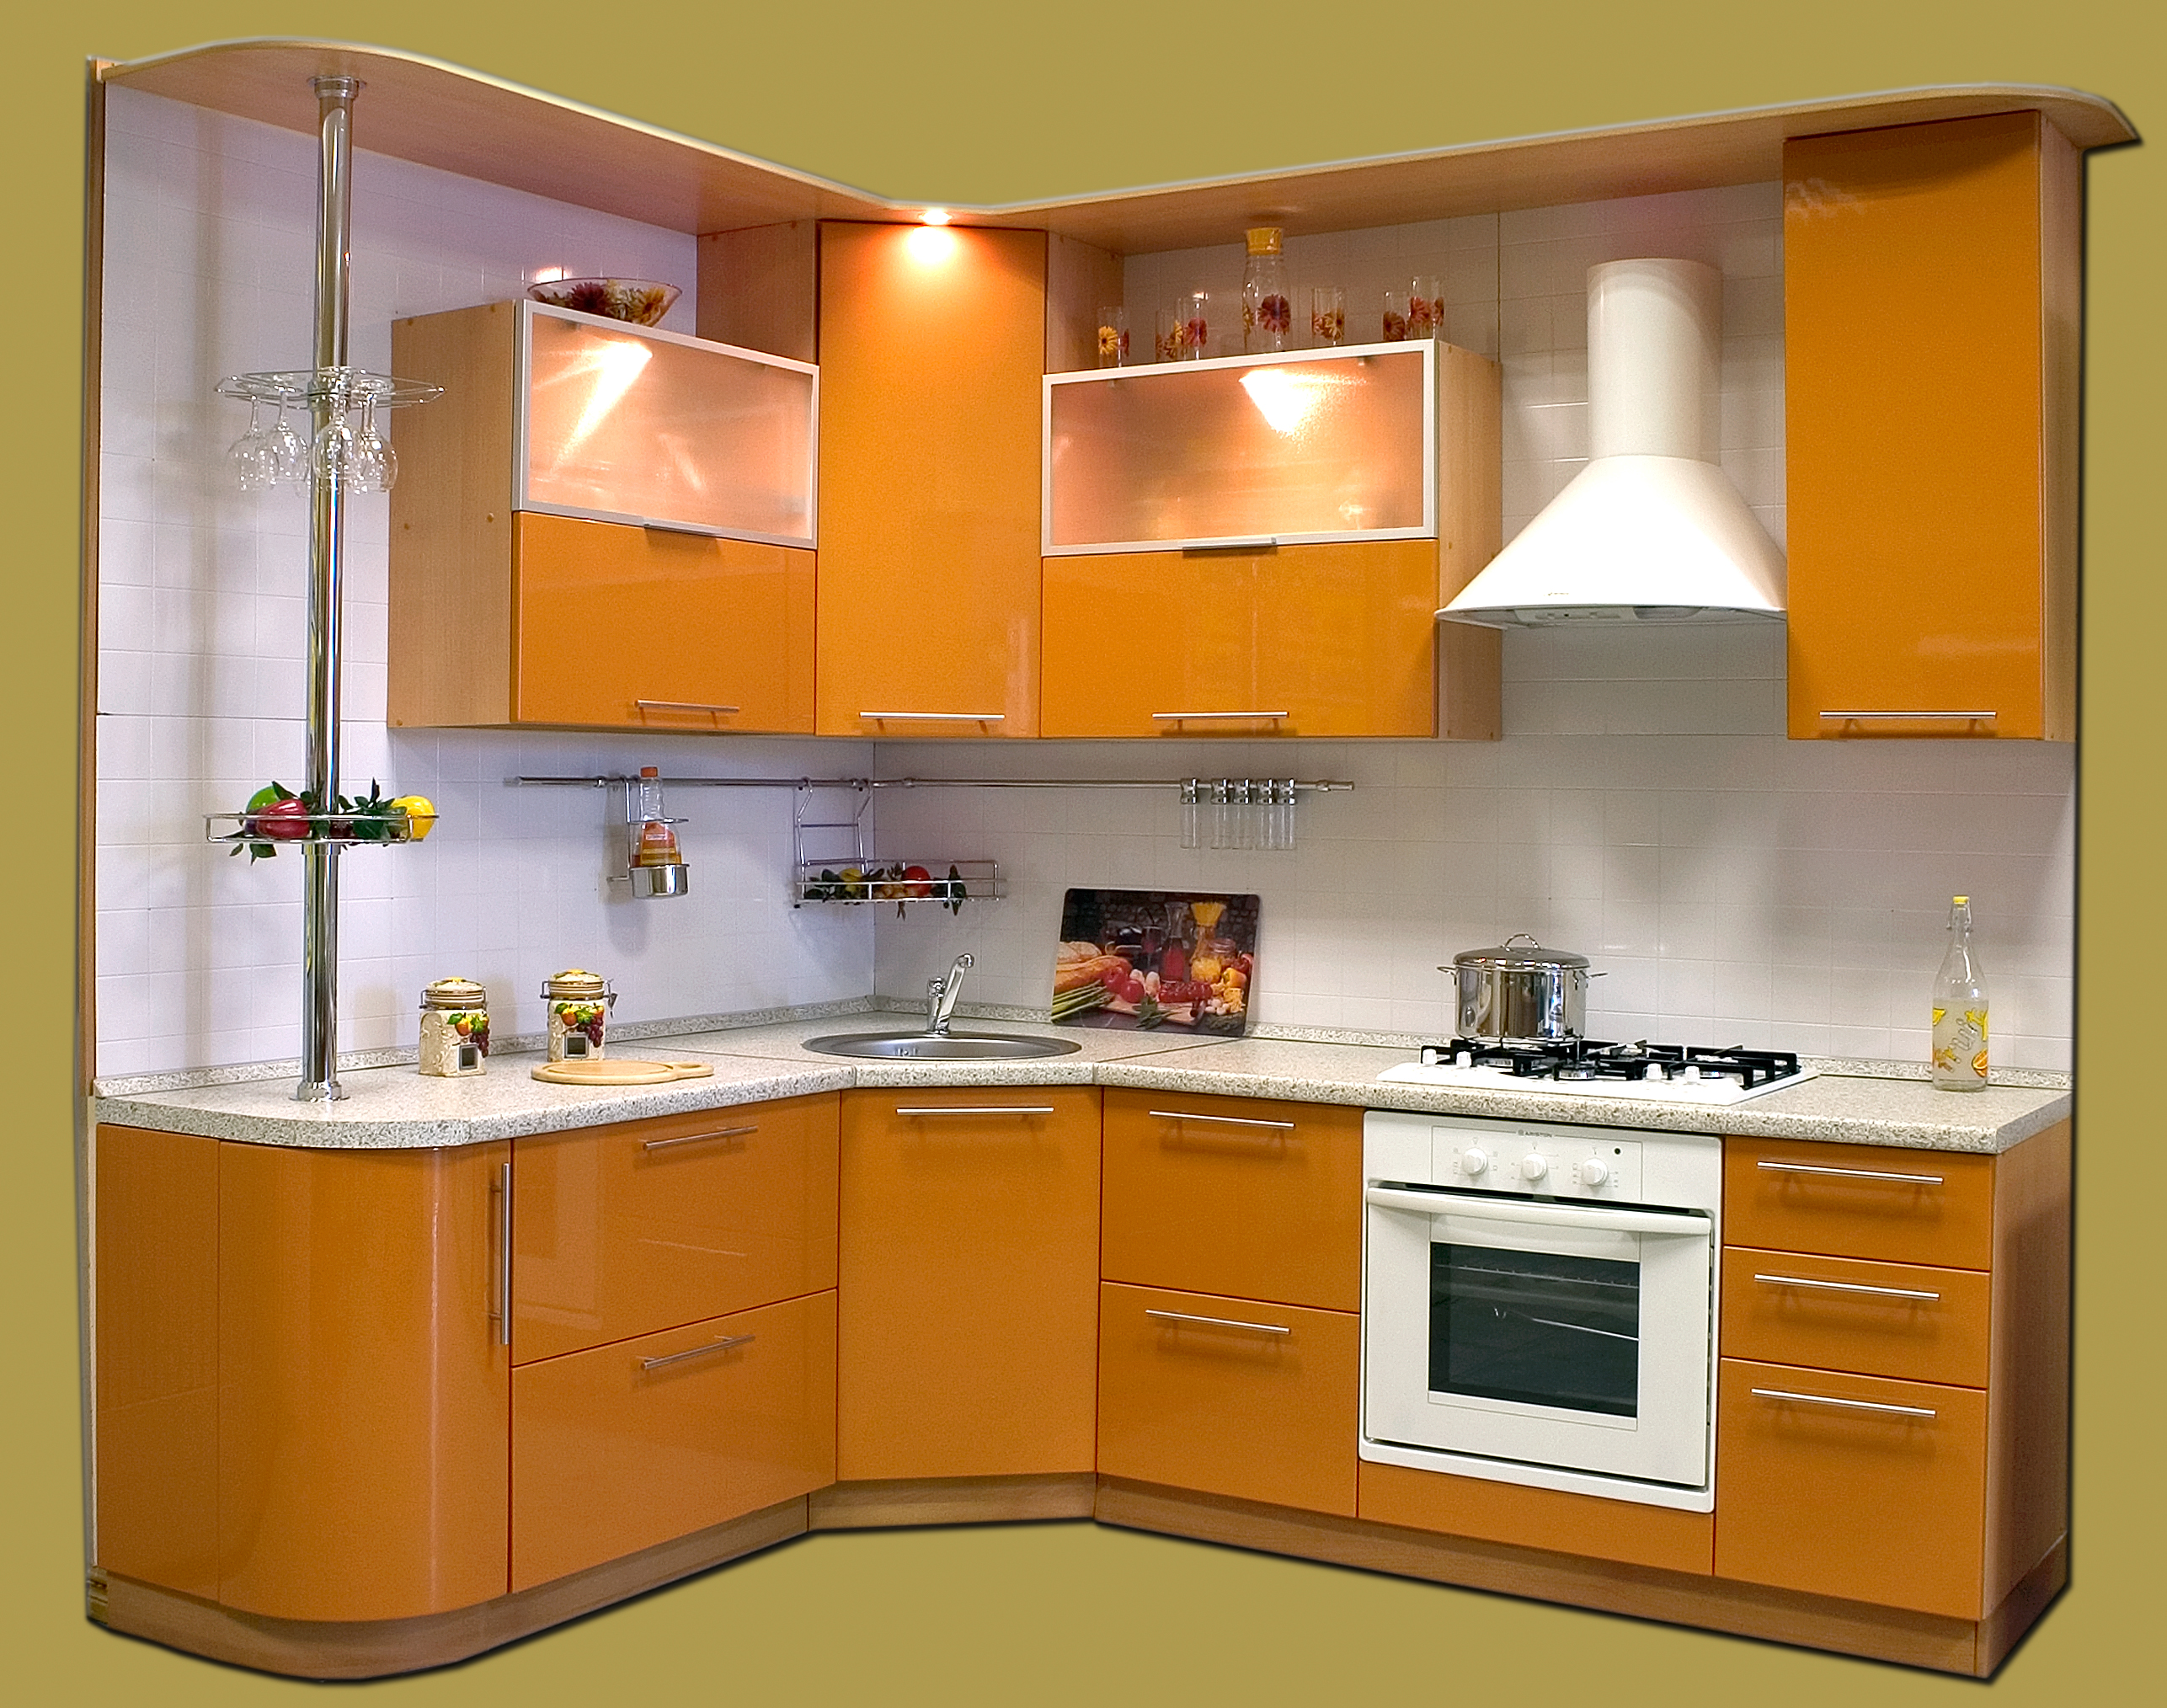
Corner furniture can be L-shaped or trapezoid. The first type of cabinet under the sink does not have a back wall.Instead, there are additional transverse membranes to strengthen the structure. The inner space of the cabinet is clearly visible.
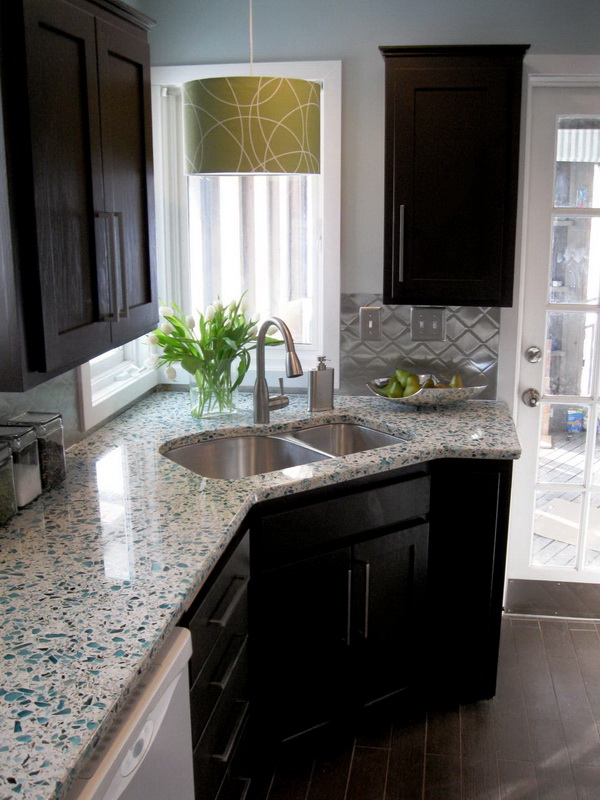
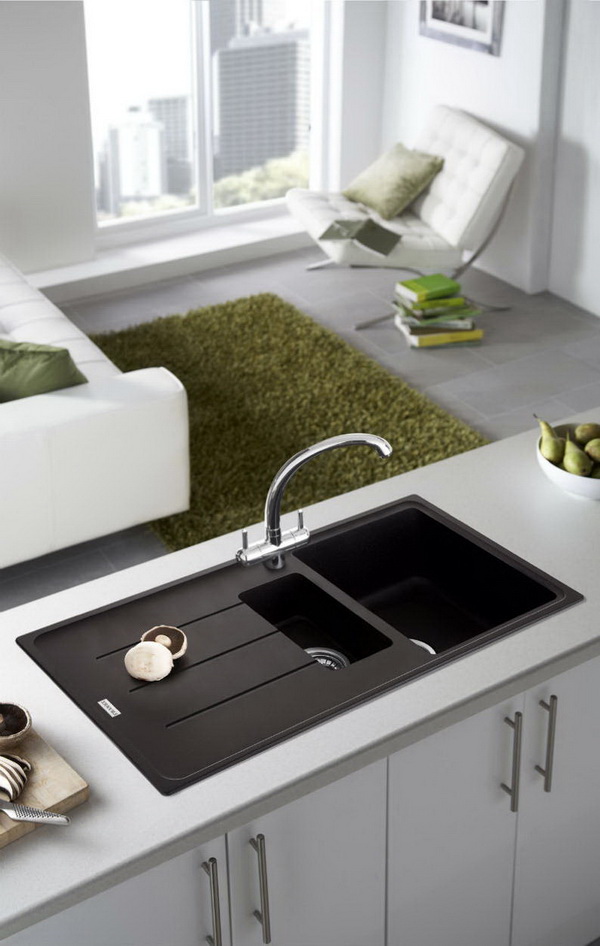
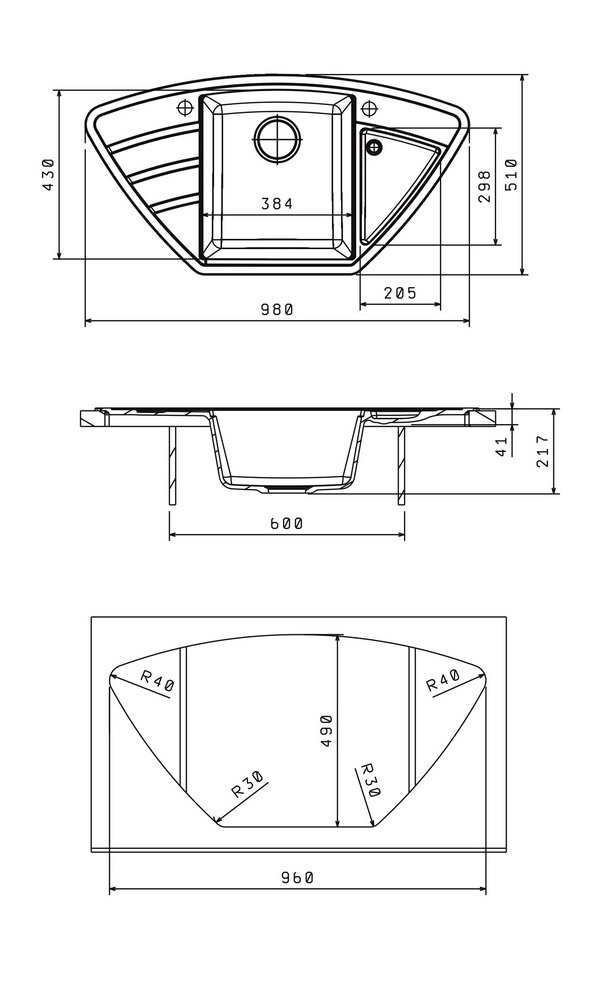
Trapezoid headset is often used for installation of sinks with two sections. If you use a compact siphon, there is a lot of useful space inside the cabinet. There you can install the shelf-carousel. It should be noted that radial cabinets have recently appeared. This cabinet is located in the corner, but has a concave front.
There are various types of doors for kitchen cabinets under the sink:
- Two doors. This option is quite familiar and is used with cabinets of any configuration.
- One door. If your bollard has small dimensions, feel free to use this option. But for a large locker, this is extremely inconvenient.
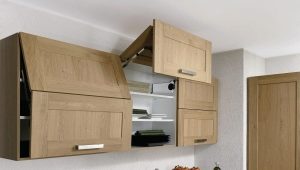
- Double hinged door. Two doors are connected by hinges and open in series. Such doors are convenient for corner cabinets.
- Sliding. This way of opening and closing is well suited for small-sized furniture. But, in general, the option is not very convenient.
- Drawers. They are found in direct configuration boxes.Be sure to provide for recesses under the pipes and hidden parts of the sink.
- Combined. This option is quite common in our kitchens. Combination of ordinary casement doors with drawers.


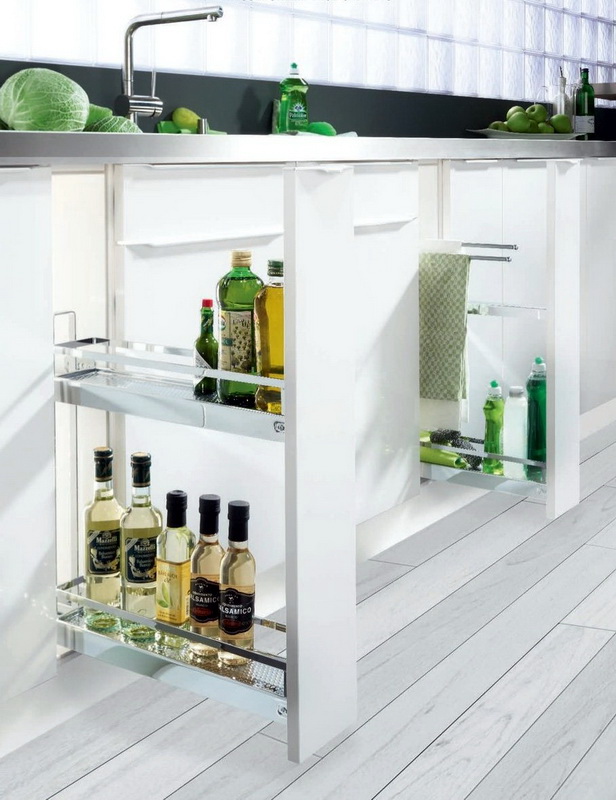
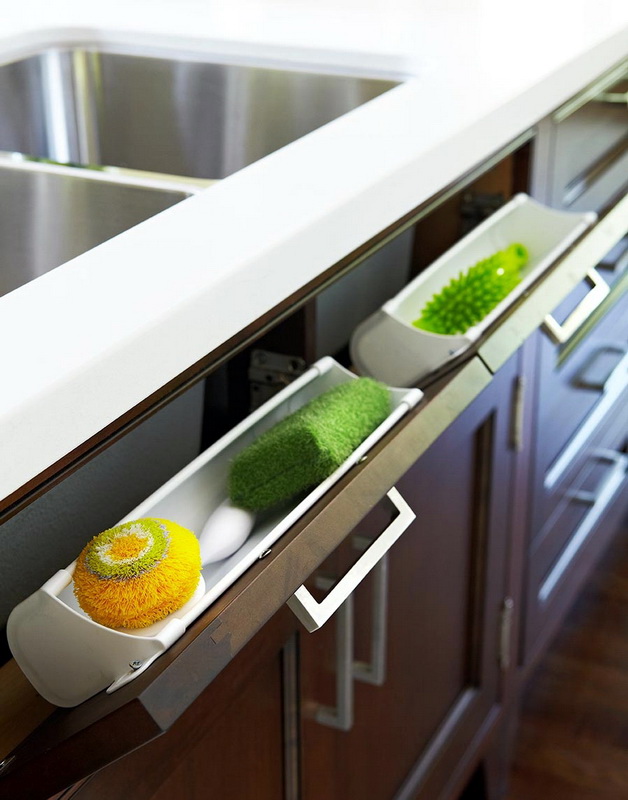
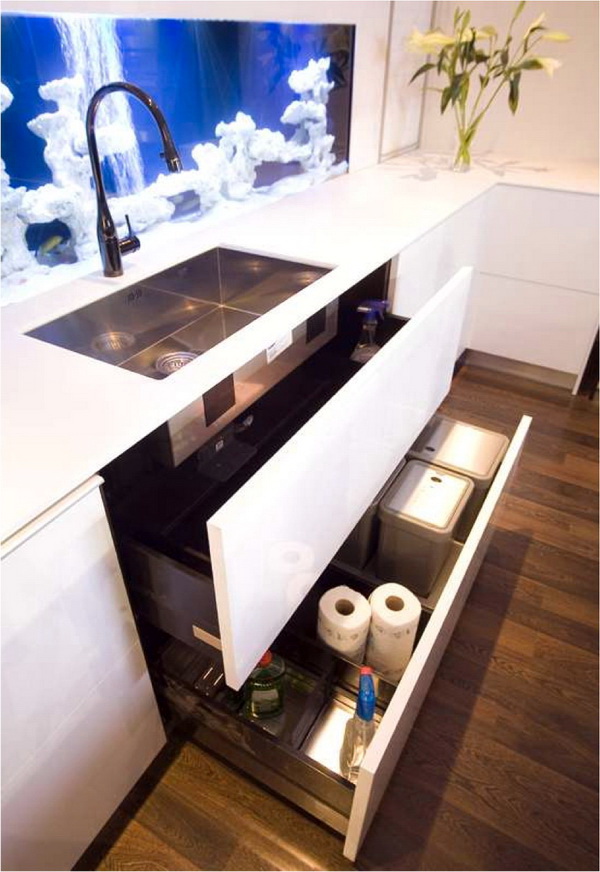
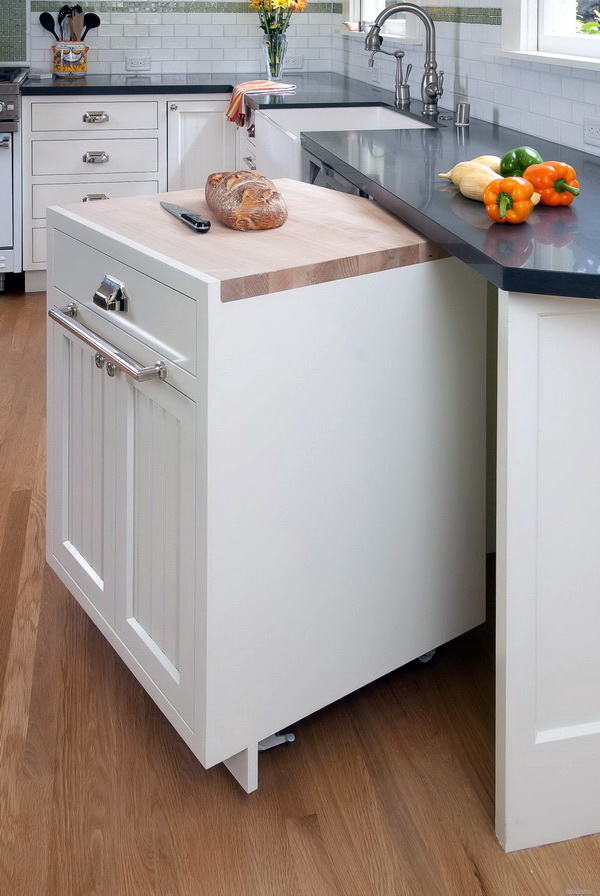
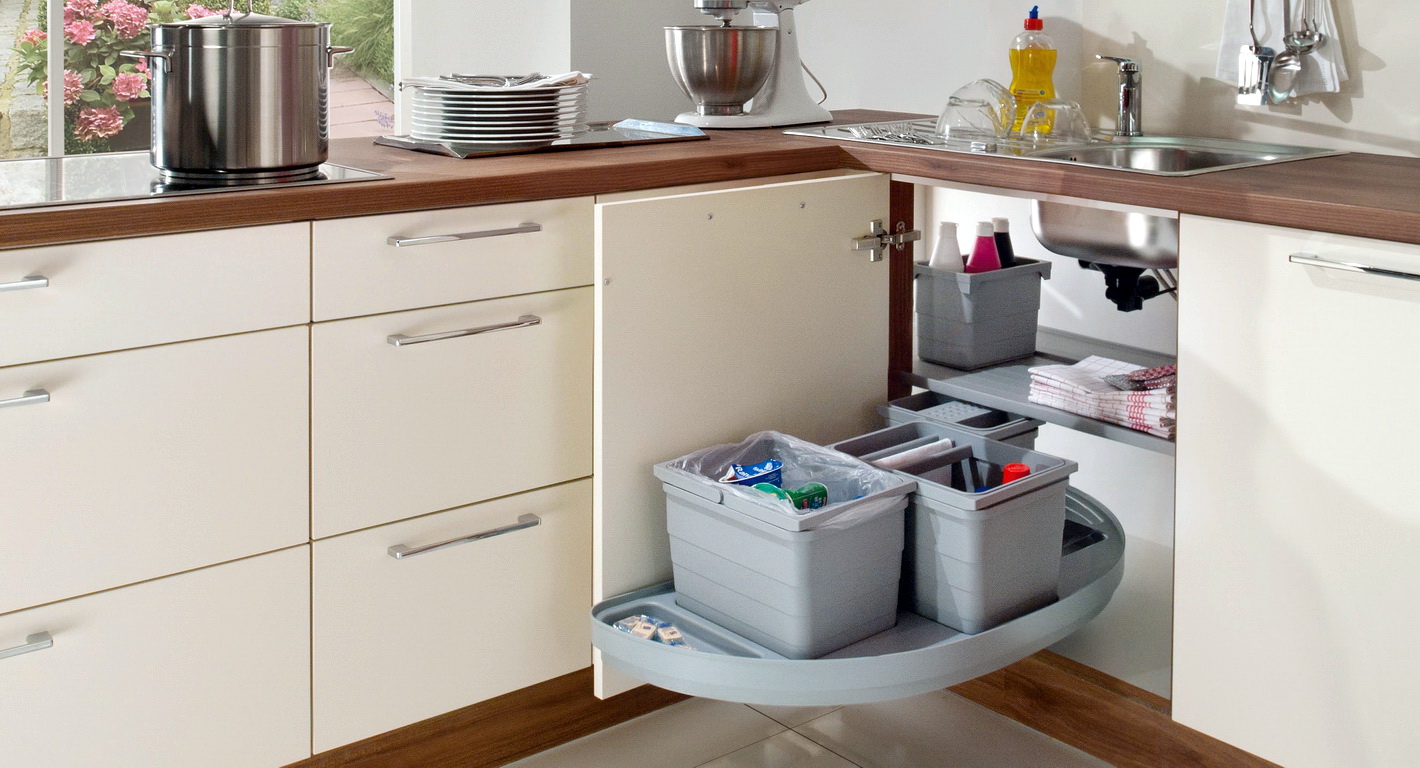
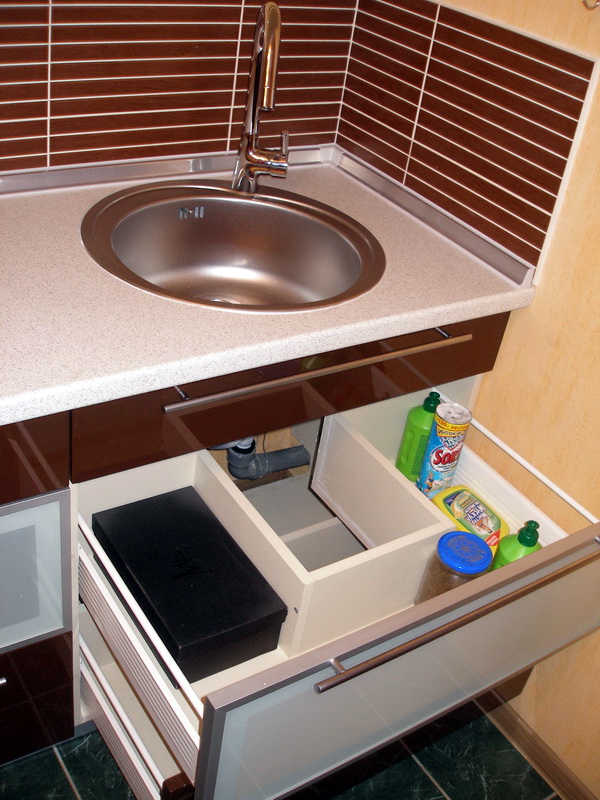
The main range of cabinets under the sink have only the doors. But there are designs with drawers. These boxes are fixed on the roller tables and have a specific shape with notches for pipes. This design option eats up a little space under the sink, but makes it possible to organize the storage of detergents, sponges and cloths. This is a suitable option if you already have enough different cabinets.

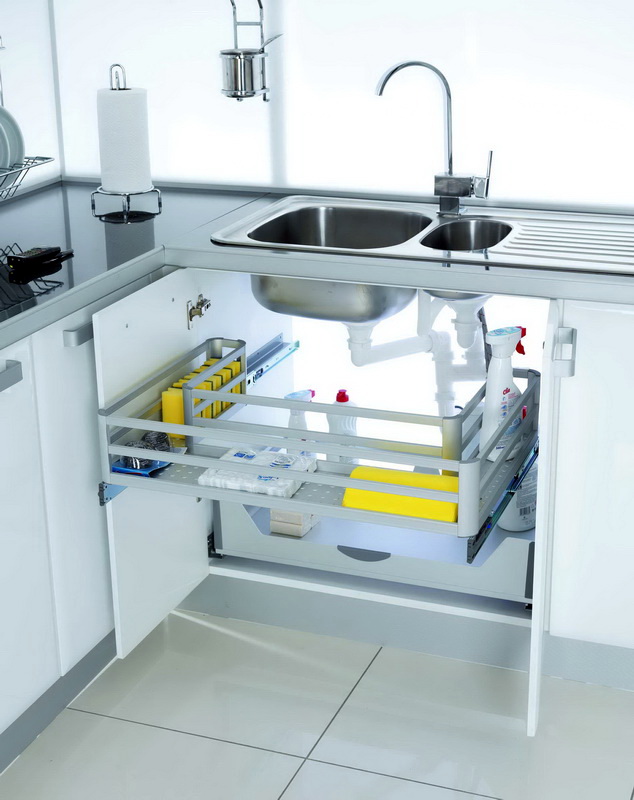
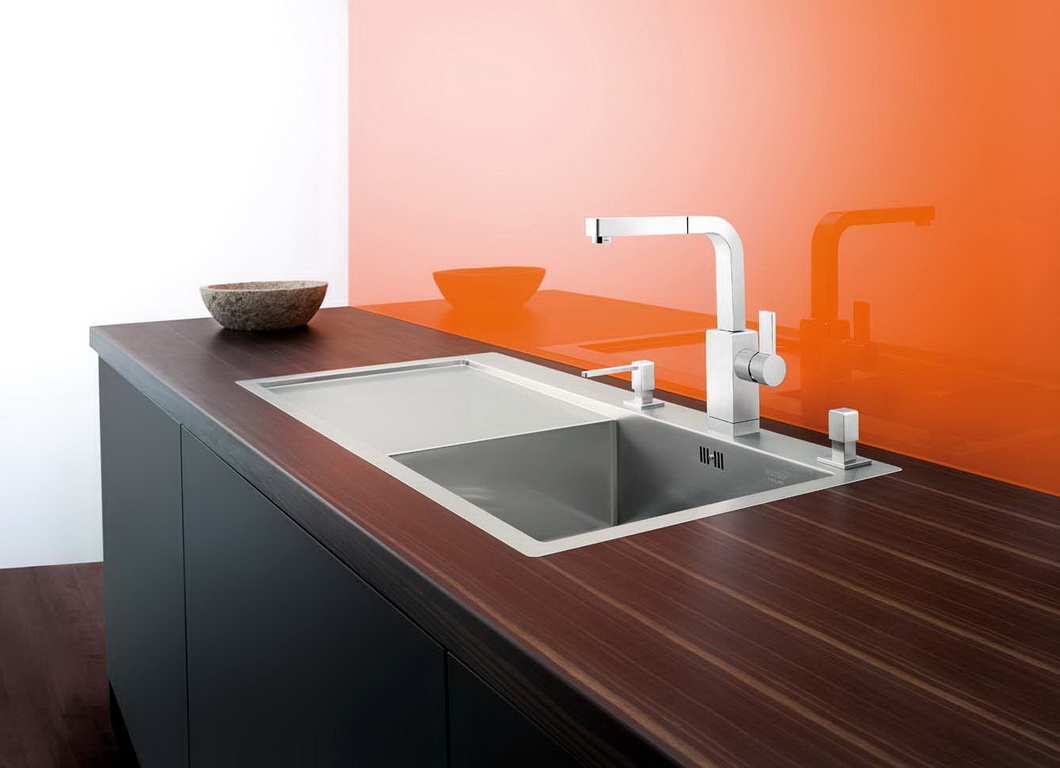
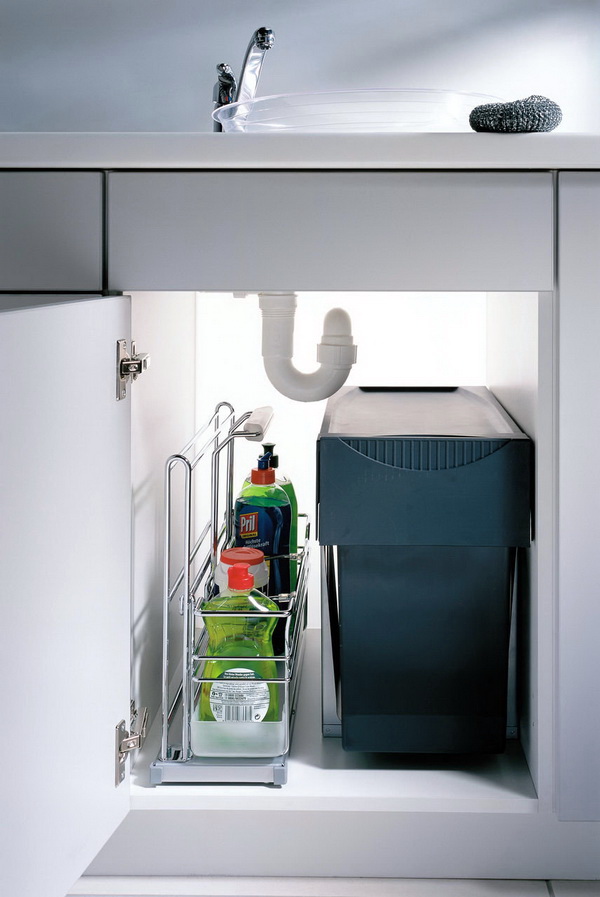
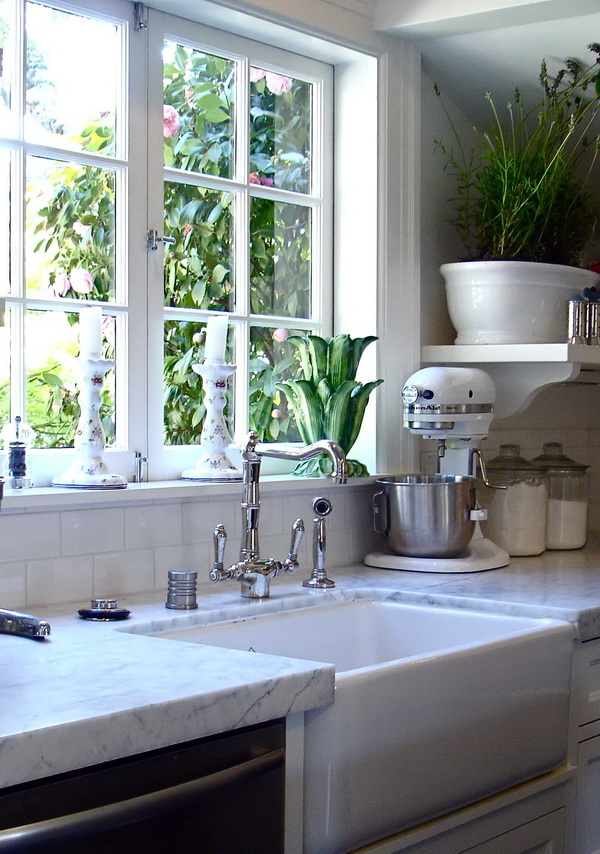
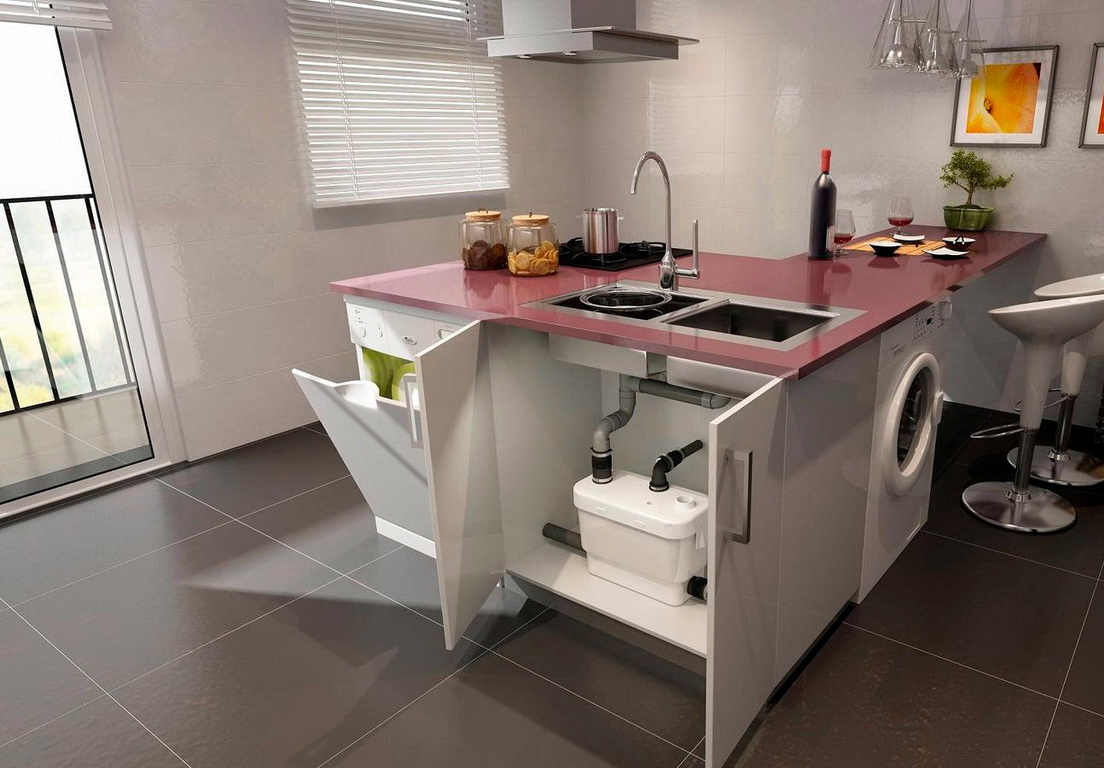
Inside the sink itself, the cabinet can be completely empty, there may simply be hidden parts of the sink and pipes. More often people have in this niche various drawers, shelves or baskets. You can have a small organizer on the cabinet door itself. Some use this place with even greater benefit and store mechanisms for filtering or heating water there. In addition, inside you can put a tray for various kitchen accessories.

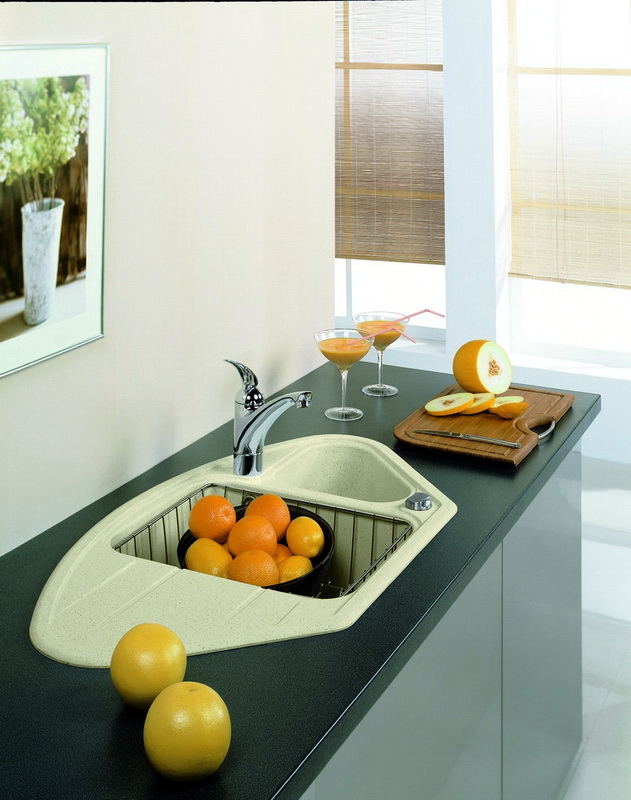
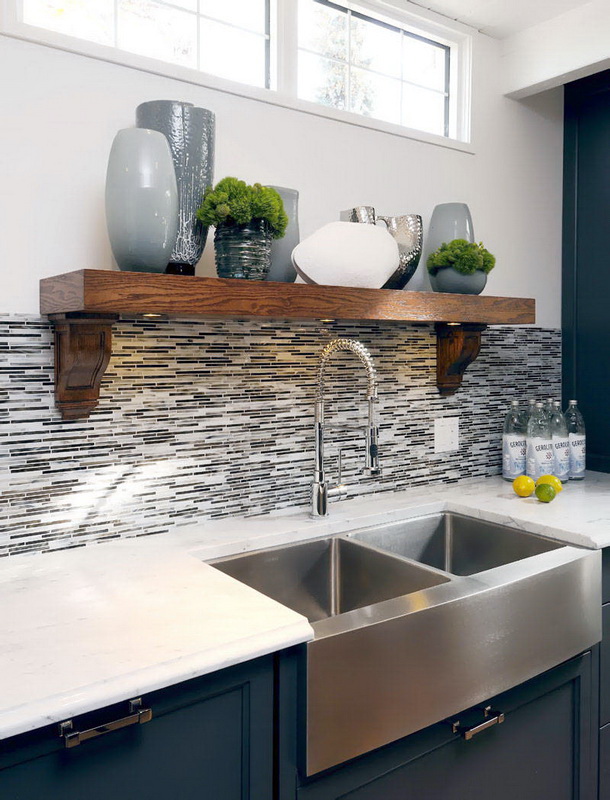
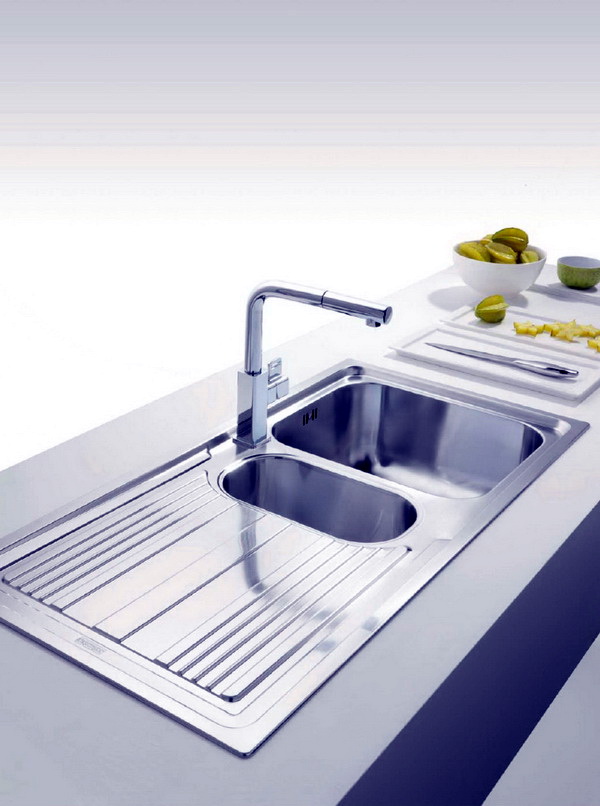
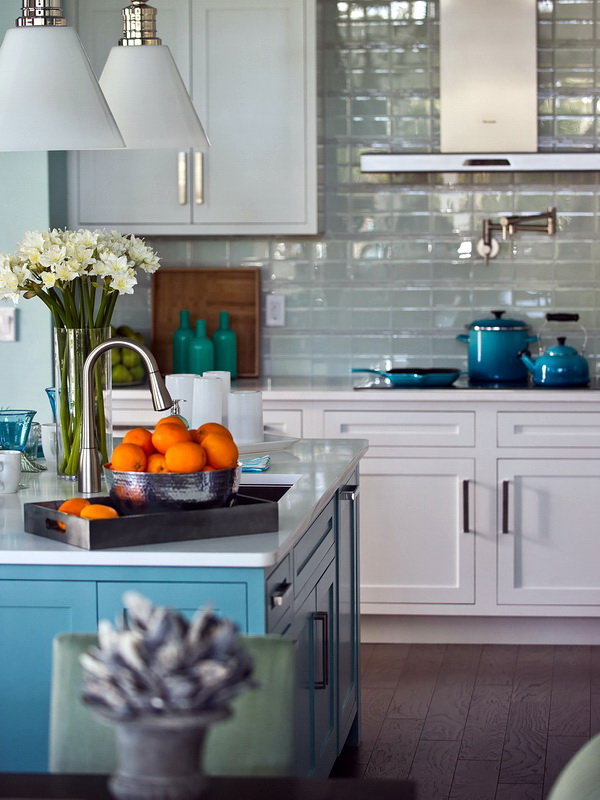
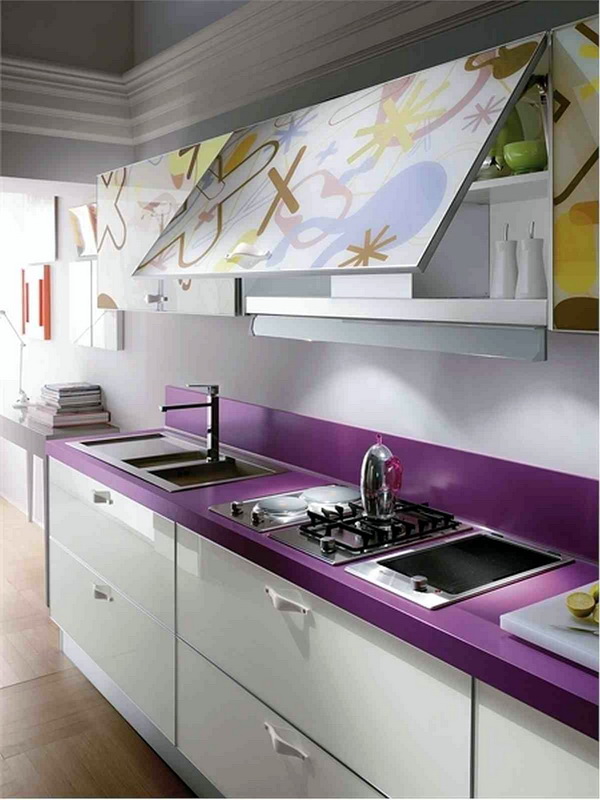
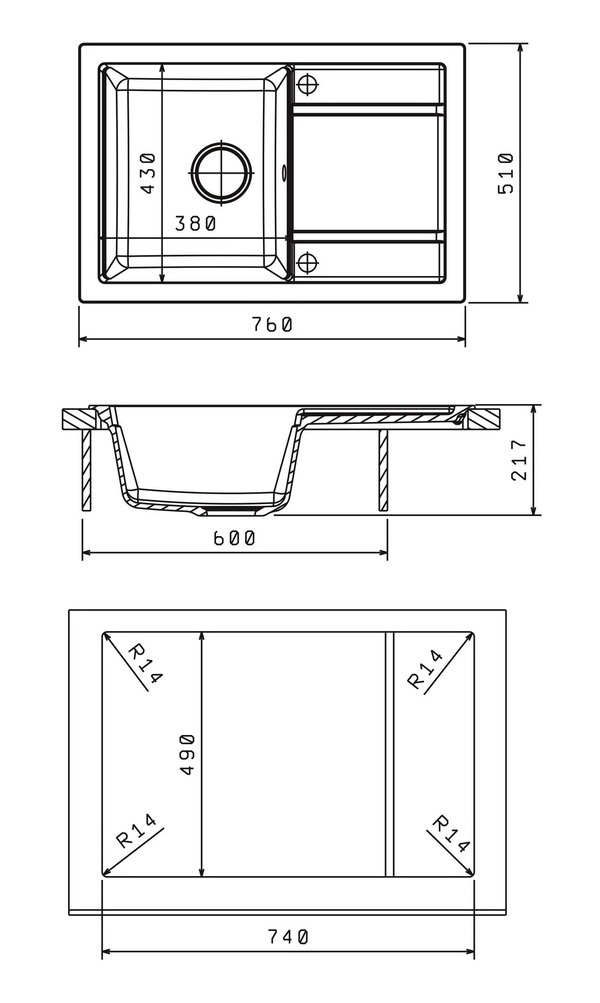
Thumbnail sinks also differ in size. For narrow sinks, choose cabinets in 40 cm.Size 50 cm - an option for sinks of non-standard dimensions. But the owners of wide sinks need a width of about 60 cm. Double sinks are now in vogue, side tables of 80 cm and more are ideal for them. Choose a cabinet for washing so that the sink fits tightly on top.
The advantages of washing with the cabinet
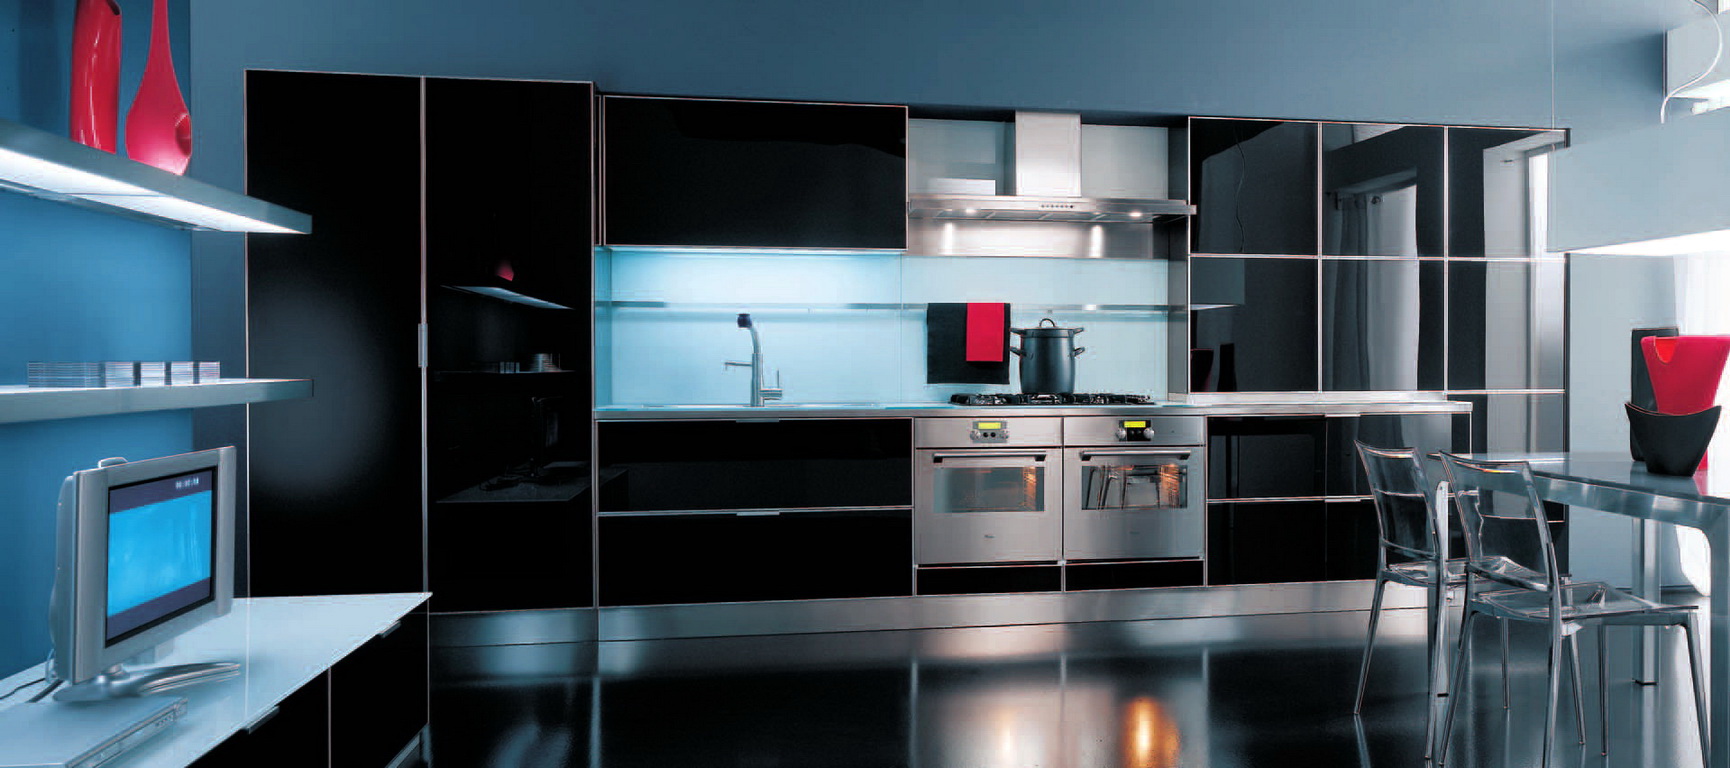
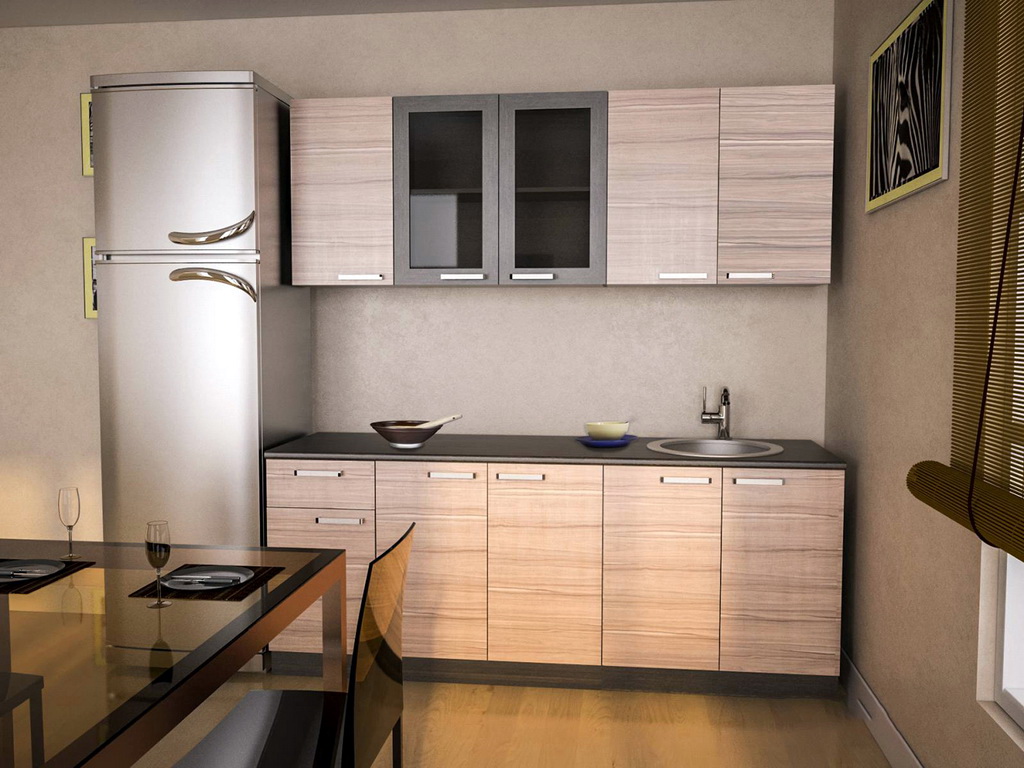
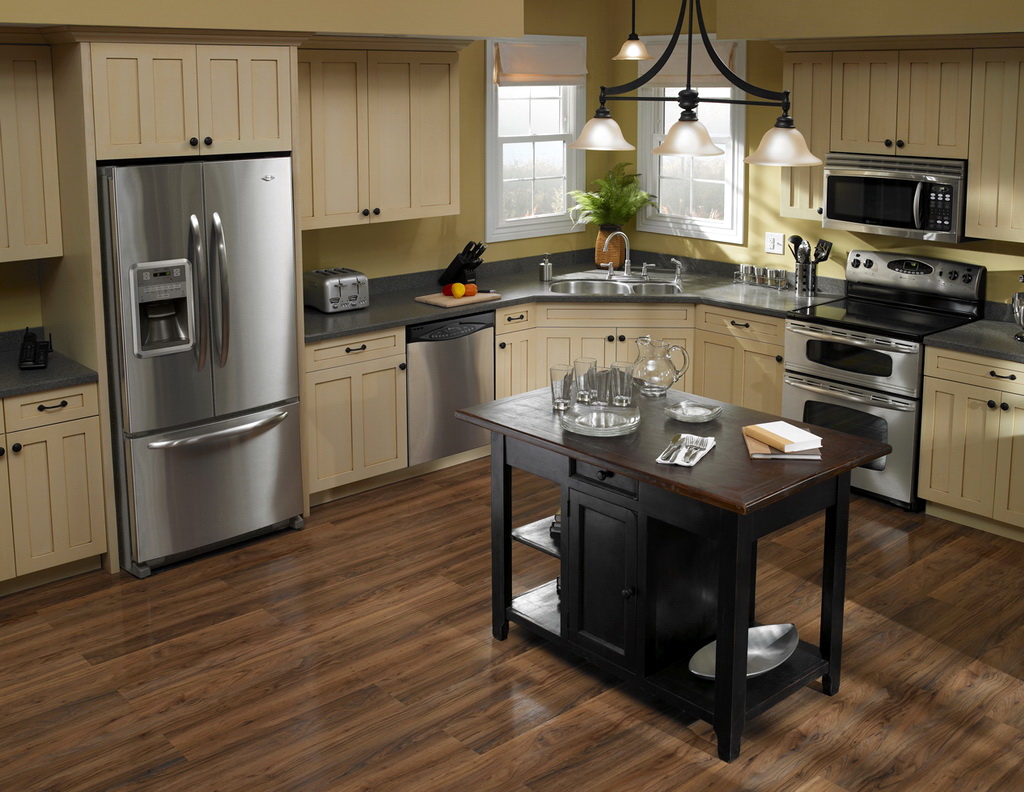
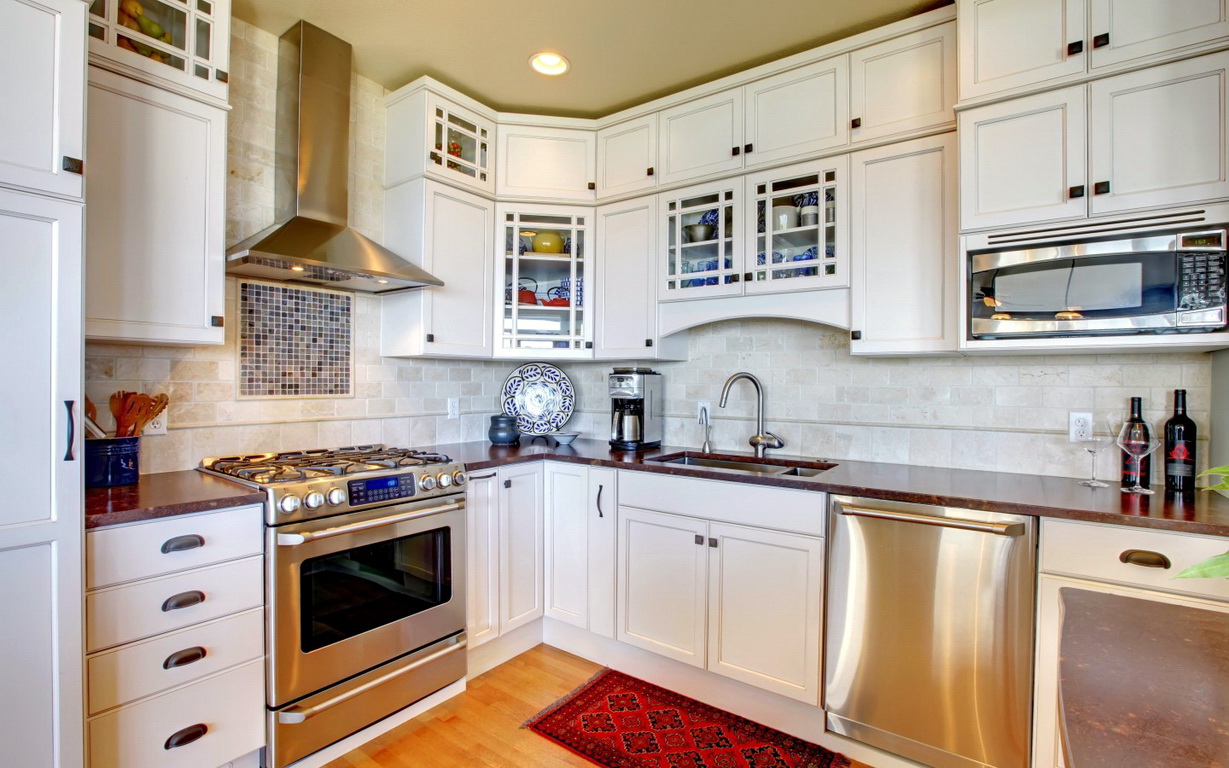
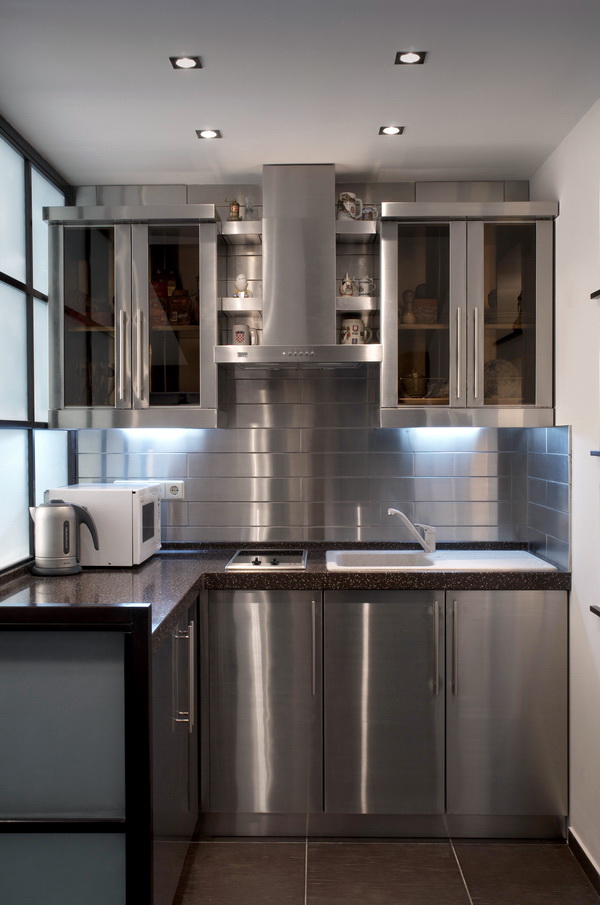
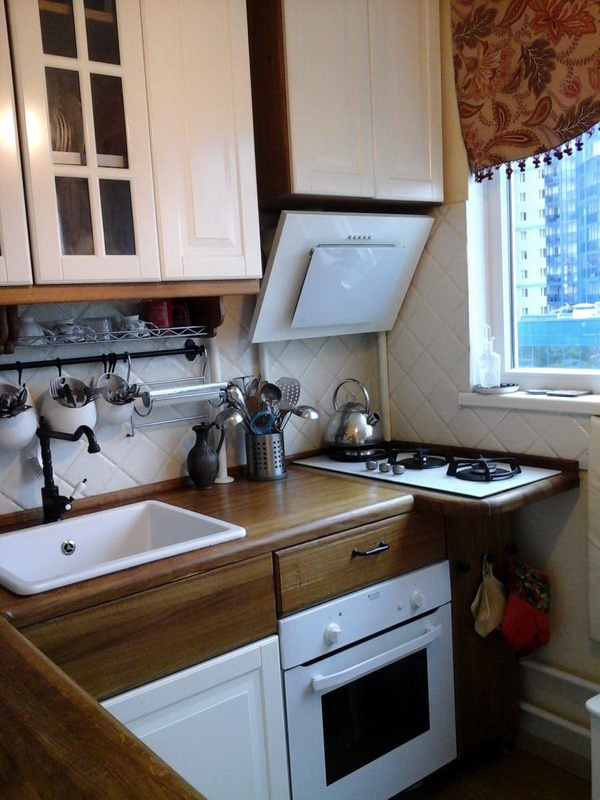
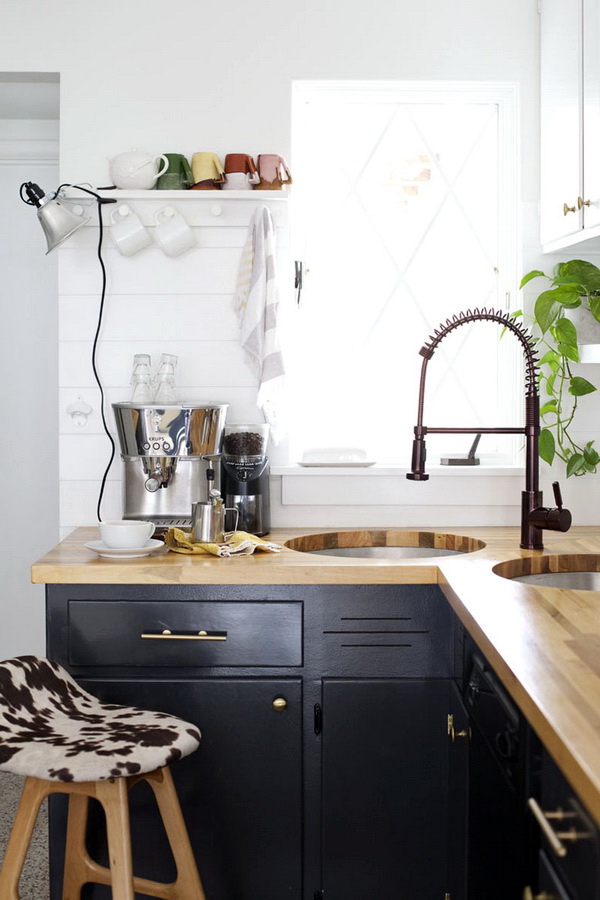
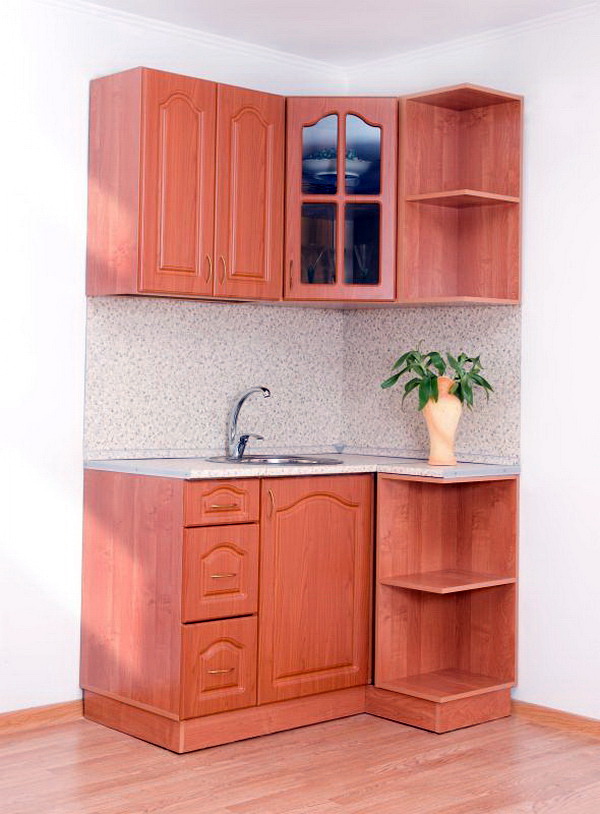
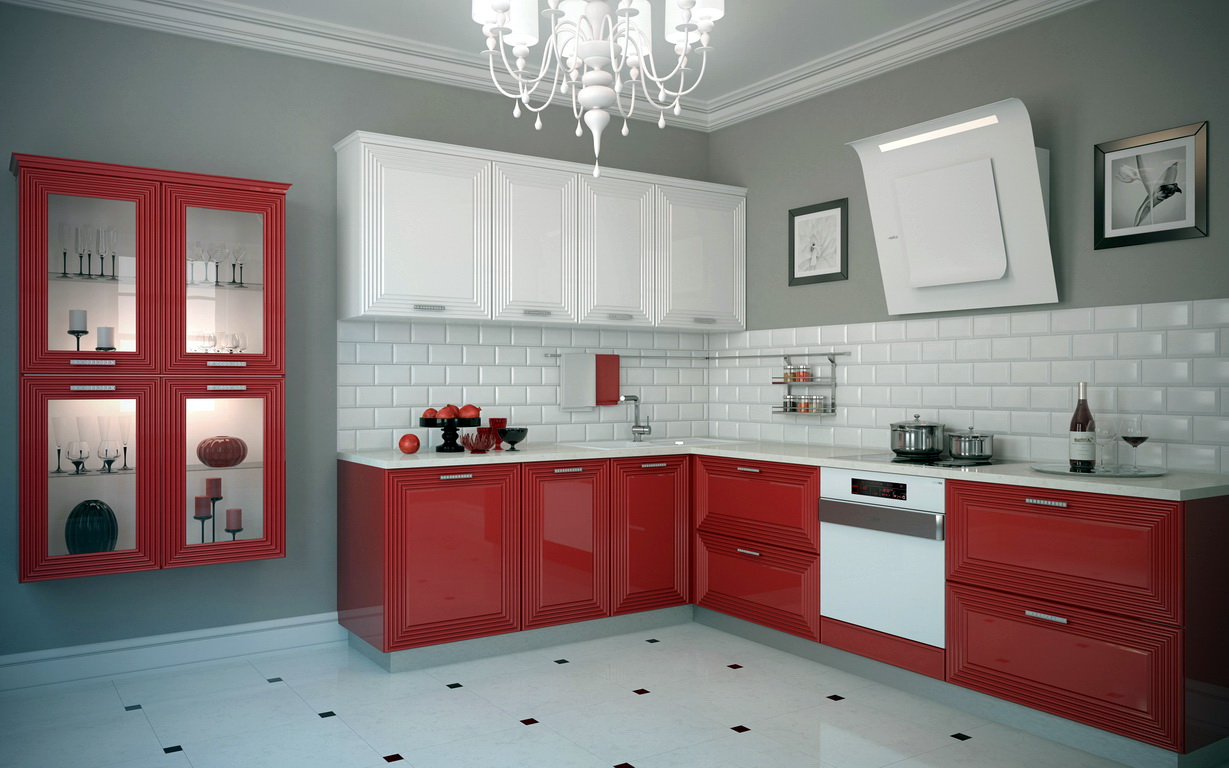
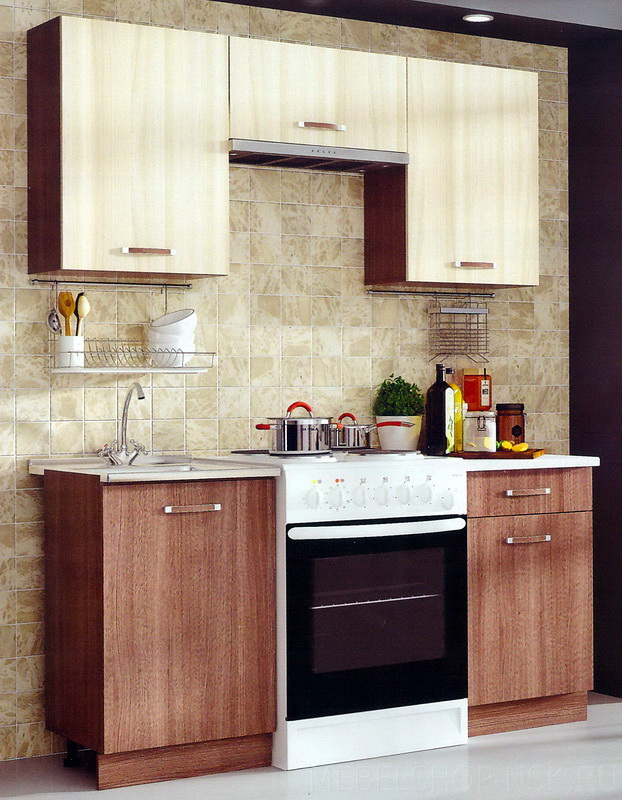
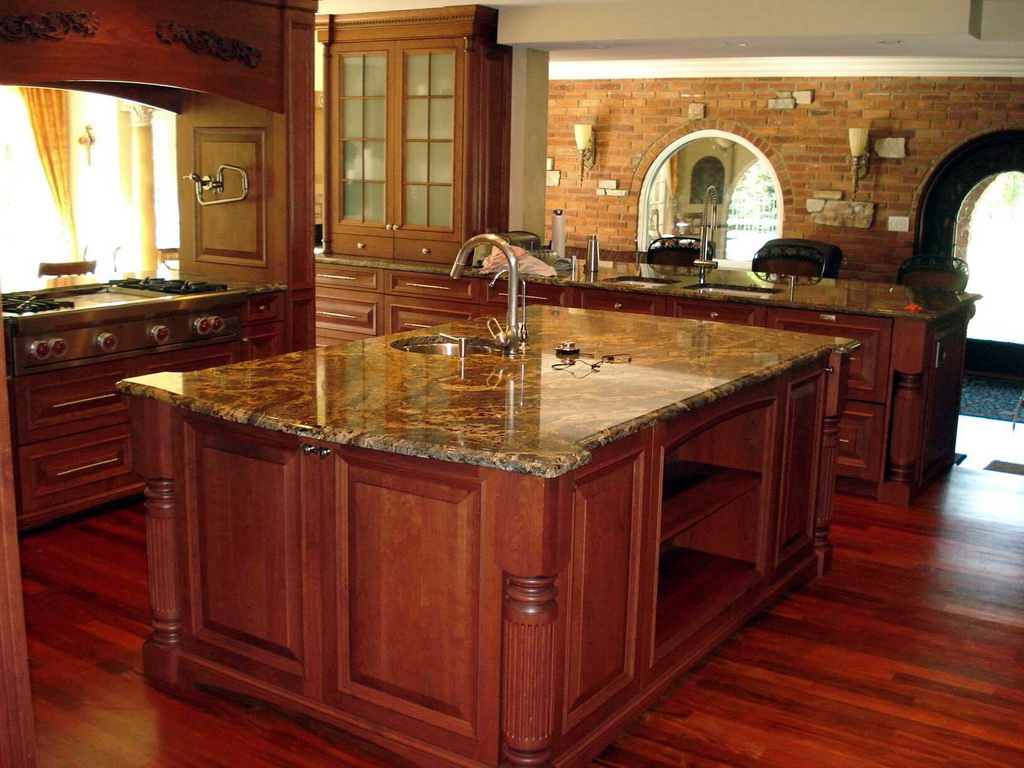
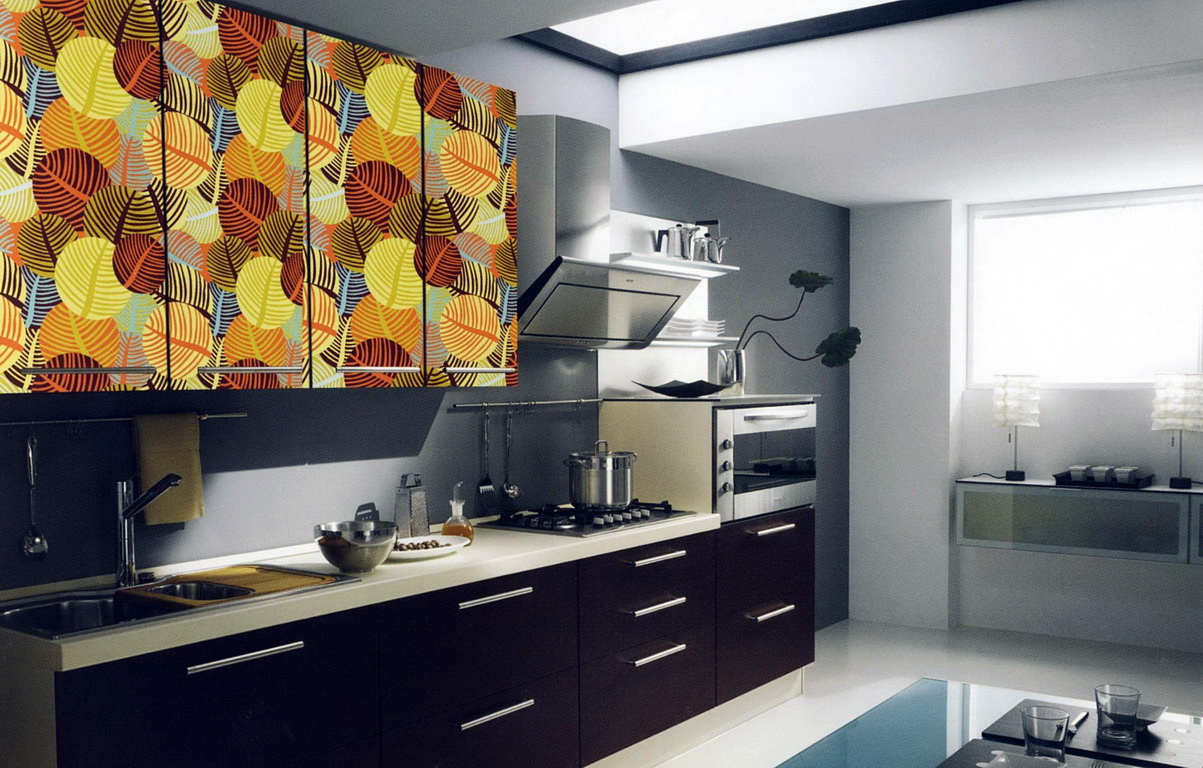
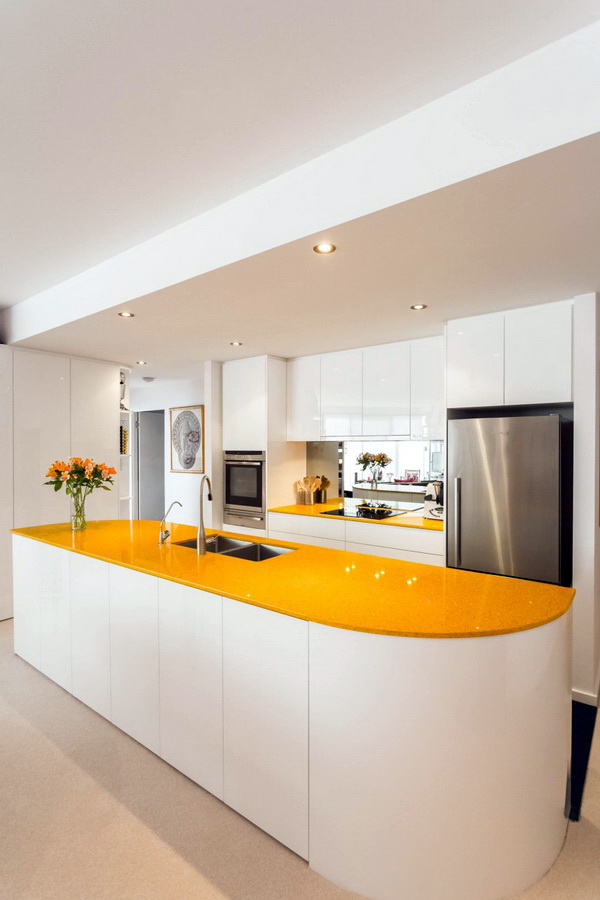
Most people get similar designs for the kitchen. In this case, the cabinet holds the sink and hides the water pipes. In addition, with the help of the table you can save a single stylistic design and correctly fit the sink into the interior. Thanks to the washbasin, you have extra space. Under the sink you can hide various items: household chemicals or a bucket for garbage.
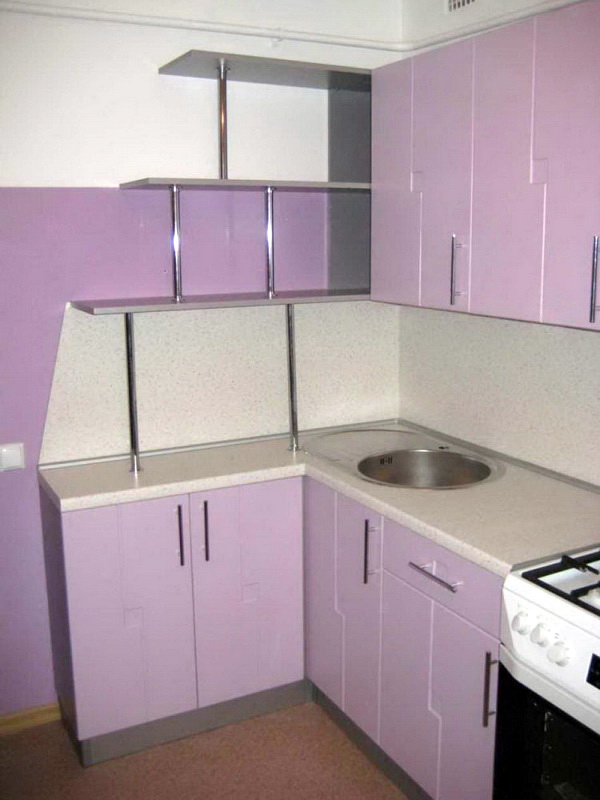
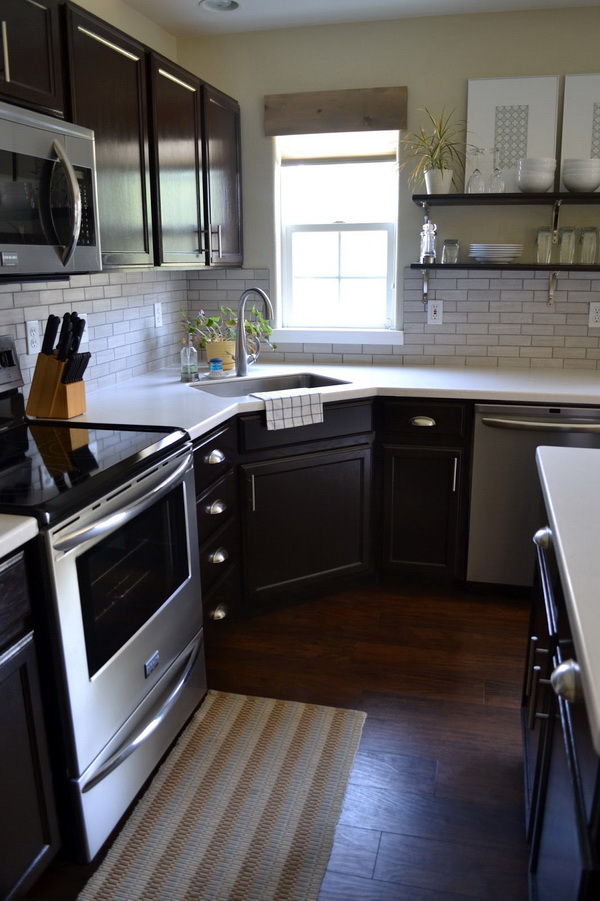
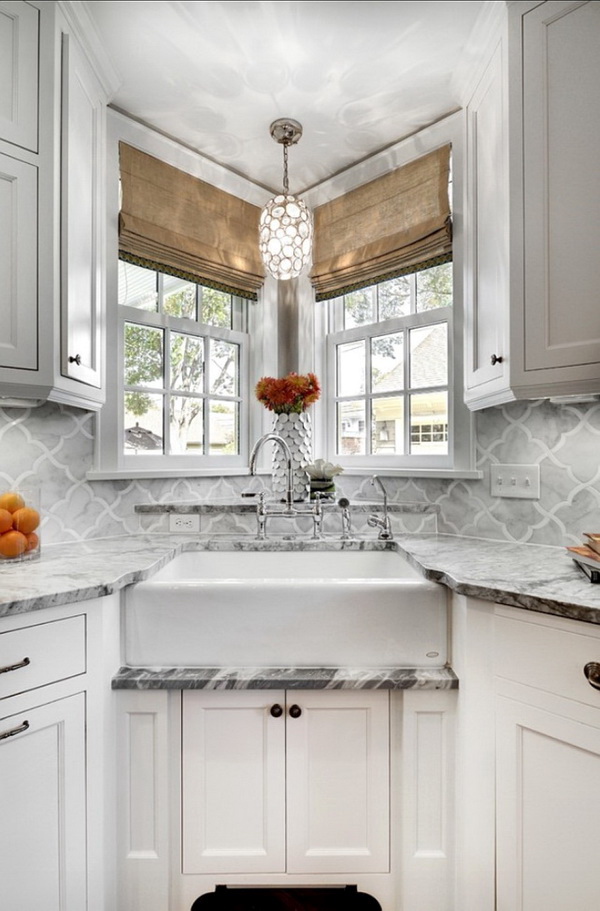
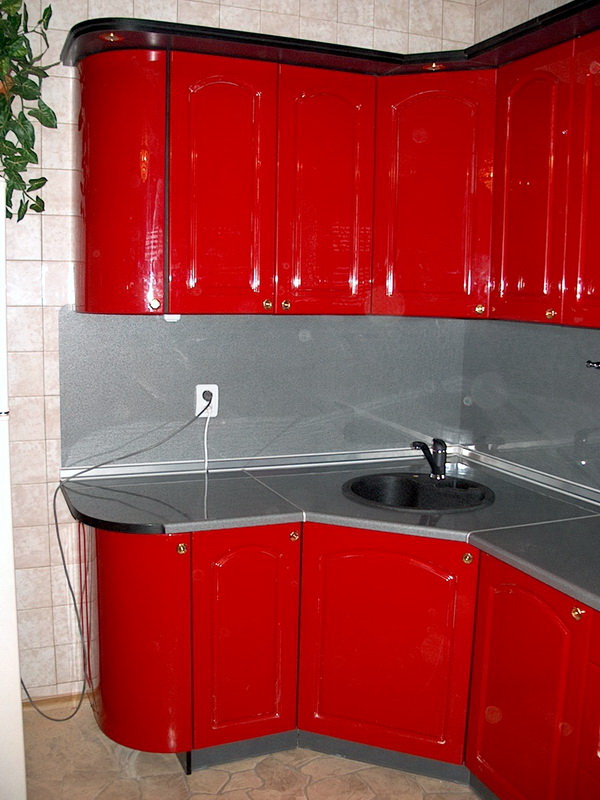
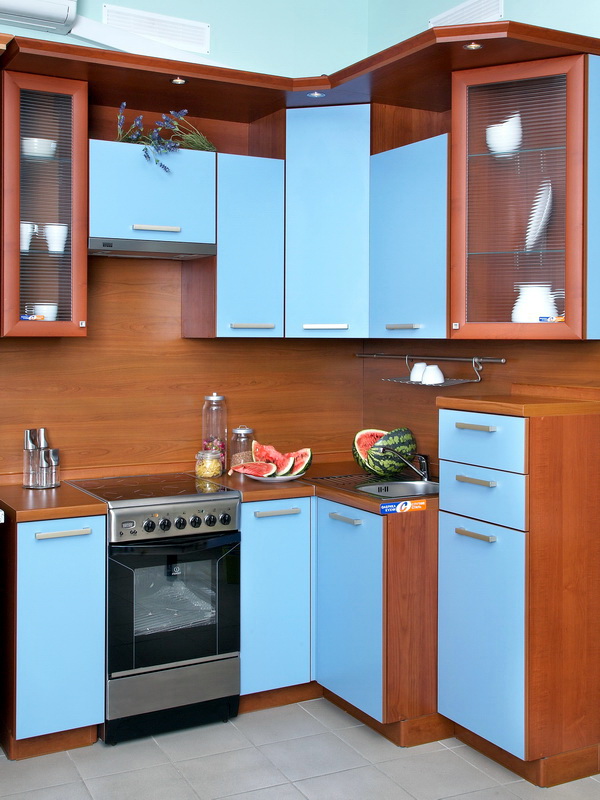
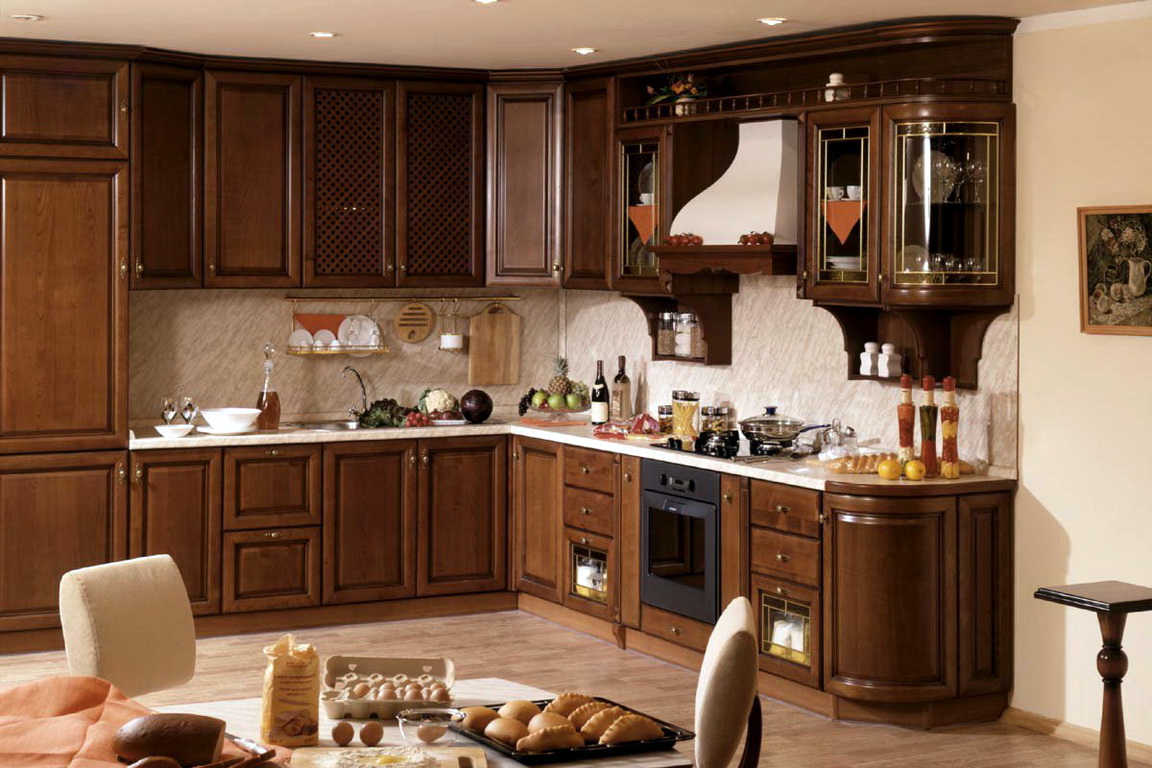
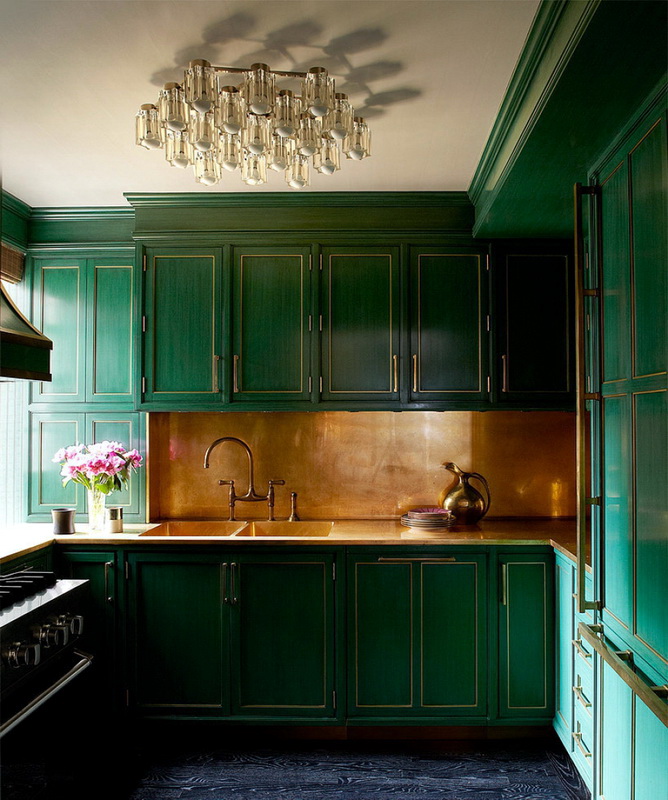
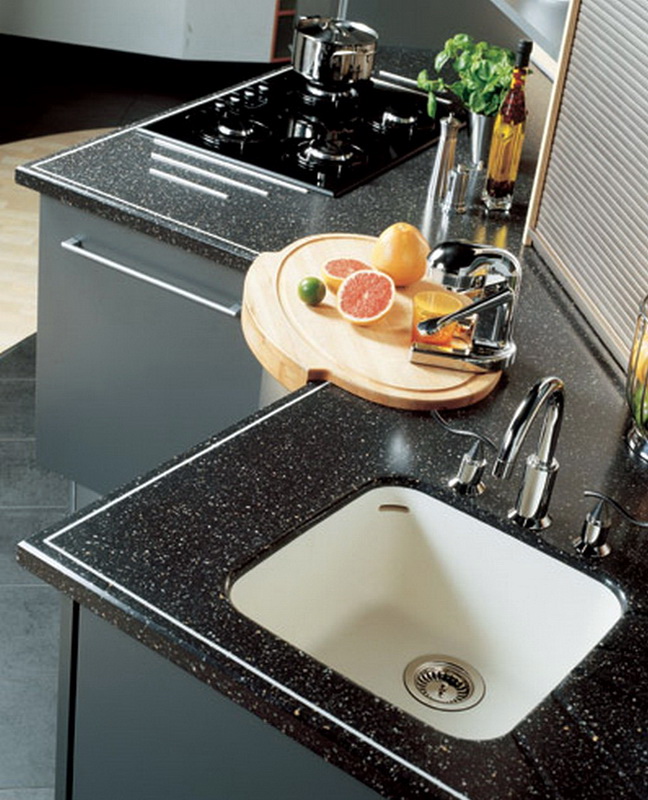
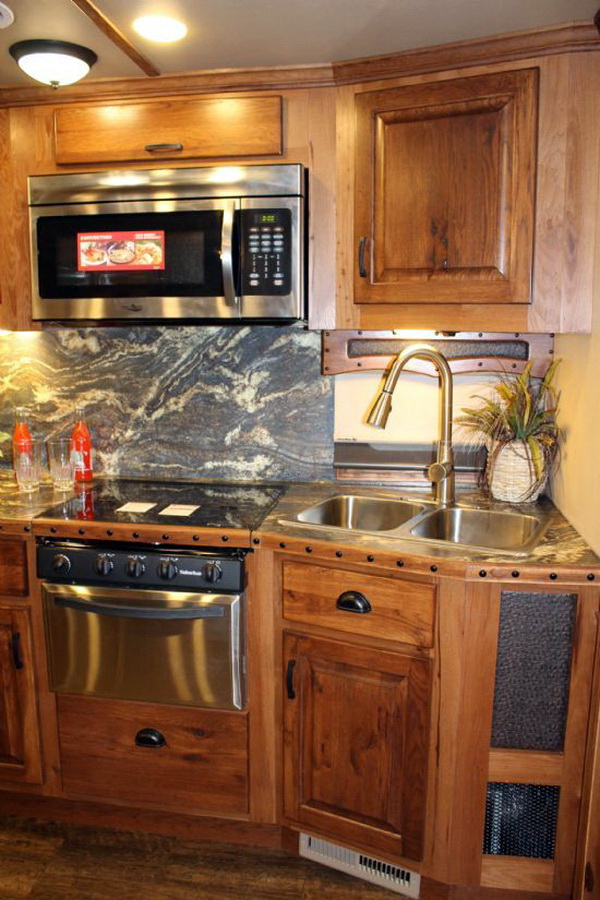
Corner wardrobe has its advantages. The space in the corners is not used at all, but the angular design solves this problem. This cabinet is particularly relevant if your kitchen is small in size. Sink in the corner is always in easy access, this arrangement optimizes the cooking process.
How to make the right choice
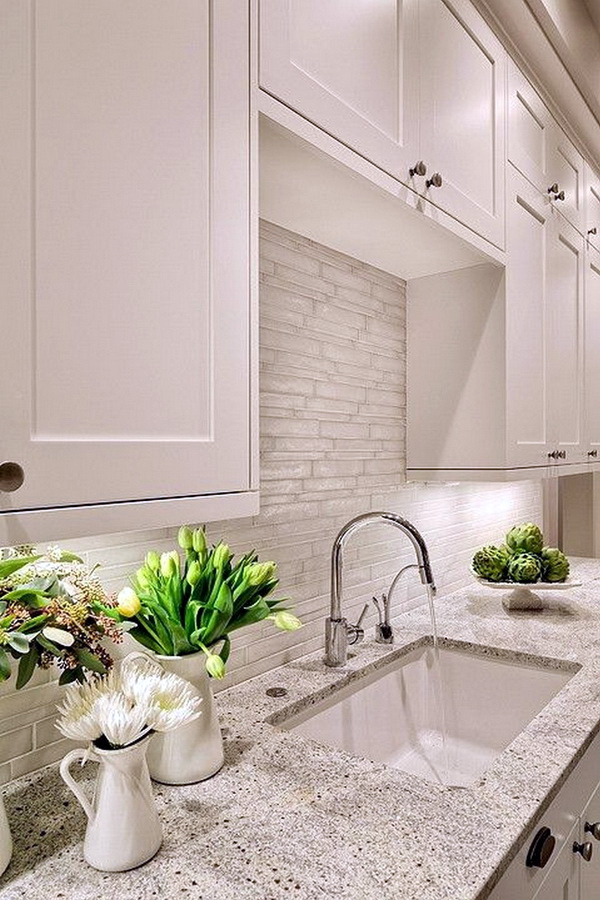
Sink with a curbstone moget to decorate your interior, but only if you choose it correctly.Follow these guidelines when choosing this kitchen unit:
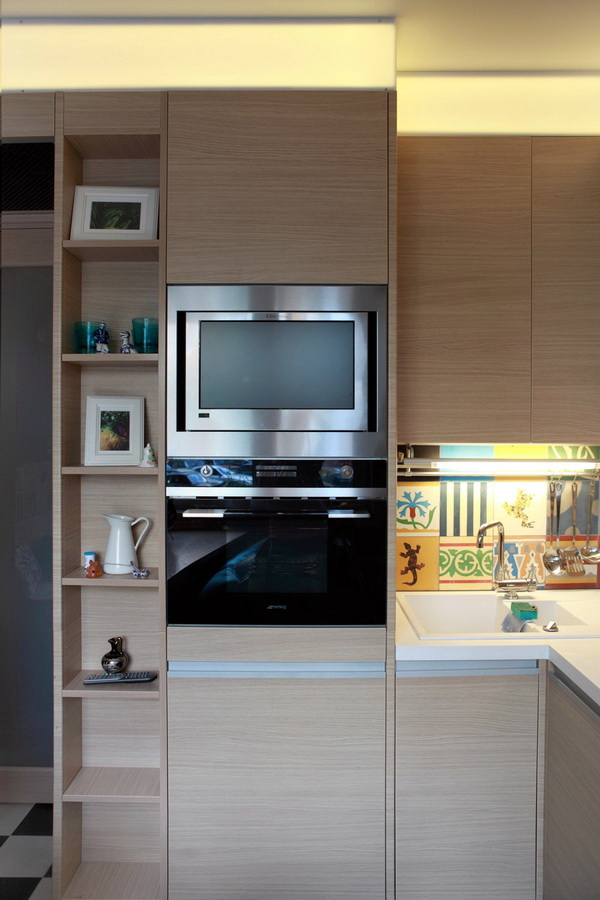
- The product must be made of the same material as the other cabinets in the kitchen. Stylistic design may be different, but not in conflict with the overall design.
- Door handles and internal fixings made of chromed metal, will serve quite poorly. Discard furniture with plastic parts. Plastic with gold leaf looks beautiful, but only the first time.
- Inspect the product very carefully. All corners and joints, each panel. All these elements should have a uniform coating, without smudges, chips, cracks.
- Be sure to consider the features of your own kitchen. If you have a bed with a heated floor, then give preference to furniture with legs. So you will not allow excessive heating of the cabinet.
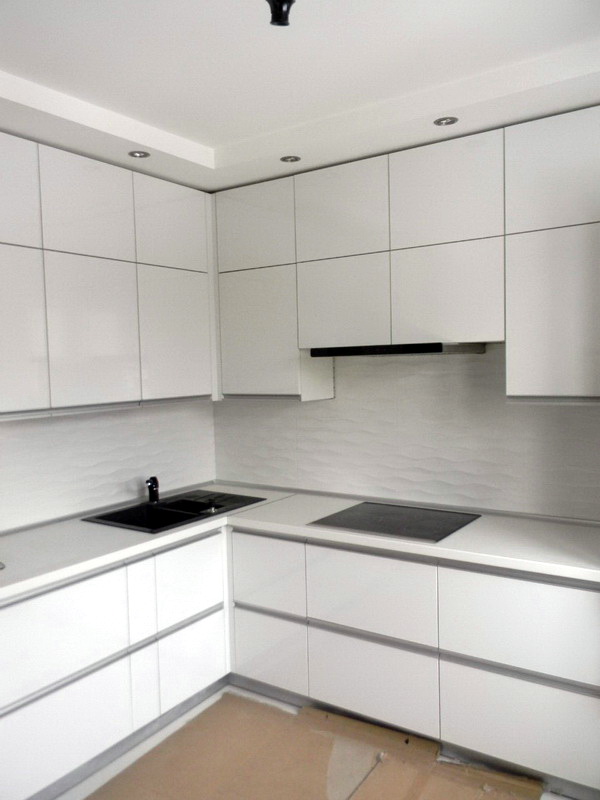
- Prefer those models where free space is used with maximum benefit. This is especially true for the arrangement of small kitchen size.


Self install
After selecting and purchasing a sink, the next stage begins - installation. To install a sink with a cabinet, follow the instructions:
Site preparation
The sink with the cabinet should be installed where the water pipes are located. Otherwise, you should take care of the supply and removal of water in advance. A flat floor is the key to success. If you have any irregularities on the floor surface, then use special substrates.
Pipe installation
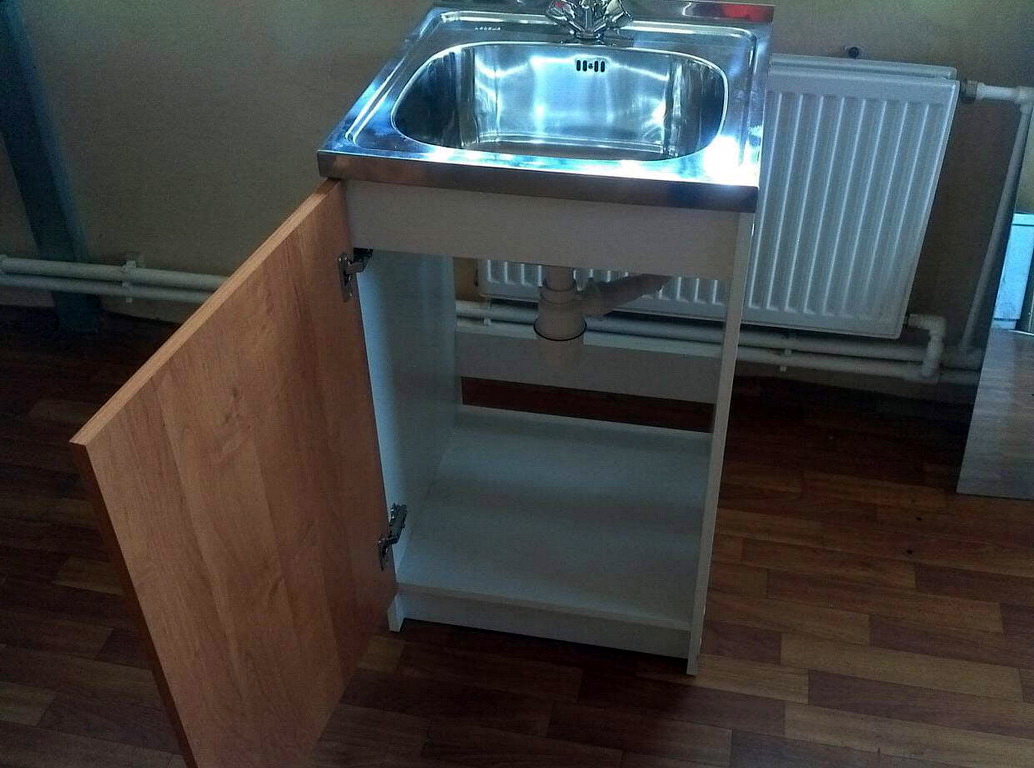
It's time to mount the cabinet itself. The curbstone has support, walls, couplers and doors. Combine walls with transverse beams. Now attach the bottom and legs. For a more robust installation, the locker should be secured with screeds, they will unite the entire headset into a single unit. It is time to fix the doors and tabletop. The latter also has special attachments for fixing.
Mounting car wash
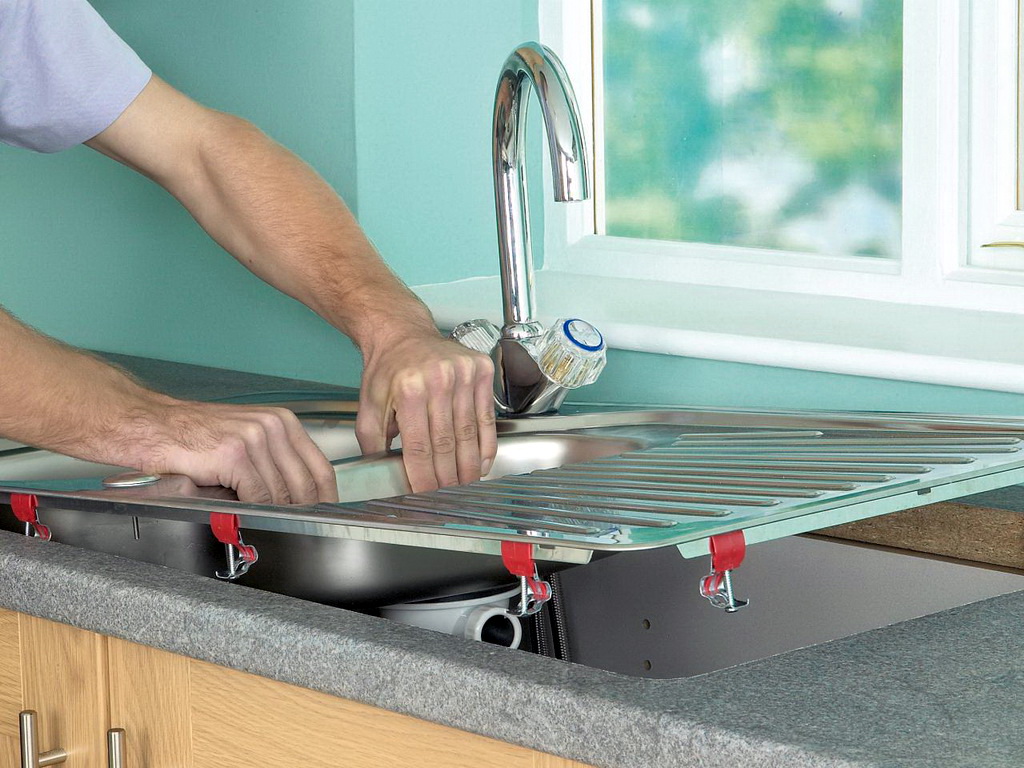
At this stage you need to embed the sink. Make a stencil on the size of the sink and apply it on the countertop. This is exactly how you can repeat the desired contour. Circuit stencil contour. Make a few holes along the inside so that the jigsaw blade is better fixed. With its help cut a hole of the required size. It is important that the sink comes in tight. Carefully coat the inner border with sealant and press in the sink.This method of fixing the most reliable and common.
Headset connection
This is the last stage and it is to connect all the necessary pipes. Install the mixer, bring to it pipes with cold and hot water, respectively. Connect the drain pipe. It is important that it is always to have access.
With proper implementation of all work, the result will please you. Sink with a pedestal will look just great and fit into a single ensemble with other interior items.
Materials for the manufacture of cabinets
The microclimate in the kitchen is quite aggressive. High humidity and temperature changes are becoming a real challenge for all furniture items. Therefore, all cabinets must be made of protected materials. The cabinet under the sink is especially resistant to contact with water, therefore for its material this is the main requirement.

The three most common materials for the manufacture of kitchen furniture:
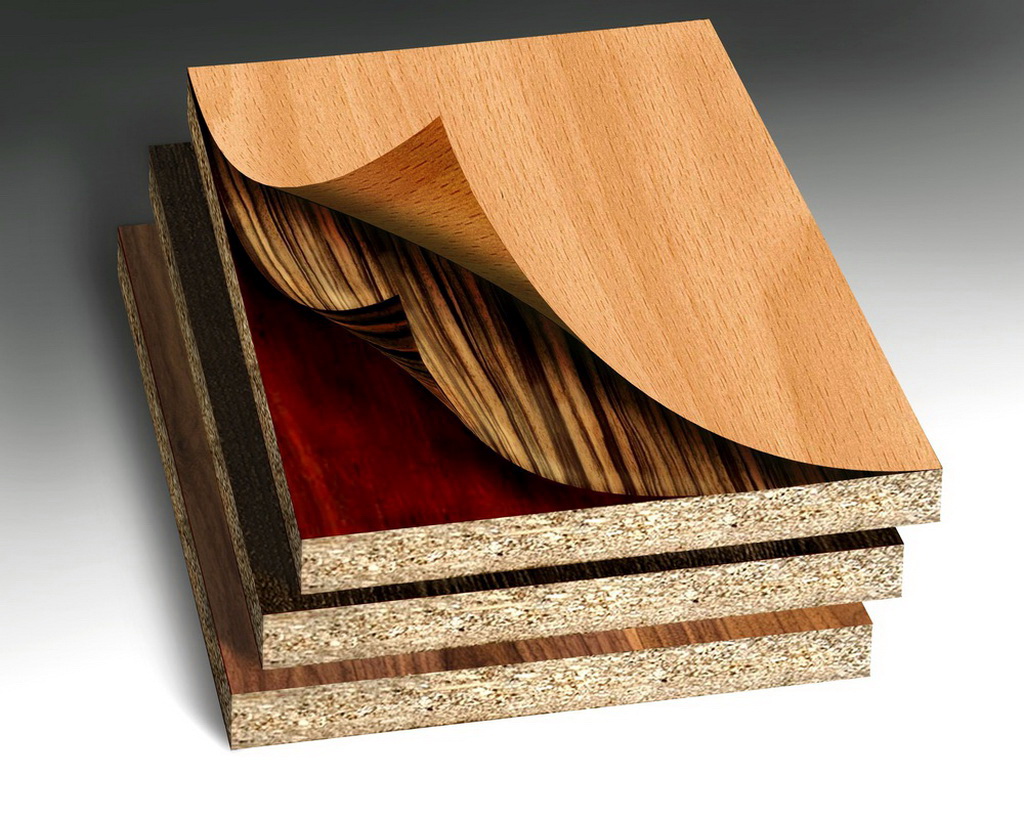
Chipboard
The entire lower price segment is occupied with just such a headset. The slabs are pretty good, but sensitive to mechanical damage. If a scratch or chip has formed on the surface, then moisture resistance can no longer be said. Such furniture is cheap, but often requires replacement.
MDF
This material is a tile of fine wood. Each such plate is impregnated with a specialized binder, which keeps the fibers of the material together. This material also requires reliable protection, but is less sensitive to mechanical damage. Such furniture occupies a niche of the middle price segment.
Natural wood
Wood is treated with special water-repellent varnishes. But long-term exposure to aggressive kitchen environment still affects the furniture. Elite samples are made from natural material.
In order to make a cabinet under the sink using the first two materials. But. As mentioned, they require additional protection from moisture. There are two of the most reliable ways that a specialist recommends:
Lamination
This method is used to protect materials such as chipboard and MDF. This protection technology involves covering the sheet with a special film and then varnish. Thus, the material receives protection from high humidity, pressure and temperature differences.
Polymer materials
Such materials are used to protect MDF. The panels are covered with acrylic, enamel or plastic.This way you can give the furniture a more interesting look. And the protective properties of polymeric materials do not differ from varnish.

Independent manufacture of the cabinet under the sink
Make a cabinet for washing their own hands - a convenient option. So you can take into account all your desires and make the perfect set. It is rather difficult to make facades, it is better to get them in finished form. In order to make a straight cabinet for the kitchen easier, follow these steps:
Thinking over the project
Do some preparatory work. Decide on the material size and general appearance. Calculate the size of each part and the dimensions of the cabinet in general. Standard sizes: 85 cm in height, 60 cm in width, 50 cm in depth. Experts recommend leaving the height and depth of the cabinet standard, and the width to change depending on your washing and preferences.
Purchase of materials
Materials may have laminated protection, this is the best option. You need to buy plates for the walls of the cabinet. Choose chipboard or MDF with a thickness of about 16-18 mm. For the manufacture of countertops will need a thicker plate, at least 22 mm.
For transverse crossbars, you can use plywood from 12 mm thick or a thicker chipboard sheet.And when using plywood, you will need corners for fastening, and chipboard can be immediately attached to the screws. For the back wall can be purchased extruded cardboard.
Marking and sawing
If you have the skills to work with these materials, then you will easily cope with this task. If there are no necessary skills - use professional services. Many companies will offer you to cut the plates at an affordable price.
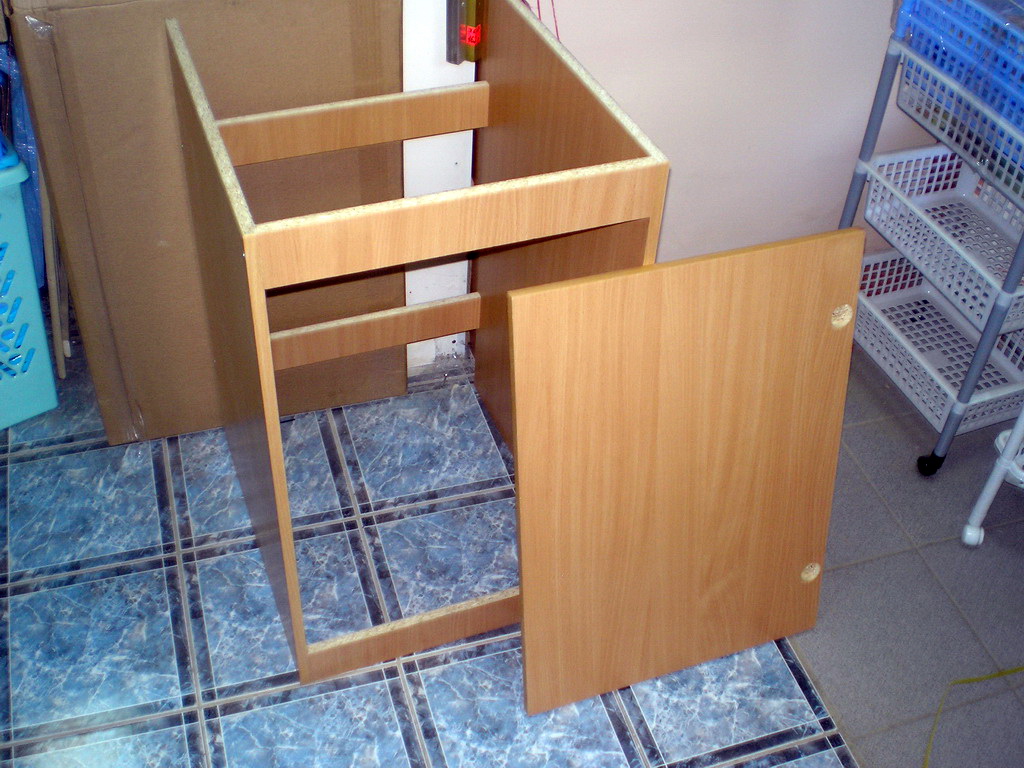
Combining elements
Every detail of the cabinet has a specific purpose and it is necessary to assemble them in a certain way. Attach the lower crossbars to the side walls. To do this, you can use the building corners, or just screw the screws into the crossbar. If you are away from the corners, then choose a rather thick material. Caps can be hidden using special overlays. Now the lower part of the cabinet is attached. It is recommended to fasten it with screws to beams.
The next step is to mount the upper transverse beams. And one of them should be placed vertically and so that it does not protrude beyond the perimeter. Position the second beam horizontally, as the bottom. Now attach the back wall of the cabinet.If there are drawers in your cabinet, then it's time to assemble the front part frame. After installing the table top, fasten the door.
Appearance
Now is the time to put in order the appearance of your bollard. Seal the ends with plastic tape and iron.
Perhaps you want to make a different type of locker. The corner cabinet can only have side walls or a trapezoidal design with a rear wall. The side walls have a standard length of 90 cm, a height of 70-72 cm, and a height of the lower cap within 12 cm. For the manufacture of the table top, chipboard thickness from 32 to 65 mm is required. The technology of manufacture and assembly is similar to working with a straight cabinet.