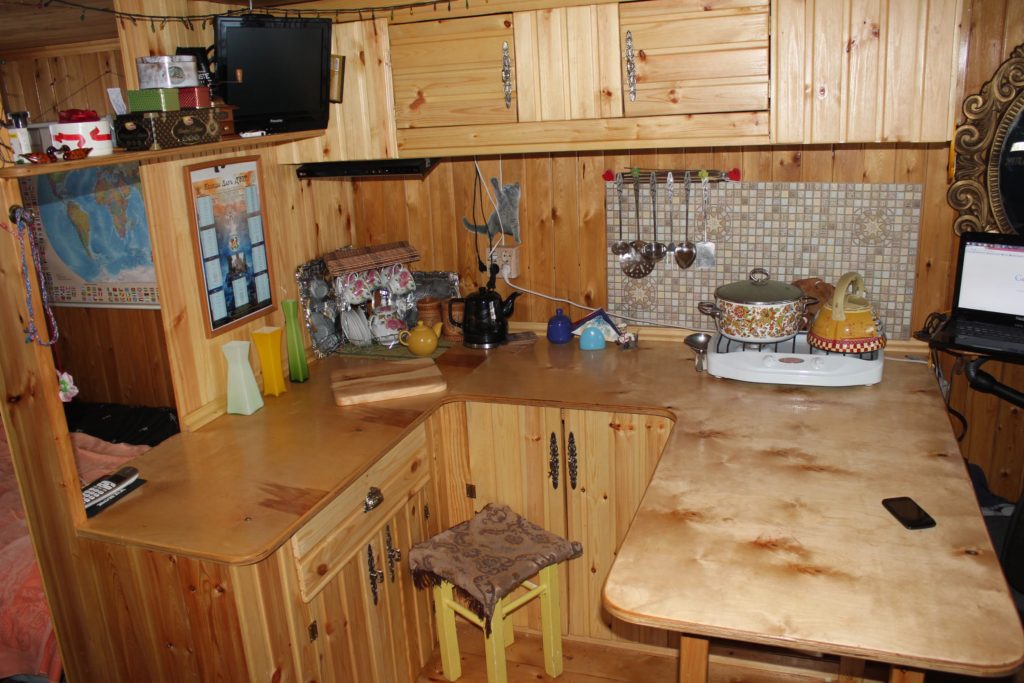
Kitchen cabinet do it yourself
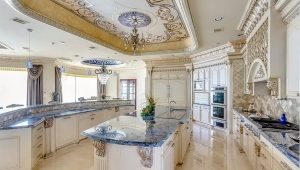
For almost every woman, the kitchen in the house is the holy of holies. It spends most of the time not only for communicating with family and friends, but also when cooking. That is why the kitchen should be not only ergonomic, but also comfortable.
A kitchen cabinet made by your own hands will not only bring all your ideas and wishes to life, but will also cost several times cheaper than that ordered in a furniture workshop. Moreover, it is not as difficult to make it as it seems at first glance.


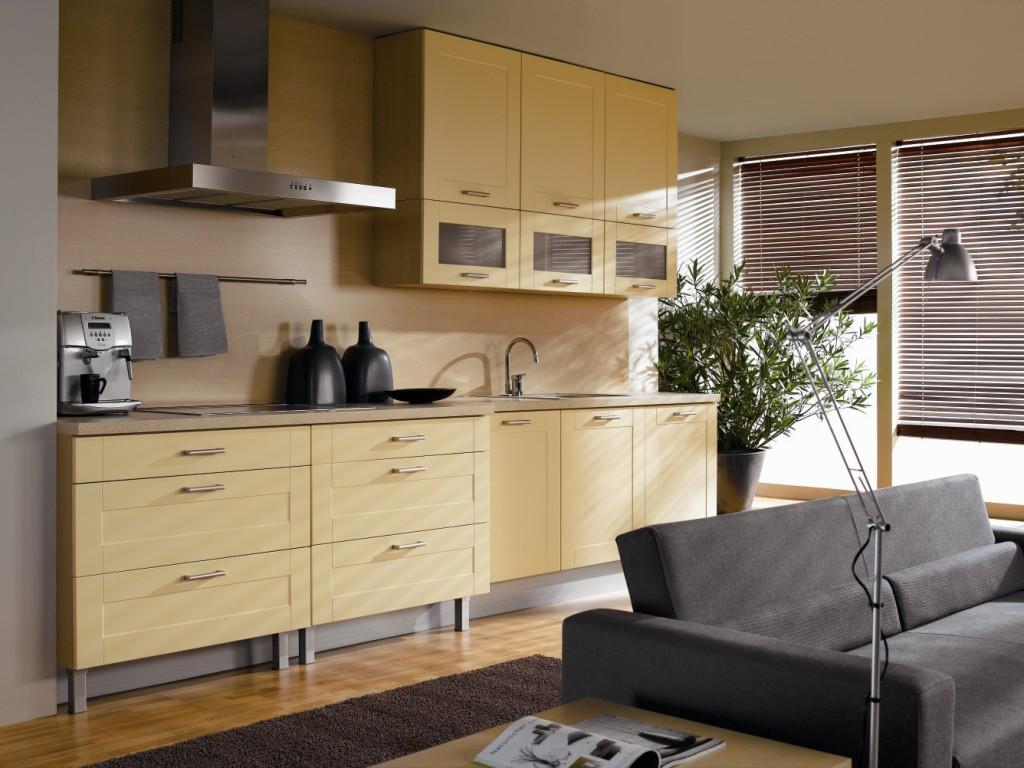
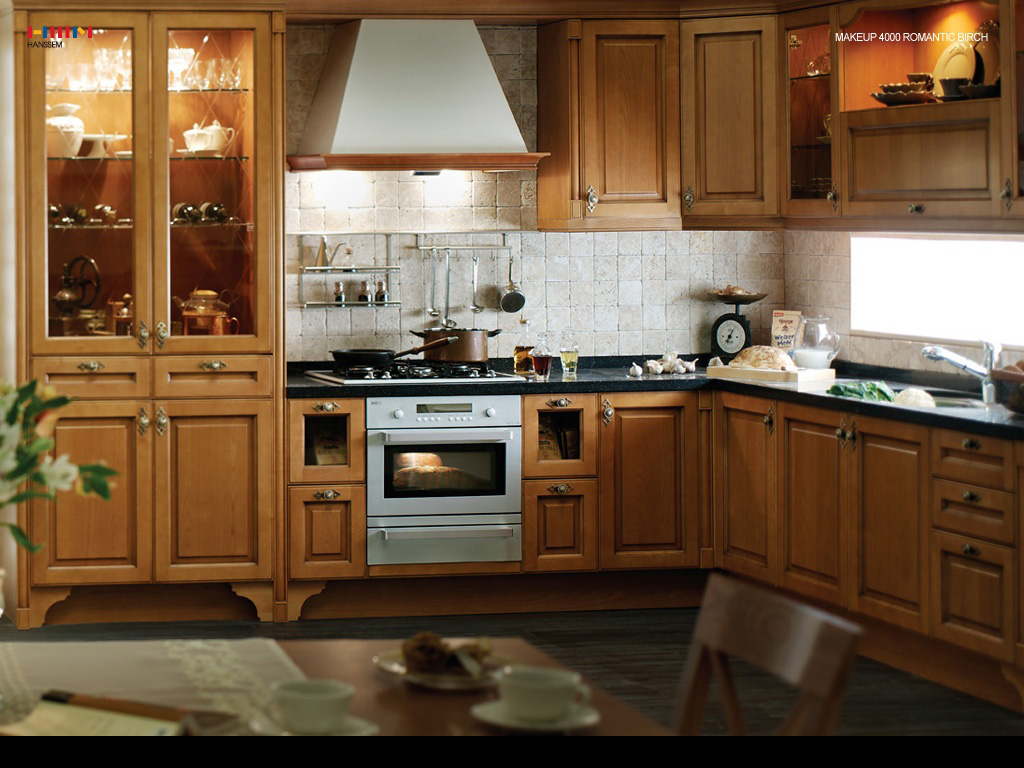
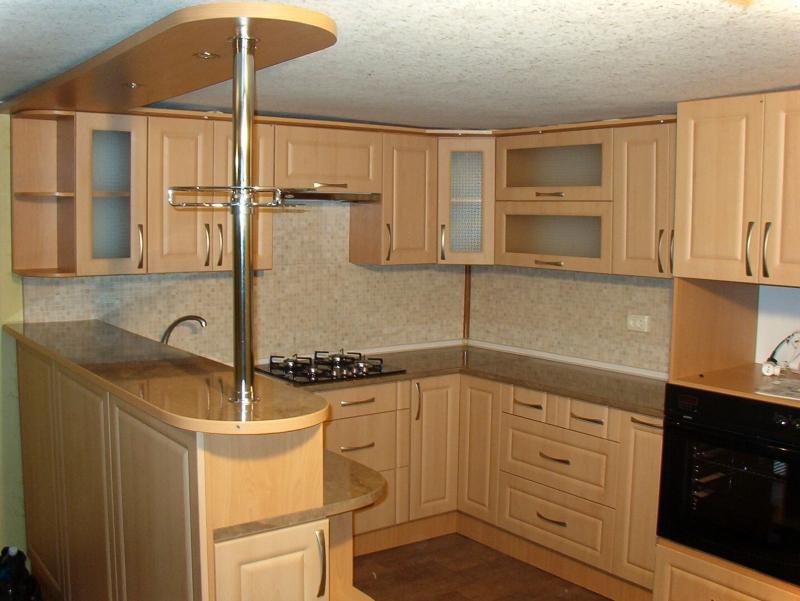
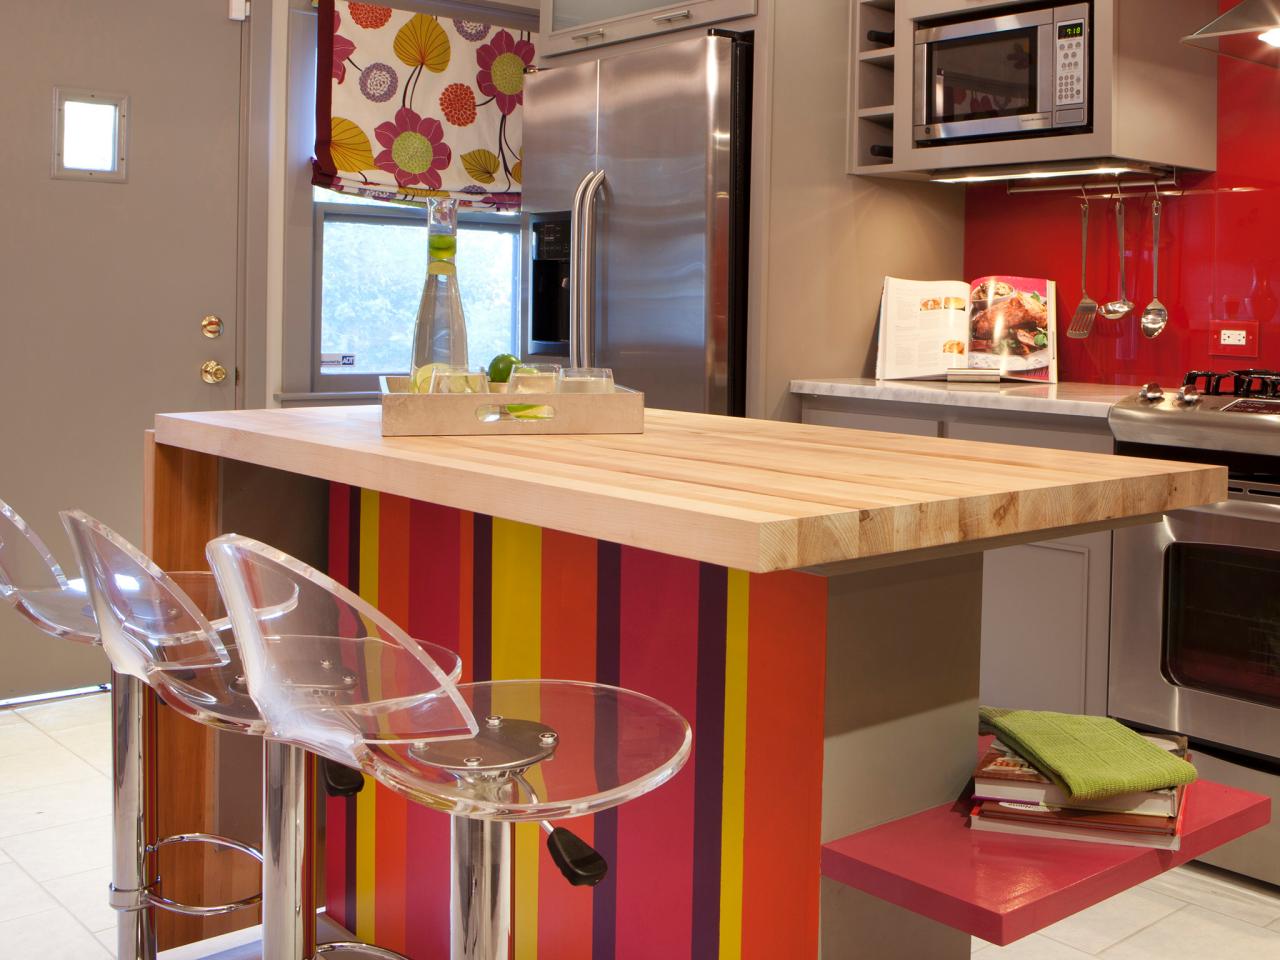
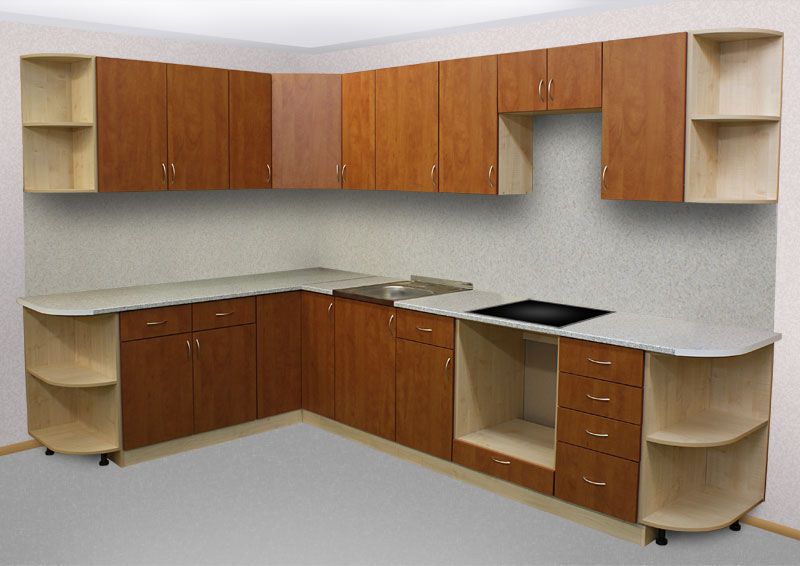
Kinds
First, decide what kind of cabinets are.
They can be:
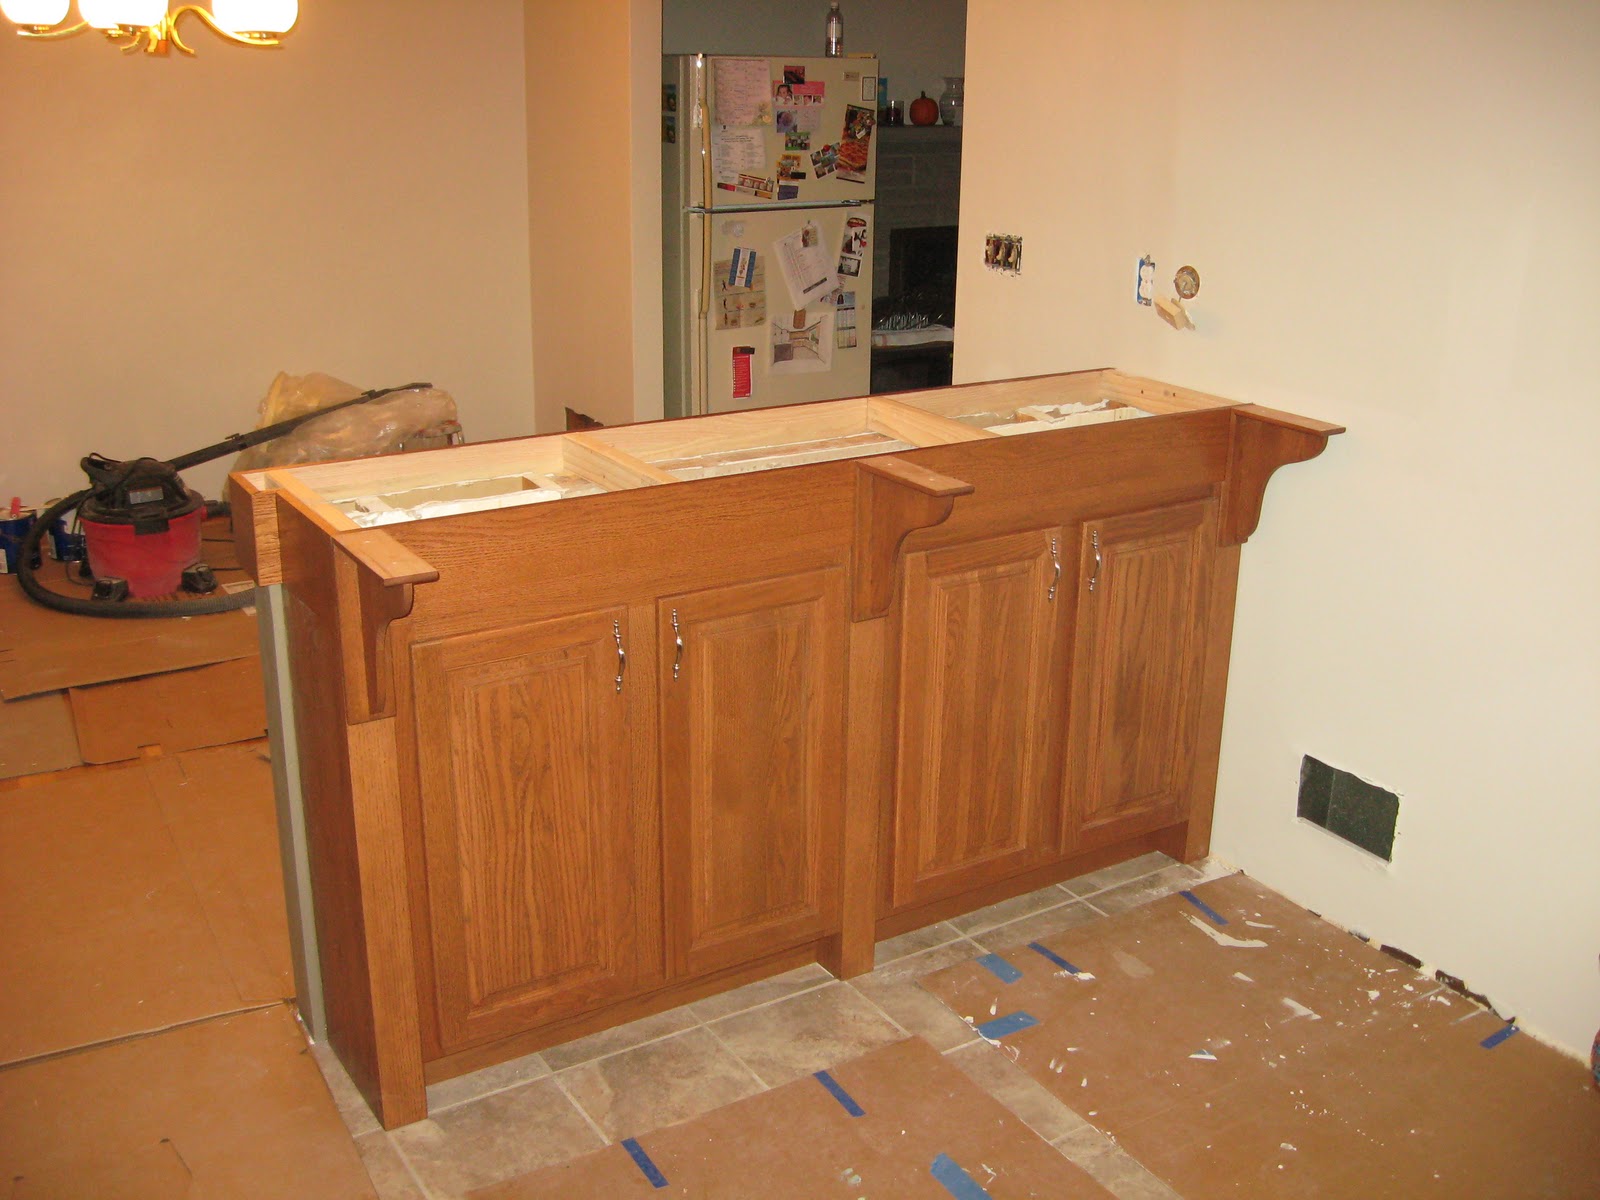
- by installation method: mounted or floor;
- by location: straight or angular;
- in appearance: open and closed;
- by way of opening: swing and retractable.
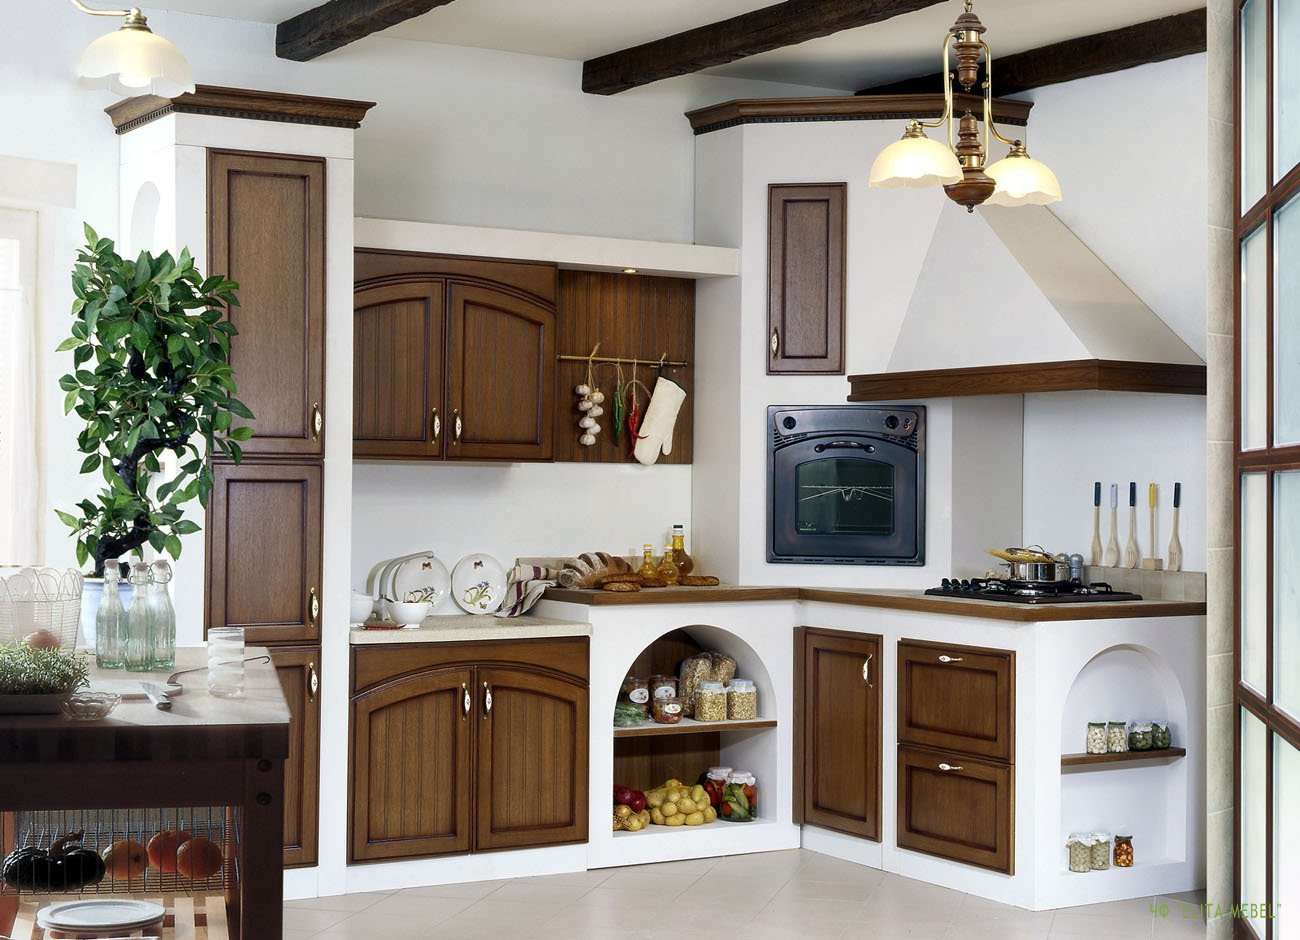
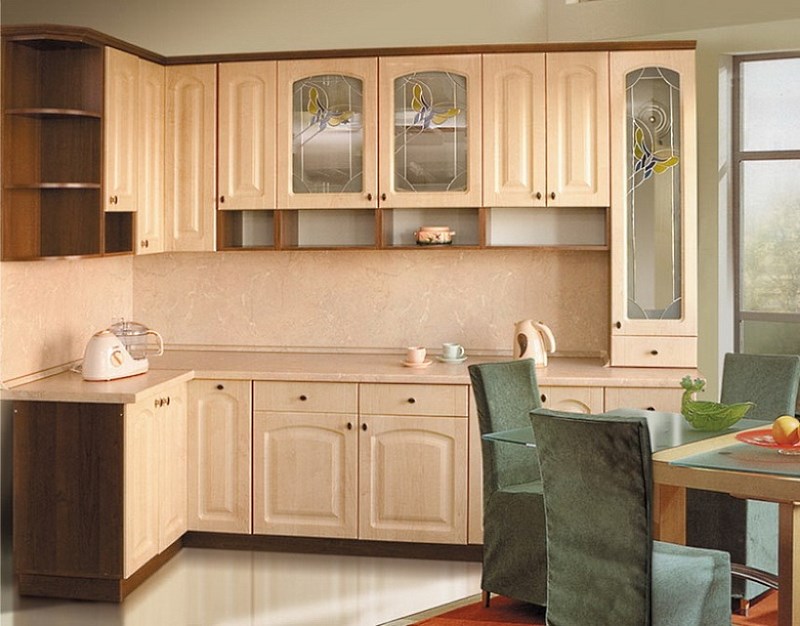
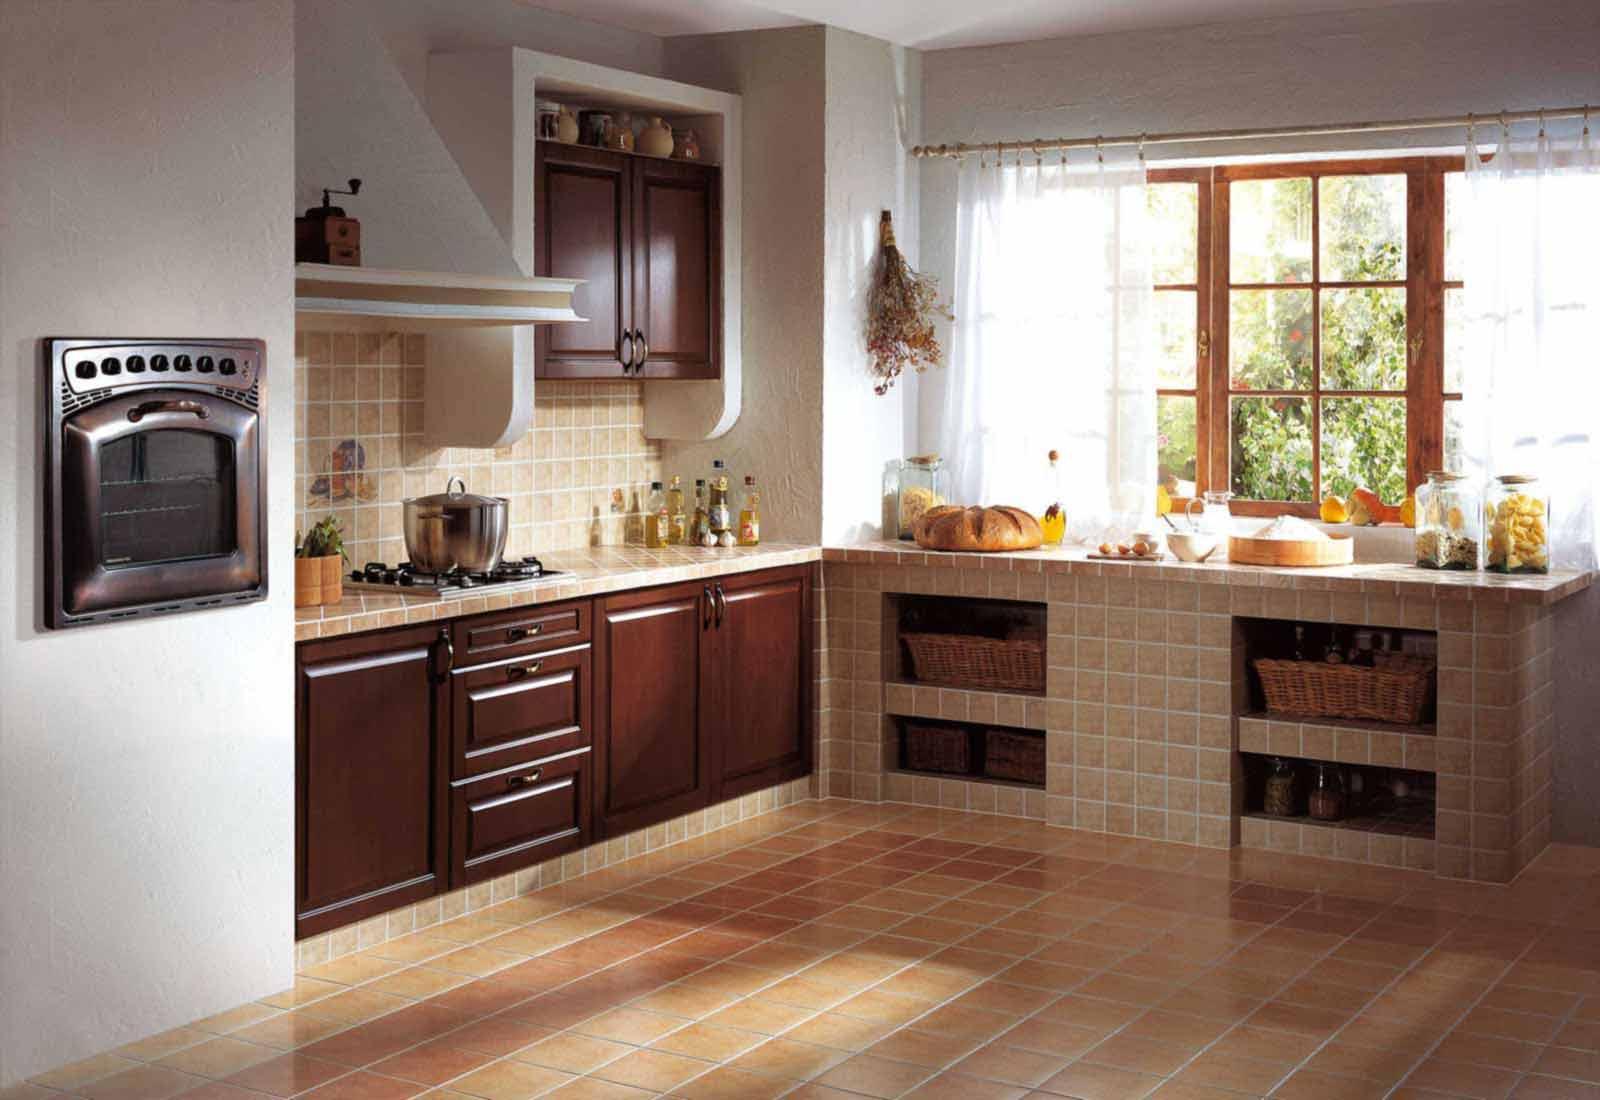
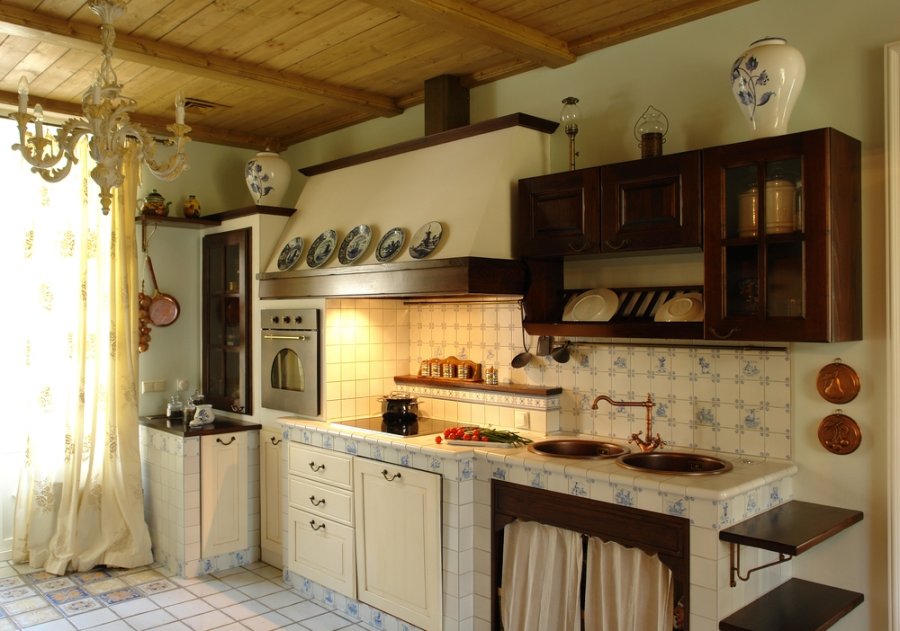
Materials
If you have decided on the type of cabinet, then go to the choice of material.
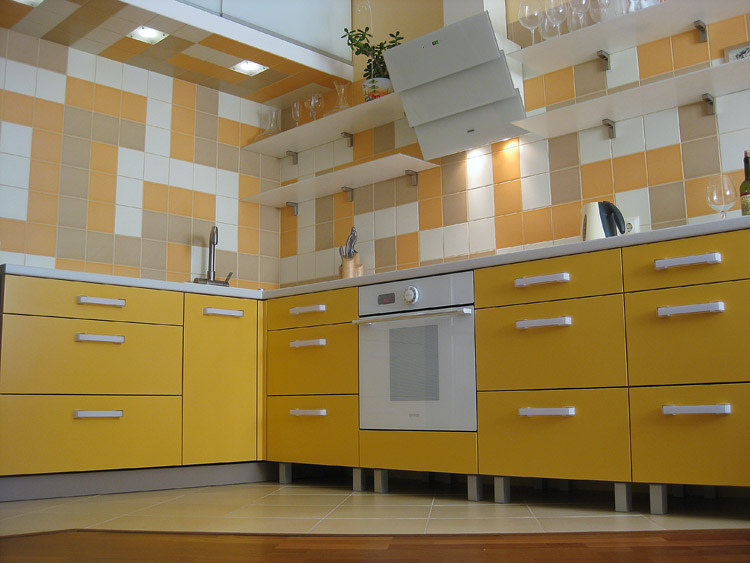
For boxes of any kitchen cabinets, chipboard (laminated chipboard) or MDF (fine fraction plate) are usually used.These are the most economical materials that have quite decent appearance. In addition, the colors of these materials have a wide choice that will allow you to choose them for any interior.
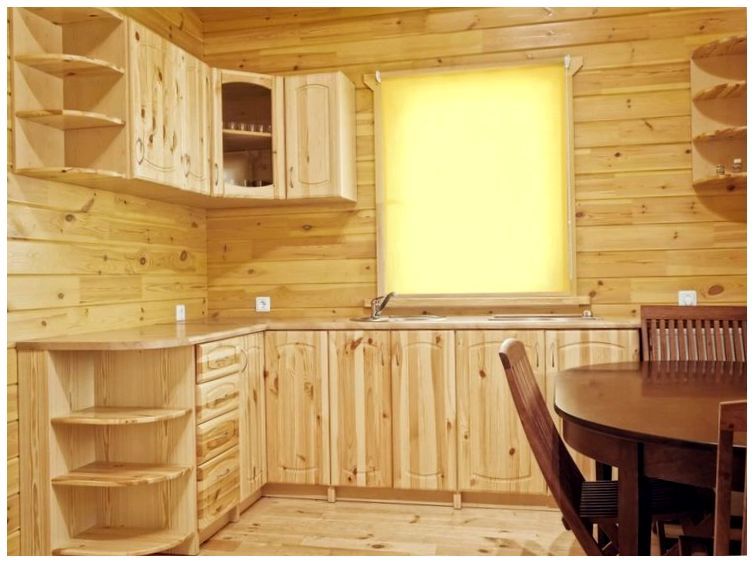
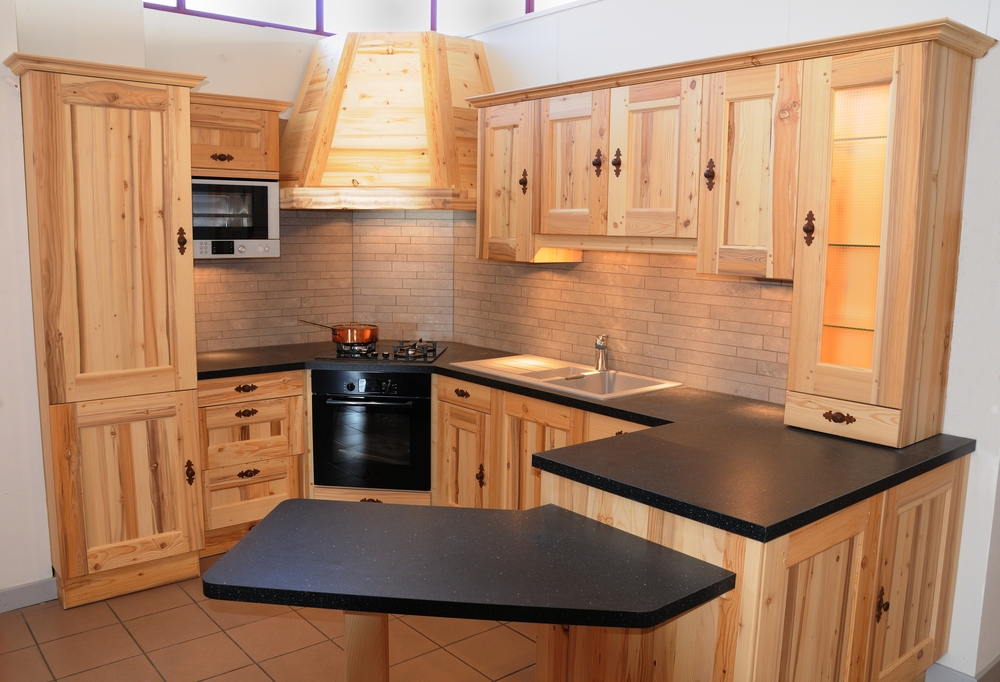
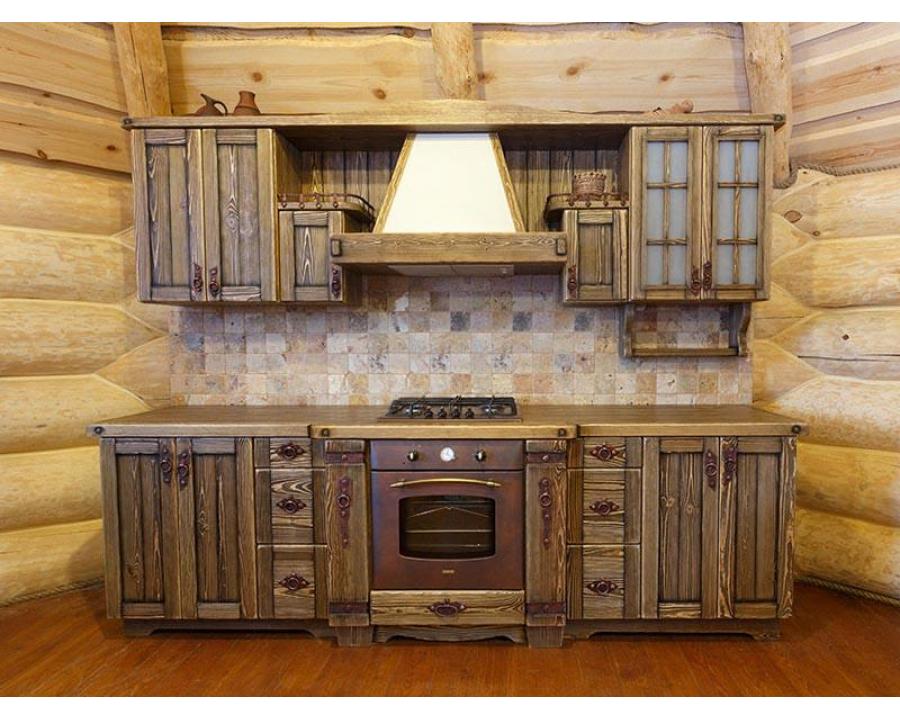
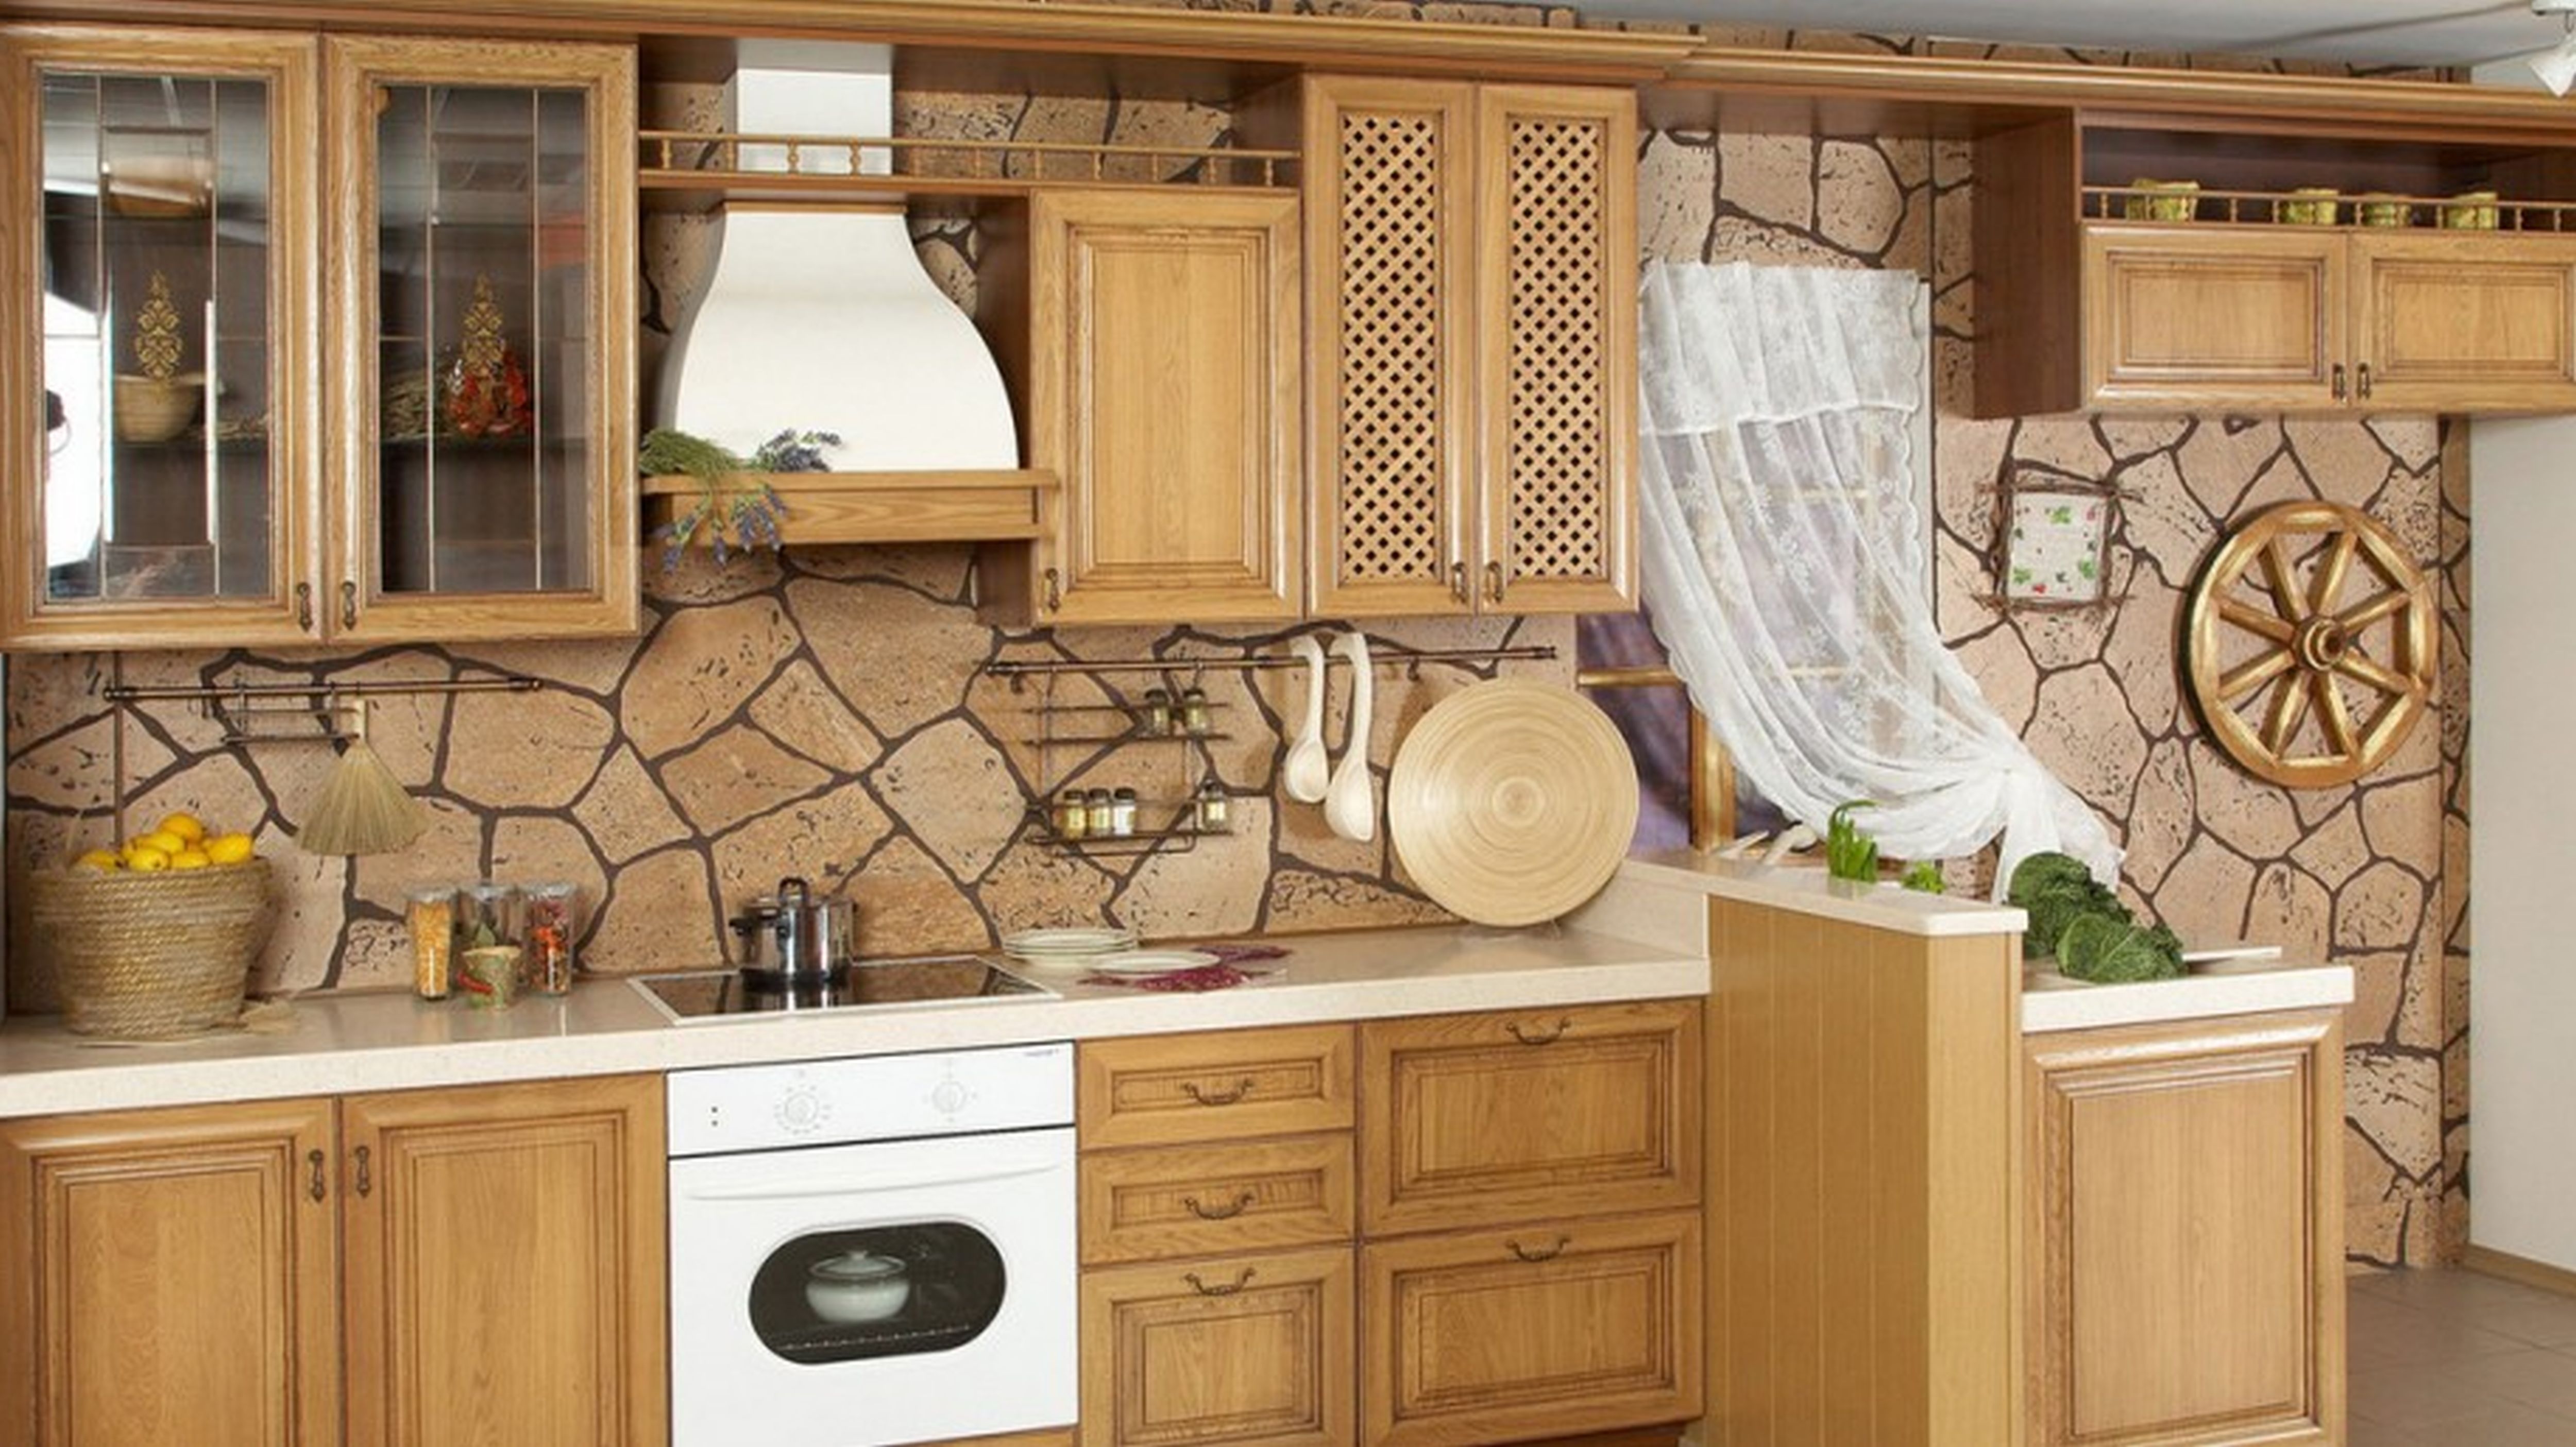
Solid wood is an expensive material, and if you make lockers for the first time, it is better not to use it. But if there is experience in making furniture, then it is possible to build beautiful, good-quality furniture from this material that will serve you for many years. It will give the kitchen an expensive look.
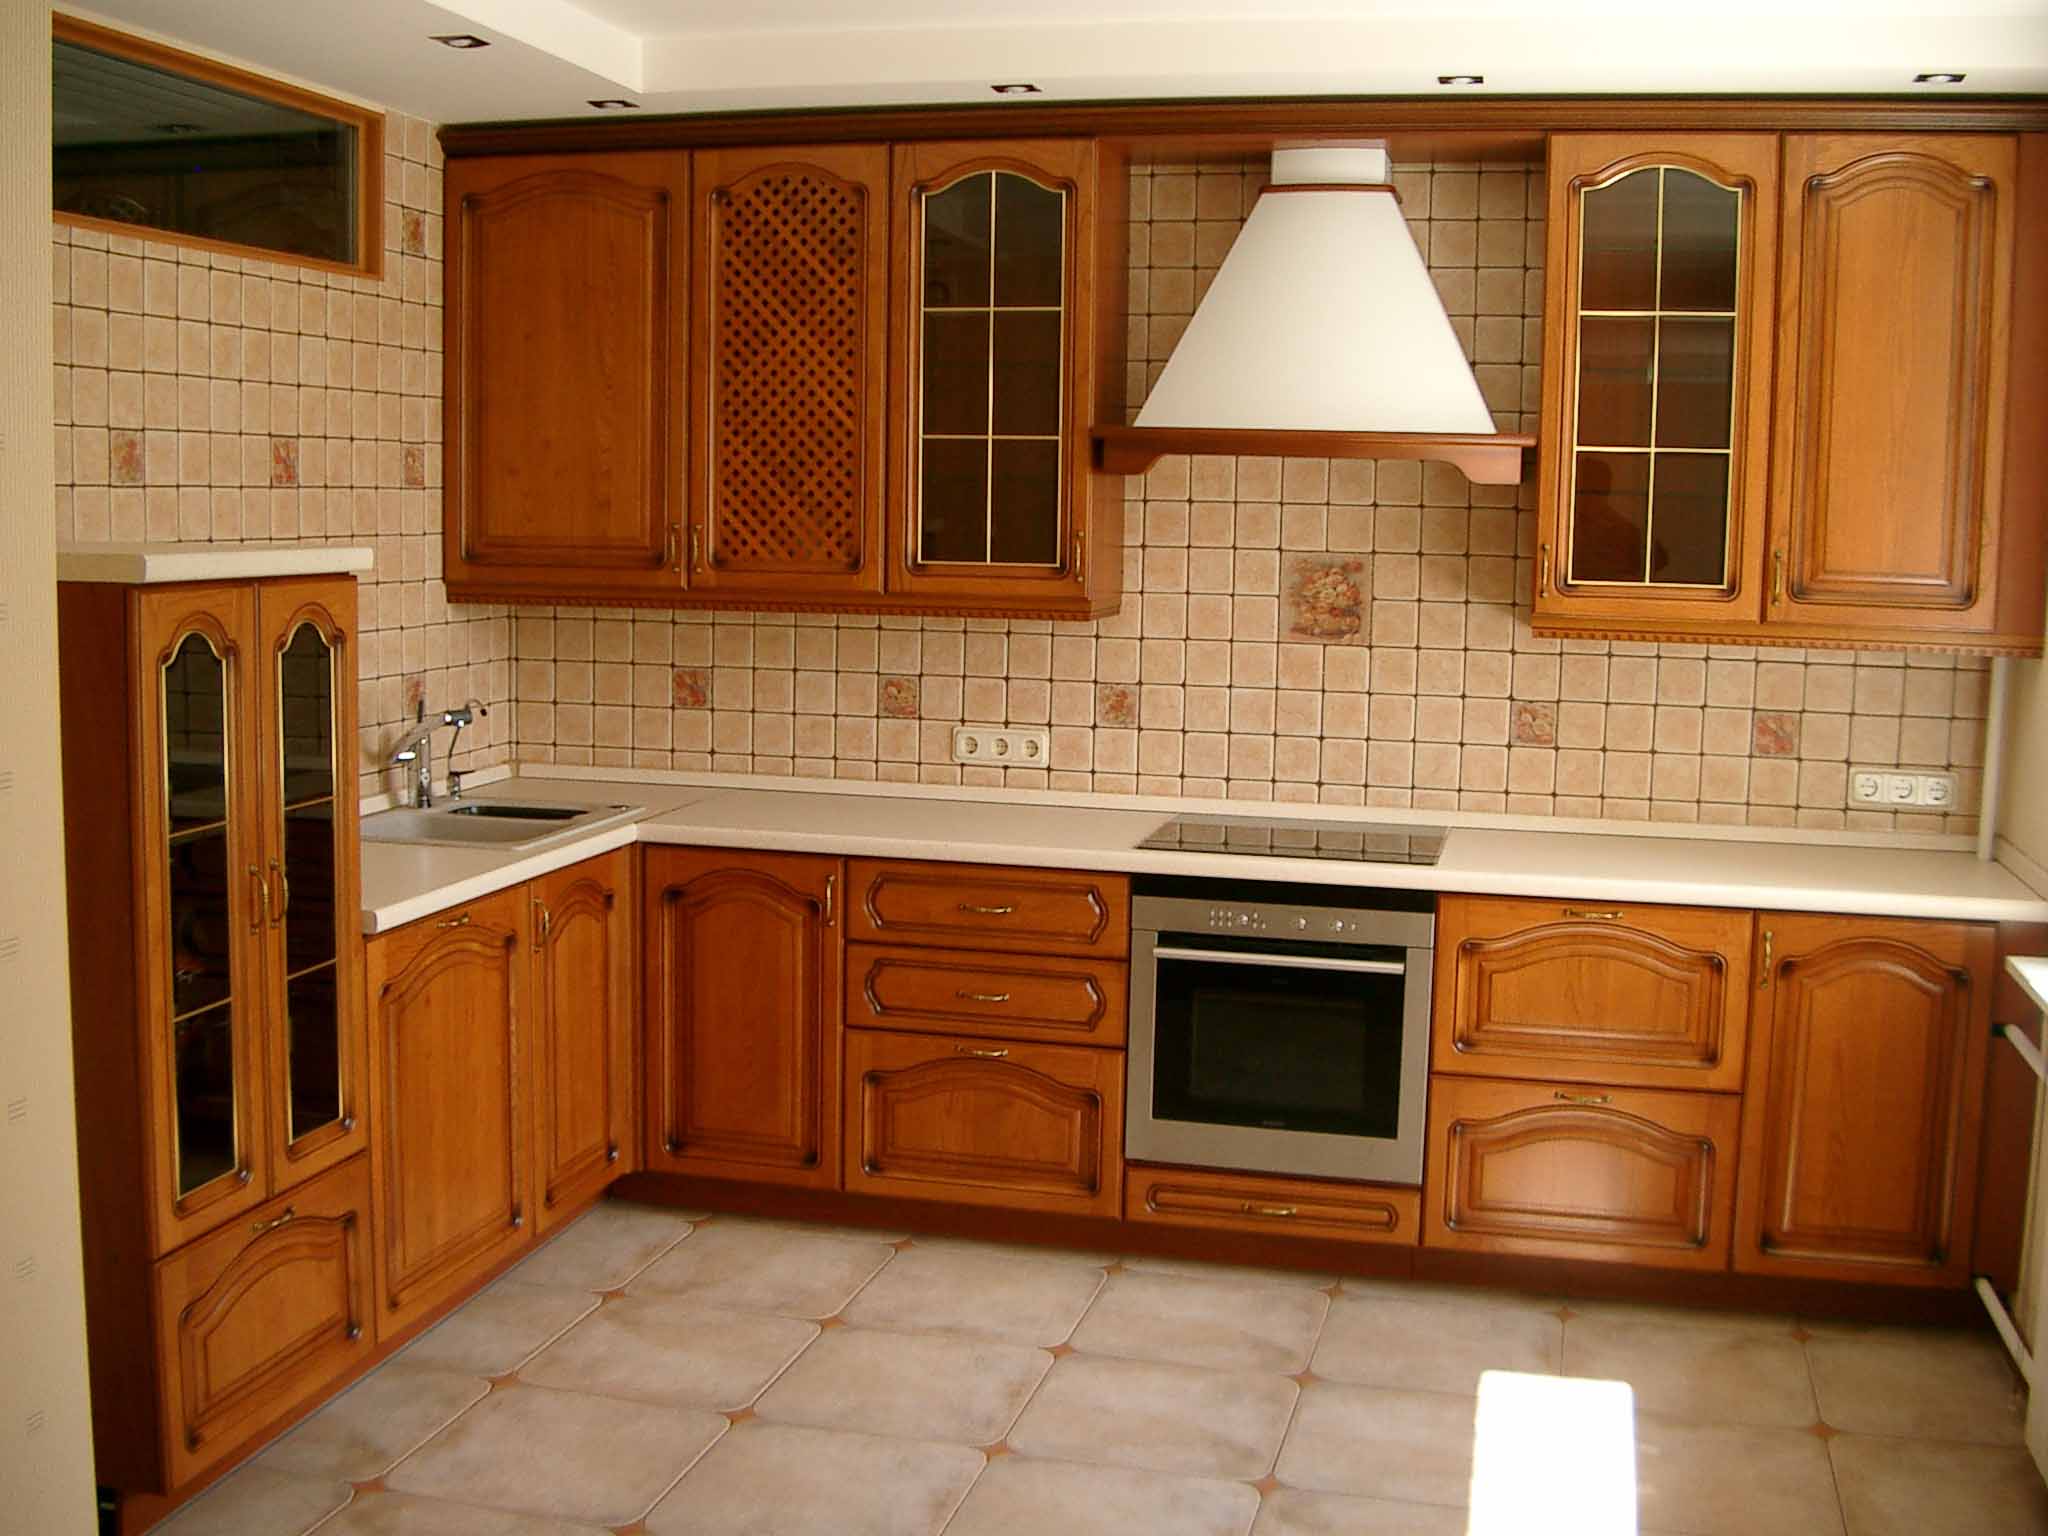
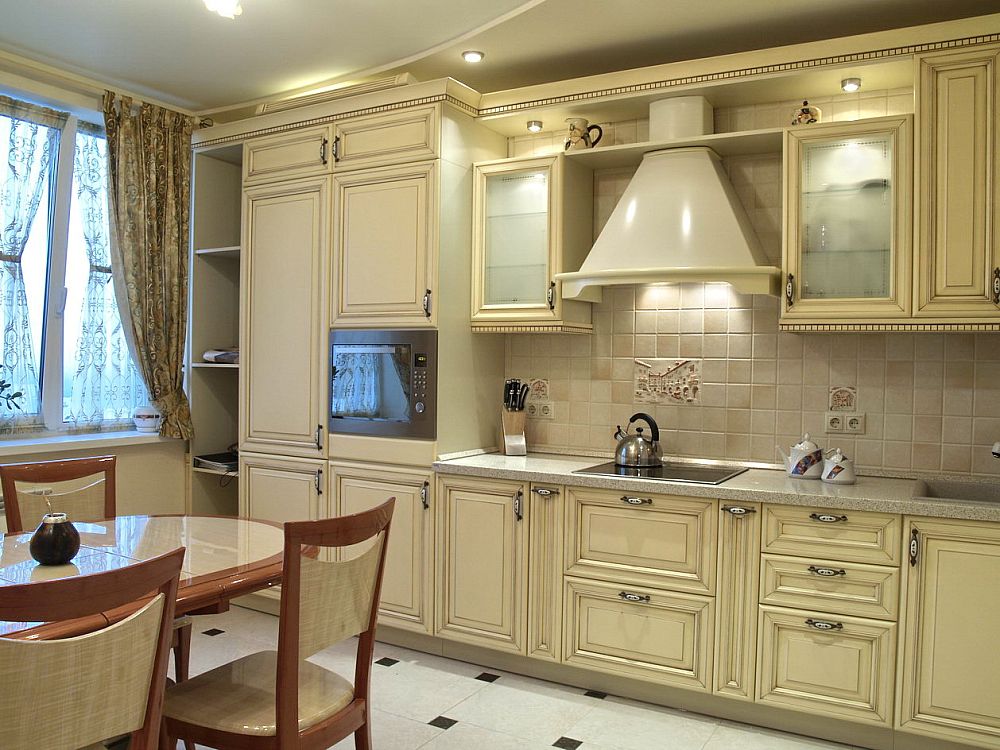
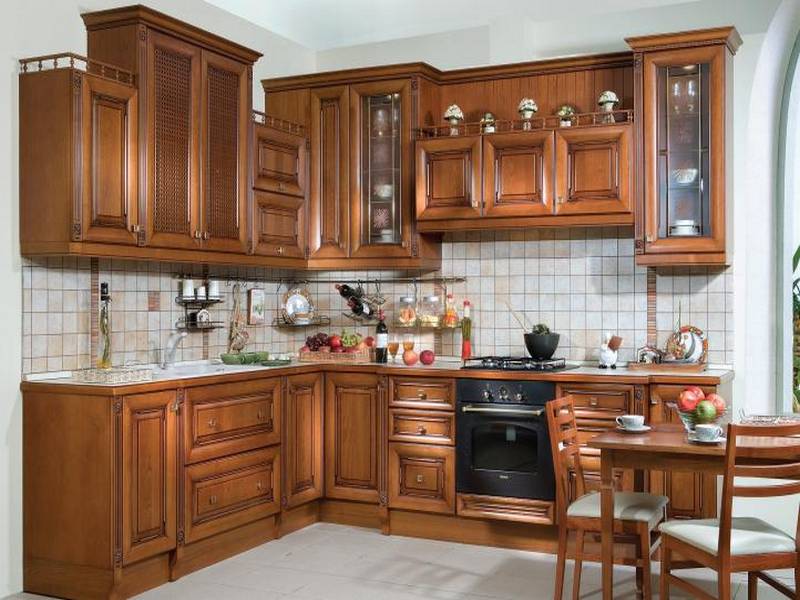
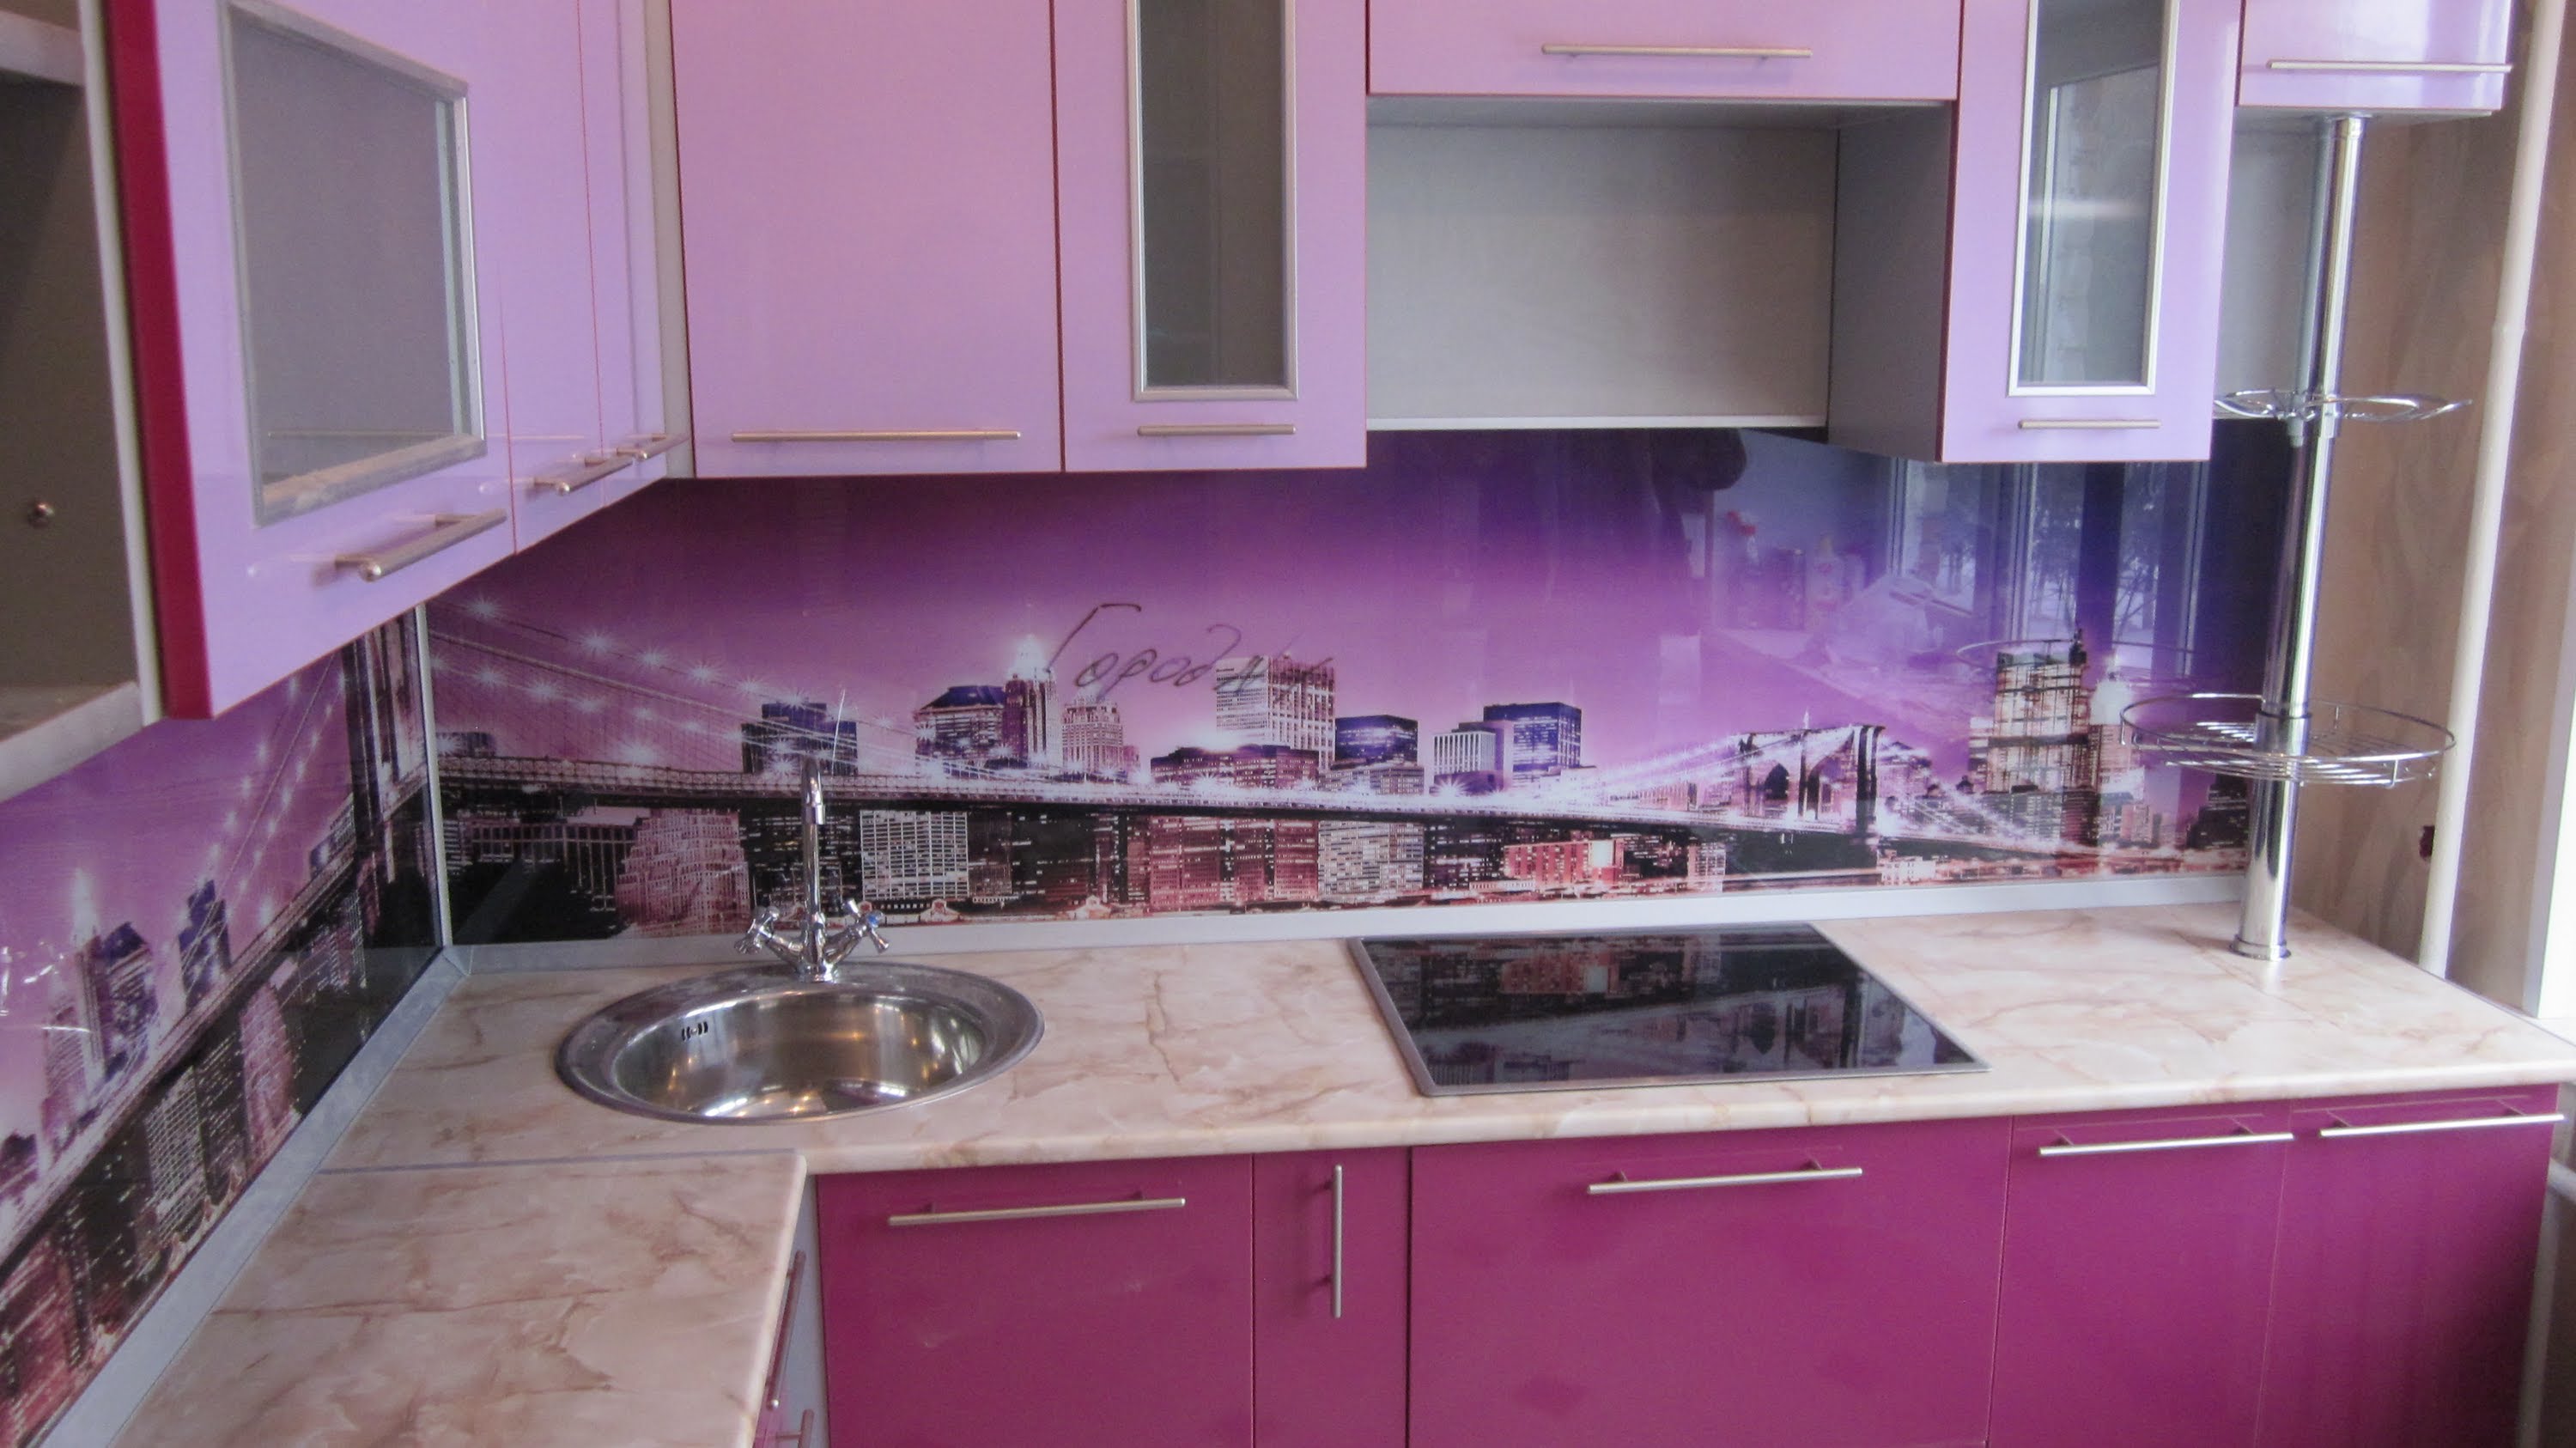
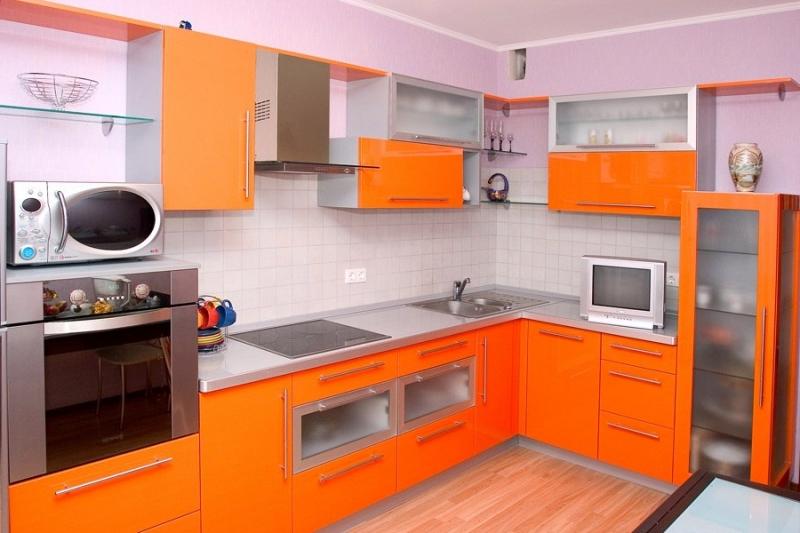
Facades for the kitchen is the easiest to get ready. They come in completely different sizes, colors, textures, shapes that fit them into the interior of the kitchen is not difficult.
Glass is used in the facades of kitchen cabinets. Usually it is ordered according to the dimensions of the recess for glazing in the already chosen facade. You can also make a glass facade, but this is only suitable for wall-mounted drawers, and working with glass is rather problematic, especially if there is no experience with such works.
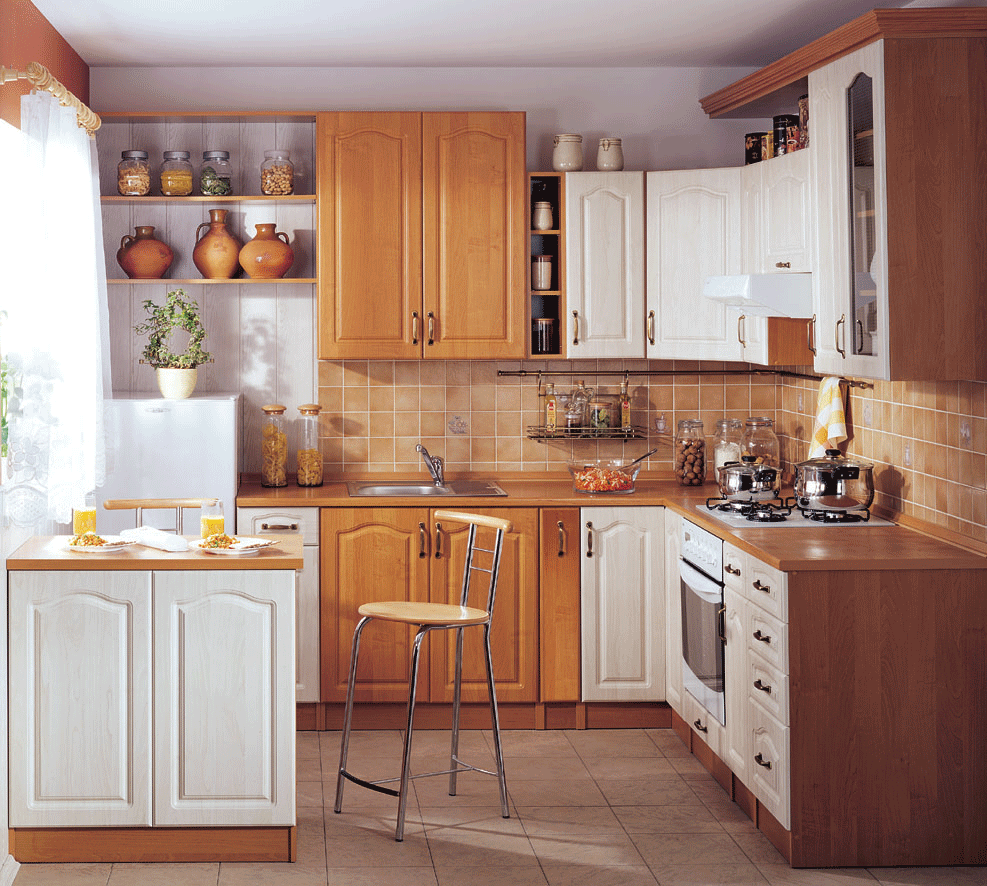
Project
Before you buy material for the future of the cabinet, you need to make a detailed sketch of what you want to see at the exit. Just plan and draw a drawing with all sizes.Plan the placement of shelves or drawers for your wardrobe.

Next, calculate how many plates and what size you need for the box and for the shelves. Plan whether the tabletop will be made of box material or purchased separately, how many facades you need to buy, whether glass will be installed. Also it is necessary to immediately determine the accessories that you need. These are various handles of a loop, sliding mechanisms, suspensions, if a cabinet is mounted, legs, if a cabinet floor, fastenings for shelves, intersection couplers if it is planned to make not one case. Only after the calculations made go to the store.
When buying LDSP or MDF, order sawing in the construction workshop or in the furniture workshop, since without experience and skill it is very difficult to cut these materials without chipping. In the same place, you will immediately glue the ribbing tape in the color of the main side of the slab, so that the cuts look attractive and you can not see the wood shavings inside.

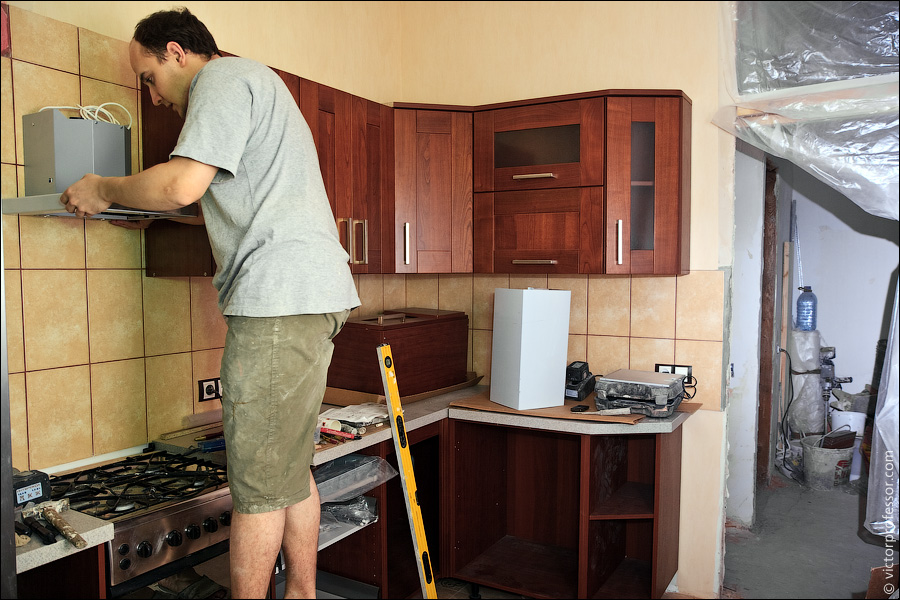
Assembly
To assemble the cabinet with your own hands, you will need a suitable tool for this.
- pencil;
- roulette;
- screwdriver;
- drill;
- construction stapler;
- hacksaw for wood;
- jigsaw.
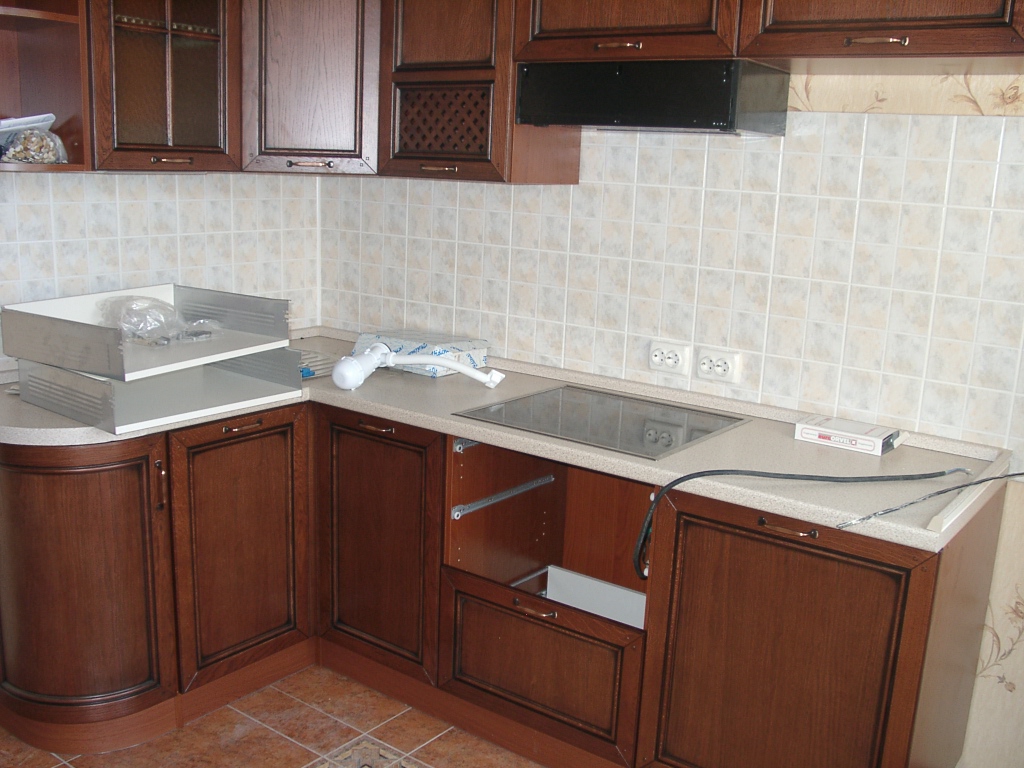
Any cabinet begins with the assembly of the box. The sawn plates are joined according to the drawing and fastened with screws using a screwdriver. The back wall of cabinets are usually made of sheet fiberboard, which significantly reduces the cost of the cabinet. It is fixed with a construction stapler.
If your cabinet is mounted, then you need to install the upper wall, if it is floor, then the upper wall, provided that the countertops are placed there, is not necessary.
Next, install the facades. Initially attach the handle to them. They are installed at a distance of 3-5 mm from the edge, depending on the model. Facades are attached with special loops. Previously it is necessary to make a round hole in the cabinet doors using a special nozzle on the drill, then fasten the hinge to the facade, after which it is attached to the cabinet box. Modern hinges make it possible to adjust the position of the doors in three directions at a distance of up to two millimeters, which is important for beginning masters.
Next, for wall-mounted cabinets, we install suspensions, which are screwed into the upper corner of the cabinets to the side wall on the inside of the box with screws.
For floor cabinets we fasten the legs and glue the table top. It remains to place the shelves and cabinet with their hands ready.
A little harder to make a wardrobe with drawers. Here you need to make separately the box and the boxes with the facades that will be inserted into the cabinet.
Before collecting the box, you need to mark and fasten the guides for the boxes on the side walls. Then collect the box, as described above. You can immediately install the legs.
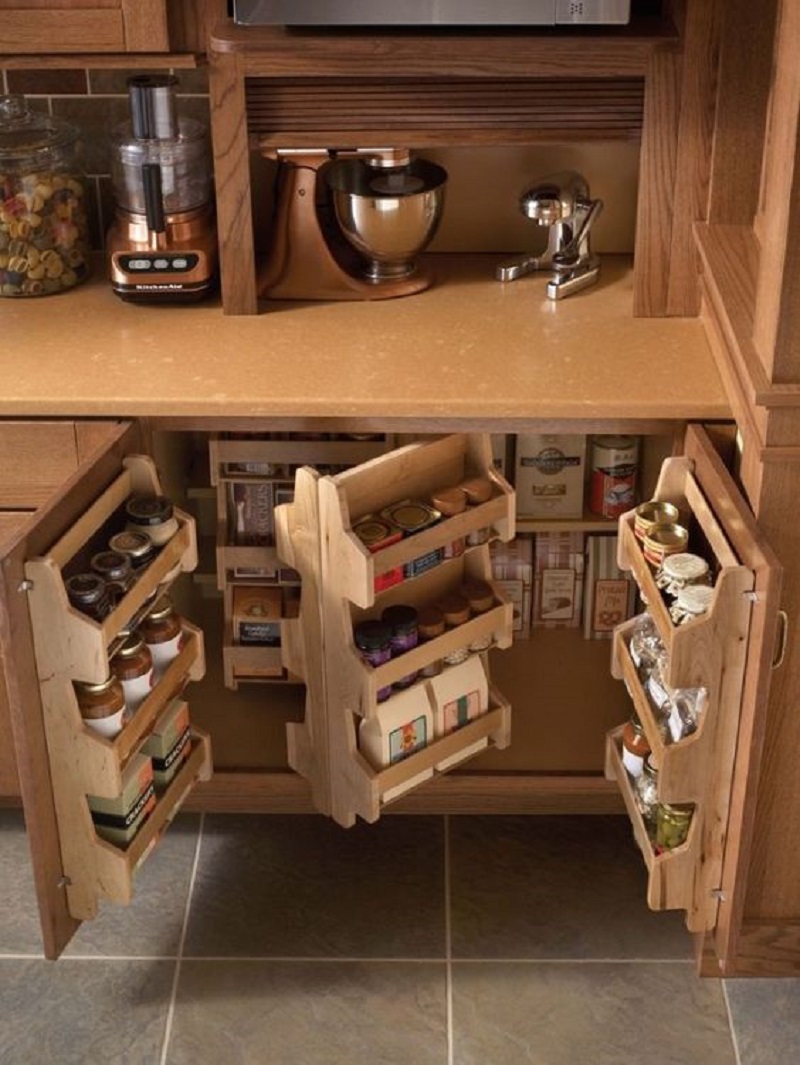
Now we collect boxes. Their bottom can be made of fiberboard or of the same material as the sides, but the bottom of the fiberboard will not allow heavy utensils to be stored in them, because the mount is broken by gravity. Along the bottom we place the guides so that the drawer can slide out. By the way, there are several types of accessories for drawers from the simplest ones, which do not allow the drawer to be fully extended to the advanced ones. They not only open the box entirely, but are equipped with various closers, and have protection from children.
It remains to attach the facade. To do this, first place the handle on it strictly in the middle of all sides, and then fasten the facade with screws to the box. In this case, screw the screws on the inside of the box.Carefully select the size of the screws for fastening the facade, so as not to damage it. Too short will not work either, because when opening a box by the handle, they will take the main effort. The handle may not be needed at all if you use a modern opening system.
At the end of all the work we insert the boxes into the box and glue the table top - the cabinet with drawers is ready.

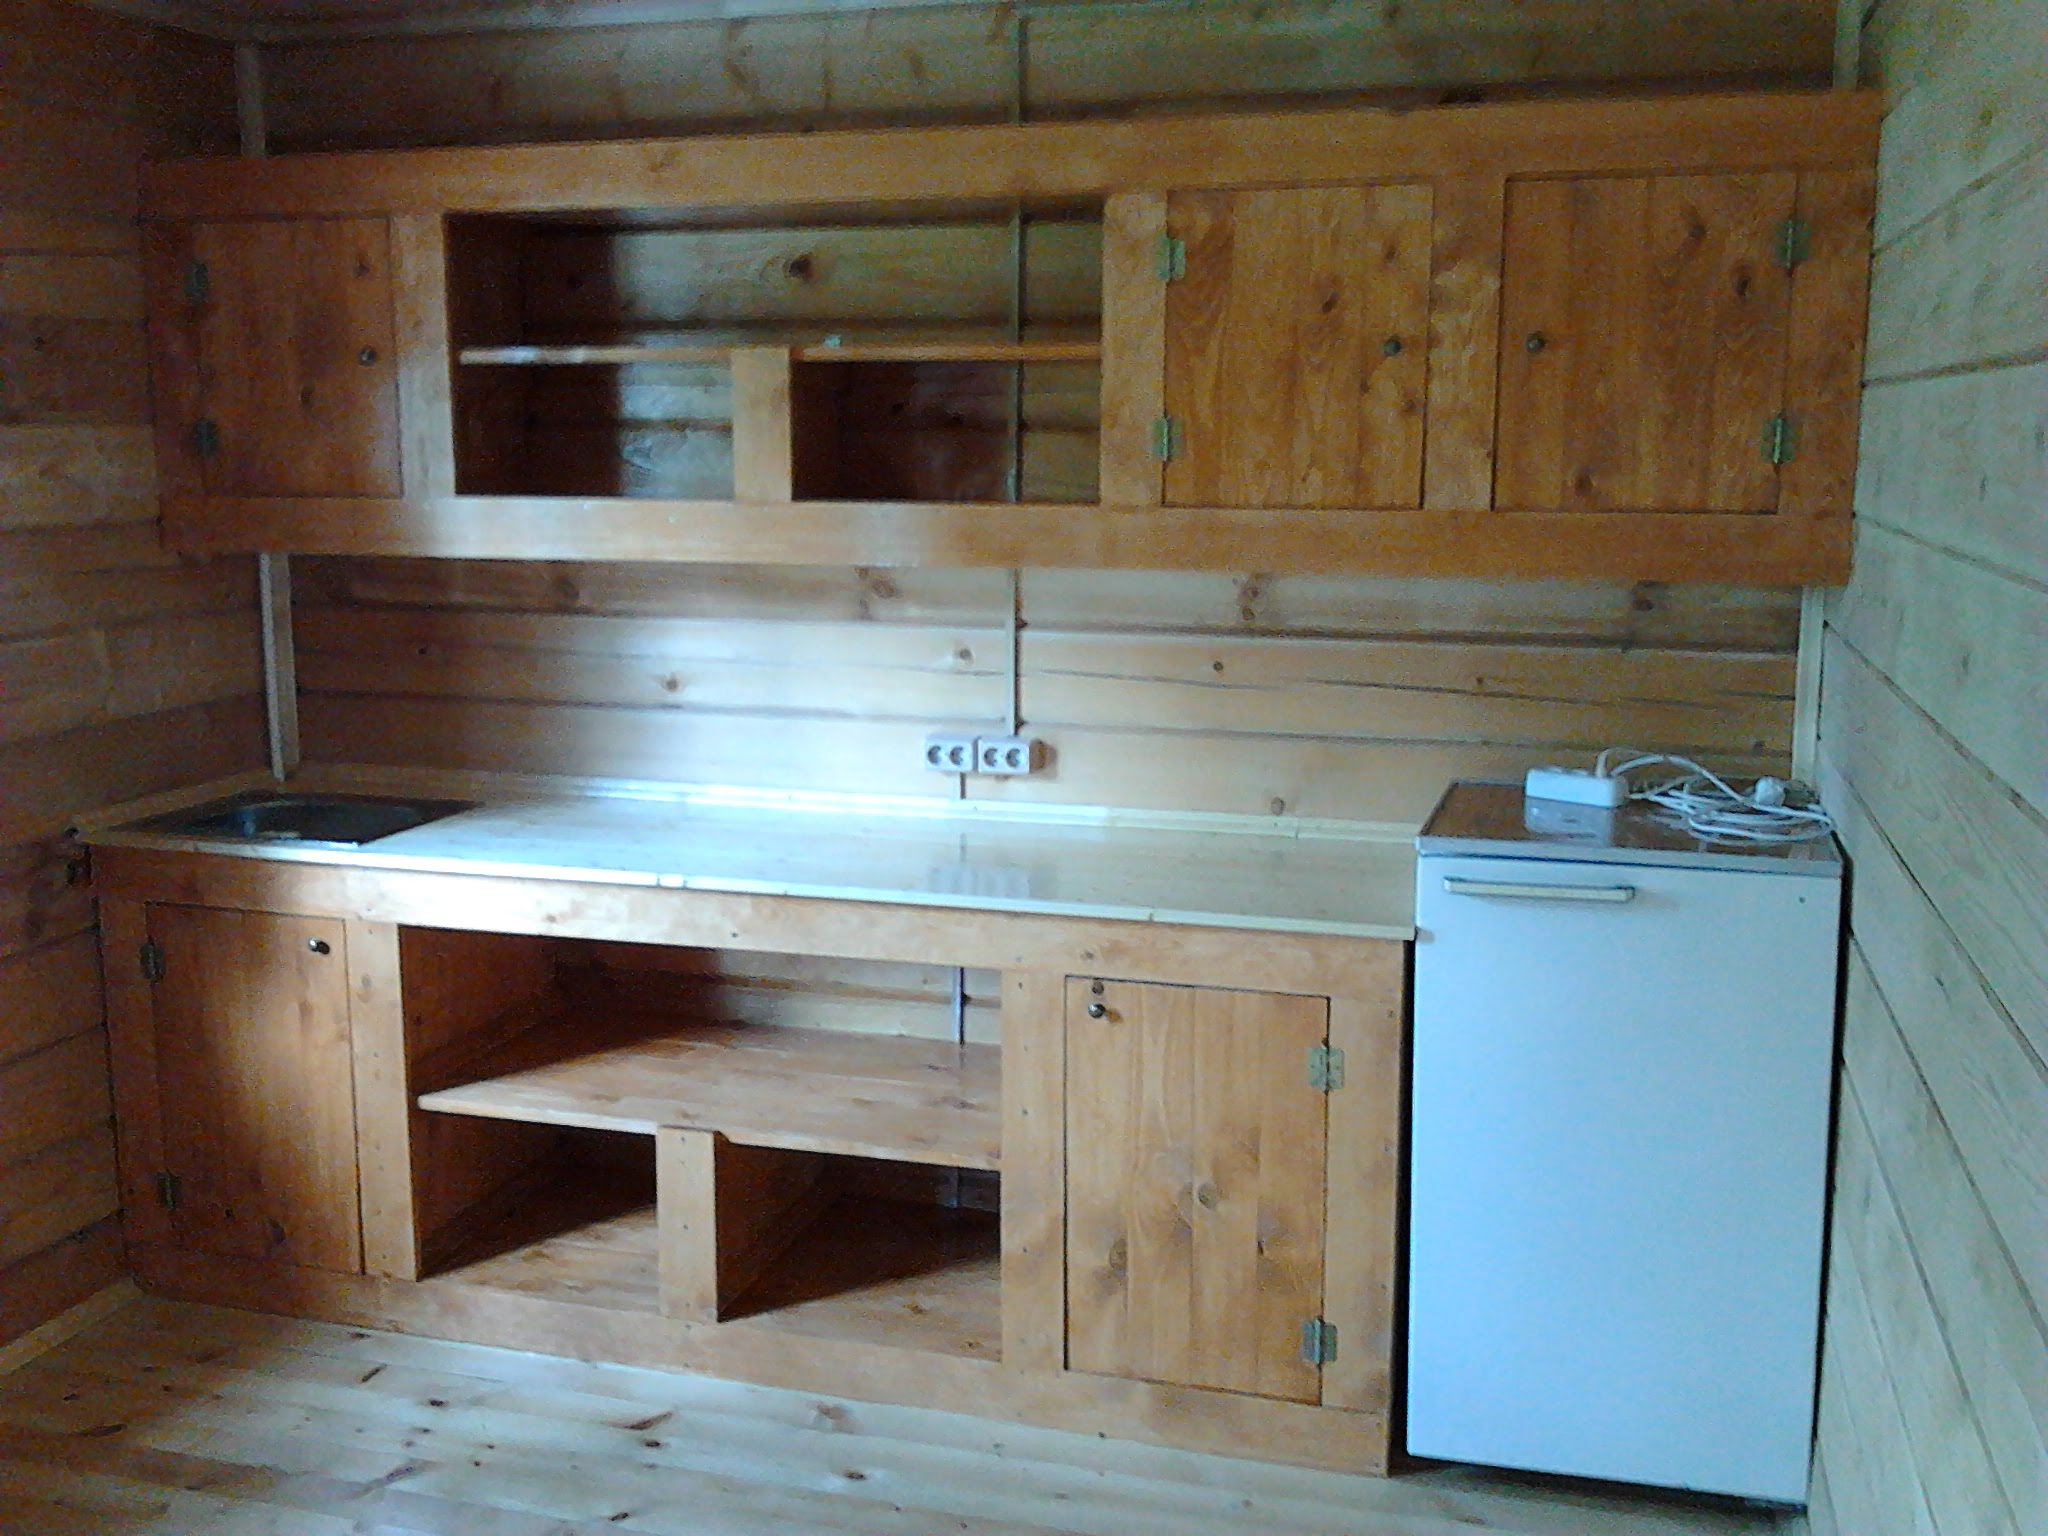
Cabinet under the window
But you can organize and built-in wardrobe. Many, especially in apartments with a “Khrushchev” layout, have a niche under the window in the kitchen, a so-called winter refrigerator. Many keep pickles and other canned food there. He, too, can be easily transformed and made in color with the main headset. To do this, we trim the inside of the box; materials like plastic or just plastering and painting are perfect for this. Further along the edge we install small slats made of MDF or laminated chipboard, depending on what your headset is made of. On them we hang the facades in the color of the kitchen furniture, as on ordinary cabinets. It is also very convenient to equip this wardrobe with sliding doors of the compartment type. To install them, we install guides for these doors under the window sill and on the floor, install rollers on the doors themselves, insert and adjust their opening.Install the shelf, and the assembly of the cabinet under the window is finished.
Restoration
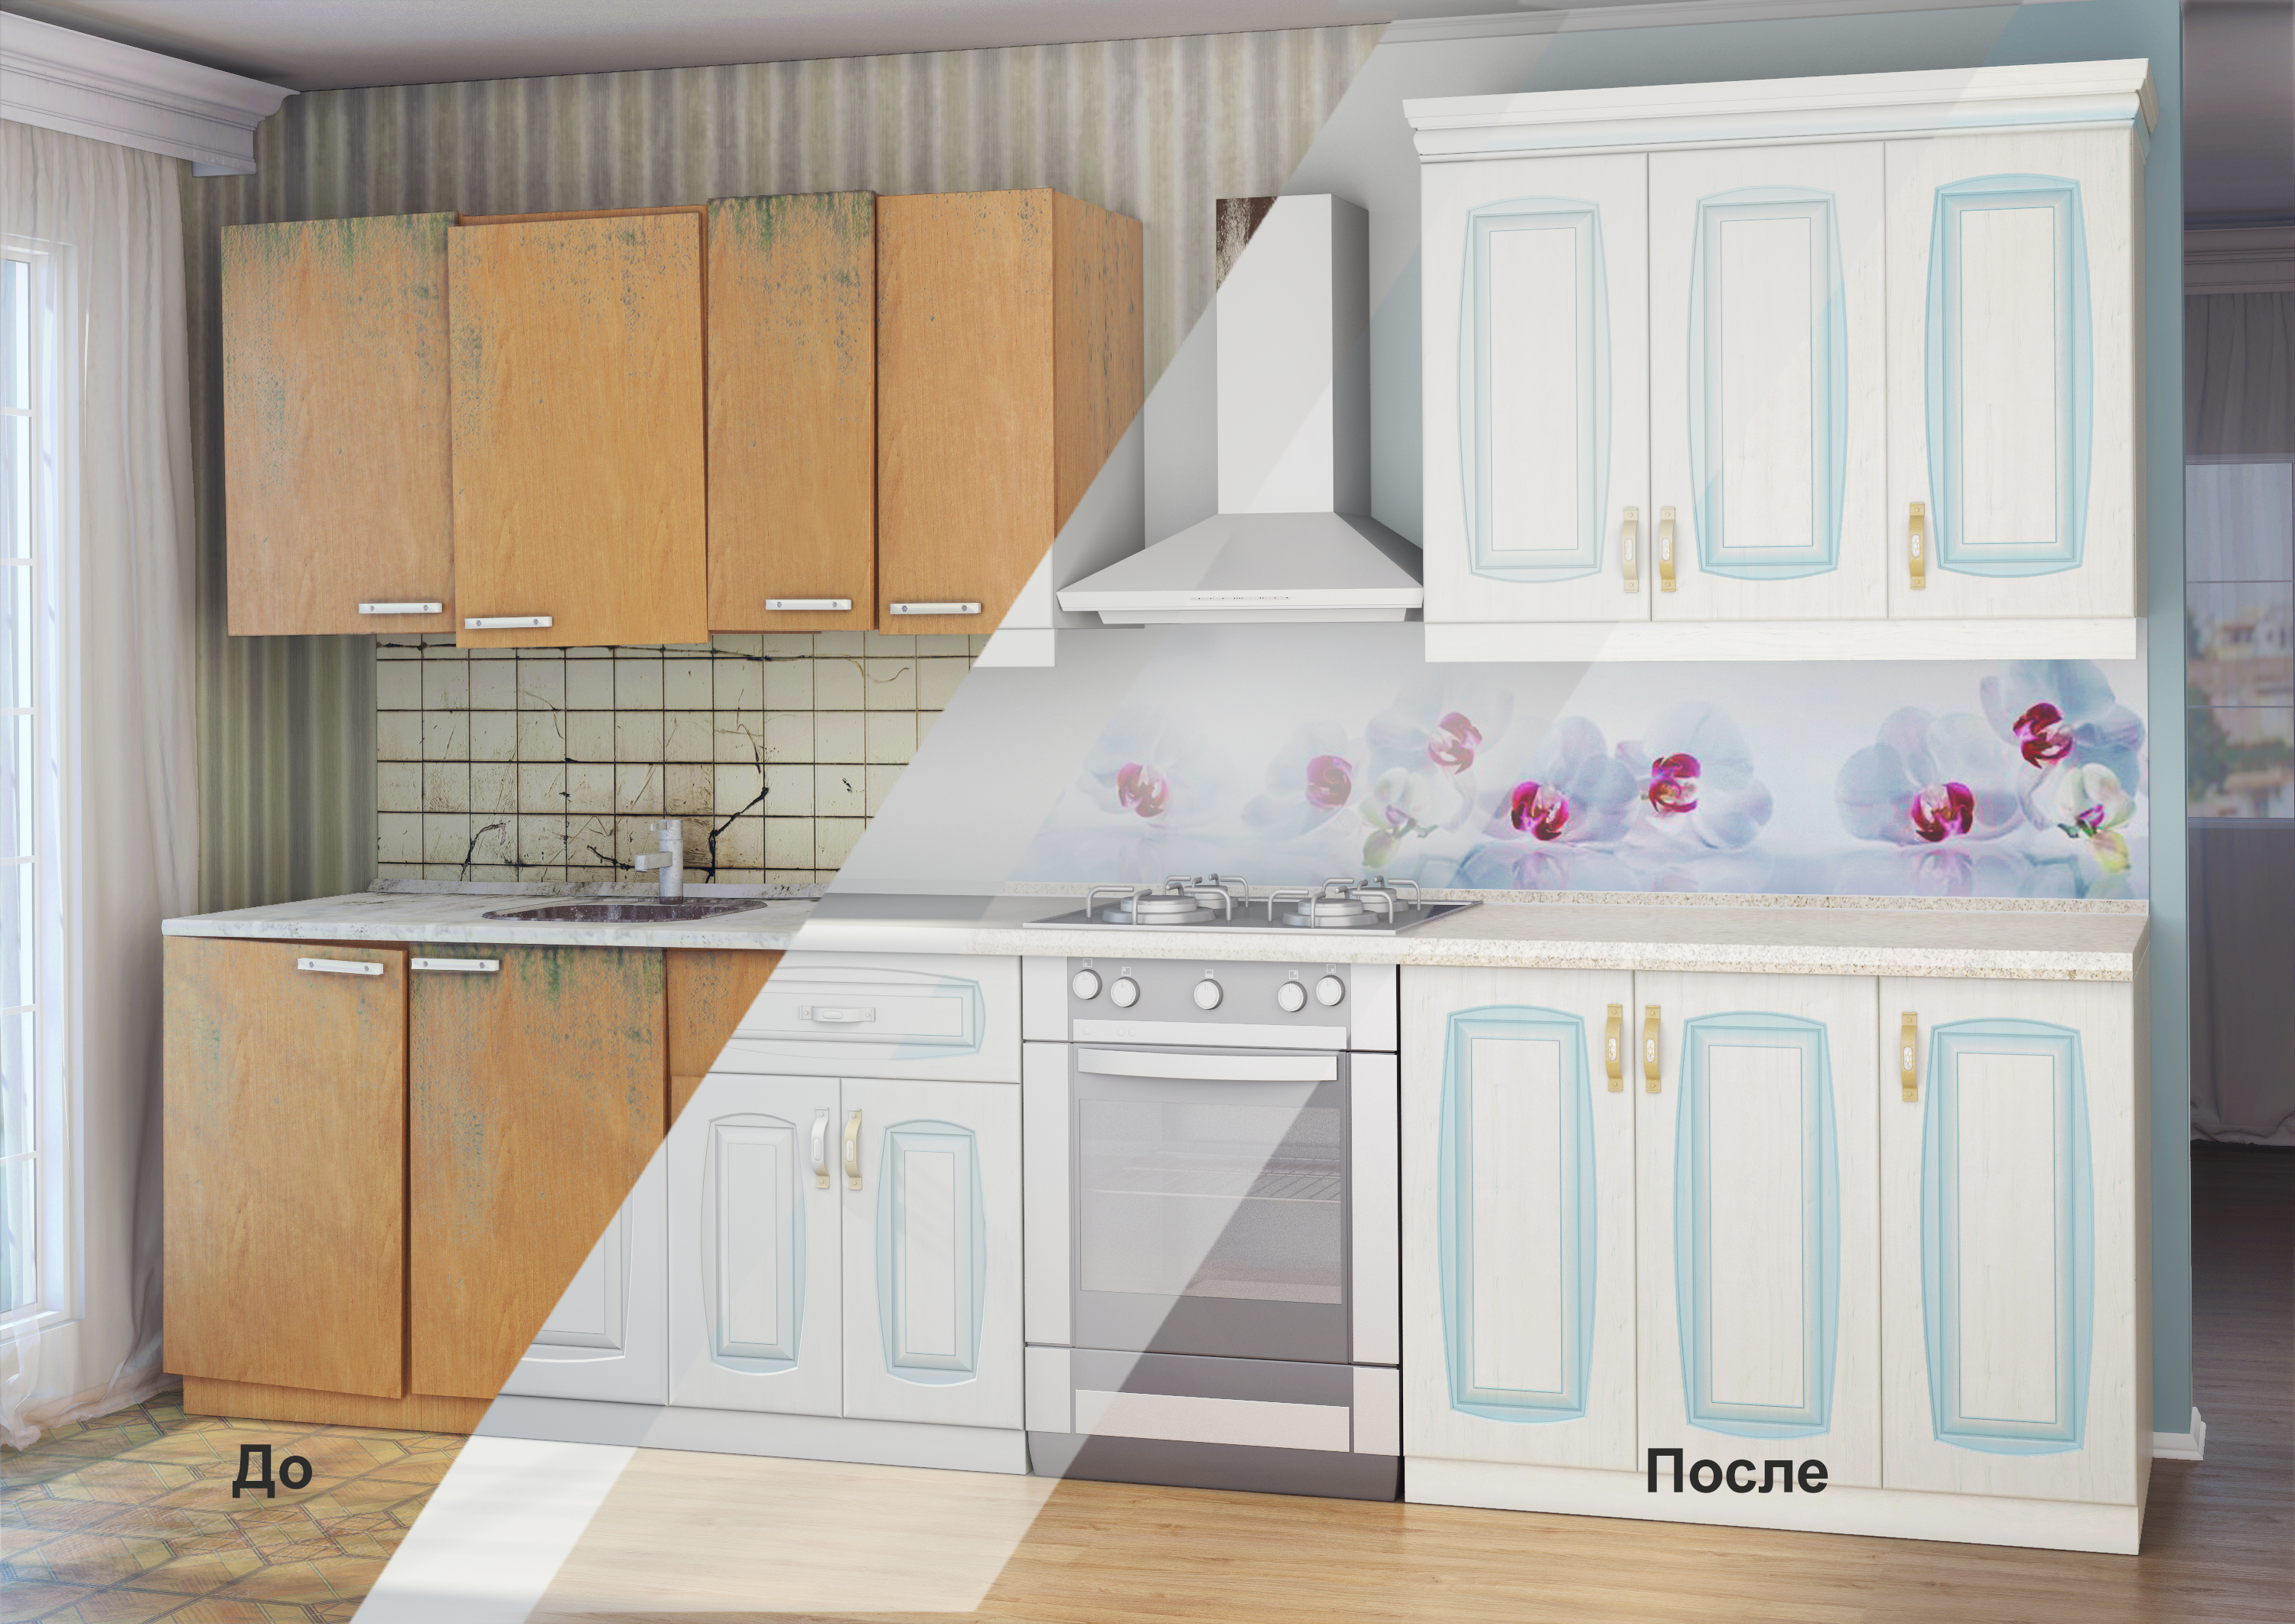
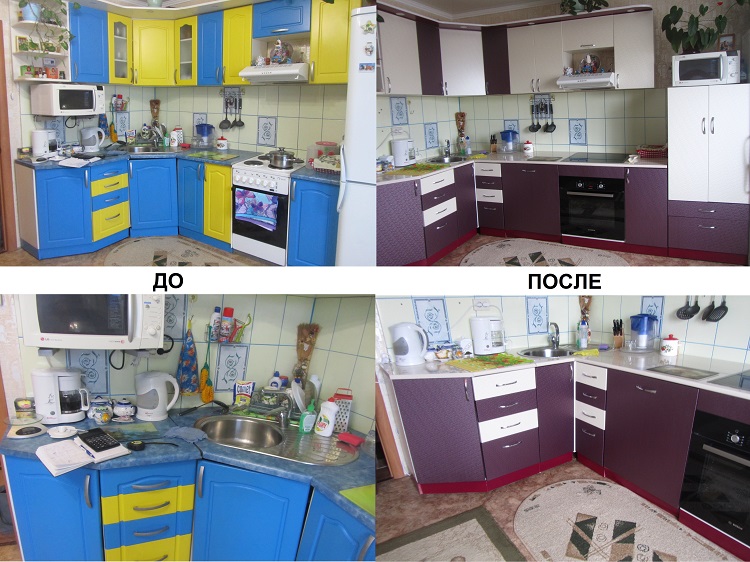
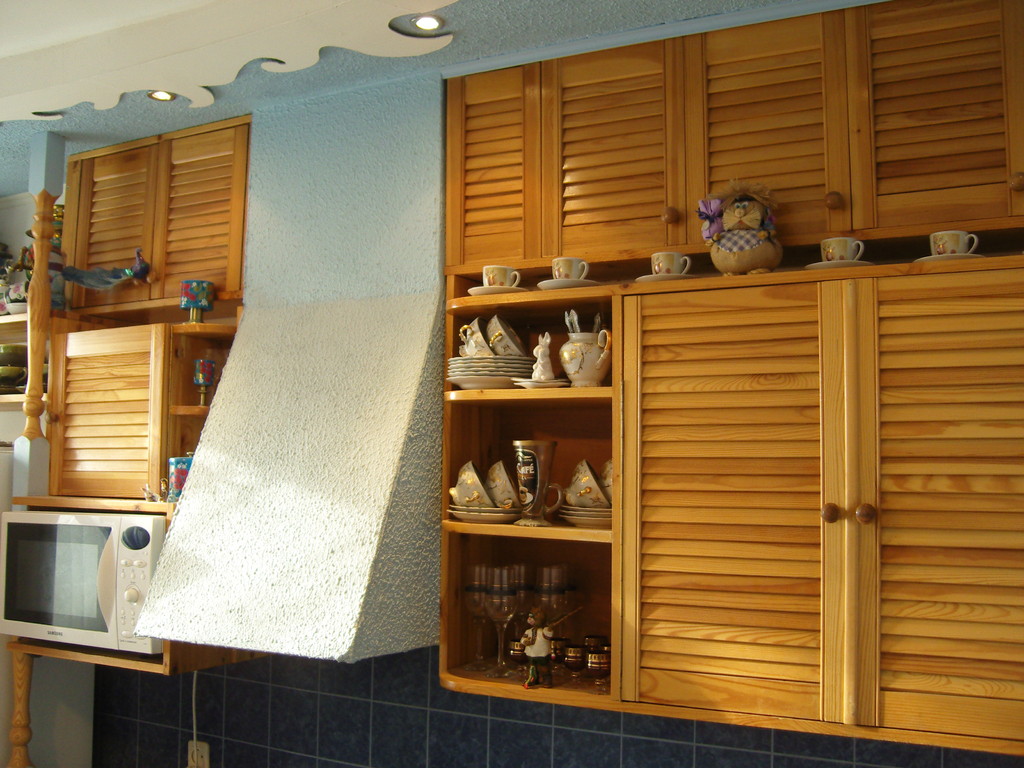
If you already have cabinets in the kitchen, they just bored you, or the kitchen lost its appearance, or you did the repair and the headsets now do not fit into the interior, instead of changing the furniture completely, you can try to update it, thereby saving a decent amount of money.
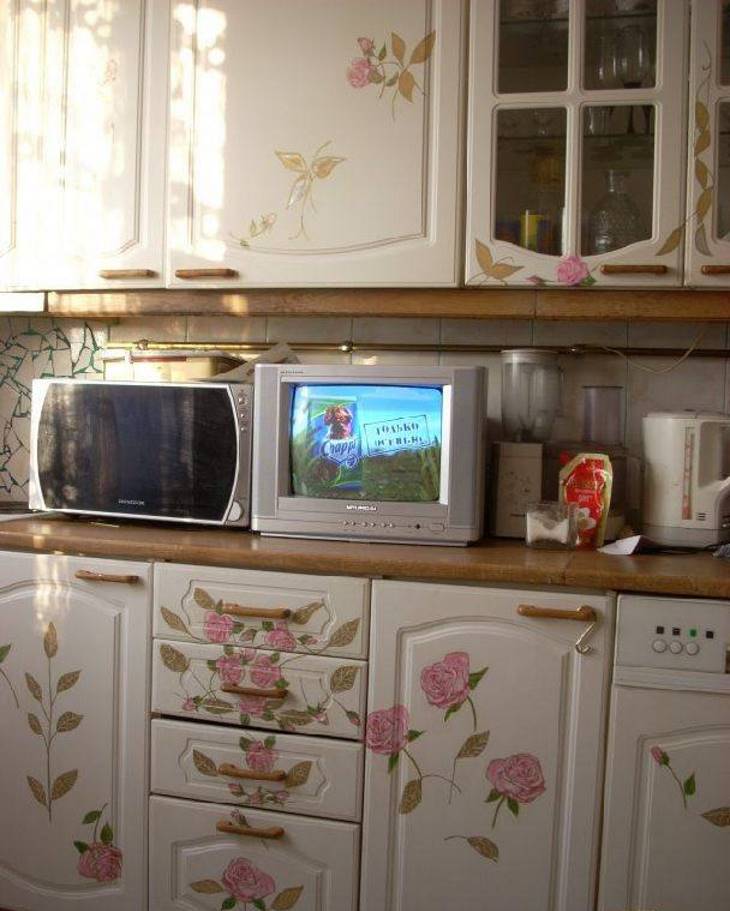
Kitchen set does not fit the new kitchen interior. Its appearance is updated, changing the facades and table top, thereby not spending additional funds on the box of cabinets and accessories. It is also an even more economical way to change the color of facades - to glue them on with a self-adhesive film. She can also decorate the annoying facades, for this stick film with a certain pattern.
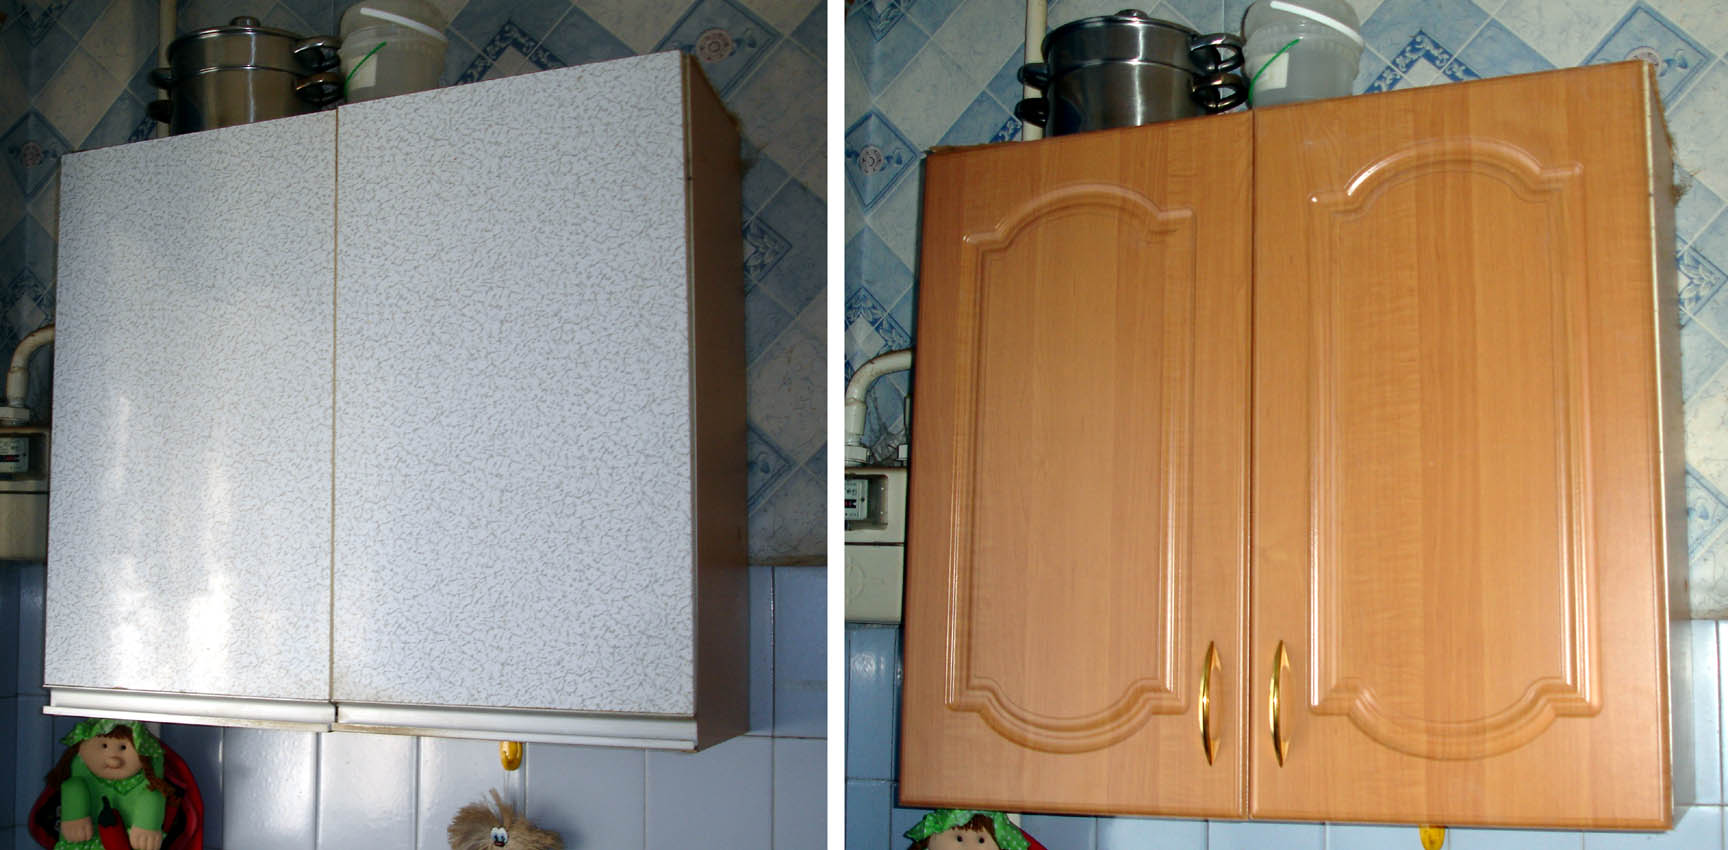
If it is decided to leave the facades, and they are made of solid wood, then it is best to re-paint them. To do this, remove the facades from the box, we clean it, treat it with a primer, wait until it dries, and apply paint in three layers. Better for painting use rollers and brushes. In this case, the layer will be thinner. Let each coating dry well. Old facades updated. It remains only to mount the handles on them and put the doors back in place. If you are tired of the kitchen set, do not rush to throw it out. Its restoration does not take much time and effort.But if you decide to change the furniture entirely, try to assemble it yourself. This is not difficult, and will help in such a not so easy from the economic side of the time, save the family budget.