Kitchen table legs
A table is a must-have piece of furniture in the kitchen. Today, manufacturers for the manufacture of tables using a huge amount of materials. Options for the legs for the kitchen table can also be counted at least two dozen.
How much should it be?
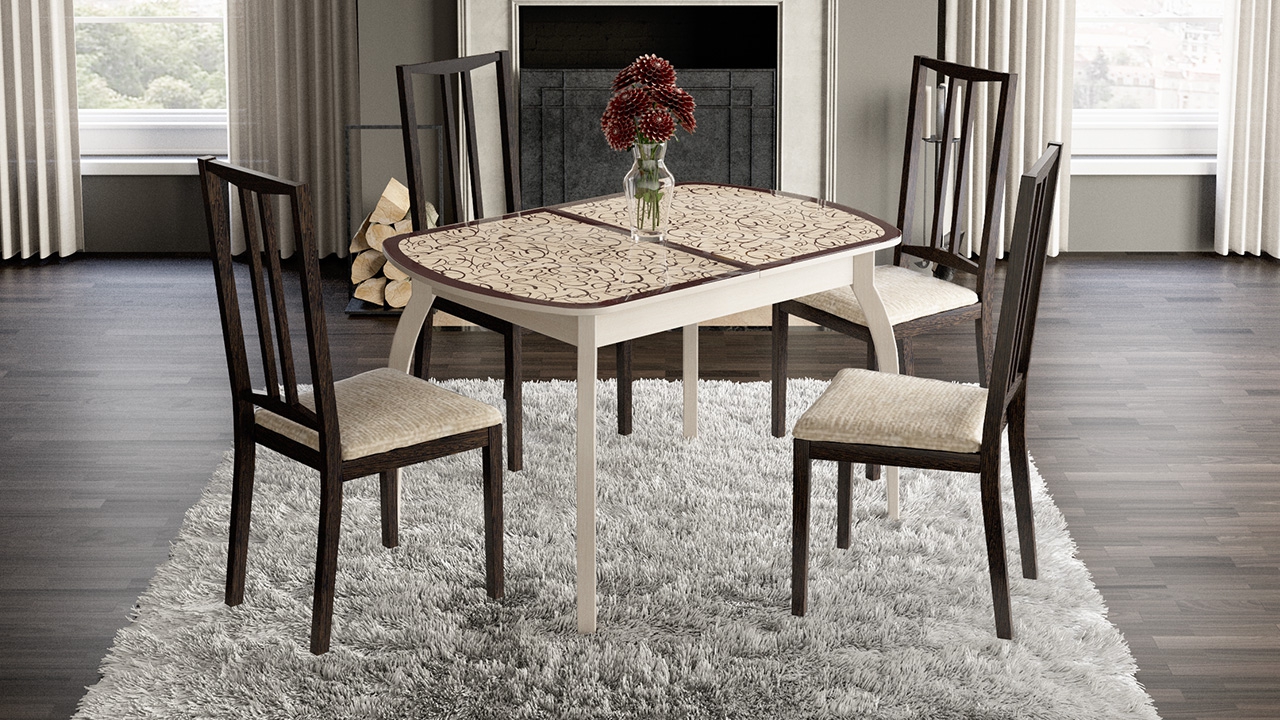
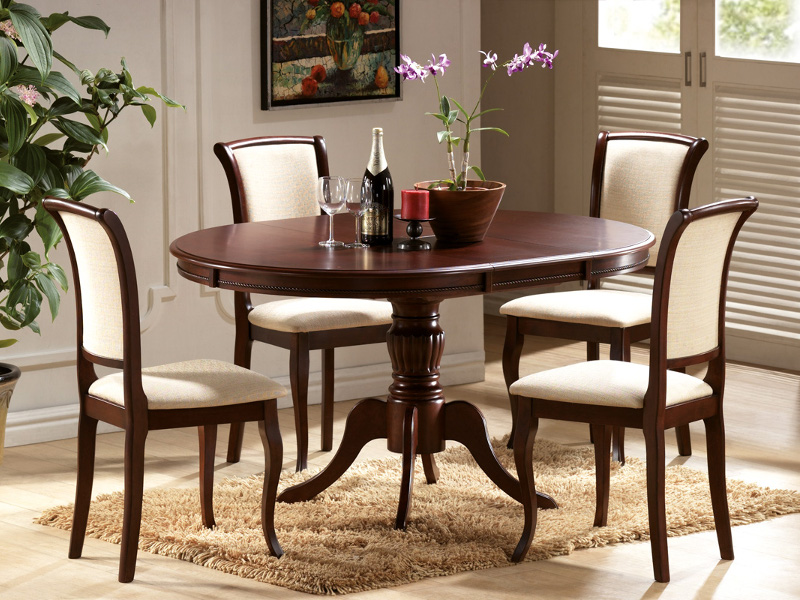
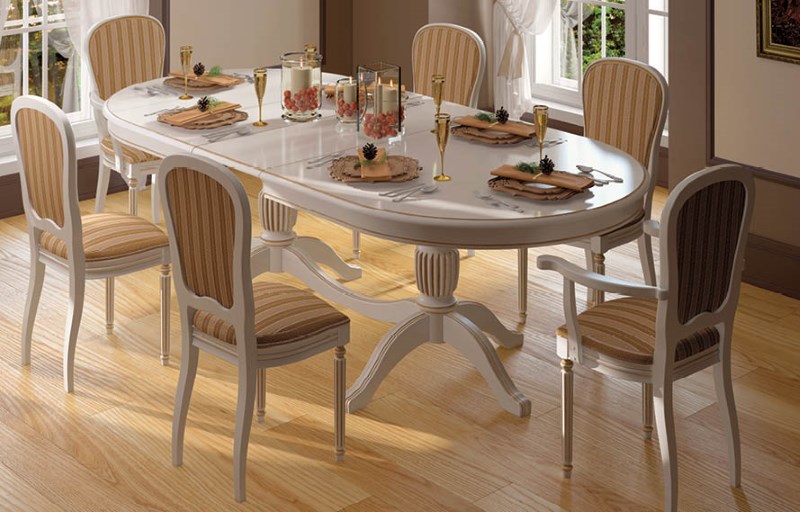
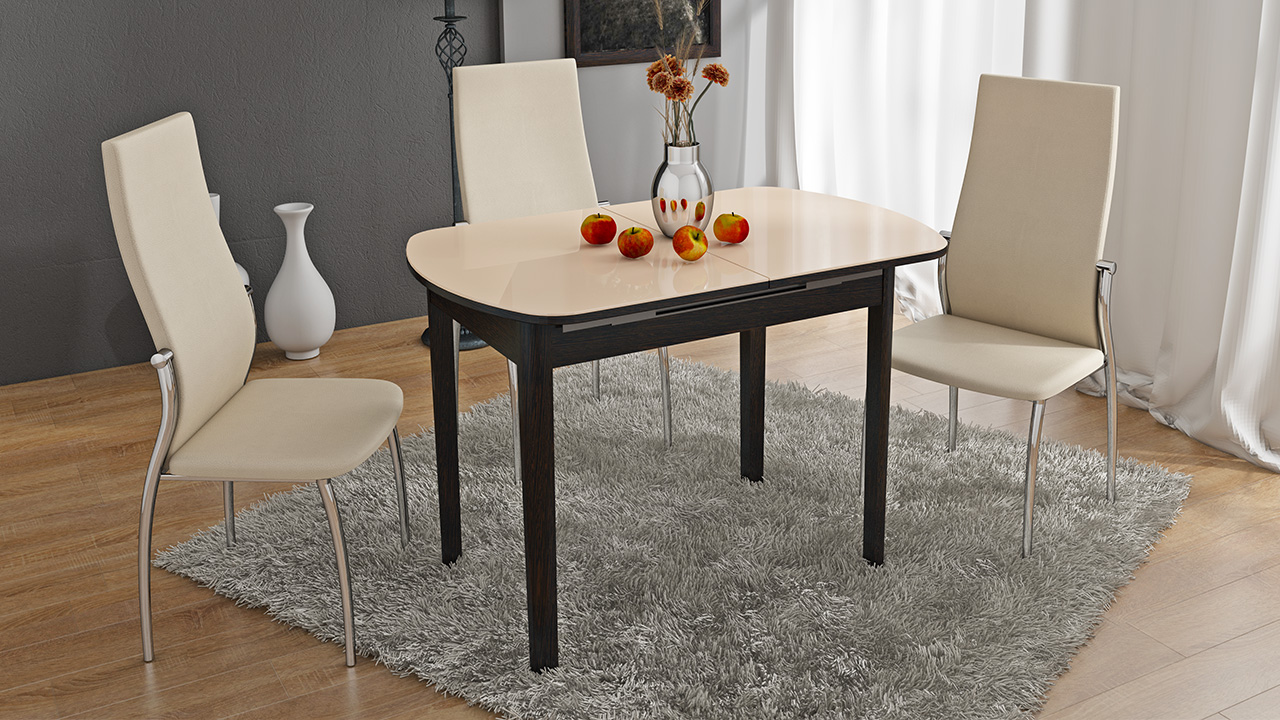
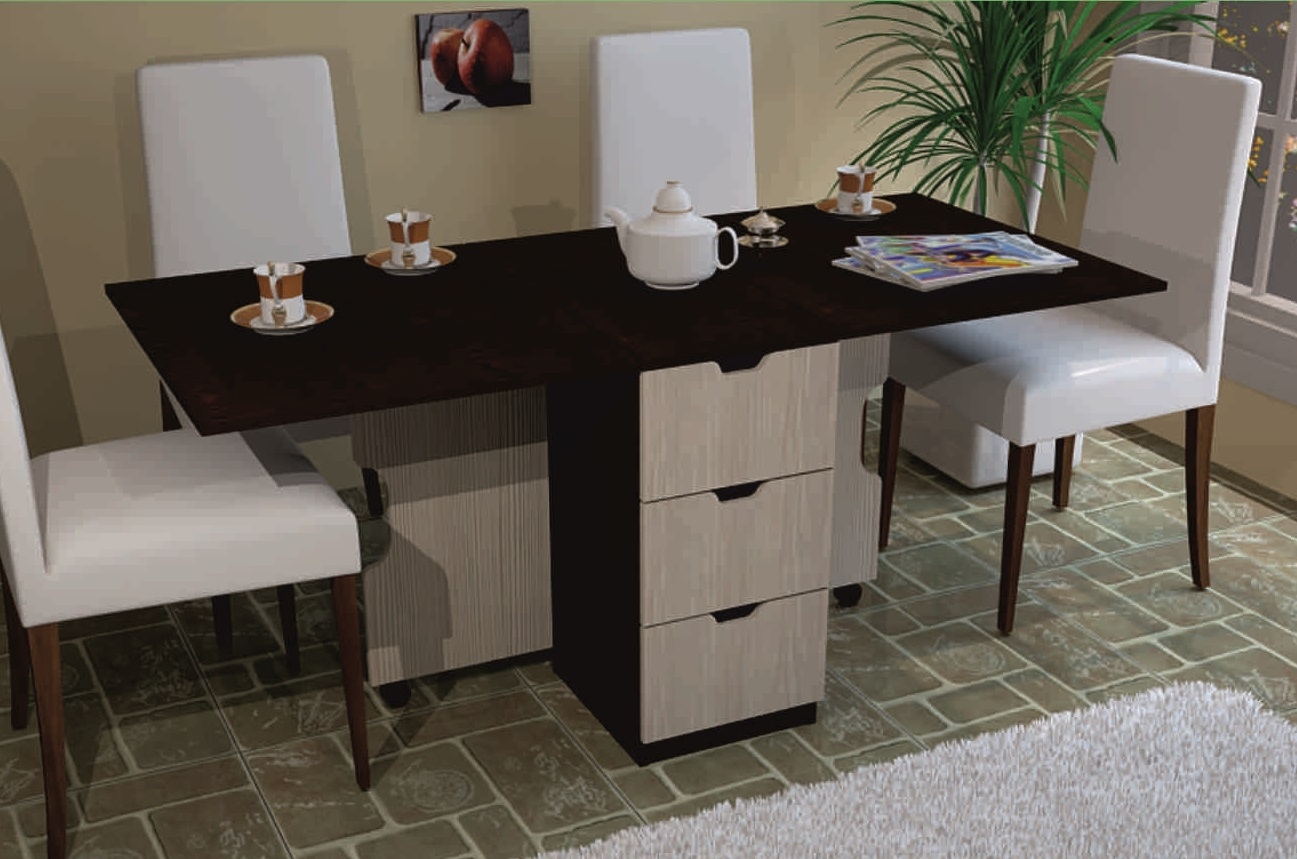
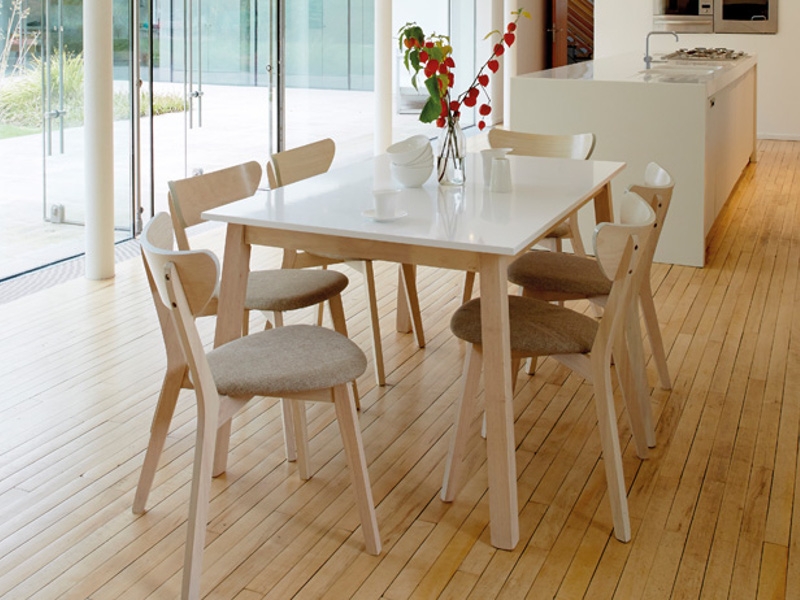
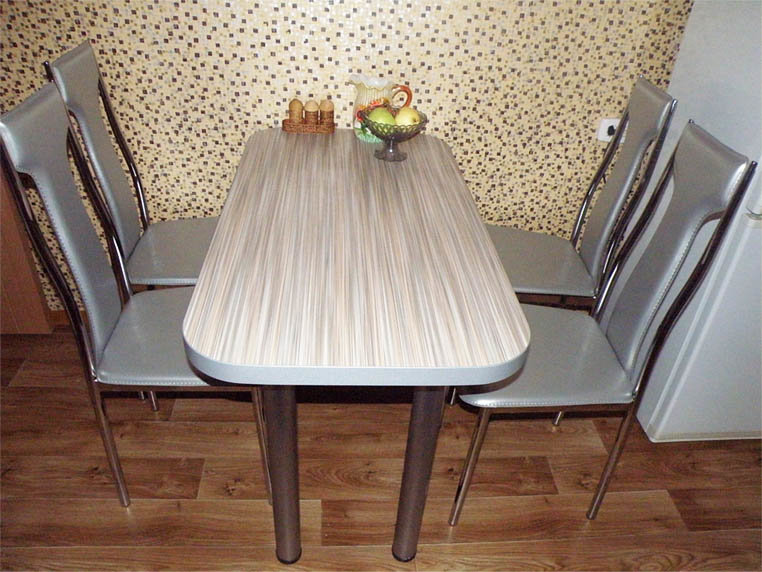
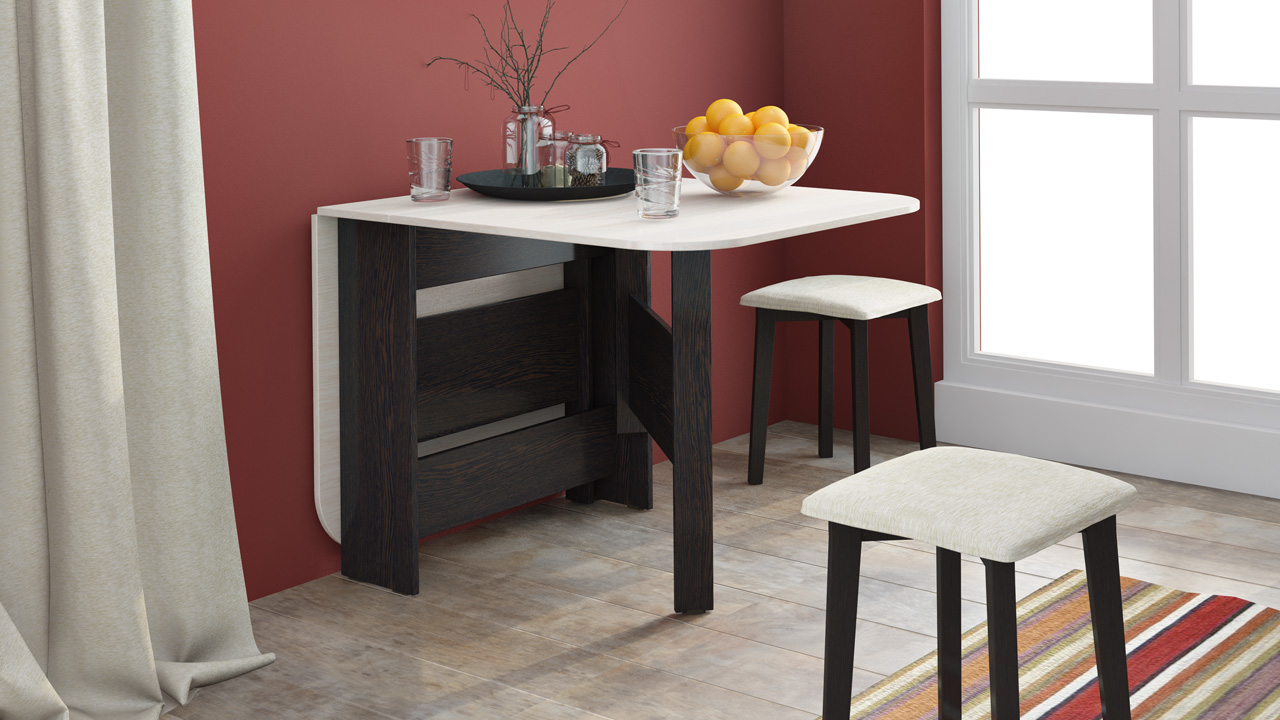
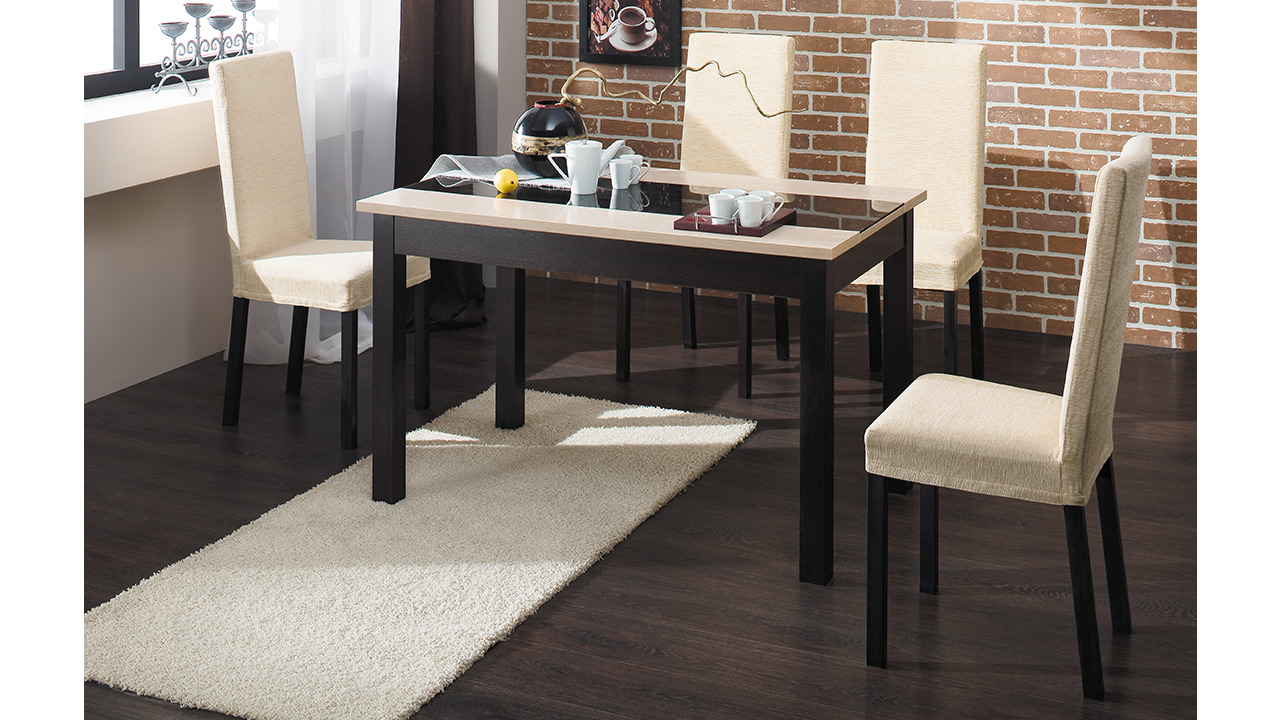
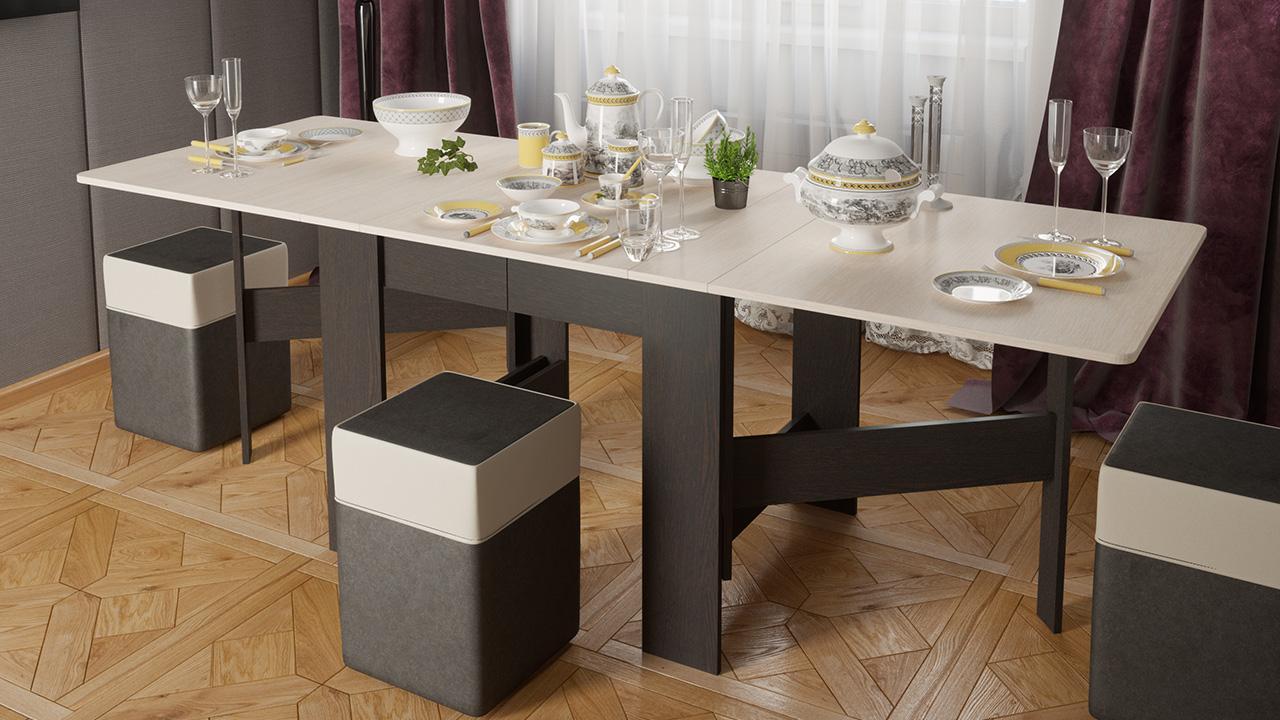
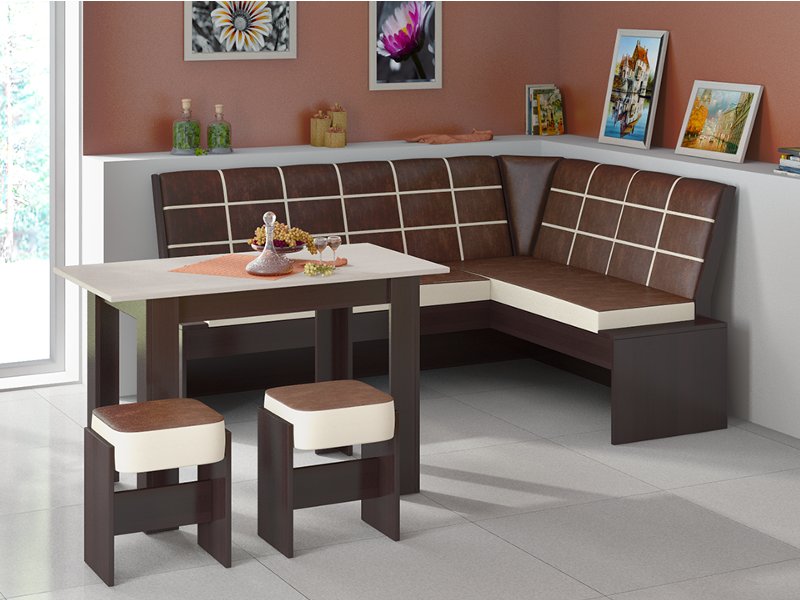
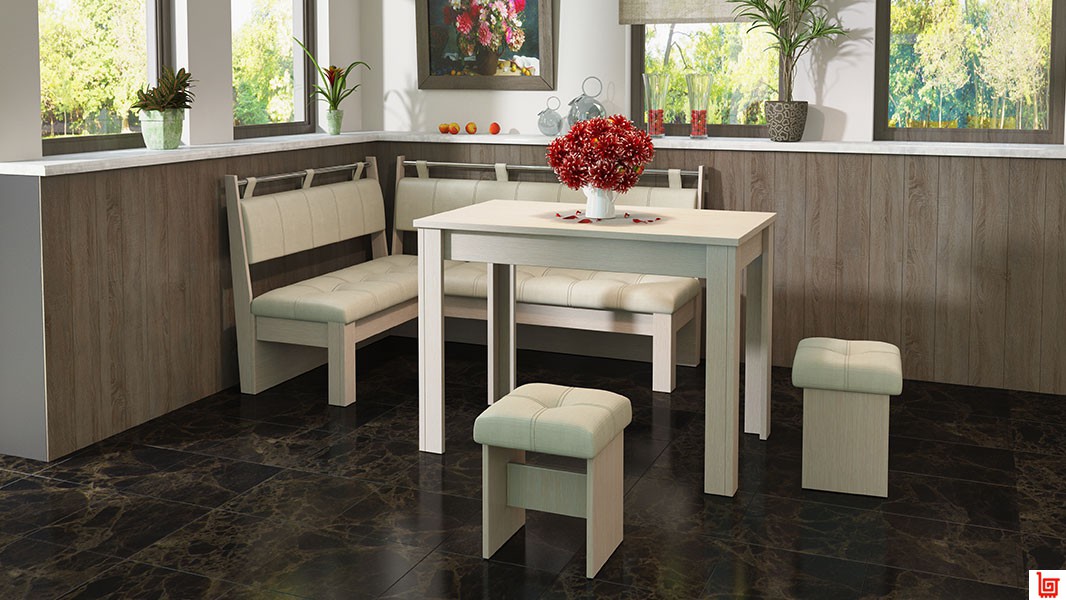
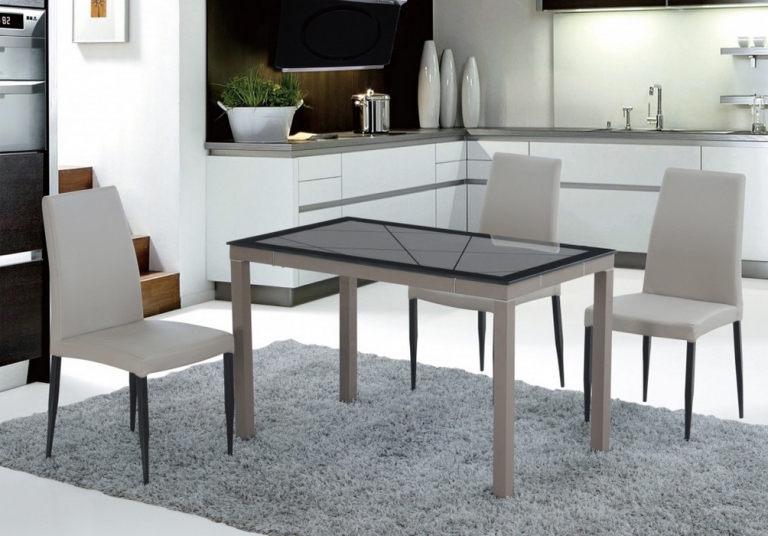
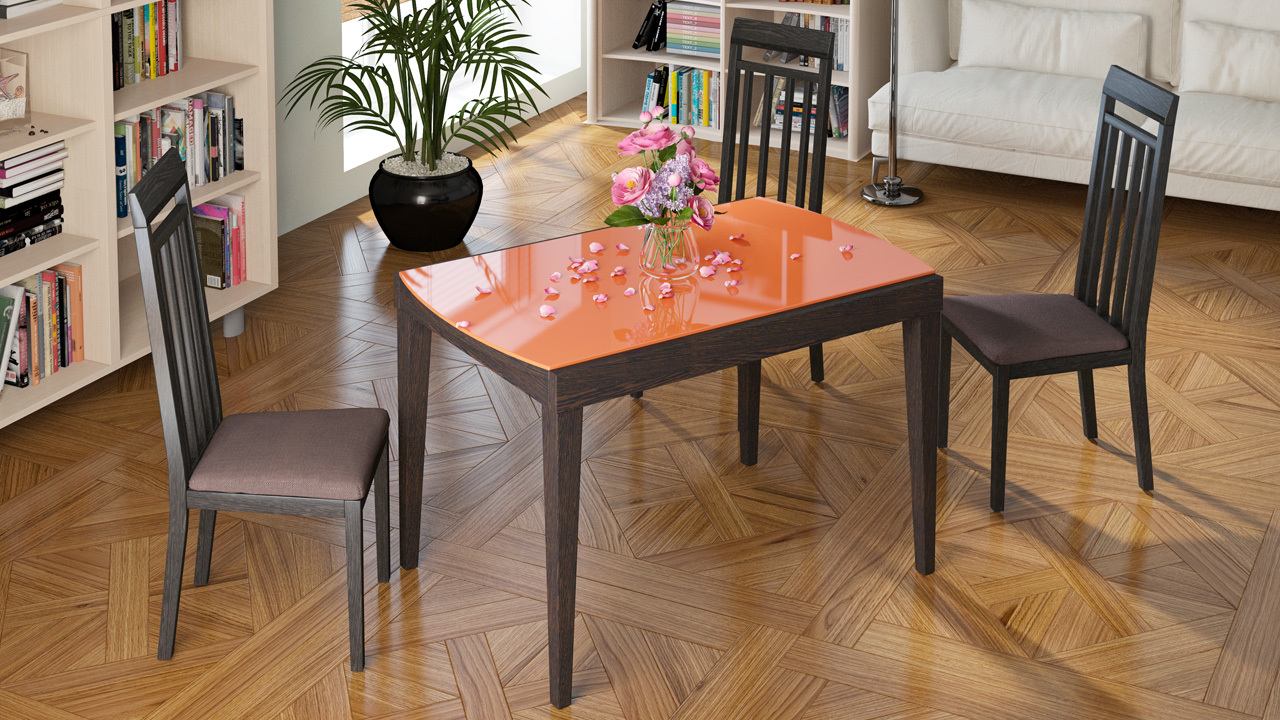
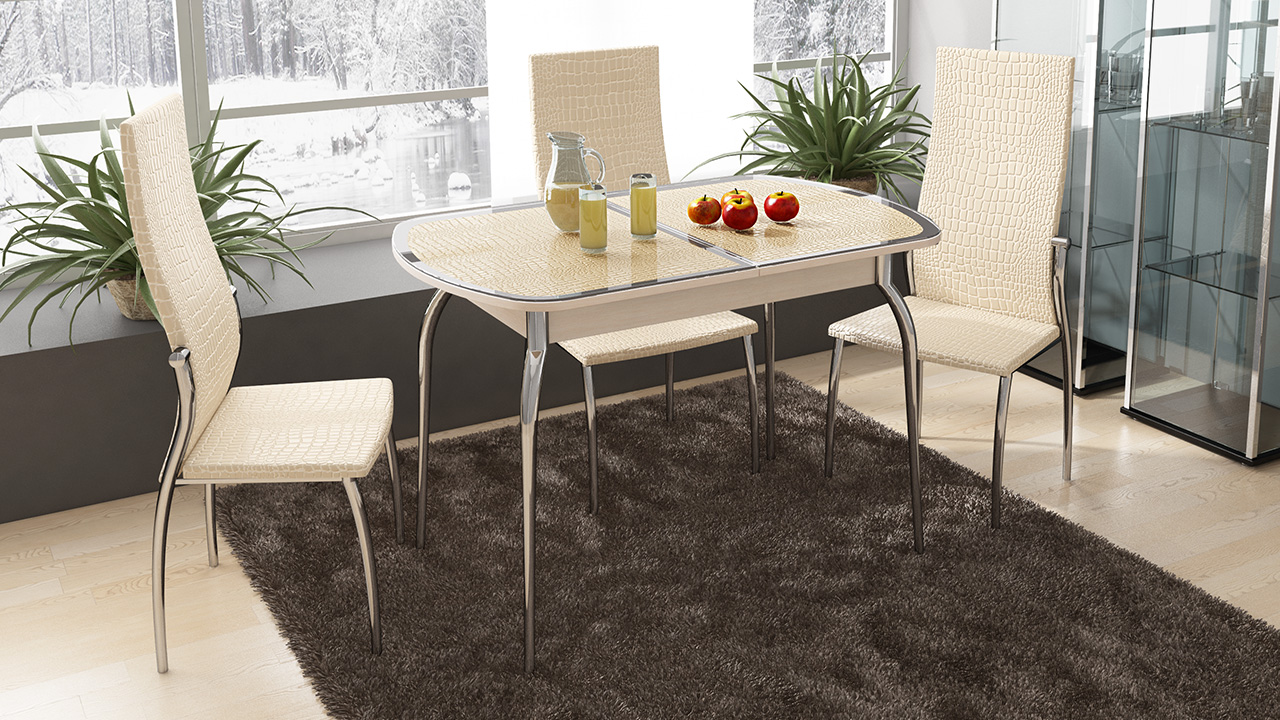
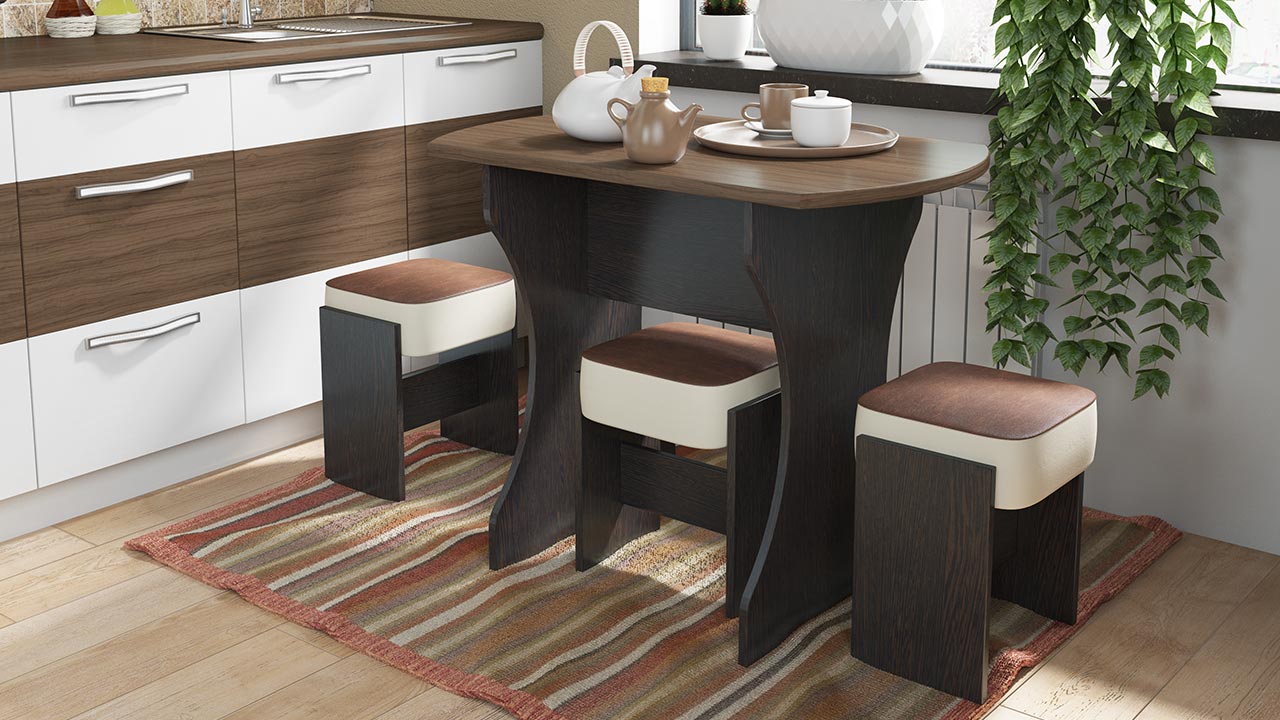
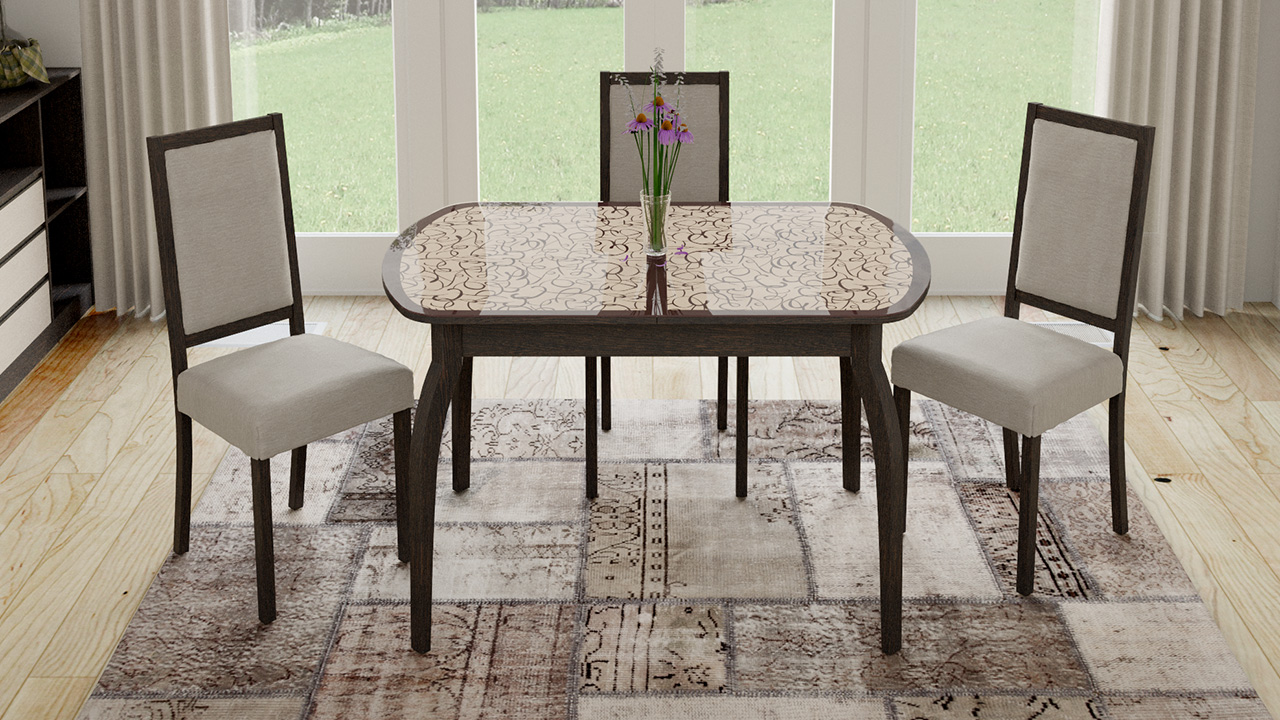
In the classic version, the kitchen table has four legs. Basically, these are traditional models with square and rectangular table tops. A three-legged table is almost always round. This may be a small coffee table or a full dining option. A table with two legs for the kitchen can be made in several forms, but most often there are models with two X-shaped legs or stable legs made of solid wood.
Materials
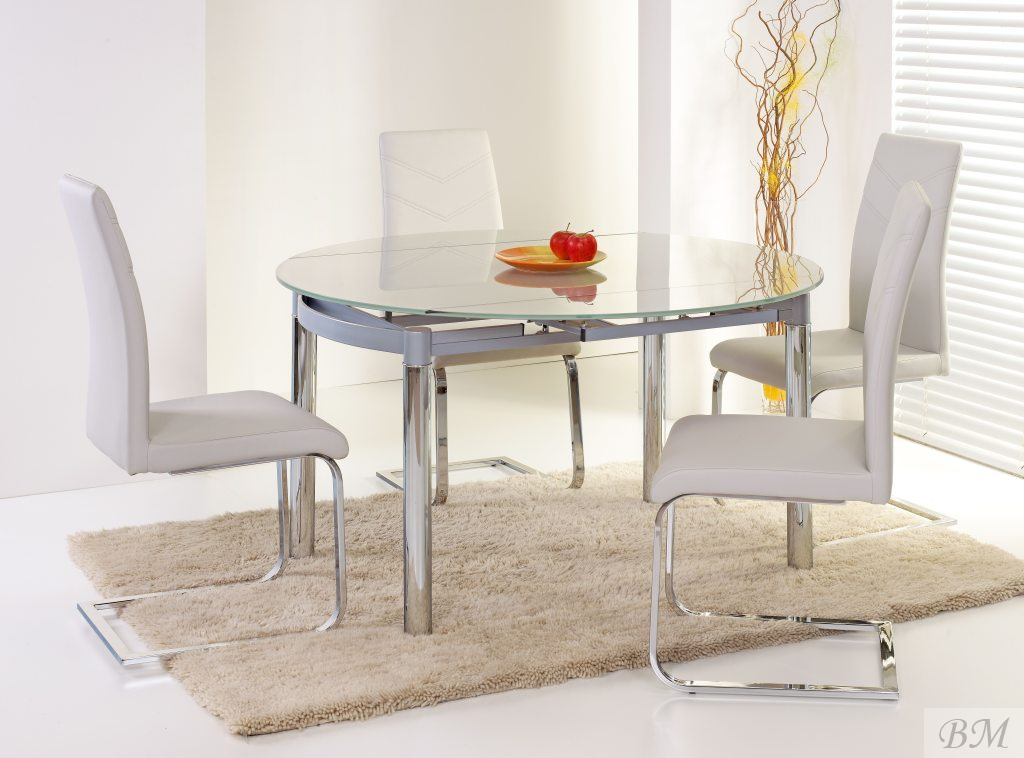
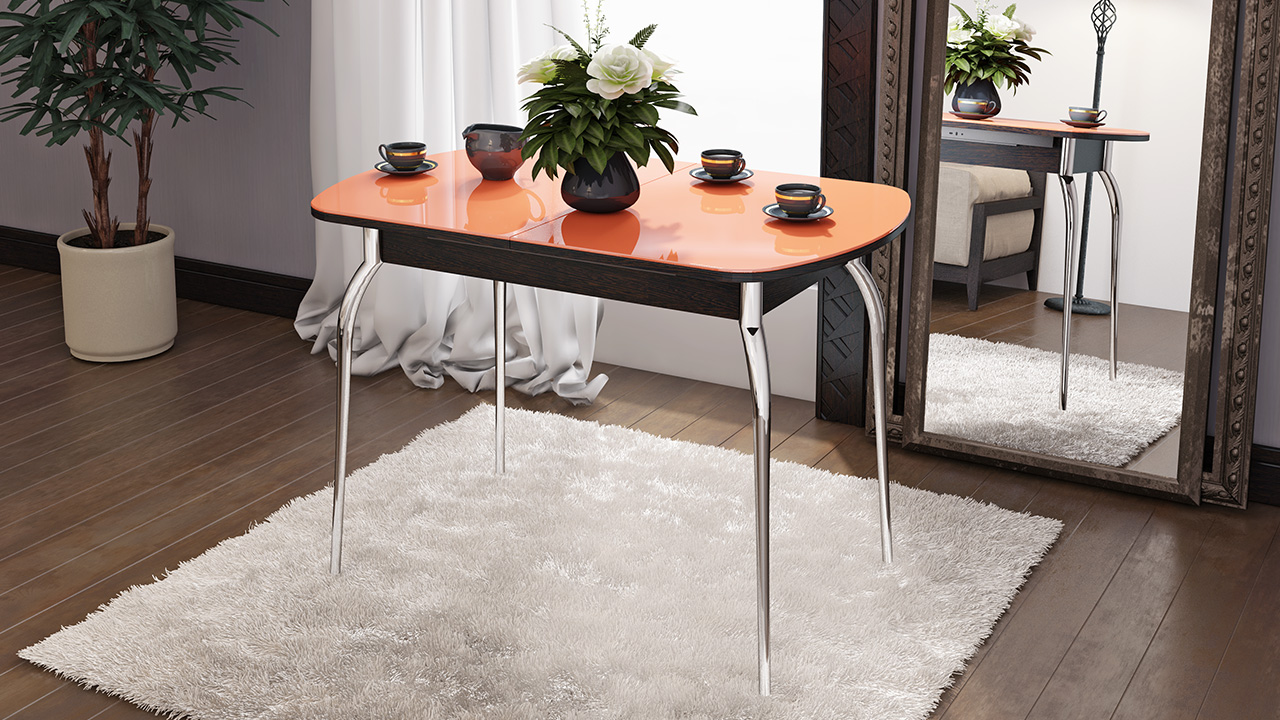
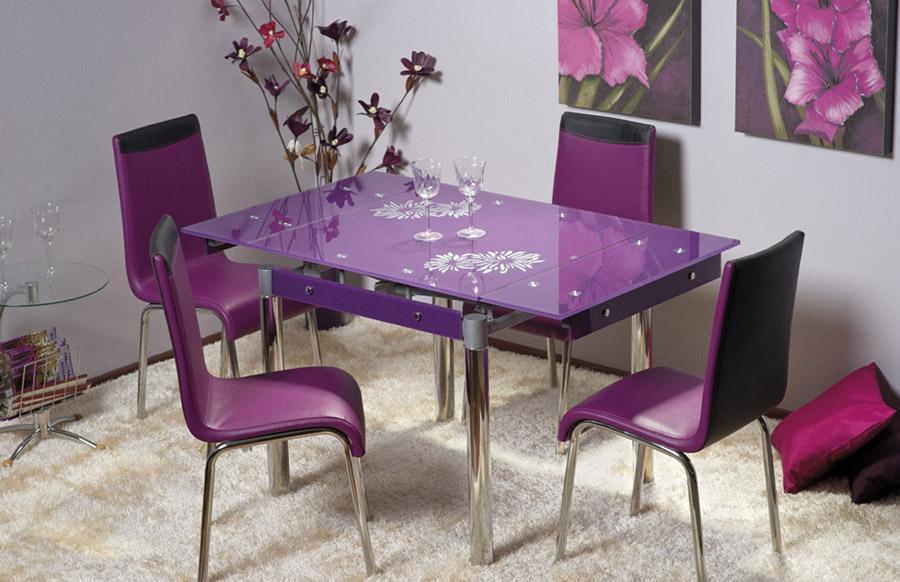
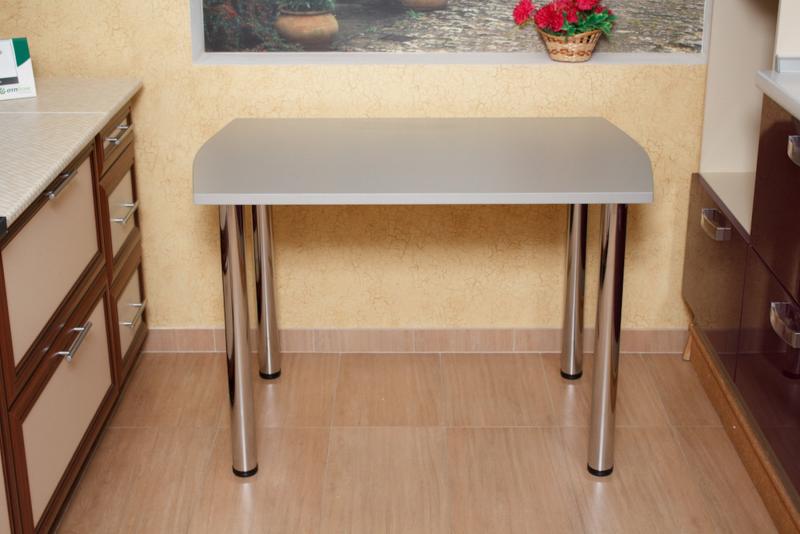
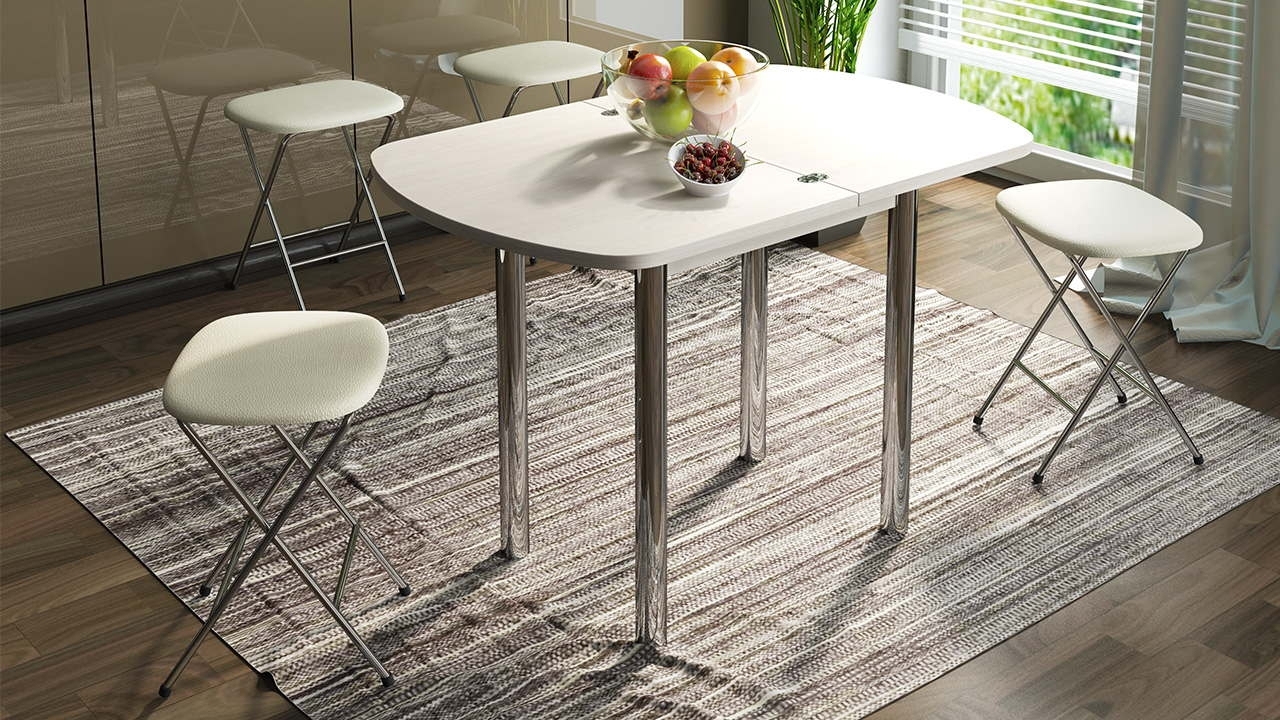
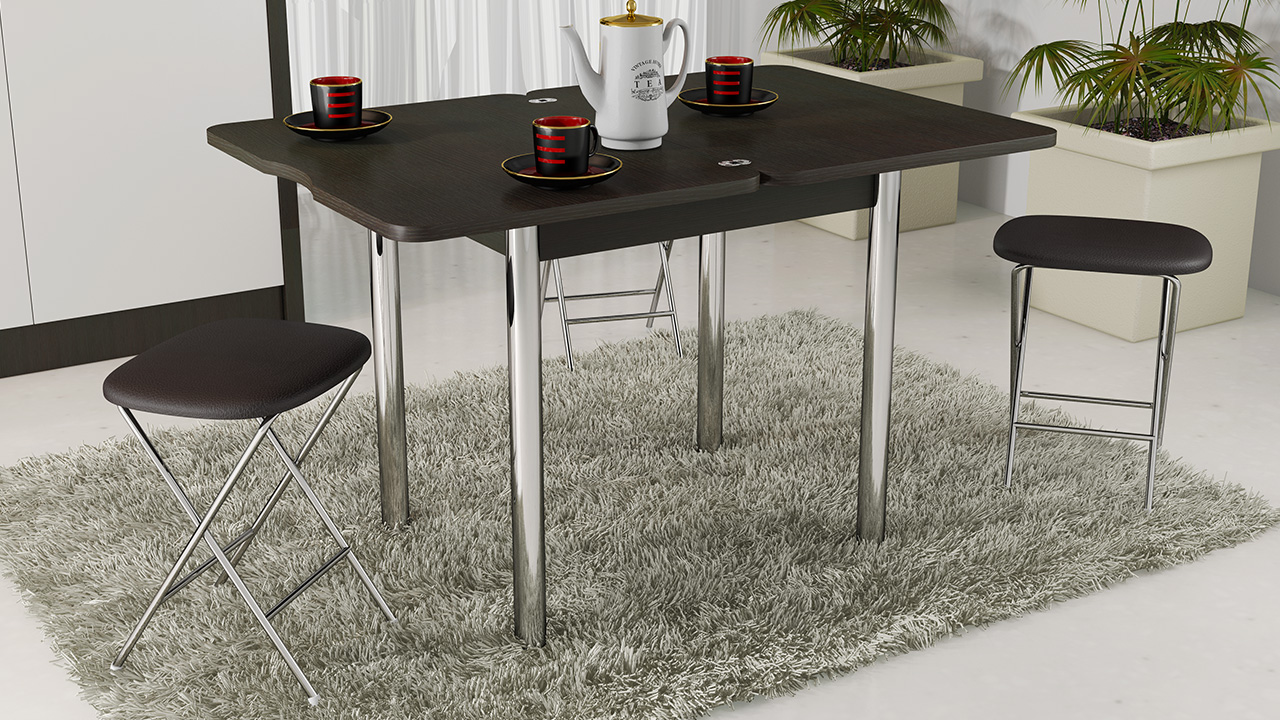
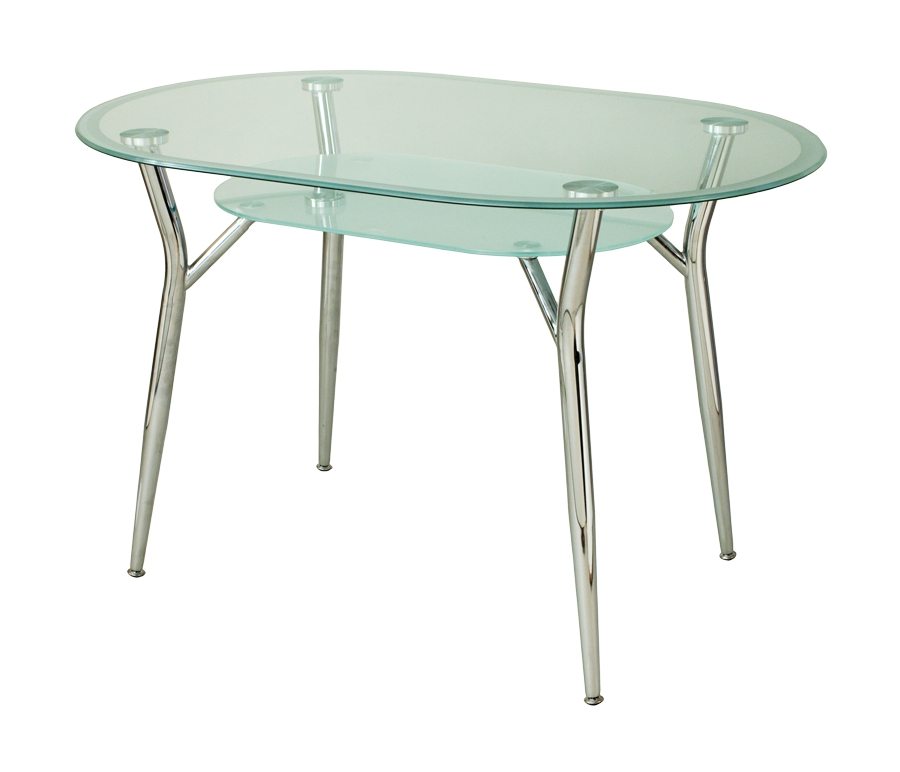
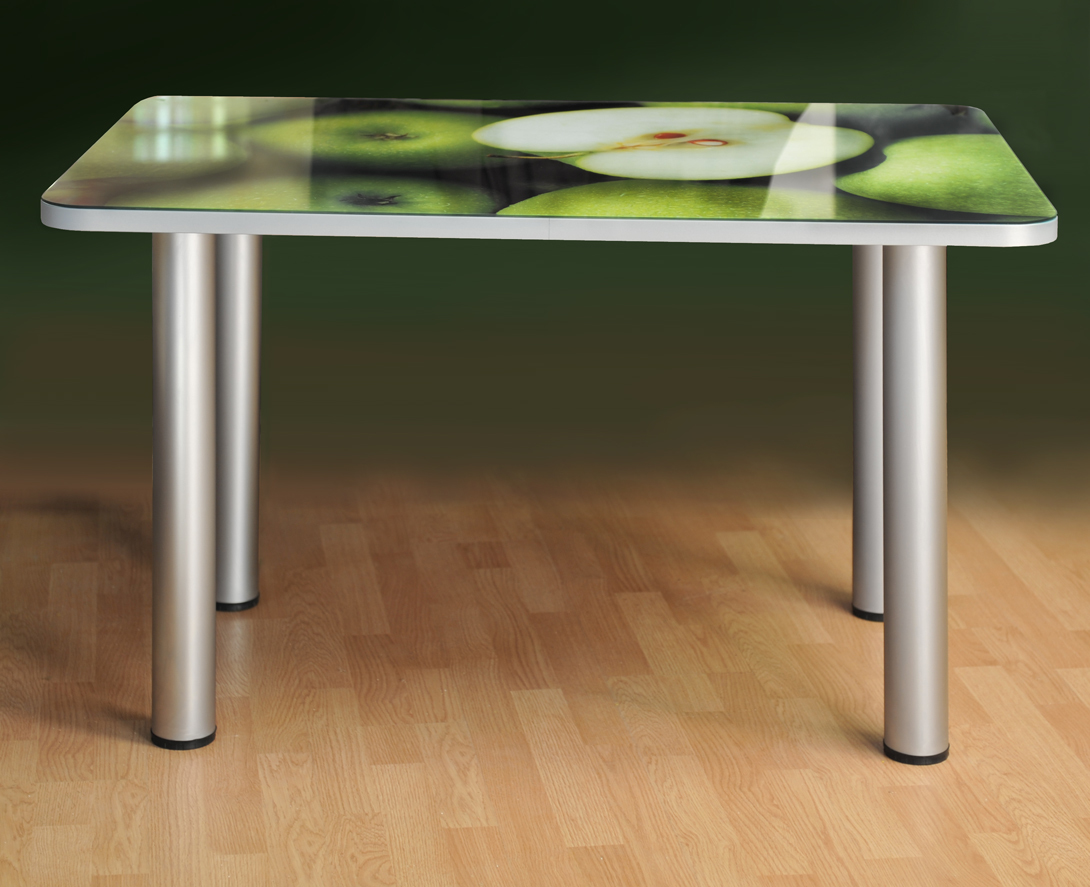
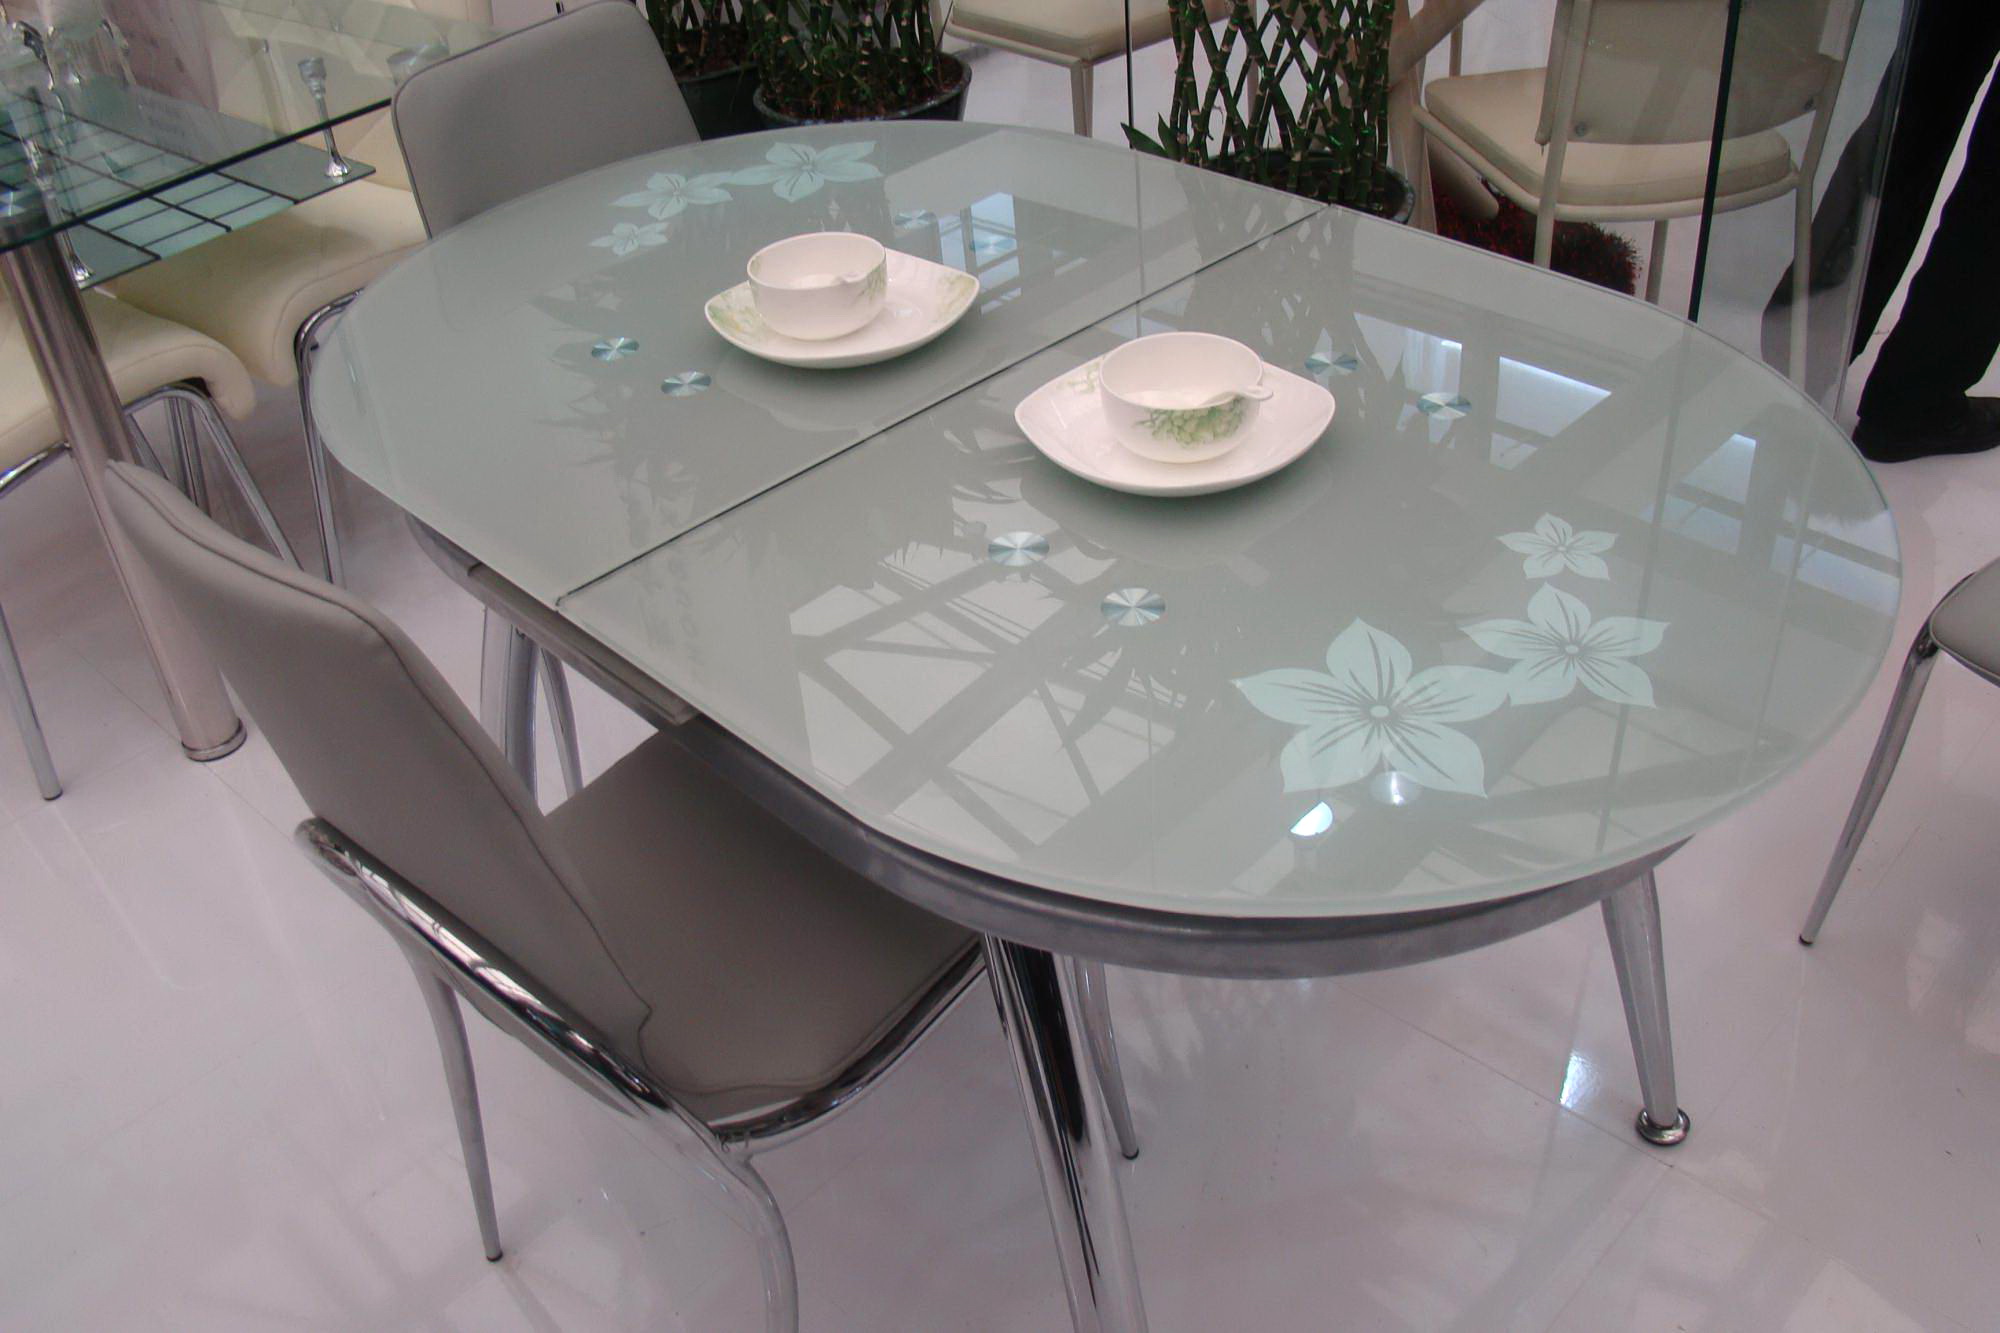
Chrome metal
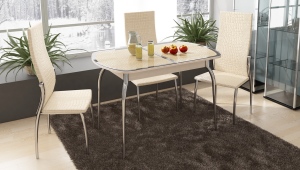
Metal legs are one of the most common types of support for kitchen tables. The exceptional strength of the material ensures their reliability. Such legs are considered to be stable not only because of the solid construction, but also due to the plugs, which are installed to protect against sliding on the floor.Manufacturers and craftsmen who decided to make a table with their own hands, metal legs attract the attention of low valuable and durable. The coating of such supports may be different, they may be painted or chrome.
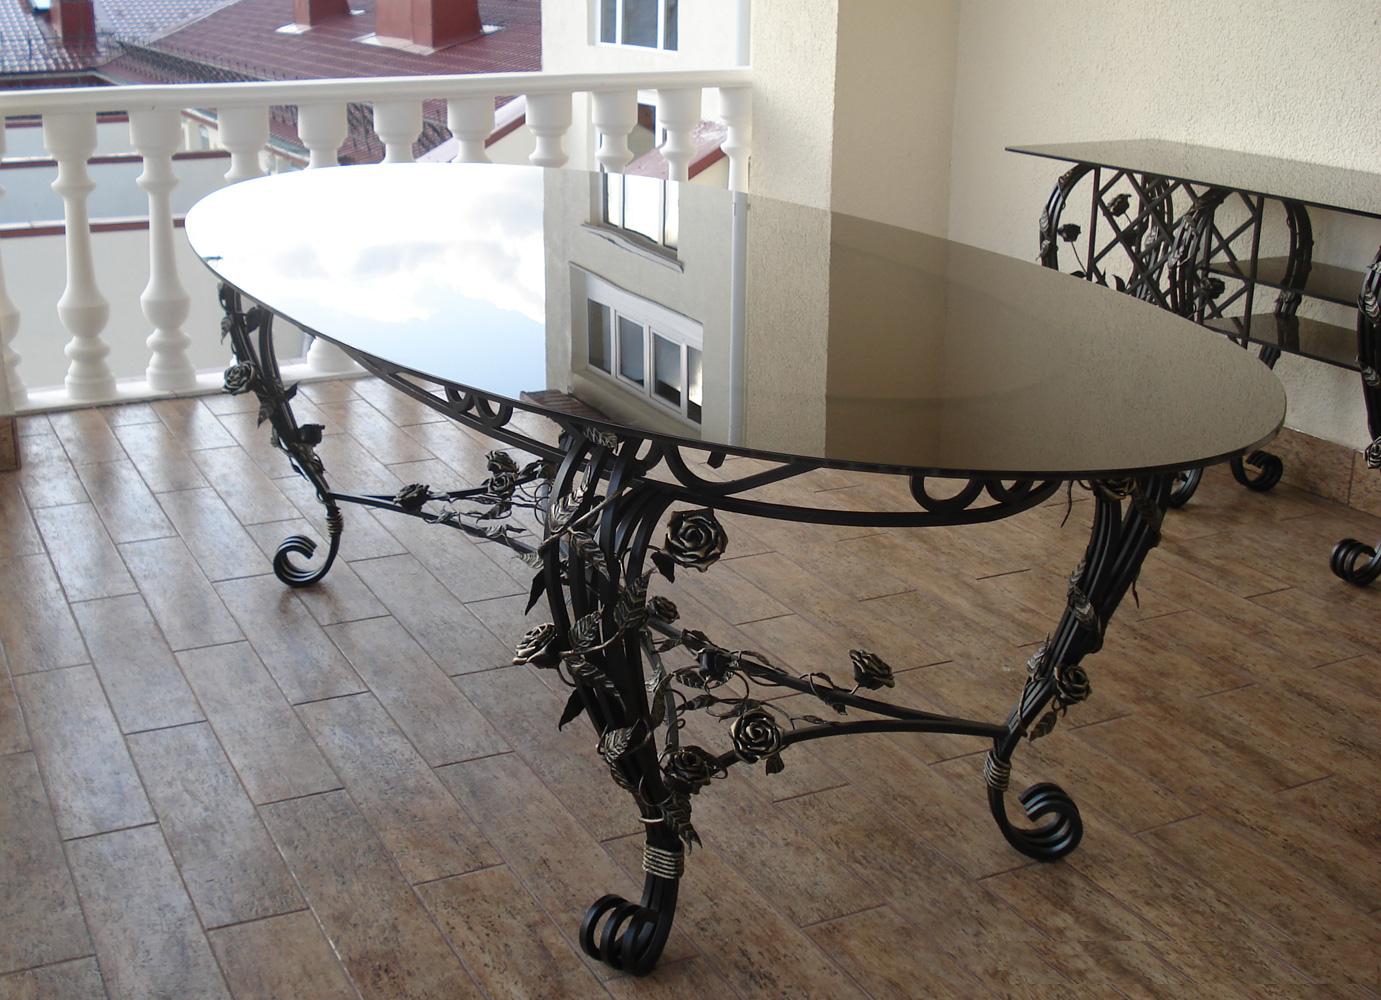
Forged metal
Tables with forged legs have a number of advantages. First, they are very durable and never need to be repaired. Secondly, the model with iron legs has maximum stability, it is almost impossible to tilt or turn. Thirdly, tables with forged legs are quite universal, they easily fit into any interior and do not conflict with interior items that do not have forged elements. Fourthly, forged legs are quite easy to clean and there are no special recommendations for their maintenance.
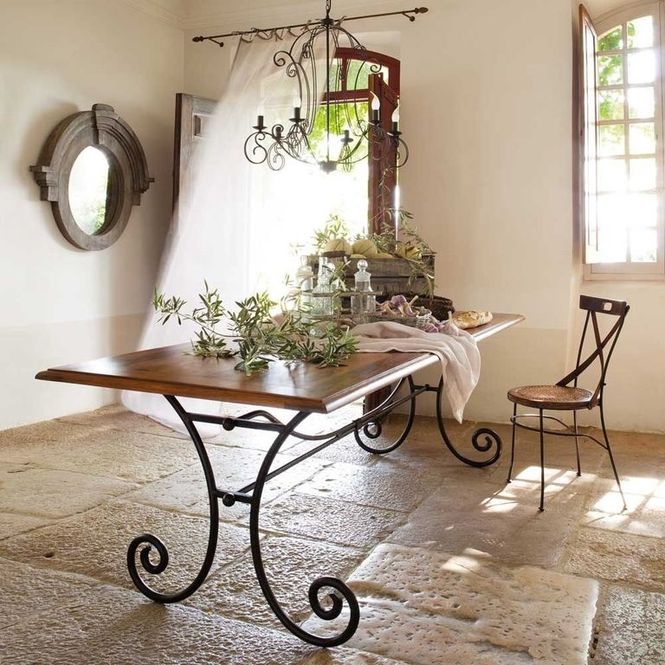
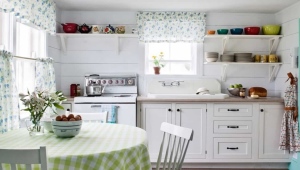
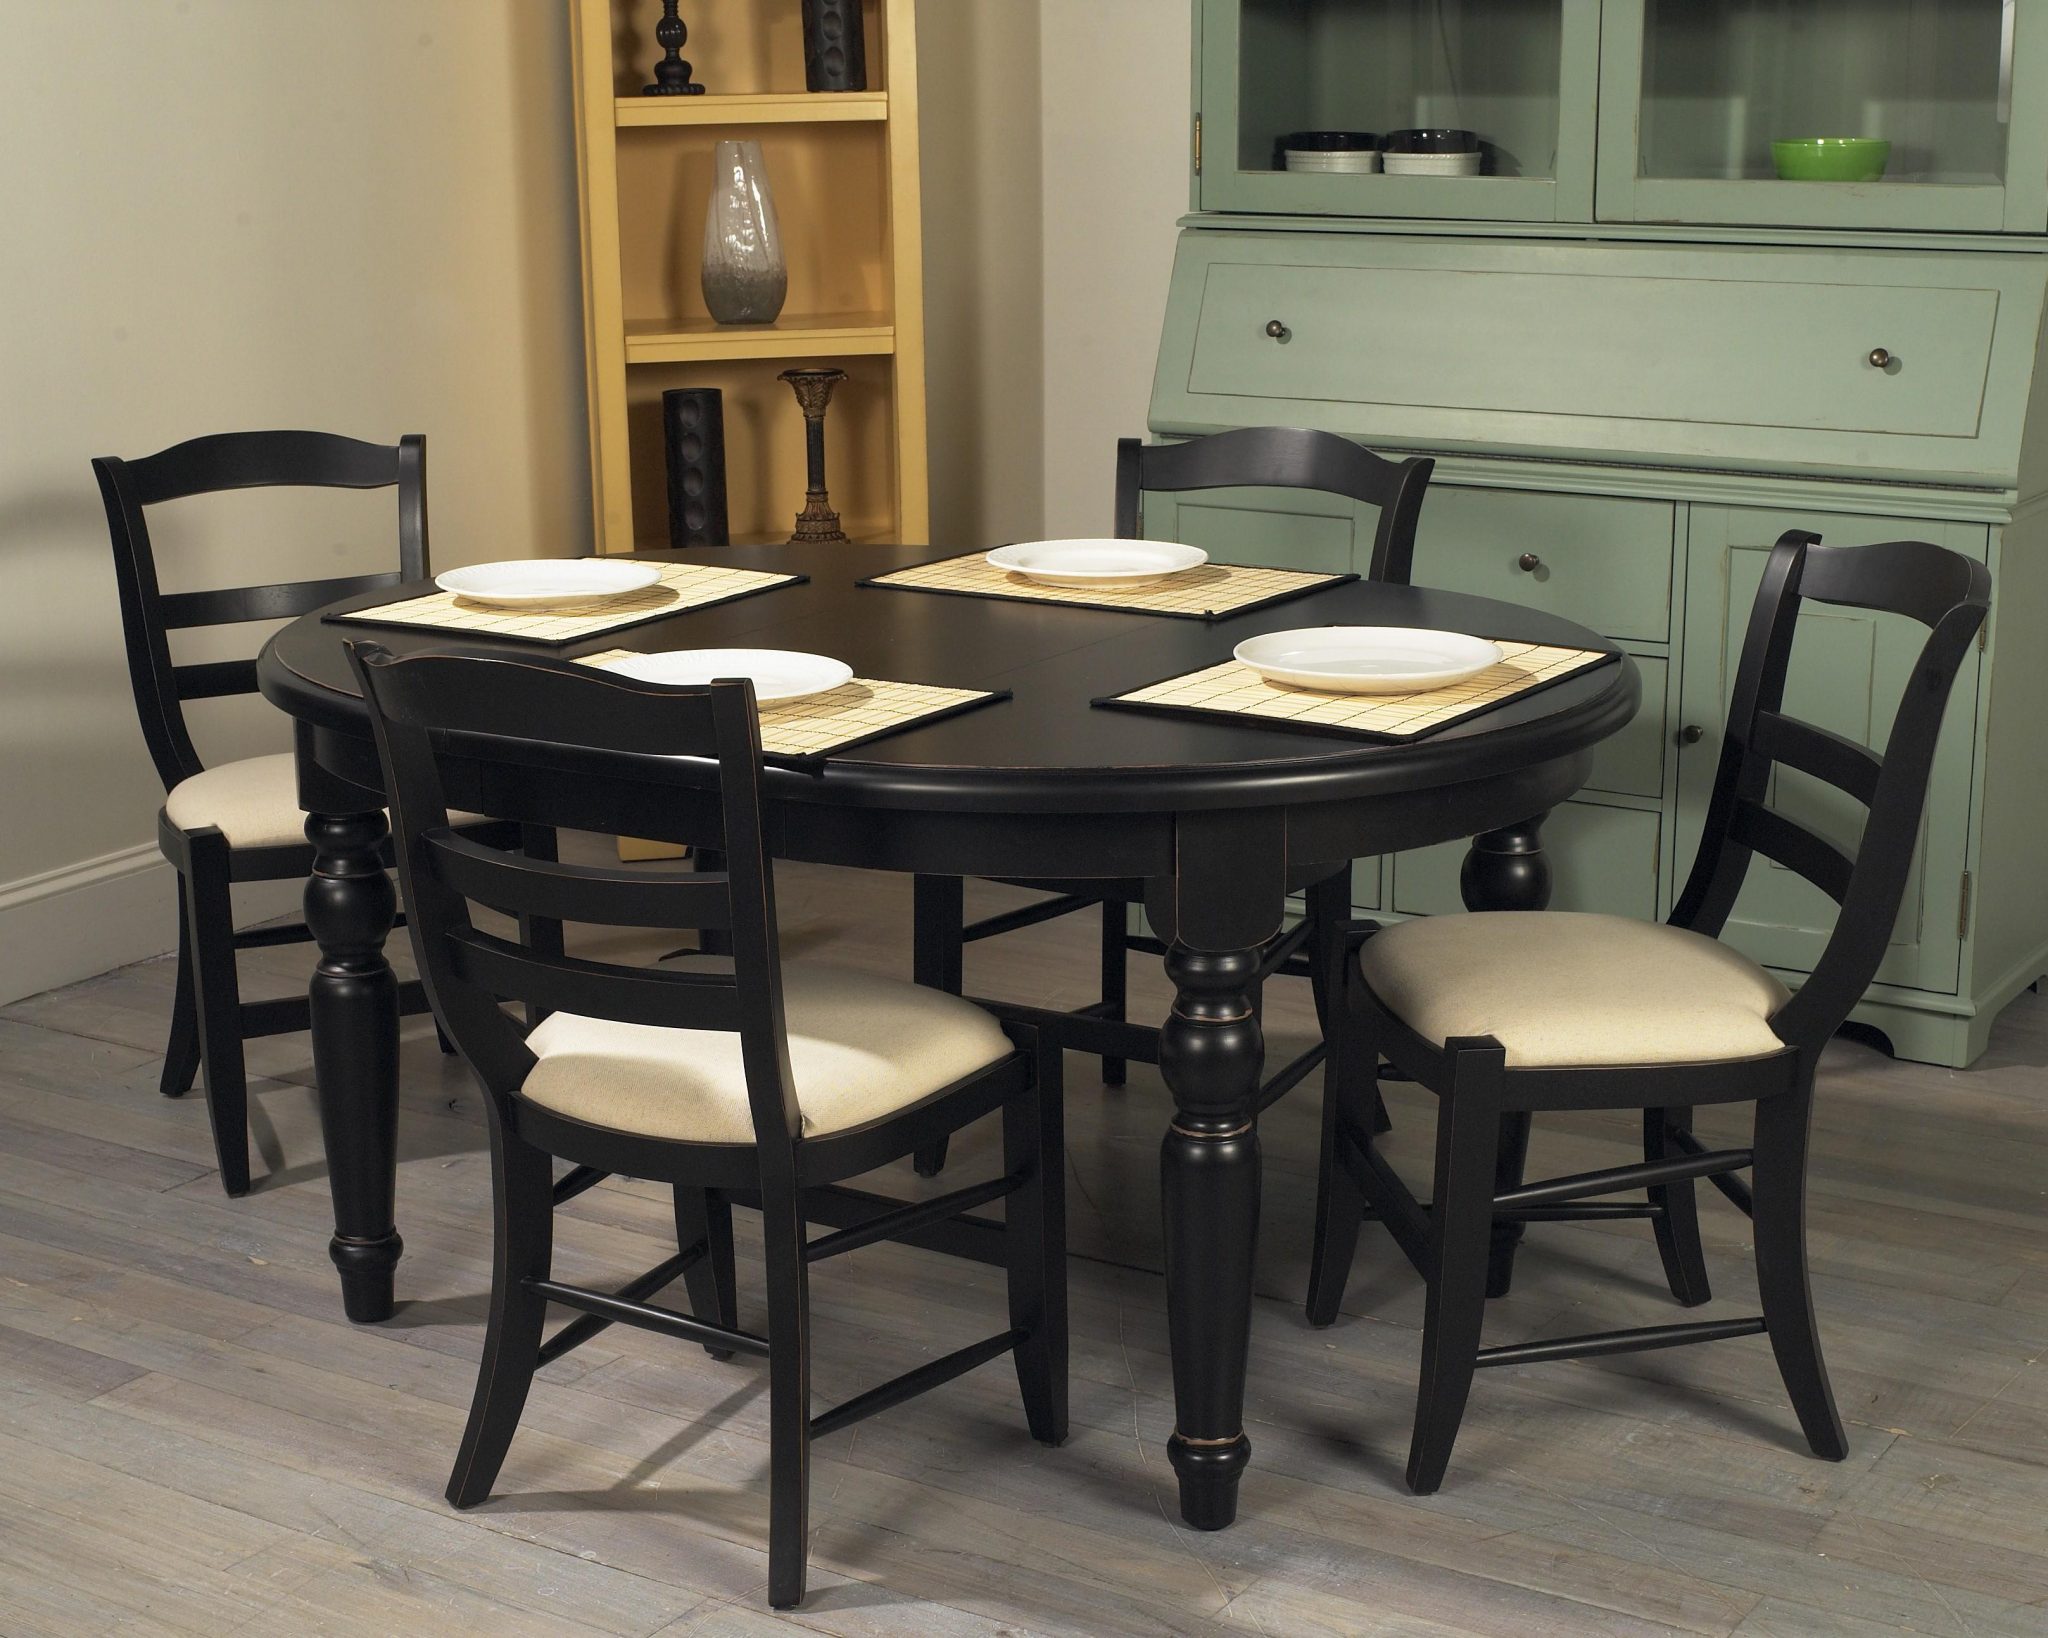
Wood
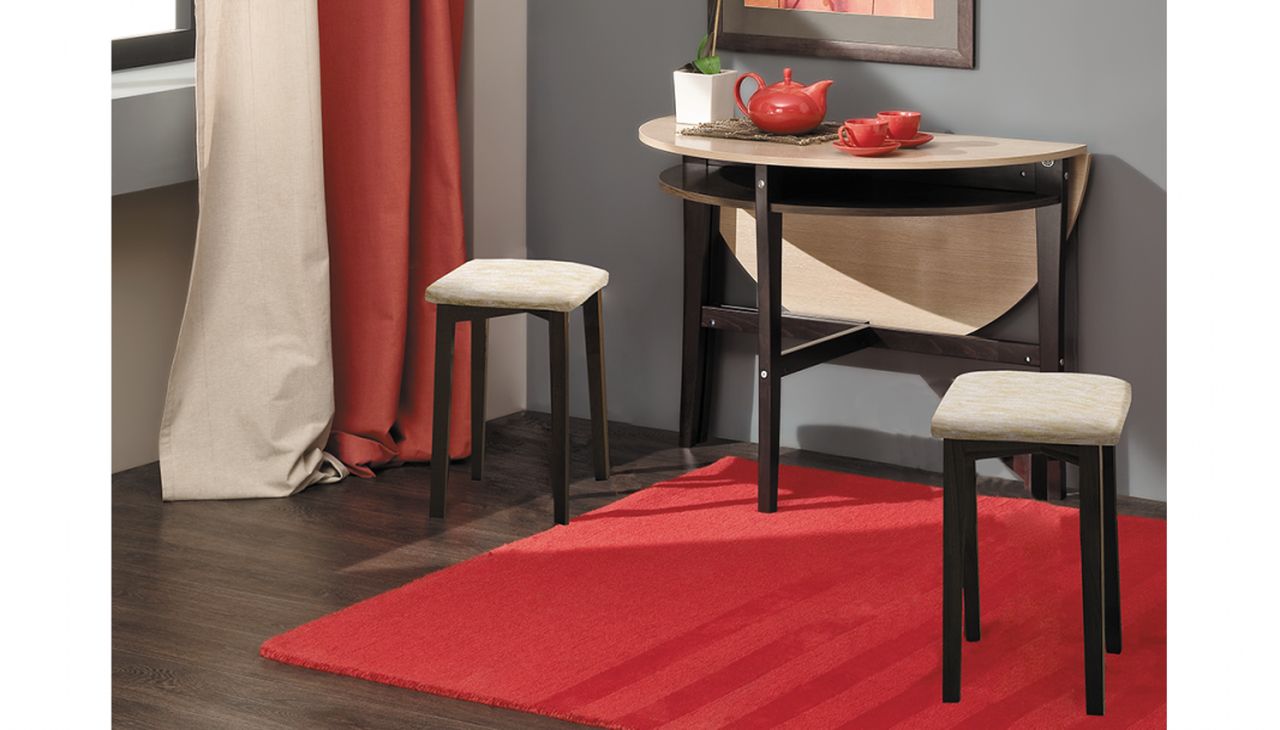
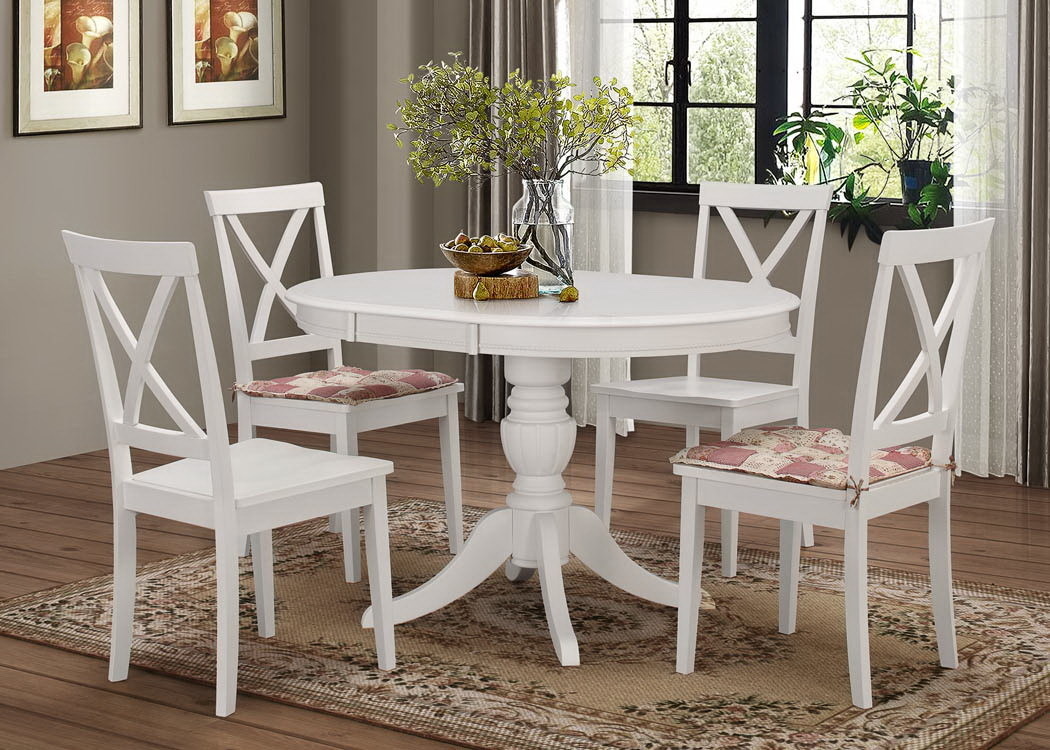
Tables made of natural wood - this is a classic and the oldest tradition of our country. Such furniture always looks very nice and expensive. Wooden legs for the kitchen table can be of various shapes: round, square or carved. Models with carved or chiseled legs are the most beautiful and graceful, and the overall impression of the furniture often depends on the skill of the craftsmen.Wood is varnished and polished; layers are made as long as necessary to obtain a beautiful smooth surface.
Plastic
Plastic legs are in great demand because of their low cost. In addition, furniture legs made of polyurethane high quality and reliable, endearing beautiful carvings. The legs of this material are perfectly combined with all the tabletops, regardless of the material from which they are made. Polymeric materials are absolutely not susceptible to moisture and fumes. Another advantage of the legs of polyurethane is their flame retardancy, which helps prevent the rapid spread of fire in the room in case of fire.
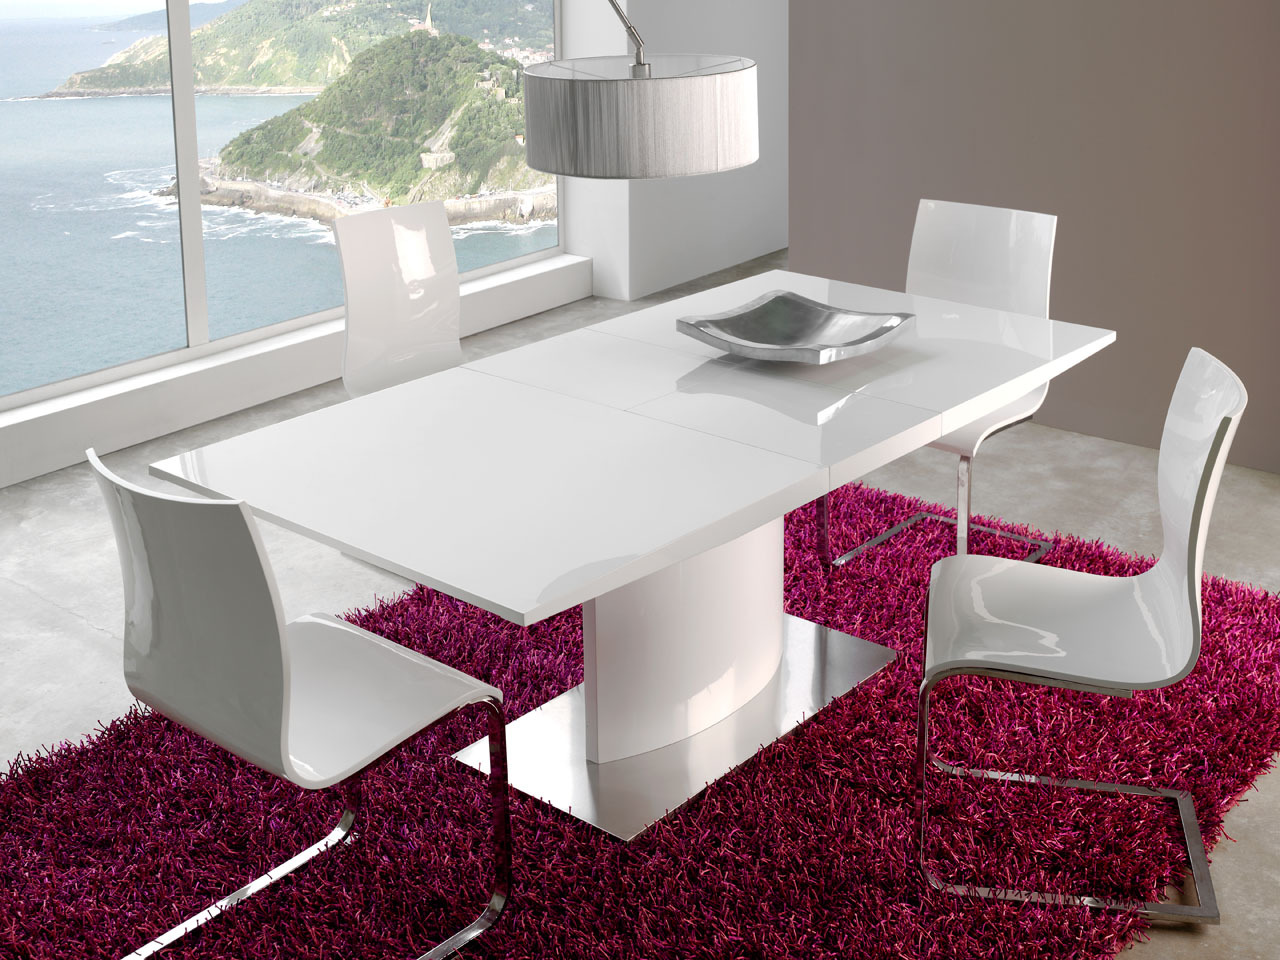
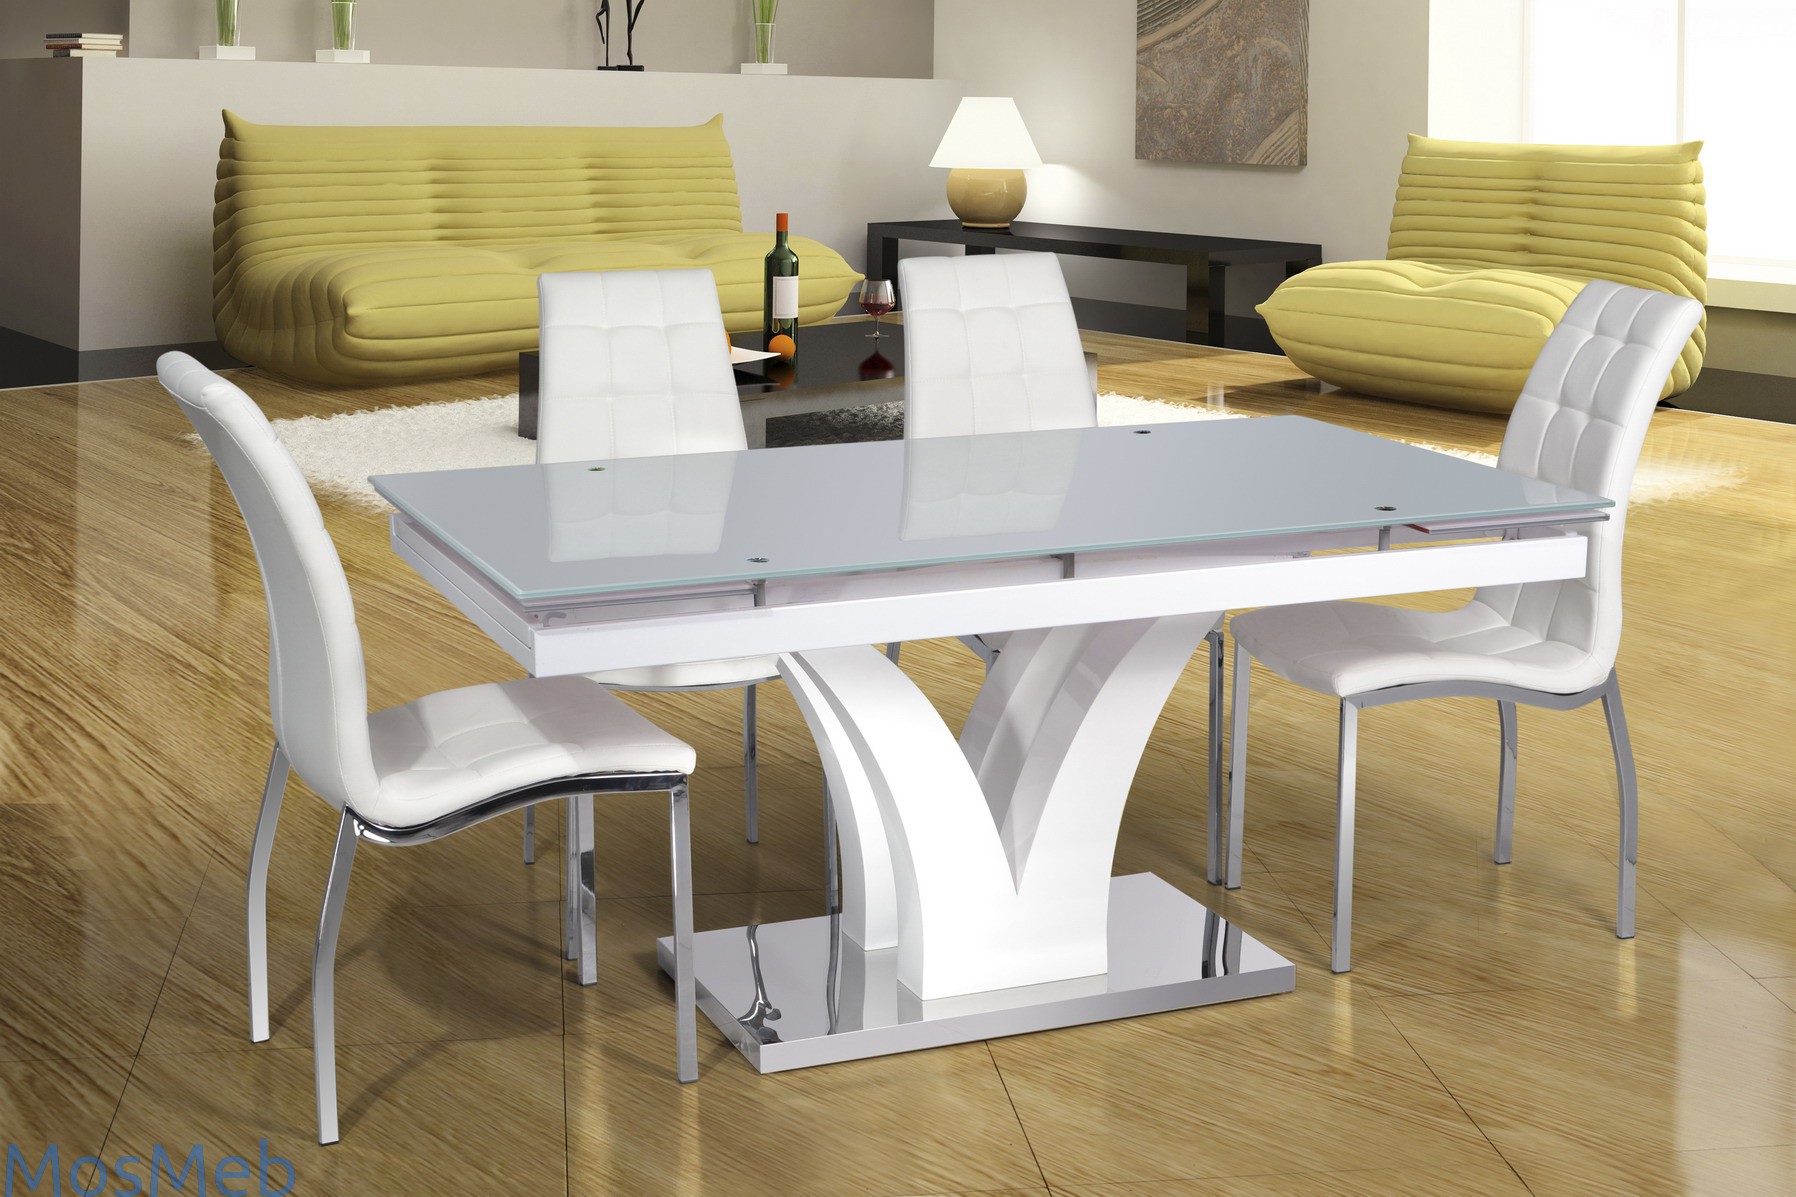
Design Findings
The most common version of the legs to the fashionable tables for the kitchen is chrome-plated supports that are in perfect harmony with the retro style, minimalism and high-tech. If you look for the latest design designs of tables and supports for them, then you can find a rather unusual performance. For example, supports can be too wide or, on the contrary, extremely narrowed. Often the form of supports in the designer’s fantasy suddenly becomes curved or decorated with artistic decoration.
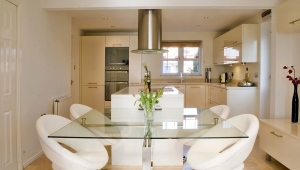
Particular attention is given to the legs, if they are under a transparent tabletop. In this case, all the splendor of beautiful legs is perfectly visible visually, so a creative approach to their execution is required. The support can be a metal box with a cross-section that is bent at an angle of 90 degrees and has a cross-section that plays the role of a central support. Luxurious design is obtained by using four elegantly curved legs, similar to the paws of insects.
Special luxury is given to the tables by intertwined metal legs. They can fill almost all the space under it or part of it, be in the form of a geometric figure, or represent the leaves of a plant.
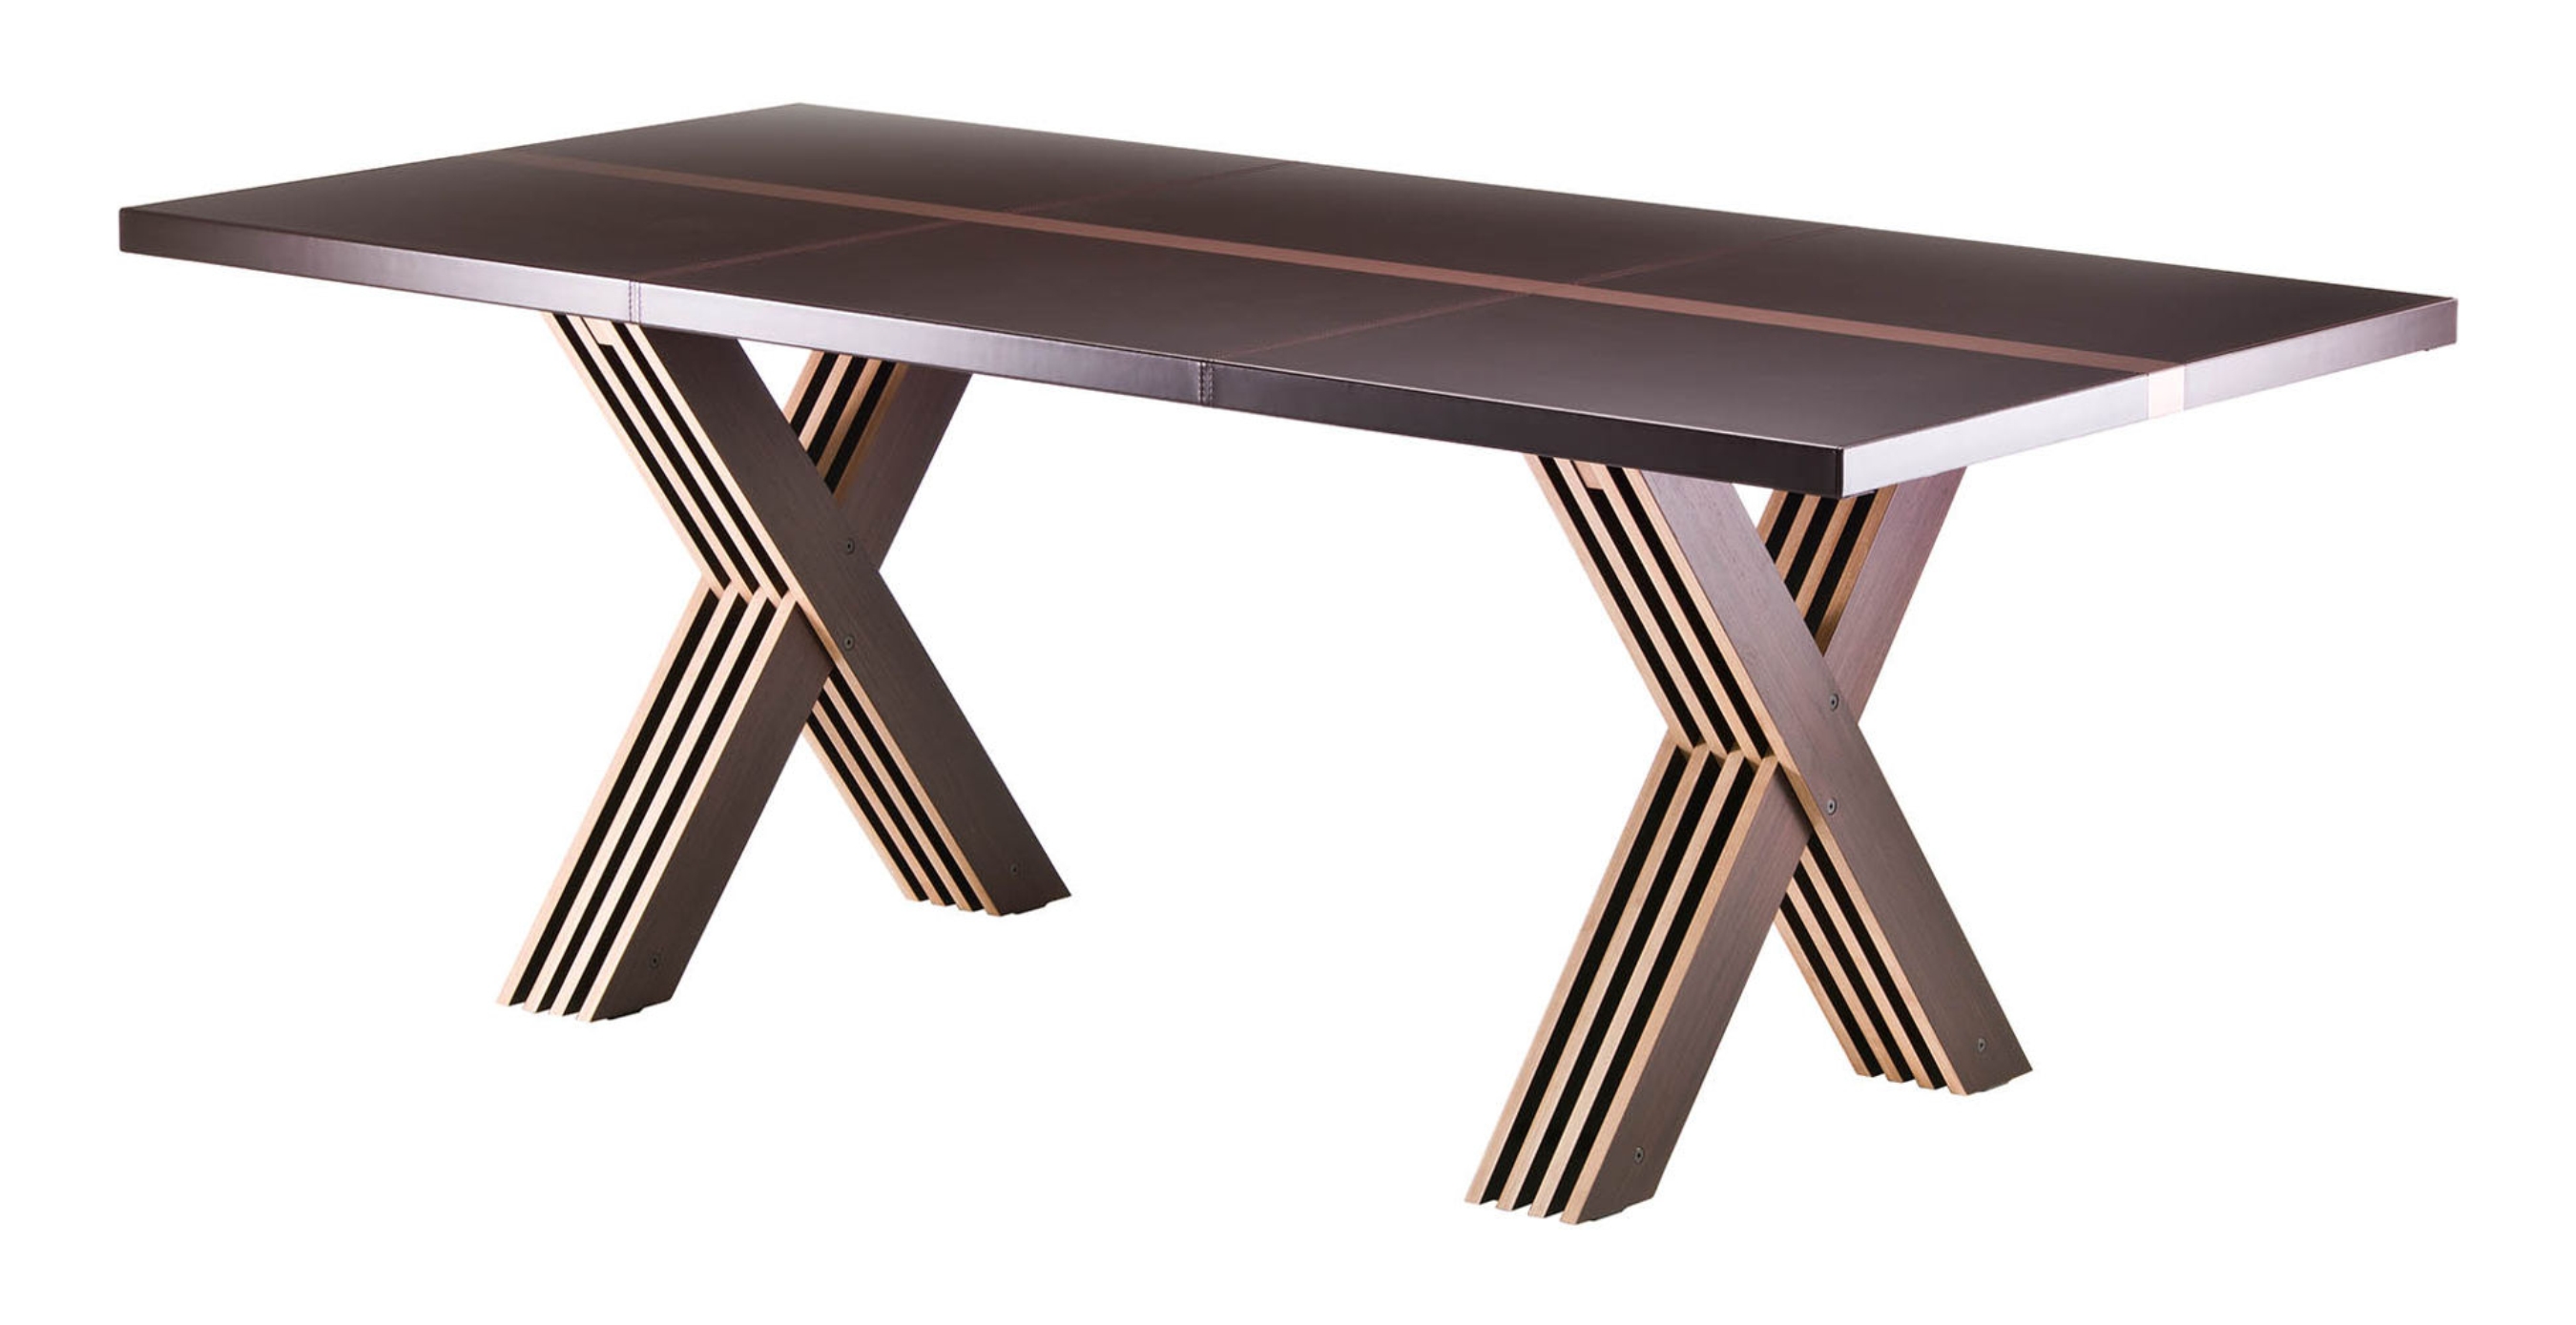
Extravagant models that fit well into the modern interior can be called kitchen tables with X-shaped legs made of square-section bar. Most harmoniously look angled legs and converging with each other at a point in the middle.
Pledge of strength and stability
Experts know that unprofessionally installed legs - this is the cause of rocking and tilting the table.And although adjustable supports can correct the slope, but 99% of the quality of the table depends on the correct assembly.
There are two popular ways of attaching the legs: mounting surface plates and mounting using T-shaped nuts.
Mounting surface plates
- If you purchased the legs without accessories installed in them, you will have to do it yourself. To do this, you must have bolts with eyelets and eyelets for large tables and threaded pins for small tables.
- Eyebolts and eyebolts need to be checked on the test plate and make sure that the screws will be provided with a compatible size.
- Place the eyebolts and eye bolts inside the table legs, and mark the center of the legs with a marker or pencil. Then you need to make a hole in the leg and tightly tighten the bolt in the upper part of each leg.
- Turn the tabletop on the wrong side or stand on its side.
- Install the plates in all four corners of the tabletop with four screws.
- Then you need to fasten the upper part of the bolt with the eyelet and eye into the plate. Carry out screwing until complete tightening.
- After installing all four legs, place the table on the floor and make sure that it is level.

Assembly using T-nuts
This method can be used if in the future you are going to decorate the front surface of the table and use it to update the interior of the kitchen.
- You will need T-shaped nuts, eyebolts and eyelets.
- At the same distance it is necessary to drill four holes in the worktop.
- Make sure the holes match the size of the T-nut.
- Next, insert the nut with a hammer into the hole from top to bottom through the table top.
- Install the four eye bolts and eyelet that will fit the size of the T-nut in the leg of the table. Measure and mark the exact center at the top of the foot. Drill a hole with a drill and screw in a bolt with an eye and eye in the leg.
- Twist the foot in the middle of the base until they connect to the top.