Installing the oven in the kitchen
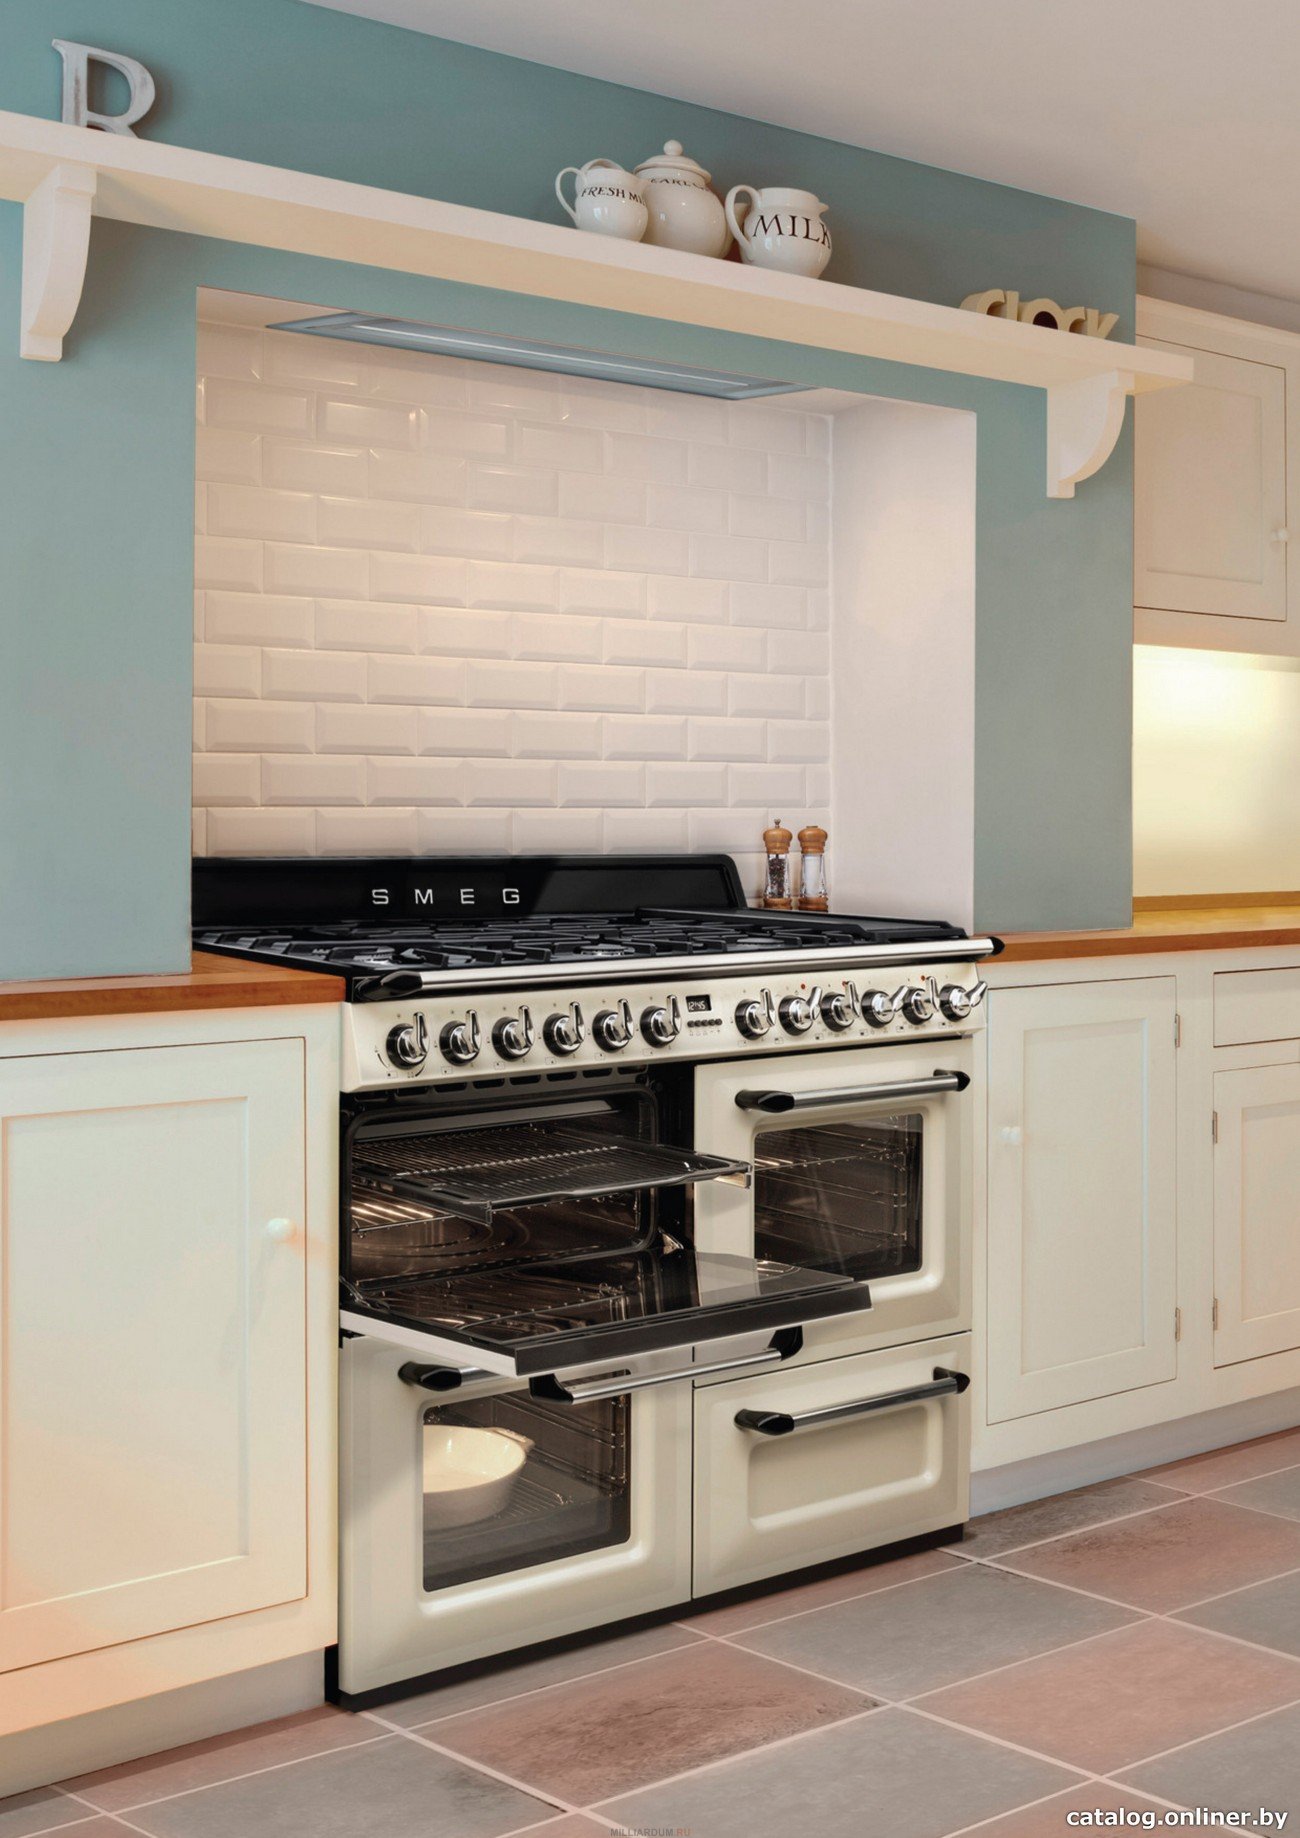
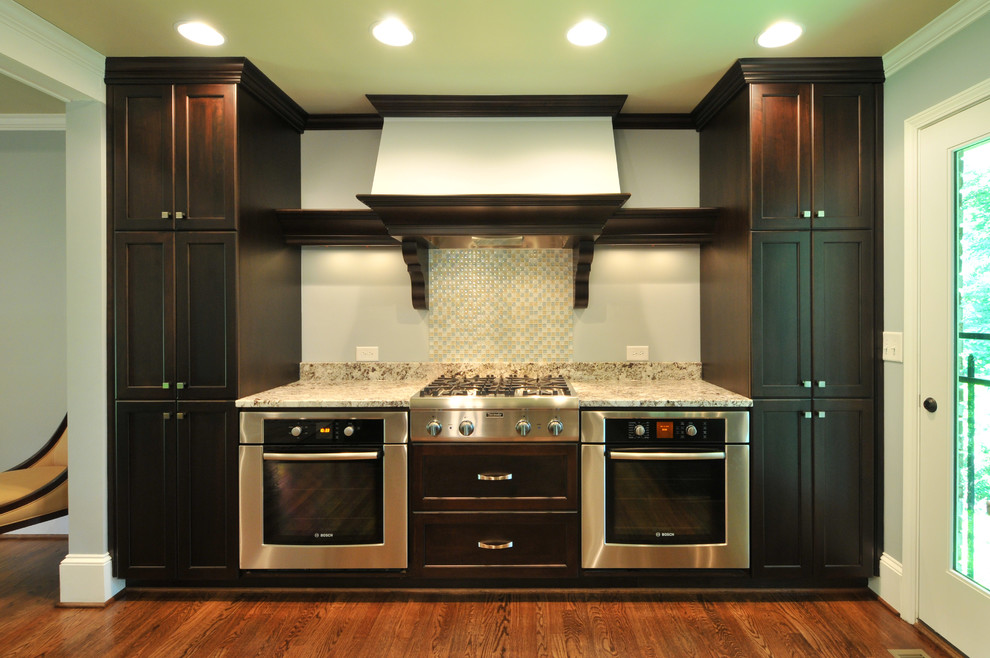
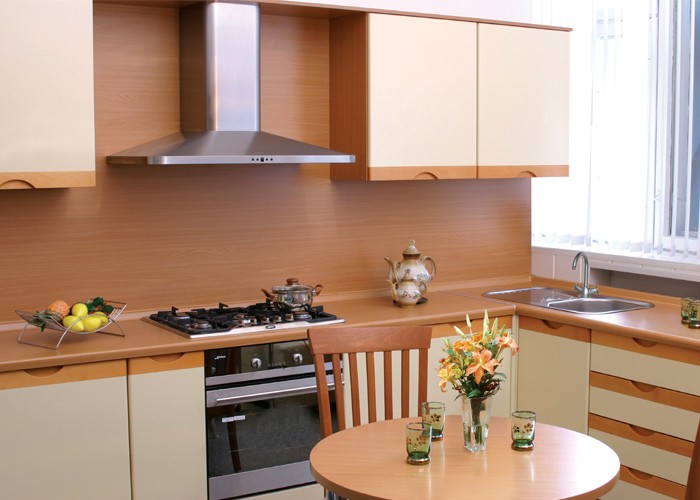
To date, built-in ovens are replacing the usual kitchen stoves, combined with an electric oven. There are several reasons for this: firstly, convenience when loading / unloading heavy dishes, for example, a big bird, a small piglet, etc .; secondly, the safety of children - built-in appliances, as a rule, are installed in places difficult for the child to reach; thirdly, the free location in the kitchen space.

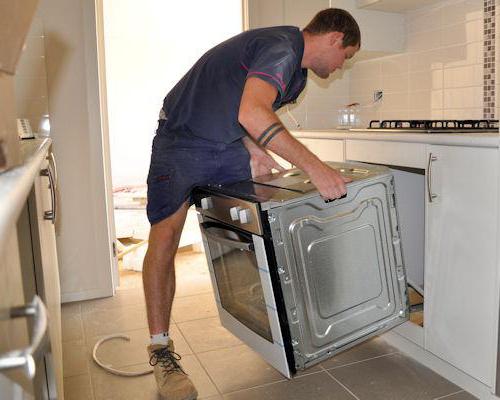
In most cases, installing an oven is trusted by professionals, but in fact the process of working with a built-in oven is nothing complicated, and with minimal knowledge and skills, as well as the presence of a simple tool, it is easy to do it yourself.

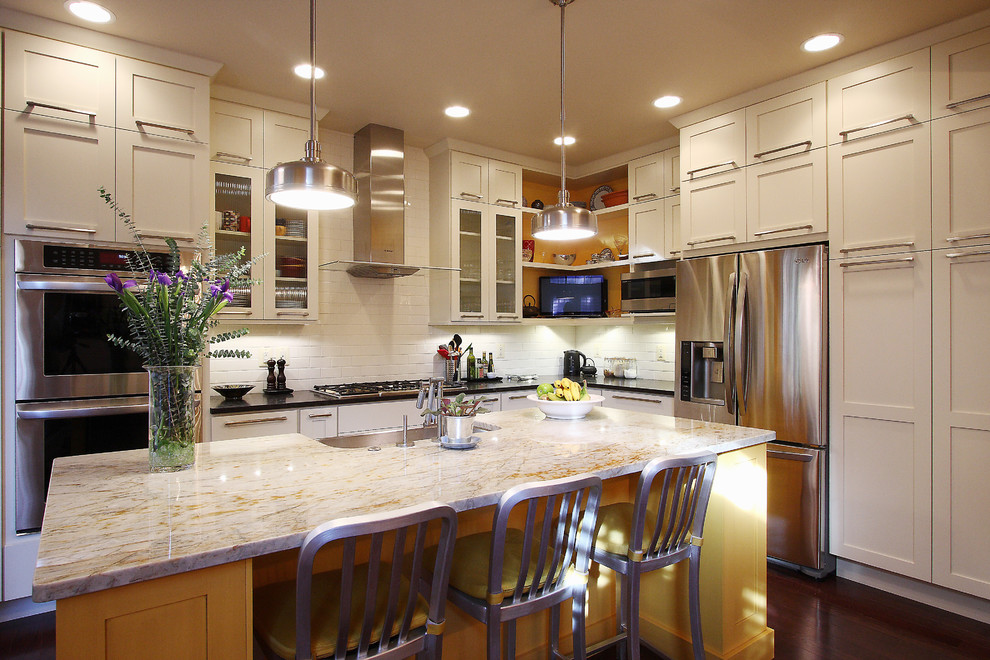
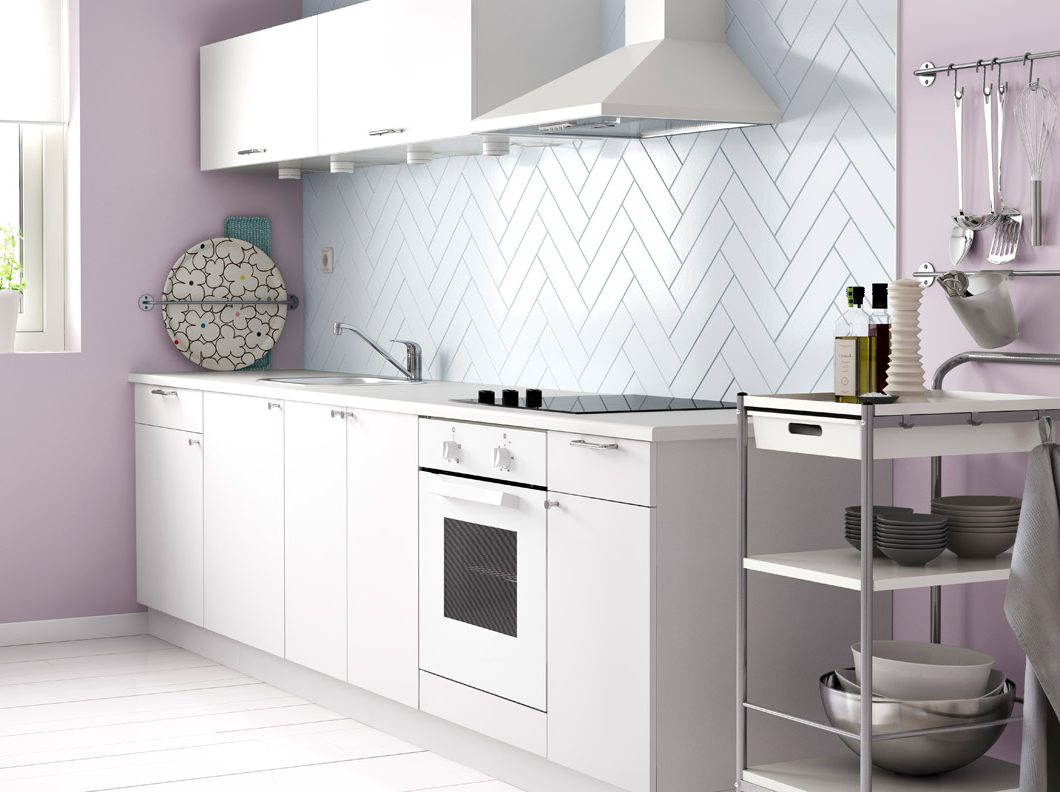
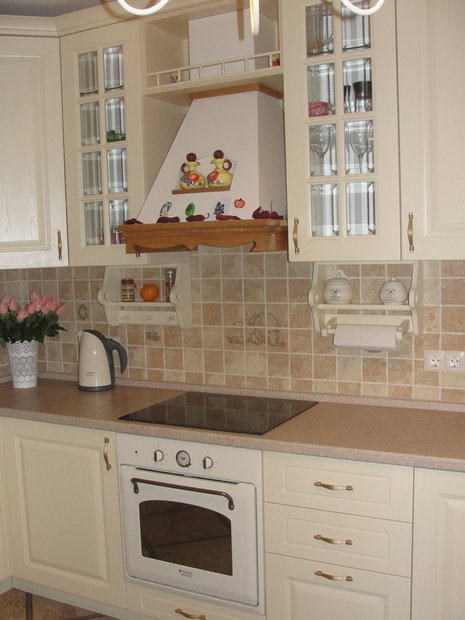
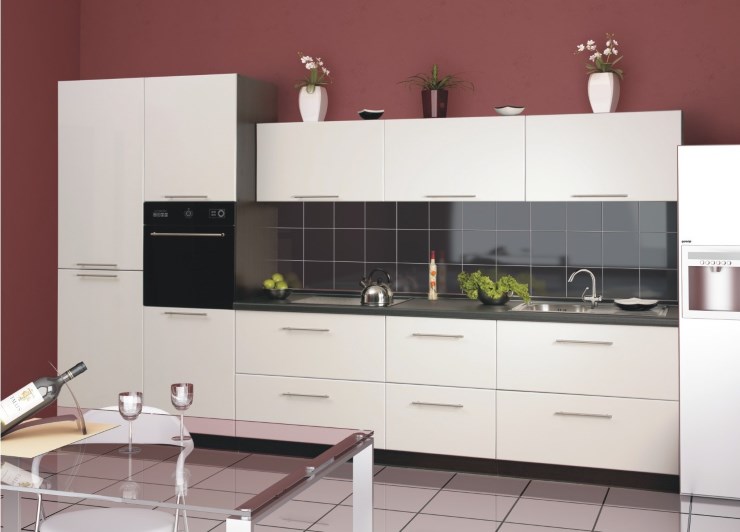
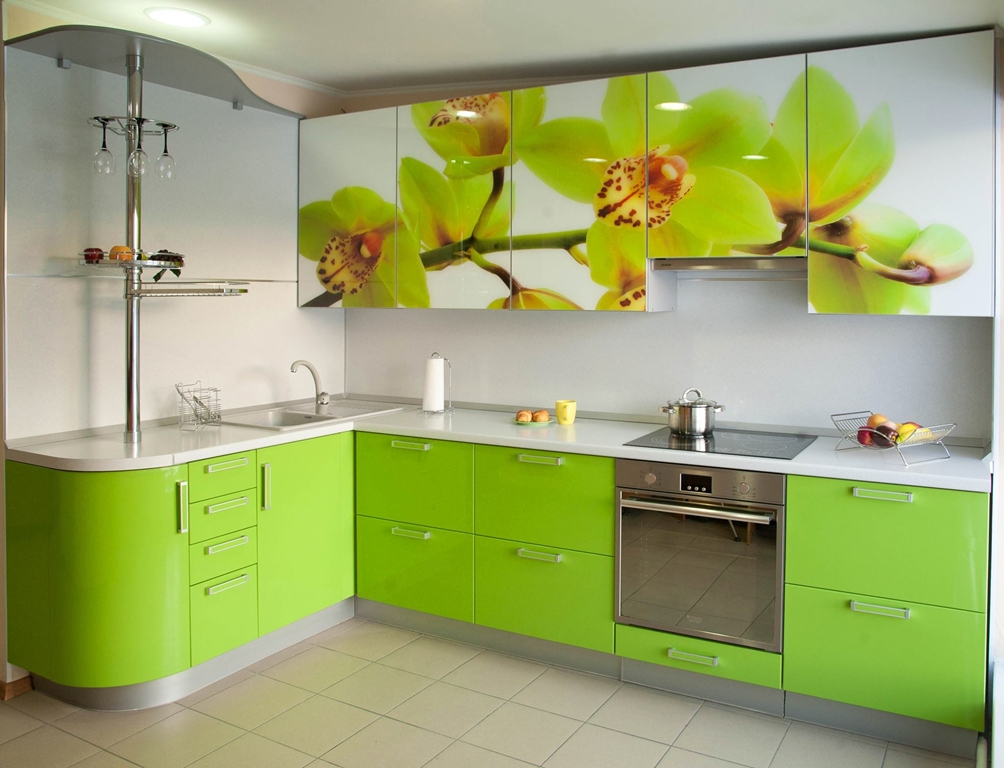
First we need to know the size of our room, there is nothing easier - we take a tape measure and measure the length, width, height and depth into which the future kitchen set fits.We determine the color that will fit the overall interior of the kitchen. Despite the apparent non-functionality, the housewives choose the white color of the kitchen, which allows to visually increase the floor space, but this choice often creates a problem when choosing the oven, as not many manufacturers of kitchen appliances include white in the line.

Selection and preparation of the site
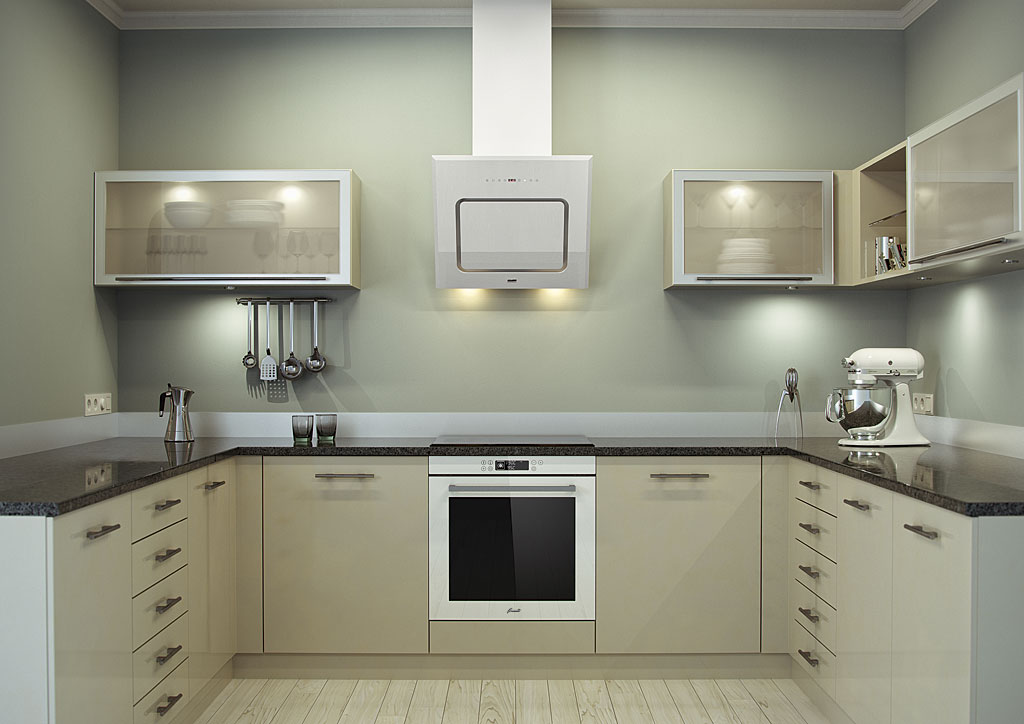
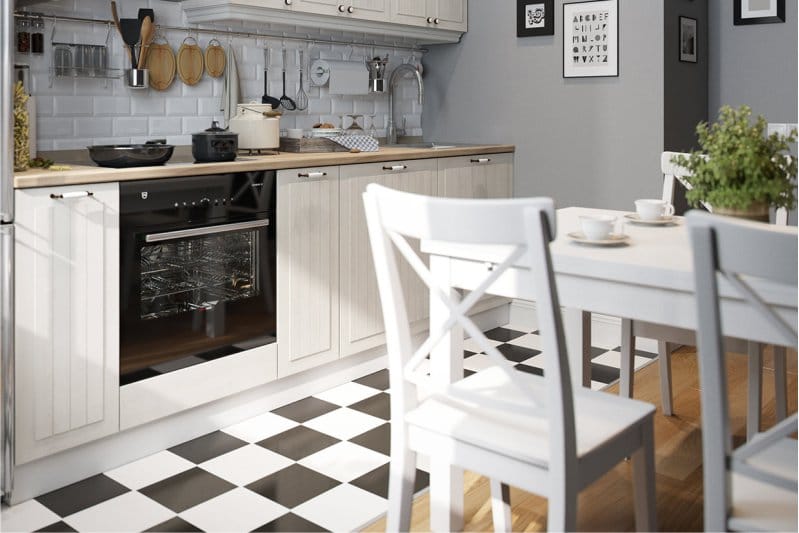
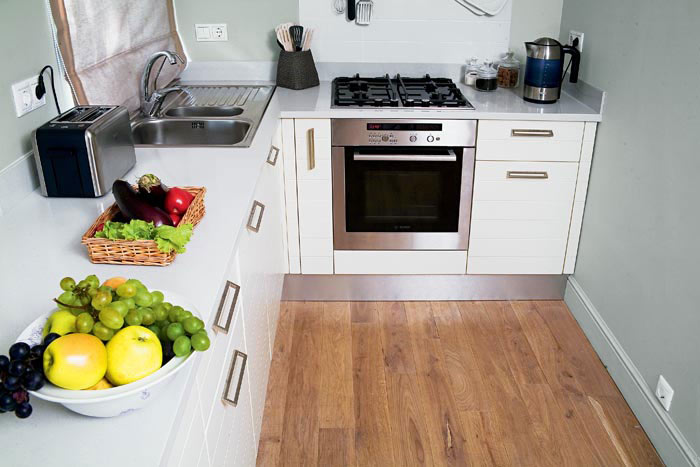
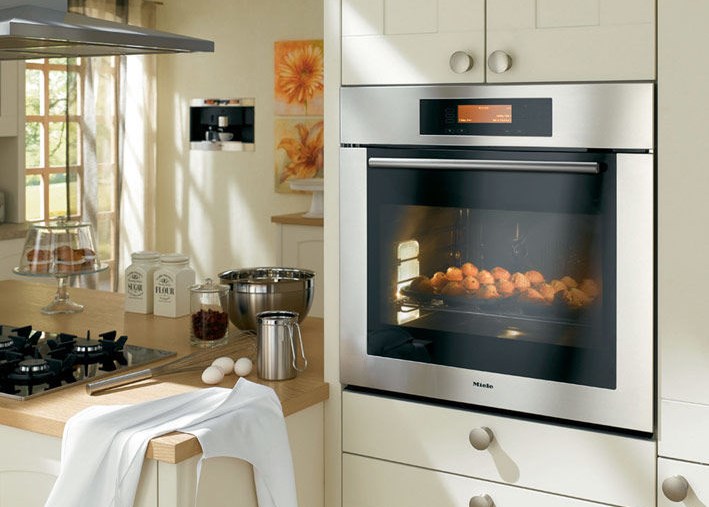
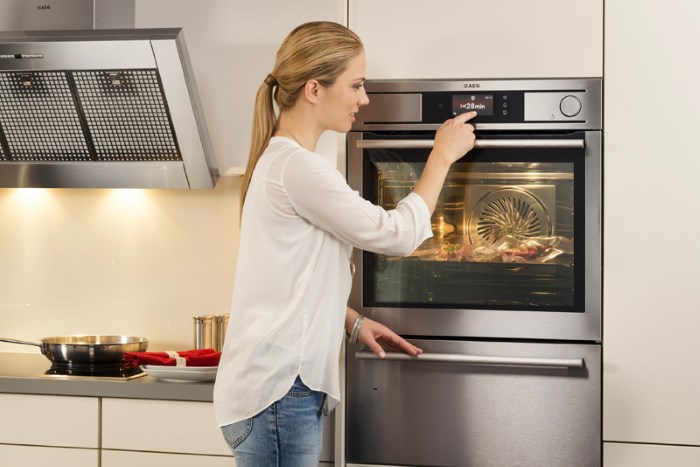
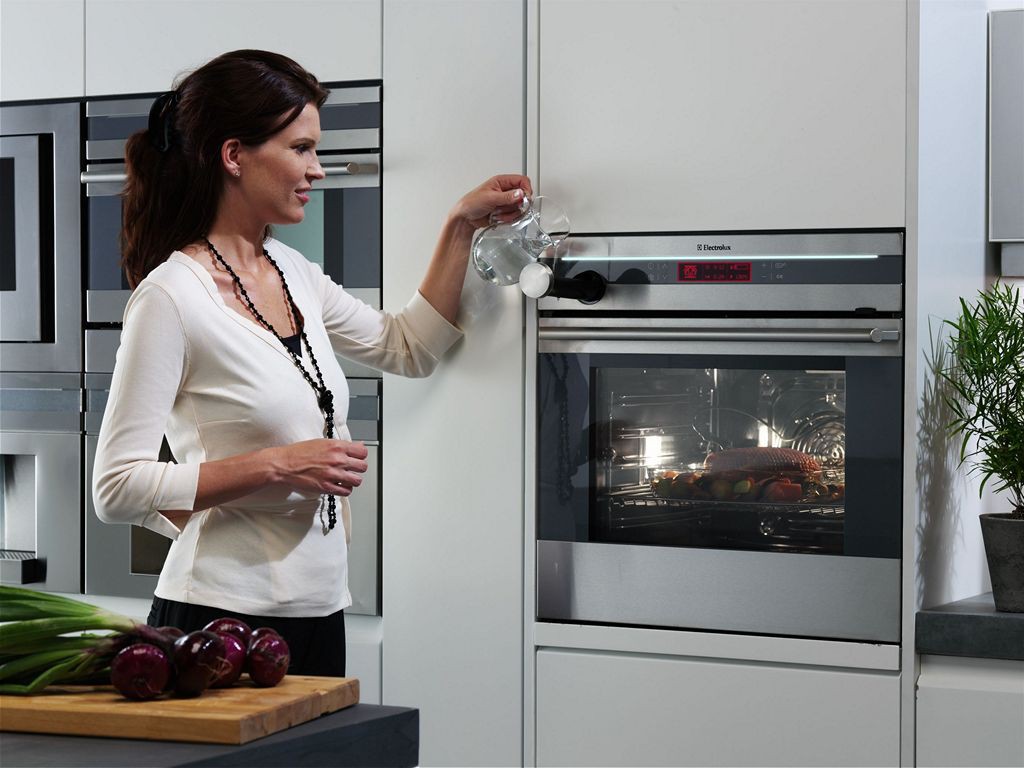
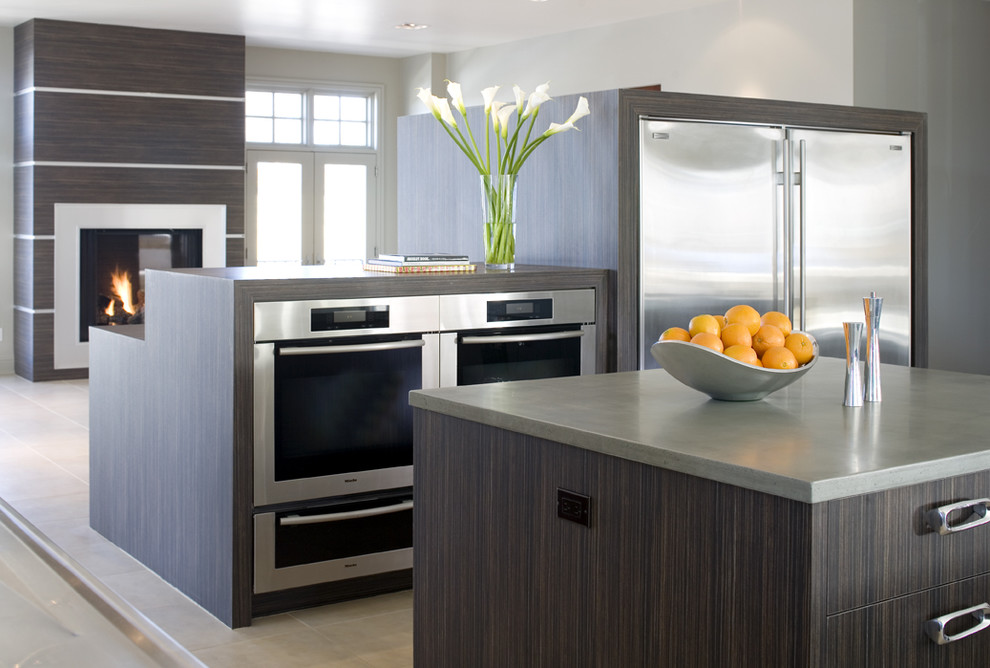
It is better to place the oven in a niche located near the hob and the lower part at the level of the working surface. This arrangement solves several problems at once:
- Convenience at work and access to the inside of the oven - do not have to bend over.
- Convenience when checking the readiness of a dish - quietly put the dish or baking tray on the hob, without fear that we can spoil the countertop.
- Security - the child will not be able to open the door, touch the hot parts and, finally, o will not be able to reach the control panel of the oven.
The installed kitchen set has a niche of the size we need, which we provided for when creating a design layout, based on the available data on the layout and size of the kitchen.It is also necessary to provide for the convenience of electrical connection of our oven. If all of the above conditions are met - to build the oven correctly will not be difficult.

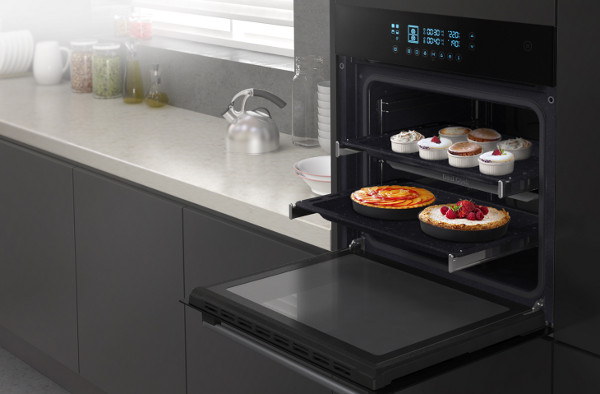


The cord for connection and instructions are always included, and the process itself requires only care. Connection to the network and installation of the oven takes a maximum of two hours. To install, you need the following tool:
- Knife for "stripping" of the ends of the wire.
- Drill or screwdriver.
- Insulation tape.
- Phillips / flat screwdriver.
- Hands and head.

The recommended distance from the back of the oven to the wall is at least 50 mm. (5 cm.). This will ensure normal ventilation and prevent overheating of the oven elements.
Security
When installing and connecting a built-in oven, follow these guidelines:
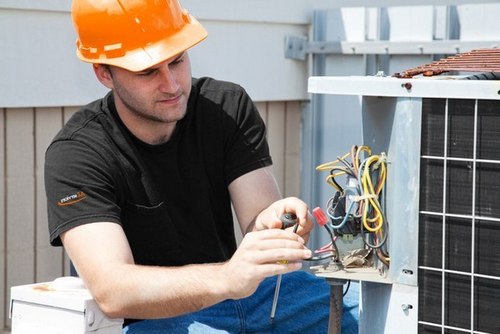
- The presence of grounding contact. As a rule, in new houses, private houses, cottages, etc., there are no problems with this. But in the houses of the old building it can be a problem, which, however, is easy to solve. Route the additional conductor of the electrical cable to the landing and fasten it to a metal surface.Grounding will eliminate the problems with interruptions in the operation of the oven and ensure safety during operation of the device.
- Power Line Connection. The plug-in line for the oven is always equipped with a separate automatic switch, the power of which is calculated in proportion to the energy consumed by the oven.
- Service. Carefully read the instructions for the oven, as well as plan the power supply in such a way as to provide unhindered and easy access to the outlet that supplies the product, and to the back wall of the kitchen appliances.
Following these simple rules and following the instructions for the oven will provide you with safety and comfort when connecting and using the oven, and the cooking process will turn into a series of joys and new discoveries. Successful culinary experiments!