How to fix PVC panels to the wall: installation methods
Installation of decorative panels allows you to solve many actual problems. And it's not just about the design of the premises as such, of course. But just to buy suitable products is not enough, you still need to carefully study their features and understand how to properly mount.


Criterias of choice
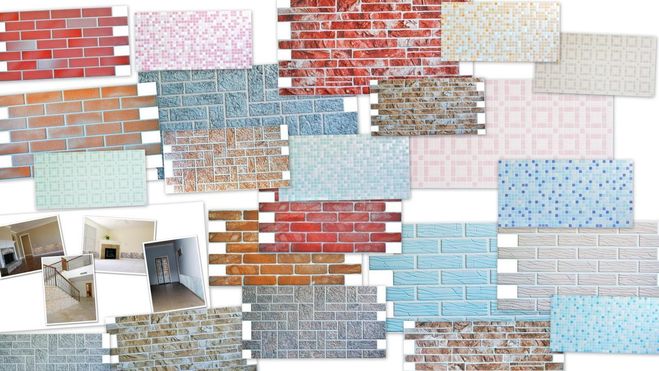
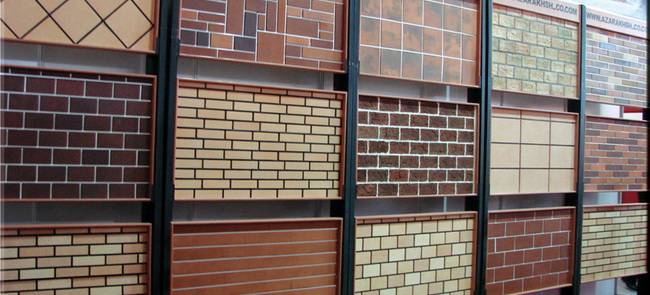
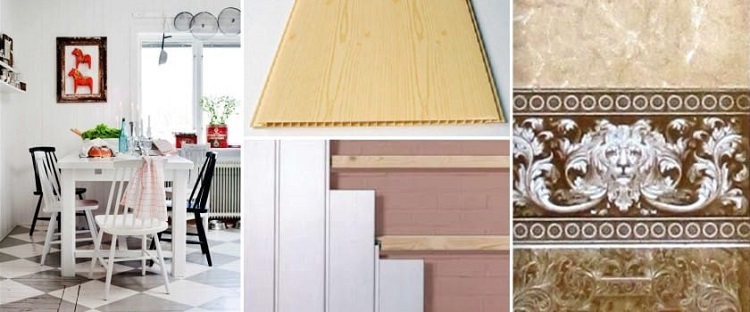
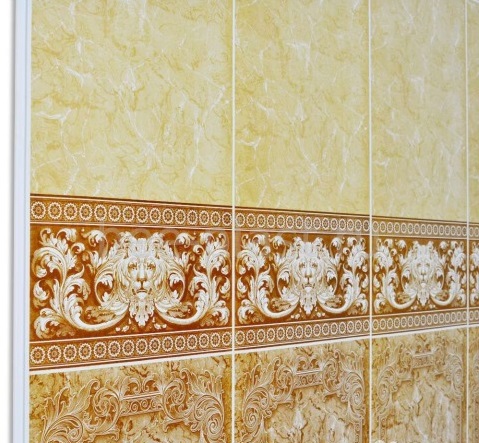
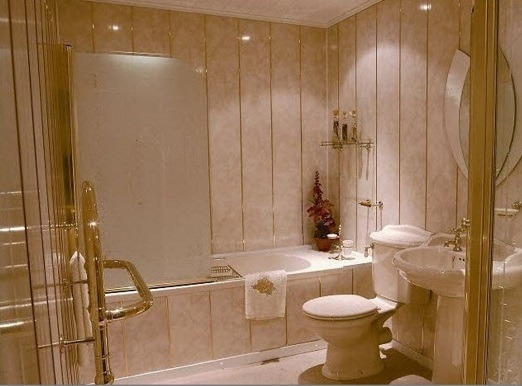
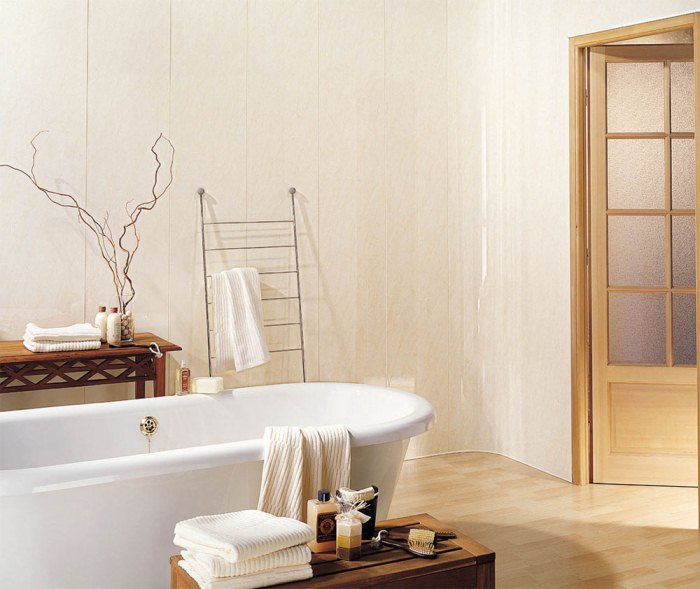
Speaking about plastic (PVC) decorative sheet materials, about their installation, it is impossible to get around the question of what exactly is to be mounted. Even the most scrupulous adherence to technology will not allow to achieve a good result when using bad products. Most of the wall panels purchased for bathrooms, because of great importance to resistance to moisture, the effects of microorganisms.Since any wall periodically experiences a mechanical impact, the surface must be resistant to this development of events.
First of all, it depends on the thickness of the outer surface. Reliable wall blocks should have a layer of 0.25 cm, while in the ultrabudgetary category, this indicator reaches only 0.15 cm (if it still reaches). Appearance is also important: a good product is always even not only in its own geometry, but also in color.

Strength is determined not only by the depth of the panel, but also by the number of edges. The most reliable constructions are equipped with 29 such details, and the average index is 20. But the edge is edge is different, they should also be perfectly smooth and not vary in thickness; Any placement is prohibited except at right angles to the surface.
It is useful to look at the connections of the panels, which should be joined as closely as possible. Since thick walls and additional fins cannot form from the air, a good block is rather heavy. It can even be considered one of the practical advantages. Another circumstance should be taken into account: it is possible to decorate the walls in the house either well or cheaply.Experienced owners always get at least a panel of the average price group, and skilled builders approve of it.
In addition to these obvious considerations, it is worth paying attention to the chalk, more precisely, its concentration. Standards-compliant panels contain this mineral only in small quantities. When half deflected, they will straighten, and there will be no dents on the surface. But even flawless wall blocks can be corrupted by improper work.
Preparatory stage
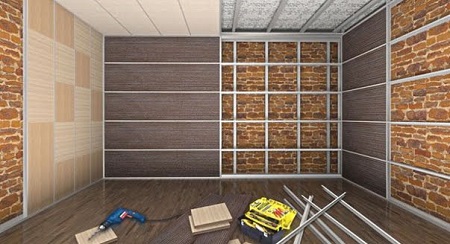
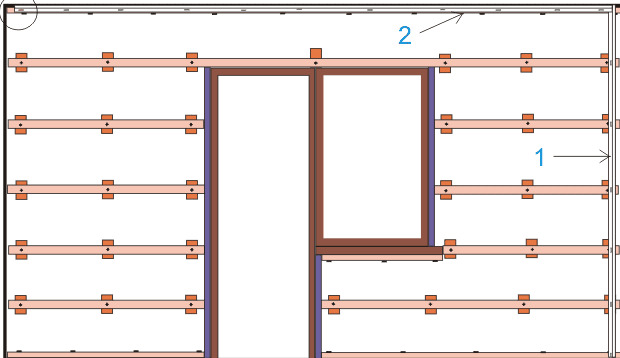
Make everything right will not work if you do not prepare for installation. Scrupulous work is not required, but it is extremely important to accurately measure the surfaces being trimmed and to calculate the required volume of material. At the preliminary stage, it is decided how to mount the panels. Ideally smooth surfaces which need only to decorate, just pasted over. And if there are deviations from strict verticals, then you already need to create frames; it is necessary to use them for masking communications.
Initially, they find the lowest point on the ceiling, leading from it equal to the width of one panel. With a level around the perimeter, they are marked where anchors or dowels are to be fixed. These fasteners will help to attach the frame to the walls.

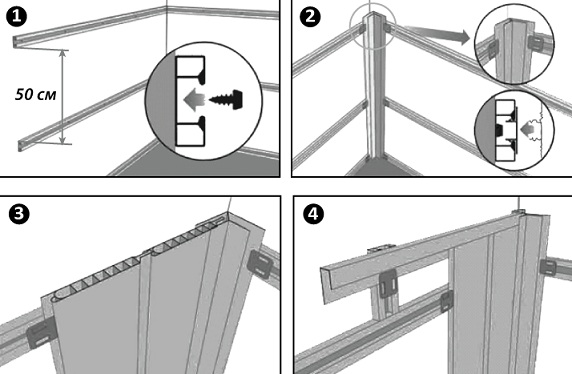
Attach profiles should be at an angle of 90 degrees to the plates to be placed on them. You can make the installation easier if you add a thin cord to the marks and check the level, the edges of which are covered with colored chalk and pressed down to the surface to be treated.
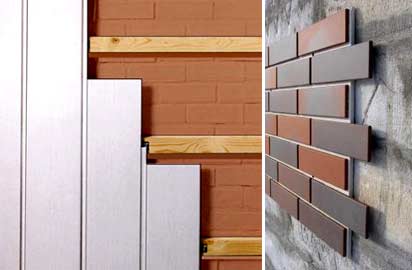
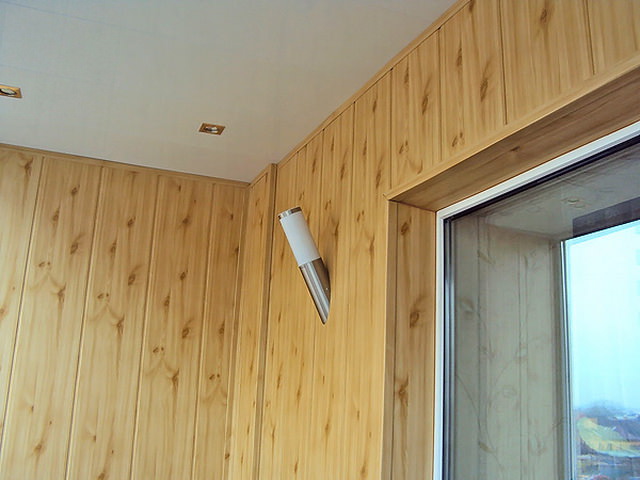
The profile itself can be formed from wood, metal and even plastic. The choice of suitable material is determined primarily by the conditions in which it will be used. So, wood shows itself well in a “normal” room, but its prospects in bathrooms or on open balconies are much worse. And even where it is unlikely that high humidity will occur, you will have to use specially selected impregnation. This is the only way to eliminate the effects of fluid and the appearance of mold lesions.
Tools and accessories
For work you will need:
- step-ladder (it is more convenient, than the moved table or stool);
- drill (replaced by a punch);
- roulette;
- hydraulic level;
- metal saw;
- painting knife;
- self-tapping screws;
- hammer.

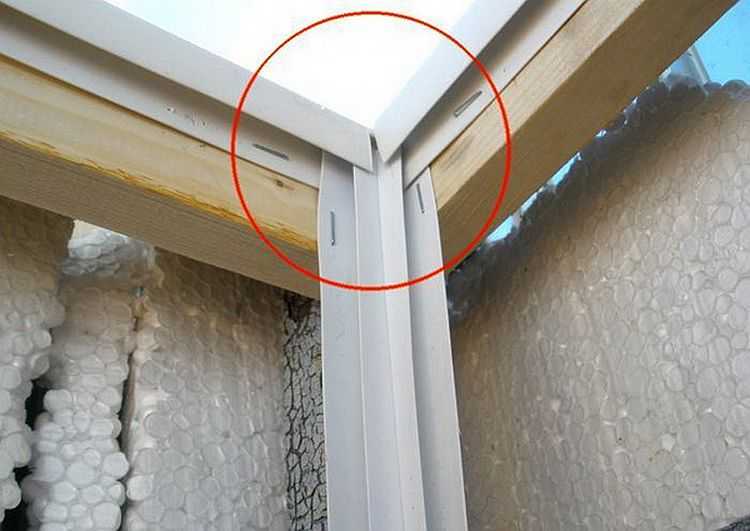
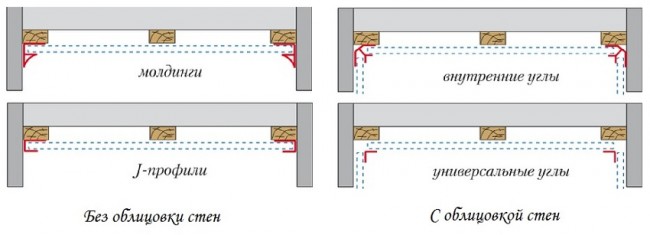
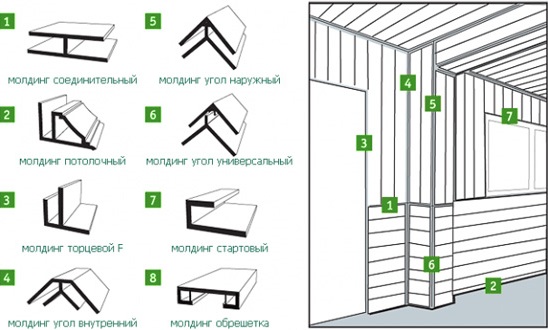
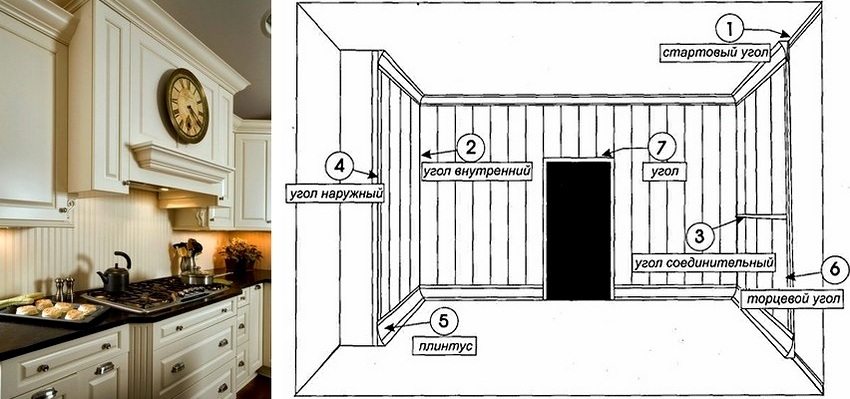
In addition to additional tools, it is worth noting the value of the prepared accessories. It will be necessary to have a so-called start profile, which helps to close the borders of the panels at the ends. Besides him, you will need a profile in the shape of the letter F, which provides the best decorative qualities of the end blocks. To connect various panels into a single design help specialized moldings. Its kind of profiles exist for exterior and interior corners.
Since the panels will adjoin the floors and ceilings, be sure to use two types of plinth. Useful soft universal corners. Fastening to the details of the frame is provided with screws or galvanized nails. All components, with the exception of the frame guides that are not visible from the outside, should have the same color as the panels. Even experienced designers do not recommend experimenting with color contrasts in this case.


Payment
In order to finish the wall surfaces properly, you need to carefully and scrupulously calculate the need for the used blocks and accessories for them.
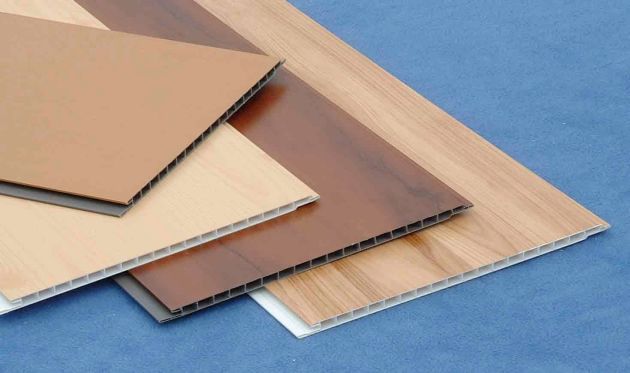
Standard dimensions of panels for walls are:
- thickness 0.6-1 cm;
- width 25-30 cm;
- along the length of 250-600 cm
The key value, in the opinion of professionals, belongs precisely to the width. If you choose the largest products, you can reduce the number of seams, and the appearance of the installation will be closer to the integral surface. But with the work itself, narrow constructions are more practical, because they are easier to bend. Yes, and the relative ease of each block makes itself felt.
The compromise is achieved when using panels with a width of 250 mm.
The calculation itself begins with the determination of the perimeter of the sheathed base. From this figure, they take away the perimeter of every door, every window or other part, which for some reason cannot be sheathed. The result obtained is divided by the perimeter of a single block (just remembering that part of the block material will go into segments). When calculating, rounding is always done in a big way, and the margin for cuts is provided in the amount of 10%. If there is no experience, you can even leave 12-14%.
Calculate the need for plastic crate can be, given these moments:
- the slats will have to be placed not only at the edges of the walls, they need to surround the openings of the doors and windows;
- the standard profile gap is 0.3 m;
- the very first profile is always turned at a right angle to the future plane of installation;
- fasteners of the rails themselves to the walls are made with screws or dowels with a gap of 400 mm;
- Attaching guides produced on slats at a distance of 500 mm.
Mounting methods
On the frame
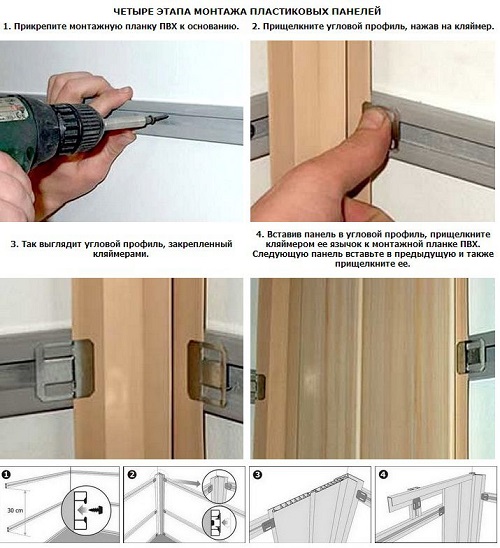
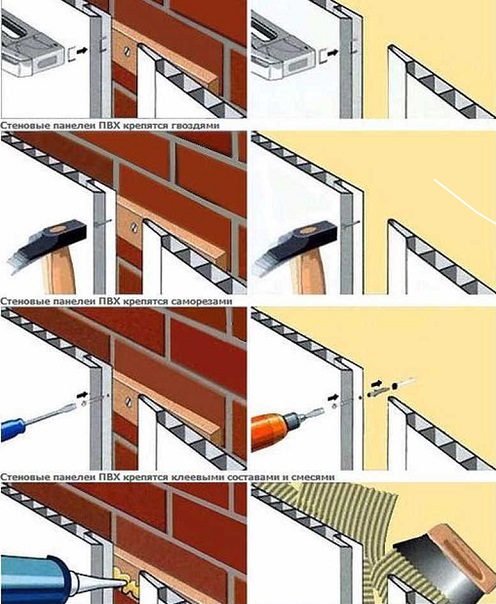
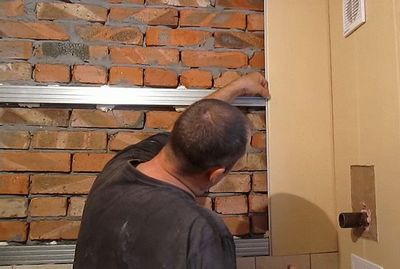
When all PVC panels are selected and purchased, when components for installation are prepared, you can proceed to it immediately. And in many cases, the most practical solution is the use of a frame. Decorative blocks can be fastened with screws even on relatively uneven surfaces. But there is a problem - you have to either use a screwdriver, or spend a lot of time. For screwing screws, it is desirable to use a wooden sheathing, because first saw the timber and impregnate it with antiseptic mixtures.
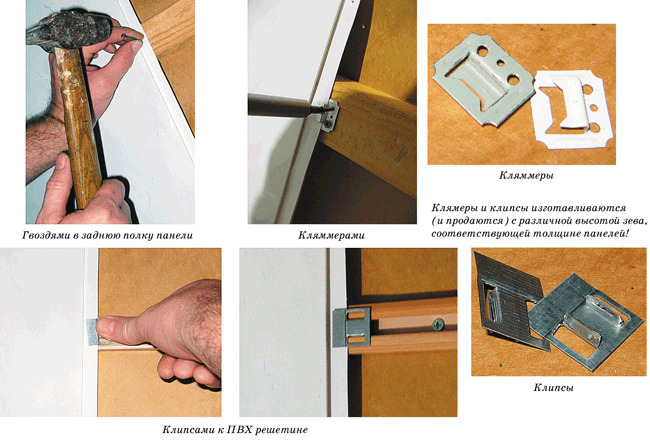
Alternatively, you can mount the panel with your own hands using klyaymery. Such parts provide reliable retention of decorative blocks. The crate when using klyaymer formed of metal, and you can assemble the coating without additional effort. Each deformed block is quickly replaced with a new product, and even if the entire lining stops arranging, you can easily change it.The installation of frames is carried out exclusively on the levels, so that there is no distortion.
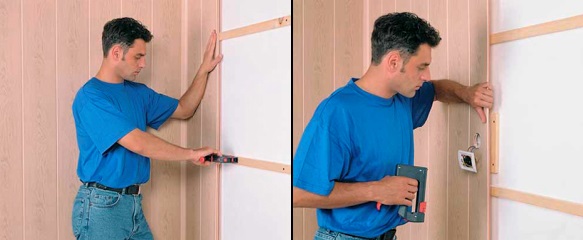
Each individual rail do not need to die out, you only need to mark the walls. The lowest stroke of the frame is created 10-20 mm above the floor. From the selected point using the level draw a line. Similarly show the features of the ceilings or on the edges of the finish. Then, from the lowest strip to be sheathed, 400-500 mm recede upward, expose a beacon, and so systematically move to the upper strip; beacons will help ensure parallel lines.
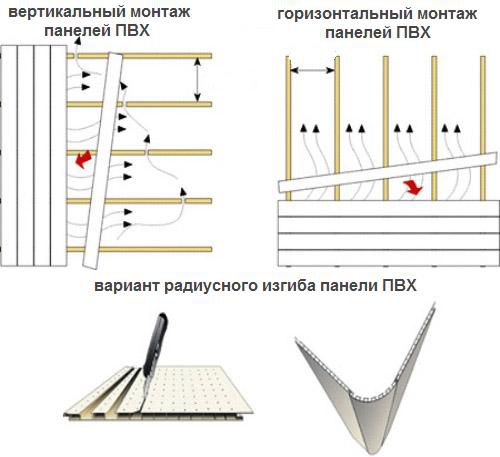
It is important to consider that the horizontal frames should be mounted in a vertical plane, vertical - horizontally. If it is necessary to hang the panels on uneven walls, the crate is mounted over wooden wedges. The wires running along the walls hide under the trim.
Since it is impossible to joke with electricity, all work is carried out only after measurements. Clamps clamp the wiring so that it does not extend beyond the borders of the batten.
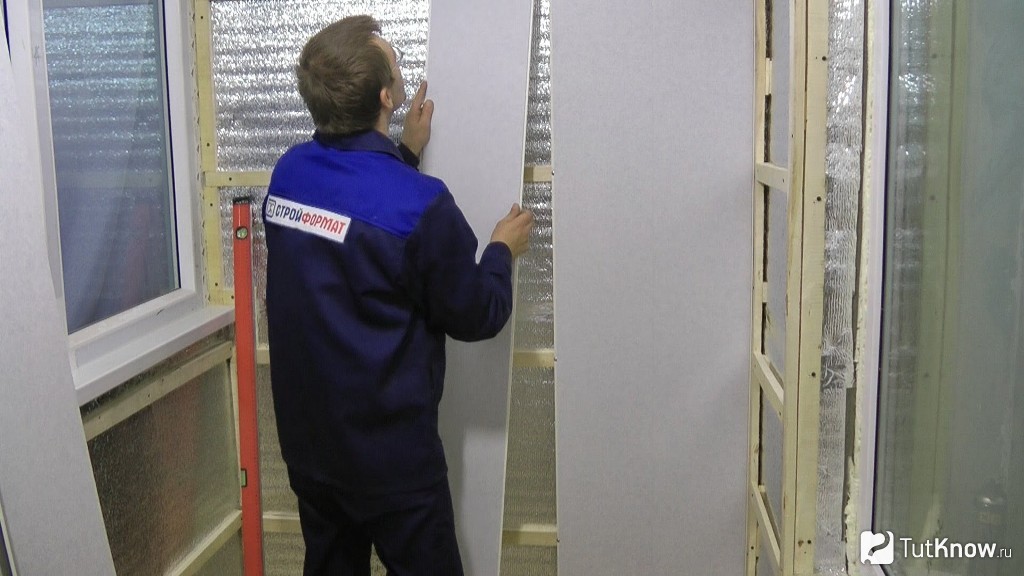
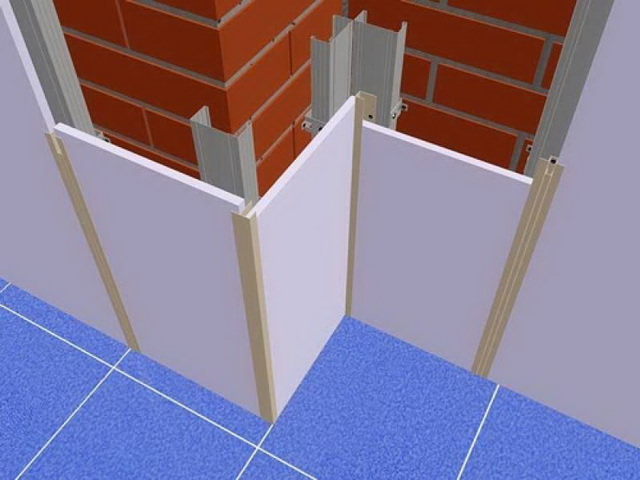
Slats are set, moving from the most distant (relative to the entrance) corners. But if for some reason another place is most noticeable, they still work from there.The panel is fastened by inserting it into the side moldings, attaching it to the corner and attaching it to the crate on the back side. The next block is inserted into a special groove on the first one, they press the joints thoroughly and attach them to the frame rails. It is possible to increase the tightness of the joints by brushing the sides with silicone.
Attaching the following panels is made in exactly the same way. To prepare the holes for sockets or switches, use sharply sharpened knives. When the installation is completed, the treated places are covered with plastic boxes. But to insert the last lamella, it is cut to the width. Pre-held fitting on the wall, basting with a pencil, then take a hacksaw.
Each corner, each connection should be closed with moldings. With their help, the insertion of panels is made by edges on both sides, and all intersections at once become more pleasant in appearance. The final stage of the work is the installation of a decorative molding along the entire perimeter of the ceiling and repeating it at the bottom of the plinth. If the panels installed in this way are operated carefully, they will keep their attractive appearance for a long time and will not require repair.
Before the start of work, you must:
- remove peeling coatings;
- looking for cracks and chips;
- if they are found, they immediately scrape or plaster problem areas.
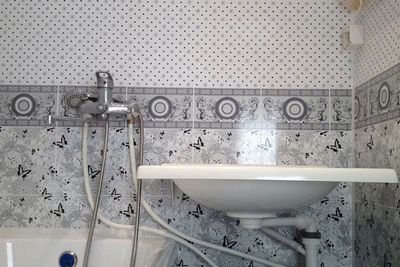
An additional challenge is the installation of PVC panels in rooms exposed to moisture. The primary surface must be waterproofed. It is applied on a pre-moistened base. When the product is dry, it is treated against molds. When using a crate made of wood, all calculations of the distance from the wall should take into account an amendment of 0.2 - 0.3 cm, associated with the likely deviations from the ideal shape.
The upper and lower levels are adjusted by the hydro level, and the side lines by a plumb line. Fastening is carried out through suspensions defining indentation. After mounting the batten, it is carefully checked whether its outer faces are on one line. Adjustment, if necessary, is carried out either by shortening a bar with a plane, or by adding substrates. If screws are used to create the framework, the gap between them will be from 200 to 250 mm for wood and from 150 to 250 mm for metal products.
Frameless
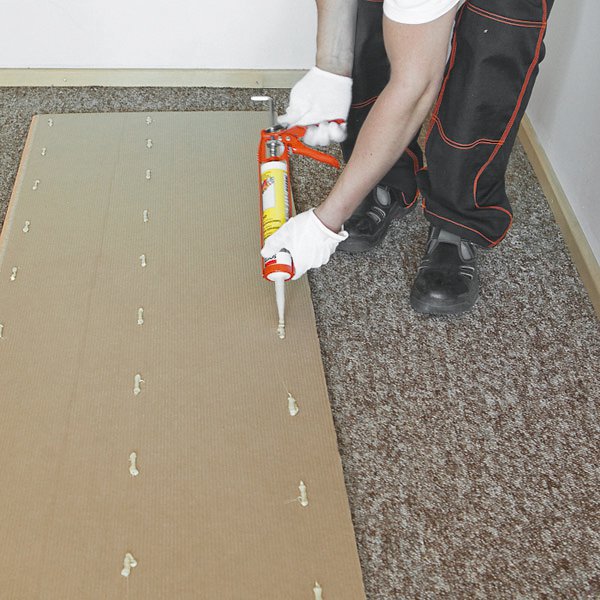
Fastening PVC panels does not necessarily mean the use of frames. Often the installation is done with glue. By itself, the procedure is simple, you just have to carefully prepare for it. Naturally, it is required to remove all the previous covering completely and seal up the gaps. If with the framework method the remaining integral layer could be tolerated, then the situation is different here.
It’s not always possible to make a perfectly perfect wall. But even inexperienced people are able to reduce the height difference to 5 mm or less. In addition, before attaching the panels to the glue, you need to wash off the whitewash, remove greasy traces of detergent compositions and apply a primer. After all these works, the correct choice and application of glue is crucial. It is allowed to use universal adhesives, but it is much more correct to choose compounds that are specially made to join plastics.

High-quality adhesive substance:
- forms in the frozen form a transparent film;
- insensitive to soaking and cooling (even alternating with overheating);
- hooks up two surfaces in a short time and for a long time retains its ability to hold them together.
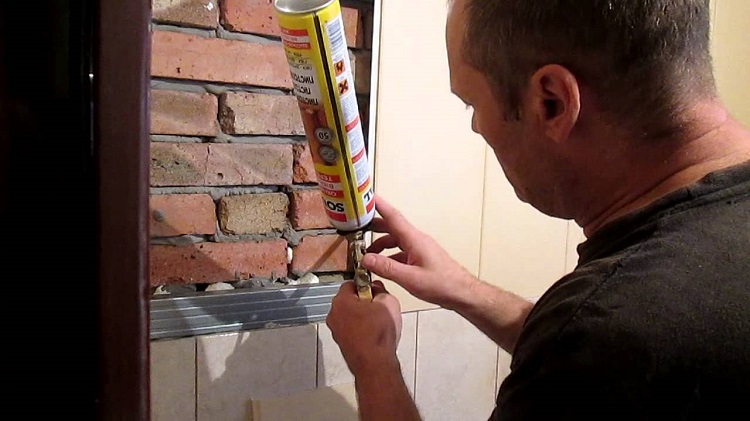
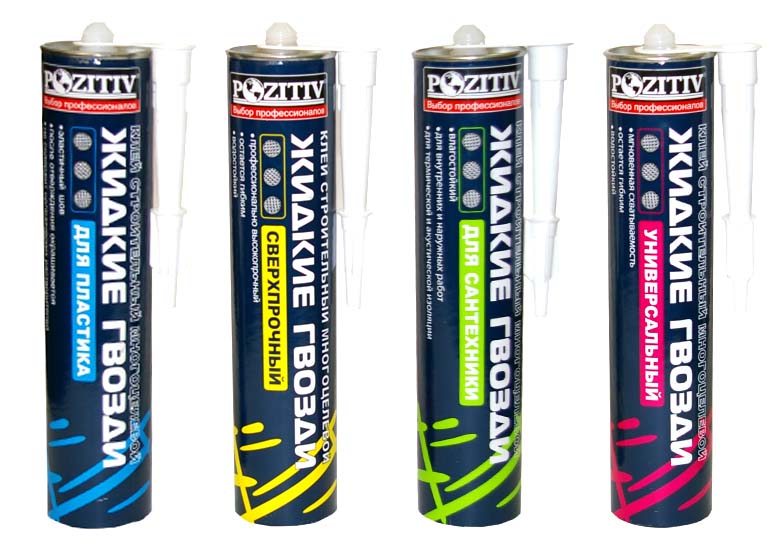
Hotmelt glue does not fit in principle. It holds the panel too tightly and does not allow plastic to rapidly expand when heated. As a result, he quickly disappears. It is advisable to use sealants based on polyurethane or "liquid nails". They allow you to avoid such an unpleasant development of events.
The panels themselves are rubbed with a damp cloth before gluing from the back side. This allows you to remove dust.

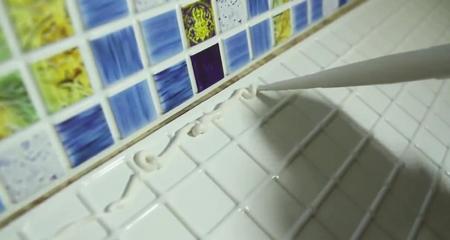
Then pointwise, at a distance of 0.25 - 0.35 m, glue is applied. Contrary to the obviousness, when using liquid nails, the attached panel needs to be tapped and removed. Only contact with air for 5–7 minutes ensures the stability of the connection when it is reapplied. Frameless installation costs almost always without creating external and internal corners.
Apply instead of them plastic corners without grooves. Such products are pasted over with transparent silicone, rubbing with a damp cloth that removes excess mixture. The insert can, depending on the severity of the angle, reach 2–5 cm. Places where an electrical outlet should be placed are cut out. Power supply is turned off in advance; the installation is completed by laying the baseboards at the joints with the floor and ceiling,which fasten with screws.
The borders of the panels are coated with foam or silicone-based sealant. The second option is optimal where the humidity is excessively high. If you have to cut the glued parts, use hand saws or electric jigsaws. Sometimes frameless installation of PVC panels is made using the construction network.
Recommendations
Wall cladding with PVC panels, whether in frame or frameless ways, is made only in rooms where there are no temperature jerks stronger than 20 degrees. Installation is not allowed in a room where the air is colder than +10. If panels were stored or transported at a lower temperature, they should be kept in normal conditions for 48 hours. It is advisable to install a heat-shielding material under the cladding. The crate is placed with a maximum of 0.5 m, no consideration justifies exceeding this distance.
Facing laths should be girded, not only openings for windows and doors, but also kitchen vents, as well as the findings of ventilation in other rooms. The recommended size of the rails is 3x1 or 3x2 cm. When it is clear that the room will be particularly wet, the crate is equipped with kerfs.This will improve ventilation. When horizontal joining of plastic blocks on the facades, the slot edges are oriented downwards to prevent the filling of the slots with water.

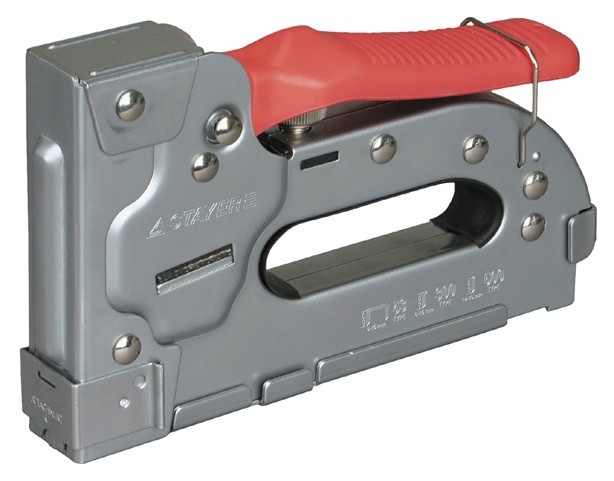
To compensate for temperature shifts helps to leave the upper and lower gaps of 0.5 cm. Vertical display panels having a picture, lead from left to right, from one corner to another. For blocks that are monotonously colored or form a symmetrical pattern in any direction, the choice of the primary angle is subjective. In addition to the tools listed above, you may need to use drills, screwdrivers, jigs, pliers, squares, furniture staplers with 1 cm long staples. When using the finishing without seams, you should pay maximum attention to the density of the bows of its parts, otherwise it will turn ugly.

It is extremely difficult to decorate the walls with the use of panels decorated with bright and rich patterns, featuring abundant detail. Judging by the reviews, such work inevitably causes difficulties, especially when placing components and complementary elements. The relief of the mosaic makes it necessary to completely abandon the idea of removing corner corners.You should carefully choose the colors of the mounted panels, because errors of this kind are difficult to fix. The closer to each other part of the frame, the stronger it becomes as a whole, but you can not bring together the mounting more than 300 mm.
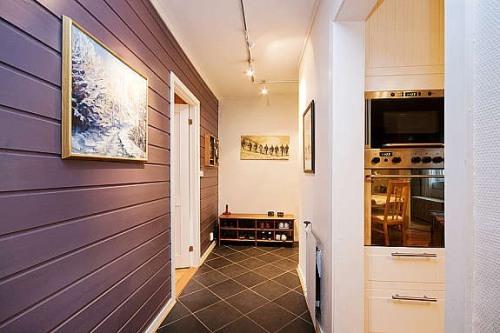
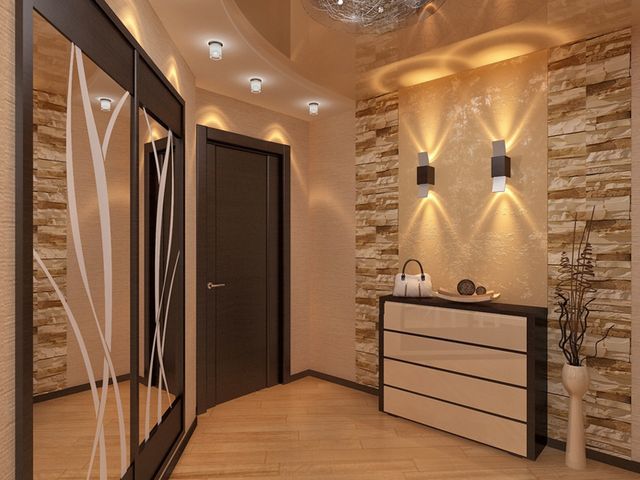
It is inadvisable to use glue fastening, if it is known that in the future it will be necessary to remove PVC panels. And the need for this arises sometimes suddenly, so you should definitely think about frame mounting. It is recommended to use screws with press washers to attach the cladding to metal profiles. Irregularities in the concrete wall are corrected by placing a bar of the required thickness. In the hallway, you can use PVC panels without any doubt, you only need to carefully select them.
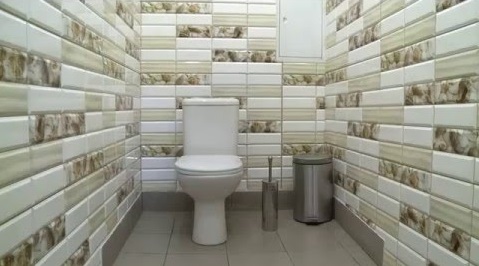
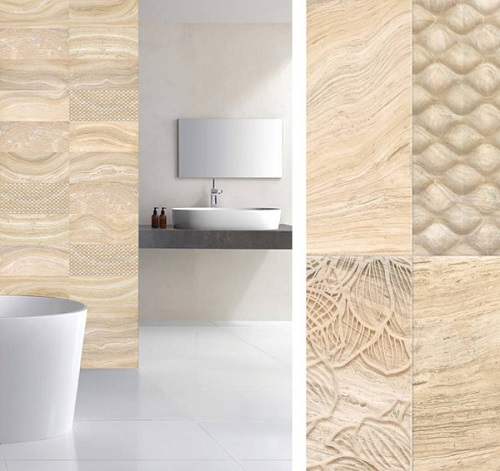
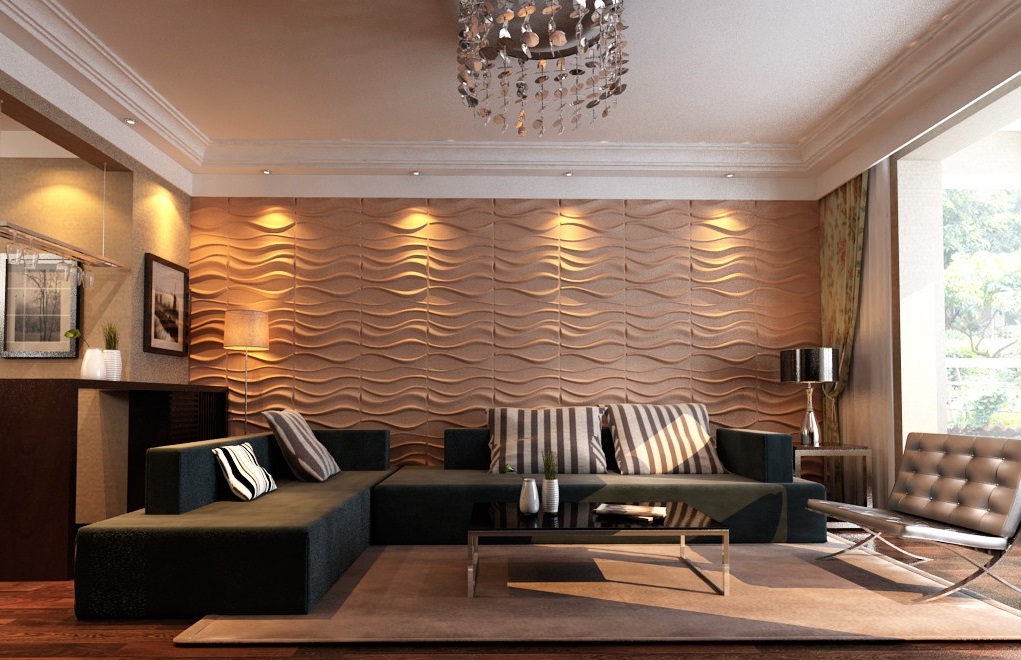
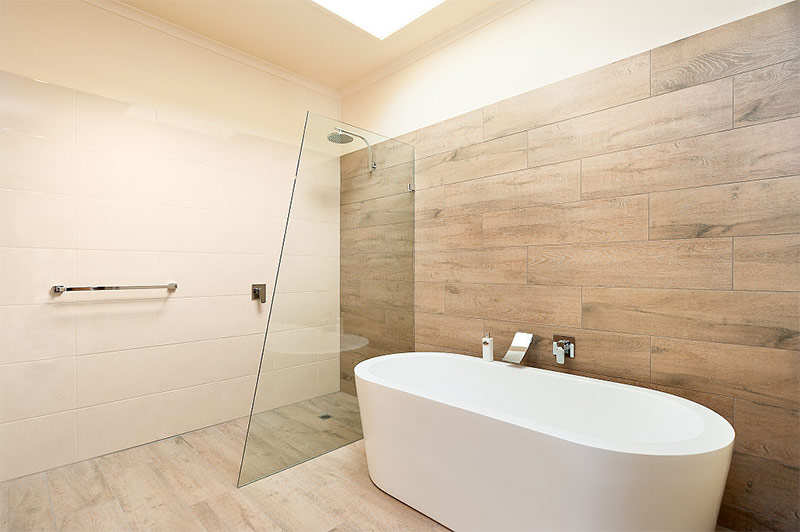
Most often stop on imitation of natural wood. Regardless of the breed being reproduced and the dark or clarified color, a calm and benevolent interior is created. In a modern setting, colors such as wenge or bleached oak are used.
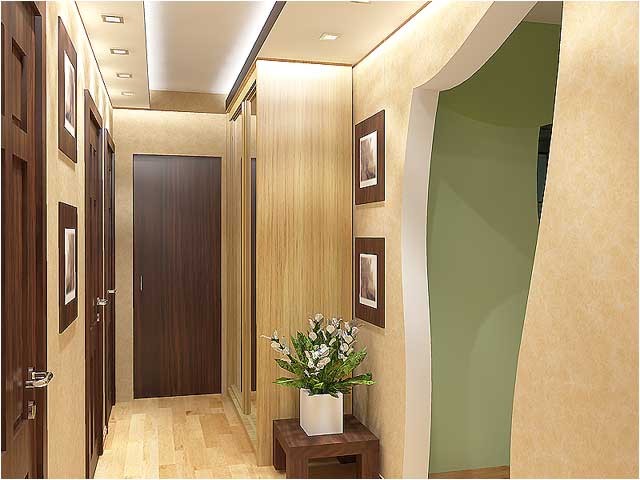
It is worth remembering all the time that in the corridors of small size an excess of darkness is contraindicated. Be sure to seek contrast in the color of the walls and furniture.
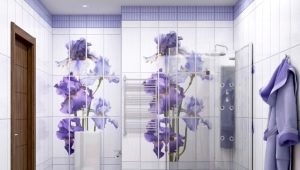
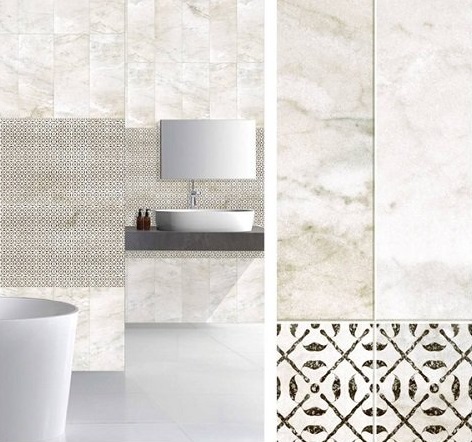
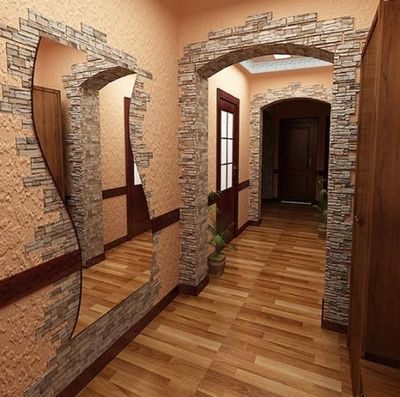
Duplication of a stone is becoming more and more popular. A variety of PVC staining with specially selected pigments facilitates this task. When choosing a suitable option for a “stone” wall, one must first ask whether it is necessary to emphasize the luxury and solidity of the image or to form a laconic ensemble. Regardless of the chosen approach, a sufficient place to demonstrate originality is provided. It is not even necessary to use the decoration with one panel, they are not bad combined with other materials (paintwork, various wallpaper, frescoes).
Corridors with dim, subdued lighting should get off with light materials. Otherwise, the space will be visually absorbed. Large rooms can already be covered with large-scale drawings and geometric patterns. If the walls are made light and the flooring is dark, the room will expand. Attention should be paid to the selection of accessories for PVC panels.
Thus, the H profile is used at the joints and joints, and L - for the beginning of laying and at the ends, although both products are 3 m long, and are intended for panels of 0.8 cm.Plastic P-shaped profiles are inexpensive and weigh a little, simplifying fixing. At the same time, they are exceptionally resistant to humidity, water vapor, temperature fluctuations. You need to install such blocks with an interval of 30 cm. But the screws or dowels are screwed every 100 cm.
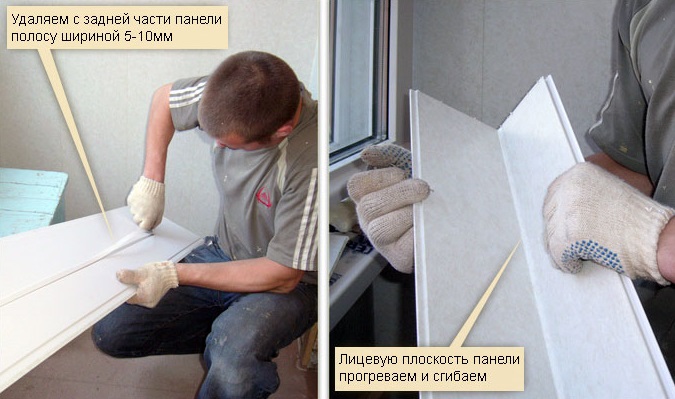
Profile grooves in the form of a letter P are allowed to be used for pulling cables. If the use of metal batten is chosen, the cable should be pulled in PVC pipes with a corrugated sheath. Only it eliminates the destruction of the braids cutting parts of the profile. For technical reasons, installation of any polyvinyl chloride blocks in places where temperatures of more than 40 degrees can occur, with high humidity or without it, is unacceptable. Instead of trimming the finishing panels in width, you can turn them around, taking the locks to the opposite side and cutting off the groove from the outside.
All work with PVC should be done more carefully than with wood. It is fragile, and any sudden movement can create cracks in the outer layer. Remove them will not work in any way, the panel will be hopelessly damaged.
Cutting is done with a clerical knife, since the narrow blade of this tool helps to correct the edges.The plinth is put only after all the panels are attached, planting on liquid nails and quickly removing nodules.
Press the baseboards need exactly 10 seconds.
It is undesirable to use plates:
- with transverse stripes going crookedly;
- with heterogeneous coloring material;
- with the slightest mechanical defects;
- without special protective films;
- with blurred areas of the picture, even if very small.
In the next video you will find one of the ways to install plastic PVC panels.