How to build a greenhouse "Breadbox"?
Collapsible greenhouses have many advantages - they are convenient, durable and easy to assemble. The compact greenhouse "Breadbox" is especially relevant if the area is small. It is possible to erect a structure using polycarbonate and polypropylene pipes using its own resources in accordance with the exact drawing, taking into account general requirements and knowing the details of construction.
What is it like?
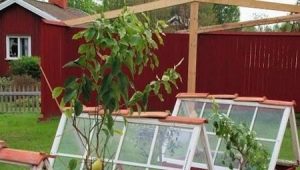
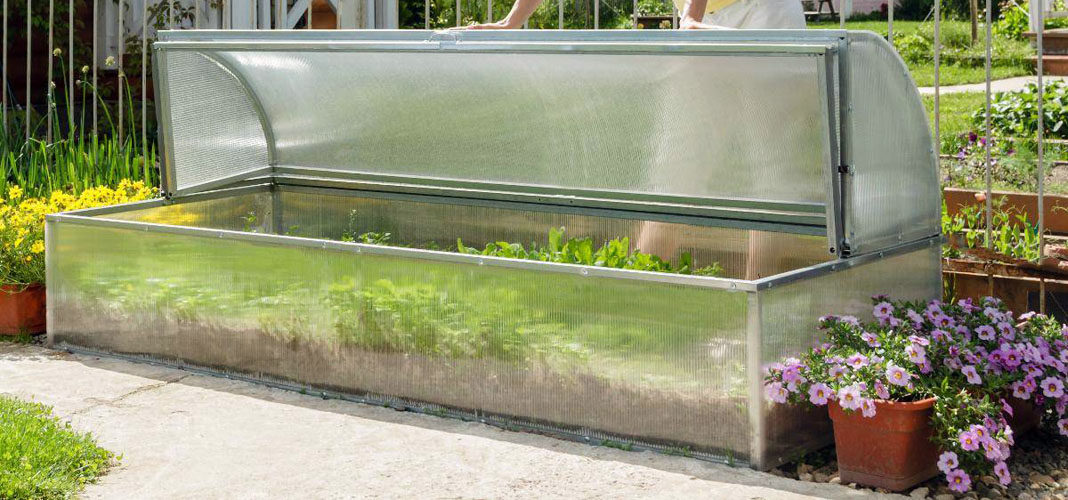
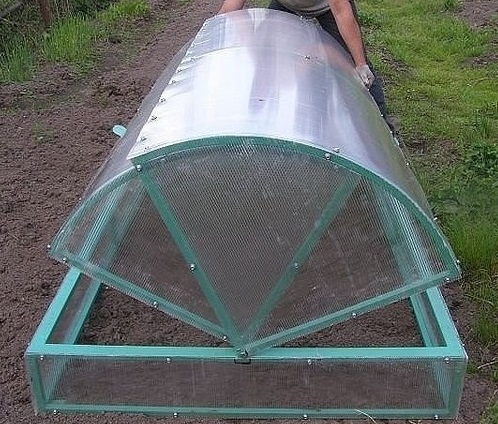
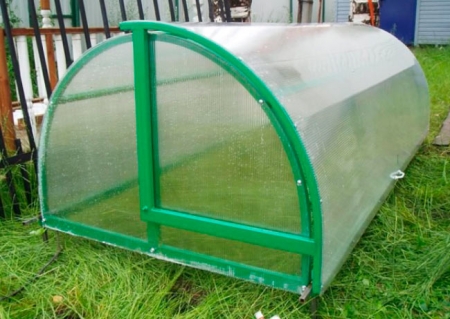
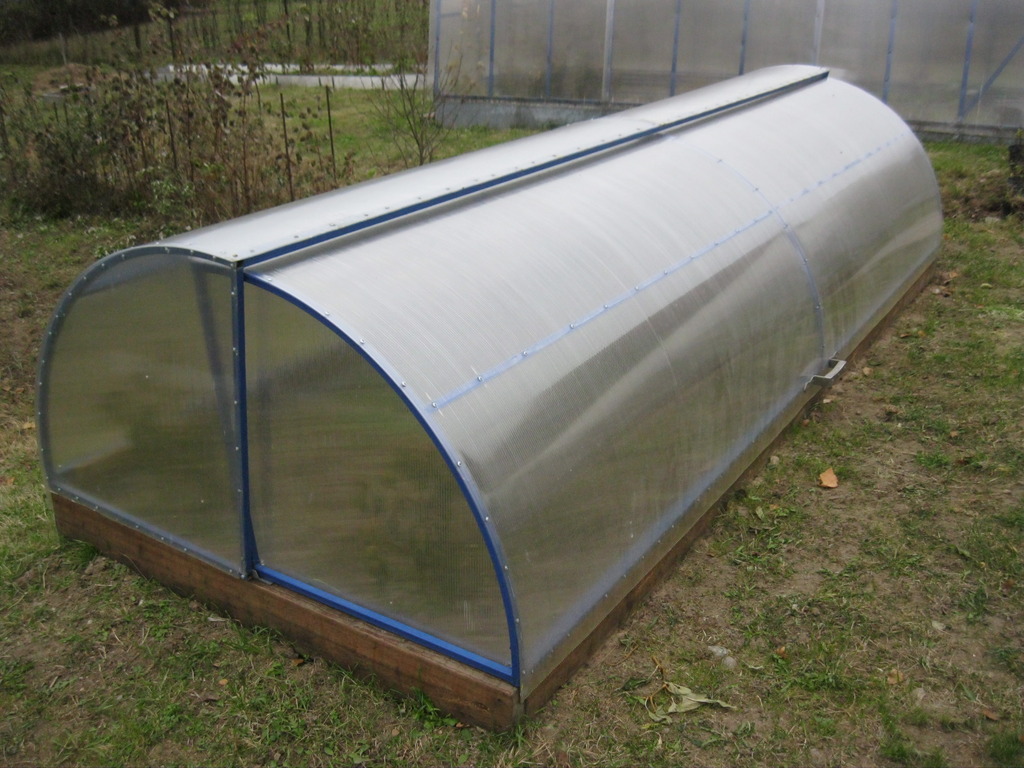
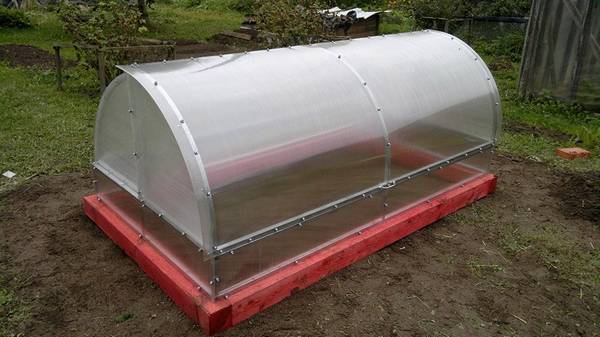
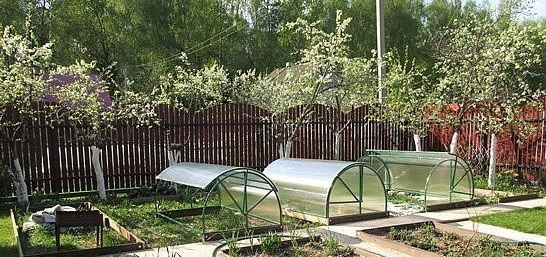
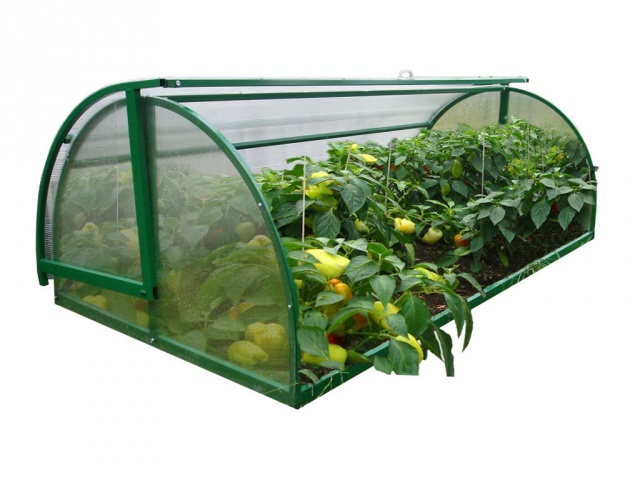
This type of greenhouse has its own characteristics - the building consists of three main elements: two folding halves and a basement. In general, the design has the appearance of a semicircular arch, very neat and aesthetic, so the greenhouse does not violate the overall landscape of the backyard territory.
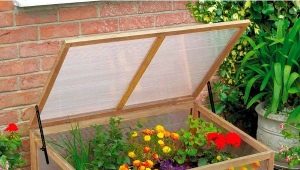
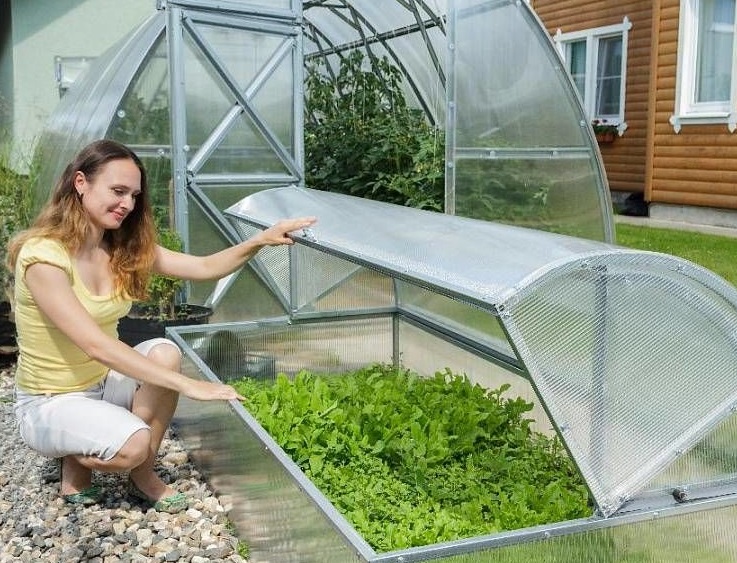
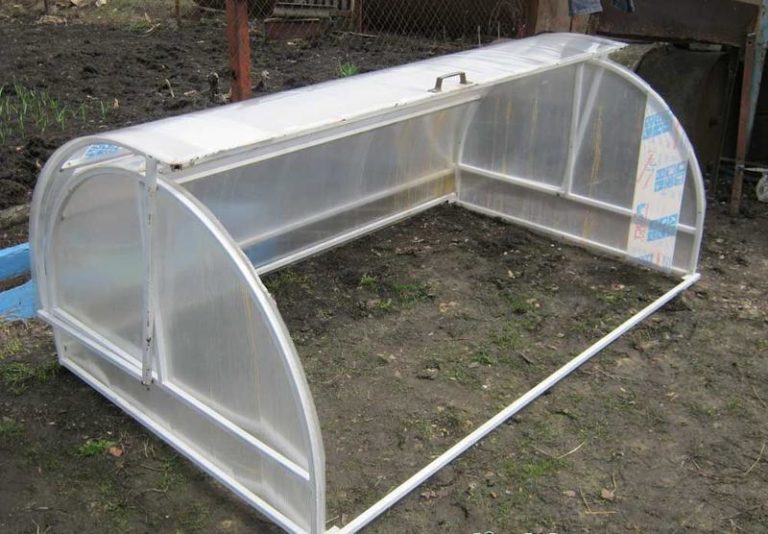
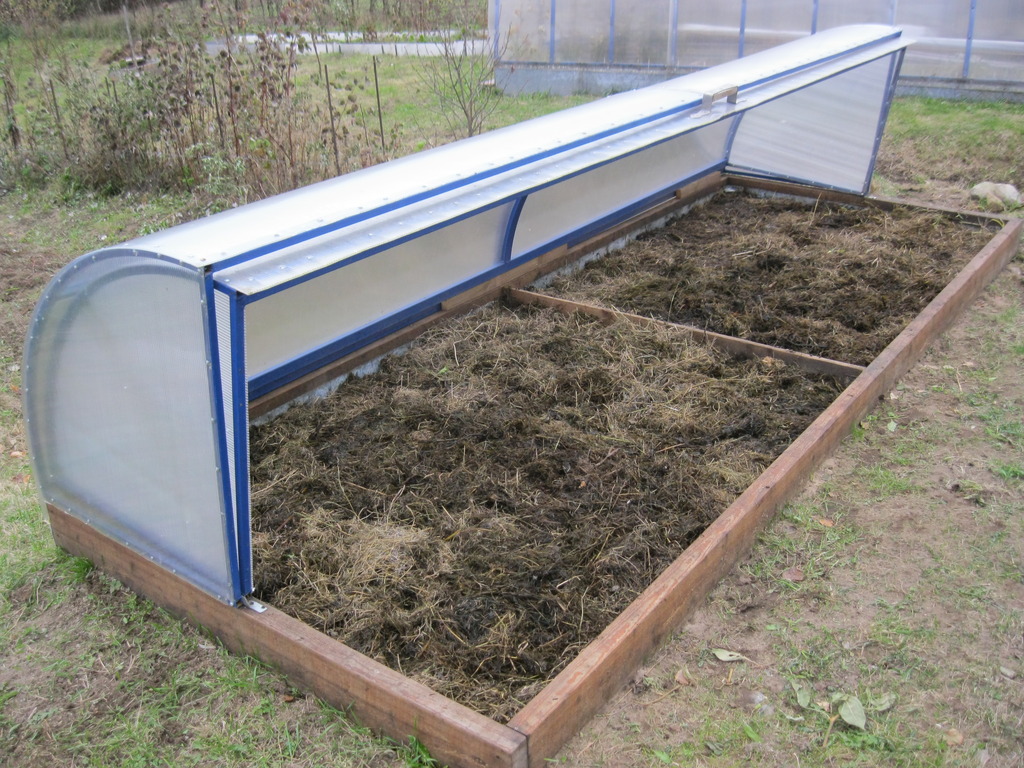
Thanks to the hinged devices, the walls open up - this is necessary to create a specific microenvironment for growing crops. Often used sided greenhouse with hinges on the bottom of the frame. It was not for nothing that the greenhouse got its name, since the principle of operation is similar to the opening of a breadbox lid - the semicircular wall of the structure is also raised in the same movement.

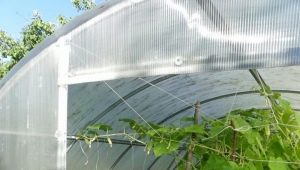
The skeleton is usually made of metal or metal-plastic profiles, and a thick film or polycarbonate is used for insertion into the frame.
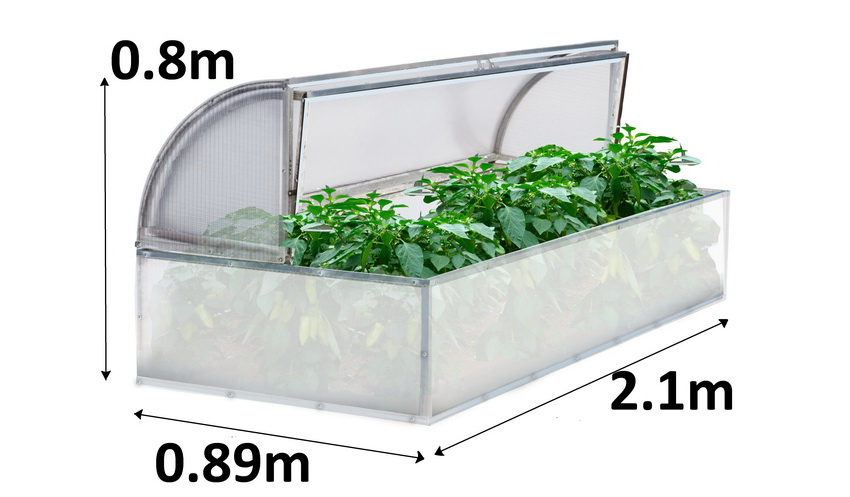
Factory models of greenhouses have limited dimensions. In most cases, the width of the building is no more than two meters, the length varies from 2 to 4 meters, and the height varies from 0.5 to 1.5 meters.
There are some features of ready-made greenhouses:
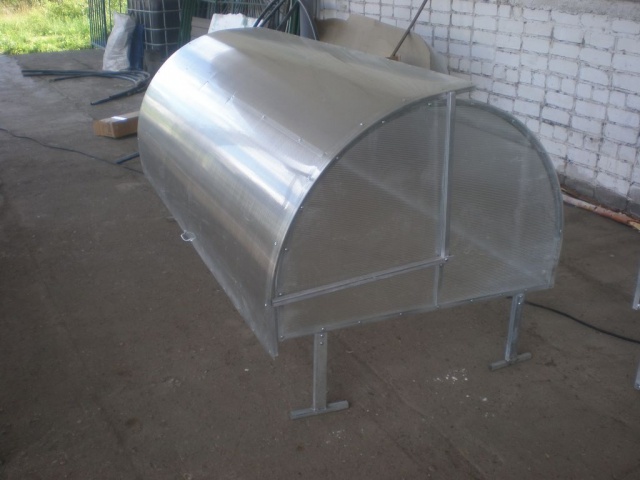
- they are equipped with legs that must be immersed in the ground;
- there are options with a border on top of the foundation and without it;
- the design opens with one or two wings;
- Some models do not have a bottom frame.
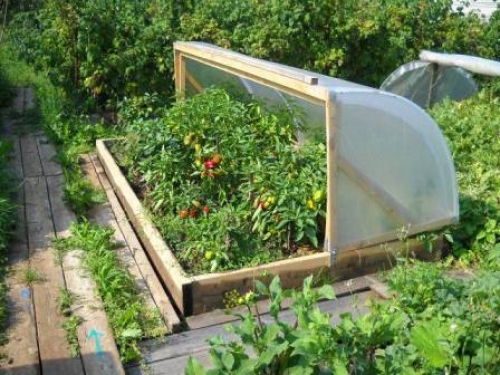
Creating a greenhouse with your own hands, it is always possible to choose a different material and size using your own design scheme. True, professionals recommend using for covering not a film, but polycarbonate, which is more durable and durable, and is also faster to install.

Advantages and disadvantages of the greenhouse
When choosing this type of greenhouse, you should inquire in advance about its pros and cons. The advantages of this design are quite a few:
- the greenhouse is light and quickly disassembled, if it is made without a deaf foundation, it can be moved around the territory if desired;
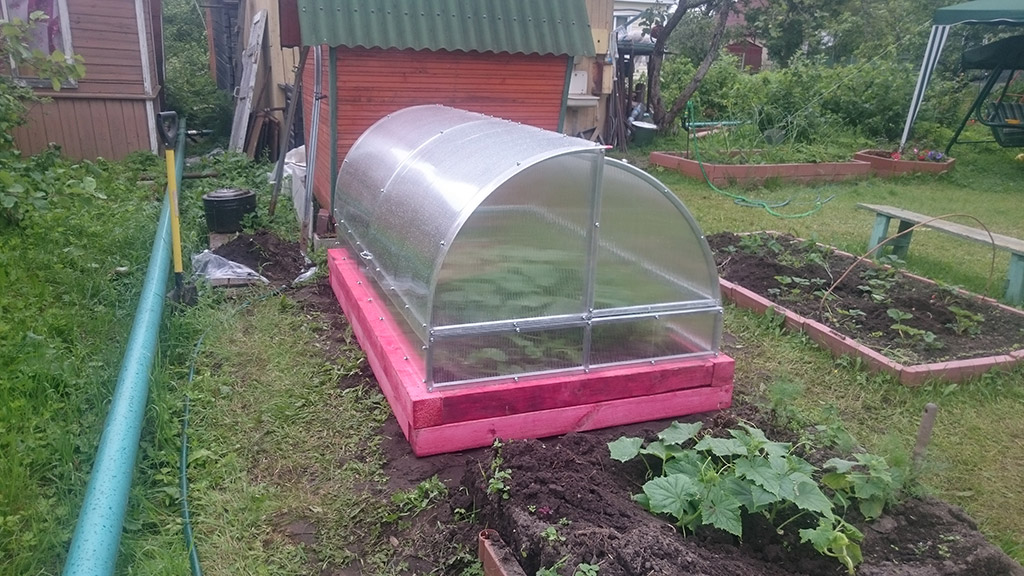
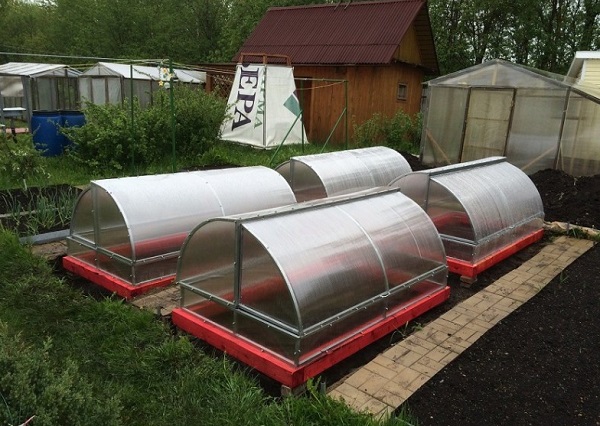
- it is a compact structure, so it is convenient to put it on a small area, or install several greenhouses on a large plot;
- The “bread box” has a small height, and for this reason even strong winds are not terrible for it, especially if it is on legs that are buried in the soil;
- if polycarbonate coating is chosen, then snow will not be a problem either, the honeycomb fabric of this cellular material also provides cultivated plants with diffused illumination, while at the same time protecting it from harmful ultraviolet rays;
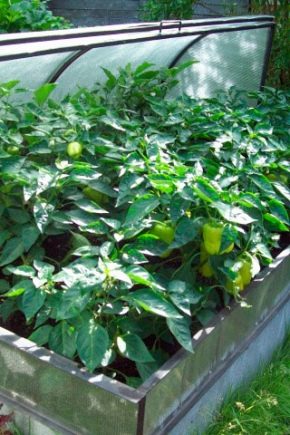
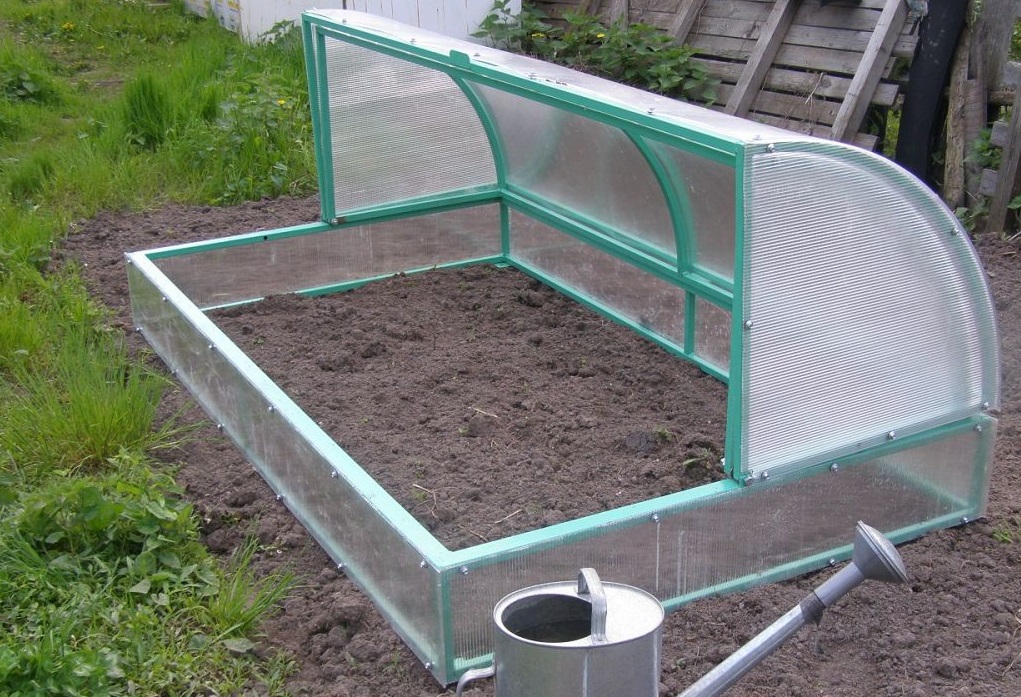
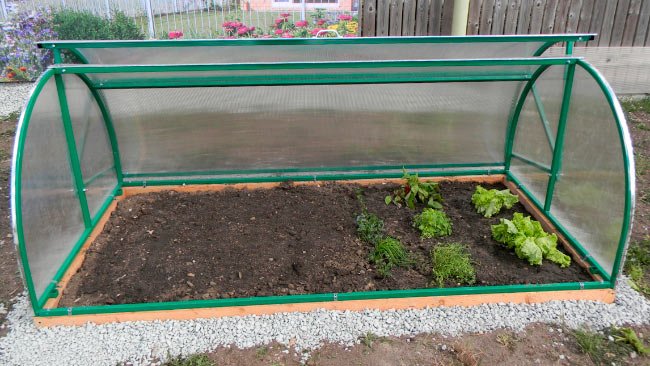
- Despite the fact that the greenhouse looks small in appearance, its usable area for planting is quite large;
- opening sashes make it possible to ventilate the structure, to carry out any agricultural work with full access to the plants.
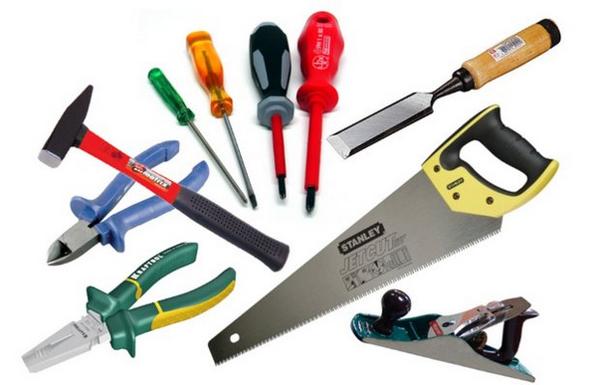
The positive thing is that you can make a greenhouse with his own hands,its installation is simple and is carried out using the usual tools. If necessary, it can be repaired and redone.
But the structure still has some drawbacks:
- the hinge device requires periodic inspection and lubrication;
- during the operation of the mechanism, an unpleasant creak can be observed;
- if the greenhouse is not fixed to the foundation or the ground, then a strong wind can shift the structure;
- during the construction of a large structure for the installation will need 2-3 people;
- because of the low height in the greenhouse, only low plants can be grown; for climbing crops, as well as those with tall stems and branches, taller and more spacious structures are needed.
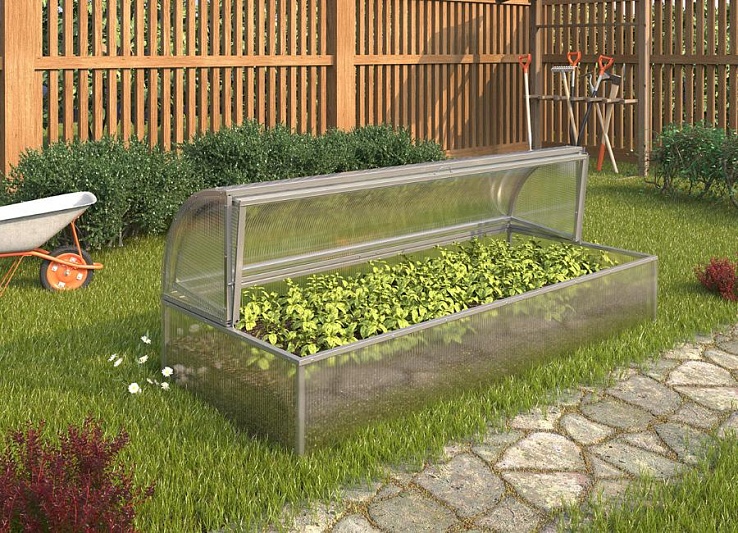
The greenhouse "Khlebnitsa" can be used to grow strawberries from the garden, all kinds of lettuce; vegetables, such as beets and carrots, greens - dill, green onions, parsley.
In winter, if you provide heating for the structure, you can grow fresh greens during the entire cold period, but this is mainly suitable for the southern regions of our country.
Preparatory work
Of course, first of all, we need well-designed drawings, which indicate the exact dimensions of all elements of the structure.For summer residents suitable small compact greenhouse with standard dimensions - 1 meter in height and 2-4 meters in length. A greenhouse with one leaf provides a width of about 1.5 meters, with a two-way opening, it should be at least two meters.
Proper pre-marking is especially important as polycarbonate sheets are sized. - 210x300 cm (600, 1200 cm), so after creating the scheme, it will be necessary to make an adjustment to the dimensions of the covering material. It should be decided in advance with the place for installation - it is desirable to install the building away from the living room, fence and large trees that will obscure the light needed for the grown crops.
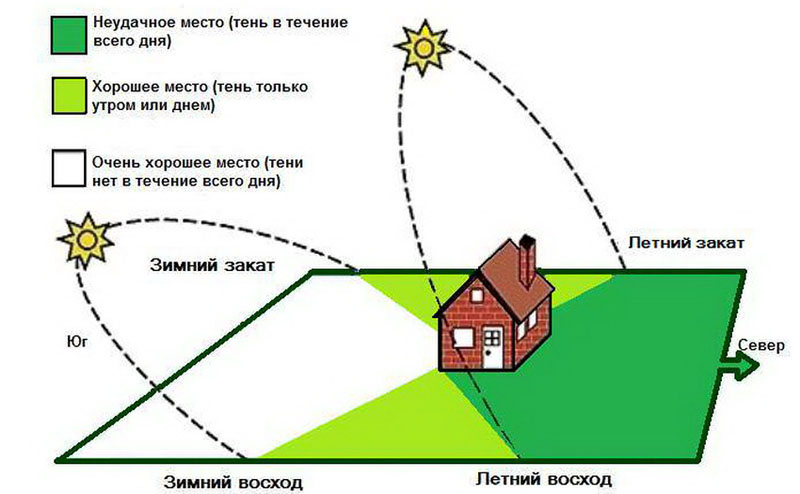

The best option if the greenhouse is located wide sides to the south or north.
It is important to follow the rules:
- residential buildings should be kept at a distance of 5 meters;
- to the sauna (bath) - 8-10 meters;
- to the autonomous sewage system (aeration, septic installation) - 25 meters.
One of the most important requirements is a level ground at the construction site. You can check it using the building level.

Greenhouse installation
Materials and tools necessary for construction must be prepared in advance.
To work will require:
- a foundation that can be made of brick, wooden boards or timber, metal, and even sleepers;
- polycarbonate canvas;
- for the construction of the frame - galvanized or polypropylene pipes;
- fasteners (thermo washers, brackets, stainless steel screws);
- hinges;
- for the assembly of the skeleton - Bulgarian, drill, welding equipment, hammer, construction knife, pipe bender.
Before using wood, it must be pretreated, including protective, antifungal agents.
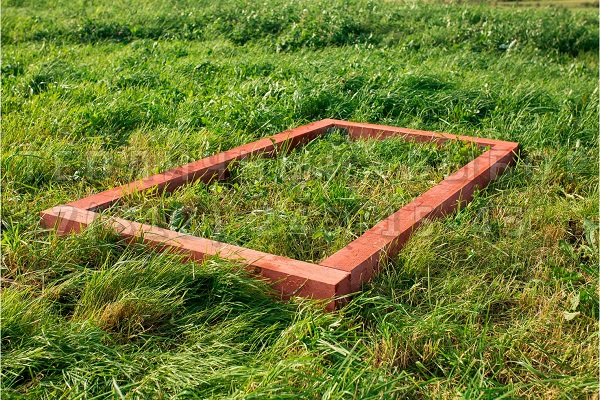
First set the foundation. For the greenhouse, which will be erected to a permanent place, the borders of the beds are first laid out, then a 20–30 cm wide moat should be dug to a depth of 50 cm. Rubble is laid at the bottom with a layer of 10–15 cm. Brick is laid over the entire area module into which the concrete mix is then poured.
When creating a portable model for the foundation, bars with a size of 150x150 mm are used - they are placed along the perimeter, immersed in the ground by 10 cm, the corners are fixed with the help of bolts.

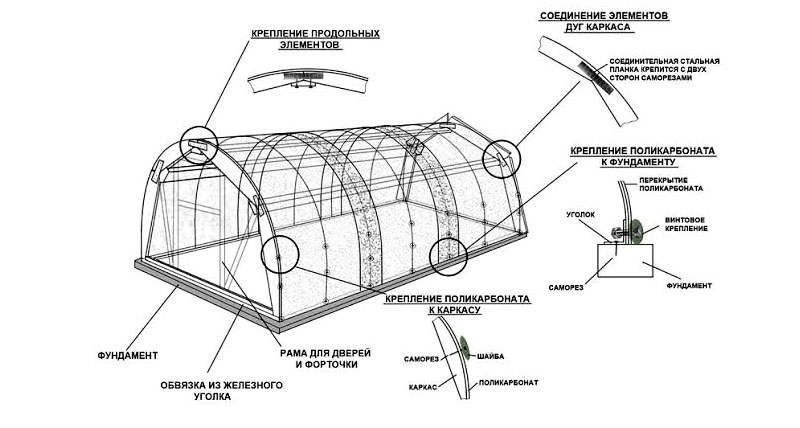
We list the stages of construction.
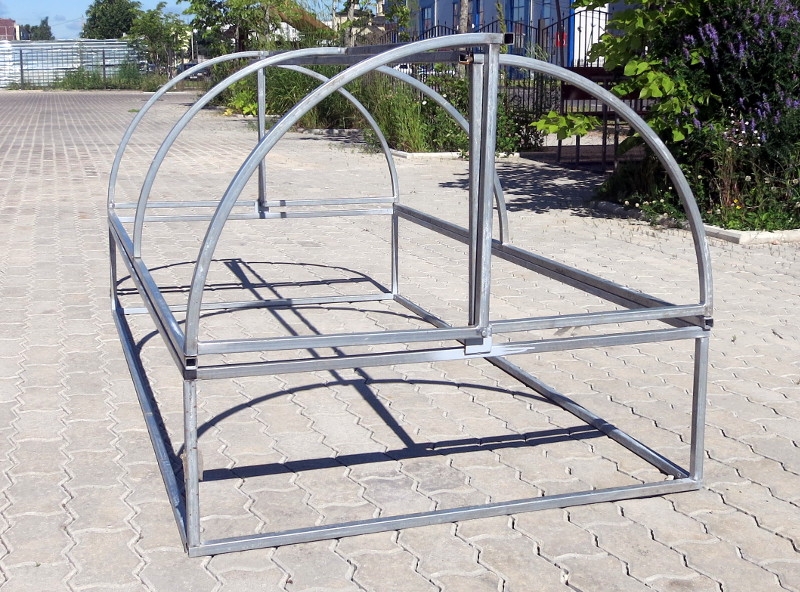
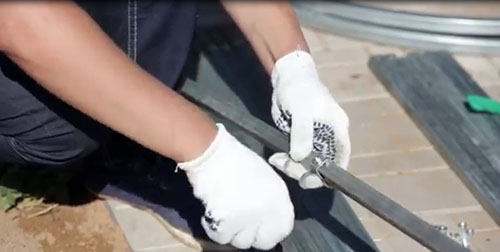
- In order to make the frame, you need a pipe bender - a special machine for bending profiles. You will need two arcs for the sides of the frame and two pieces for the rising part, the length of the arcs is 1 meter, you should mark the center on the sidewalls with a marker.
- They start assembly from the bottom frame - for this, profile pipes 4 and 1 meters long must be welded at the corners, and then the seams should be cleaned. The sides are also welded to the frame, marking their middle.
- Next to the sides and bottom frame should be welded end parts, with openings for the hinges on the outside.
- A four-meter pipe is welded on all marked points at the top of the structure. Then make the welding side arcs, transverse strips of the moving part of the greenhouse.
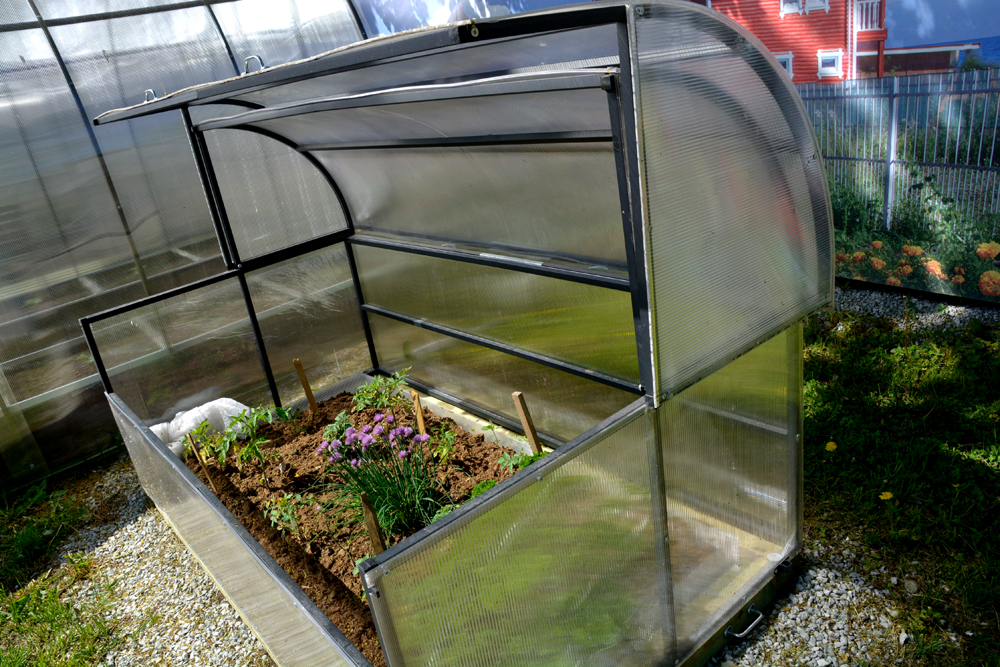
- Further actions are intended to ensure the opening of the wall using a hinge. It is necessary to weld axial strips to the rising wall, and then cut them at an angle of 45 degrees and solder together. Holes for the hinges are also made on their inner side. Now they can be installed on the ends and hang the lifting part. The skeleton should be painted.
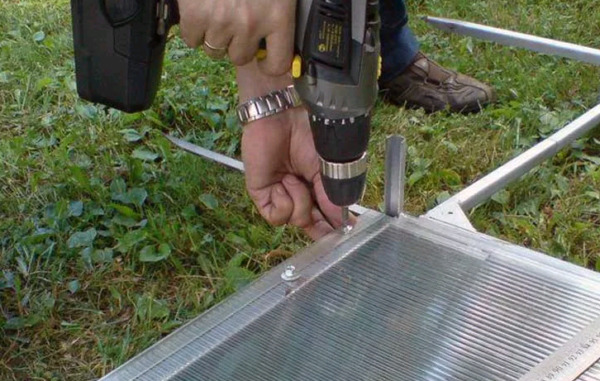
- This is followed by cutting and adjustment of the polycarbonate sheet - one sheet is required per deaf and moving side, as well as 4 pieces per side. It remains to assemble the structure on the foundation, fix it with self-tapping screws on the brick or concrete, and fix it to the tree with the help of metal brackets.
It is better to cut polycarbonate with a knife or angle grinder on a flat and hard plane. After installation, all gaps must be glued and closed with aluminum profiles.

Useful recommendations
When self-erecting you need to pay attention to some important points:
- in order to create natural heating of the soil, it is advisable to cover the base of the greenhouse with grass, leaves, and manure — organic matter will release heat during the debate;
- it should be in advance to make a support of wood, which will fix the sash when lifting the wall;
- a warm microclimate will create polycarbonate with UV protection;
- in order to remove dirt and dust from the covering material automatically, you can install a thin board with brushes attached to it on the upper part of the frame of the non-opening side;
- Before welding, you need to check all the parameters by the level - this way you can avoid mistakes during the construction of the greenhouse.
When creating a greenhouse "Breadbox" it is important to make all calculations in advance, including the calculation of the cost of construction. On average, such factory-made facilities can have a price of 4 to 8 thousand rubles, depending on its size.
It may be beneficial in some cases to purchase a ready-made structure, especially if there is no necessary experience and skill in construction.
To learn how to make a "breadbasket" with your own hands from a profile pipe and polycarbonate, see the following video.