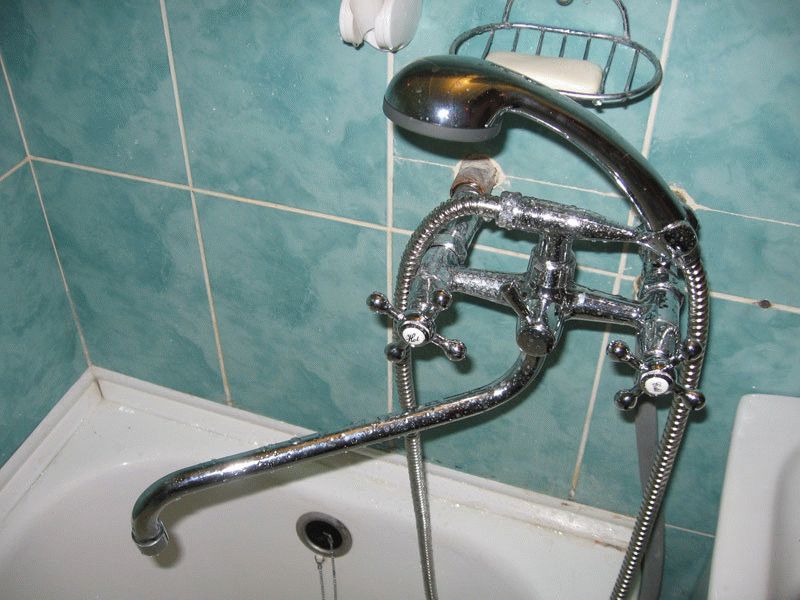
How to disassemble the mixer?
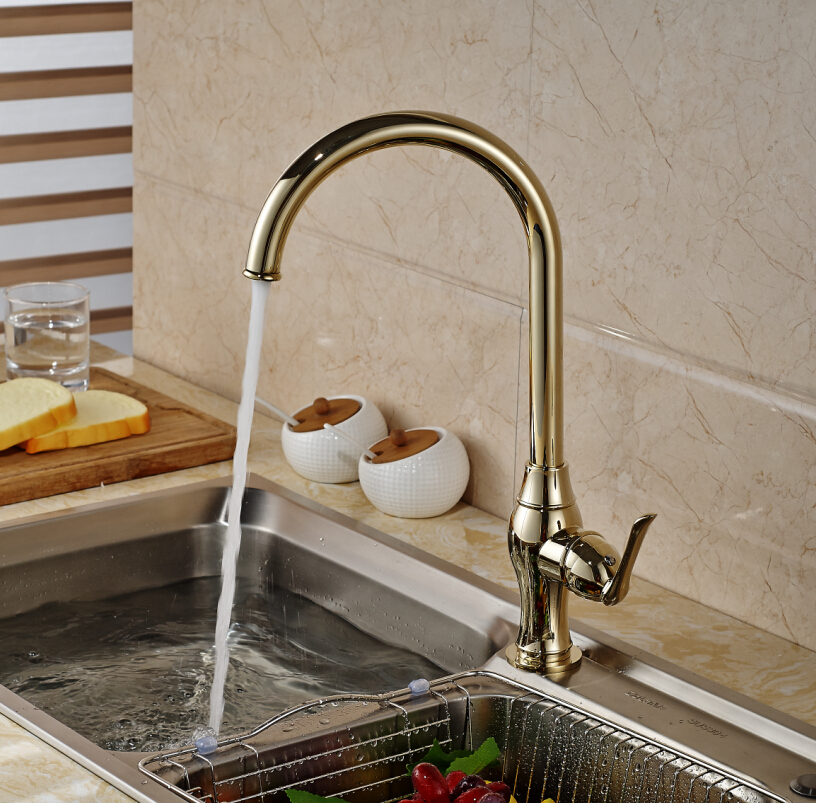
Modern sanitary appliances will work in the house normally, provided that they are installed correctly and their equipment is complete. To the process of taking a bath or just washing your face was really pleasant, you should use only high-quality plumbing. Bathroom taps must be properly selected so that they fully match the style of the room and do not create any inconvenience.
Features and device
A mixer is a device that supplies water and mixes hot and cold liquid. At least due to the two points described above, it can be called one of the main components of the plumbing mechanism.
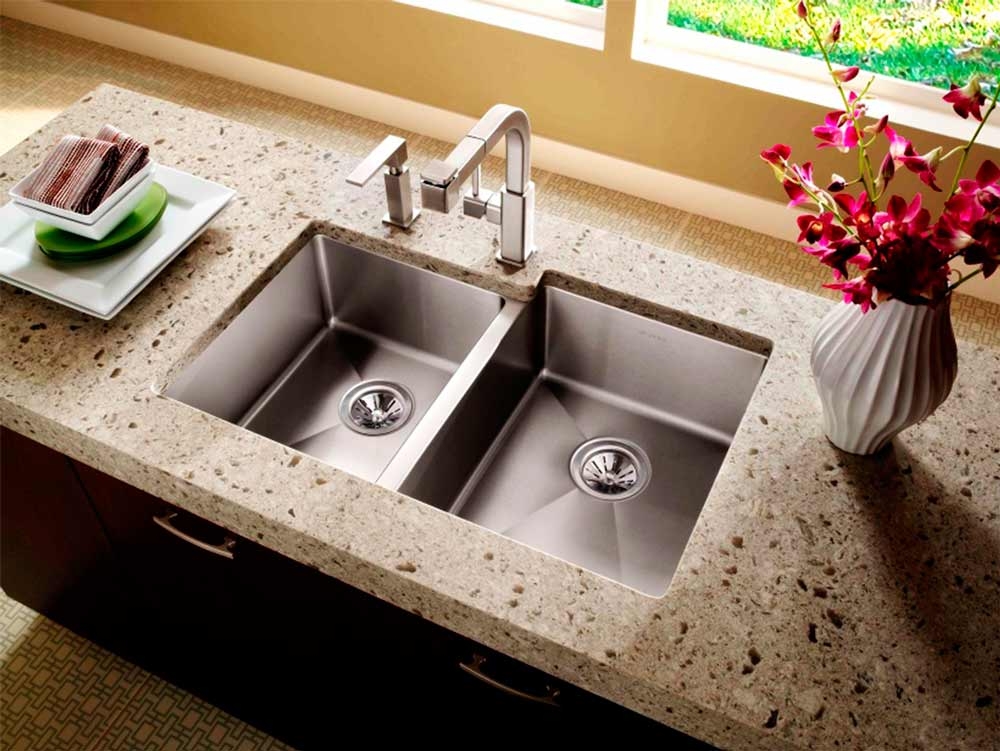
There are models designed exclusively for the bathroom, and there are solutions for the kitchen. They differ in appearance as well as in connection with the plumbing system.
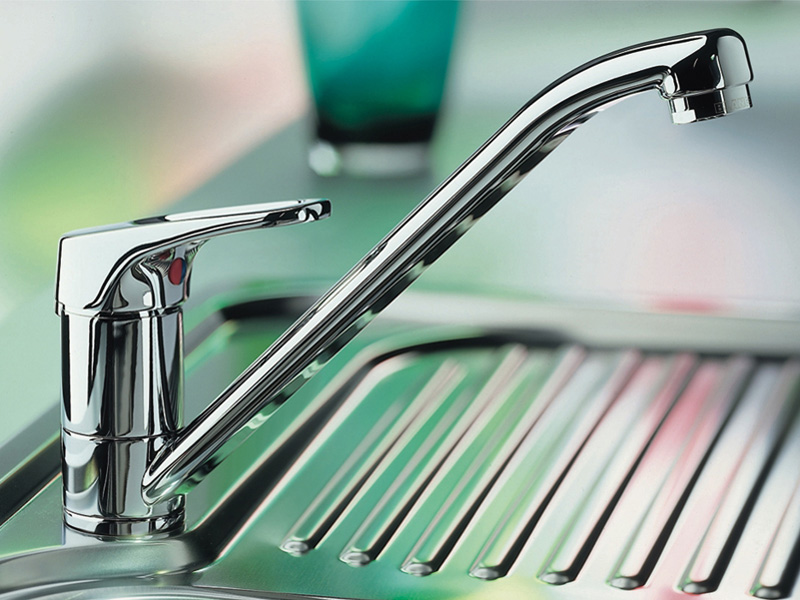
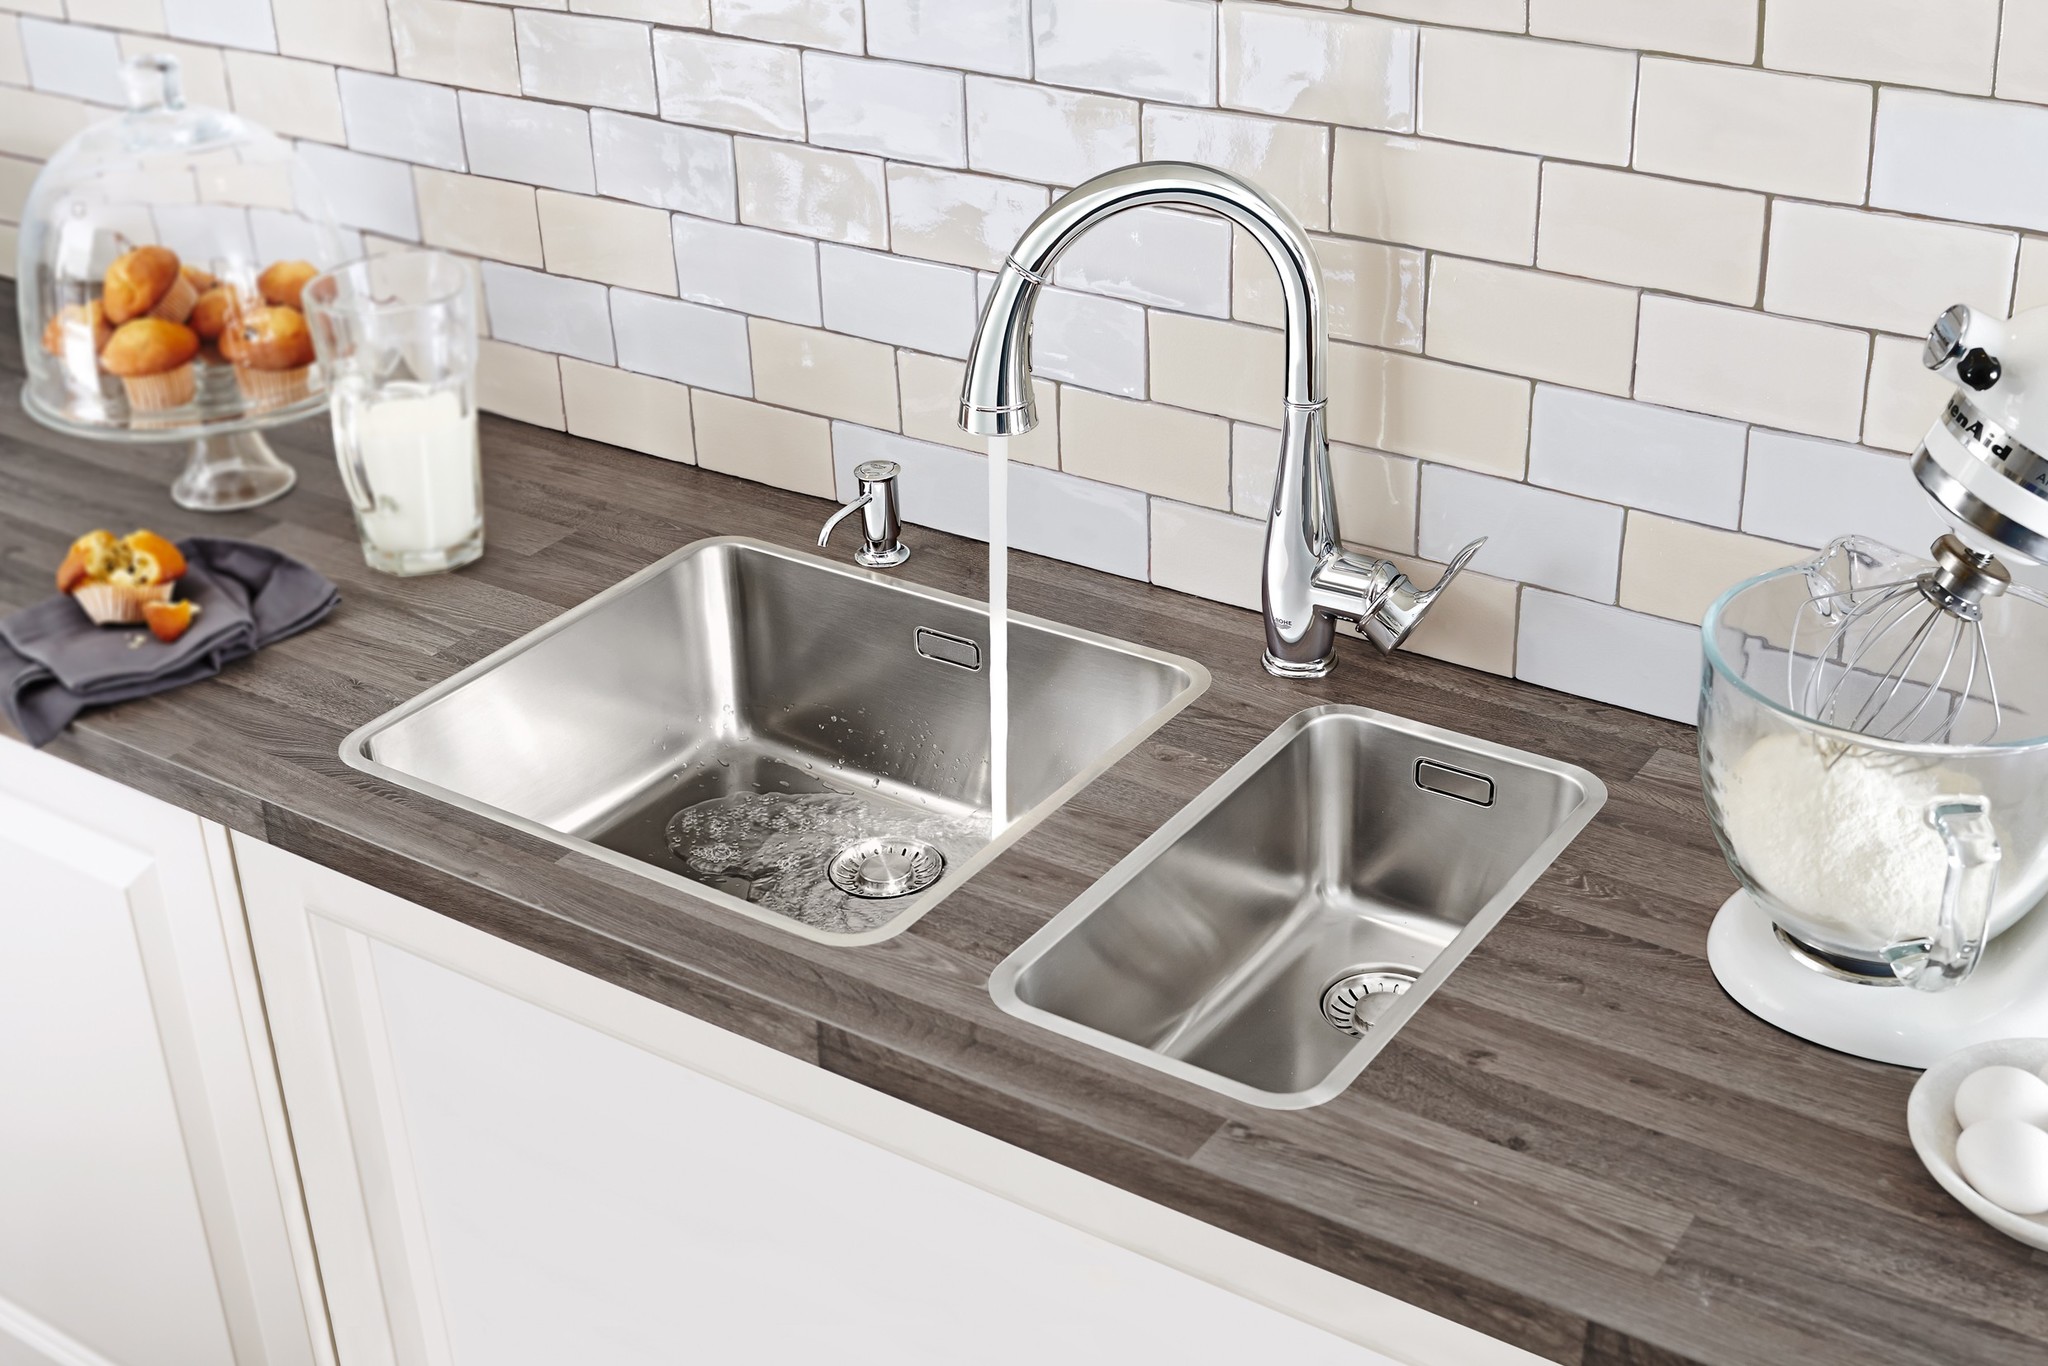
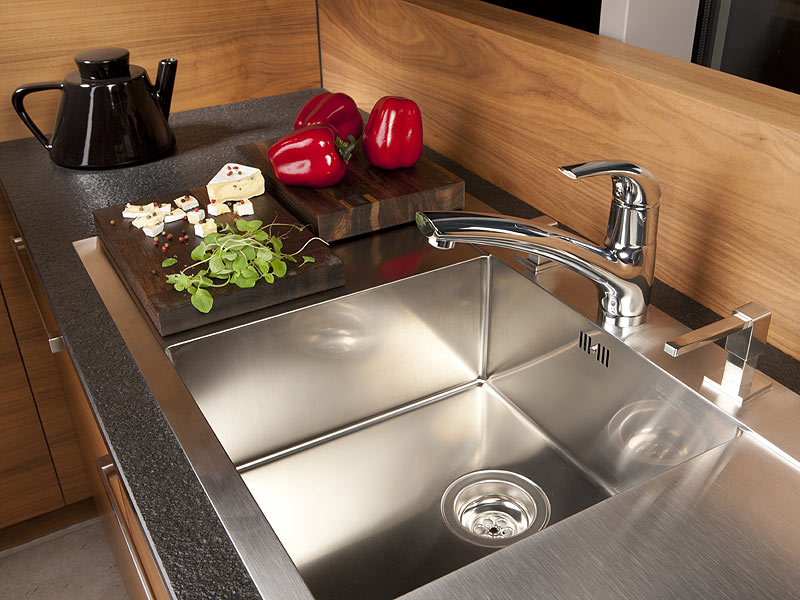
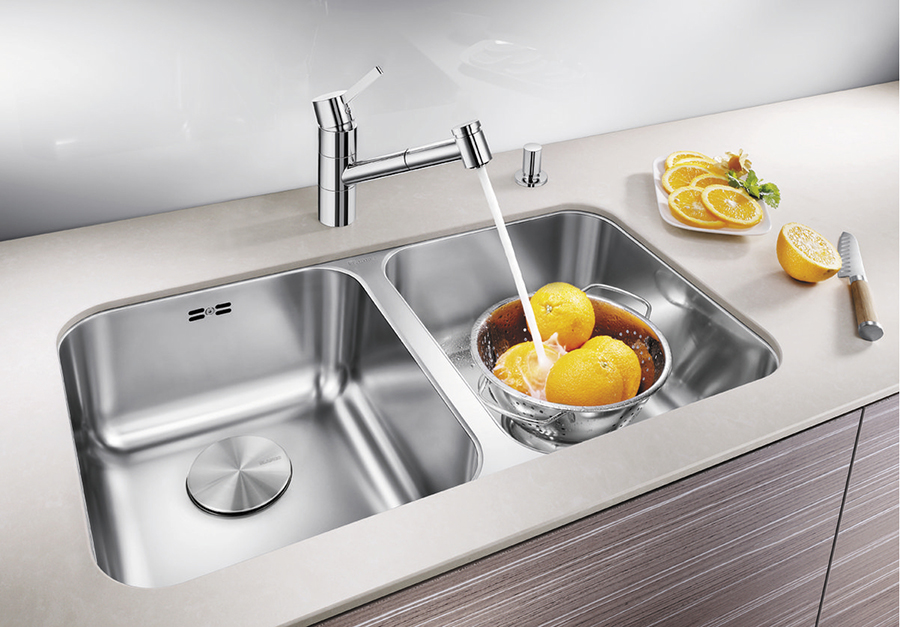
If we talk about the kitchen model, then it can be installed in three ways:
- install to the table top;
- to mount in a sink;
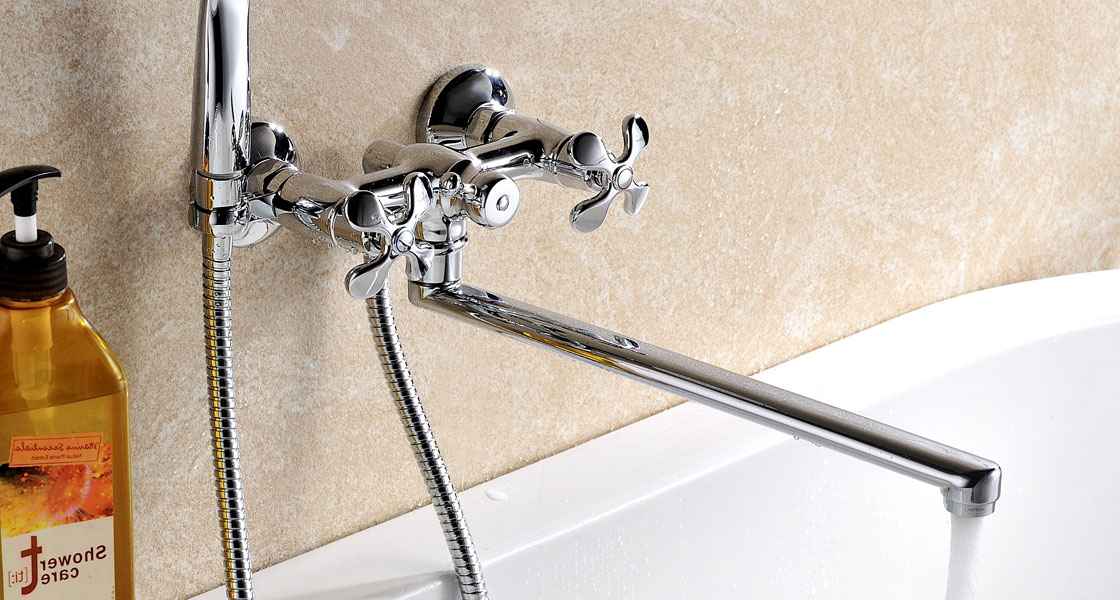
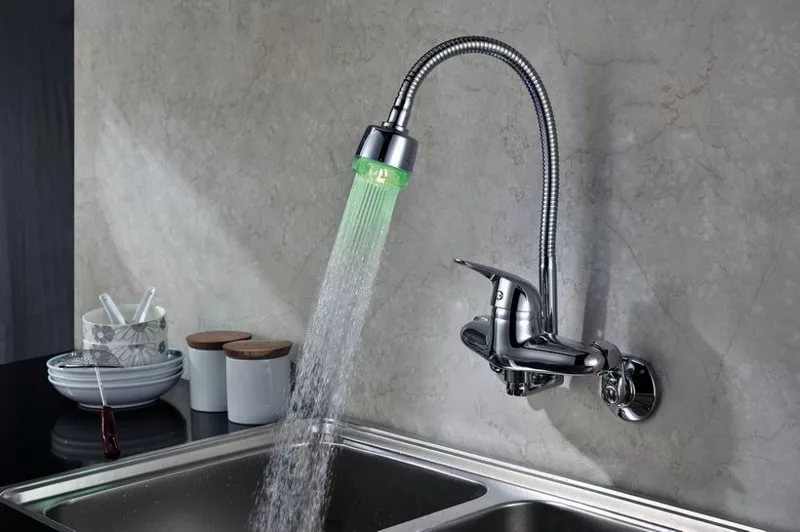
- fasten on the wall.
Previously, any water mixer was made of metal. Today there are a large number of different materials from which such devices are made. For example, the most common type of mixer is currently ceramic. This is not surprising due to the fact that ceramics is significantly better experienced contact with water and less susceptible to corrosive effects. Naturally, it is not completely made of ceramics, but simply has a ceramic coating.
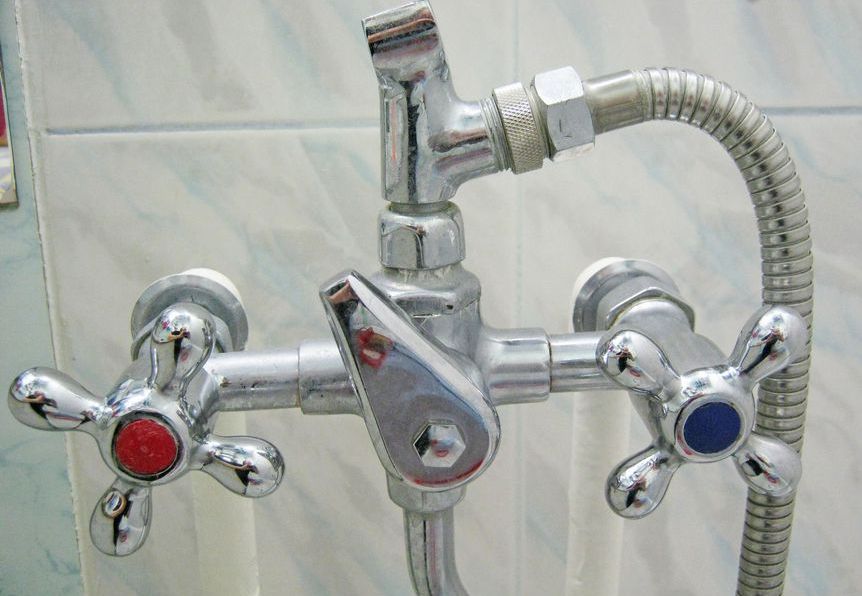
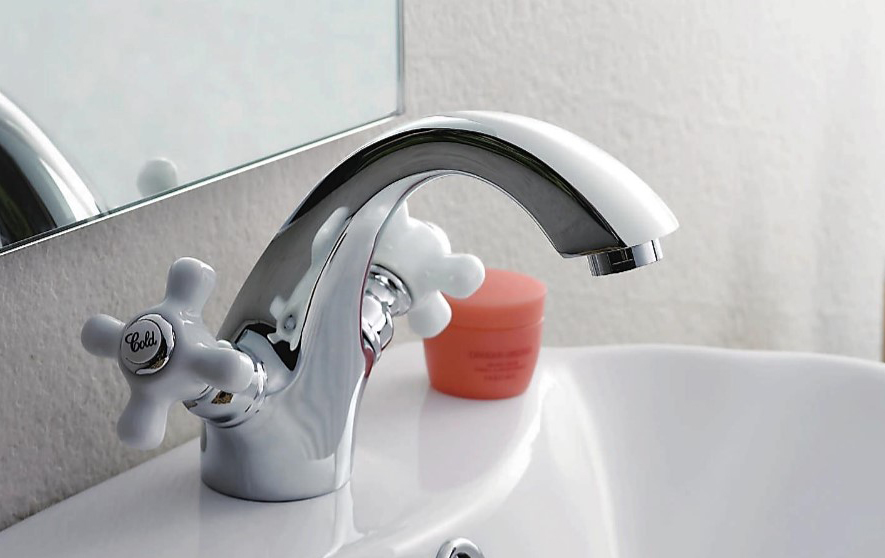
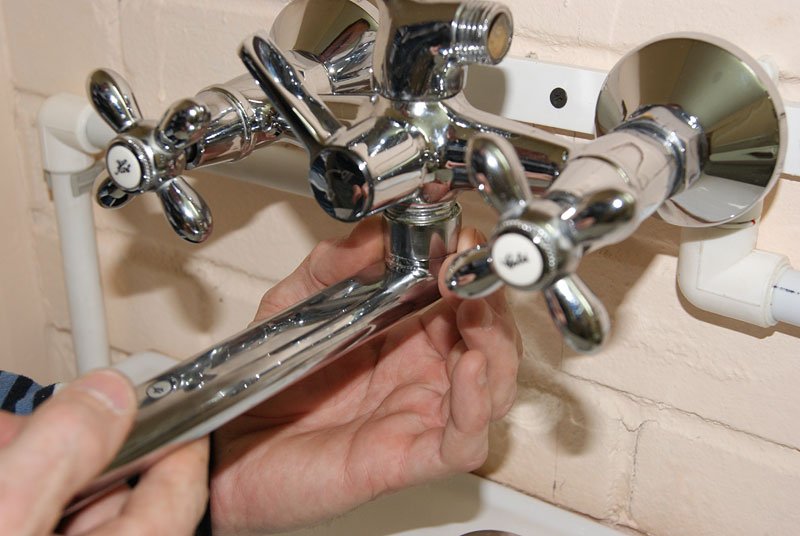
There are two-valve and single-valve models of mixers. If we talk about the first, then the basis of such models is the usual locking mechanism, which has long become a classic and in which there are two valve-type heads. Usually they are placed in a housing made of metal. Most often they are brass. The heads are responsible for regulating the flow of water, and also set its temperature. On the back of the case there is a thread that is needed to connect the device to the water supply.
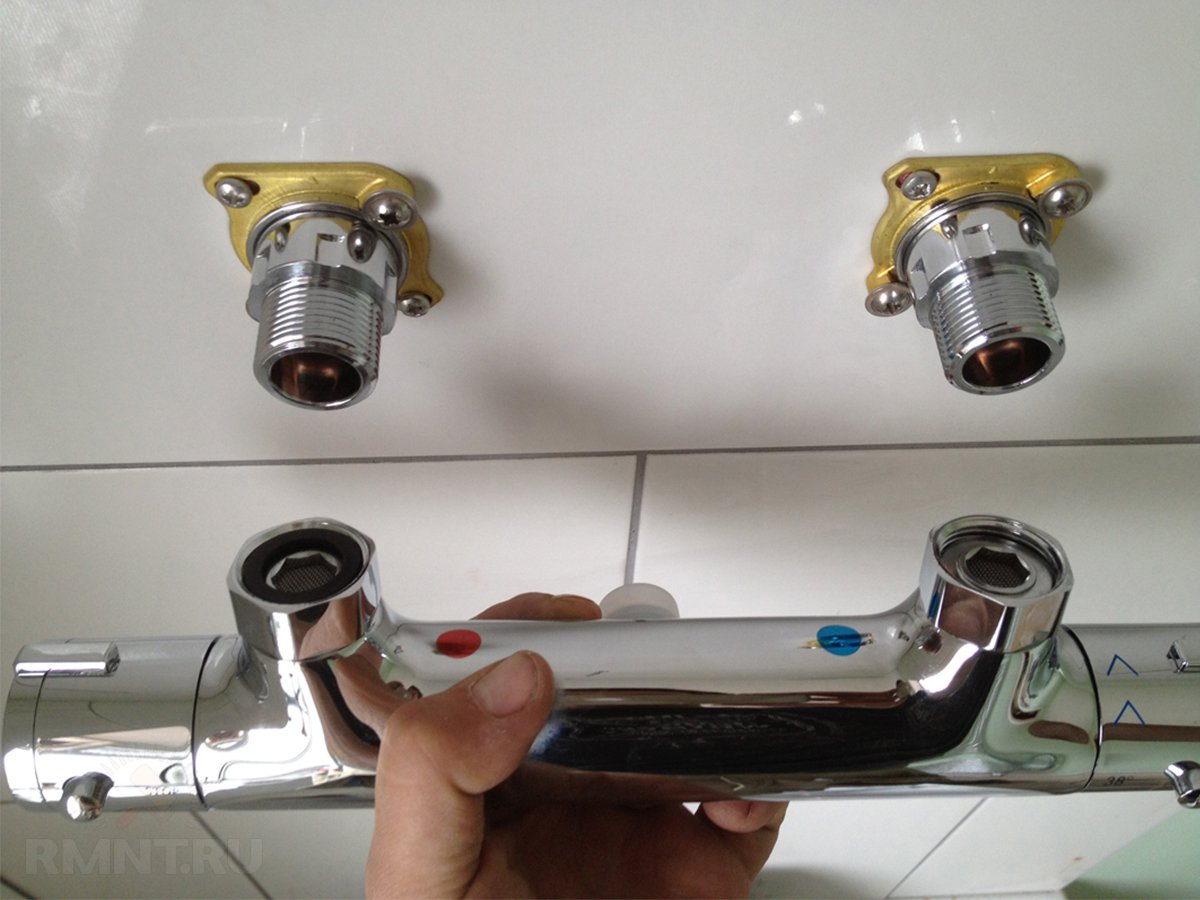
The two most famous varieties that characterize such a faucet are:
- models with separate nozzles;
- tee category models.
In the first case, the control valves are connected through a special tee, and when using the model with nozzles, they are mounted separately.
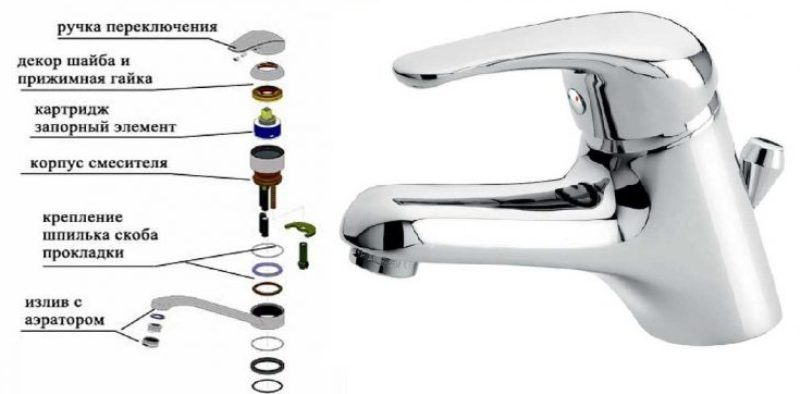
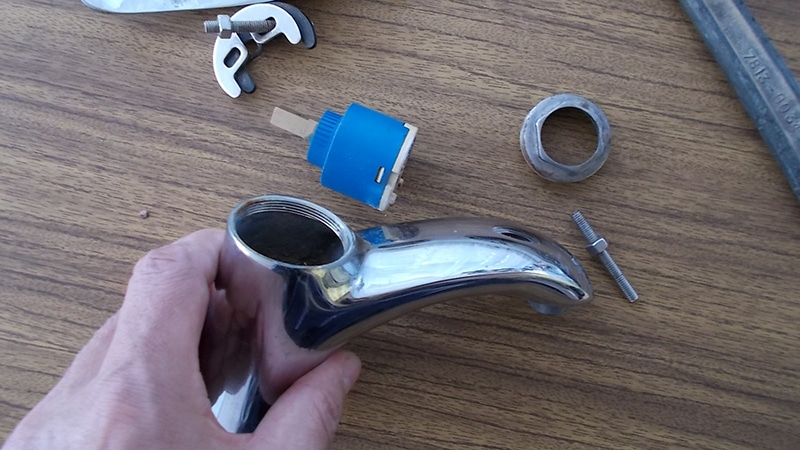
If we talk about the device single-lever model, the main components here will be:
- pivot arm;
- gaskets;
- cap;
- crane body;
- mechanical cleaning cartridge that is removable.
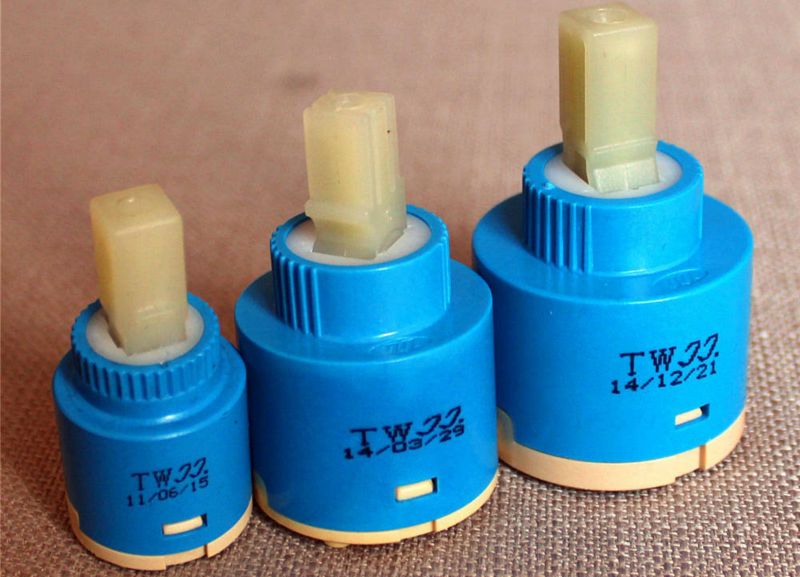
The cartridge can be used both ceramic and ball. Everything will depend on the design of a particular mixer.
If we talk about models with ball cartridges, then they have a ball with holes, which is empty. It is fixed with a special pin on the crane grip. Thanks to the two inlet holes, the hot and cold water ends up in the ball chamber and, after mixing, flows into the mixing spout. The temperature of this fluid and its pressure will be set by the angle of rotation of the handle, which will affect the possibility of coincidence of the holes that are in the body of the crane and the ball itself.

In cartridge models of metal there are two washers made of ceramics, which are lapped as closely as possible to each other. When turning the handle, they move, and the holes that are on them, are combined in one degree or another depending on the position of the handle that is spinning by a person. Due to this, the water is mixed and transported to the spout.
Ceramic cartridges have one drawback - they do not understand, so they require a complete replacement of the mechanism when problems occur.
There are three categories of cranes:
- single lever;
- valve;
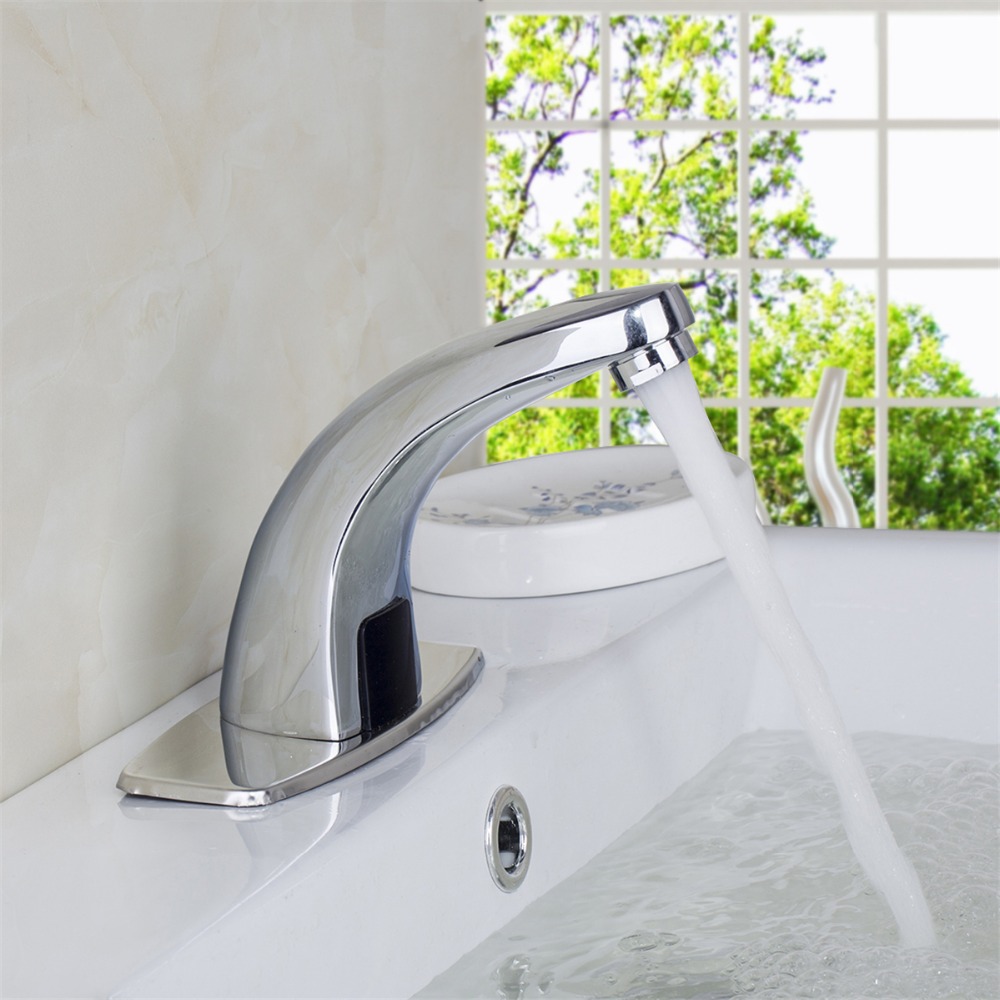
- sensory.
Now let's talk more about each of them. The two-valve option for the kitchen is the most familiar and convenient. As a rule, it is equipped with a swivel spout and two cranes, which allow adjustment of the water jet. At the same time, it is impossible to say that their characteristics are bad, although usually the locking part of such models breaks down extremely quickly. In addition, rubber gaskets need to be replaced after a couple of years of active use because of the hard water in our pipes.If there is a ceramic plate, the situation will be a bit easier due to the fact that it wears out less actively, although it often happens that its service life is even less than that of a rubber gasket.
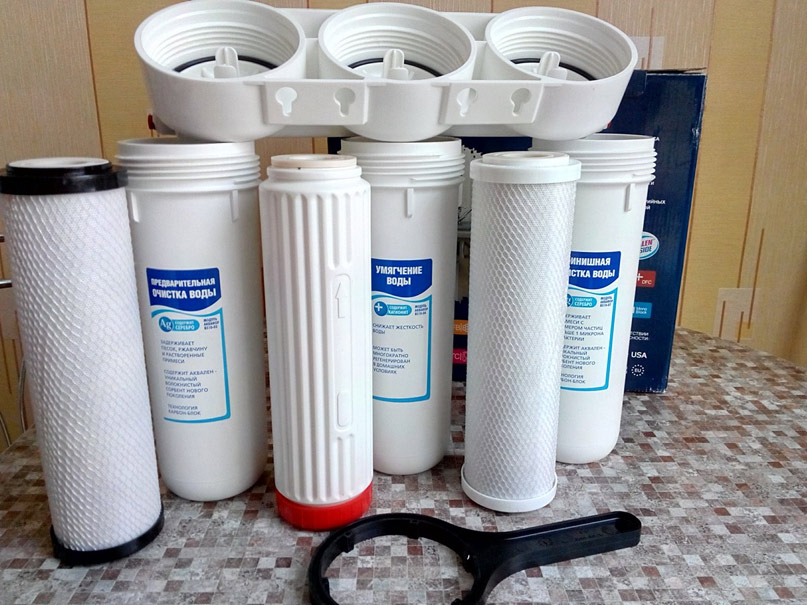
Much depends on the quality of the water. Some users put filters on plumbing systems, but otherwise it is better not to install them. The coarse and solid elements contained in the water can simply disable the whole mechanism.
But to replace any parts in such a crane would be pretty cheap.
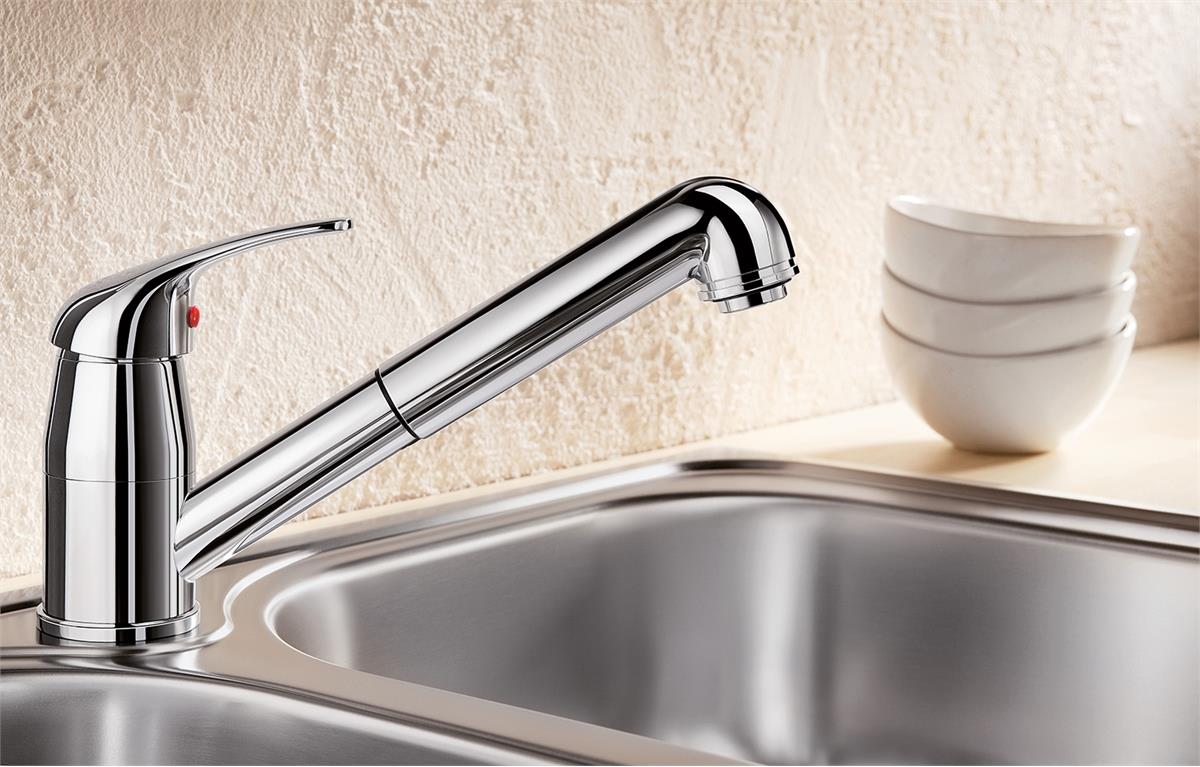
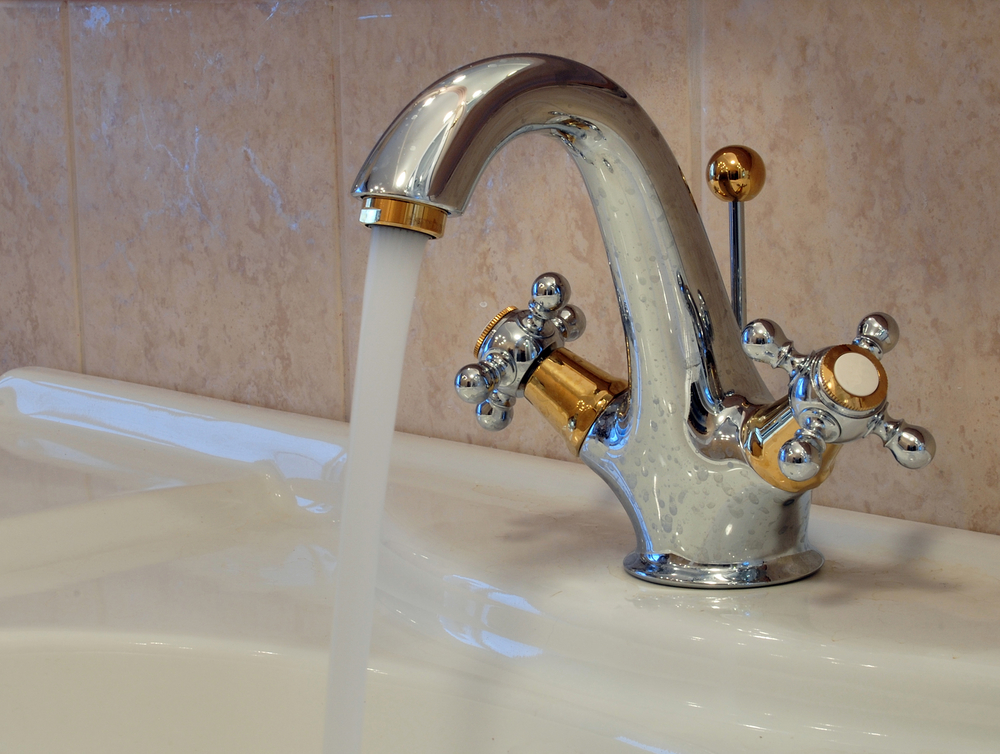
The single-track version is a classic that has been retaining its popularity for many years. Here, pressure and temperature are controlled by one handle, which drives the main part of the cartridge. Such devices are unpretentious in work and they are very easy to use. The structure of such a mixer is somewhat similar to a crane. Ceramic plates can be found in the housing, but their size will be larger than that of valve taps. Such solutions can work without failures for a long time, but their cost will be substantially more than those of valve models. But it is necessary to take into account the fact that in such mixers, if there is an increase in one flow of water, then the second jet will decrease. This is inconvenient if the pressure is not too great.

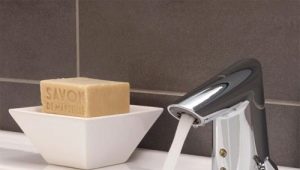
The third category of mixers is an invention that appeared quite recently. The advantage of it will be the absence of the need for a person to touch anything. It is enough just to bring the hand to the tap, as the water begins to pour from it itself. The only drawback of such a model is that the pressure and temperature of the water are programmed by the thermostat in the sensor tap before using, and until the settings are changed, these two indicators will remain at a given level.
Required tools
To disassemble the faucet in the bathroom in order to repair it, you must have on hand a number of tools.
We are talking about these things:
- control knob;
- good cap with an attractive appearance;
- two keys - hex and adjustable;
- drill;
- pliers;
- hammer;
- screwdriver;
- knife;
- ceramic head and cover for it;
- aerator;
- rubber rings or similar, made of plastic.
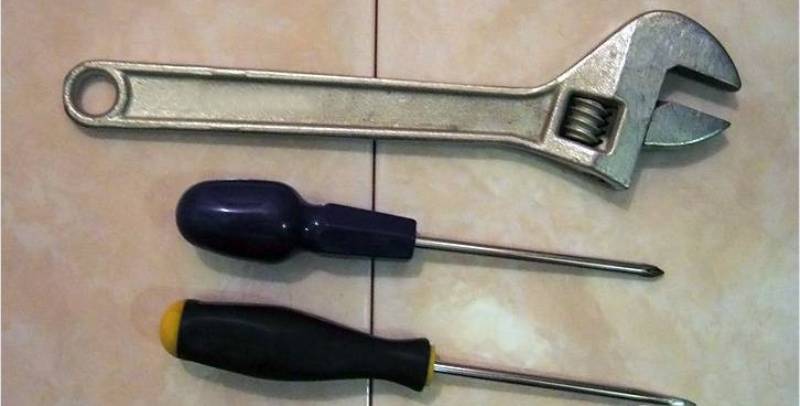
Even a person who has minimal skills in the repair of plumbing fixtures has such tools. Even without experience with such devices and with the aforementioned tools, such repairs can be made.
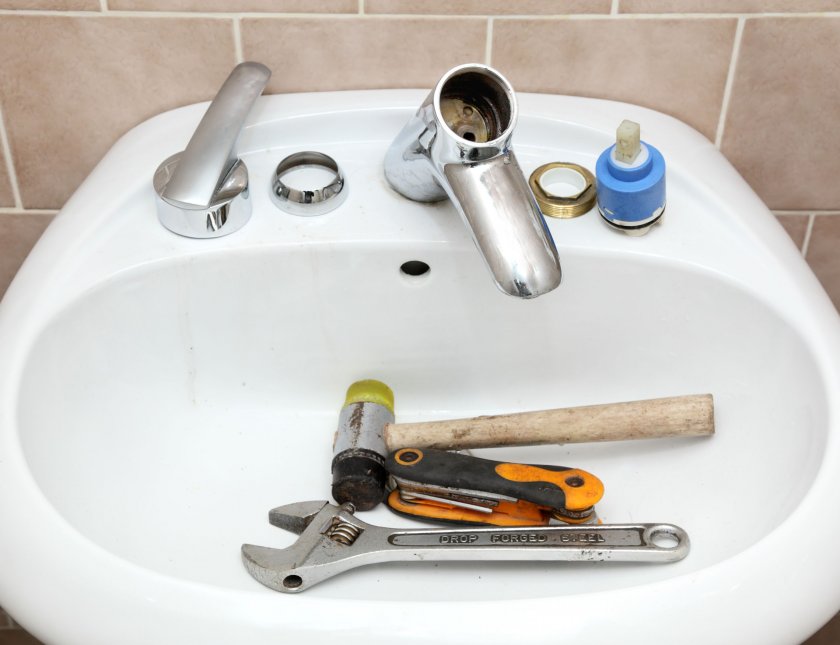
We make our own hands
Now we give a step-by-step instruction on how to disassemble a water switch of almost any type - hinged, flag or lever. Recommendations will be given not only for disassembly, but also for repair, as well as for cleaning such a product.

Single lever
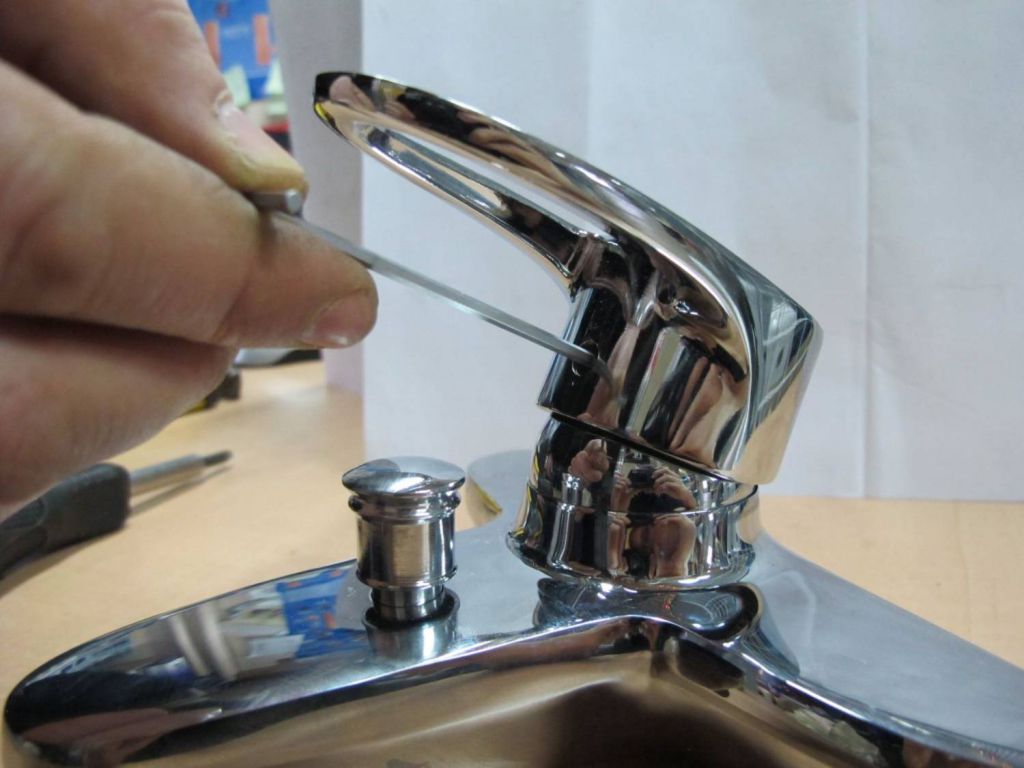
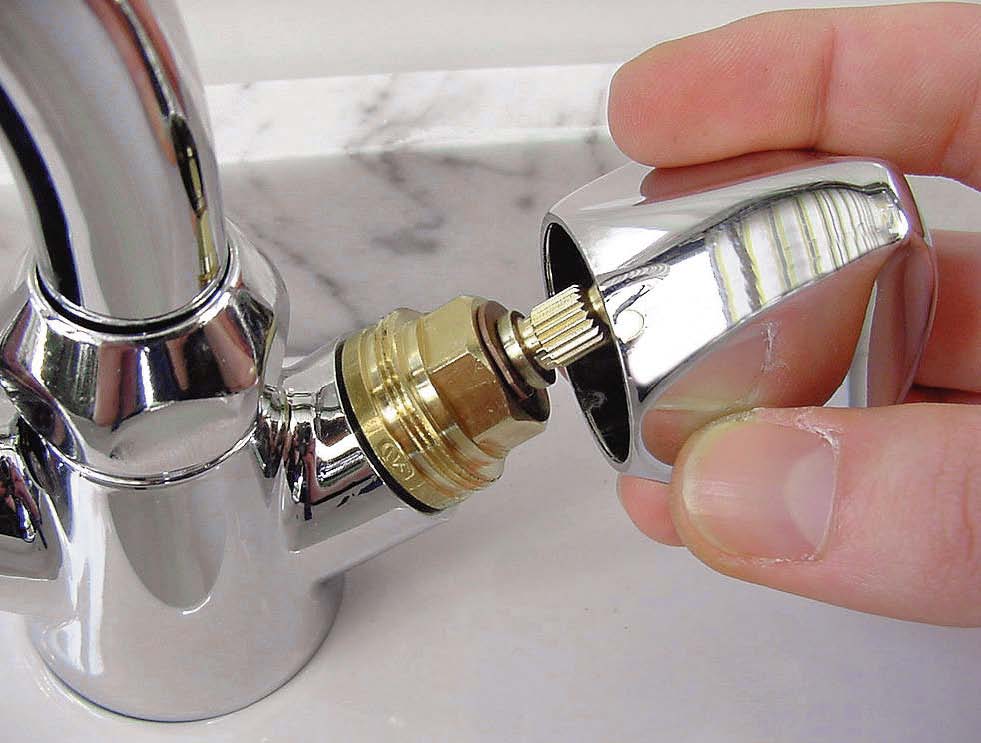
To repair a single lever tap, you must first remove its handle. This can be done by translating the stopcocks to the closed position. Now we take the hexagon and loosen the bolt that holds the handle itself. After that it can be removed.
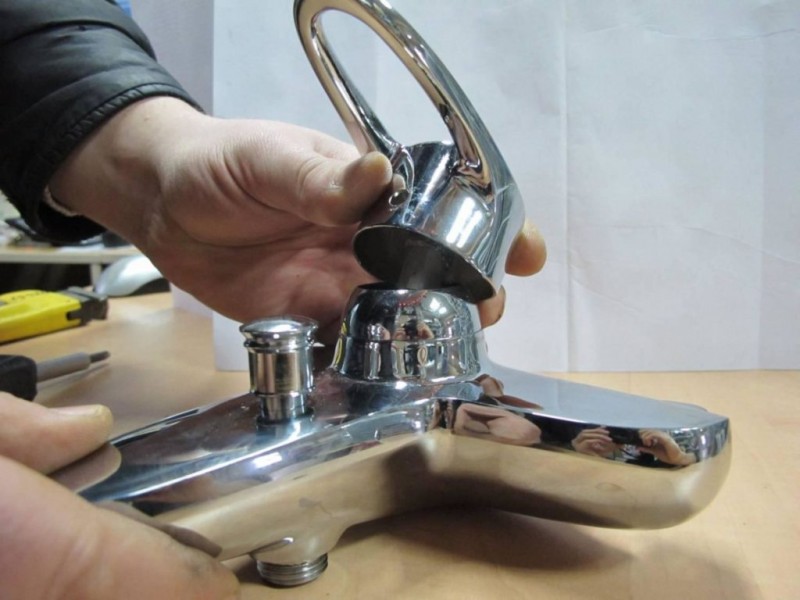
At the next stage, a little effort should be made and lightly press on the recess where the threaded ring is located. And the ring itself must be rotated counterclockwise. But here it is important to do everything so that the mixer does not turn itself, which can lead to deformation of the water hoses located under it.
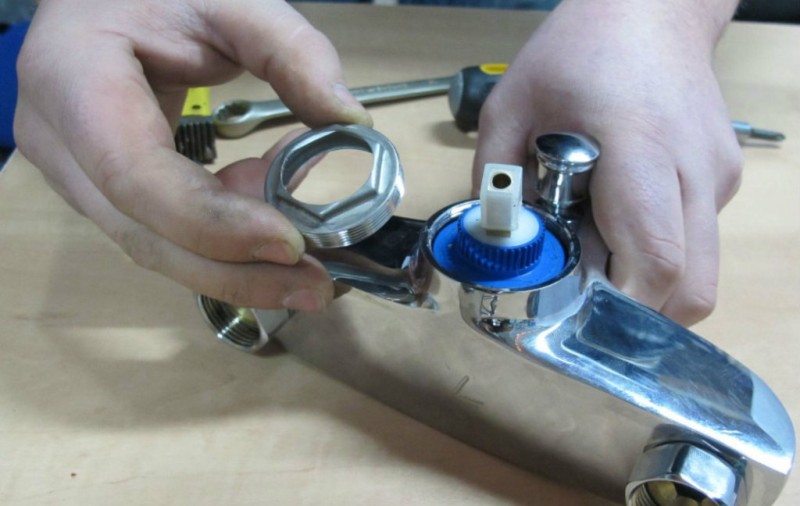
Now with the help of pliers or tongs, we remove the chrome dome. Do not overdo it, so as not to deform the ring with four teeth, which is located just under the body.
We unscrew from the chrome-plated case a ring made of plastic.This action is carried out to check whether the threaded connection is intact, whether there is dirt or dirt on it and whether it can easily rotate.
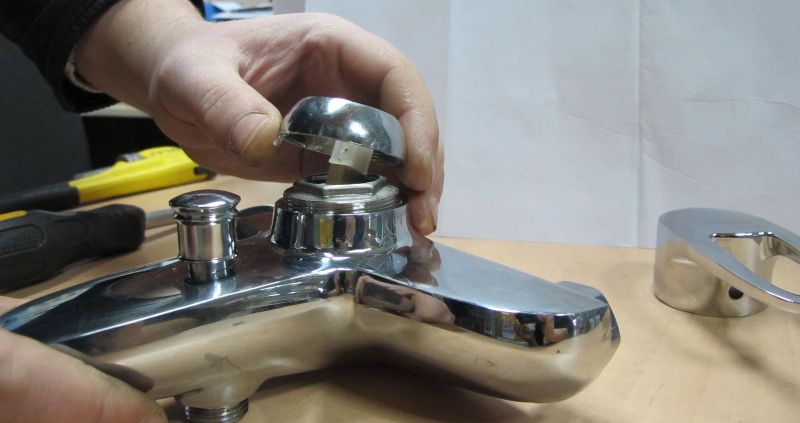
We take out the shield part, made of plastic. It consists of elements of two colors - white and black. The second part will be the seal. Often it is because of its deformation that the tap begins to flow. If this is the problem, then simply clean it and you can return everything to its place. Also under the seal can be detected springs. You should check their performance. If they work poorly, they need to be replaced by removing them with a flat-tip screwdriver.
But if all actions were performed, and the mixer still does not work correctly, then disassembly should continue. Then take out the ball from the tap. This can be done by an ordinary upward movement. In the ball you can see the hole, which is responsible for the rotary range of the structure. It is necessary to inspect this detail: perhaps it will have damage or deformation, or it will just be very dirty. If the ball coating is deformed, then it must be replaced.

When installing a new ball in the mixer, be careful, as the gap located on the right side should be clearly on the ledge of the upper part of the device.
Now we carry out the insertion of the shield, which should enter the hole in the crane with the help of a plastic part.
When replacing seals, you can apply a silicone-based lubricant, which should significantly extend the life of the mechanism.
We assemble the crane in the reverse sequence of actions and mount it in place. Now open the water and check if it is flowing. If there is a leak and its source is at the top of the faucet or at the base, then the problem is more likely to be in the ball. Then remove the ball, raise the spout at the base and gently pull it up. Usually, the ball is held tightly by two annular gaskets, which wear out over time and cause the valve to flow even when it is in the closed position. Using a small flat-tip screwdriver, they can be pulled out and replaced.
By the way, it will not be superfluous to also wipe the seals with a grease before replacing them, so that the design will last longer.
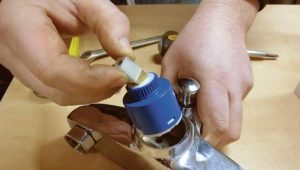
We now turn to disassembling the valve with a ceramic cartridge.
It is carried out in the following sequence.
- Using a screwdriver with a flat tip, we take out a decorative cap located on the crane handle.It should be red or blue, which indicates the possibility of regulating the temperature of the water supplied.
- Now unscrew the cog with a hex key, which holds the joystick on the adjustment rod.
- Pull the handle, then unscrew the two nuts - clamping and decorative. Sometimes it happens that one of the nuts is not hex. In this case, you should be very careful not to damage the grooves on it.
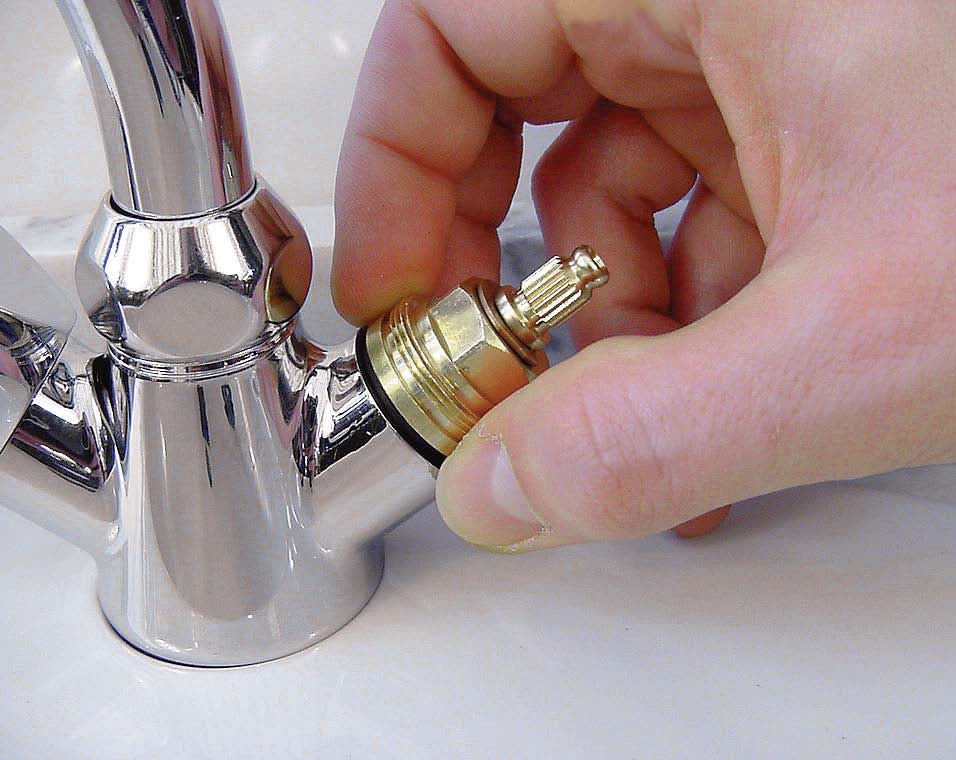
- It remains only to pull the disc out of the mixer mechanism, after which it is possible to replace the cartridge.

It is under these schemes that single-lever mixers are disassembled.
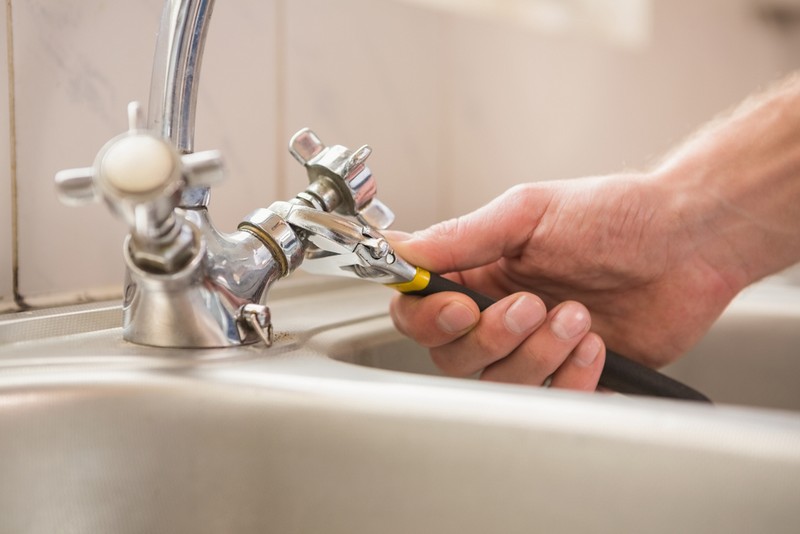
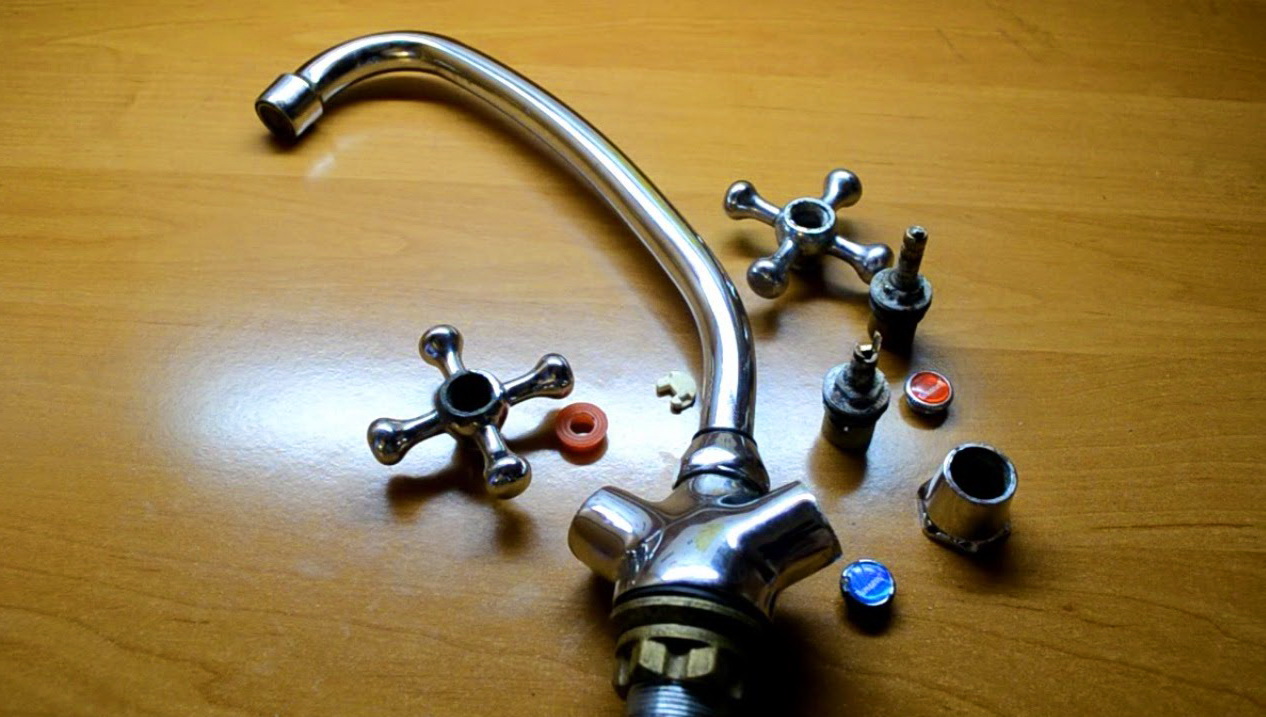
Duplex type
Mixers of the two-valve type are used less and less often, but they are often installed in old houses, which means they do not lose their relevance. Dismantling of such a crane is usually carried out either when the mixer leaks from the base, or if at least one of the valves is malfunctioning.
In general, the disassembly process in this case will be quite similar to the disassembly of a single lever analogue.
- First, the removal of plastic plugs, which close the screws holding the valves on the crane boxes, is carried out.
- We unscrew the screws using a flat-head screwdriver, then dismantle the valves.
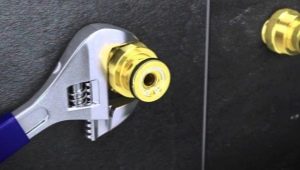
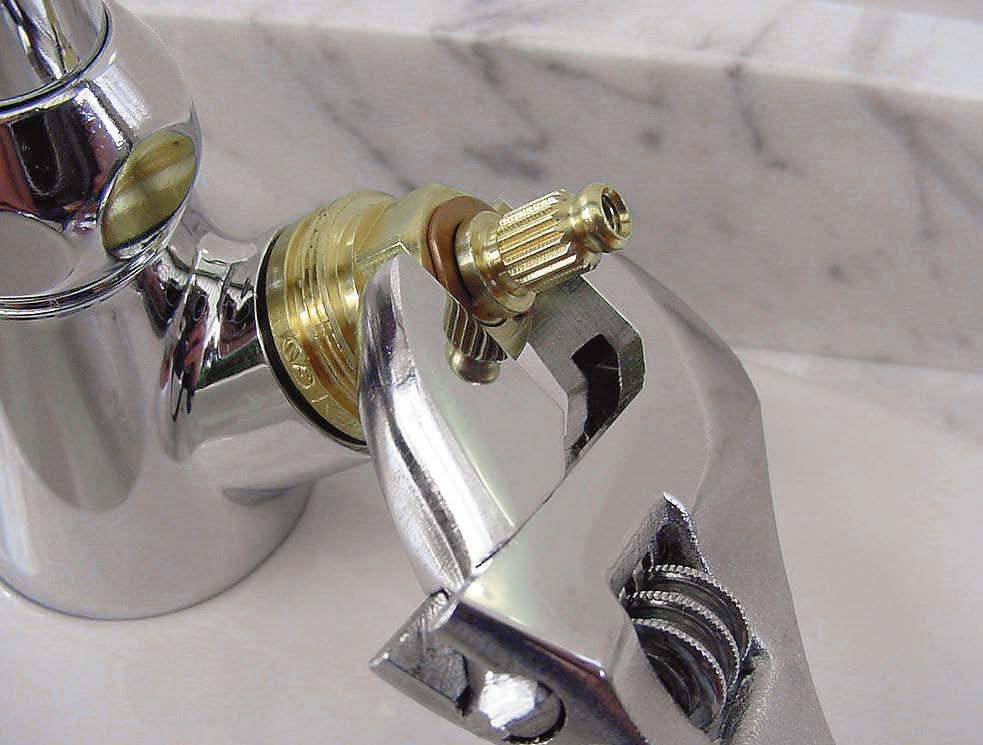
- We take the adjustable wrench and carry out unscrewing the crane-axle boxes. They are usually made of brass, which is a soft metal. For this reason, you should not put too much effort in order not to break the mechanisms or damage them. In order to leave no trace of the key on them, you can put a cloth under it.
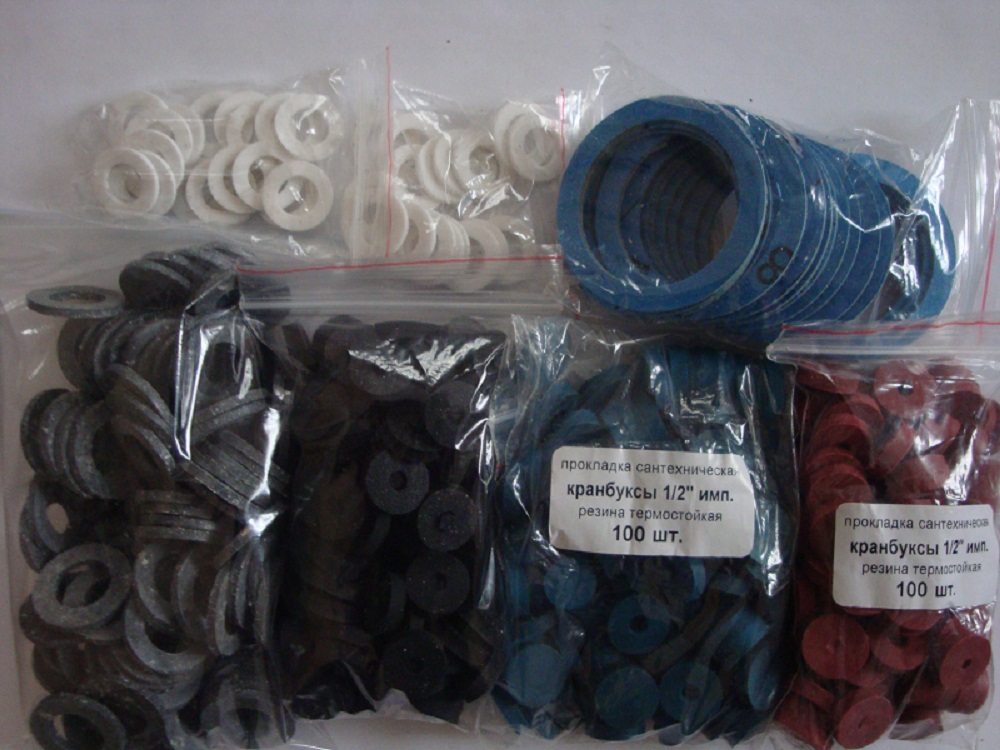
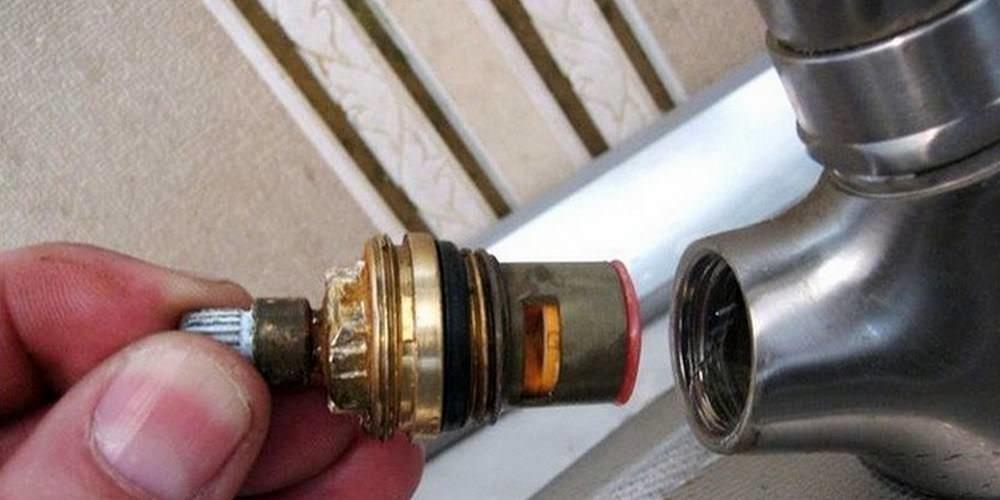
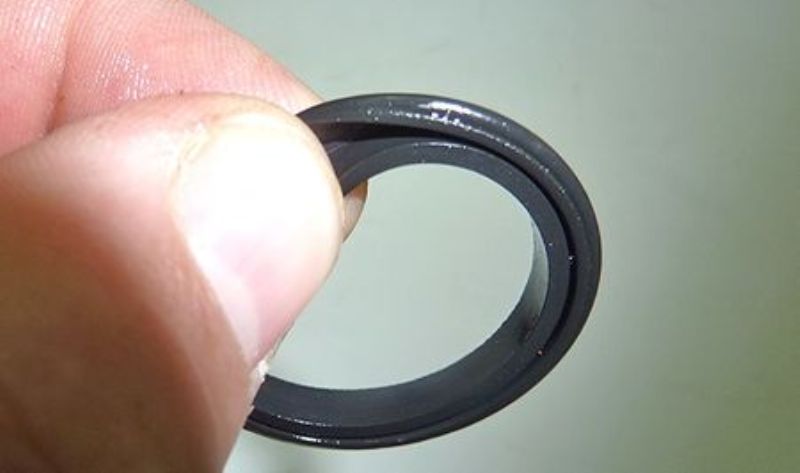
- Now with the ends of the crane-box we dismantle the rubber seals and replace them. If the installation is also ceramic fittings, then the part will have to be replaced completely.
After that, it remains to assemble the crane by performing all the steps in the reverse order and checking its operation.
In general, as you can see, there is nothing difficult in disassembling this type of mixer.
Recommendations
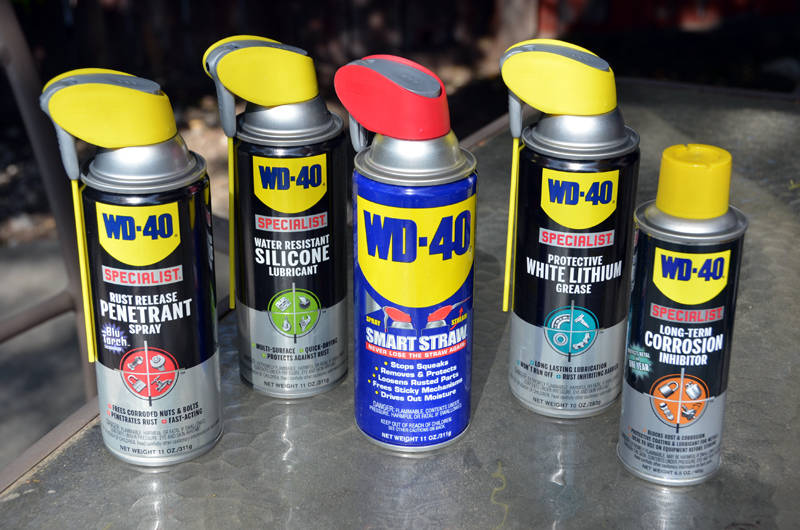
If the nuts are not loosened for disassembly for some reason, they can be treated with a special solvent that is commonly used for cars - WD-40. After processing, leave them for a while and allow them to fold. After that, they should unscrew without problems. If you do not use this solvent, but simply try to unscrew something, that is, there is a risk of breaking the thread or grinding off the nut edges.This will be a consequence of the fact that it will be necessary to replace not individual elements, but the entire mixer due to the impossibility of its further disassembly.
If the faucet has a diverter valve for a shower, disassembling can be somewhat more difficult. In addition, a three-way mixer may not be collapsible at all, and such models are now quite often encountered. If this is not the case, then the switch can be removed by unscrewing the nuts of the clamping type.
Often the cause of a leak is precisely the wear of gaskets. For this reason, it will never be superfluous to have a spare one so that you can make a replacement.
Sometimes the cause of a leak is not just a faucet, but simply a loose mount. Then do not rush to unscrew and disassemble the mixer. Before this, check the mounting and, if necessary, tighten it.
It will not be superfluous when purchasing new parts to take with you the old parts of the mixer in order to select the replacement as accurately as possible. After all, cases where a seemingly similar detail does not fit the mixer are not uncommon.
If you deviate from the accepted rules for disassembling and repairing mixers, then there is a possibility that the faucet will simply become unrepairable.That is why you should clearly understand the structure of the mixer, with which you will encounter, and before repairing you should understand what parts it consists of, what parts are most susceptible to breakage and how to fix this or that problem. In this case, you can easily fix the mixer, and it will serve you after this for quite a long time.
For information on how to disassemble and repair a single-lever mixer, see the following video.