Subtleties of installation of the mixer in the bathroom
Unfortunately, every thing has a lifetime, after which it fails. This statement fully applies to such sanitary fixtures as a mixer.
Special features
Usually the mixer cannot be repaired, therefore in case of its breakdown it is required to install a new one in place of the failed one. It is possible to perform this operation both independently and with the help of a professional, since modern mixers have a rather simple design that makes the installation process as easy as possible on site. That is why many homeowners prefer to do this kind of repair themselves.
Its feature in the first place is the correct choice of the mixer. The fact is that this device should absolutely fit to a particular bathroom or kitchen, as the faucets may have some features of their architecture and layout.
In addition, pipelines can also differ from each other, which can create difficulties when installing the mixer in place.
There are two options for installing this sanitary device.
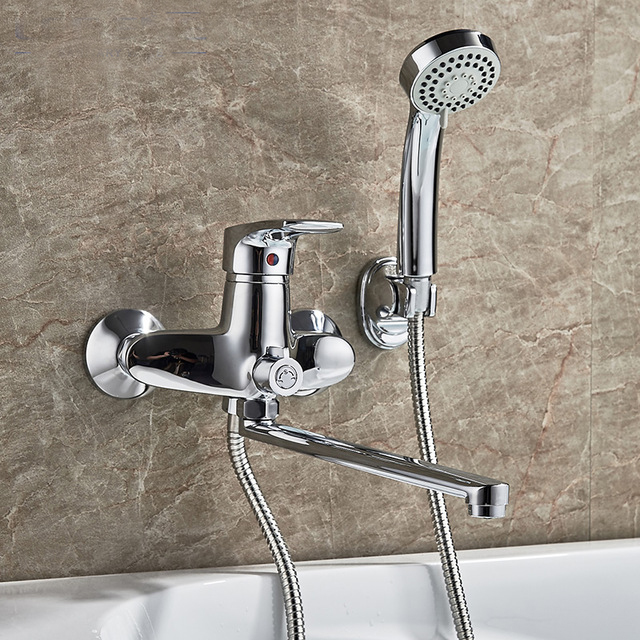
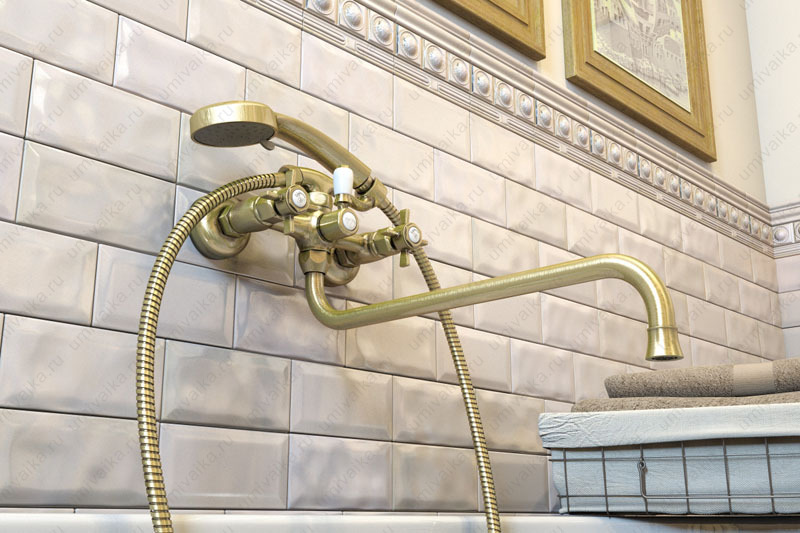
- With the open installation option, there is no need for breaking the walls, performing complex pipeline calculations, because the installation of the mixer is done directly on the wall. That is why it is recommended for use by novice home craftsmen. Its disadvantages include not quite a good appearance of the room in which the mixing device is installed.
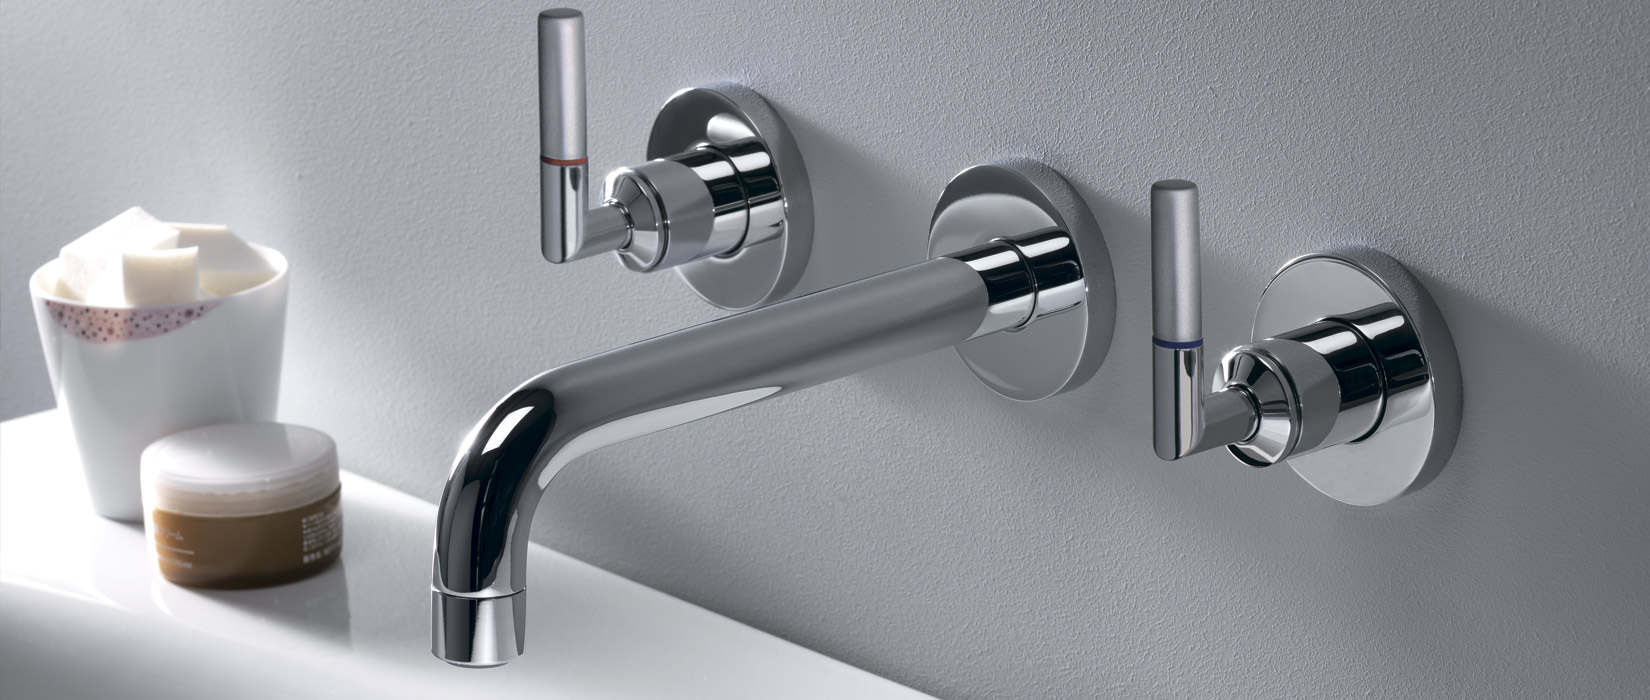
- The hidden method of installation requires the work to partially dismantle the walls, which is necessary to gain access to hidden communications. Naturally, the performance of such work on the shoulder, not all homeowners.
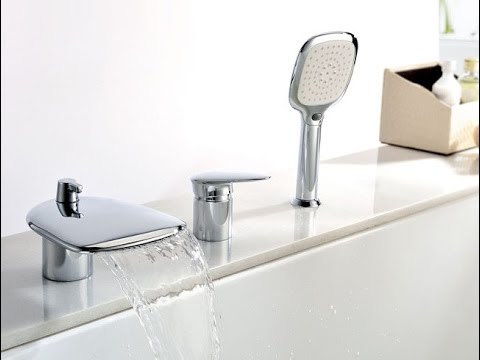
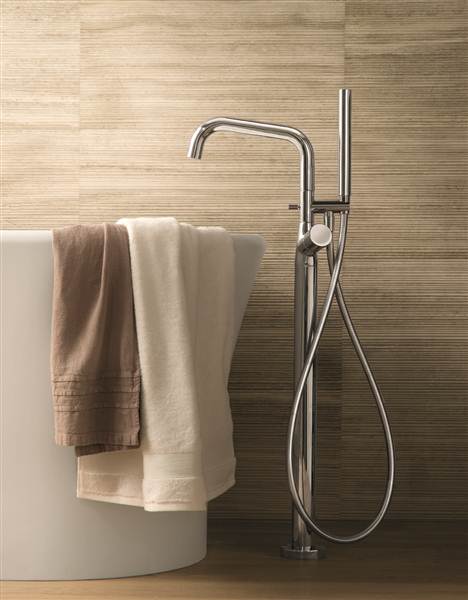
Directly install this type of plumbing in the following ways:
- on a horizontal surface;
- in the vertical plane;
- on the side of the bathroom;
- build into the wall.
Another feature of the installation of this device is the need to take into account the design features of the furniture installed in the kitchen or bathroom.If it is clear that it is not adapted for mounting a mixing device in it or on it, it will not be possible to “push” it there. Thus, it is necessary to look for other options for a complete set of sanitary equipment of a room.
Kinds
Modern industry produces various types of mixing devices. Their general purpose is to mix hot and cold water to perform hygienic procedures. Experts in their selection give good advice: if you do not want to perform redevelopment, you should install the same plumbing fixture that stood in the room before, replacing it with a new one.
According to their device mixers come in several forms.
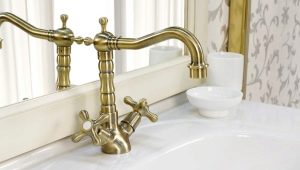
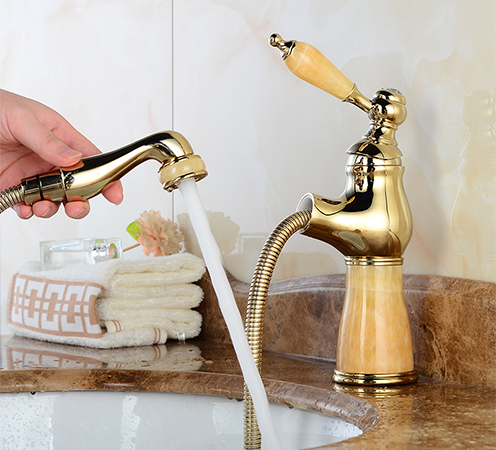
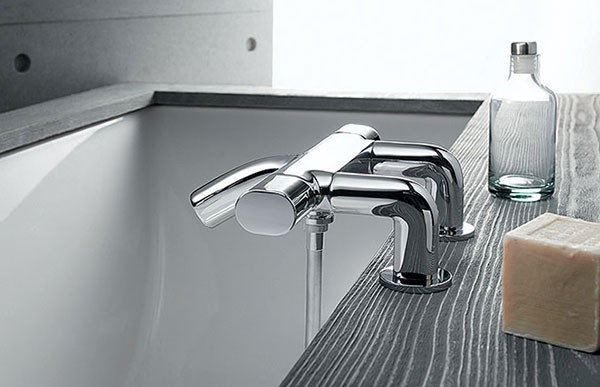
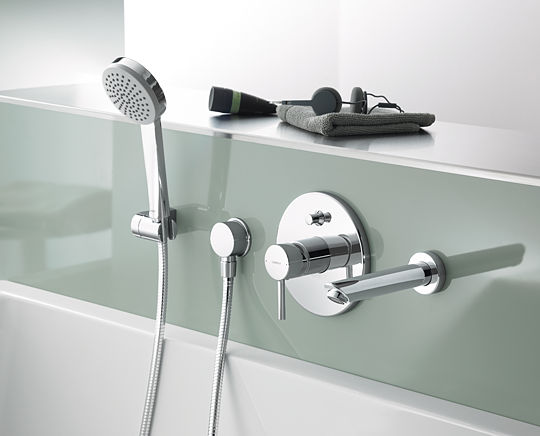
- Two-valve devices - these are the simplest and most popular, as they are inexpensive, and for their installation an adapted simple stainless steel sink. It can even be used by a child, since only two valves are used to mix water. As for the sealant, they use a ceramic disk or rubber gaskets as them. The disc option is considered preferable, since ceramics wears out more slowly, therefore the life of the product as a whole increases.
- Lever. As for the lever devices, they have a mixture of water produced by moving the lever. If it is decided to follow the installation path of the single-lever mixer, then you should know that its installation is very complicated. Not every amateur plumber can cope with it, but the level of comfort from its use is increased in the case when you have to perform all the manipulations with one hand, for example, in the kitchen.
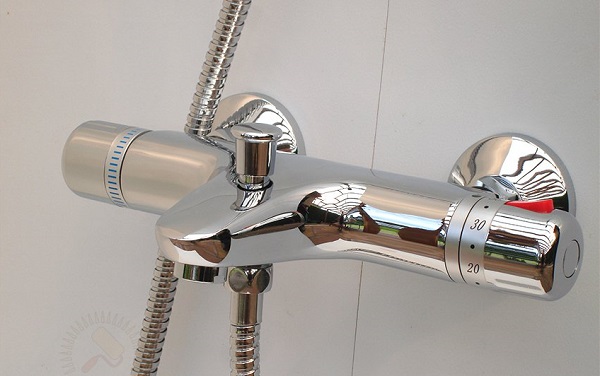
- Thermostats. If the place of residence constantly turn off the hot water, it makes sense to mount the thermostat. By adjusting it only once, you can always get the water of the required temperature in automatic mode. The only drawback of this solution is its high cost, since such a device is technically difficult. By the way, that is why its self-installation is difficult.
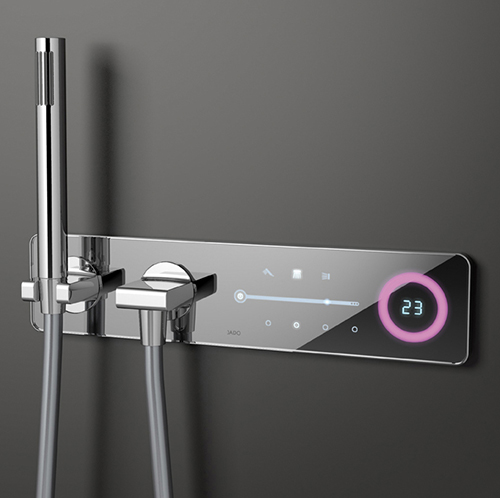
- Contactless. The installation of a sensor-type mixing device is justified in public places. The fact is that the water flow generated by it has the same temperature, which is not acceptable for everyone at home. If it is decided to install the sensor, then it is best to do it in the toilet room, choosing the vertical method of mounting the device. In this case, even its large size does not embarrass users.
On the market you can find plumbing of different designs. So, sold products that are specifically designed for installation in the sink, having a finish made of artificial stone. In addition, the standard horizontal type of attachment can be replaced by the vertical one and even hide the mixer in the wall. It all depends on personal desires and taste. Experienced plumbers advise when choosing plumbing equipment to pay attention to the material from which it is made.
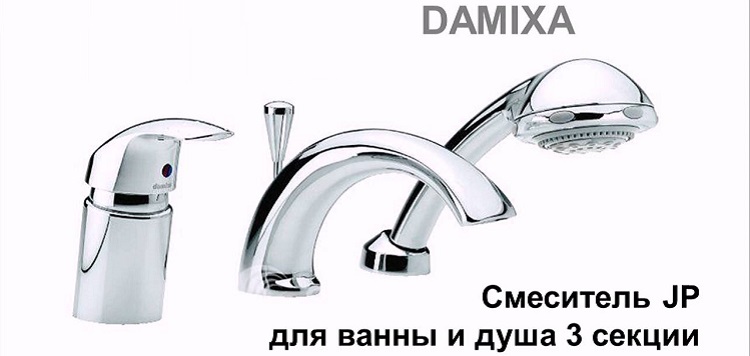
The fact is that if you put in your apartment a beautiful acrylic bath, which has a poor-quality mixer made of silumin, then it will immediately break. To prevent this from happening, it is worth buying products only from well-known manufacturers, for example, Damixa, whose production uses only high-quality materials.
Stages of work
Having decided to install the mixing device with your own hands, it is necessary first of all to study its design.
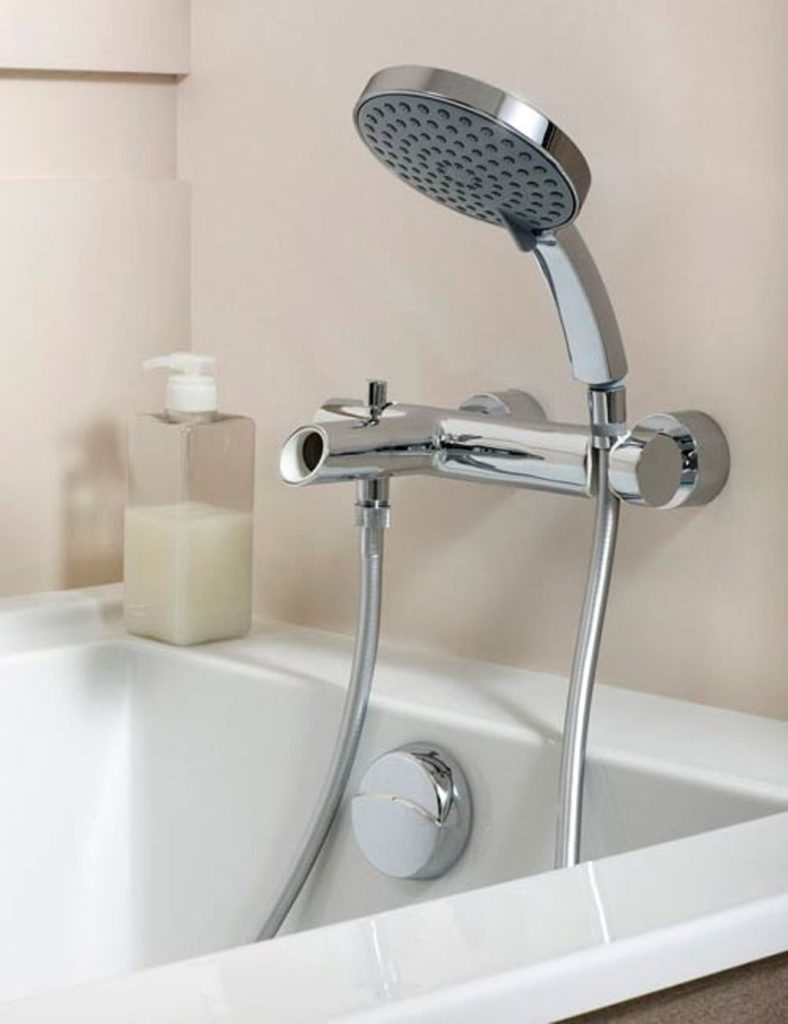
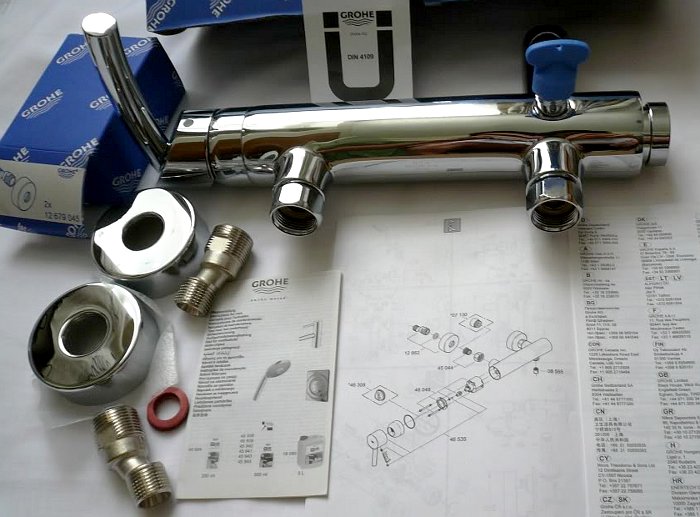
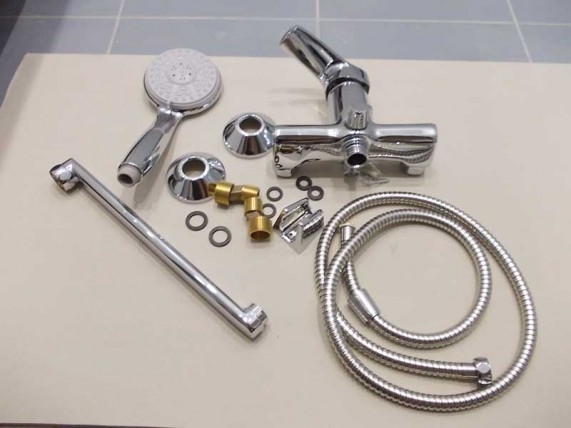
An ordinary sanitary device of this type consists of the following elements:
- mixing device;
- eccentrics in the kit;
- gaskets;
- decorative cups;
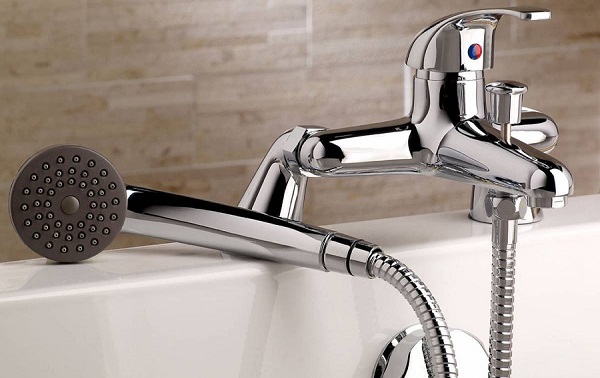
- watering shower.
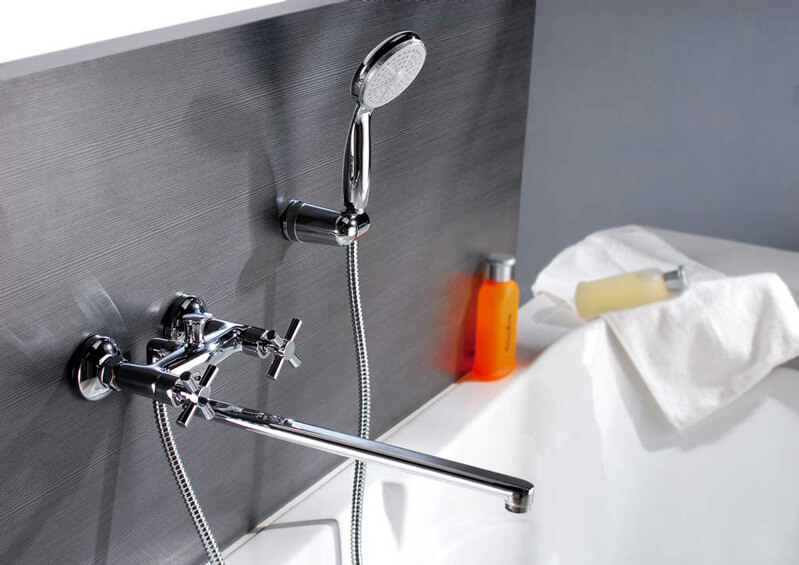
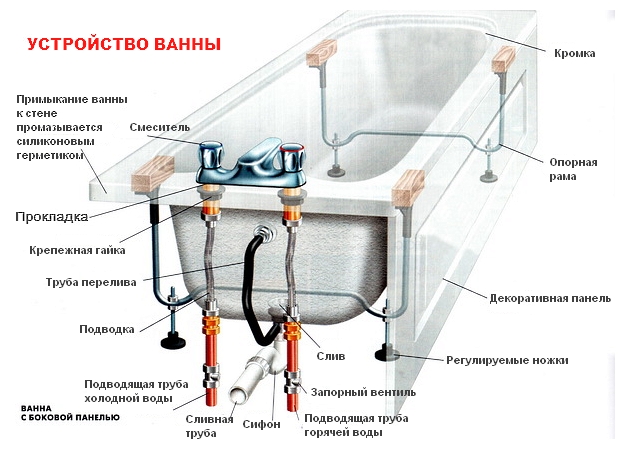
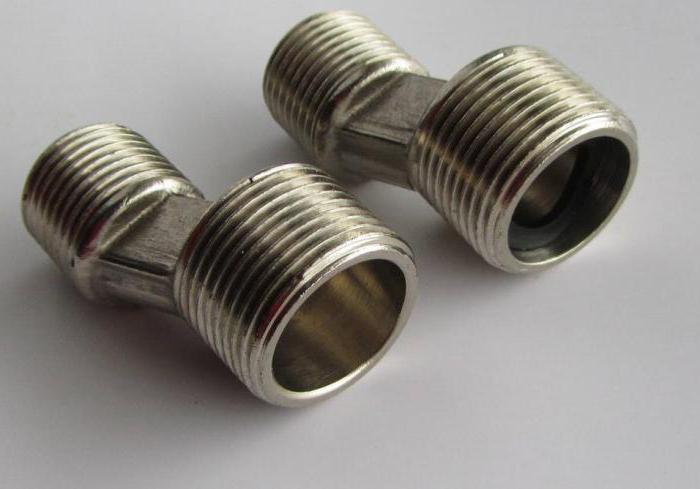
In addition, there is a very frequent variant in which a gander of different lengths is introduced into the composition of such a construction. It is necessary for one device to serve both the sink and the bathroom. At the same time, the state standard does not establish a limit on its length. The main thing is that it does not interfere with the process of normal operation of the product. In order for the mixer to be installed on the wall, it is necessary to use eccentrics. In addition, they also allow you to level it and fix if it is loose. It is very important that they are of high quality, since the whole installation process begins with them.
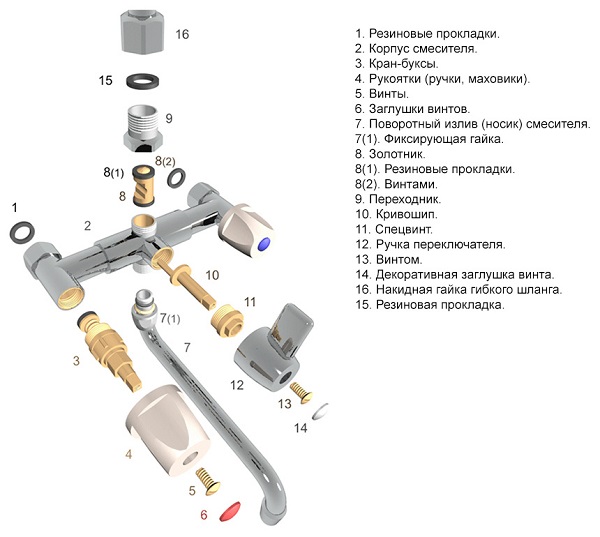
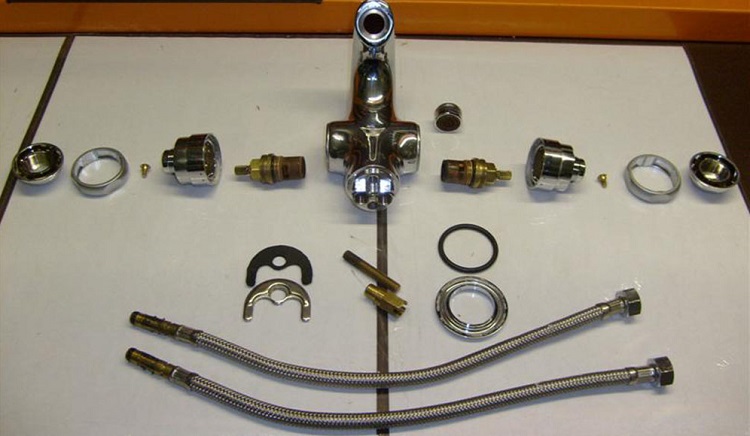
Gaskets must also be of high quality, so they are usually replaced from standard kits with gaskets that are thicker. Usually, gaskets having a thickness of 3–4 millimeters and a diameter of ¾ are used for this purpose, since only such a solution provides an ideal seal. Nor should we forget about such a prosaic thing as ordinary tow. The fact is that it is able to reliably block the path of moisture when the device is replaced. And also with its help, you can quickly eliminate the accident in the case when it was not possible to reliably fasten the same eccentrics by connecting the mixing device.
Usually for self-assembly purchase such items and tools as:
- mixing device;
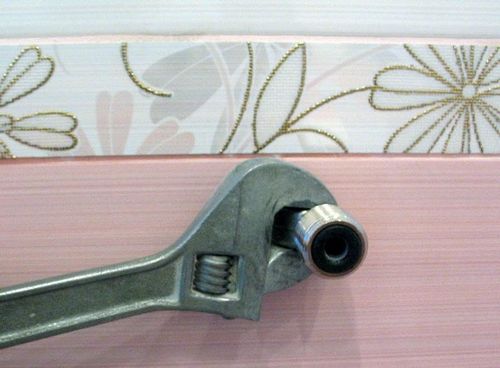
- adjustable wrench for 17 millimeters;
- gas key number 1;
- pliers and tow.

At the same time, it is sometimes necessary to buy other accessories, for example, an installation bracket. When the mixer will be hidden installation, to replace it will have to perform work on the redevelopment of the room. To do this, you will need a hammer drill, drill, angle grinders and other construction equipment.
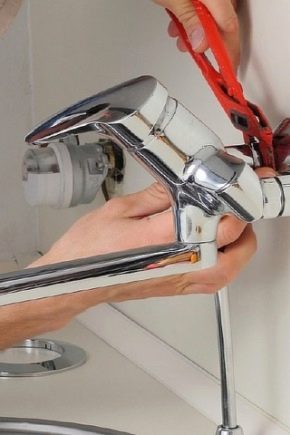
The very same procedure of installation work resembles the replacement of a water tap and consists of several stages.
- Overlapping water supply. Sometimes for this you have to contact the local housing office to cut off the water supply throughout the riser. It all depends on the design of the plumbing in each particular house.
- Dismantling of old plumbing equipment is one of the main stages of the work. It should be made carefully so as not to harm the furniture, bath or plumbing in the room.
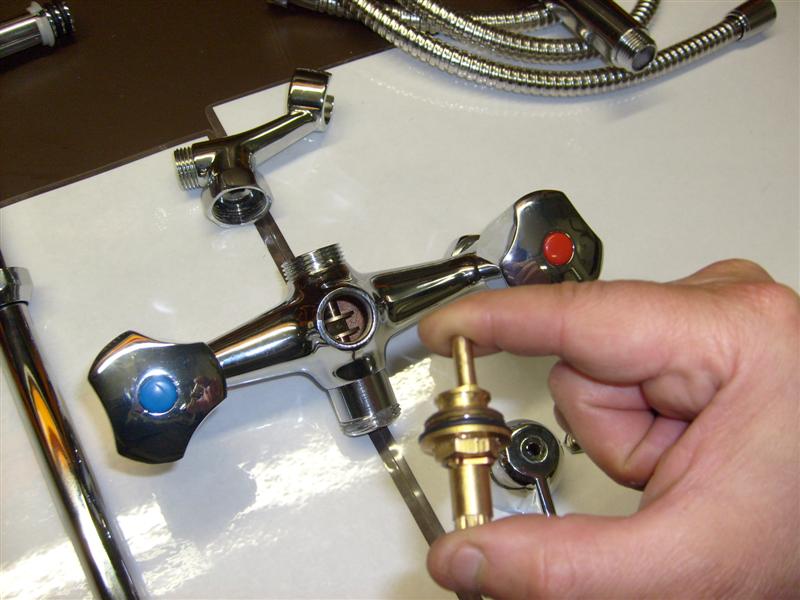
- Replacing old eccentrics with new ones. It is performed when they are worn. If on the design of the device they are and are in a satisfactory condition, they can be left.
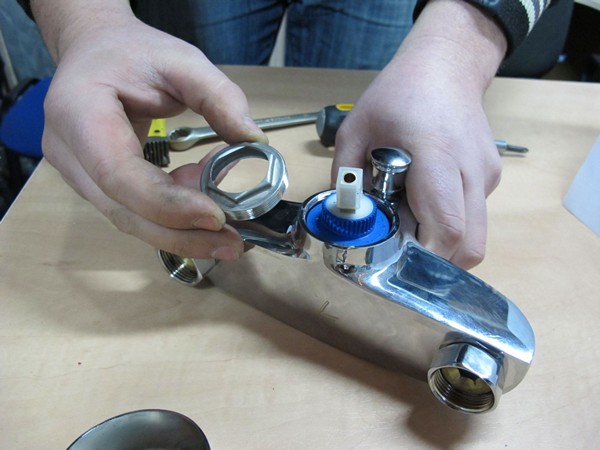
- Mixer assembly.All modern plumbing has a design that facilitates its assembly and installation on site. That is why the replacement of the mixer can be performed independently even by an inexperienced amateur plumber.
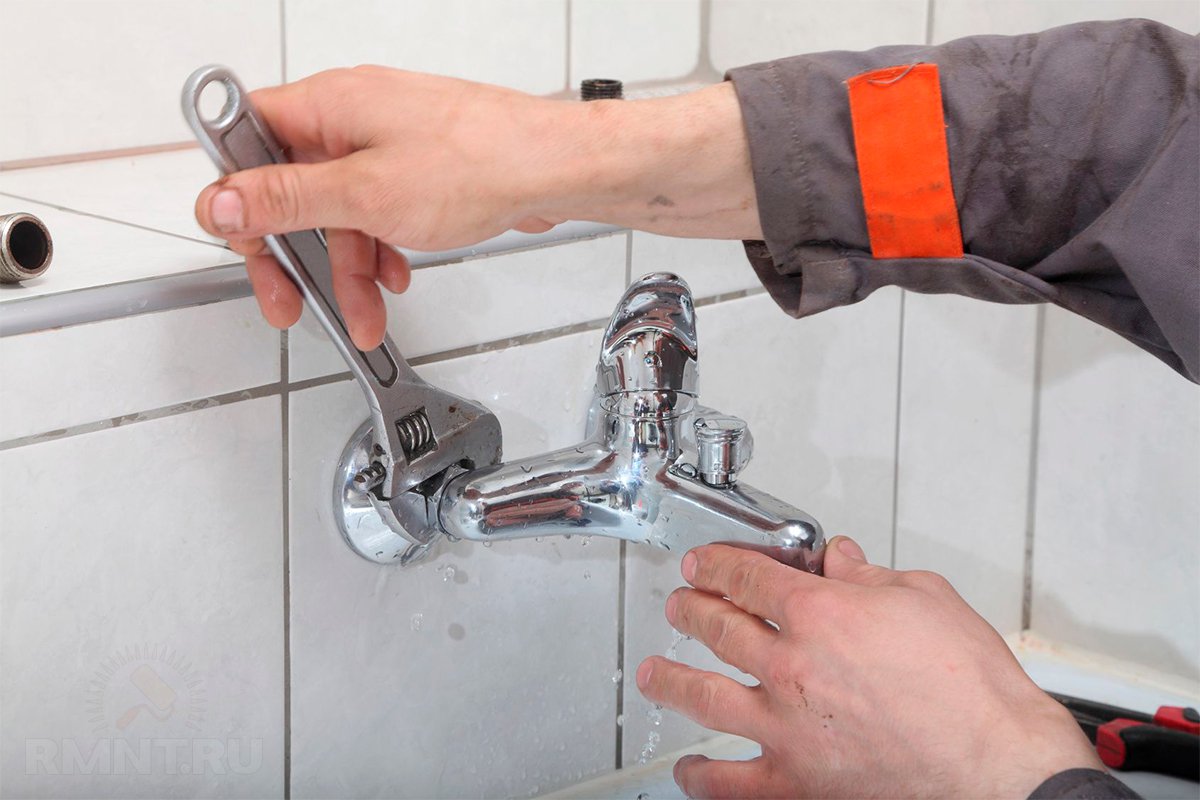
- Align the crane horizontally using eccentrics. To do this, use the usual wrench.
- The final installation of the mixer.
As you can see, the process itself is in principle uncomplicated. If you perform these operations yourself, you can save a significant amount on plumbing labor costs. In the same case, when there is not enough experience in the production of plumbing work, you should invite a friend who has such skills as a consultant and assistant.
Dismantling old
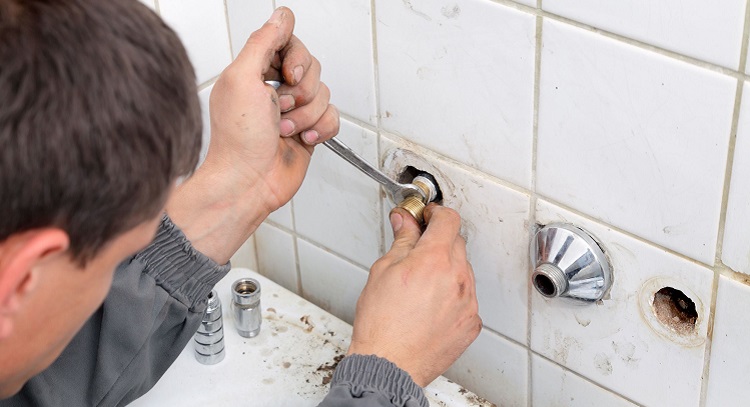
The main stage of the installation of a new crane begins with a revision of the water supply system for the absence of water in it. If it was not possible to completely shut off the water supply, it is necessary to contact the local housing office to shut it off throughout the riser. In addition, you can try to carry out this operation by blocking the tap water from the neighbors who are below. You can change or install the faucet placed on the wall, you can unscrew the captive nuts, fastening it to the water supply and placed on the pipes of hot and cold water.To this end, it is necessary to rotate the nuts counterclockwise with an adjustable wrench or a wrench. Usually, the existing mount is easily removed if it does not show signs of corrosion.
When the eccentrics attached to the faucet are made of thick-walled brass and they are in good condition, they should be preserved. At dismantle of the clown it is not necessary to make the big efforts. To combat "sticking" they can be heated with a lighter.
This method is effective only when polypropylene pipes are not used in the construction of the water supply system. If the eccentric fails to unscrew in any way, one method remains - cutting it.
You must use a hacksaw for metal, through the hole in it is cut. It is necessary to be careful that the saw does not damage the sink. The saw blades must be made to a depth of 0.5 cm. Directly the eccentric itself is broken out using a flat screwdriver and a hammer. It is necessary to work carefully so as not to damage the internal thread. At the end of the operation, the pipeline is cleaned of metal fragments and dirt, letting water into it.
Ways to dismantle the mixing device, which can be installed on the board sink or bath, are simple. One of them is to unscrew the flexible hoses from pipes that supply hot and cold water. After that, unscrew the hoses from the mixer, as well as its mounting. Many homeowners cannot answer the question of what constitutes a quick installation system for a mixer. In short, it speeds up the process of dismantling and installation of plumbing by several times due to the unification of fasteners. If you need to replace plumbing, you should pick up the plumbing devices that support this system.
Preparing to install
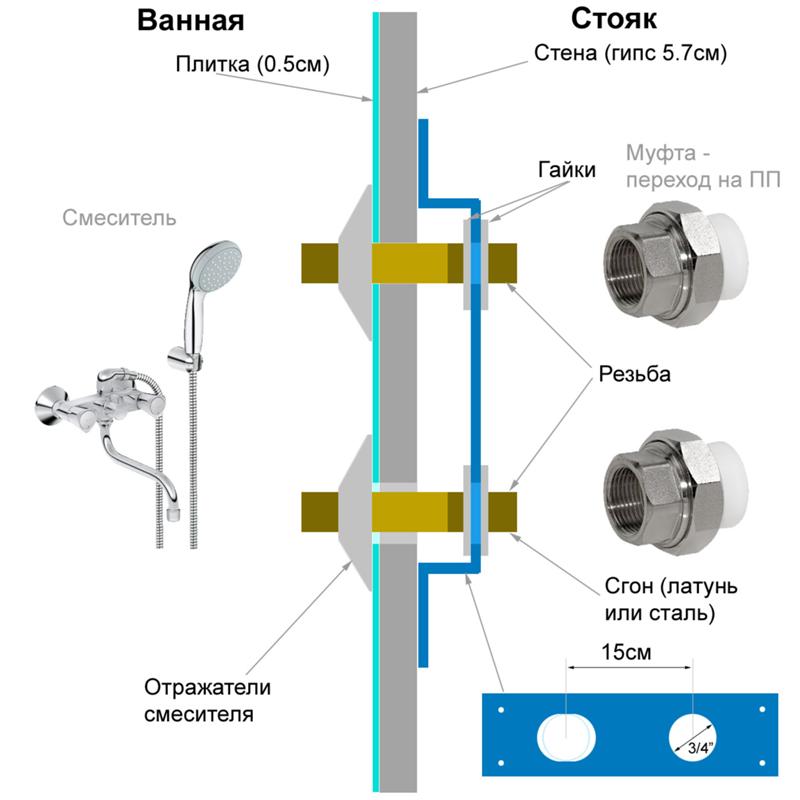
The preparatory phase of the installation work begins with a revision of the end fittings to determine whether they have an internal thread. It is best suited for the installation of a mixer in the bathroom.
When it is not, installation work should be carried out according to the following algorithm:
- usually cold water inlet is on the right, hot is on the left;
- The optimal distance to place the fittings is 150 millimeters;
- the height of the placement of a new tap above the side of the bath should not exceed 150–200 millimeters;
- if the plumbing fittings need to be buried in the wall, they must be placed so that the installation of the built-in mixer can be ensured.
Installation of the mixing device should be described step by step.
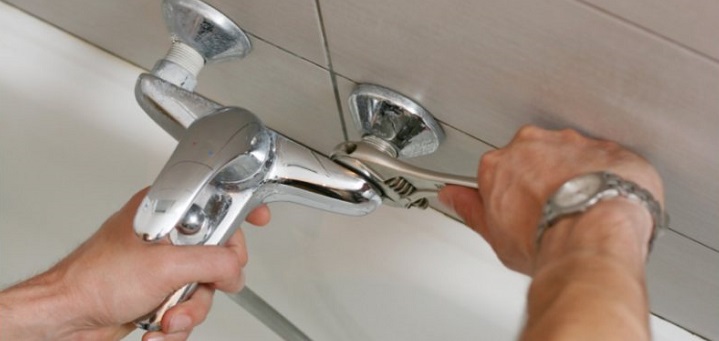
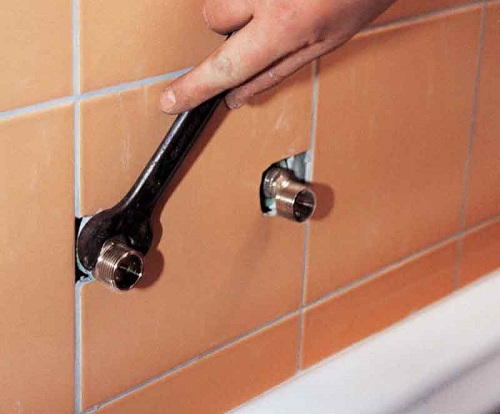
- It is necessary to prepare for the installation of eccentrics. Correct installation of eccentrics begins with the winding of linen towels or sanitary fixing tape on the thread. The operation is performed clockwise, while it is worth using a sealing lubricant, for example, “Unipack”.
- It is necessary to screw the eccentrics into the fittings with a wrench. During the execution of this operation, it is necessary to monitor the symmetry of their location, as well as maintain a distance between them equal to 150 millimeters.
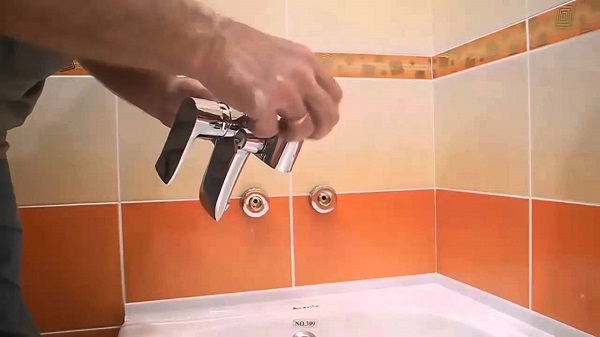
- Installs the housing of the mixing device. Controlling horizontal installation, tighten the nuts. If they are spinning tight, it will be necessary to adjust the eccentrics.
- Fit the case, you need to mount decorative covers. In place you need to install seals.
If there are problems with the installation of eccentrics, you must use rubber or silicone gaskets.
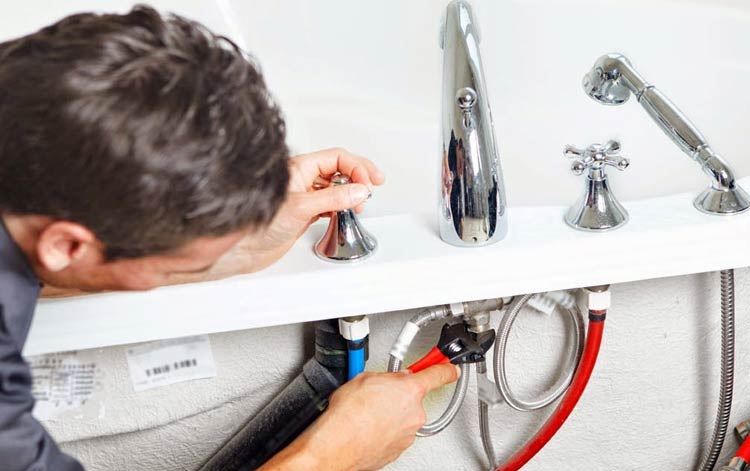
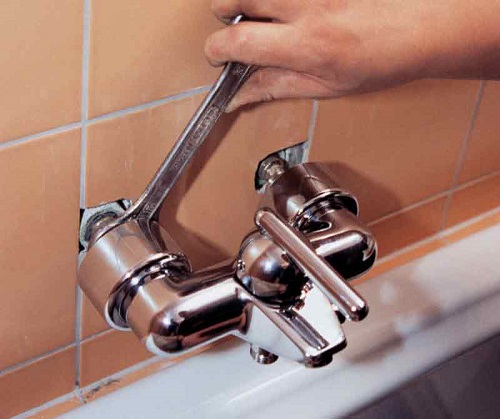
- Fit the body of the mixer to put in place and tighten the nuts. To do this, on a chrome finish, in order to prevent its damage, you must put rubber or a soft cloth. The same rule applies to the installation of flexible connections.
- Install the mixer spout. It is necessary to check the distances in three positions, so that they can be used conveniently and without interference. After that, the spout nut is tightened.
- It is necessary to complete the installation of the shower head. First, a gasket is installed between the mixer housing and the hose connection. Then you need to connect the hose and install a watering can in it.
- Observing the distance from the floor, you need to install the mount under the shower. It is necessary to drill the holes for fasteners, fasten the fasteners, as well as the bracket to accommodate the shower head.
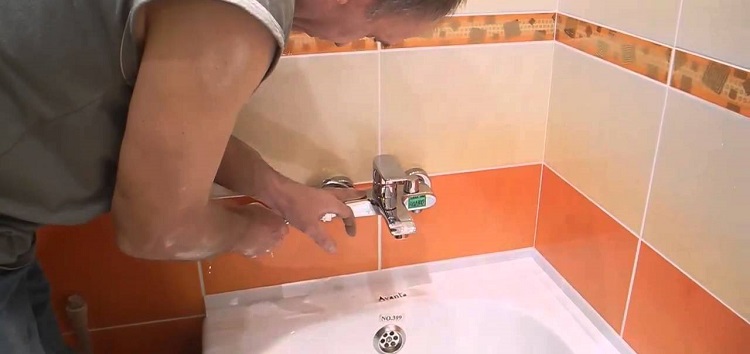
- Put in place the mixers of a different type, using approximately the same algorithm. Completing the installation of conventional and embedded plumbing device, it is necessary to make a control start-up of water, because with its help debris is removed from the pipeline and a leak is detected.

Useful tips
You can install the mixer yourself correctly, only taking into account the advice that a professional plumber can give.
- It is necessary to be seasoned and carry out the installation quietly, without haste, which will ensure the accuracy and thoroughness of fitting all parts to prevent possible leakage. It should be remembered that the use of sealing elements is mandatory.
- Starting work, you should close the sinks, sinks and mirrors in the room where the installation work will be carried out, with plastic wrap or fabric. Thus, it will be possible to protect their coatings from damage. Otherwise, you have to pay a pretty serious amount for their repairs.
- Being engaged in sanitary works, it is worth taking care of the neighbors. If the event requires approvals - they will need to be obtained.
It is better to prevent the gulf of the apartment than to pay the cost of its repair.
In the next video you are waiting for the nuances of mounting the mixer in the bathroom.